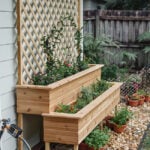
Tiered Herb Garden Planter
Customize this DIY planter to any size, using 2x2's and cedar boards
Yield: 1 6'x6' planter
Cost: $220
Equipment
- Drill
- Miter saw
- Table saw
- Square
Materials
- 8 pcs 2x2x8' lumber (pressure treated or cedar)
- 7 pcs 1x6x12' cedar (we used tongue and groove)
- 2 pcs 1x4x10' cedar
- 1 panel 4x8' lattice (pressure treated or cedar)
- Exterior screws (we used 3" and 1 ⅝")
Instructions
- Cut 2x2’s for the frame (we made ours 72”w, 72”h overall and each row ~13” deep)
- Assemble the main frame legs using the 2x2’s and 3” screws (front, middle and back)
- Attach the frame together using 2x2’s on each end
- Add additional 2x2’s for support in the center, and legs for vertical support
- Cut and attach cedar tongue & groove to the back of each level using 1 ⅝” screws, then secure the last horizontal 2x2 supports at the top
- Cut and wrap the remaining cedar boards around each level (two boards per section)
- Secure 3 additional vertical 2x2’s inside each level, at the corners and center
- Attach 1x4 cedar boards along the top of each tier, cutting a notch on each side where they intersect the frame
- Cut the 4x8 lattice to size and attach to the back of the frame with 1⅝” screws
- Fill with rocks, potting soil and/or pots, plants and enjoy!
Notes
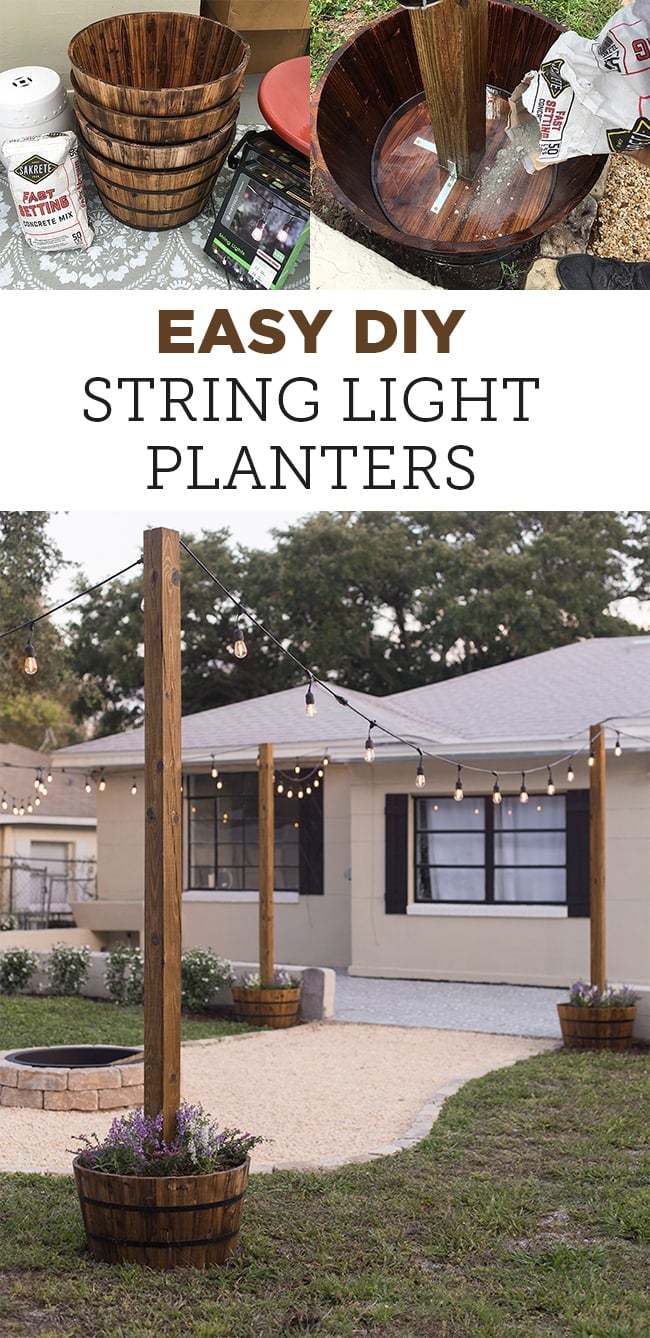
If you liked this outdoor DIY project, check out my string light planter tutorial: