We’ve been busy bees in the last week! Let’s talk about where we’re at now… starting from where we left off last week:
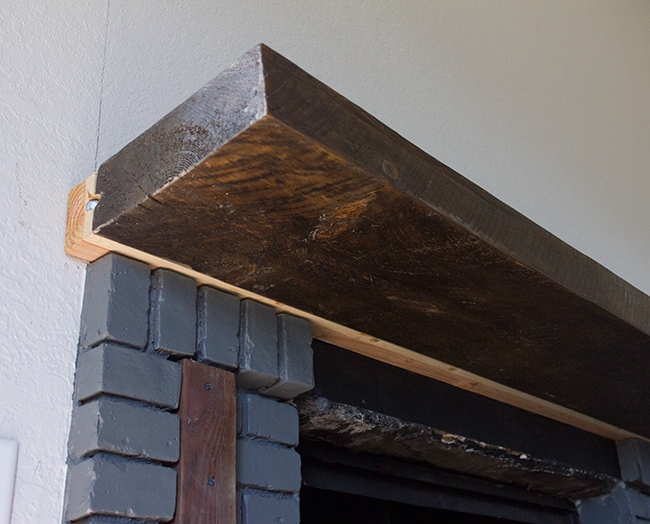
Right after that post went up, so did our mantel…
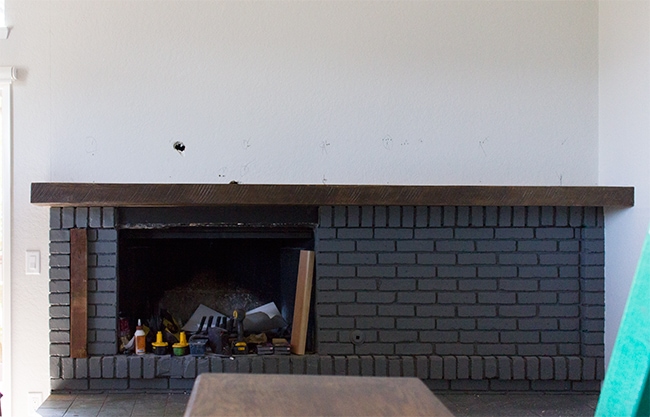
Unfortunately, and I didn’t realize this until it went up, but the wood isn’t perfectly straight. It a little twisted which means one side isn’t exactly level…
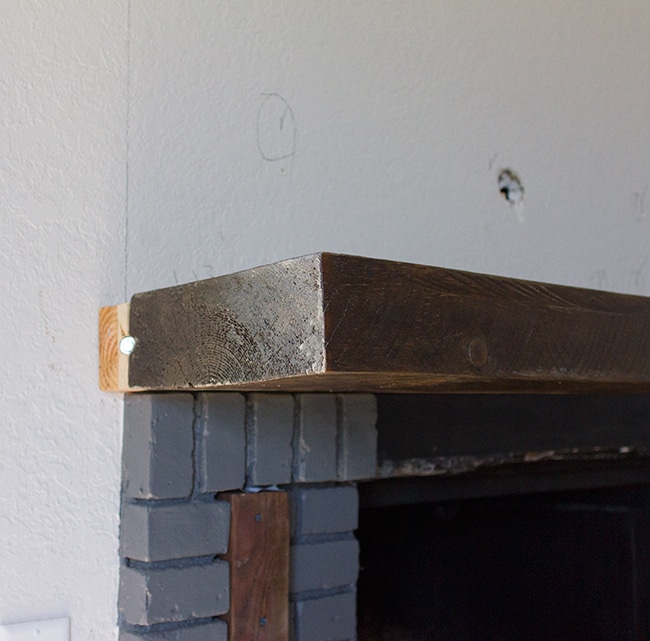
See how it angles upwards? It bums me out but unfortunately at this point there’s nothing I can do—short of driving back to the lumber yard, attempting to find a perfectly straight chunk of wood (does that even exist?) spending another $70, refinishing it and pushing back our timeline. Not going to happen, so we’ll embrace the imperfection by chalking it up to being more rustic. There ya go.
The TV will be sitting on this and we realized our tv base is wider than we thought, so we had to extend the mantel by adding a few inches to the back of it (which our handyman secured with huge lag bolts). This will all be hidden by the framing and stone.
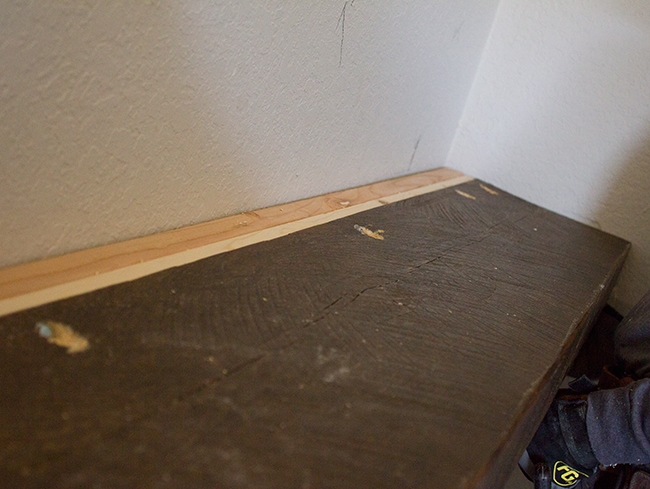
Here’s a shot from the bottom:
Still figuring out how I’m going to hide the side where the bare wood is… either wood putty to blend the two and stain or veneer.
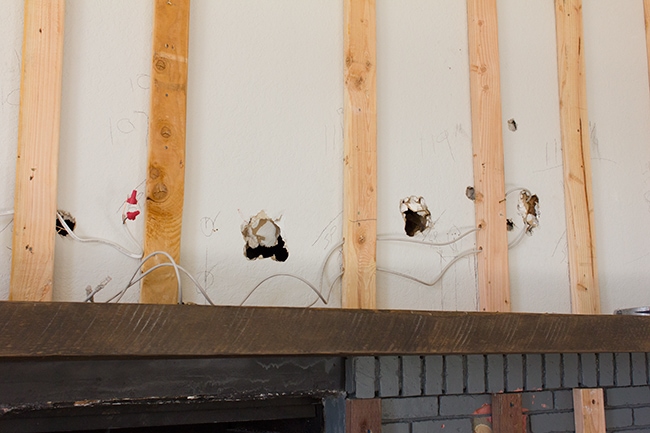
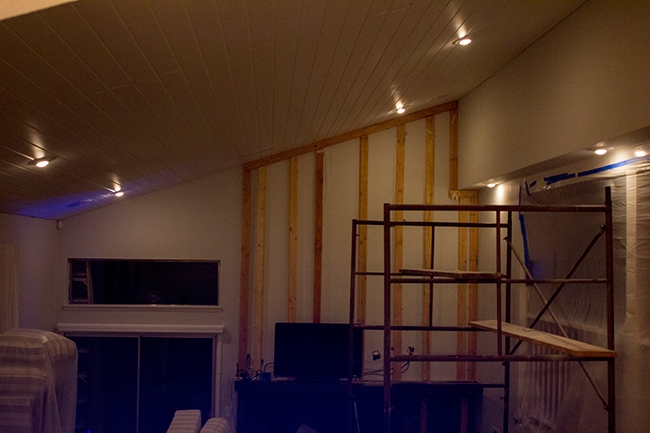
After the mantel was in, the framing went up (using 2×4’s):

Then Brad ran some cables to where the TV will be.
I asked him to give a writeup of what he did in case anyone is curious (I could never explain it):
1 – Power – We tapped out of the outlet next to the fireplace to get power up there so we ran ROMEX wire in the wall next to the fireplace.
2 – Network Cables – We ran two Cat6 network cables. One cable will extend the HDMI video signal from the AV Receiver in the network and audio closet to the TV over the fireplace. The second cable is just a standby
or data cable. It can be used for anything data related, internet, network, etc to any device next to the TV, or a smart TV in the future that needs internet. They are each 75ft long.
3 – RG6 Coax – For future use, in case someone wants to put a cable box physically at the TV, they can connect this outside the house to the cable splitter.
4 – Possibly might run Component RGB cables, if I have an issue with Video delay caused by the extender box.
Extending video from the closet – What we’re doing is splitting the output of the AV Receiver to the fireplace, and to the outside deck. To do this we’re using the Monoprice HDMI Splitter/Extender. This duplicates
the HDMI output of the AV Receiver and sends it to both places using CAT6 Network cable. HDMI Video will not run over about 50 feet without issues. The audio is straight out of the AV receiver in the closet to the 5.1 audio system
in the living room.
https://www.monoprice.com/Product?c_id=101&cp_id=10113&cs_id=1011306&p_id=8158&seq=1&format=2
Clear as mud? Great, lol. Moving along…
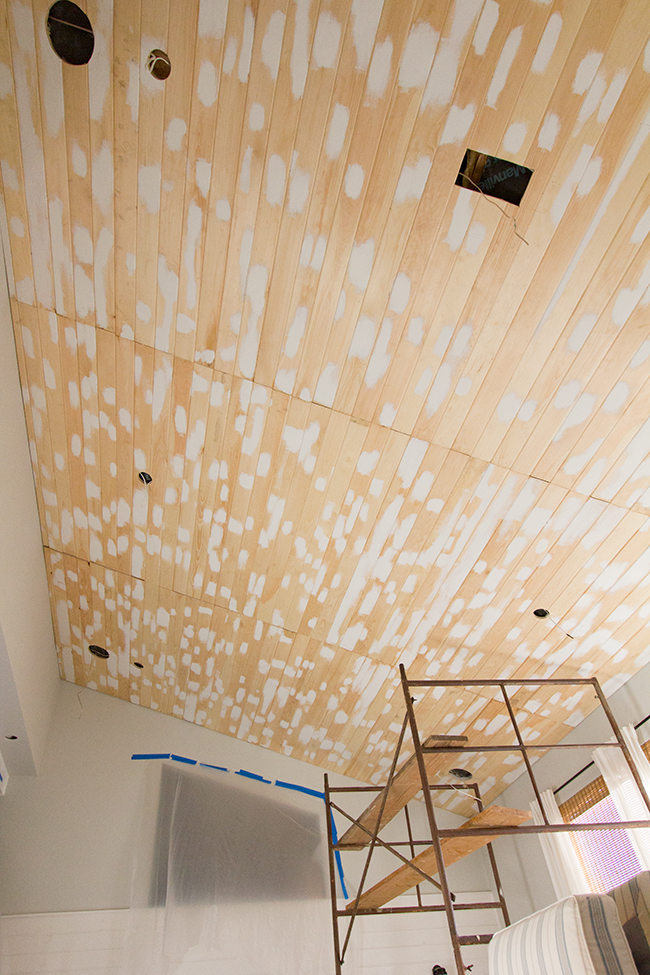
For our ceiling, I found a painter at the last minute and explained to him our situation with the pine knots bleeding through despite using shellac based primer. He decided to use something called PVA Primer which is used to seal porous surfaces (drywall) and apparently contains a plastic-like quality that should block the tannin from bleeding through.
Oh yeah, I noticed as they were prepping the area for paint that some of the knots had already started to bleed through! After less than a week! Thanks a lot, Zinsser customer service… let’s be clear: regular water based primers do not work on knots!
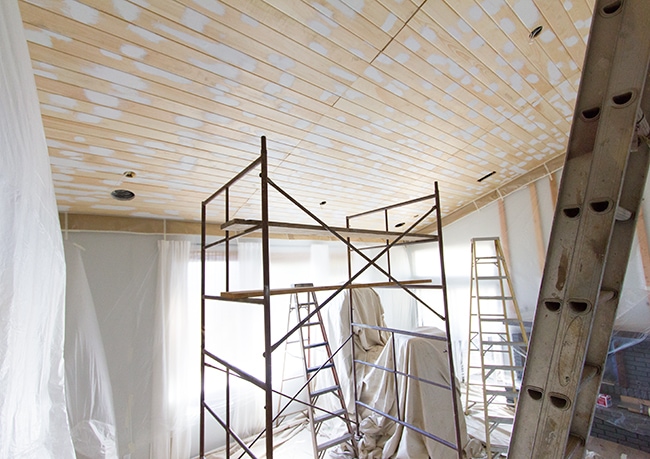
The painters sprayed a couple coats of the PVA primer followed by two coats of paint (Kelly Moore’s Swiss Coffee in a low sheen)…
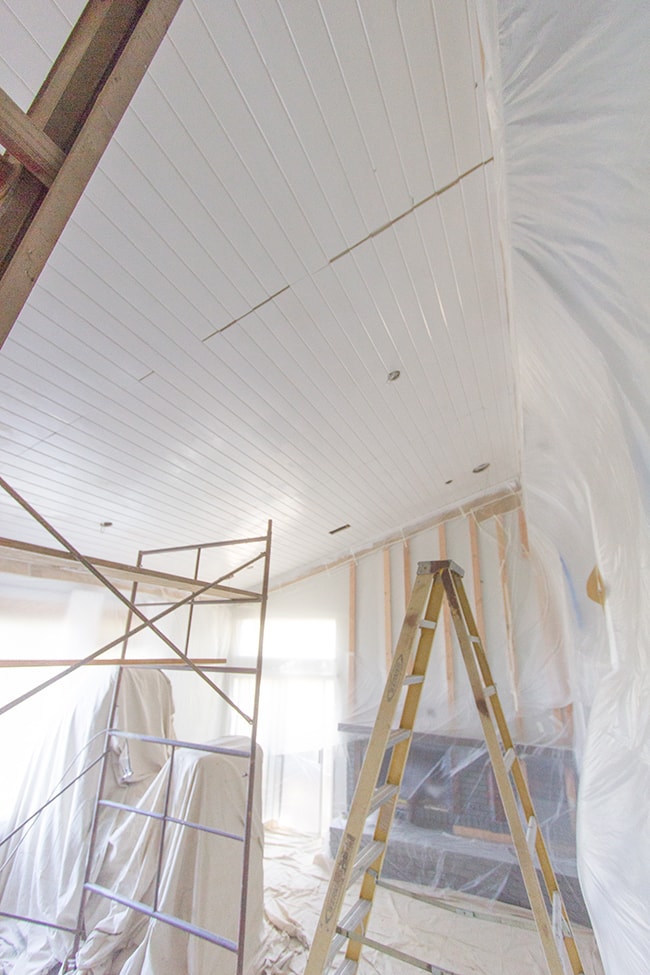 |
| Don’t forget, the beams will hide the ceiling seams. |
The ceiling looks great but I’m still not convinced about the knot bleed through. We’ll find out soon enough, I guess.
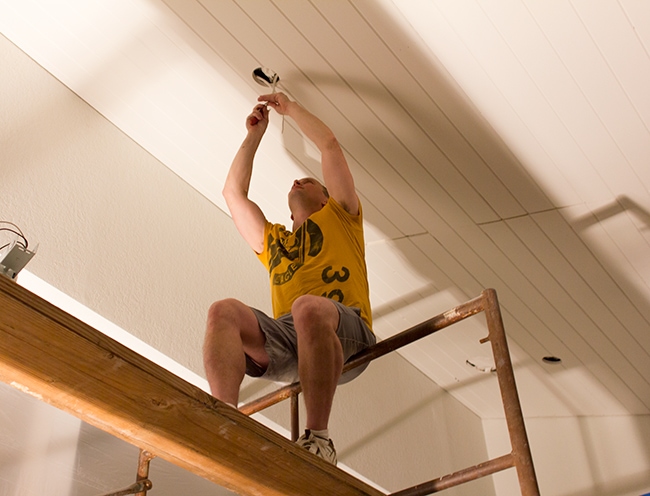
After the paint was dry, Brad got up into the attic and finished wiring the lights and speakers.
It sounds so good in there! Now we can have music playing in every room. Fun stuff.
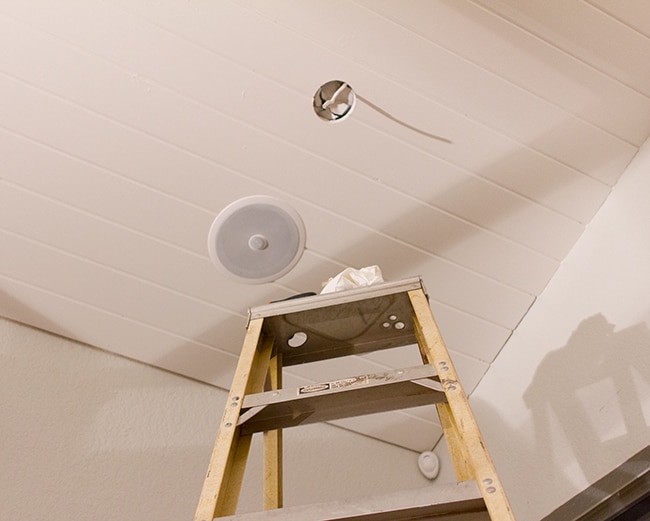
And the lights….
Seriously, you have no idea how much of a difference these make until you install recessed lighting in a room that had no overhead light sources before. It’s like a completely different space… we can actually use it at night now.

Lighting is one of the most important aspects of design. Don’t neglect it!
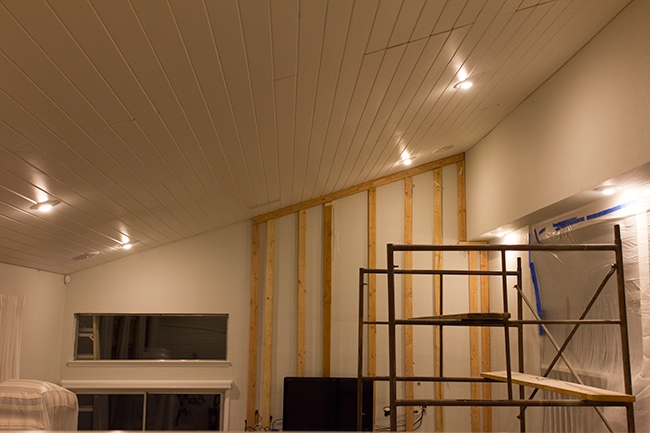
We have six on the ceiling and three along the soffit. They’re warm LED bulbs on a dimmer so we can change the mood with one touch of a button.
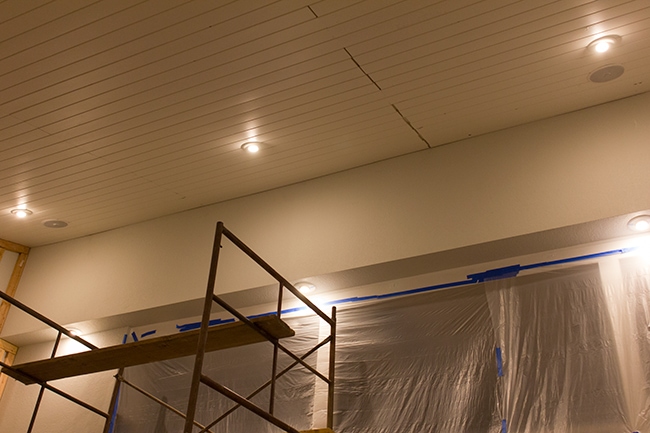
Here they are on the lowest setting. Kinda hard to tell from the photos but we love being able to control the mood.
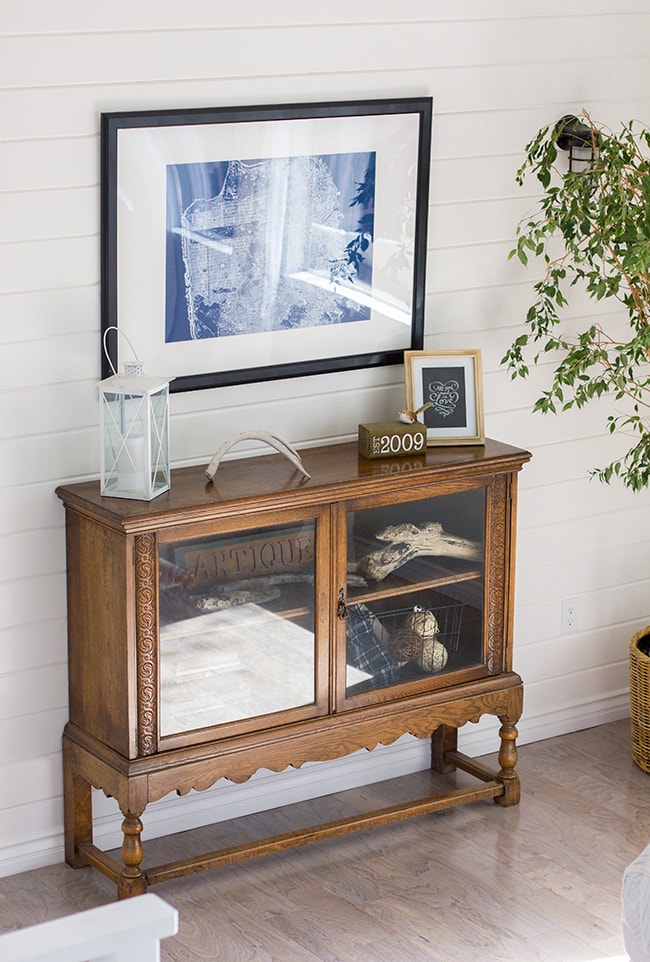
While all of this was going on, I was giving our sideboard a little makeover…
I know not everyone agrees with me on this, but I’ve lived with it for a while now and it just wasn’t working out. Something about the glass bothered me and I just don’t like lacquered furniture. It also wasn’t some expensive rare piece in perfect condition so it’s not like I am modifying anything super valuable.
Why keep something around if you don’t love it, right? No harm in switching things up to suit my needs.
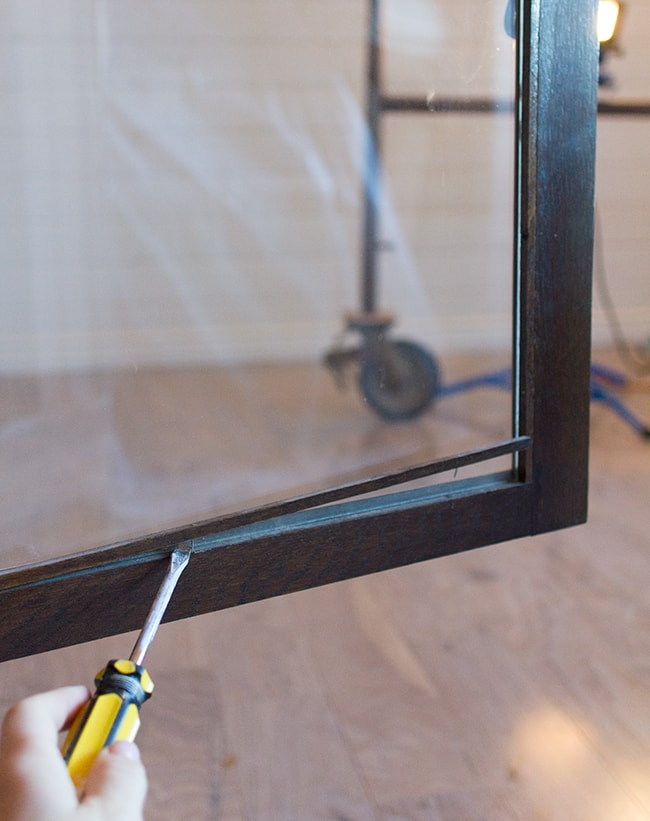
I started by removing the glass which was held in by thin pieces of wood… super easy to remove:
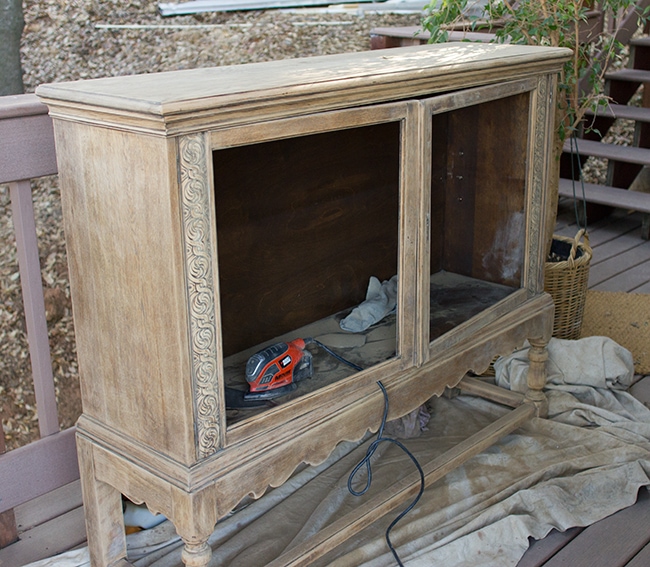
Here’s what we were working with after removing the shelf:
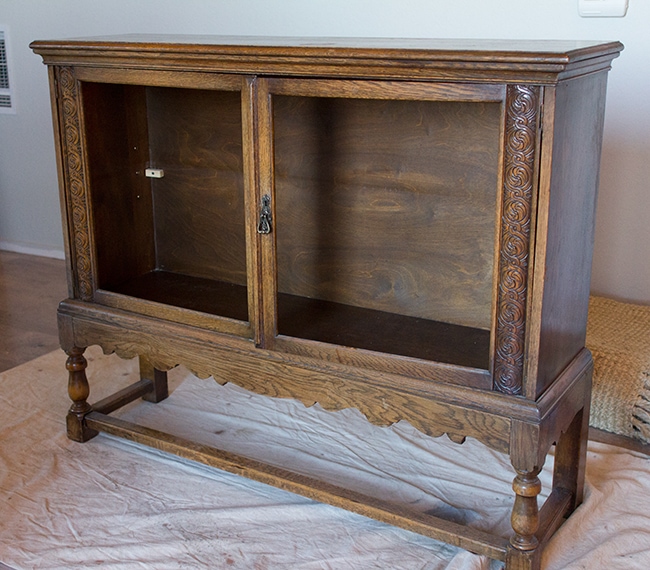
It was brought outside for sanding. I used 80 grit paper (on my mouse—best sander ever):
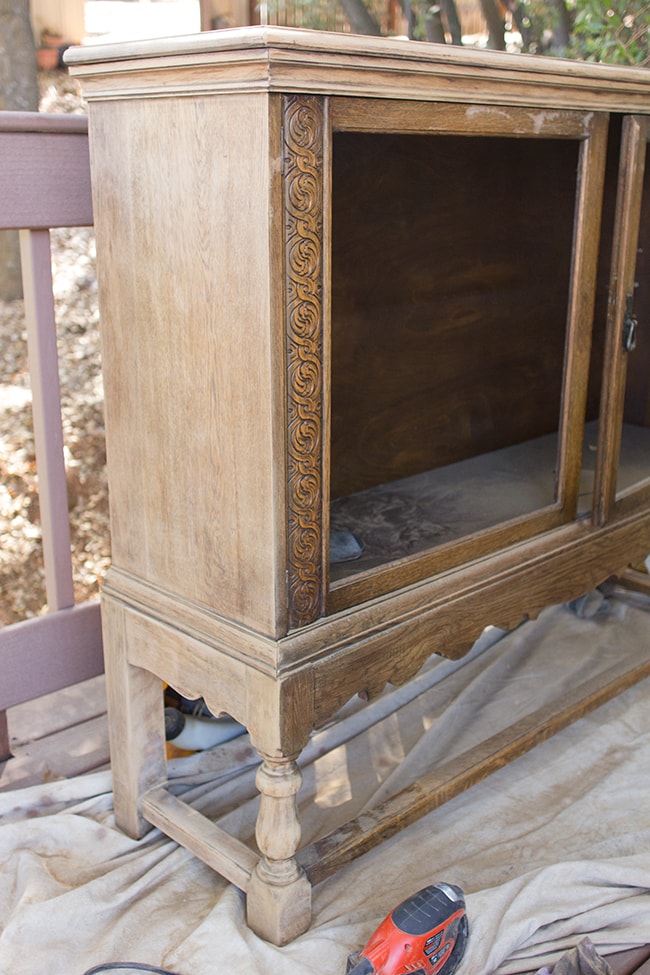
The sanded areas look lighter because of the dust but it’s darker once you wipe it down. I spent a few days on this… sanding is a lot of work! Especially when there’s a lot of little details.
I didn’t know exactly how I wanted to finish it, but it started looking a lot like my au naturale dresser I recently made over in our master bedroom…
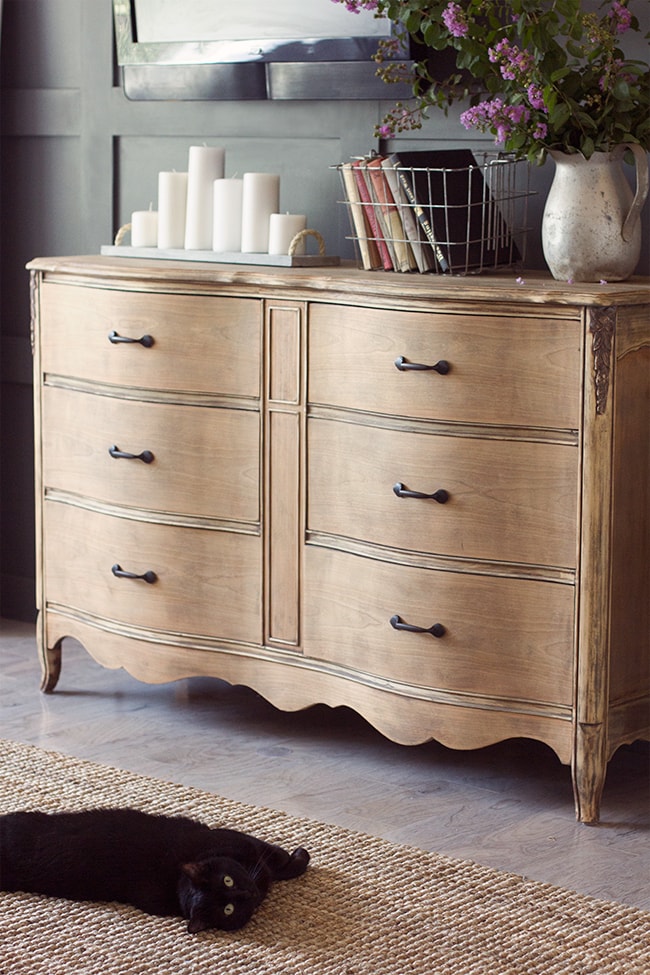
And I loved the way that turned out, so I decided to do the same for this one. That means no poly, no wax, just wipe it down and it’s good to go.
I may very well change my mind in the future and add a coat of wax to it if I feel it needs it, but I’m digging the raw wood look.
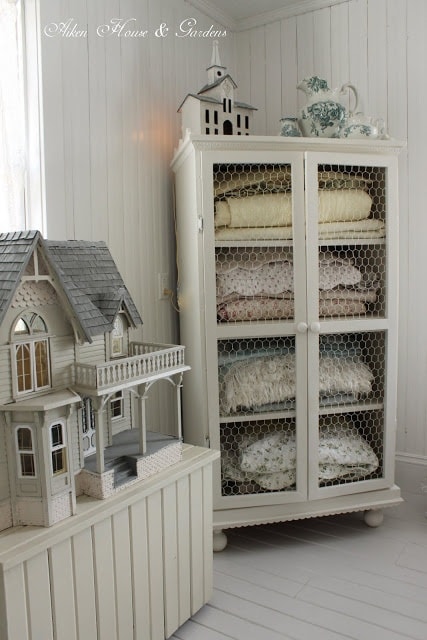
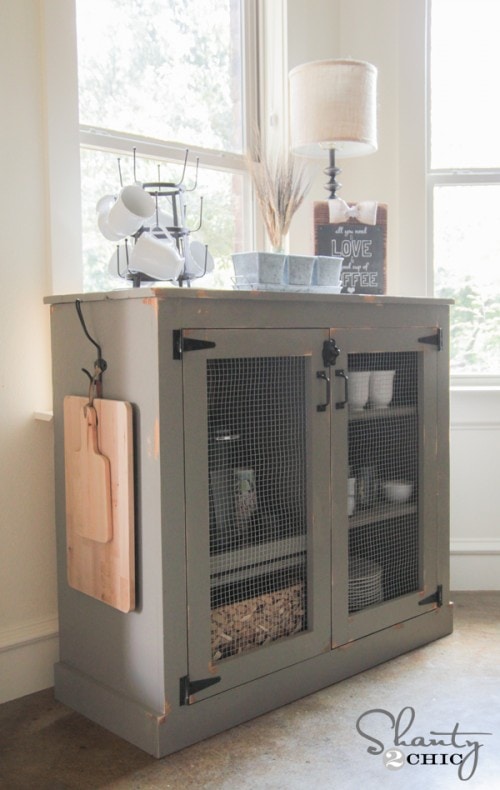
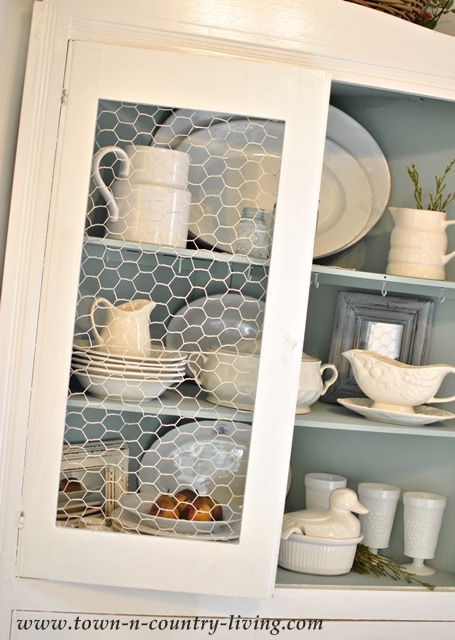
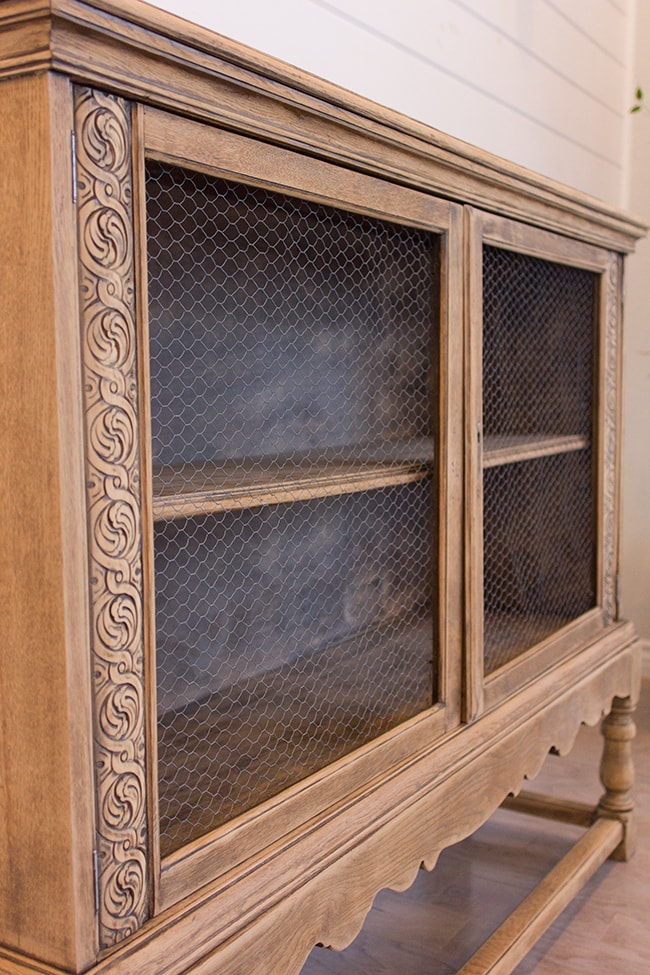
These inspiration photos for the doors pretty much sealed the deal on chicken wire:
 |
| Source |
 |
| Source |
 |
| Source |
 |
| Source |
Don’t you just love these? I have no chicken wire in my house and it’s about time. Luckily, my dad had a roll leftover from his coop and gave it to me…
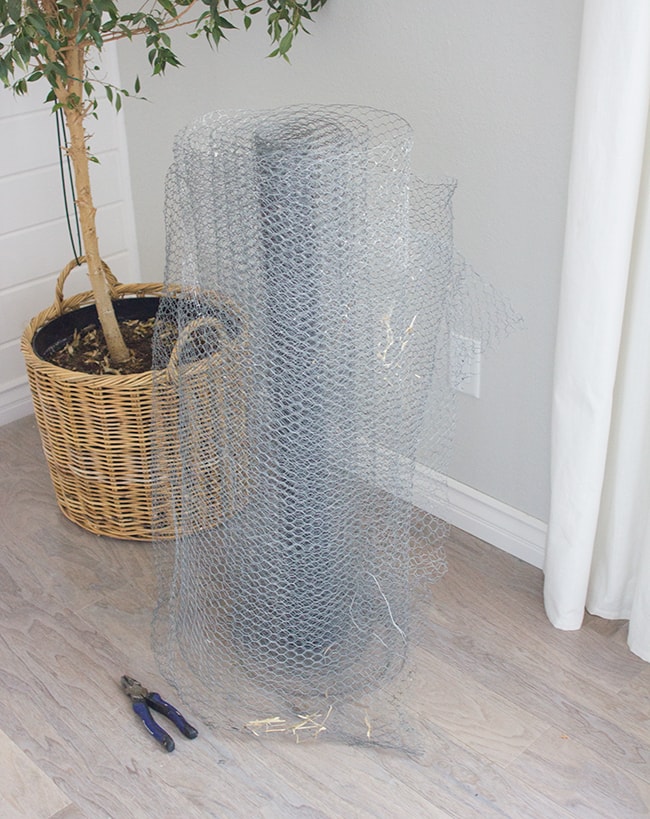
I didn’t have any specially designated wire clippers, so I used workman’s pliers and soldiered through it:
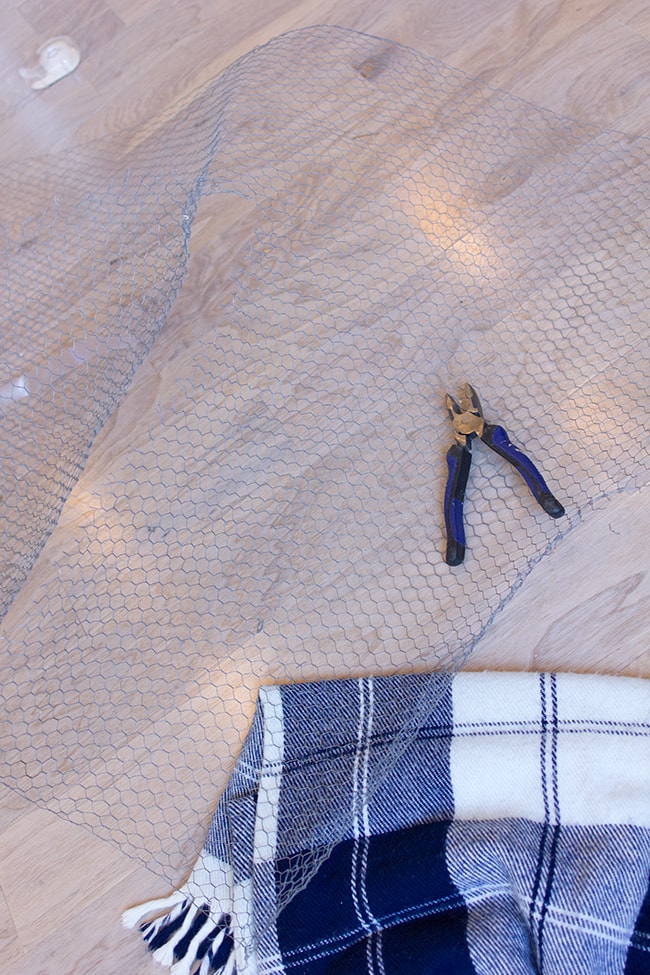
It’s not the most fun material to work with.
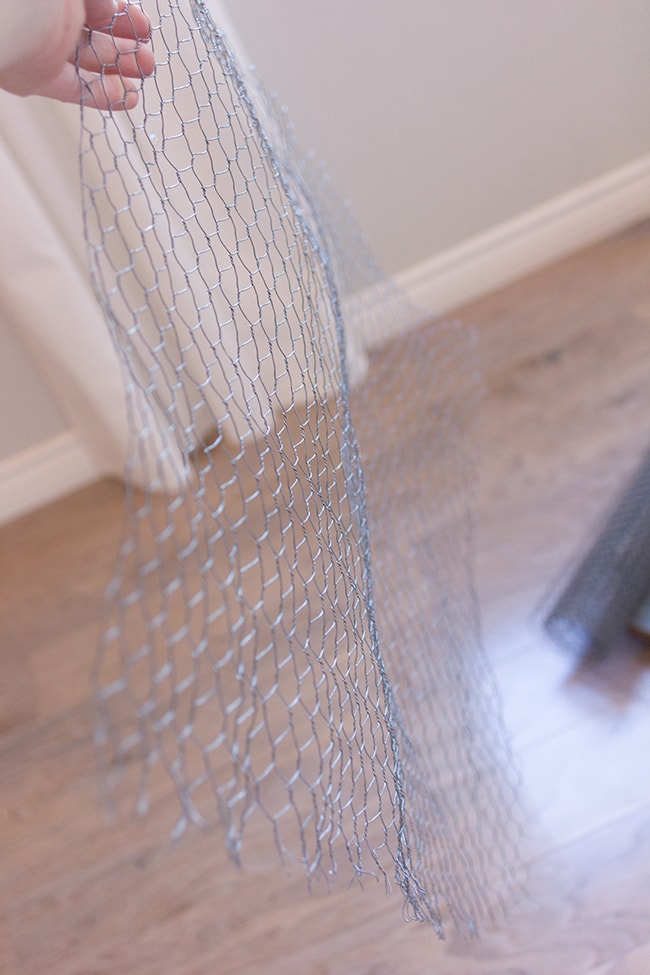
Once my pieces were cut, I did my best to straighten them out. This wire has a mind of it’s own and I haven’t quite figured out how to make it perfectly flat, but it’s not easy to pull it straight against your frame when you’re securing it, so you want it to be as flat as possible before installing. This was my best attempt:
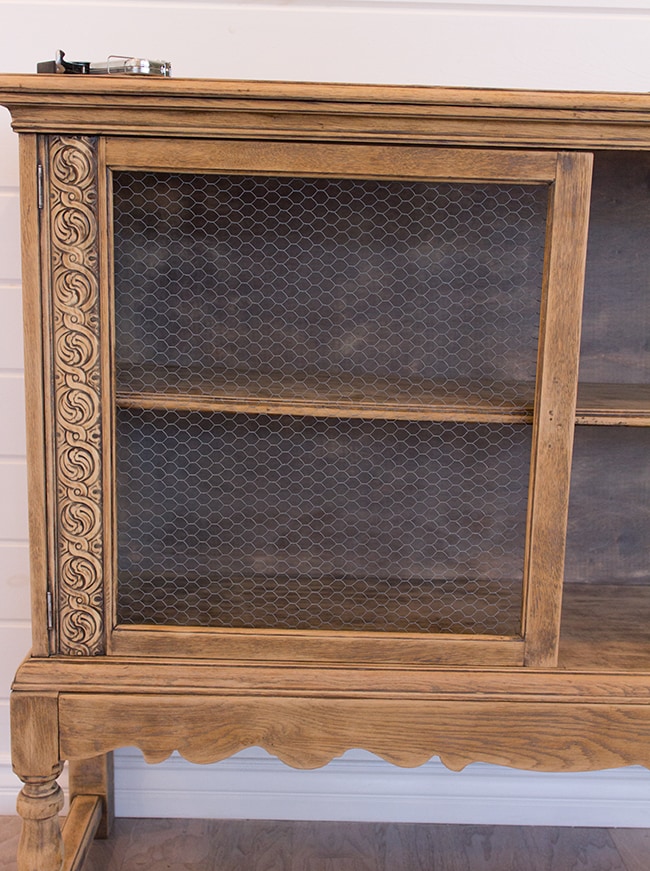
Starting at the top, I used my hand stapler to secure them in place, working my way around the perimeter.
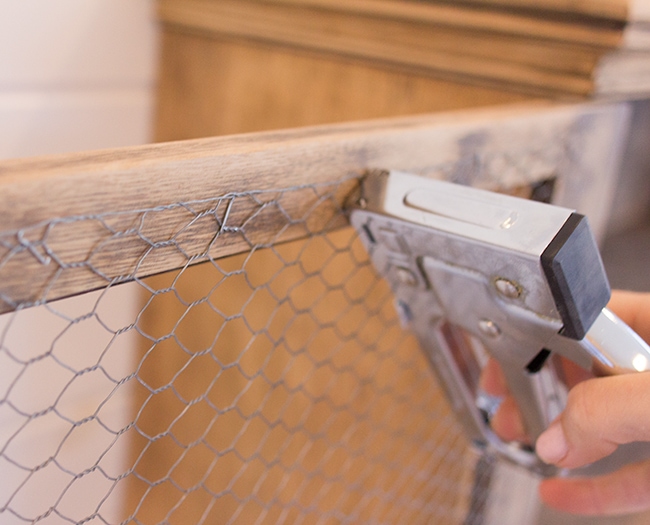
Many times the staples didn’t secure completely against the wire so I had to hammer them down. Soon after, I had this:
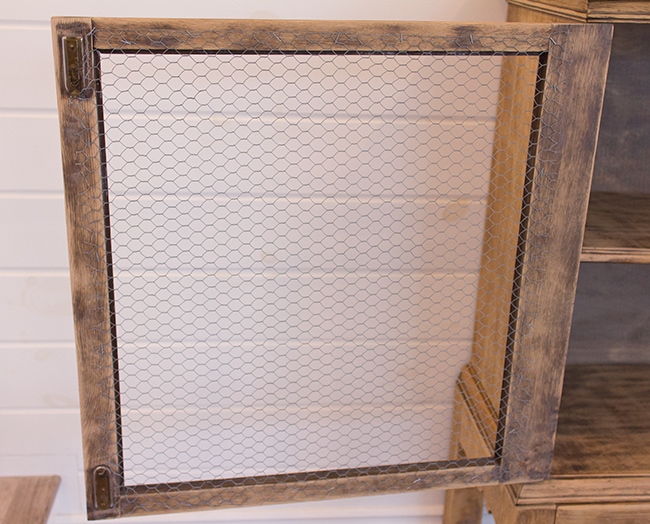
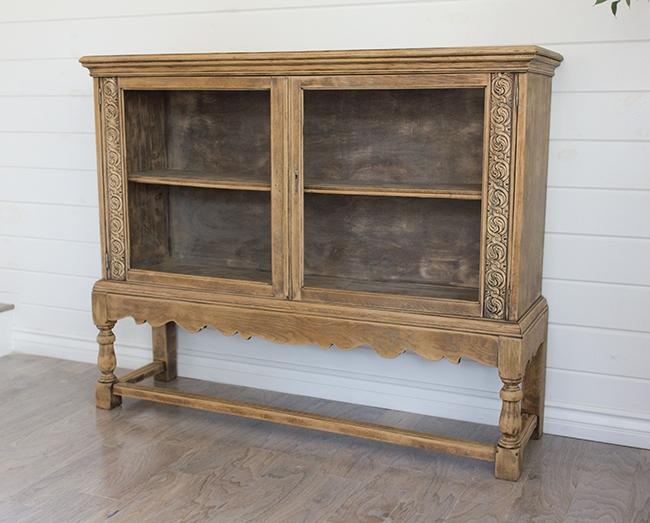
I like how subtle it is. It’s not in your face chicken wire.
Repeat on the other side, and this sideboard is (almost) done!
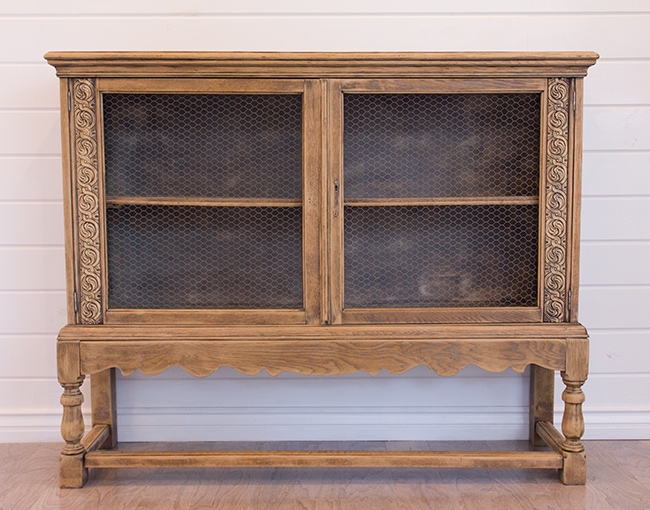
One of the knobs was missing when I bought is so I still need to find replacements. It’s times like these when I miss living near a Hobby Lobby.
I was going to fill it back up and shoot it all finished and styled, but then I started to pull out my fall decorations and decided to rearrange everything, so that’s worthy of it’s own post. I should have a post ready Monday. I promise, it looks a lot more exciting now than it does empty!
Thanks for stopping by… enjoy your weekend and feel free to follow along on instagram for what I’m up to in the meantime 😉


tami says
Hi, was wondering if you know the maker of this cabinet??
Lisa Abrams says
Hey Jenna, I’d love to know if the knots in the pine are showing at all? I have a piece I painted about a year ago and knots are finally starting to show–such a bummer! I’m going to sand and repaint.
jennasuedesign says
Hi Lisa! Just a few knots have lightly bled through in the past few months so it lasted almost a year! But they are so faint and the ceilings are tall so it’s hard to notice them & there’s no need to repaint.
Lisa says
Thanks! I’m going to pick up some PVA primer and try it also.
Sheila says
Thanks so much!
Jenna Sue says
Flea market & Walmart, but I just bought some at Ikea for the best price!
Sheila says
silly question alert. 🙂 Where did you get the pillar candles? I need to get some. Thanks!!
Anonymous says
How did you hide the lag bolts? Wood putty and stain? Or did the tile job cover them? Full of questions today, sorry!
Jenna Sue says
Our handyman installed it! He used several giant lag bolts down at an angle into each stud (and on the far right wall).
Anonymous says
How did you attach the mantel to the wall? Looking to do this myself with a big piece of wood!
Jenna Sue says
Yep, found it locally!
Anonymous says
I love this piece! Is it an antique? Would love to find one like it?!
Lisa {Gracie Blue ~ the Blog} says
Hahaha!! That's what I thought!! Thanks for answering my silly question!! 😉