This morning I slept in until 9am. That’s a good 90 minutes longer than my normal wakeup time, all thanks to a project I just finished yesterday: adding a blackout liner to our bamboo shade.
I love our bamboo shades (we have them both in the kitchen and in our new bedroom—we bought these and they are currently unavailable, but there are lots more on Amazon). They look great, came in a ton of custom sizes and were inexpensive.
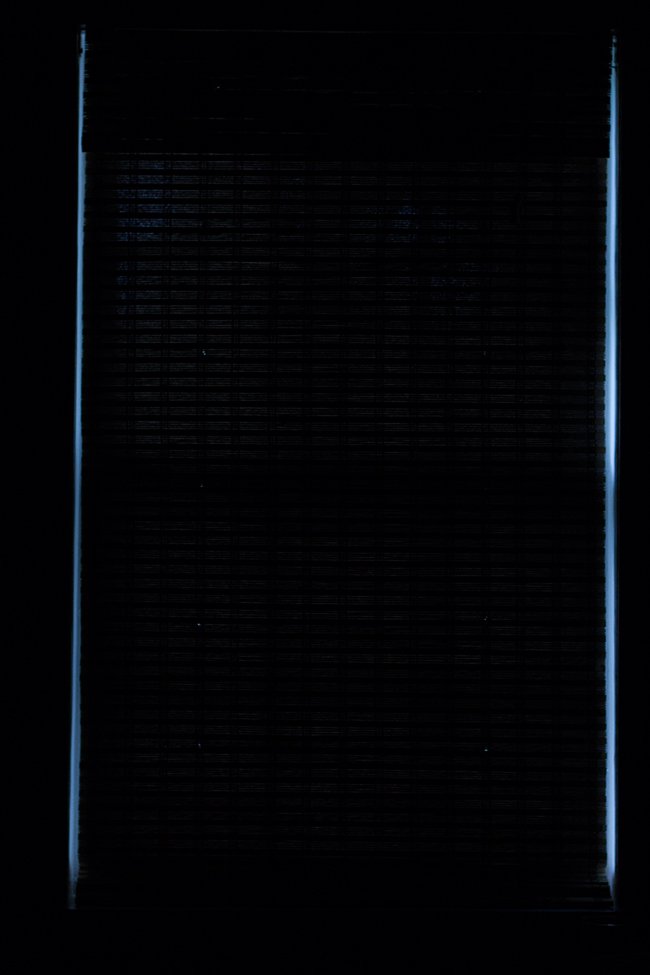
However, they aren’t lined and let a whole lot of light in:

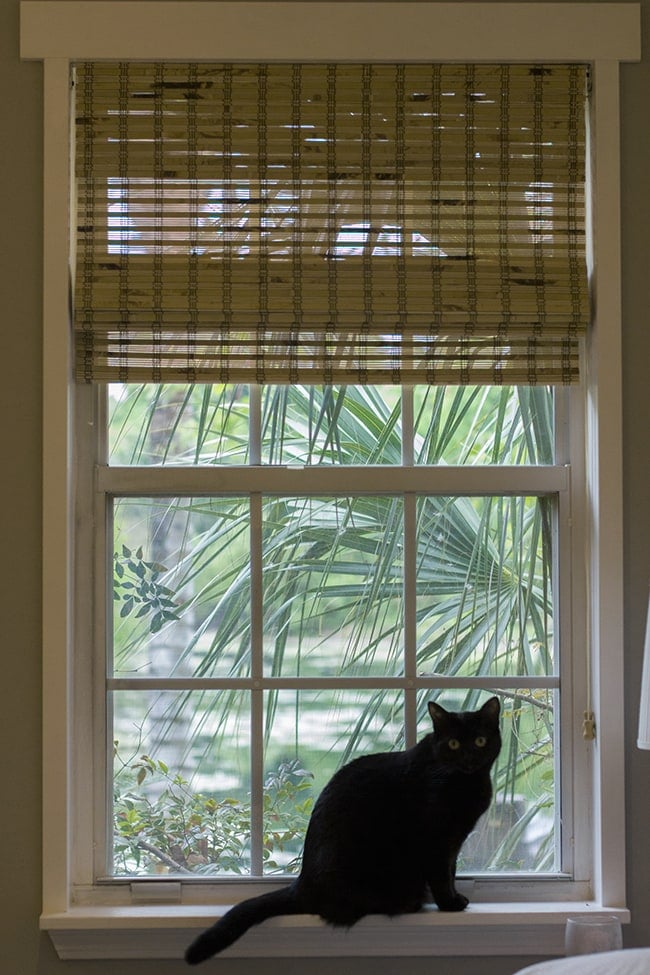
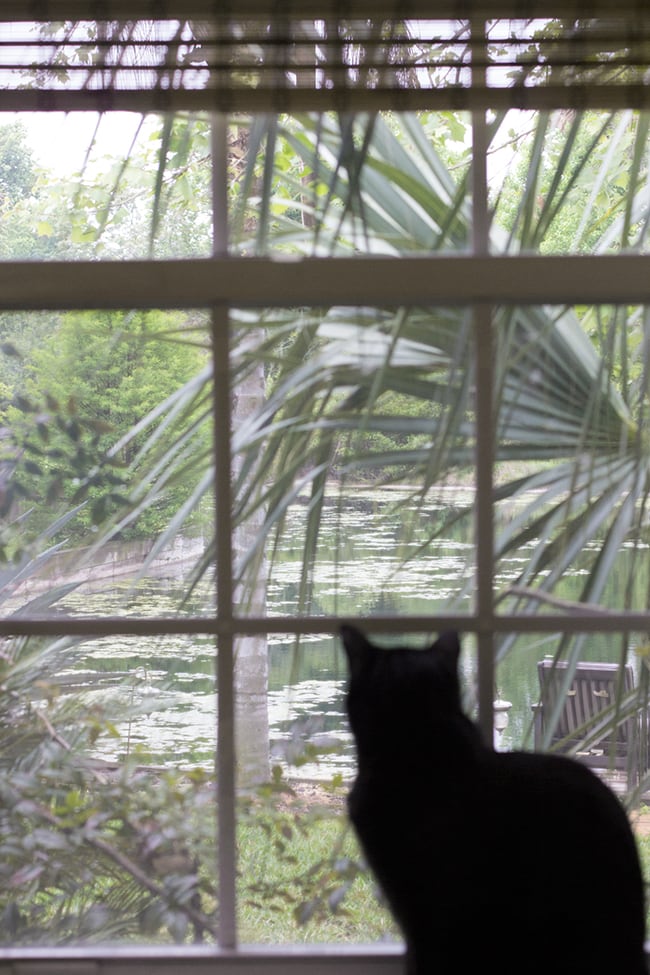
Don’t get me wrong—we love our little lake view (as does Susie)…
But some days I just wanna sleep in. Or take a nap at 2pm. We had blackout curtains in our old bedroom so I wasn’t used to all this light and was getting tired of covering my face with a pillow.
Simple fix: a $10 piece of fabric and some hot glue.
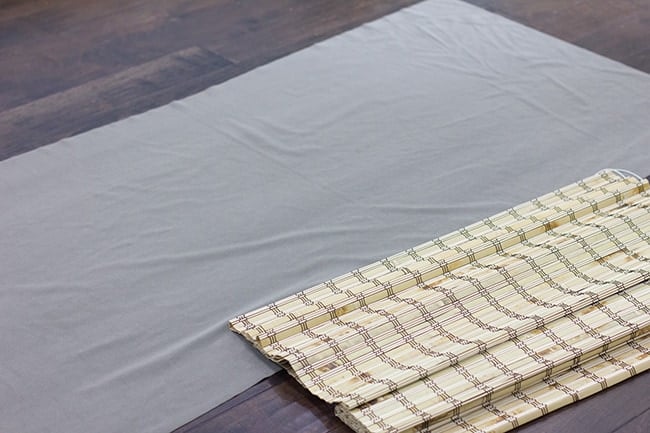
I must have wandered the aisles of JoAnn’s for nearly an hour looking for the perfect liner. I later found that blackout liner exists and can be purchased, but I didn’t see any there—guess I wasn’t looking hard enough?
I finally settled on this velvet-like taupe colored material that I thought would be camouflaged nicely by the bamboo blinds.
Demonstrating its light blocking power…
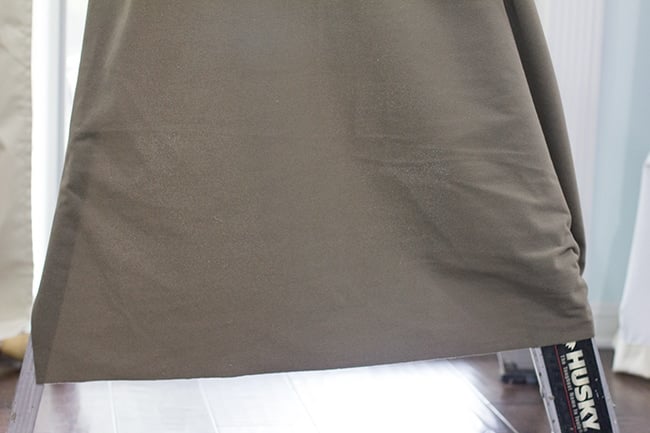
Looks good to me!
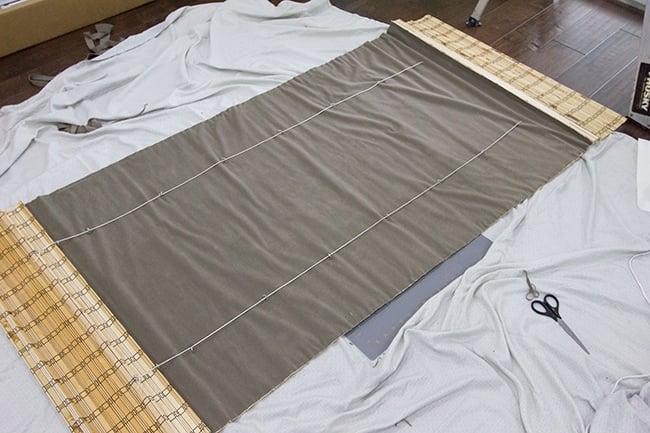
Next I had to trim it to the exact width of the blinds. This was a challenge because it wasn’t really a perfect rectangle—the bamboo slats kept shifting and it was hard to line everything up perfectly.
I used a big ruler, a cutting mat and an Xacto knife and just carefully trimmed, one section at a time…
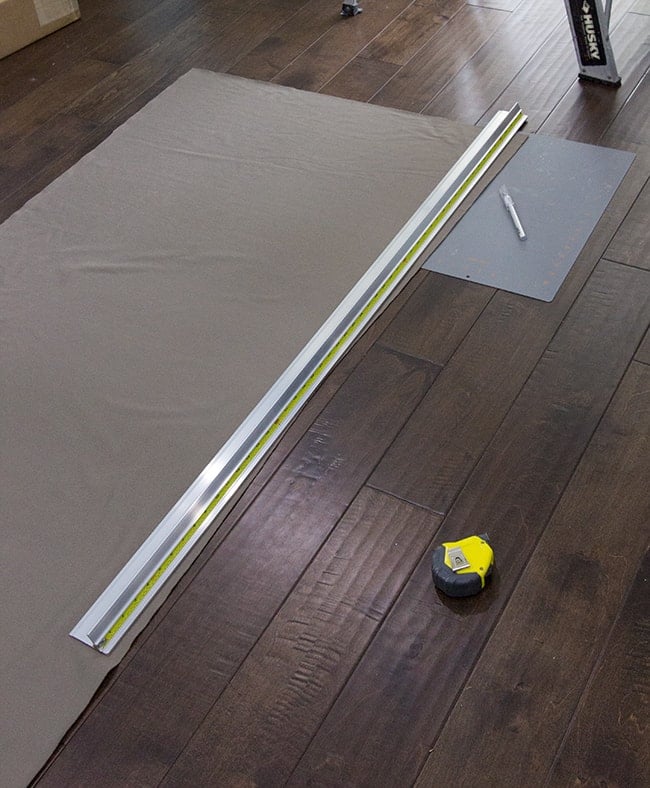
I could have used regular scissors but I didn’t have any sharp enough to cut a smooth line. The Xacto knife paired with some tension on the fabric did the trick.
With trial and error, it was finally cut to size:
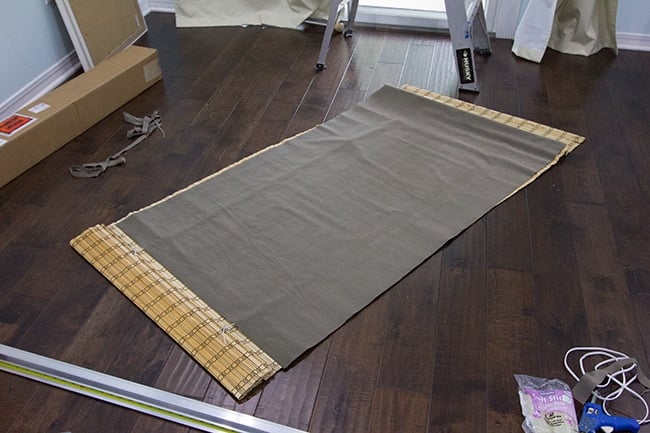
I decided not to run the fabric the entire length of the shades because the window wasn’t tall enough for it to expand all the way, so the bottom of the shade was bunched up and didn’t need liner.
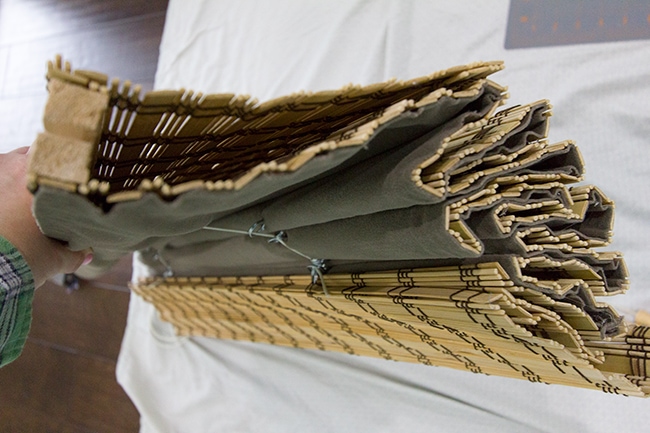
Before attaching the liner, I untied and removed the drawstrings so that they would run on the outside of the liner and it would roll up properly.
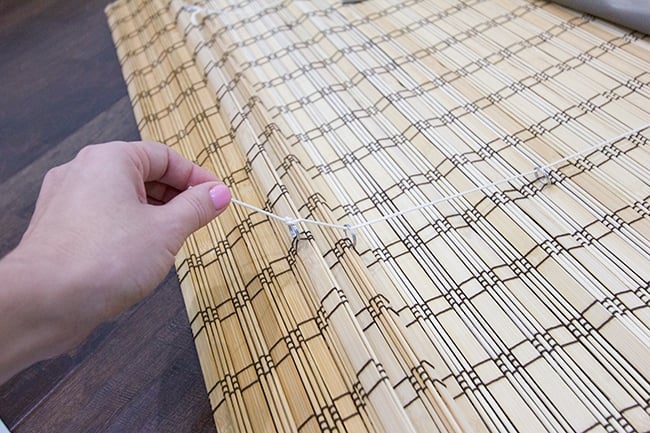
I just had to poke holes where it looped to the back, and then cut slits where the rings were.
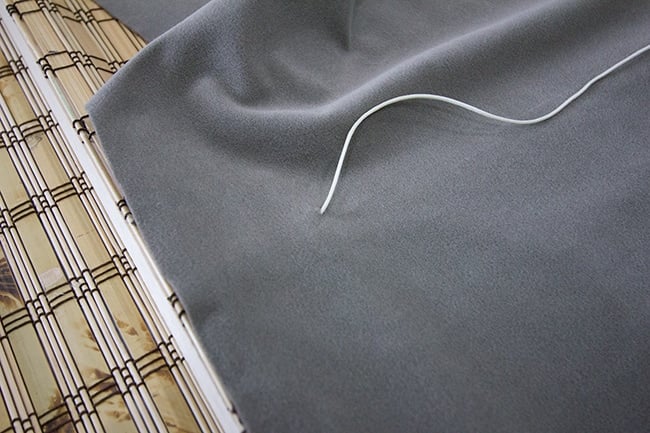
Attaching it was easy—I just placed a dot of hot glue on each of the large slats, right along the edge:

I repeated along the top, on both edges and added a few beads of glue along the center for good measure.
Then I poked the rings through the slits I had made, threaded the string and tied it back to the bottom ring.
Then I held my breath and crossed my fingers…
And it worked! I was a little nervous that the fabric would be too thick for it to roll back up properly, but it was no problem at all.
Check it out now…
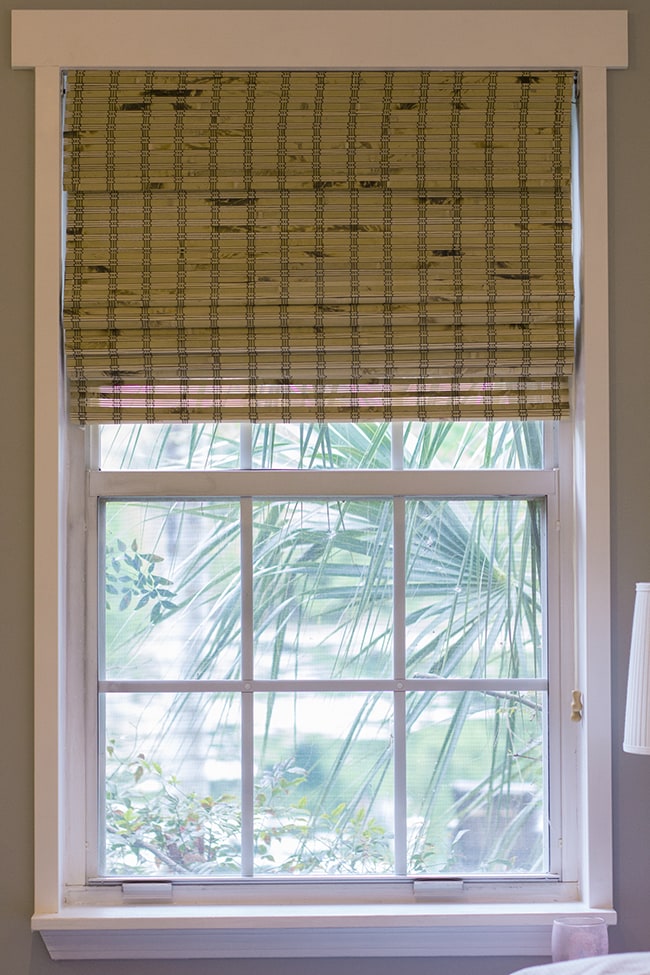
So much better, right?
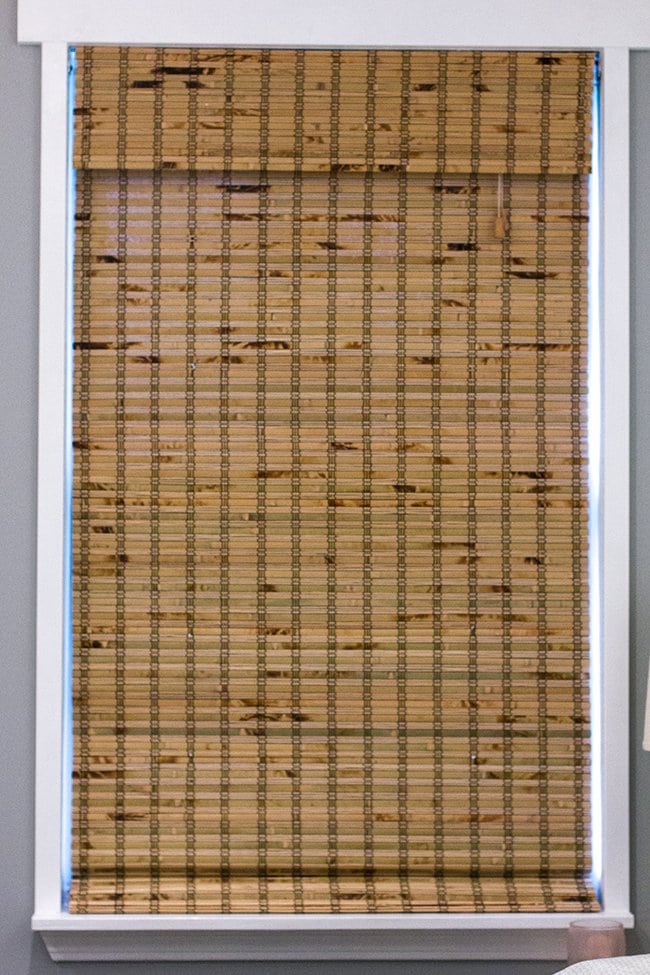
See how dark it is when I turn the lights off?
Success!
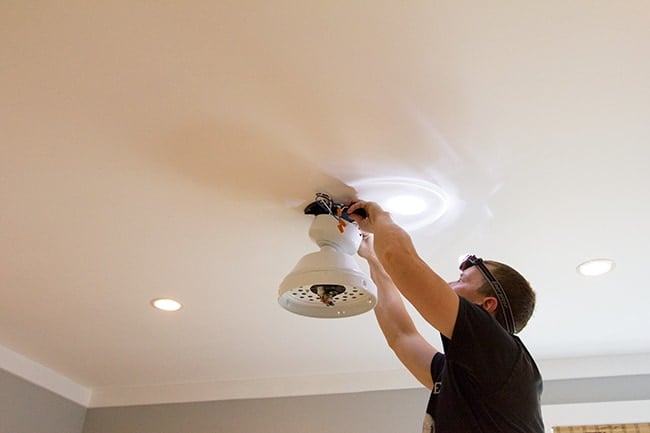
We also decided to remove our center light fixture and swap it out for a ceiling fan.
Flashback to a few weeks ago since this is the best photo of the old fixture I could find…
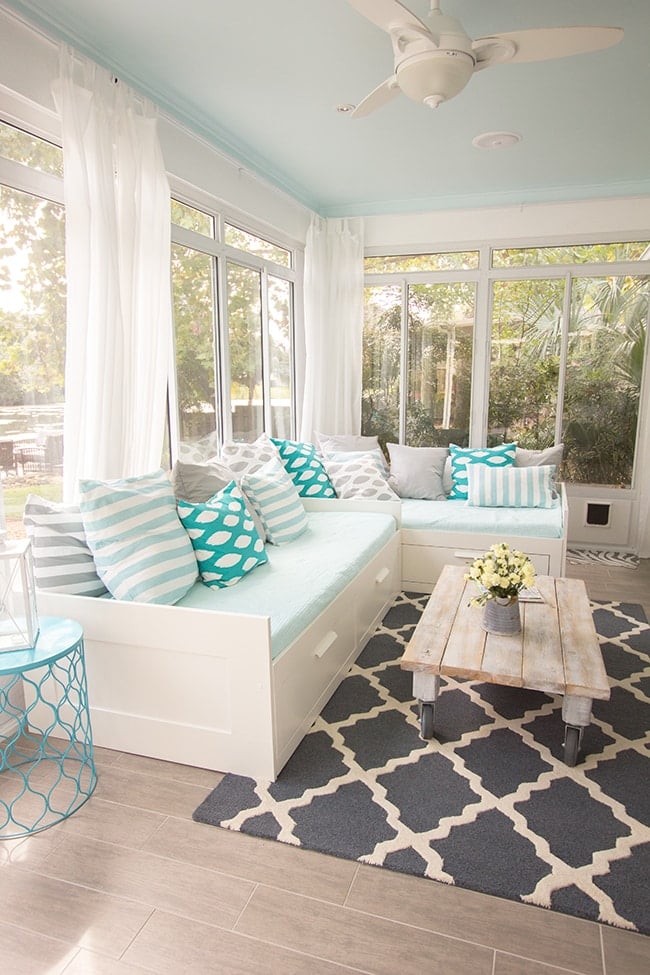
We wanted something small and simple to fit the scale of the room. We love the fan in our sunroom…
So I checked back on Amazon to make sure it was still available, and sure enough, it was! Sold.
We (well, Brad) installed it this morning.
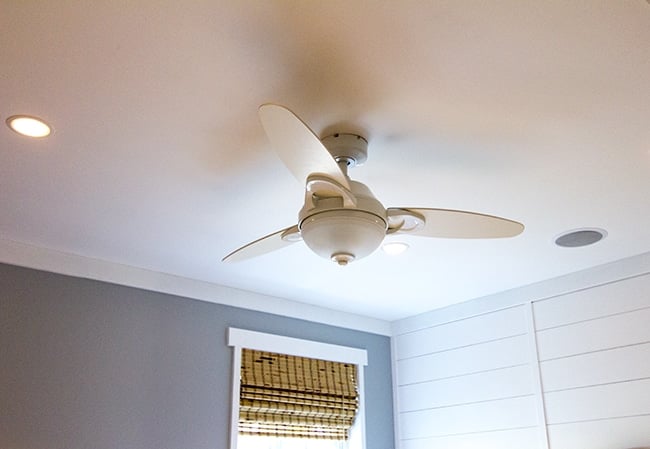
Yay for circulation.
Switching pages here… it’s about time for an office update!
Here it was the last time you saw it:
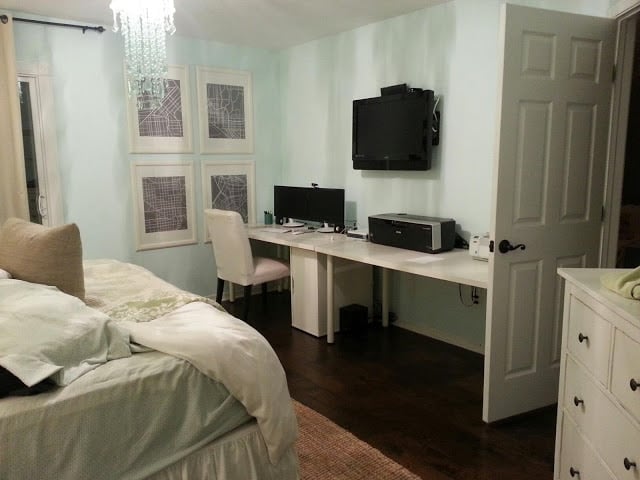
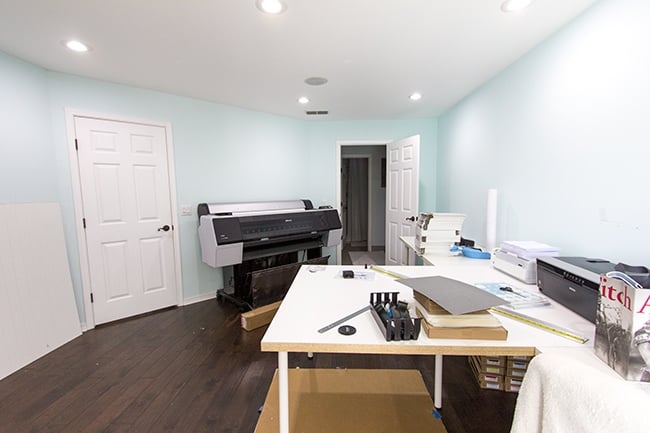
Well guess what? I got myself a little present:
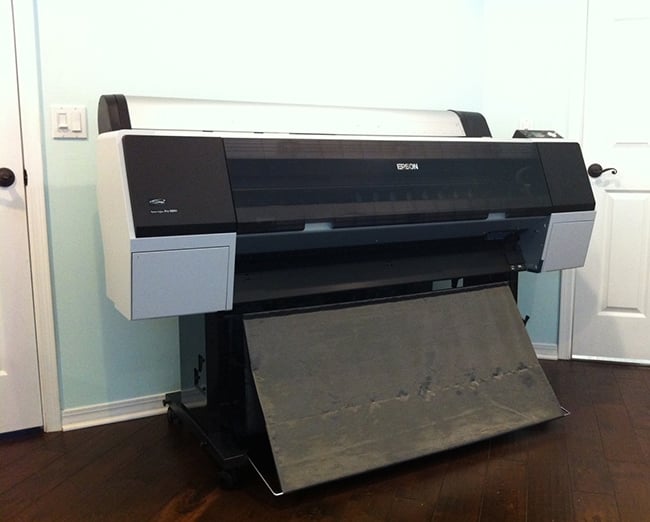
I shouldn’t say little. This thing is massive. And it’s the whole reason for the room switch.
Of course… if you follow me on instagram or facebook you would have known this a while ago 😉
Behold, the awesomeness:
I’m so excited.
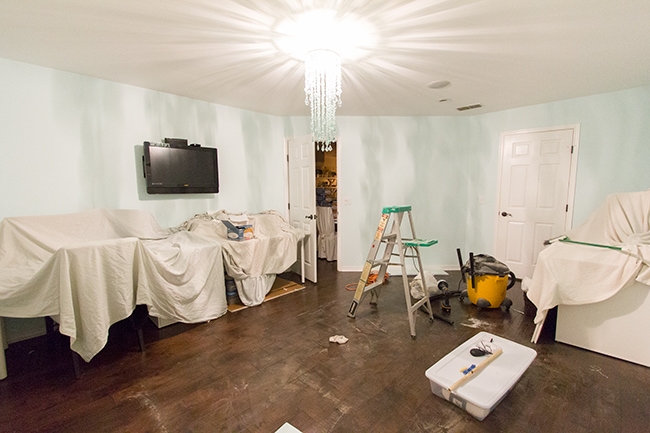
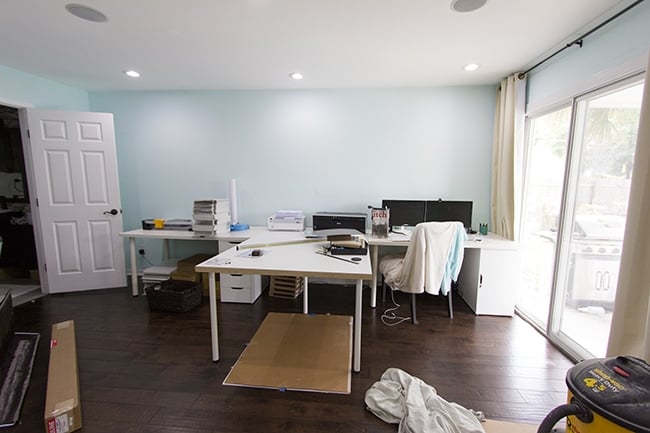
We also set up a temporary workstation… but then we had cover it up so we could do our next project…
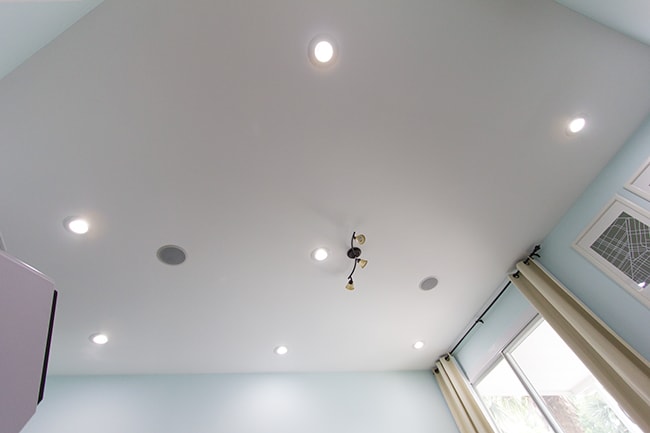
Recessed lighting.
For this project, Brad tried out some new lights:
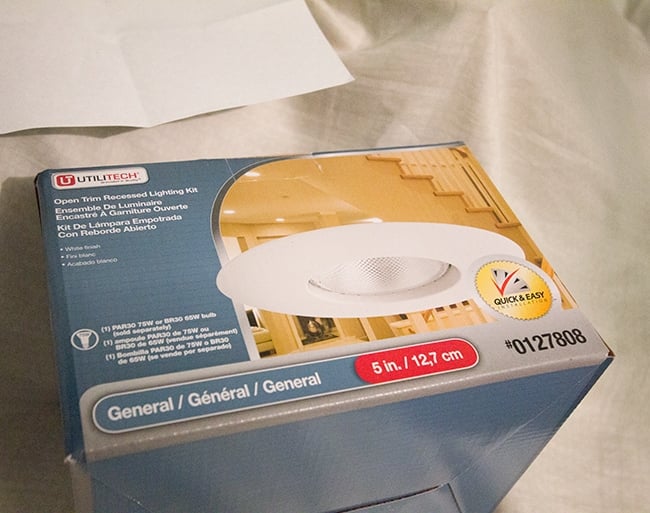
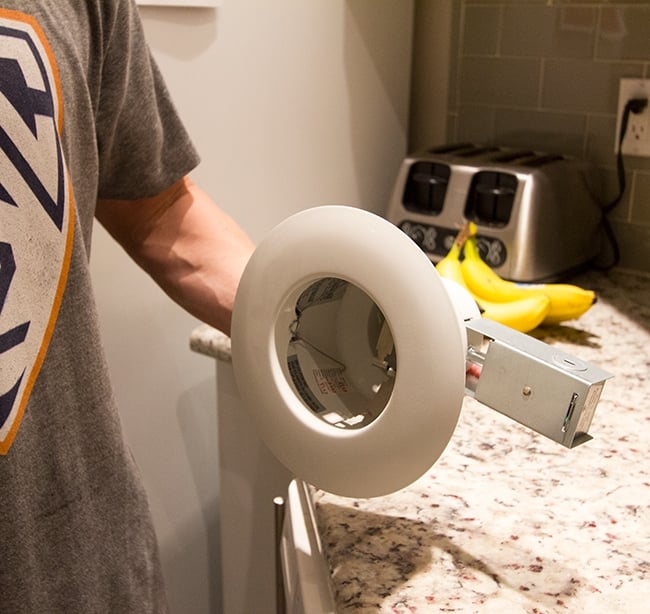
He said it was the easiest recessed light install he’s done and highly recommends these kits.

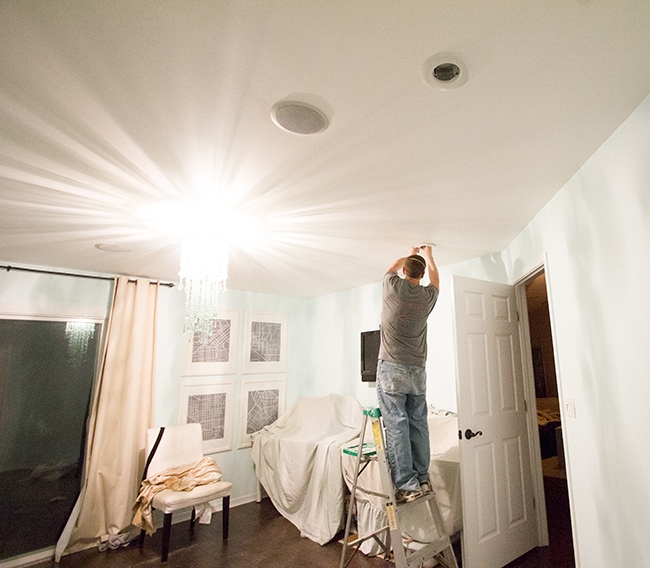
For the bulbs, Brad bought seven 10 watt LED daylight bulbs (the brightest he could find) for $11.88/ea on Amazon.
We decided to remove the chandelier (it would get in the way) and put our old office light fixture back in its place. I can flip it on when I just need a little light for a more cozy work environment.
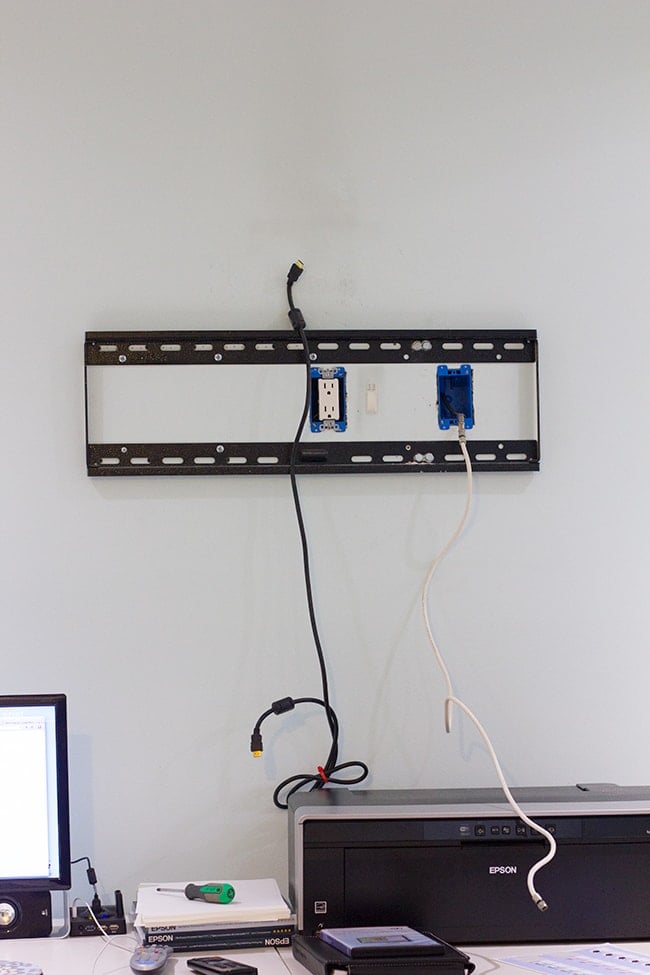
That’s all gone now and we’re going to remove the electrical boxes and patch over the holes since I have other plans for that wall.
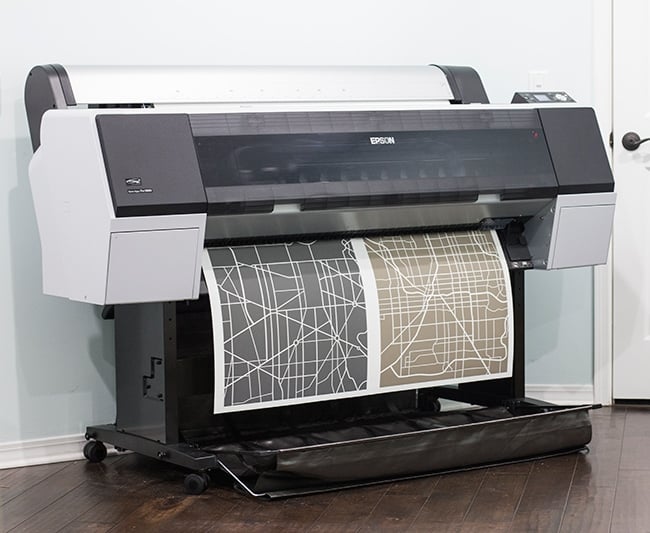
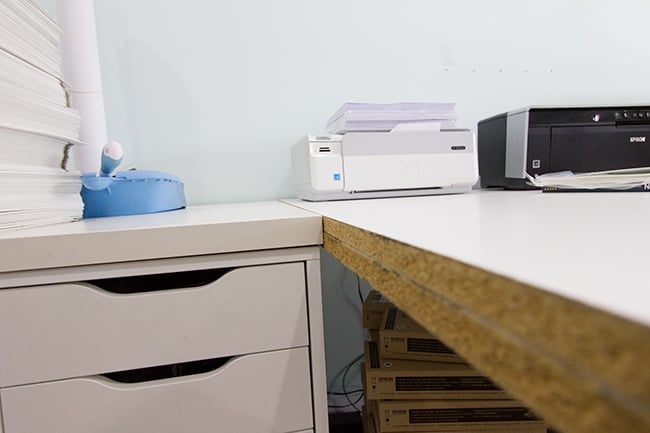
After the lights and new printer were in, we made a trip to Lowe’s to pick up some materials to build a much needed large desk for cutting my big ‘ol posters.
Unfortunately, Ikea didn’t have any wider desks to match my existing setup, but fortunately, Lowe’s had some melamine panels that was a close match to my desk tops. On a recent Ikea trip, I picked up a handful of extra desk legs so that the new desk would be the same height.
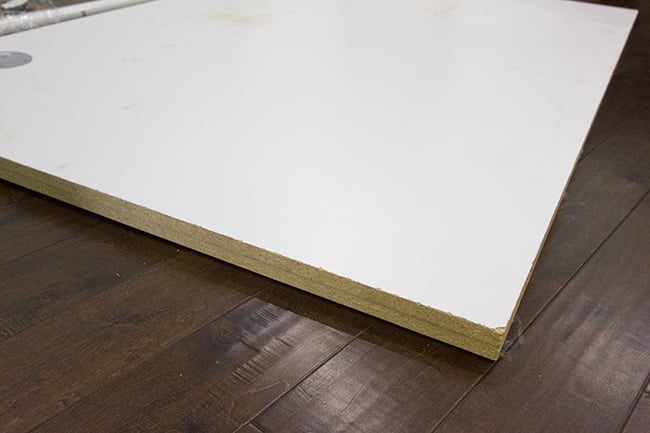
The panels were 4×8 feet and 3/4″ thick. I needed something more substantial so I bought two to stack them. I also had Lowe’s cut them to 4×6′ to work better with my room arrangement.
It was $38/panel, so not exactly cheap, but then again you can’t beat a large custom desk for less than $100.
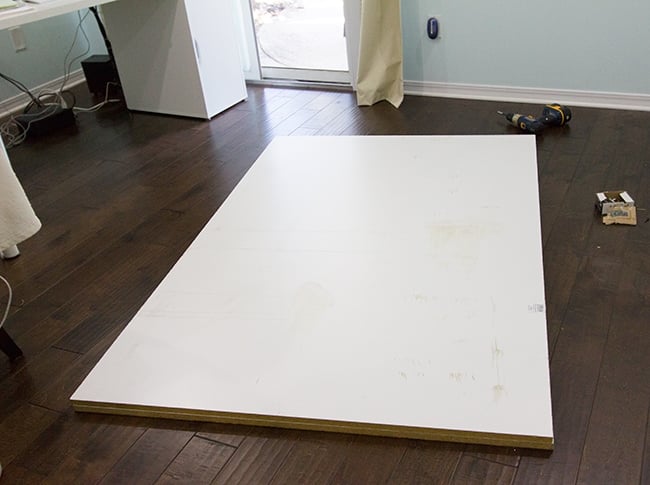
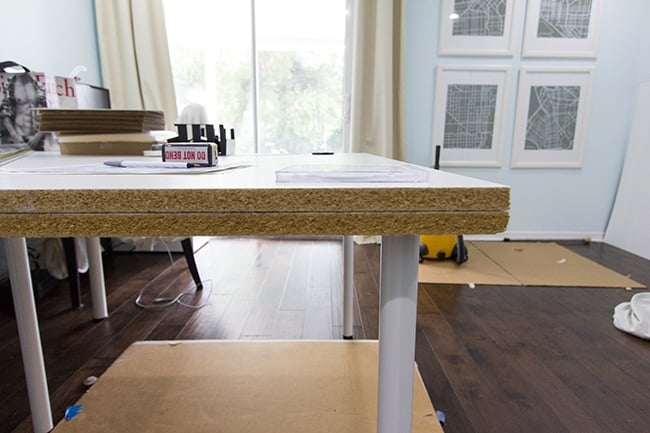
We laid the panels out on the floor and made sure they were aligned:
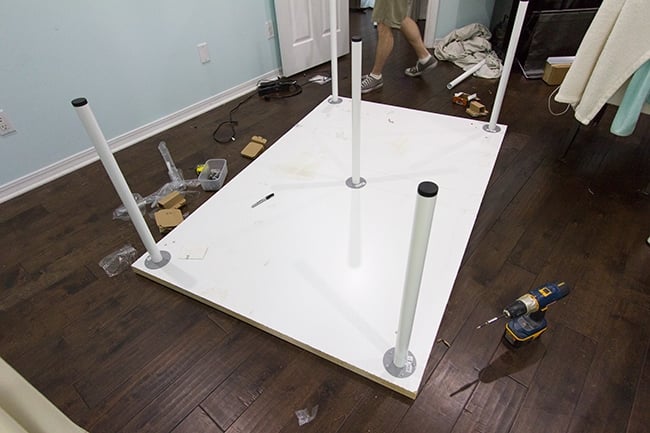
Then Brad installed the legs:

Finally, we inserted some screws that were long enough to grab both boards to hold them together, and it was ready to go:
Everything lined up perfectly! It was meant to be. Lowe’s saves the day.
I still need to pick up some sort of wood edging to conceal the bare sides.
Once that’s done, it should look like a nice custom setup. Oh, and ignore the chaos. It’s going to be like this for a while.
While at Lowe’s, I also picked up something fun for the back wall…
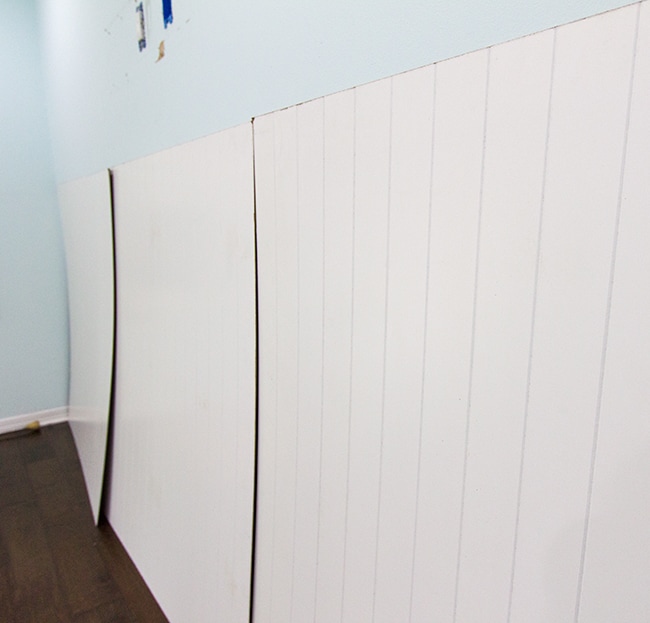
I was going to go with my usual board & batten treatment, but I saw these panels and decided to switch things up.
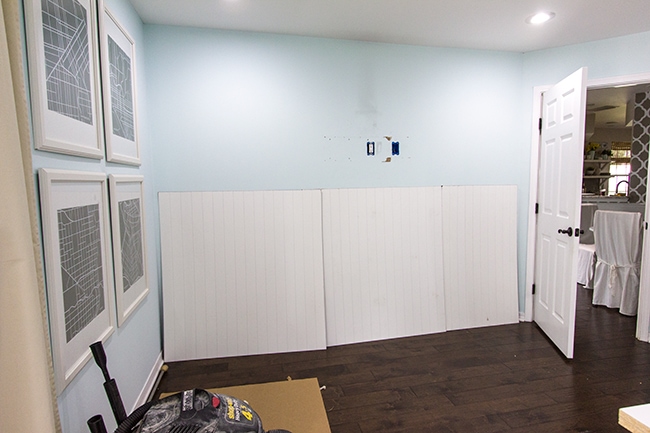
The printer will be relocating to this wall, and I’m going to run trim and a little shelf ledge along the top. I think it will be a nice touch.
That is my project for next week, so hopefully it will be completed by next Sunday!
I’ll have to leave you all in anticipation until then…


Don Droga says
Nice job. Looks like I’ll finally have to get a hot glue gun.
Katie - creativeblinds.com says
Ahh, nice tricks. The blackout shade liner curtains seems perfect. That is something anyone can do to get a better privacy inside. I believe you can sleep much better now.
Blind Concepts says
What a brilliant idea for a blackout shade! Rolled up or rolled down, it’s just perfect for that window!
Lisa Z says
I recently came across this post and took on the bamboo shade project. Thank you so much for the directions! They came out great and I don’t think I would’ve attempted if I hadn’t seen yours.
Rachel says
Definitely need some blackout blinds this at the moment now that the mornings are getting brighter so I might try this- thanks for sharing!
Amy B says
Love the black out liners! I am going to do this for my dining room to keep the heat from the sun out during the summer!
Anonymous says
Hi There, I'm wondering how the shade liner has held up after a year? I'm putting some in my house & if I order the shades with the liner its more than twice the price so I'd like to do it myself. The windows are large 59 x 70. I'd love your input.
Zachary Martin says
Glad to know that your DIY blackout shade liner helped cover the light coming in to your room and provided you with a little more time to sleep. Anyway, thanks too in sharing the progress of your new office.
Jenna Sue says
Thanks for all the helpful info, Allison!
Allison Blackford says
JS- Thank you for posting about your bamboo blinds! I had been meaning to add a liner to ours so the neighbors wouldn't be able to see into our living room at night. Eesh- 3 years later and we finally have privacy.
I had 3 windows to deal with and think I perfected my technique by the last one-
– I didn't cut my fabric until the end, since you said you had such trouble with it.
Instead, I aligned the top and left side of the fabric with my blind.
– Then, I glued across the top and alternated gluing the left and right side until I came to the first ring. I found that the fabric laid flat if I smoothed my way down and cut slits for the rings along the way. (I repeated this step until I had cut my last slit and finished gluing at the bottom.)
– I made glue dots about an inch away from the edge, so I was able to cut excess fabric off the right side of the blind at the end.
I didn't end up gluing in the middle, since the glue dots would be visible (from outdoors) through the liner.
Also, when buying fabric, I had to ask for help, so I'm glad you had given a head's up that fabric liners exist. There were a bunch tucked into the cutting station's shelf, and I never would have looked there.
Again, thanks for posting about your projects, and I hope this feedback will help anyone else who plans to line their bamboo blinds!
James Alson says
Its really a informative blog about DIY blackout shade liner curtains for New office progress and the blackout shade liner curtains looks beautiful.
Jenna Sue says
Ah… I haven't updated my Florida House page yet since the new rug! The rug on that page is from Ikea, but the new rug is from Rugs USA: https://www.rugsusa.com/rugsusa/rugs/rugs-usa-moroccan-trellis/blue-grey/200MTVS27E-508.html
Hope this helps!
Callie says
Whew you've been busy! Nice work with the blinds, those are so classy and the blackout feature really adds to their functionality.
I was wondering, is the sunroom rug from Ikea? I think that's what your source list says but it doesn't look familiar. I've been looking for something similar, it's so pretty!
Kate says
Hi Jenna Sue,
Your office is really starting to come together. I love it!
Joann's does indeed have the blackout fabric. It is usually in with the Home Decor fabric and vinyl on the gigantic rolls, not on regular bolts. At least that is how it is at the Joann's near me. Hope that helps for the next time you need blackout fabric.
Pine Tree Home says
You are on the move! Glad to see all that great gained space for your new to you office.