I have some exciting news to kick off this week! I’ve been working with Wayfair on a video series called Inspiration Insiders, where each Monday a new video will be released on their YouTube channel covering a range of design & decorating topics. The series will run for eight weeks and I’ll be sharing new inspiration from party hosting to room refreshes and styling tips, along with a handful of other bloggers.
This new venture has been so much fun for me and the timing couldn’t be more perfect as I focus more on video. It’s also a great opportunity to stay busy with DIY and decorating projects now that the house is finished.
Today the first video was posted, and it’s a quick introduction to my home and design style. The upcoming videos will focus on a specific topic, and they’ll be accompanied with more in depth blog posts.
This is just the beginning, friends, and there’s more big news to share over the coming months. Thanks for coming along on this crazy ride with me!
Now, onto the tutorial…
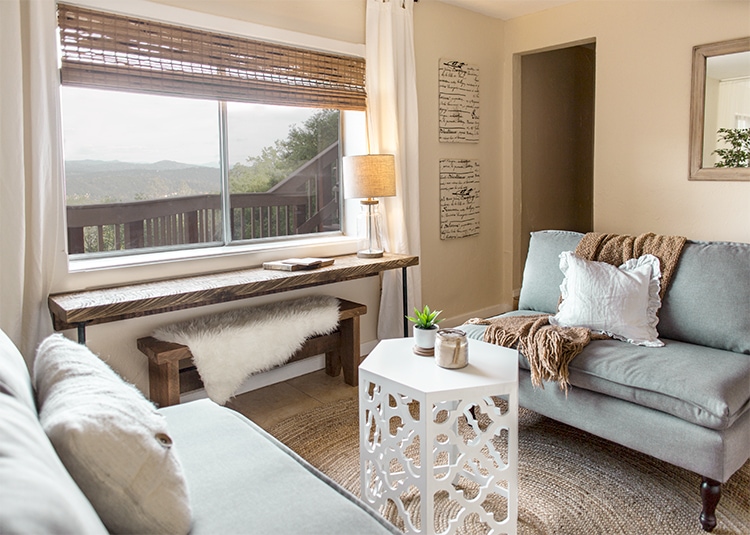
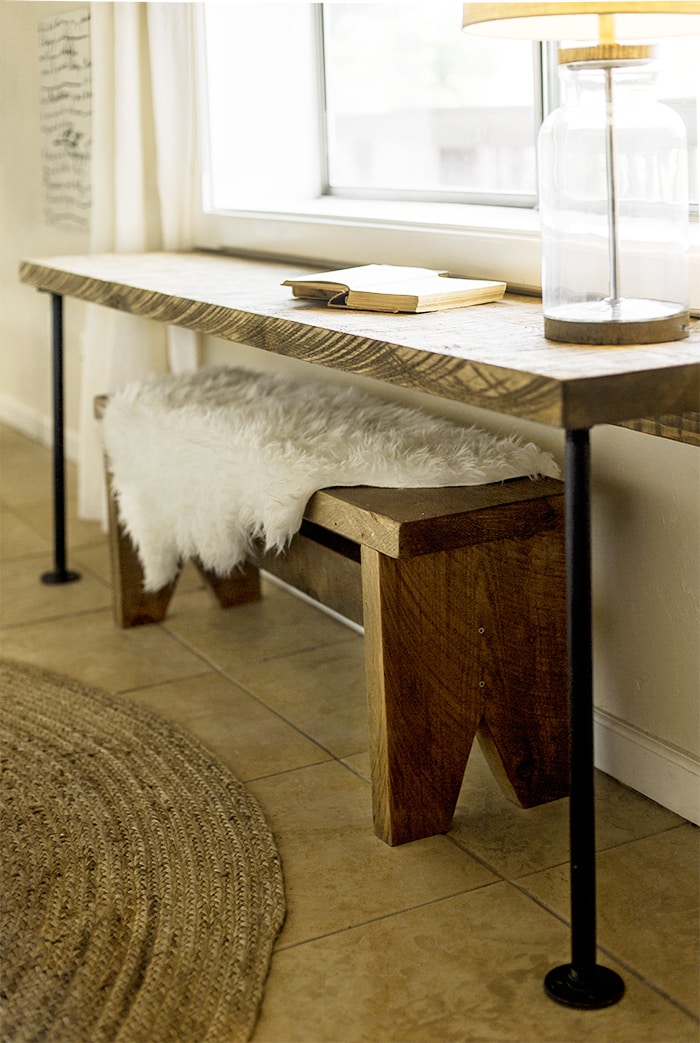
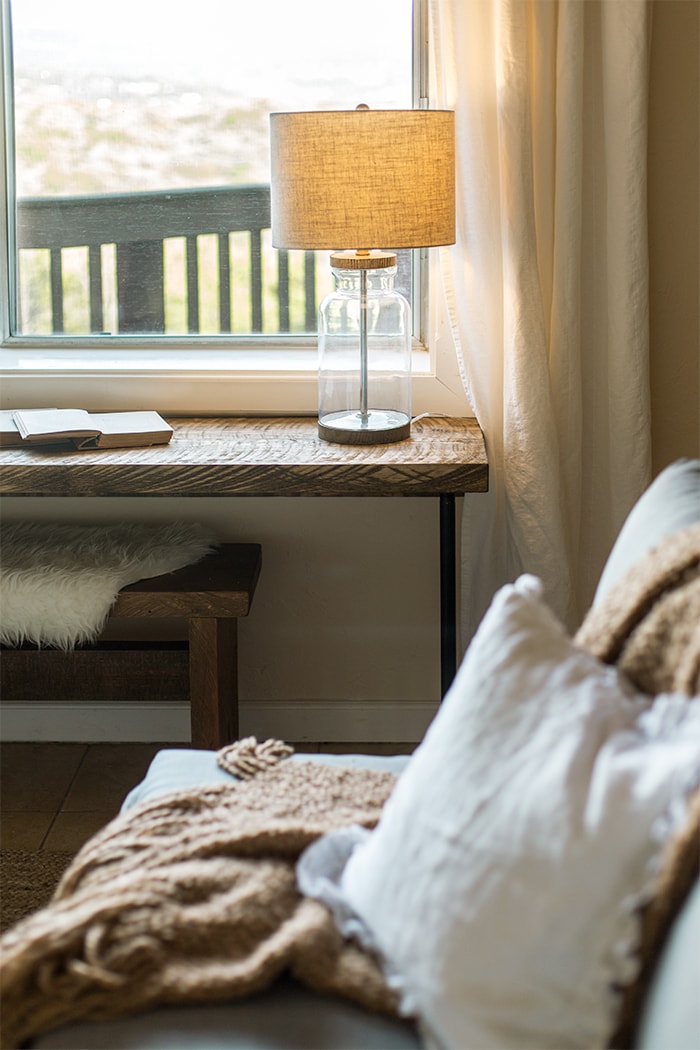
You may remember spotting this desk and bench in my downstairs reveal post:
You also might recall watching me build them in Vlog Episode 10, which I’ve pulled some screen shots from for this tutorial.
After coming up with a design plan for the sitting area, it was missing one important element that is required in all of my rooms—natural wood!
I decided that a narrow desk and bench under the big window would be a nice addition to provide both function and style. I wanted thick/substantial boards to work with and old, aged wood for character so I skipped Lowe’s and went straight to the local lumber yard.
There was acres of boards to choose from, and I selected two 8″ x 7′ boards for the desk top, a couple 2×4’s for the wall brace and bench cross piece, and a single 11.5″ x 7′ board for the bench.
Can you believe all of that beautiful wood cost only $40? My frequent shopper discount didn’t hurt, of course…
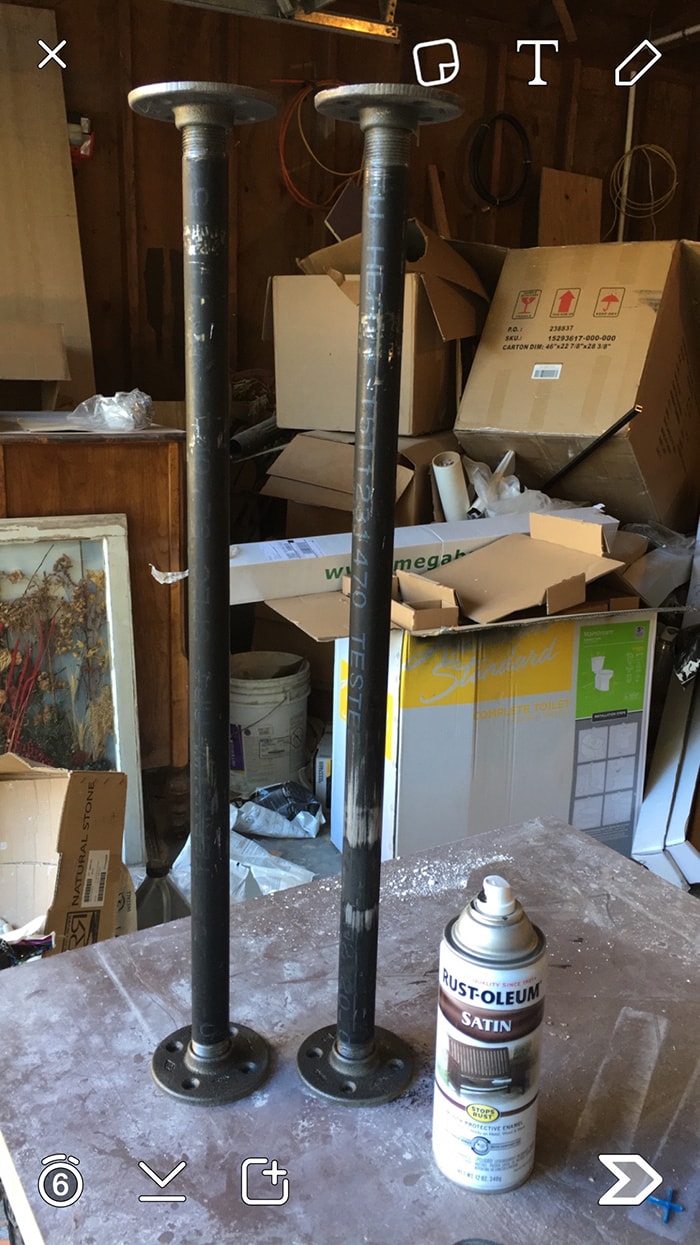
I wanted to try something new for the legs and have always loved the look of metal piping, so I headed to Lowe’s and chose a 3/4″ x 60″ black pipe for $16, along with four flanges (this was cheaper than buying two smaller pipes).
The associate cut the pipe down to two 25″ pieces and threaded the ends for me.
While the metal is painted black, there was also labels and surface scuffs & scratches, so I gave them a few light coats of black spray paint in satin for a cleaner look.
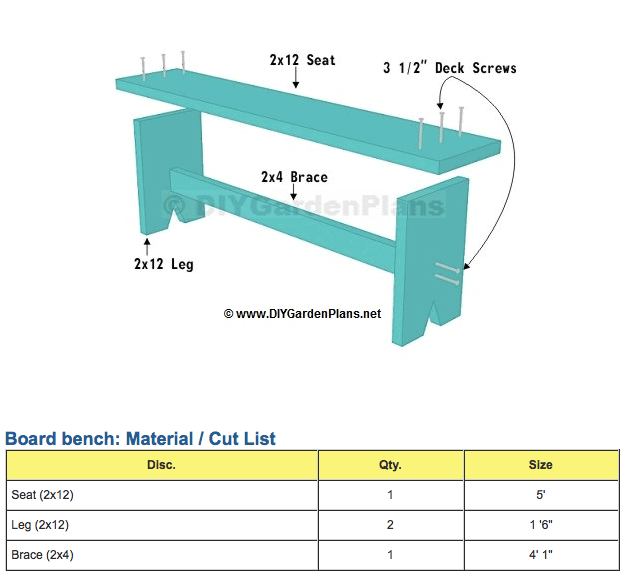
The desk build was super simple—I used a miter saw to cut my desk boards to the exact width of the window/trim (78″) and set them to the side. For the bench, I found these plans:
I modified them slightly by making my bench 4′ instead of 5′, but everything was also really straight forward. Since the 11.5″ width was too large for my sliding miter saw, I had to make two cuts by flipping it over and realigning the blade:
For the sides, I measured and traced a V-shape like so:

Then I used my jigsaw to cut out the triangles. Doesn’t have to be exactly perfect as they will get sanded down and stained to where it blends in with the rest of the imperfect nature of the wood.
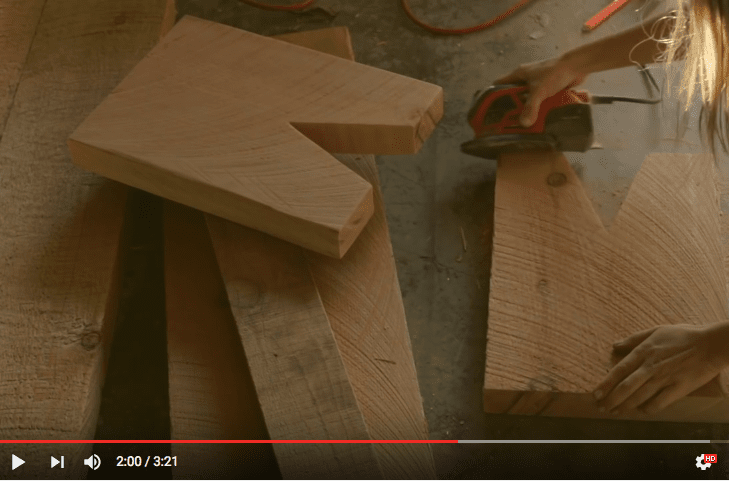
Once my pieces were cut, I used my trusty mouse sander along the edges…
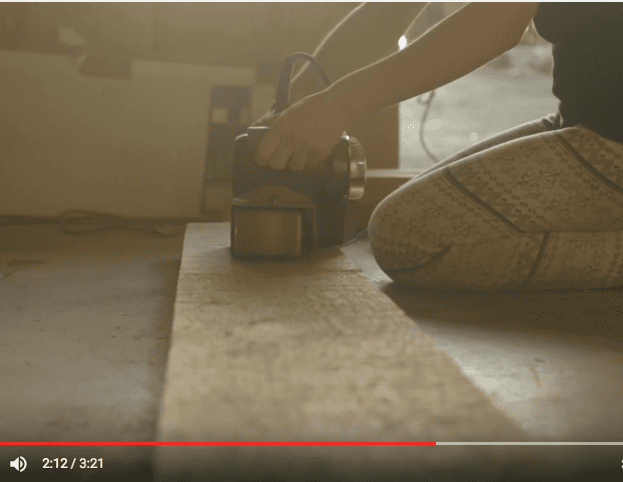
And a belt sander to smooth down the flat surfaces, since this wood was very rough and splintery.
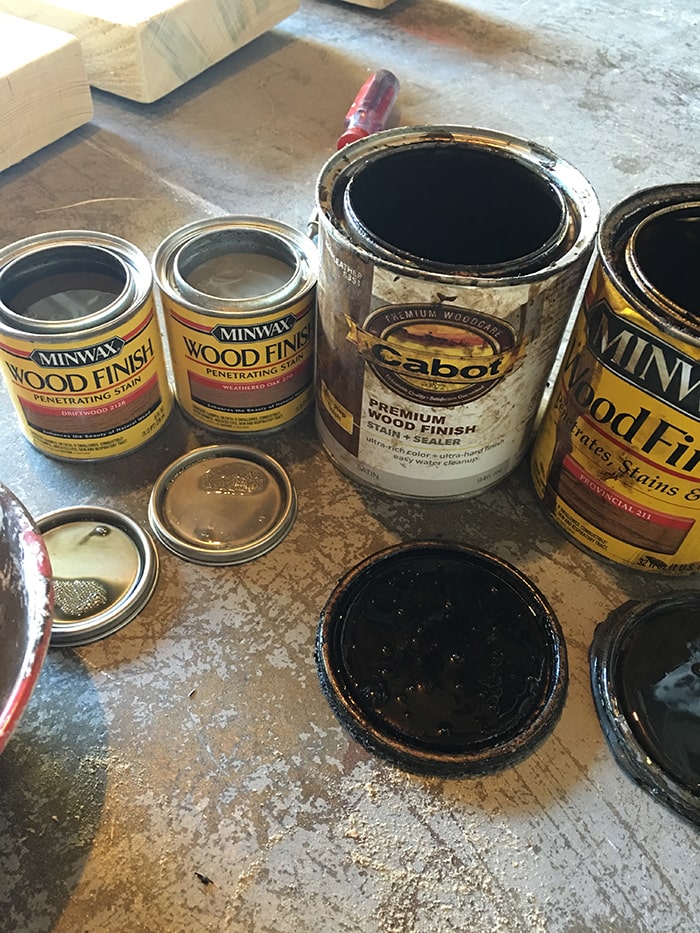
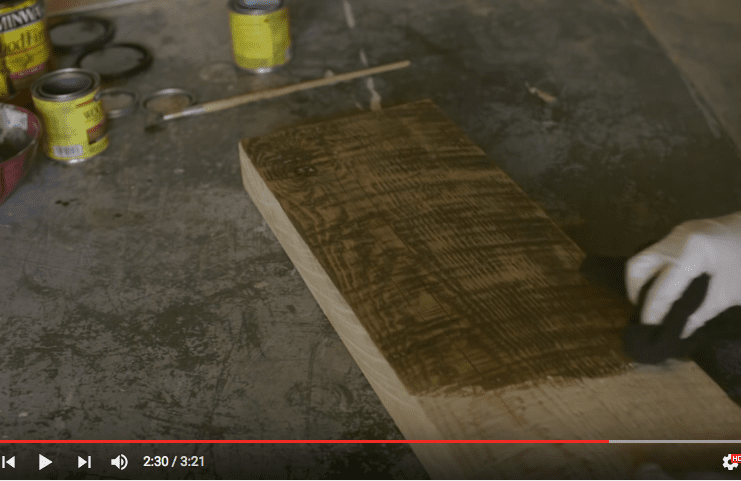
To bring out the saw marks and give the wood a richer finish, I pulled out my collection of stains in various colors…
I always experiment during this part because each different type of wood produces different results, so I can’t give you an exact formula. It was a little bit of everything until I found the coloring I liked.
After the pieces were stained and had time to dry, they were ready for assembly!
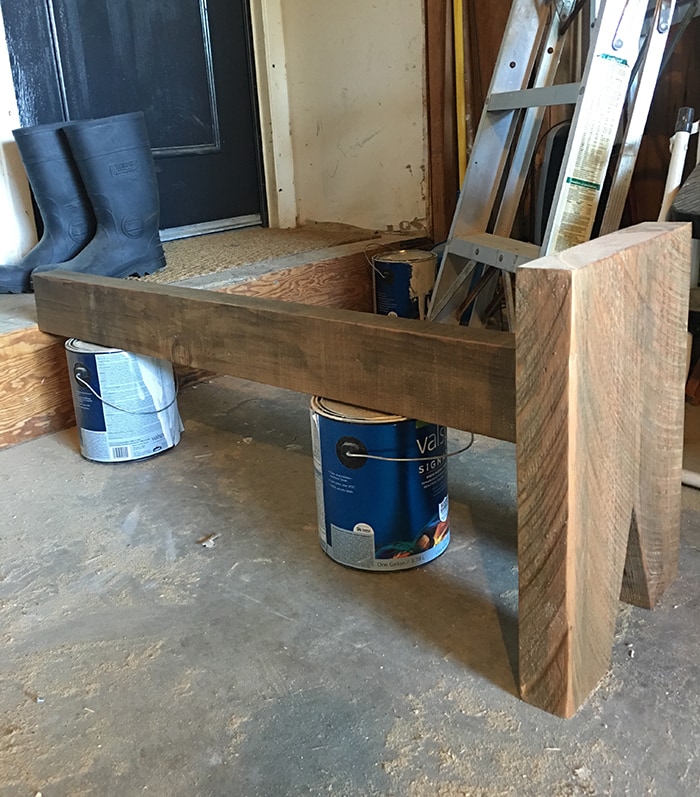
For the bench, I propped the center 2×4″ on a couple paint cans up against a step, and lined up the first side piece:
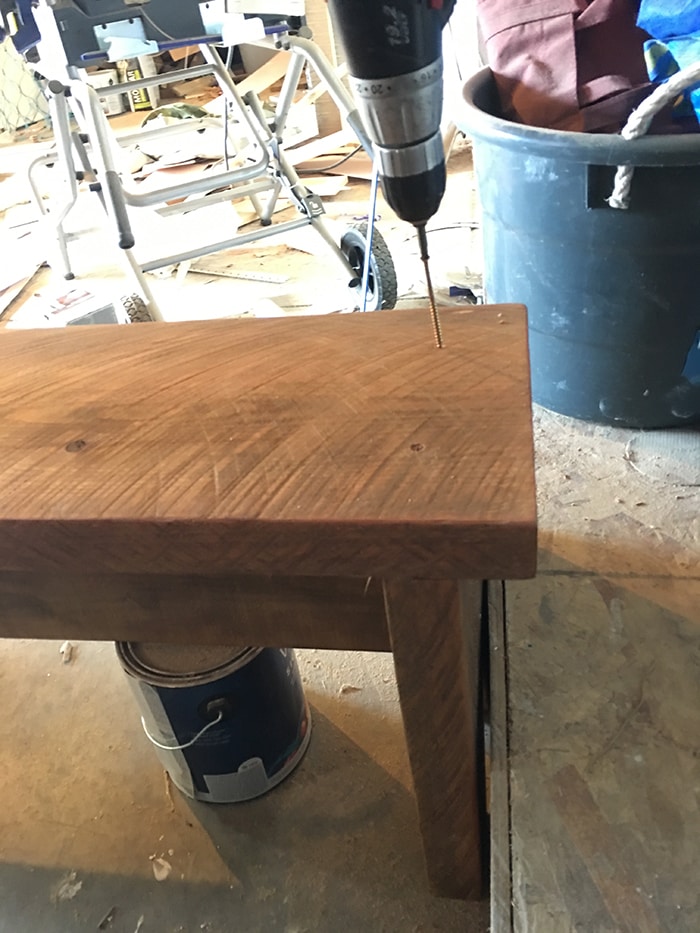
Using wood glue, I drilled two 3.5″ screws into the side. I didn’t bother counter sinking, filling the holes and staining it since it’s hardly noticeable anyway.
I spun the bench around, repeating the process for the second side, then inserted two more screws on each side for the top.
All done—hardest part over!
Next I brought all of the wood downstairs and began working on the desk.
Since I only used two front legs, the back needed to be supported by a wall brace. I wanted the desk to nestle up right to the bottom of the window trim so I had to carefully measure to leave the right size gap above the top of my 2×4.
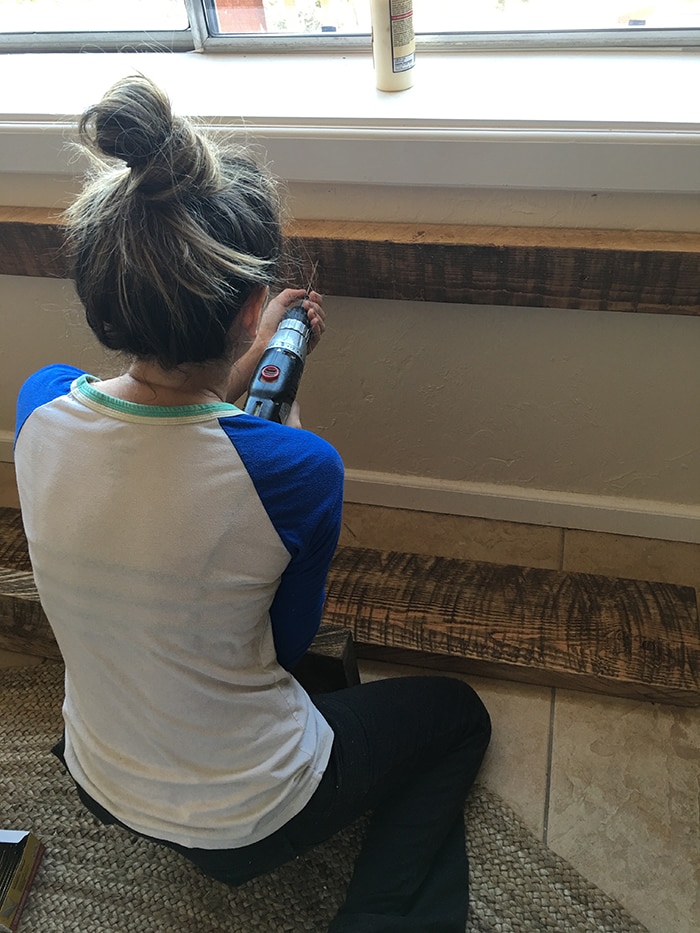
Then I had to find the studs, which proved to be near impossible. Usually my stud finder is relatively accurate but my readings were all over the place, so I ended up inserting 10+ screws to hit just a few of the studs.
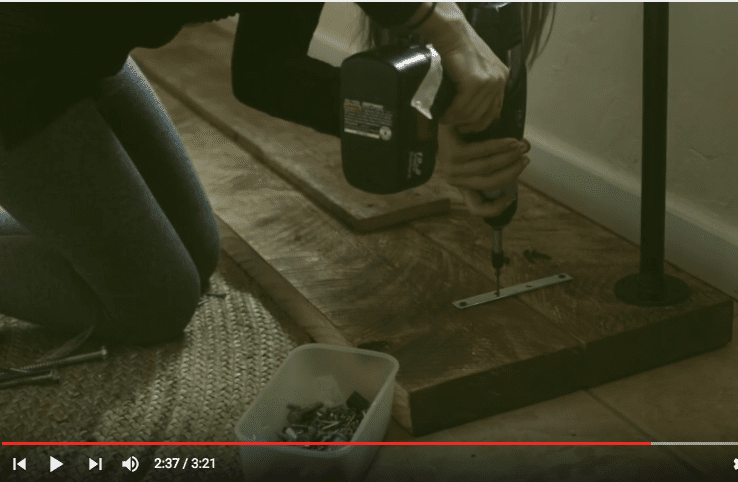
Once the board was in place, I aligned my top boards and used a scrap piece of wood down the center to attach them, along with a metal bracket on each side for extra support.
I also screwed each leg to the wood through the flanges.
Then it was just a matter of lifting the desk assembly and sliding it into place!
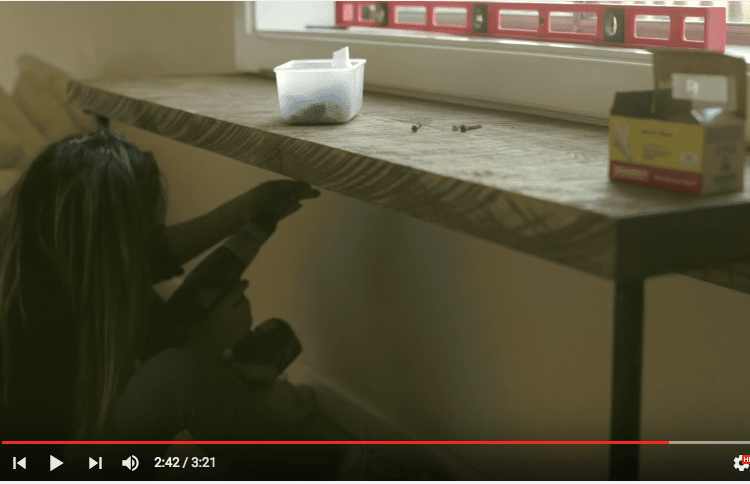
For stability, I drilled long screws from underneath, into both the brace and the wood top. This thing is solid and not going anywhere!
The bench was topped with a sheepskin rug from Ikea to break up all the wood and soften the space.
They might be one of my favorite things in the room…
Another weekend project crossed off the list!
Between the wood, pipe and flanges, screws and stain, both pieces ended up totaling around $120—not bad for a custom setup with tons of character, right?
Next week I have yet another DIY furniture project to share along with a video tutorial courtesy of Wayfair. Spoiler alert: it involves a $5 thrift store bookcase, lime paint, wallpaper, and one of the most unrecognizable facelifts I’ve done to date.
If you’re following me on snapchat @ jennasuedesign, you’ve already seen a glimpse of the before and after and I’ll be showing behind the scenes look at more upcoming projects throughout the week. And of course I’m still posting on instagram and facebook, so reach out to me there as well or in the comments and let me know what you think of today’s tutorial!
Wishing you a very happy first week of May,












Sarah says
This looks great! The whole house is awesome! Congrats on your new relationship with Wayfair. What an amazing opportunity! Best of luck.
Nicole says
Ok, so I know you said its an experament with the stain BUT do you have any experience with using multiple stain colors? I have been planning a project where I’d like the saw marks to be deeper blackish but the overall wood to be a warmer tone, similar to the finish on Pottery Barn’s Benchwright table in the alfresco brown finish. And im so so nervous to put the money in and the time to build and then ruin it with stain. Im thinkig of doing the lighter color all over and then perhaps using a gel stain to paint in the grooves and edges for the darker color so i have more control!
jennasuedesign says
Yes, I used a few different colors on this piece. There was no specific formula or approach though and every wood is different, I’d just test it out on a part that won’t be seen if you are concerned. Hope this helps!
Ashley @ Lets Live Y'all says
Love the use of the pipes for legs. Spray painting them was a genius idea to get them to be s tad bit more refined. Congrats on Wayfair! I’ve been following you since the start of the Florida house, your so talented & you deserve it!
Pam says
Congrats on latest project with way fair! Your very talented! Glad it’s getting showcased more!
jennasuedesign says
Thanks Pam! <3