Ready for the easiest project ever?
I was at a loss when it came to what I should use for a coffee table for our sunroom.
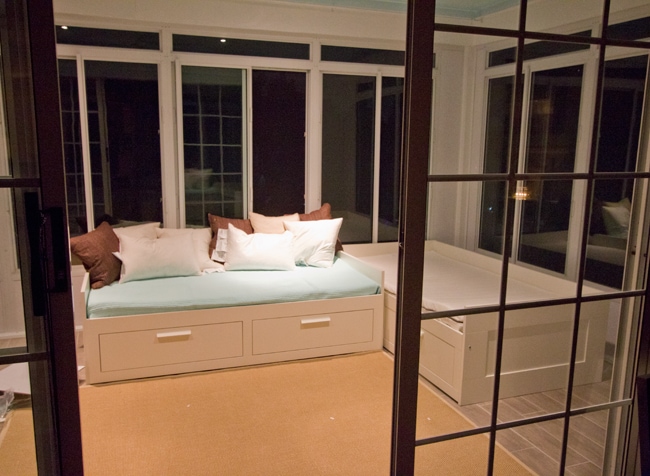
Here is the space I had to work with…
I didn’t want anything too big or in the way, and something portable/moveable was important as I was picturing game nights with people scattered across the room who would need easy access.
At first I was going to use two of these:
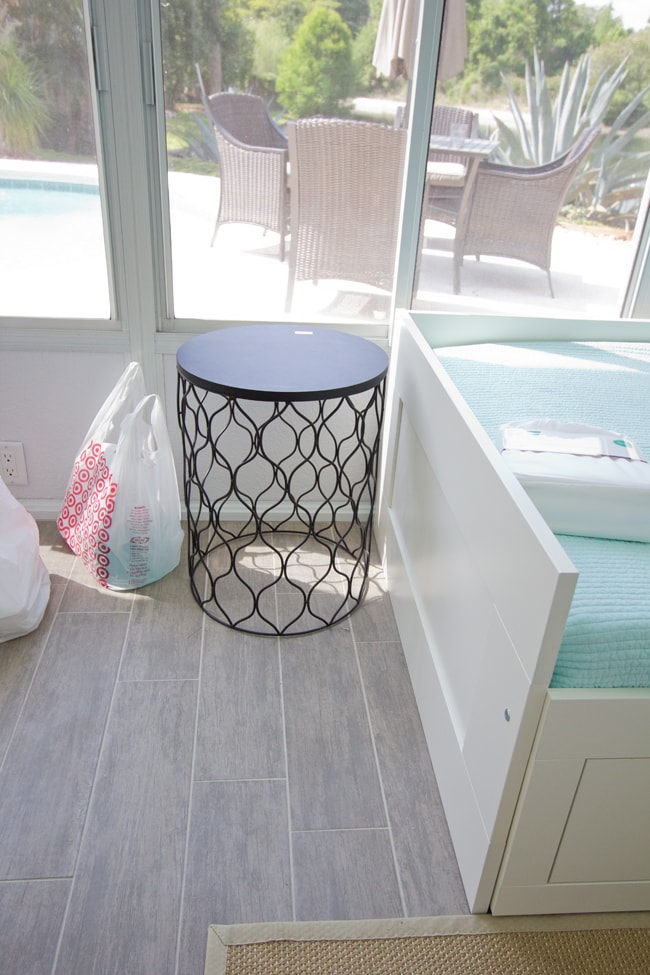
Then I realized how small they were, and opted for one as a side table instead.
Then I hopped on pinterest and found this:
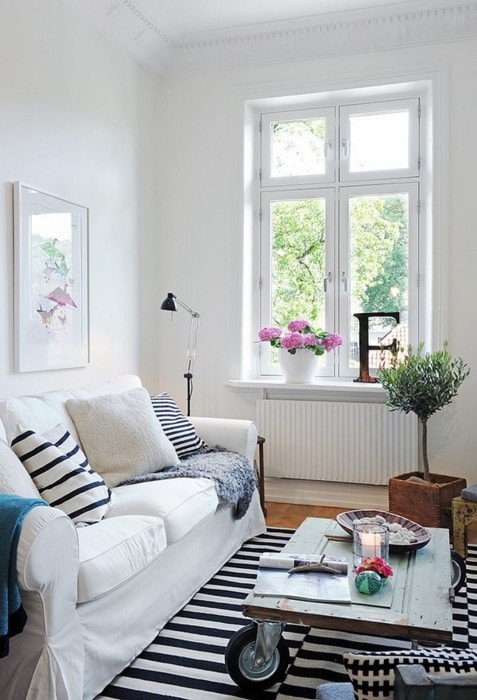 |
| Source |
…and I fell madly in love. My search was over.
That particular coffee table was made from an old door, which isn’t the easiest thing to stumble upon here… so I remembered another pin I had bookmarked:
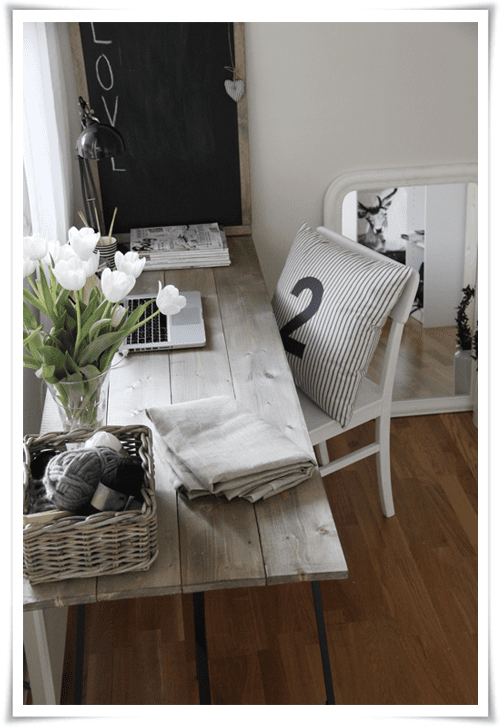 |
| Source |
and I decided I’d recreate the look for the top.
Off to Lowe’s I went to gather my materials.
I grabbed four casters ($10/ea), had five 2×6 whiteboards cut to 4 feet long, and a piece of 3′ x (just under) 4′ plywood. Total cost: $70.
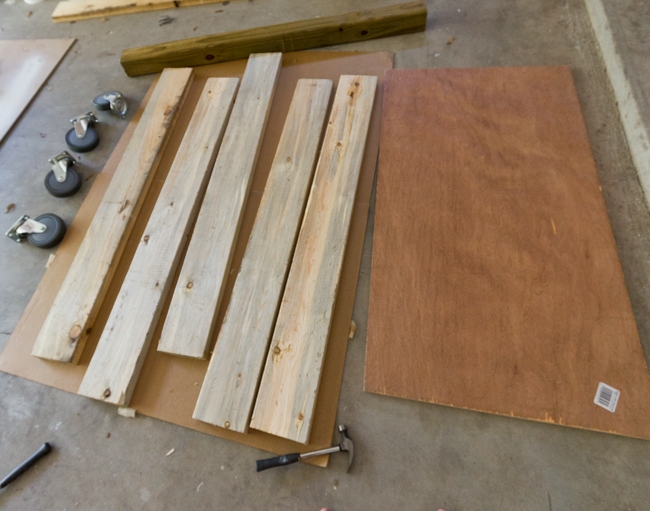
After doing some measuring, I realized the table would be a bit low for my liking, so I grabbed a leftover 4×4 post we had from our deck project to use as legs.
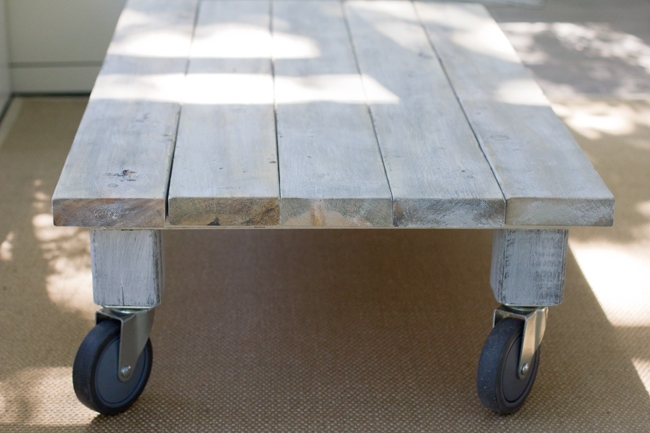
After cutting the legs, I added a bit of stain (Minwax’s Ebony, as always) to the wood.
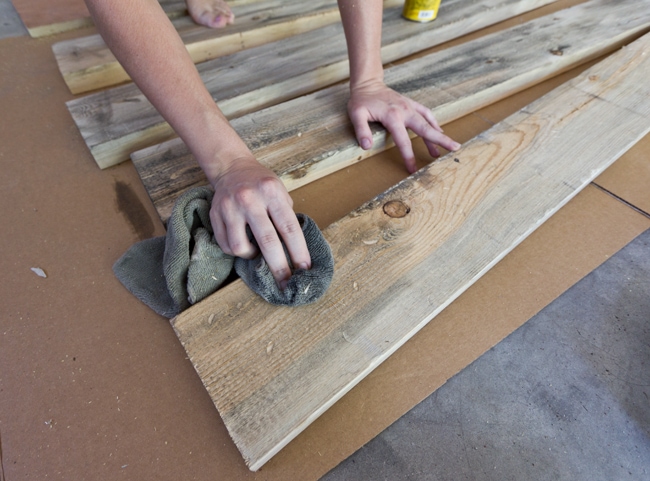
I almost considered skipping this step, because much of this wood was naturally a soft grey color which is what I was aiming for. I never even knew this type of wood existed… but it’s only in the 2″ thick wood section. I’ll be shopping in in that area lot more now!
After a light coat of stain…
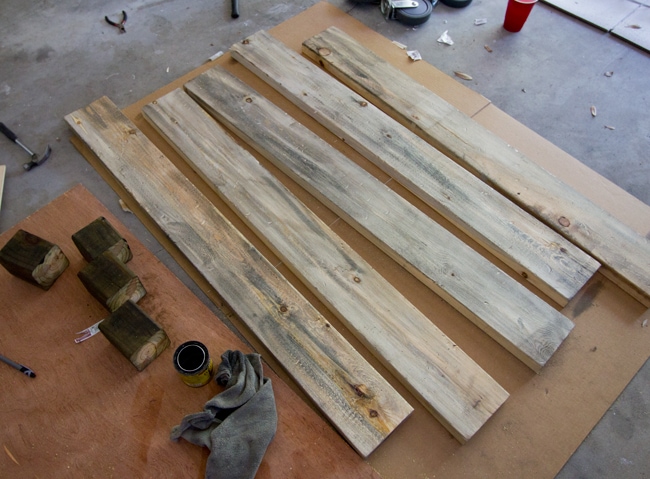
I brushed a light coat of plain white paint on everything and let it dry:
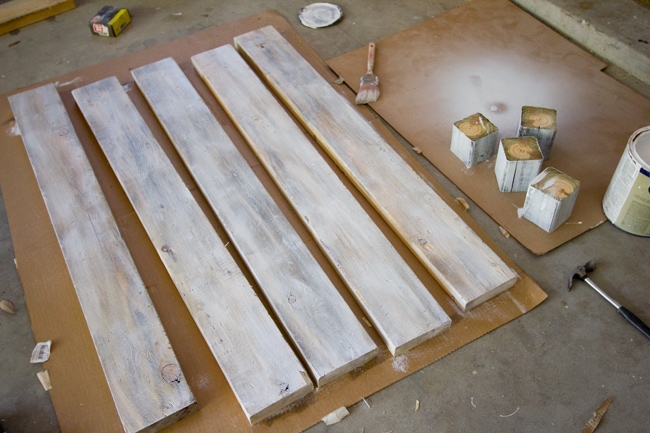
I came back a bit later and lightly sanded to let the wood show through until I was pleased with the look.
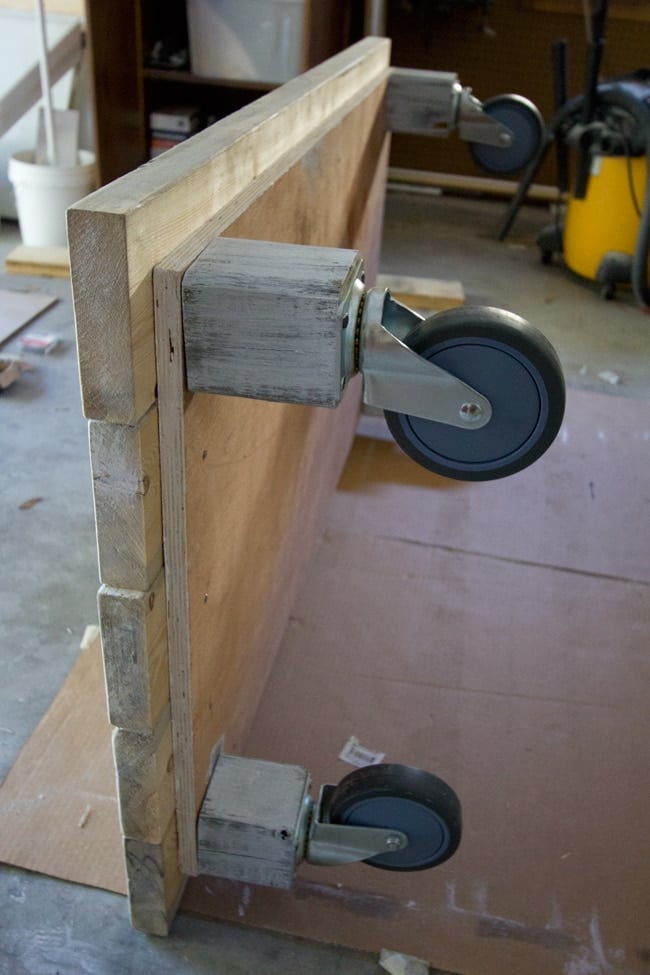
Next it was time to attach the wheels to my legs. I used some regular wood screws and washers to hold them in:
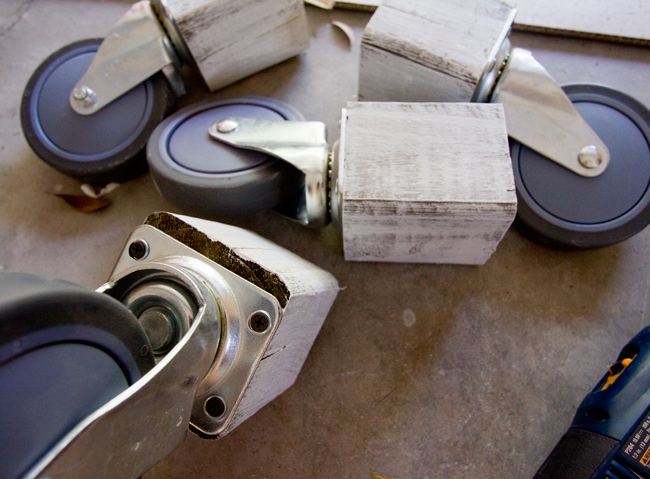
Easy peasy.
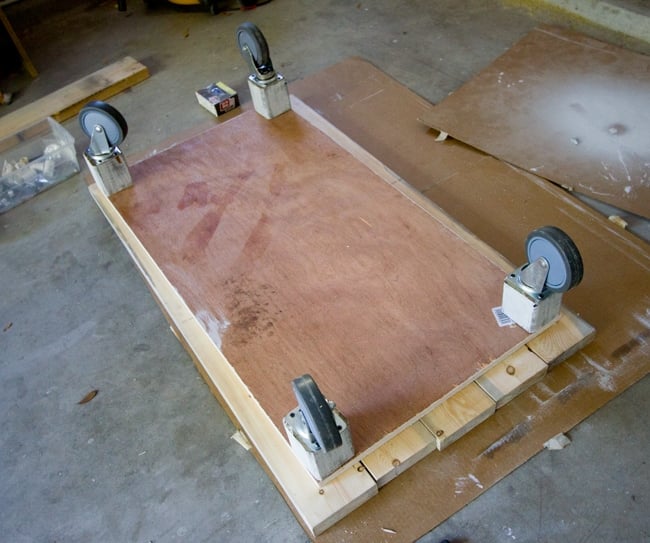
Then I attached each leg to the corner of my plywood board (this step required both of my hands so no mid action shots).
Finally, it was time to secure the plywood to the bottom of the boards.
I flipped the boards down, lined them up, and centered my base over them:
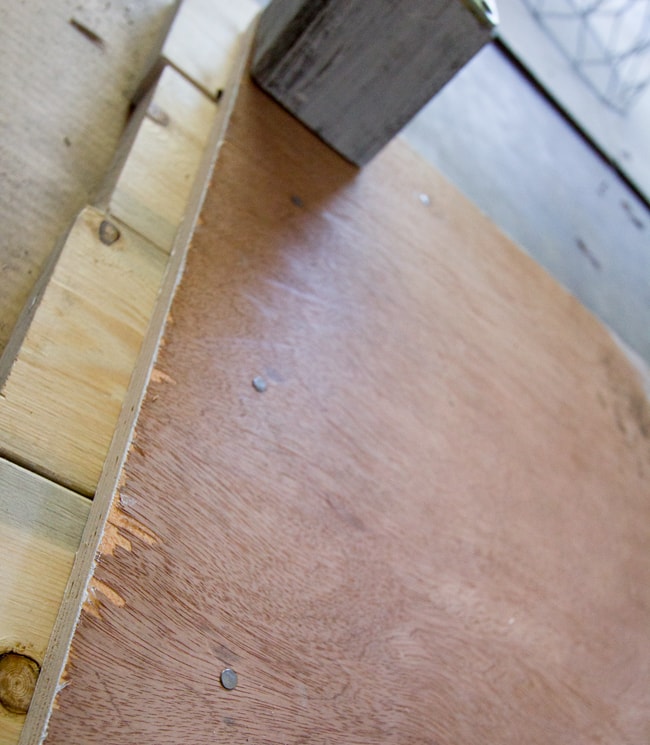
I couldn’t find any 2.5″ screws, so I just nailed them in:
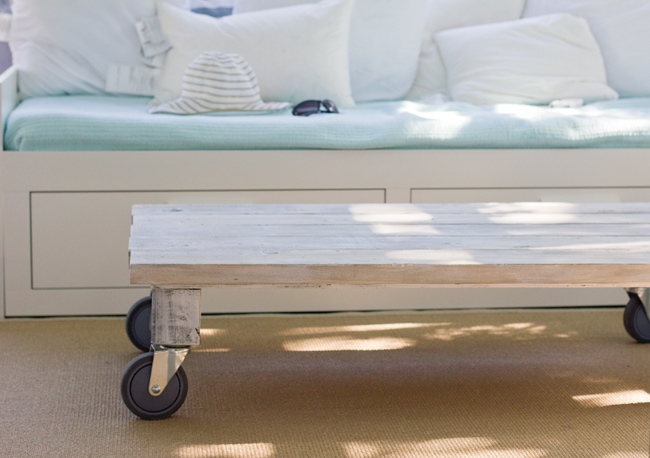
And it was done:
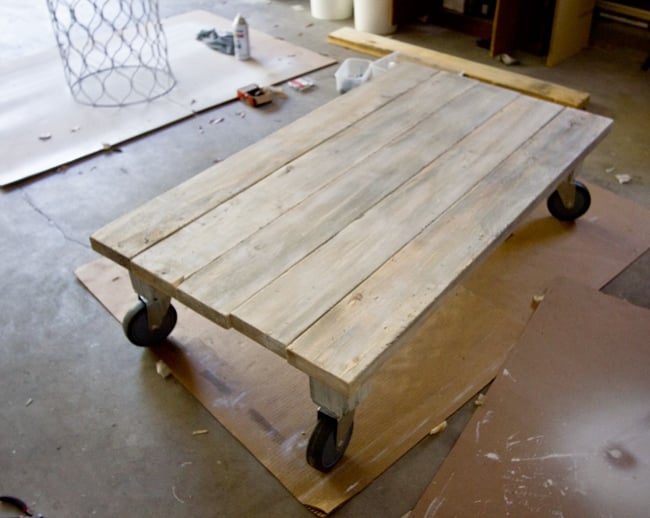
Here’s a side view:
The entire project took about 2 hours… including waiting for the stain and paint to dry. I wish all projects were this easy!
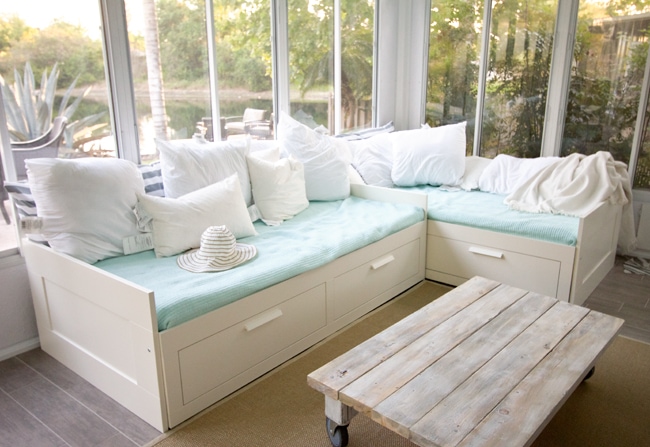
I’m just loving it in this space…
Today I’m in the middle of building a console table for the corner of the room, which has proven to be a bit more challenging. I ended up changing around my plans for the walls last night, too… all that to come in the next post!
P.S., guess where my font is right now?

It’s also on the cover of this month’s Cosmo in Australia… a copy is on its way to me right now. Pretty cool, eh?


Melanee says
I adore the colors and textures in your space, as well as this fabulous DIY. My favorite element of your room is the flooring. Do you love it? Would you use this flooring again? Is it the kind of flooring that works best in small spaces, or could it be used for an entire family room? Thanks for posting!
Jenna Sue says
Oh, go for it! It took me over a year to figure out how to arrange this space… very difficult with such a long and narrow room with windows and doors everywhere.
Crystal (theweekendhomemaker.com) says
I just saw your sunroom on House of Turquoise. I absolutely love it. I have a similar sunroom and have been scratching my head trying to figure out what to do with it. Hope you don't mind if I copy yours to a T (just kidding..maybe 😉
Seriously, you did a great job and I am a new follower. Love your style.
Rachel @ The House of Burks says
Wow, this looks so incredibly easy! We have a large family room that needs a table like this. I may give this one a try soon.
DIY Show Off says
I LOVE the coffee table! Beautiful job, Jenna Sue! And congrats on the Seventeen Magazine (and Lowe's circular) font features! Awesome, girl!
Anonymous says
I love your coffee table!!! I need to build one now! Thanks for sharing!!
Jenna Sue says
I just used regular wood screws and drilled in four from the top of the plywood. Super easy 🙂
Cindy says
Looks great! Quick question though…how exactly did you attach the legs to the plywood? I know you said you didn't have any shots to show but what did you use?
In The Night Sky says
Great idea – it turned out great! Your sunroom looks lovely 🙂
annemarieblogs says
I LOVE THIS!!! I am dying to have a coffee table just like this 🙂
Kathy C. says
That table came out amazing! What a great DIY! And congrats on your font!
Jess says
That's awesome about your font! I'm actually using it for my wedding invitations. Love it!!!
Amy says
Love it! I might need to find a spot for a new coffee table in my house now…
Amanda says
Great coffee table! You make it look so easy. I'm thinking about making a console table for our front hall and I'm going to try your tabletop method for that to give it a more textured look. Thanks for the tips!
Melissa @ Loving this {crazy} life! says
LOVE how the table came out! We are moving this summer, and I know that our new home will have a table like this. Great job, thanks for sharing!