Hope you all enjoyed the holidays (or still are) with your favorite people!
My little sister is in town (the one who moved into our Florida guest room this past July) so our family is cherishing every moment together before she heads back to the east coast on Sunday…
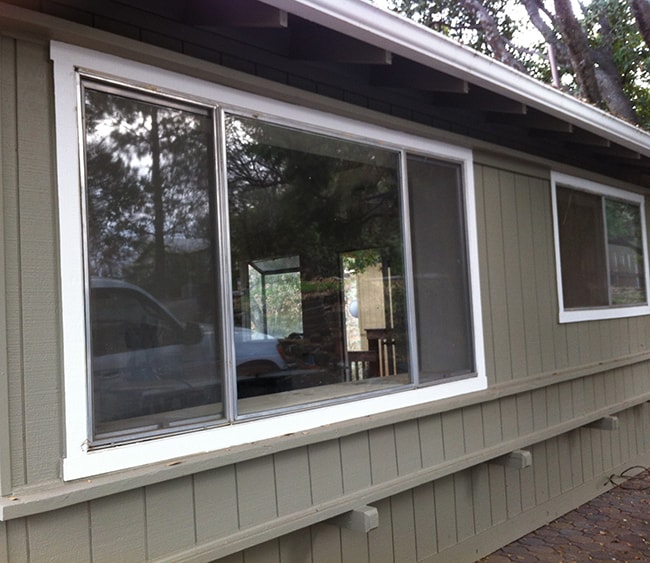
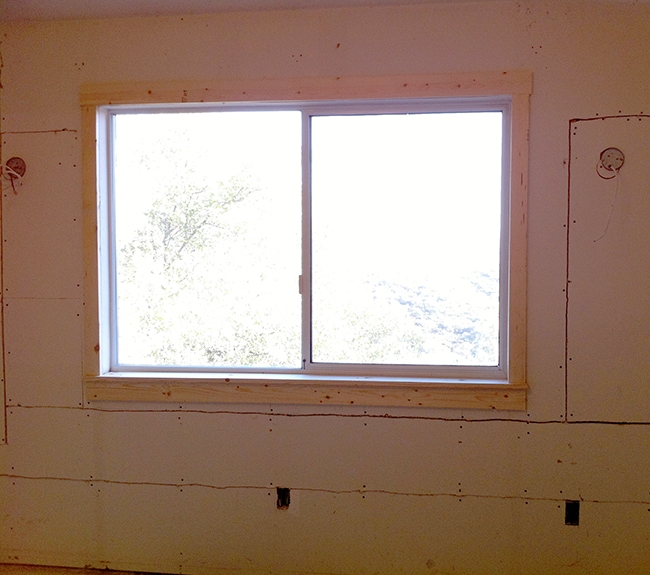
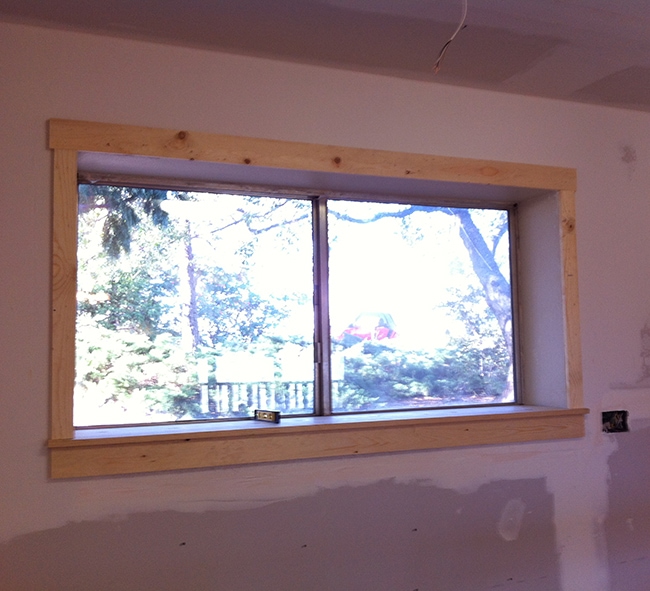
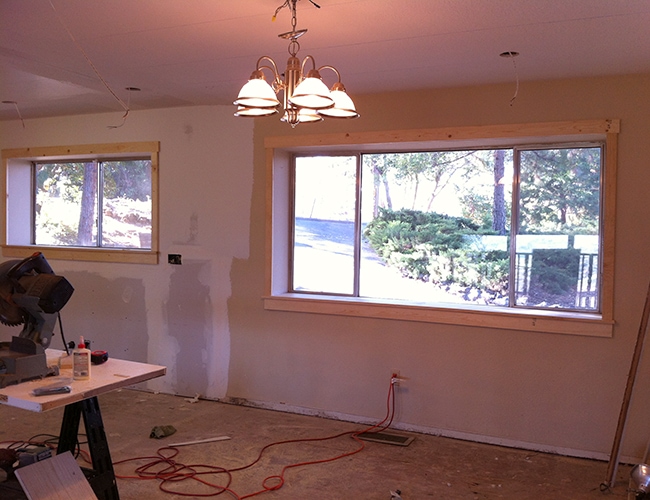
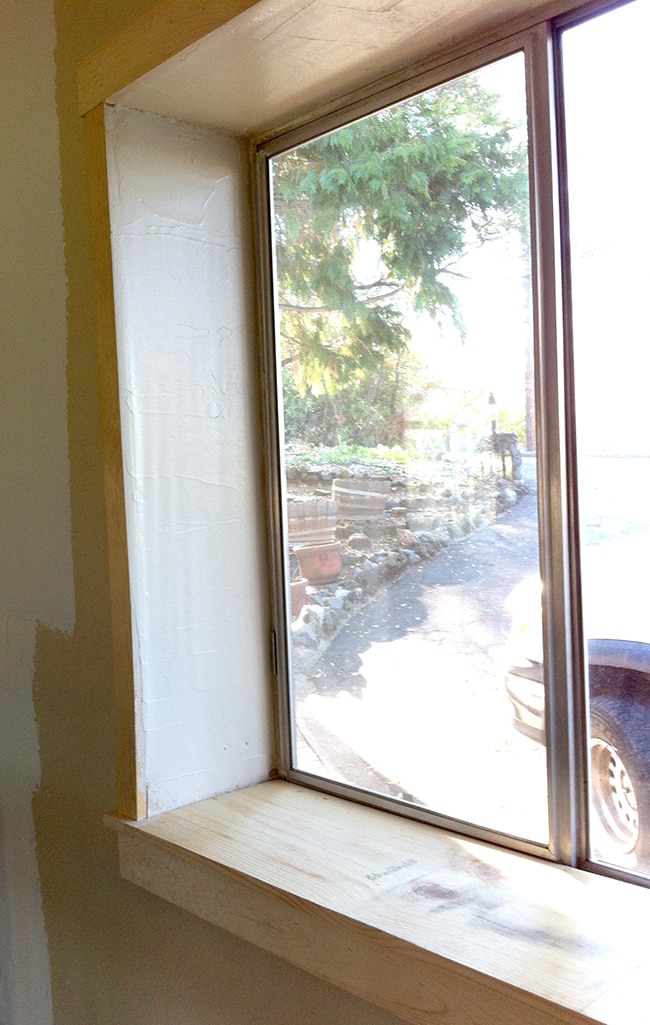
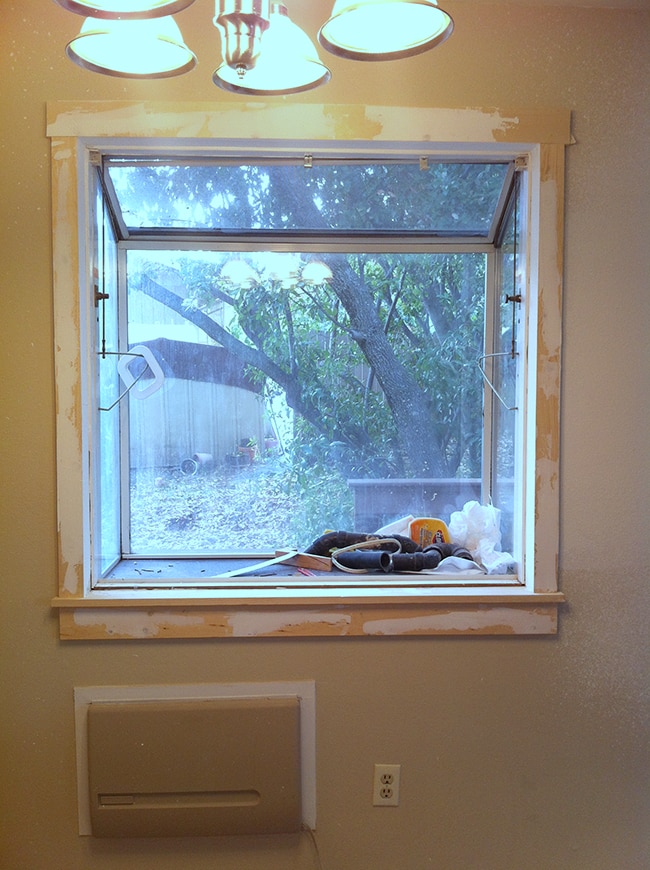
Amidst all the holiday hustle, my dad and I found some time to address an important issue—our plain jane trimless windows. I’ll get to all of them eventually, but for now I wanted to focus on the rooms on my priority list—the kitchen and my studio:
This was high on my list because it makes such a huge impact for relatively low effort and cost. And now’s the time to do it before the wood planks and backsplash go in.
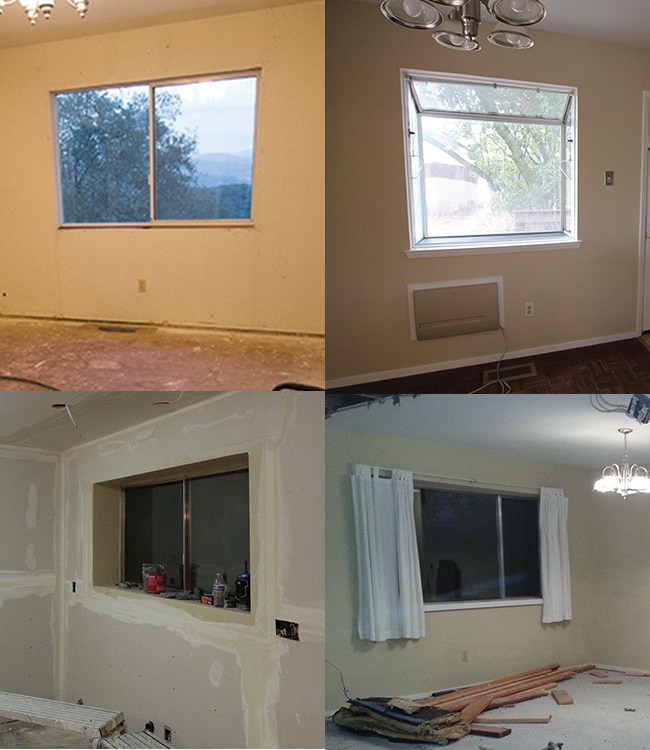
If you can remember back in March, I tried this for the first time with our new master bedroom redo, and absolutely loved the results:
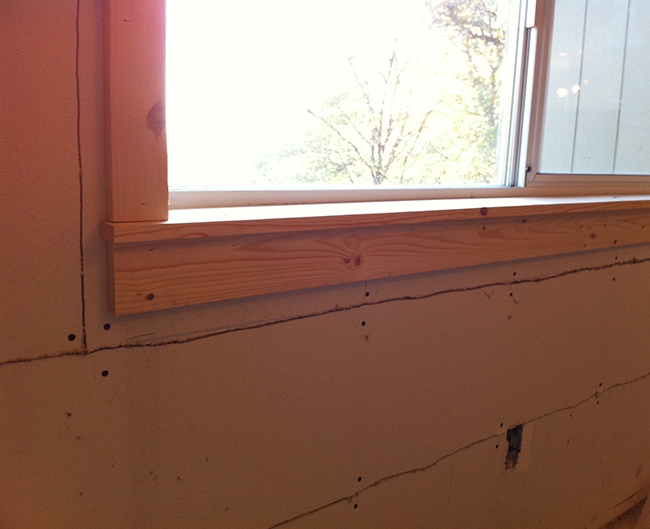
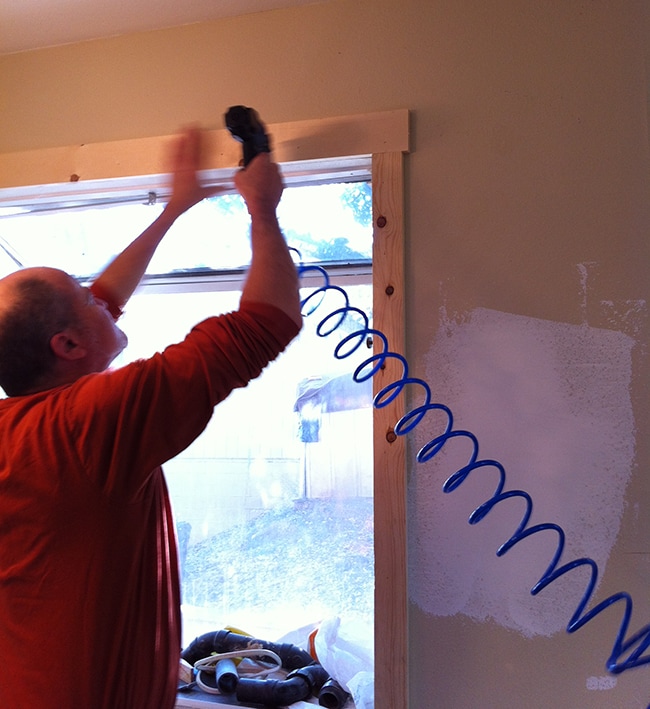
I kept the existing stool and apron (the two bottom pieces) and just added two vertical pieces and one horizontal to the top. Since it was ridiculously easy, I thought I’d step it up this time and make my own stool and apron and knock out four windows in one day.
I enlisted my dad’s help (he’s a former furniture maker) and we agreed it would be a fun daddy-daughter project (the first of many, yay for being back home!).
The hardest part about this process was planning. All four windows were different dimensions and had different needs. We spent almost two hours at Lowe’s trying to figure out exactly what to get and ensuring we wouldn’t have to make a second trip.
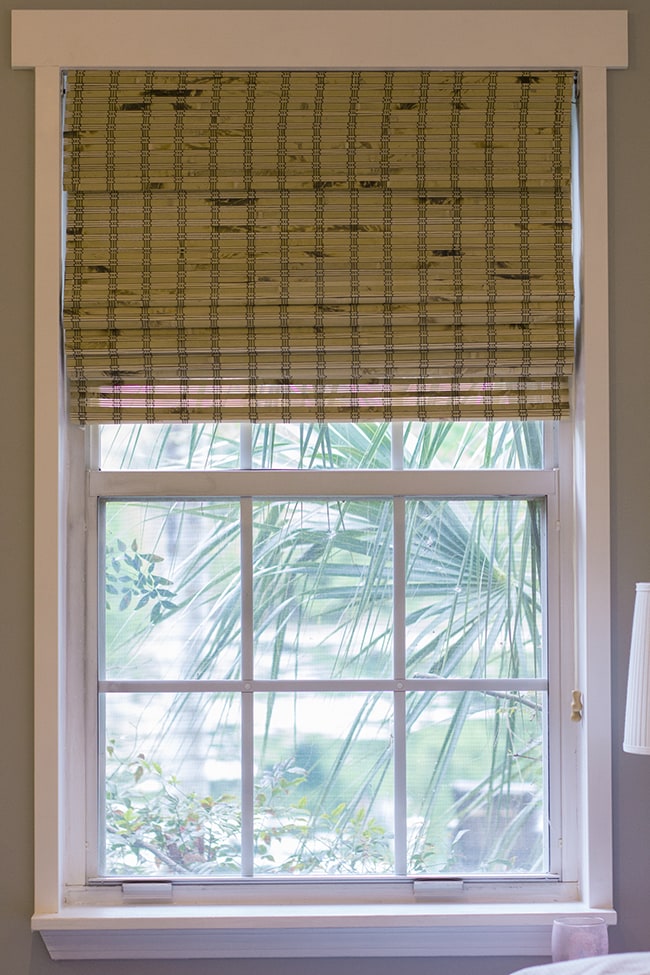
For the design, I decided to keep it clean and simple. Straight cuts, no miters, no crown or fancy bevels. All of the door and window trim on the outside of our house is the same basis Craftsman style I used in our old bedroom:
So I thought consistency would be nice to tie everything together.
I chose cost-effective whitewood boards in various lengths and widths for each window, in 3/4″ thickness. The total came to somewhere in the ballpark of $120 just for the wood—a bargain for the impact.
After gathering our wood, we got to work.
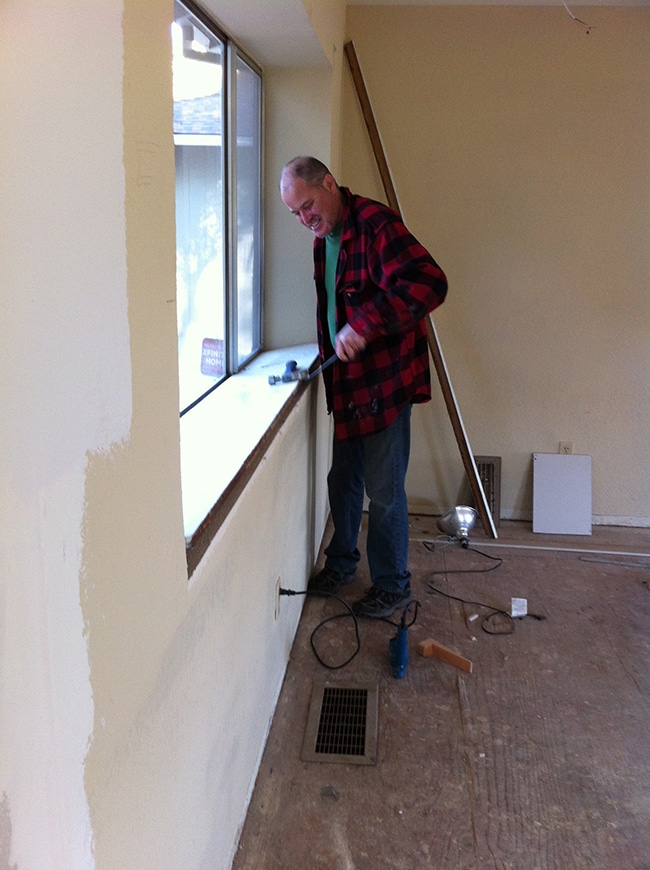
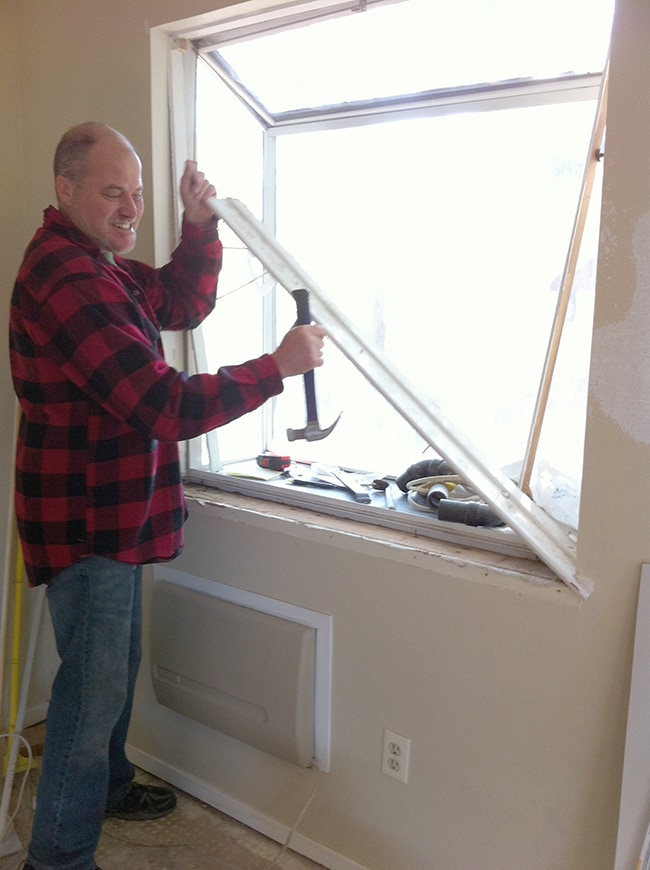
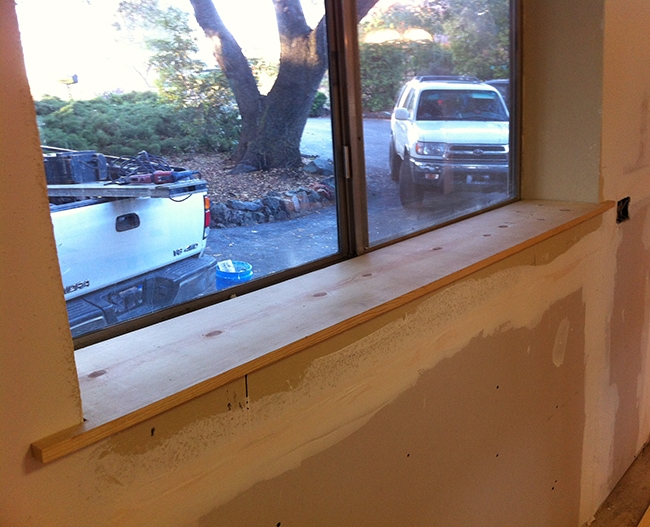
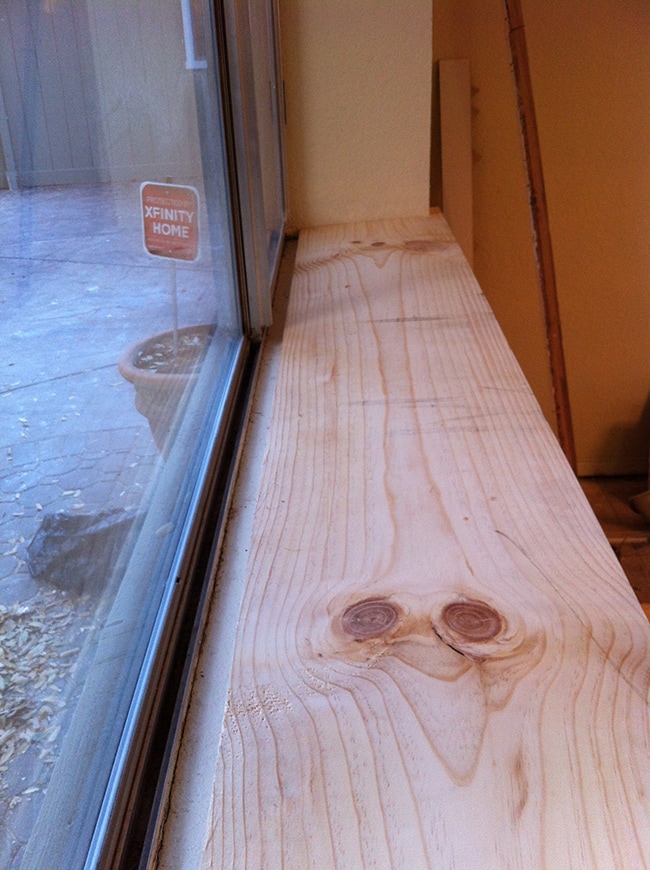
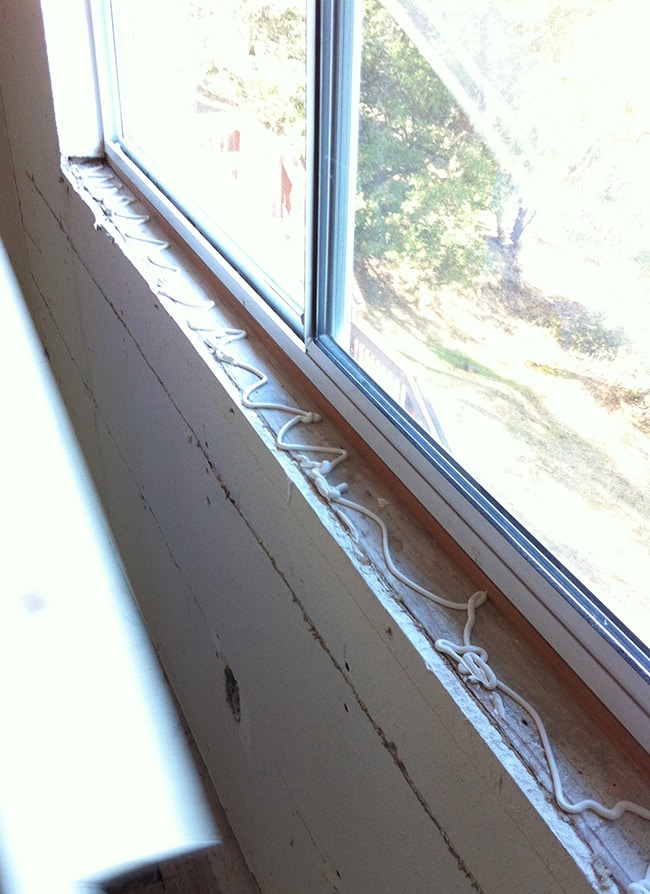
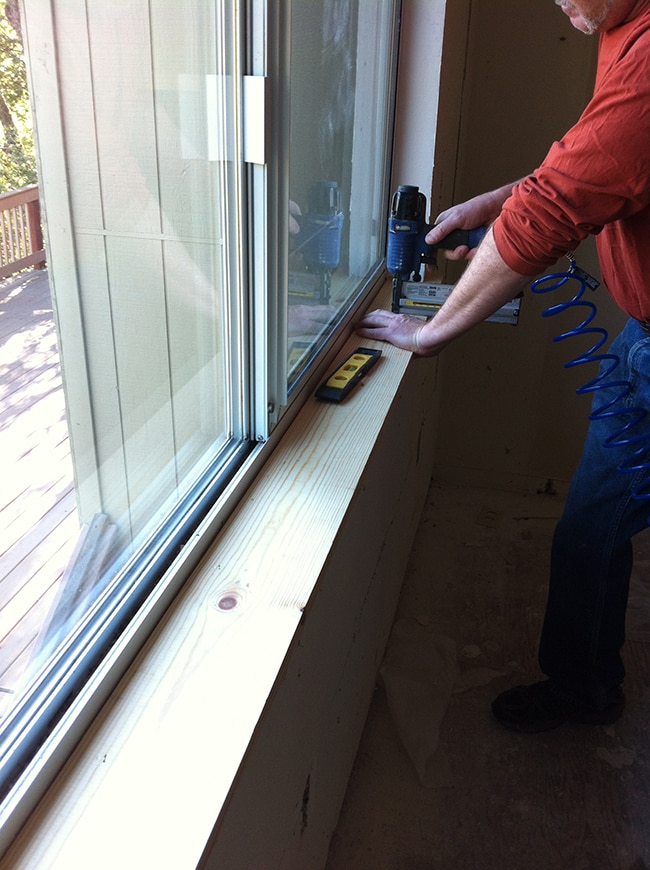
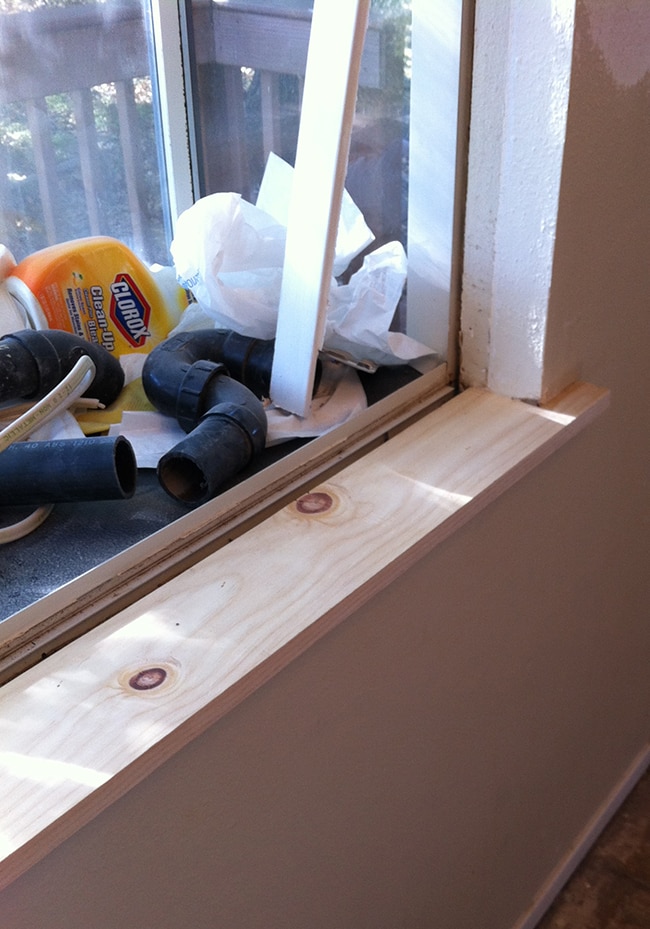
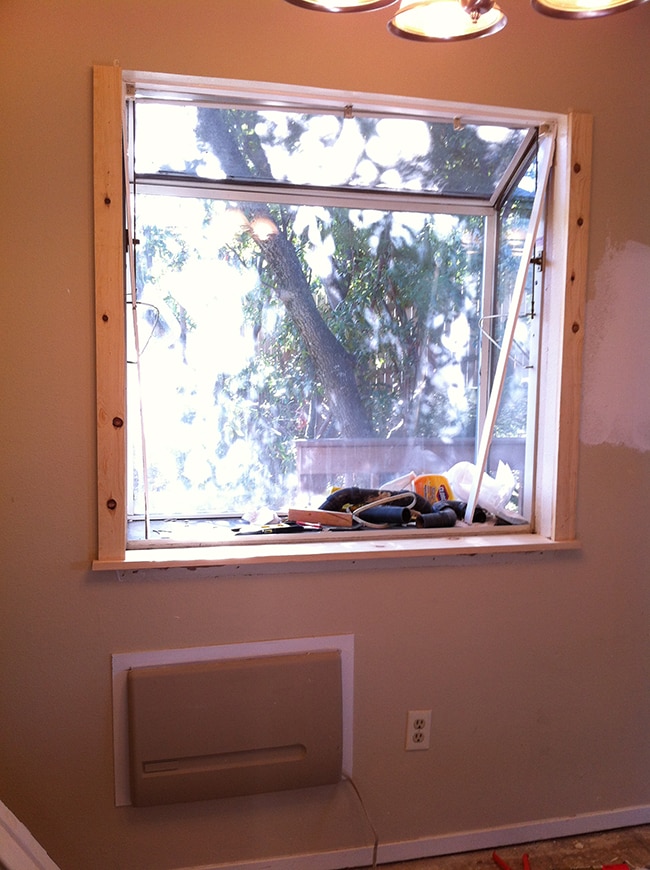
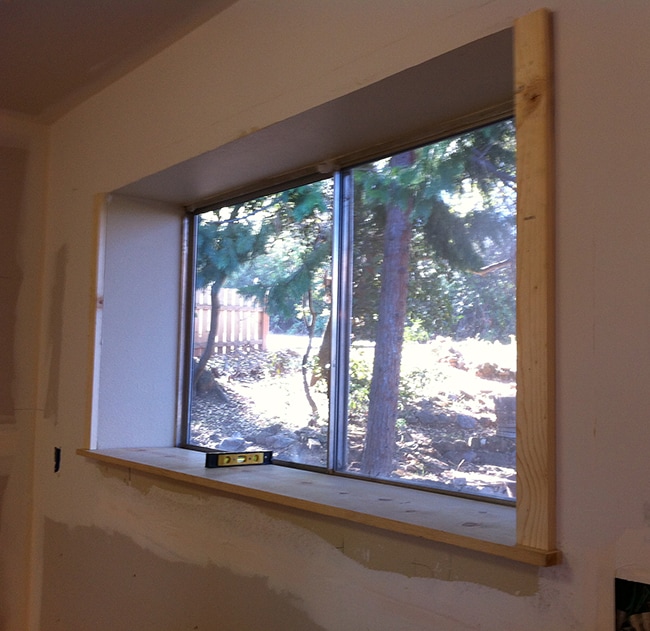
Step 1: removing the old window sills. Only two windows had them.
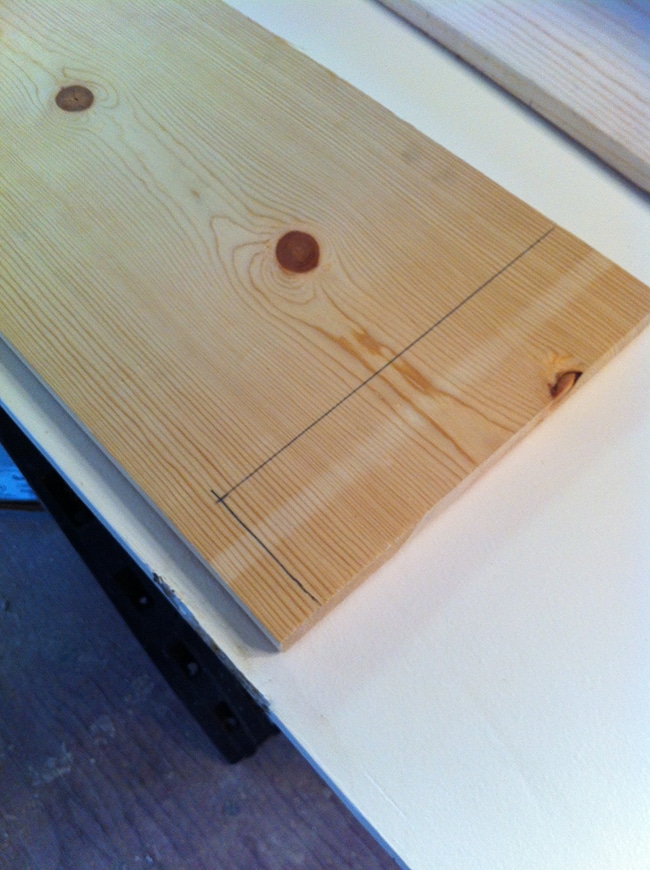
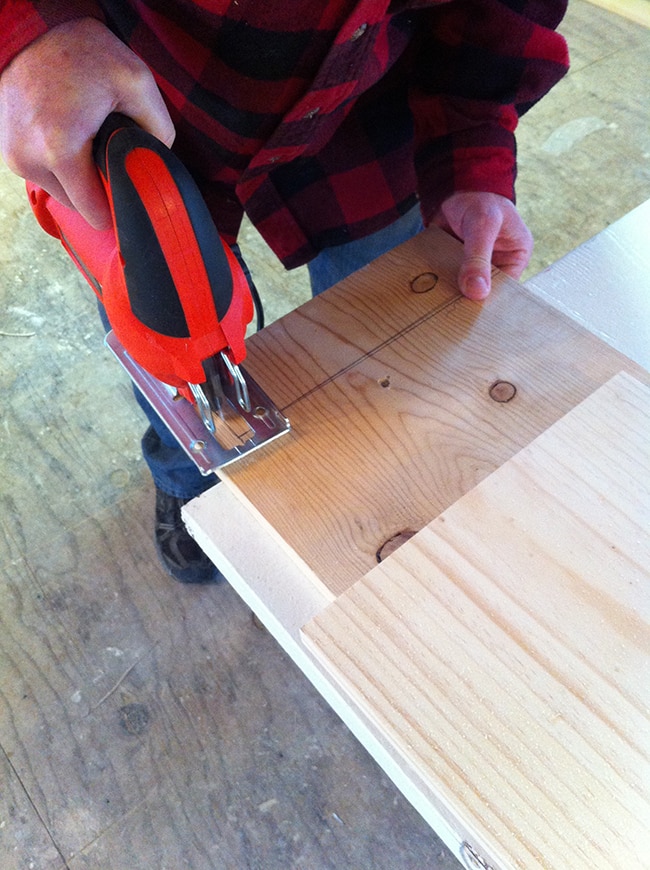
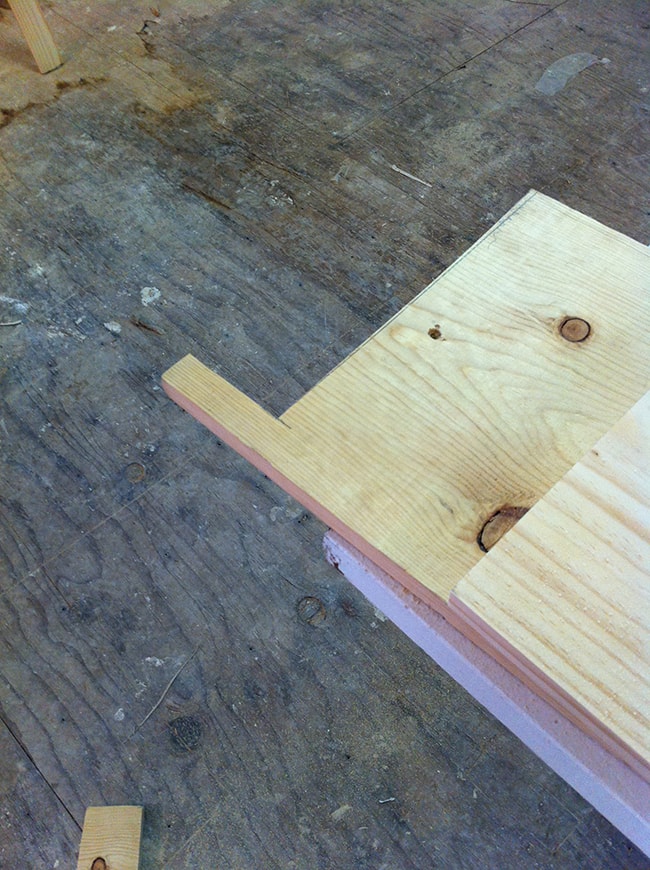
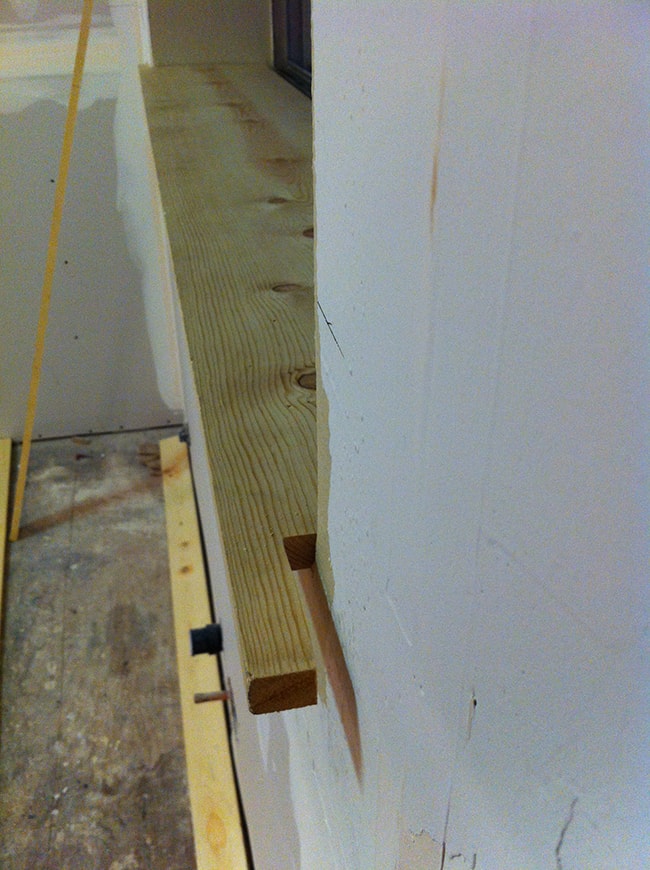
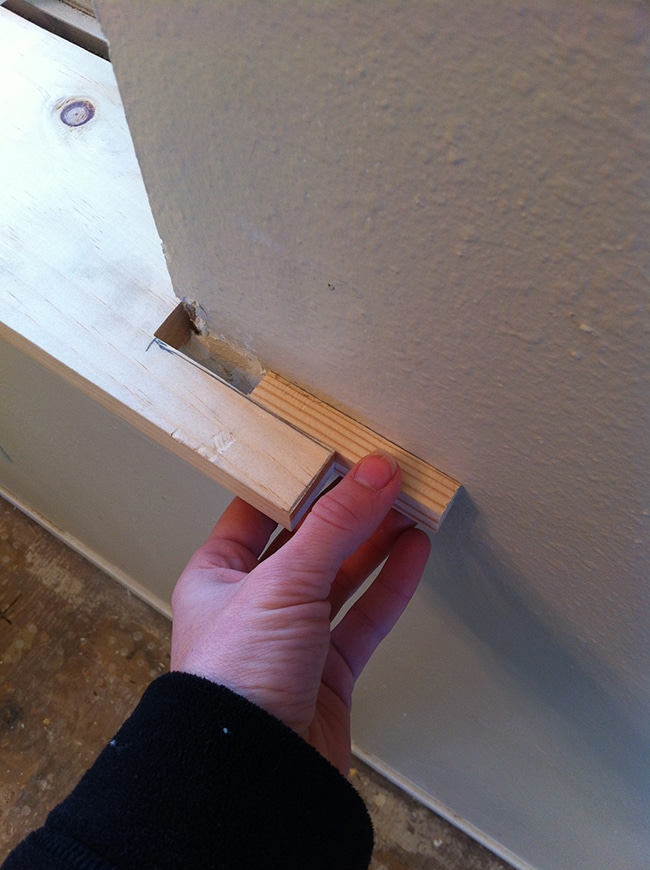
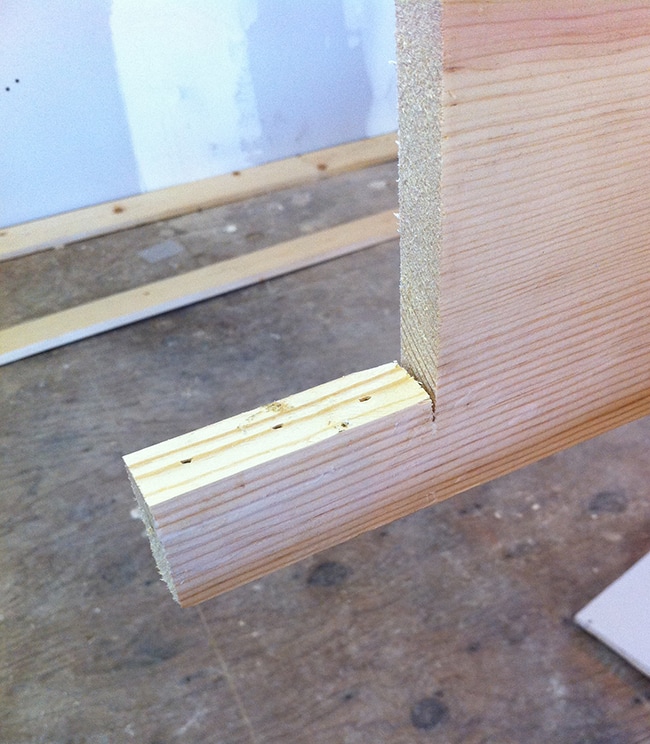
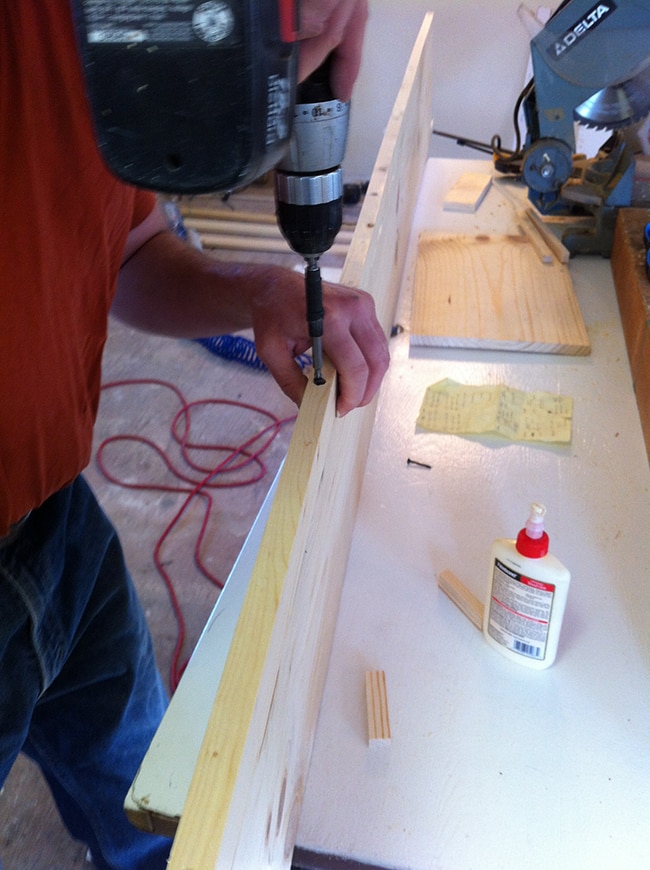
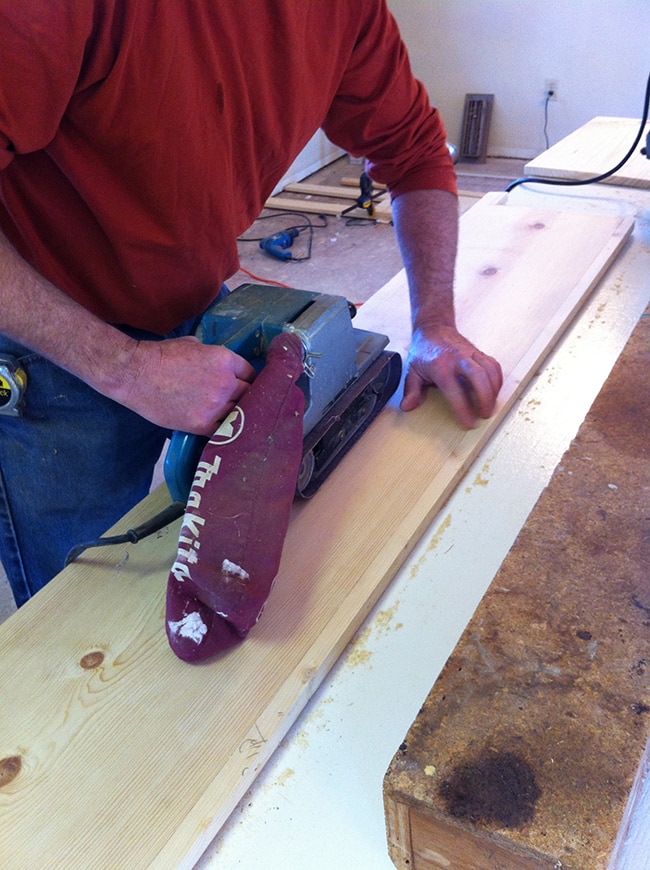
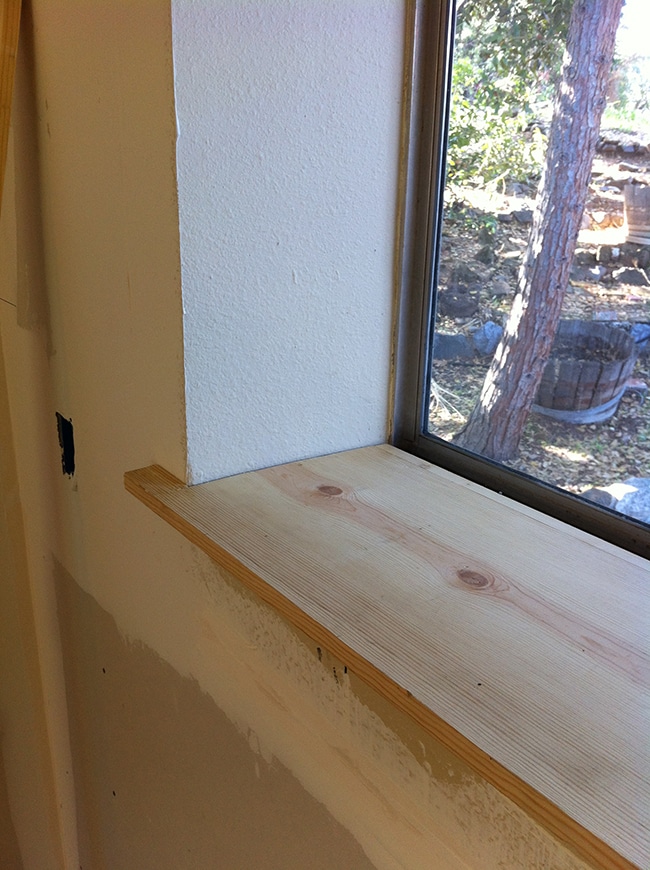
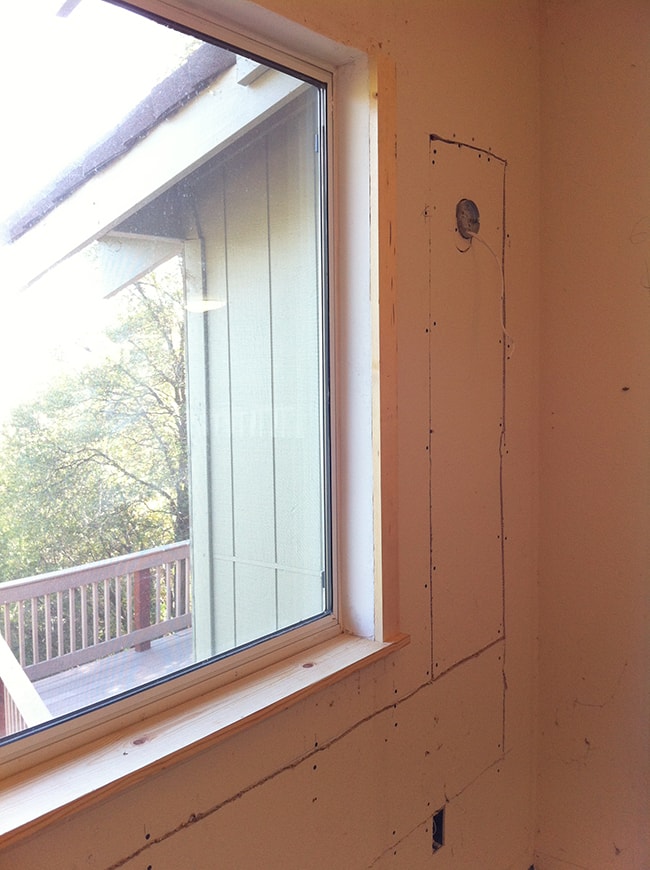
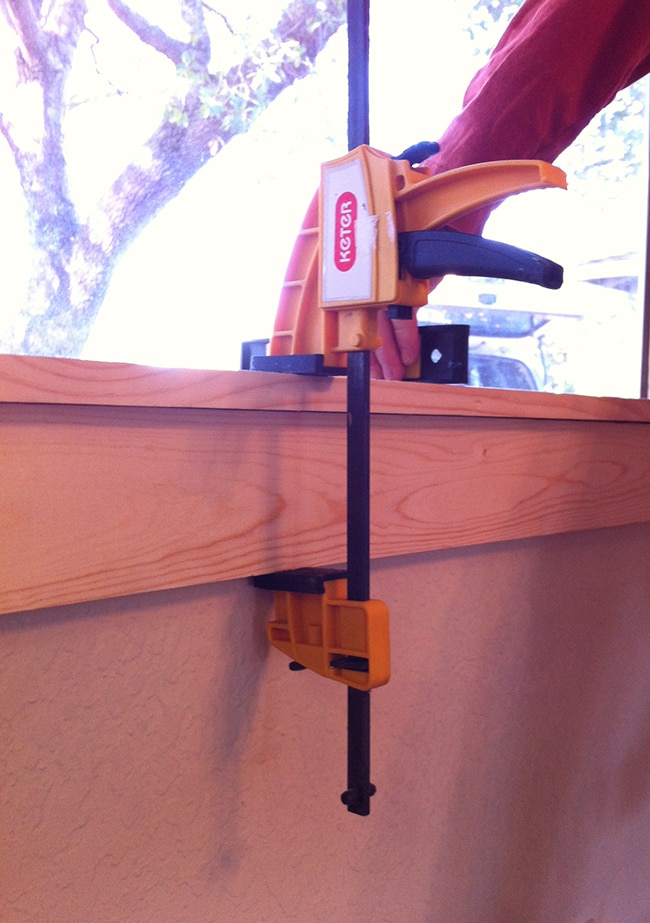
Next it was time to measure for our new sills. Each end needed to form an L shape on the ends so it would extend past the window.
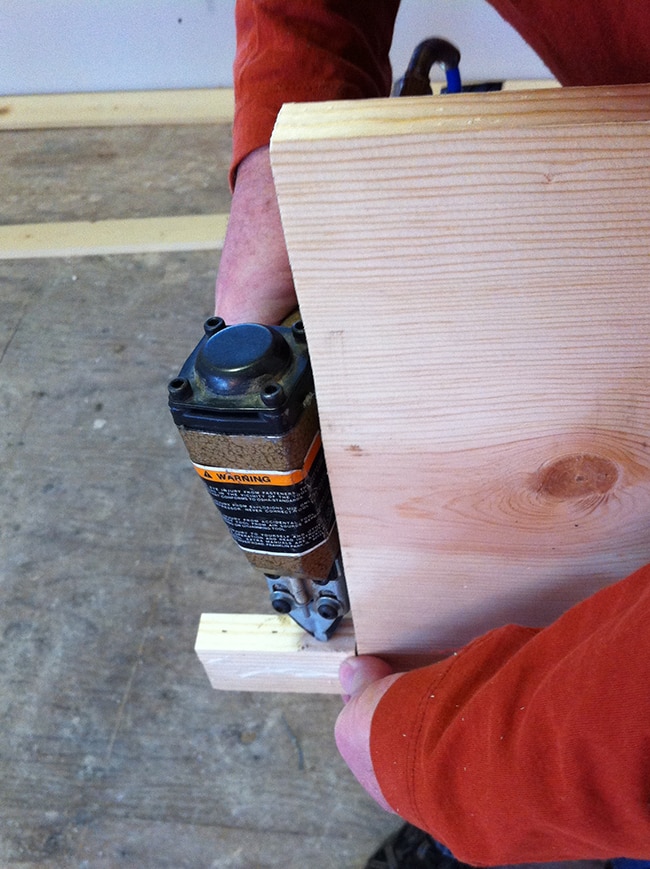
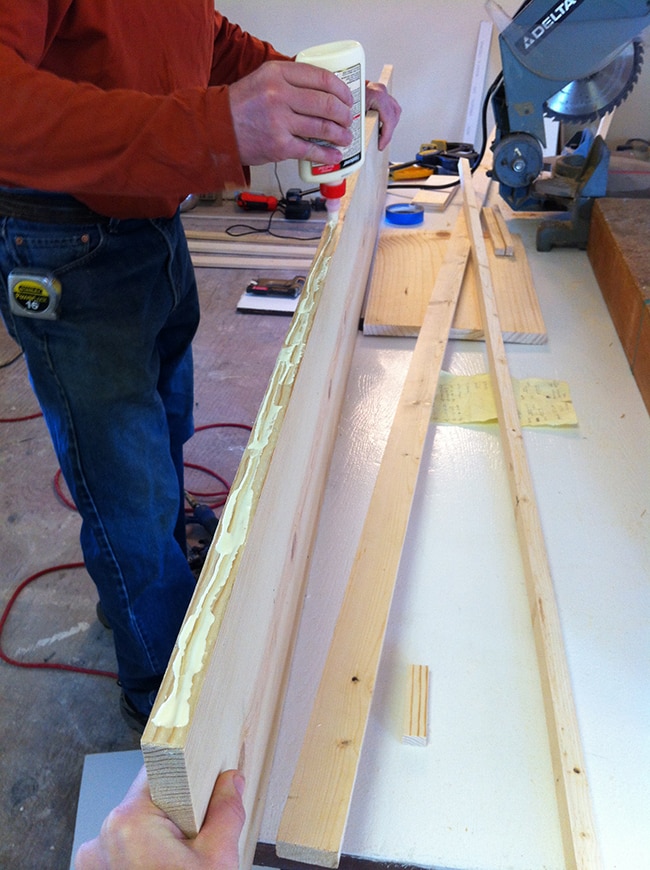
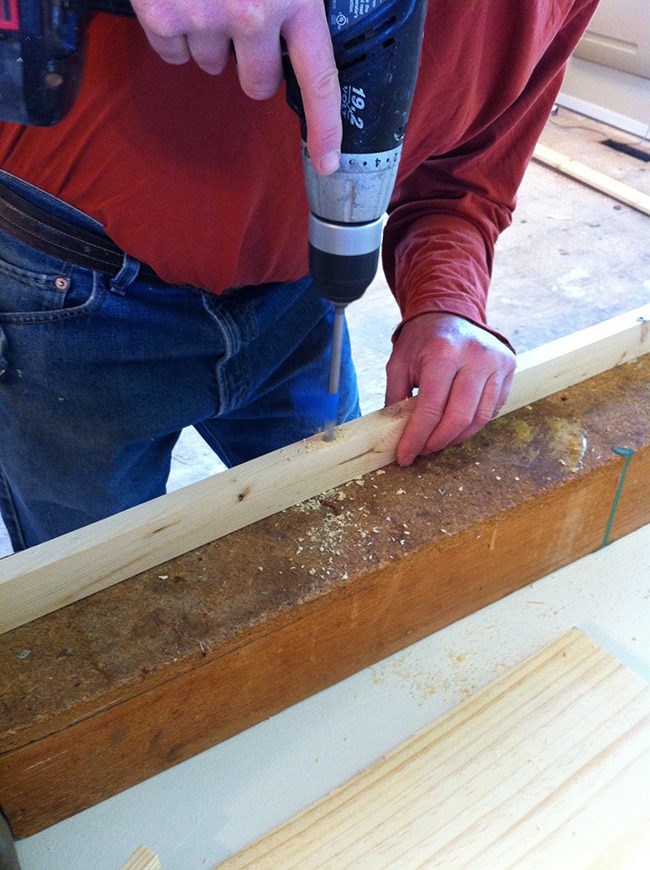
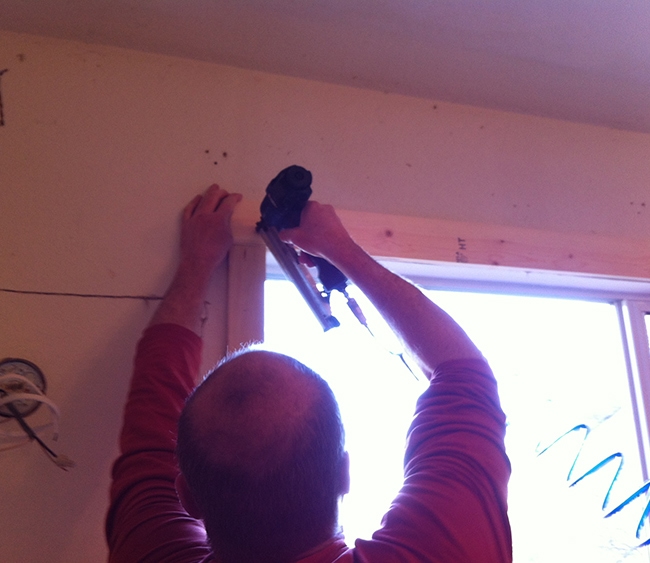
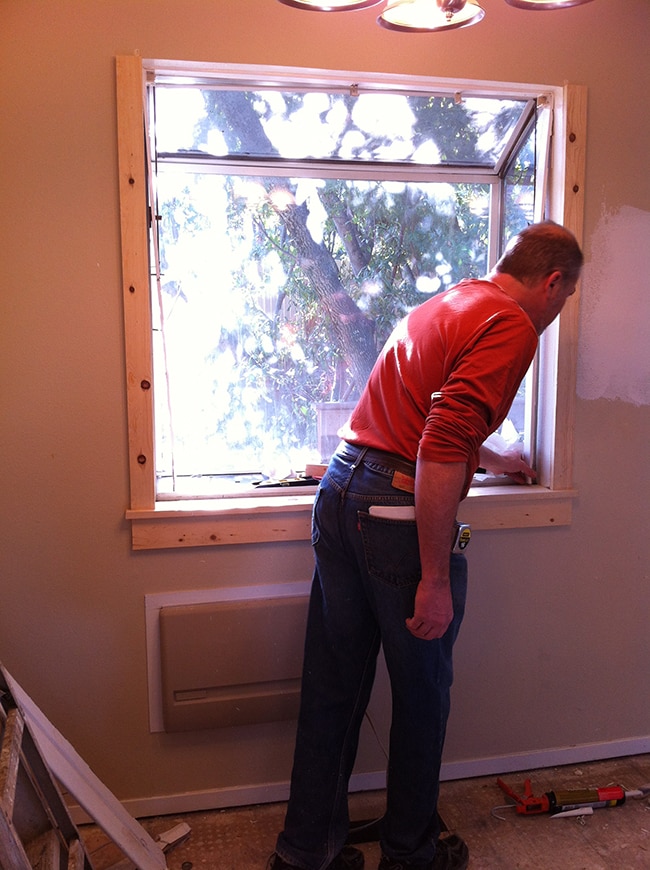
t a few nails through, and it was all fixed.
One down, three to go!
o anything later on.




Jenna Sue says
It's not difficult at all! The hardest part is cutting the new sill piece. You don't have to touch the window at all, just remove the old trim and put the new wood in its place. The instructions in this post should help guide you!
Anonymous says
Hello. I found your web site thru Thrifty Décor Chick and I am so glad I did. I want to do my windows like that, all framed out. Can I ask how difficult it was? I have sills already there but I would like to remove them like you did and put in wood. Do you have to remove or mess with the window at all? Thank you for your time. Tracy my email is binky931@yahoo.com
Cindy @Made2Style says
Coming along!
Andrea @ Decorating Cents says
They will look so good when they're painted white. Can't wait to see.
Ann says
Love the updates of your house!
Pine Tree Home says
I loved this post cause I so agree with you that a little trim makes a huge impact. I too have been adding the same simple trim around my crappy windows and it really does make the room look so much better. Love the detail you shared.