How’s this for a Transformation Thursday?
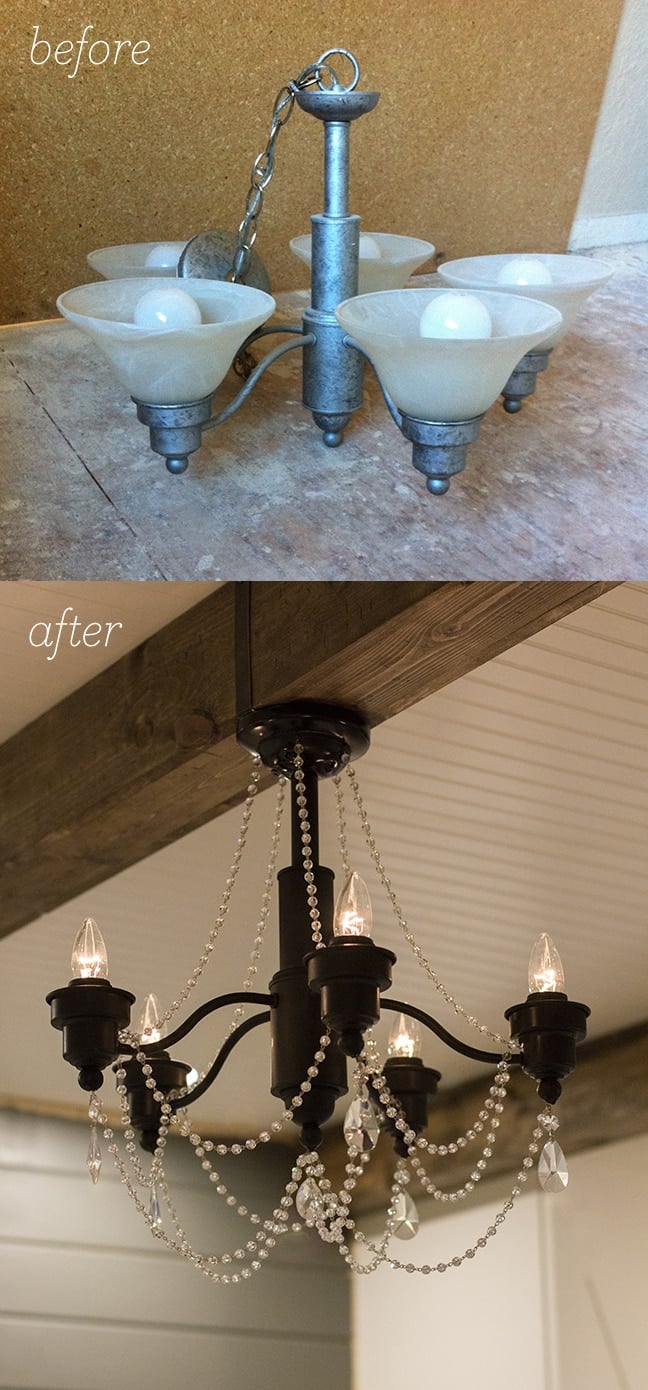
Best $45 ever spent… I can’t stop staring at it!
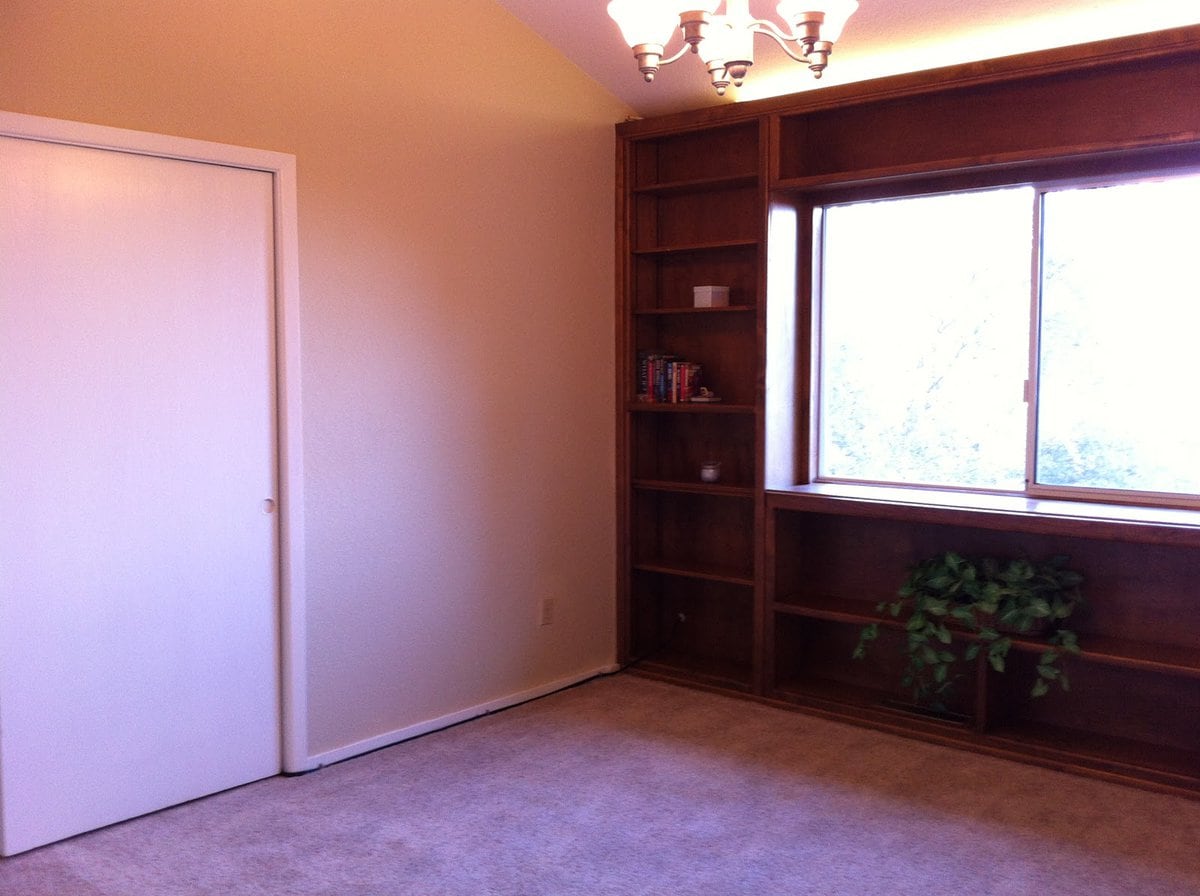
This fixture was originally hanging in my current studio when we bought the house (it’s probably the one thing we were actually able to salvage from the home, woohoo!)
I neglected to take an installed Before photo but you can see it at the top of this one when we first stepped inside this house:
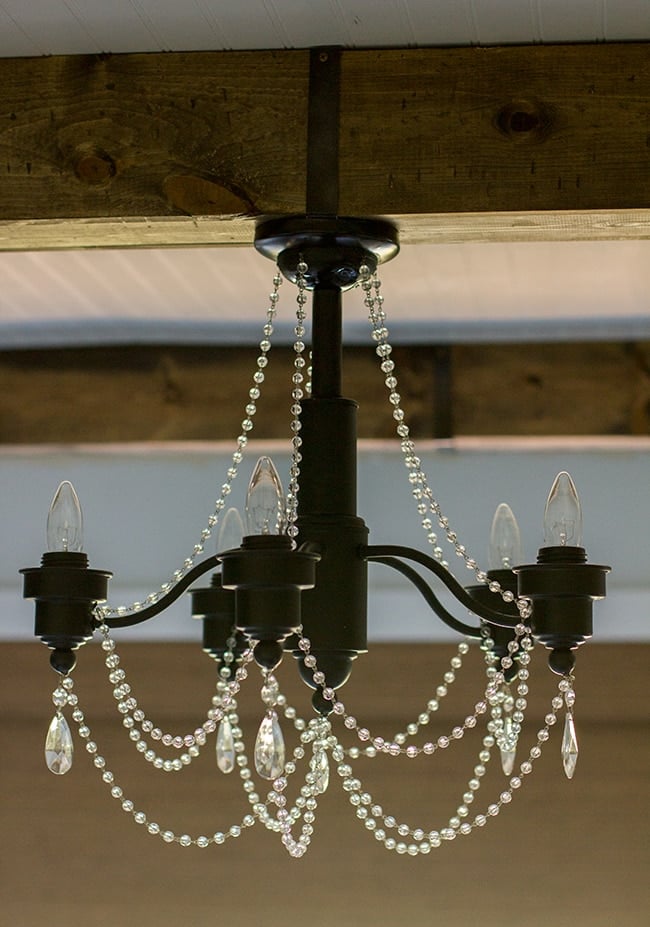
After removing the glass shades I saw some potential.
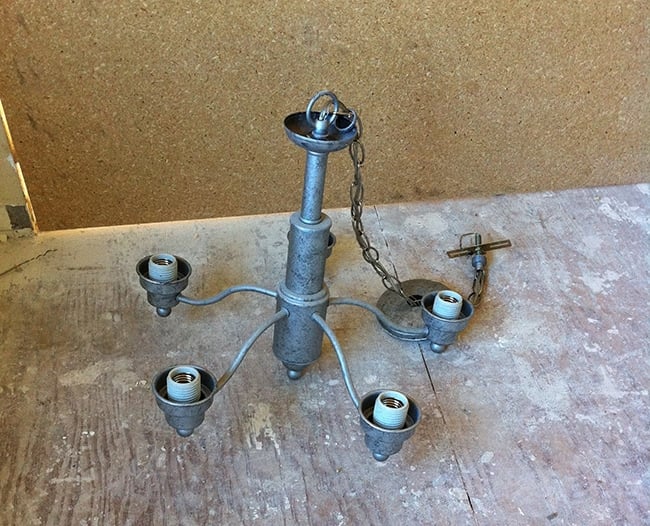
It sat in storage until a couple weeks ago when I started to formulate my plan. If ever there was a place to add some romance and sparkle, a master bedroom is it. We’ve added a lot of architecture and hard surfaces to the space so far—now it’s time to balance that with some softness and set the mood.
The recessed lighting has completely transformed the feel of this room (I could go on forever about on how important lighting is), so this is yet another way to control the atmosphere, and why not also make it a focal point in the room?
Once the plan was set in motion, I headed to Pinterest to find tutorials as I had no idea where to began. Pinterest fell pretty short here… I only found a few and they weren’t that detailed, leaving me to mostly try and figure it out on my own.
I did find a great online source for inexpensive crystals—Cristalier.com.
After sketching out a rough idea and using string to lay out my strands, I placed my order:
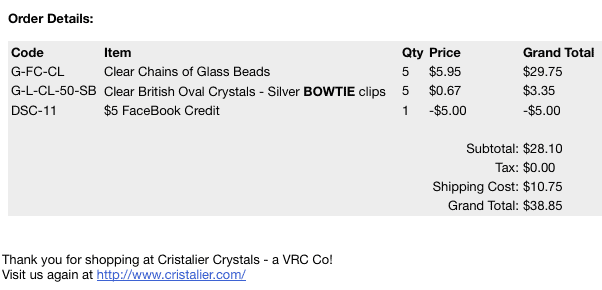
15 feet of glass beads and 5 crystal pendants (and I found a Facebook code online) for under $40 shipped, not too shabby.
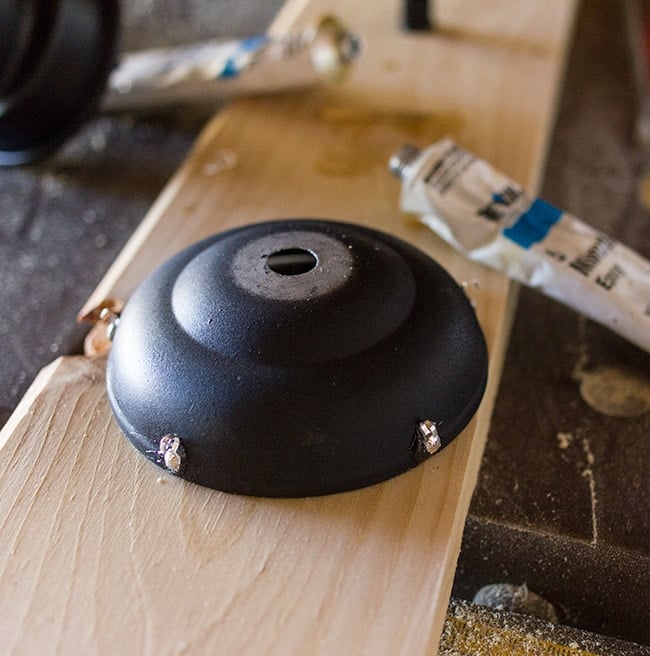
Before I could think about hanging them, I decided to spray paint the metal in a satin black. Just wasn’t feeling the hammered silver.
I hung it from the garage door for easy paint application…
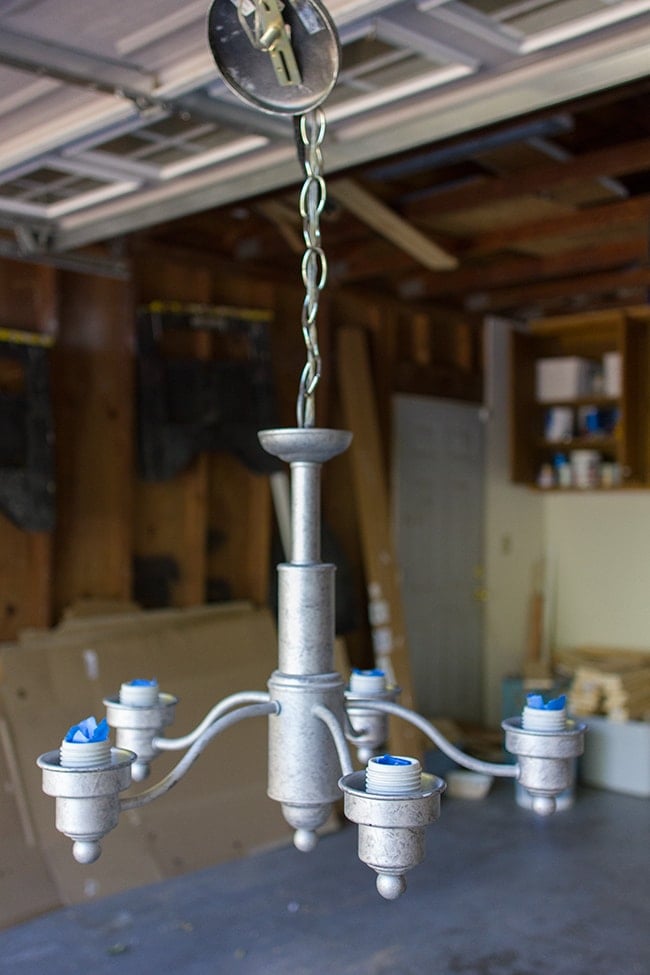
After painting & letting it dry for a day, I disassembled it and removed the chain and rod so we could mount it directly to the beam.
Now, how to attach these crystals to it? With these little clasps called jewelry bails:
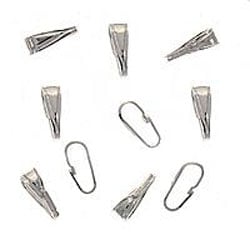
I can’t find a closeup of the ones I used but they were the only ones Joann’s carried. And they were kind of a pain.
At first I tried attaching them with hot glue, which was a total joke. It didn’t bond at all. Then I used Epoxy and it worked.
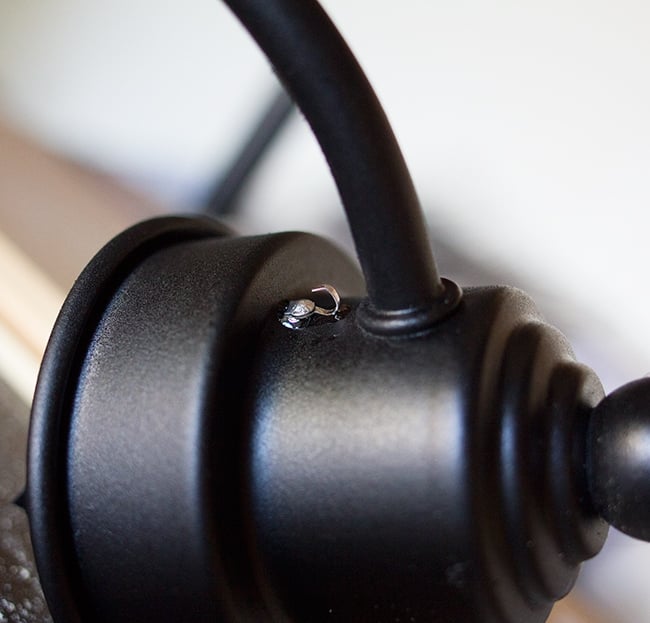
Each bulb housing had to have two (one on the inside and one on the bottom).

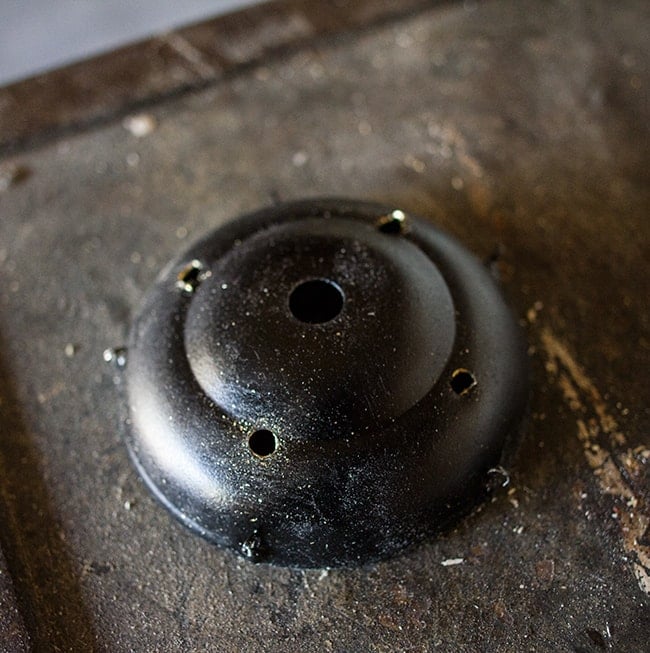
I also added five on the top plate.
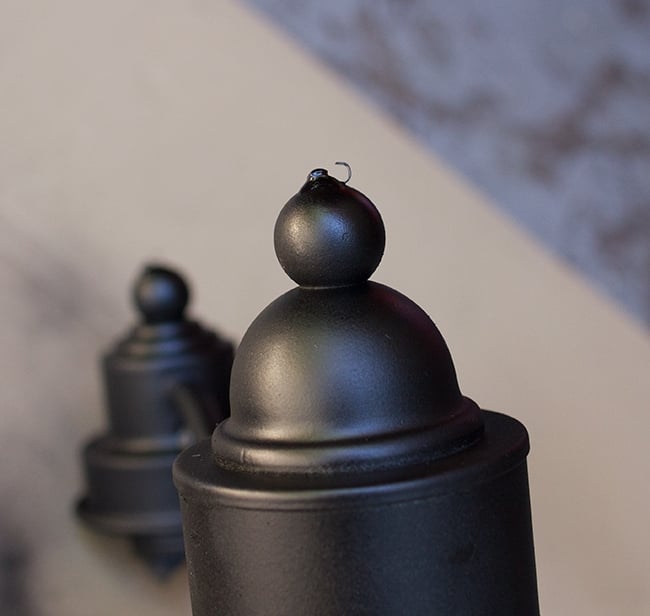
The key is to use a big ‘ol blob of glue to cover it completely so it stays secure.
After letting it cure for a few hours (just to be safe) I added some weight and they stayed on!
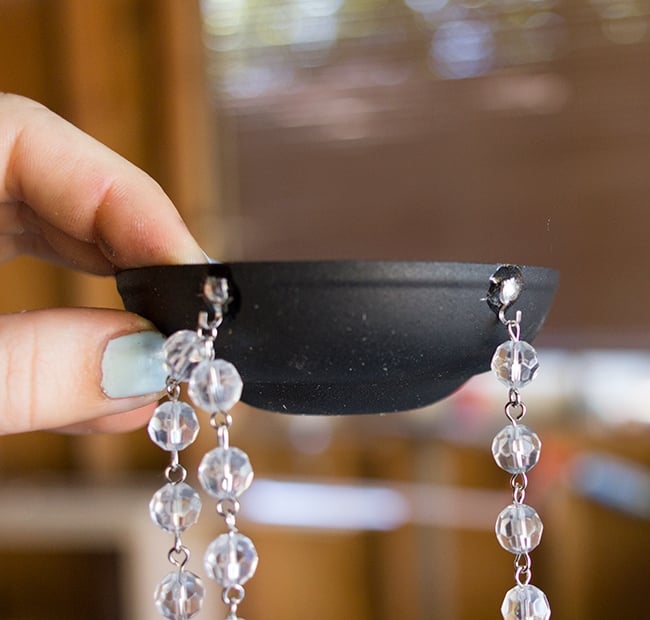
To make them blend in, I sprayed a couple more coats of paint so there was no visible silver.
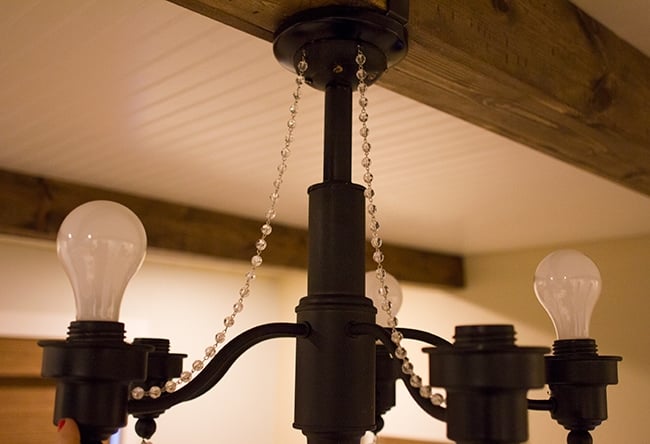
Because we had removed the chain and modified the top, there had to be a way to secure the chandelier to the wood beam, so we drilled some holes into the top plate and drove long screws into the beam.
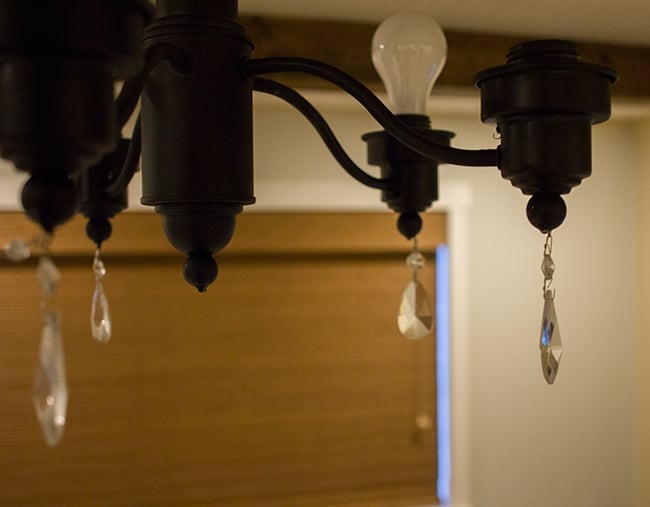
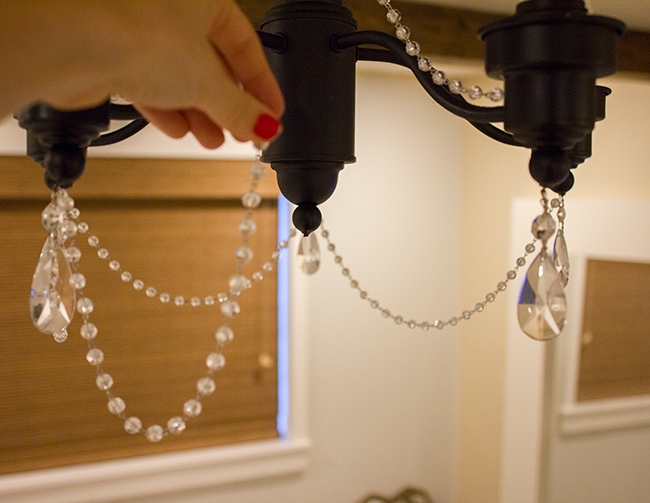
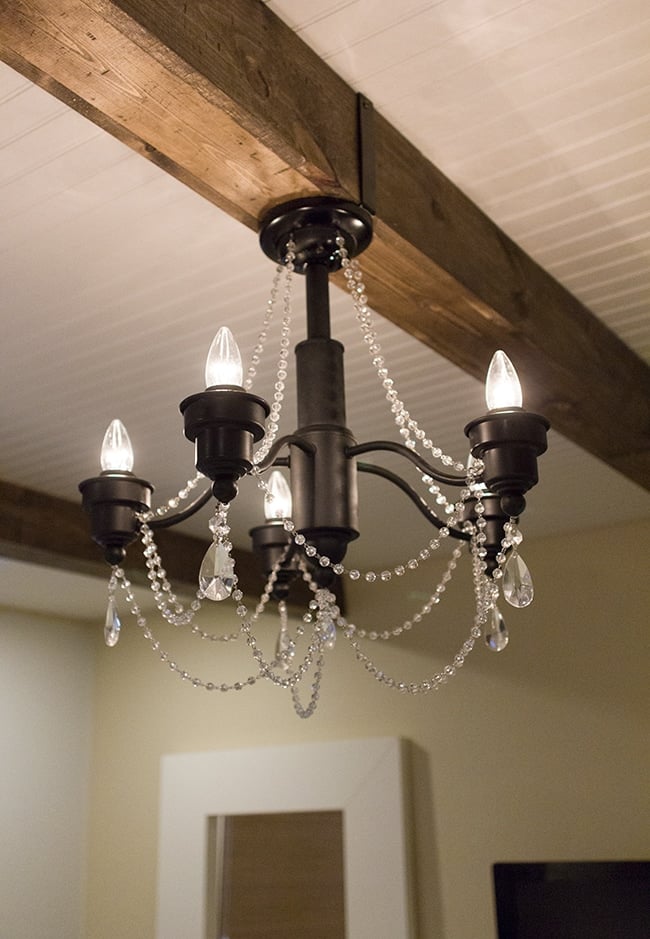
Then came the fun part… dressing it up! I started by adding the hanging crystals.
Then I split my 15 feet of chain into one foot sections to connect between each post (luckily the wire loops connecting the beads bend pretty easily to take them apart.
< div>I draped five sections up to the top piece (ignore the bulbs, they were temps.)
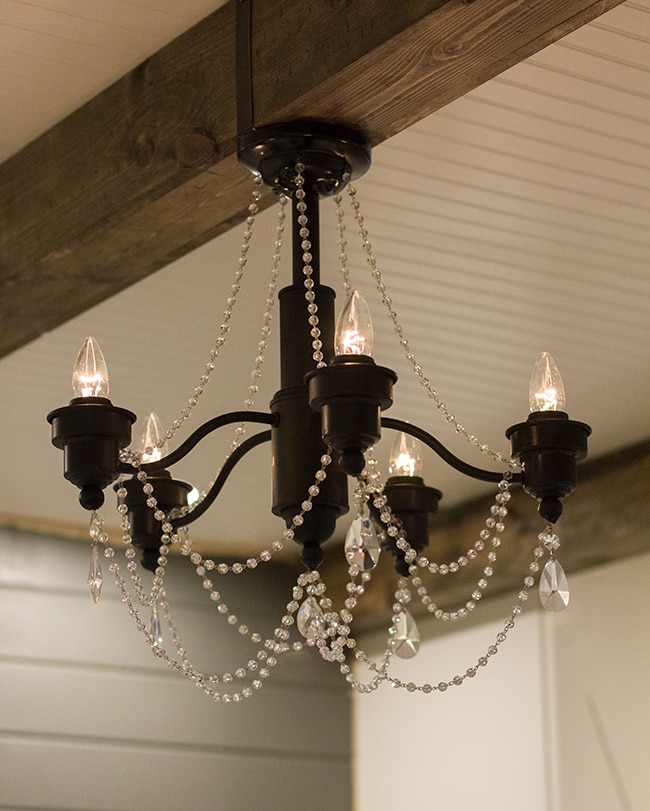
Then five sections from the bottom of each post to the bottom center.
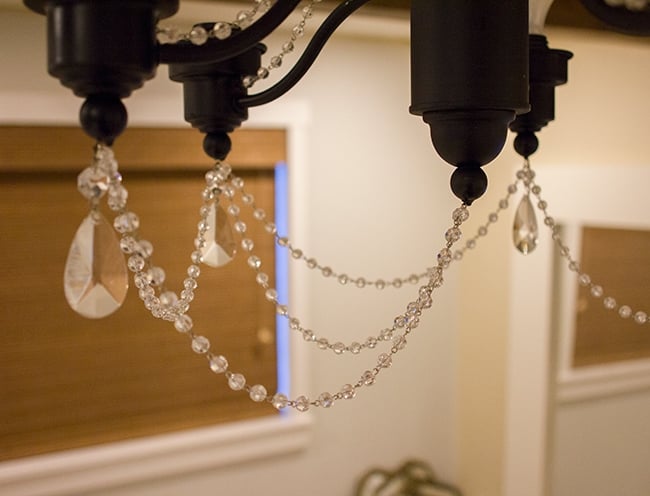
Then I used the last five sections to go between each post.
I grabbed up another small hanging crystal at Joann’s for the bottom center (I just thought it needed one more there).
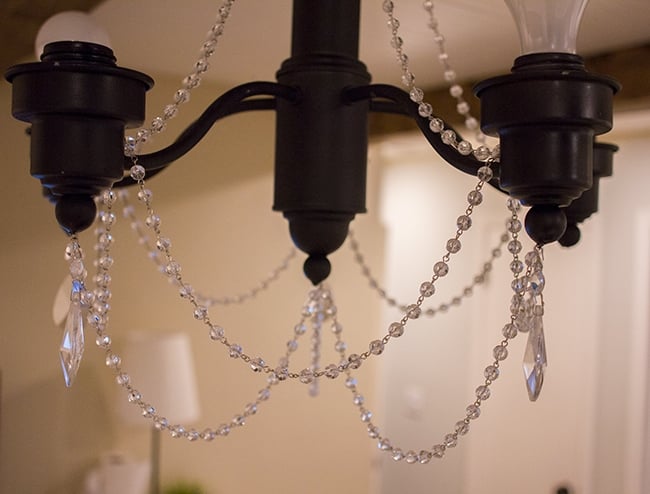
Lastly, I picked up some Candelabra bulbs from Lowe’s (around $1/ea):
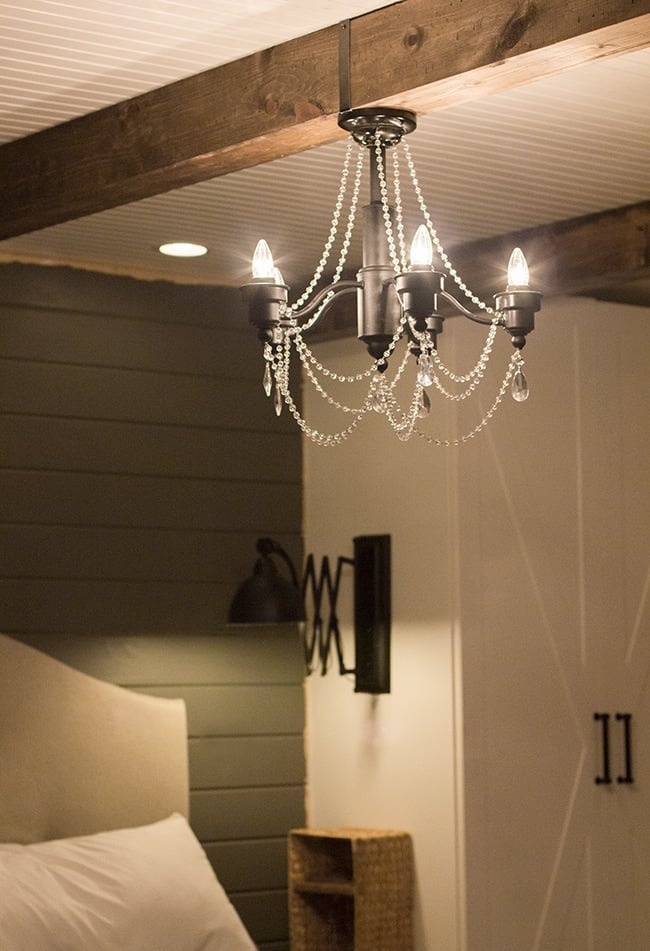
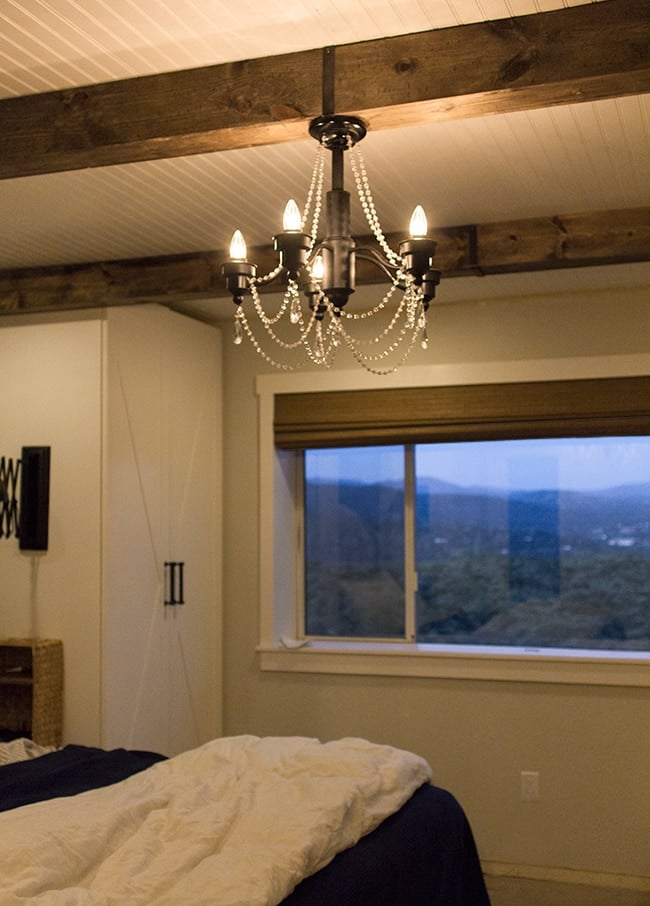
And boom, instant romance.
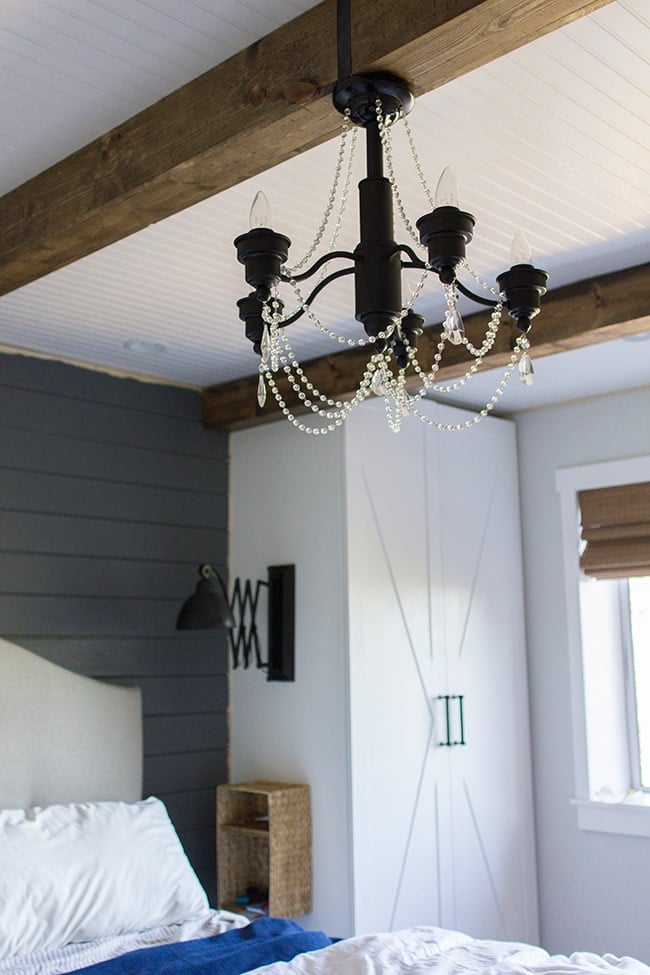
It emits such a gorgeous glow.
Especially at night.
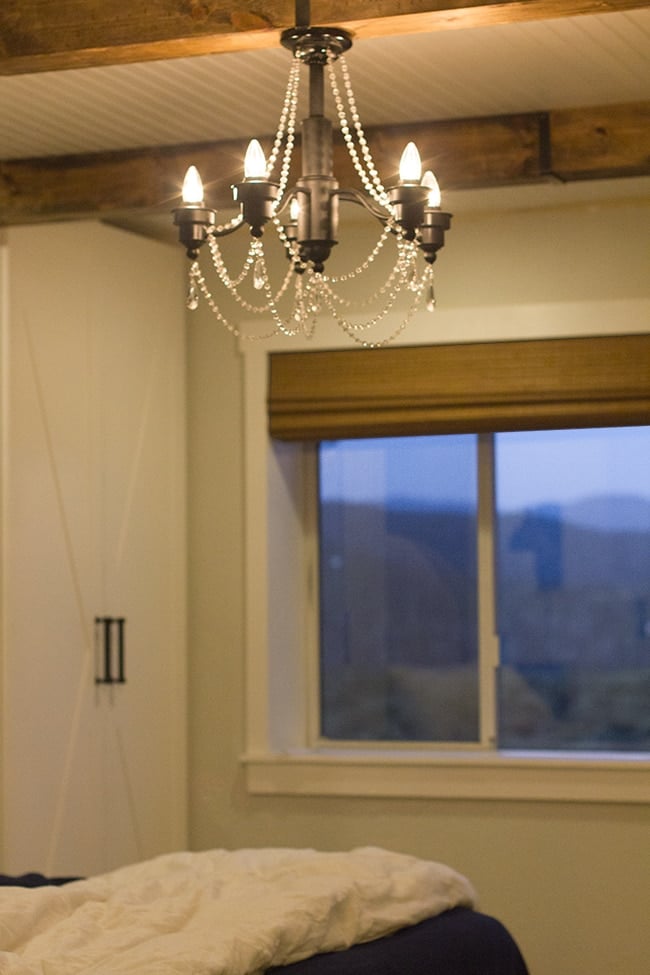
Just what this room needed.
Sorry, I couldn’t stop taking pictures (ignore the unfinished parts, please!)
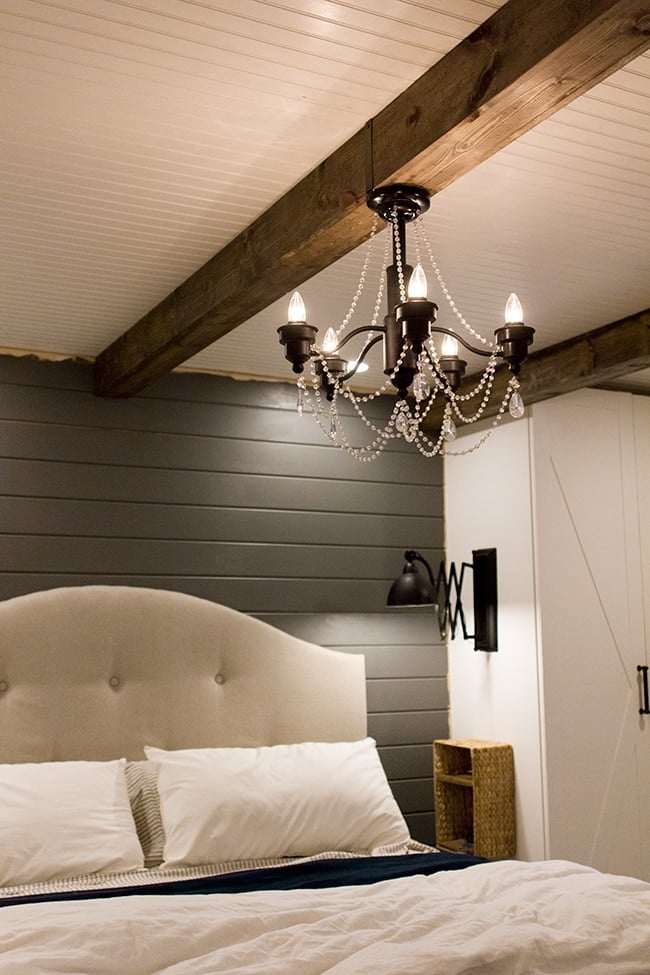
One more…
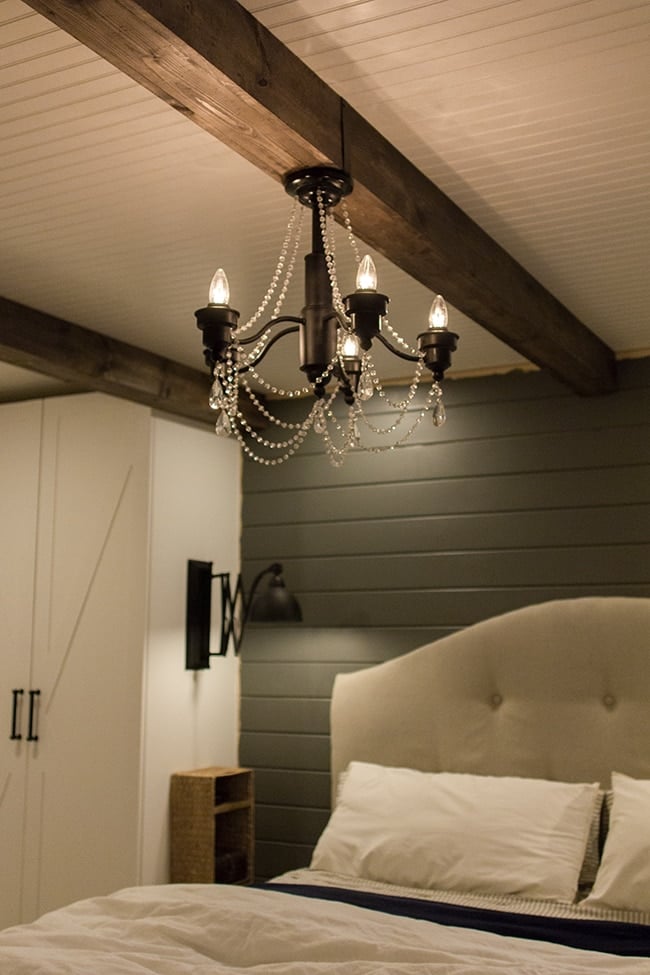
The room is starting to feel less like a construction zone and more like a Master Bedroom. Except there’s still dust and screws and nails everywhere, and it will be like that until we’re done (next month!)
Just for fun, can we look back to what this room looked like not too long ago?
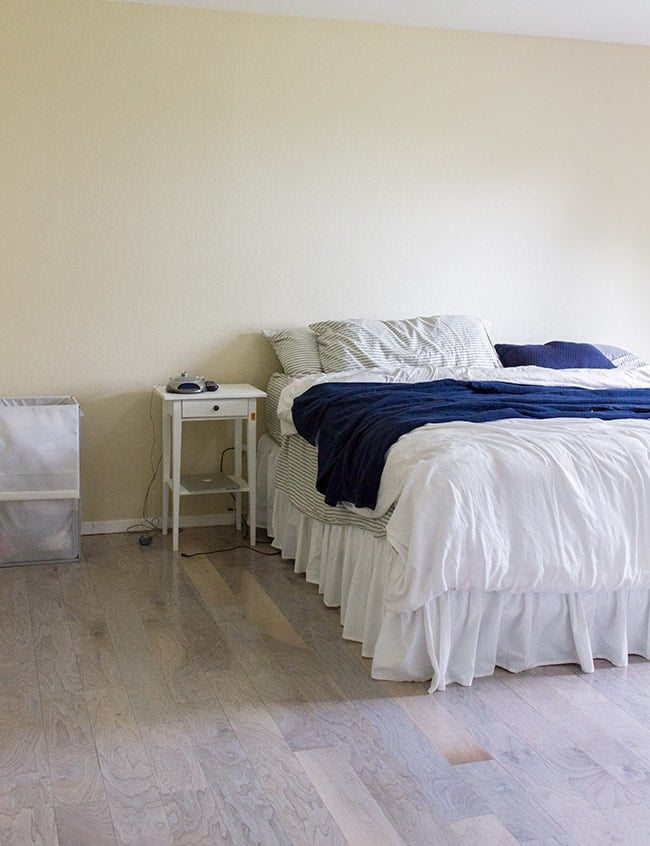
So glad we’re over that phase! But there’s still a long way to go, and I’m happy to report that I scored my greatest find ever this week… my vintage dream dresser. It’s currently in the garage getting a makeover so it should be ready to show off on Monday. Check back then for the results, or if you can’t wait, follow my instagram for real-time updates 🙂


Jill says
They don’t seem to have the chains you bought anymore. I have looked online, but can’t seem to find any that are completely round beads, are the beads on your chains balls or flat disk like beads?
jennasuedesign says
They’re round beads. They must have similar styles elsewhere online — try ebay!
katrina says
Love this! You did a great job. Gives me inspiration.
Sarah Meiring says
Love this chandelier!!!
Can you tell me where you bought your crystal beads from! thank you
Sarah- xooxoxoxoxo
https://couturegal.com
Jenna Sue says
Thank you! It's Rustoleum's satin black.
denise desarden says
I love it! You did a wonderful job transforming the look. I might have missed it but do you mind telling me the name and brand of the color you used? That is the exact color I need.
cheers!
denise desarden says
I love it! You did a great job transforming the look. I might have missed it but would you mind telling me the name and brand for the color you used? That is the exact color that I need:)
cheers!
Jenna Sue says
That's just the outer plate that came with the fixture 🙂 We just drilled a hole through the beam, connected the wires, attached the mounting bracket to the bottom of the beam along with the plate to hold it up. Hope this helps!
Anonymous says
It looks like you added an additional top plate to the one you already had, the final picture looks bigger than the one with holes drilled, did thid help secure it at all? Also some additional info on how it was wired in would be awesome. I bought a similar one years ago on craigslist to revamp it for my bedroom but I am scared to take down the ugly fan and do the wiring. I also want to make sure it isnt going to fall down either. Any advice would be awesome.
Jenna Sue says
They are silver 🙂 Joann's has jewelry bails in the jewelry making section. I was only able to find one brand. Try a different store or maybe online?
Pat says
Love this! Tried numerous times to contact cristalier because I cannot make out what color the wire between the balls are. Alson I have tried Joanns and I cannot find anything that looks like the hooks you used. Any suggestions?
Pat says
I have been trying to get in touch with cristalier about a few questions I have about the beads you used and I cannot get through with the phone number from there website or on their FB site. I cannot tell from your picture if the wire between the beads are silver or gold? Also I cannot find tge hooks you used anywhere i even tried Joanne and showed them the pic and they don't have them. Any suggestions or more information?
Amye Mae says
Thanks for such a straightforward and descriptive tutorial! I have been on the hunt for light fixtures since we moved into our house in August, and this is very inspiring.
Jenna Sue says
It was black satin spray paint, Rustoleum I believe. Hope this helps!