• Skip to primary navigation
  • Skip to main content
  • Skip to primary sidebar
  • Skip to footer

    Nav Social Menu

    • Email
    • Facebook
    • Instagram
    • Pinterest
    • YouTube
  • Houses + Sources
  • DIY Projects
  • My Shop
  • About Jenna Sue
  • About the Blog
  • Contact
Jenna Sue Design

Jenna Sue Design

DIY tutorials, home design and budget decor inspiration

  • Houses + Sources
    • Heights House
    • Riverside Retreat
    • Cottage House Flip
    • Modern Farmhouse
    • SEE ALL
  • DIYs
  • My Shop
  • About
    • About Jenna Sue
    • About the Blog
  • Contact
Home » Modern Farmhouse » Master Makeover: A DIY Chandelier Transformation

Master Makeover: A DIY Chandelier Transformation

July 10, 2014 | By Jenna Sue Modern Farmhouse, DIY Projects

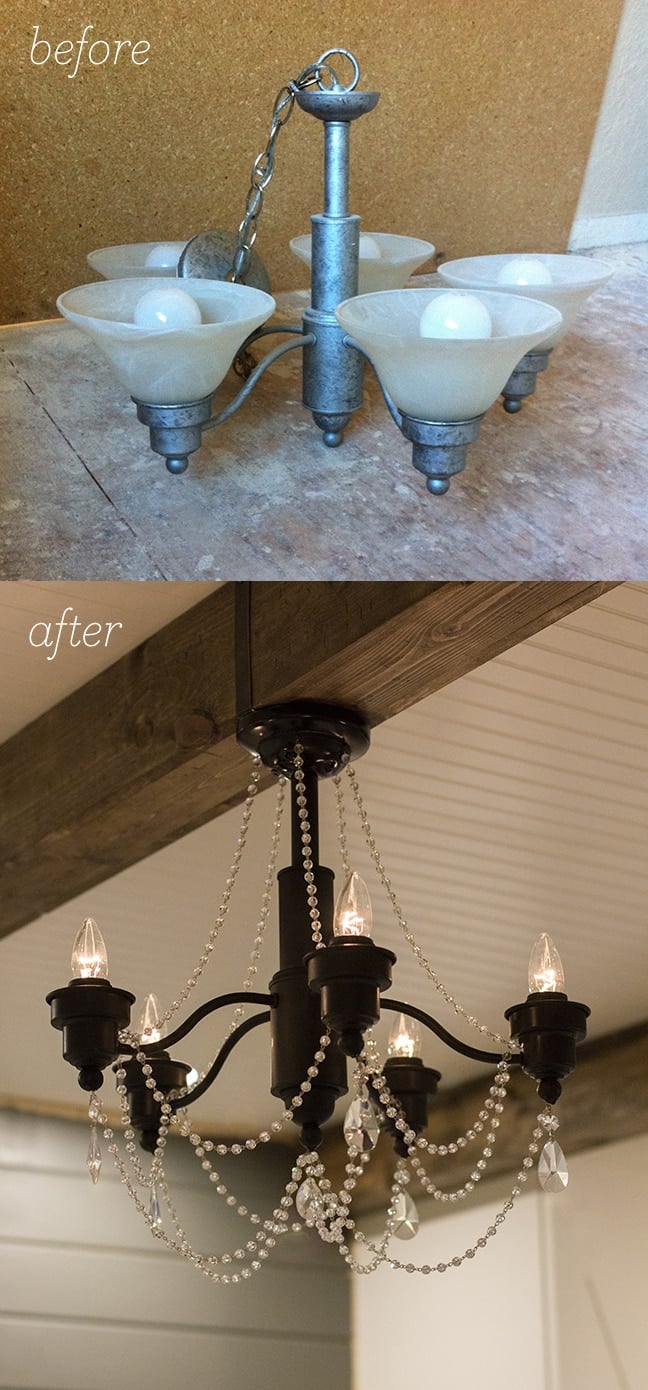
How’s this for a Transformation Thursday?

Pin
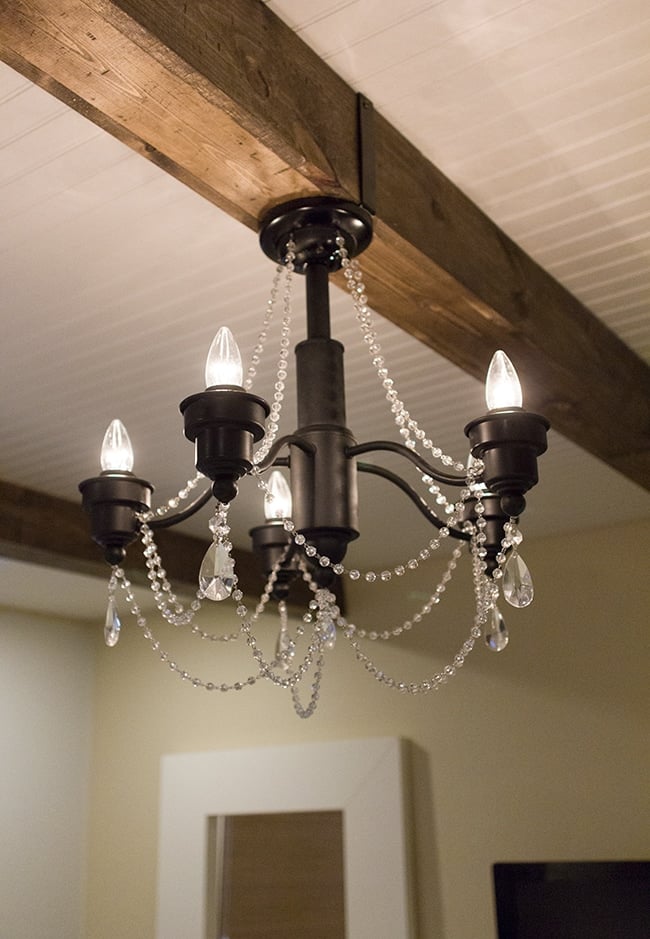
Best $45 ever spent… I can’t stop staring at it!
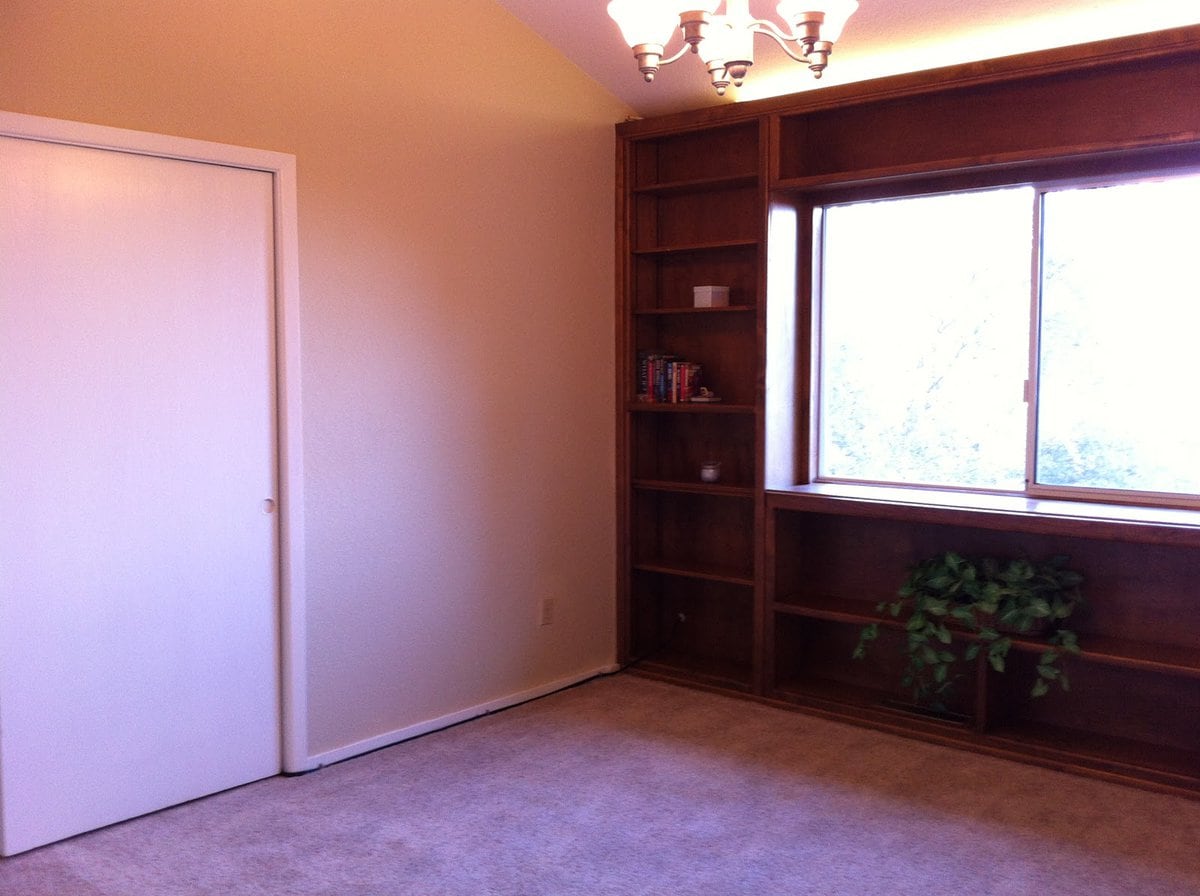
This fixture was originally hanging in my current studio when we bought the house (it’s probably the one thing we were actually able to salvage from the home, woohoo!)
I neglected to take an installed Before photo but you can see it at the top of this one when we first stepped inside this house:
Pin
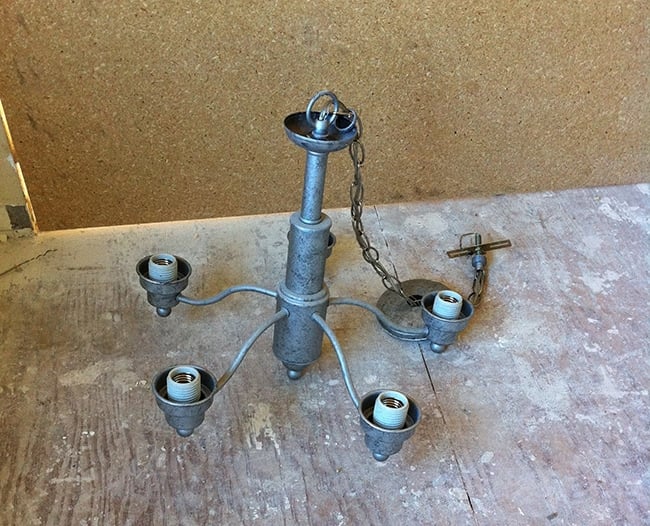
After removing the glass shades I saw some potential.
Pin
It sat in storage until a couple weeks ago when I started to formulate my plan. If ever there was a place to add some romance and sparkle, a master bedroom is it. We’ve added a lot of architecture and hard surfaces to the space so far—now it’s time to balance that with some softness and set the mood.
The recessed lighting has completely transformed the feel of this room (I could go on forever about on how important lighting is), so this is yet another way to control the atmosphere, and why not also make it a focal point in the room?
Once the plan was set in motion, I headed to Pinterest to find tutorials as I had no idea where to began. Pinterest fell pretty short here… I only found a few and they weren’t that detailed, leaving me to mostly try and figure it out on my own.
I did find a great online source for inexpensive crystals—Cristalier.com.
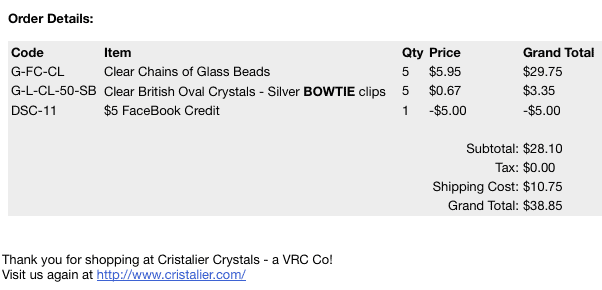
After sketching out a rough idea and using string to lay out my strands, I placed my order:
Pin
15 feet of glass beads and 5 crystal pendants (and I found a Facebook code online) for under $40 shipped, not too shabby.

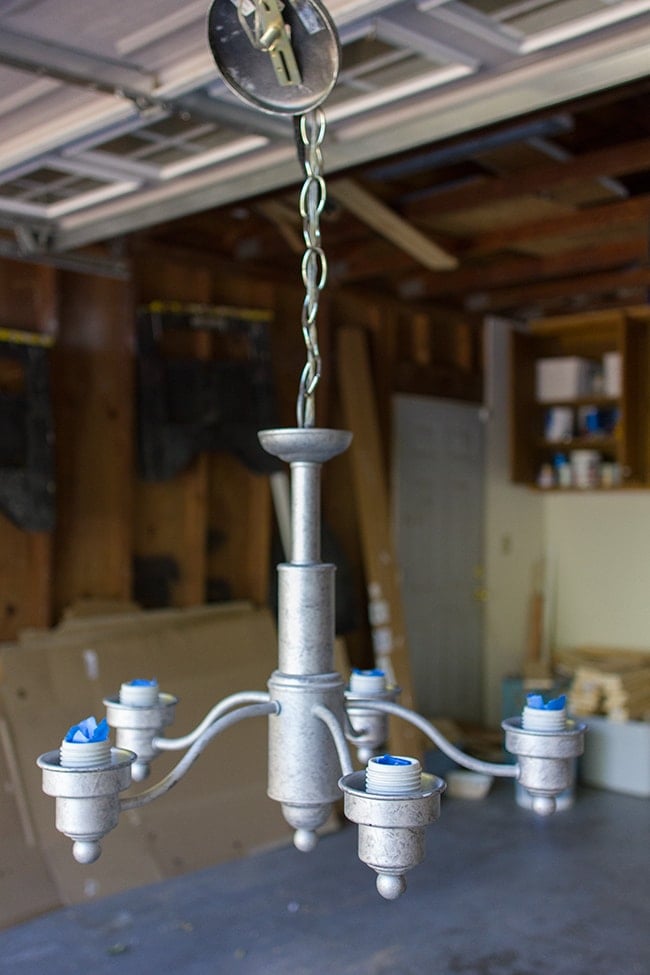
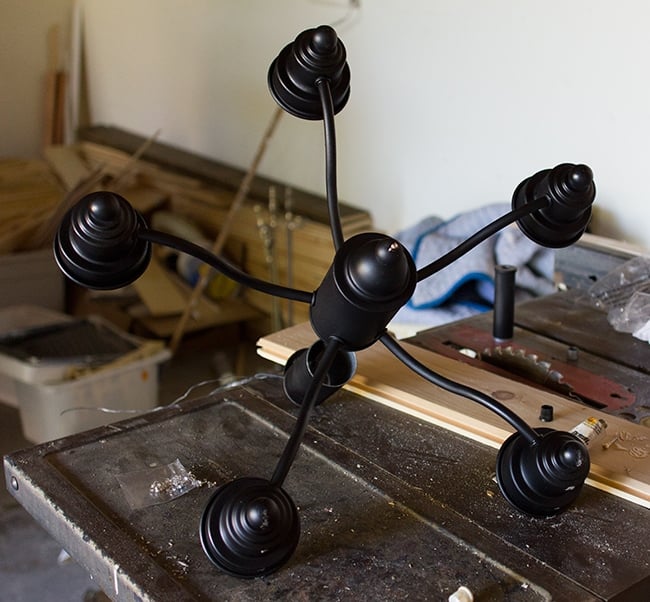
Before I could think about hanging them, I decided to spray paint the metal in a satin black. Just wasn’t feeling the hammered silver.

I hung it from the garage door for easy paint application…

Pin
After painting & letting it dry for a day, I disassembled it and removed the chain and rod so we could mount it directly to the beam.
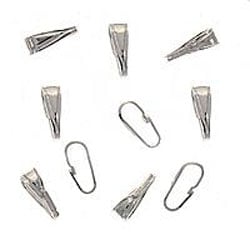
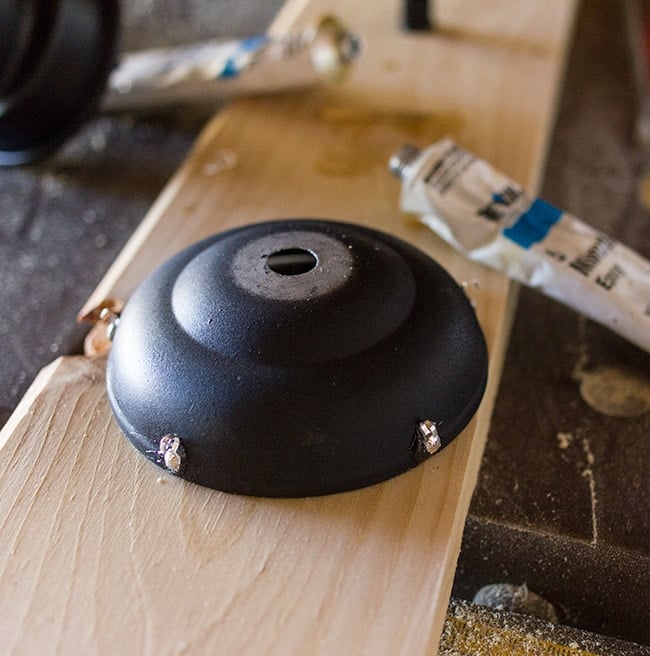
Now, how to attach these crystals to it? With these little clasps called jewelry bails:
Pin
I can’t find a closeup of the ones I used but they were the only ones Joann’s carried. And they were kind of a pain.
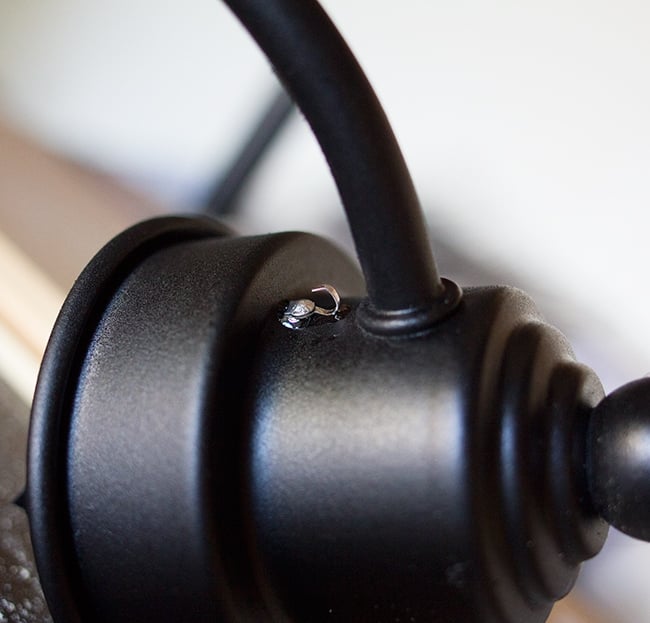
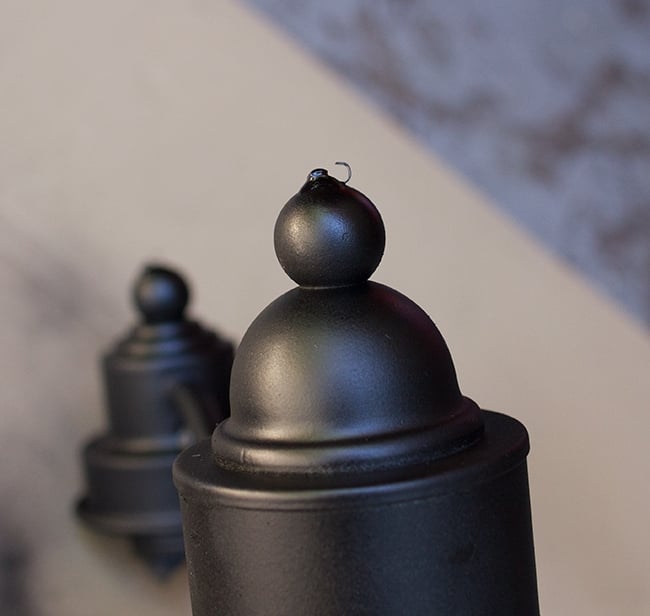
At first I tried attaching them with hot glue, which was a total joke. It didn’t bond at all. Then I used Epoxy and it worked.
Pin
Each bulb housing had to have two (one on the inside and one on the bottom).
Pin
Pin
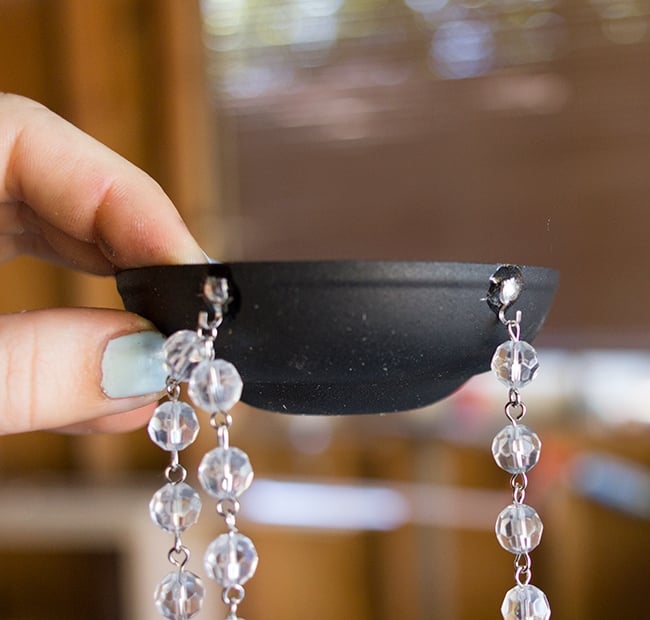
I also added five on the top plate.
Pin
The key is to use a big ‘ol blob of glue to cover it completely so it stays secure.
After letting it cure for a few hours (just to be safe) I added some weight and they stayed on!
Pin
To make them blend in, I sprayed a couple more coats of paint so there was no visible silver.
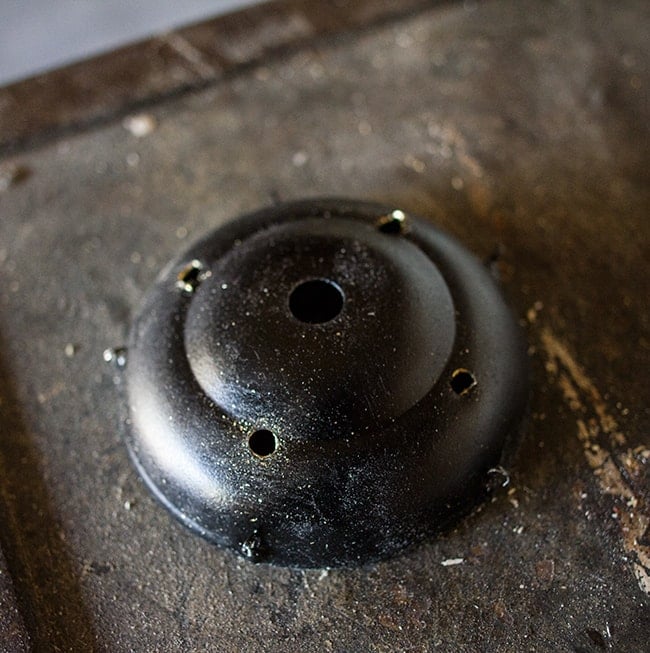
Because we had removed the chain and modified the top, there had to be a way to secure the chandelier to the wood beam, so we drilled some holes into the top plate and drove long screws into the beam.
Pin
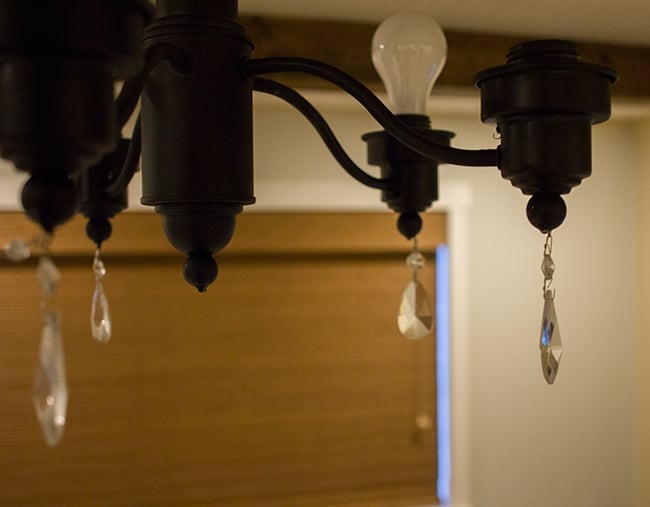
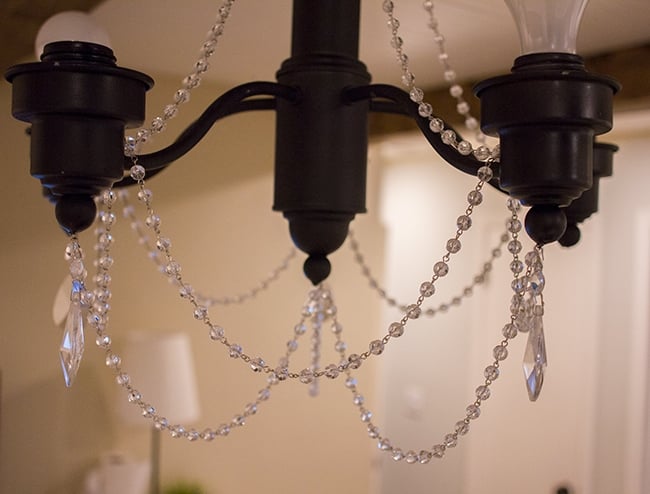
Then came the fun part… dressing it up! I started by adding the hanging crystals.
Pin
Then I split my 15 feet of chain into one foot sections to connect between each post (luckily the wire loops connecting the beads bend pretty easily to take them apart.

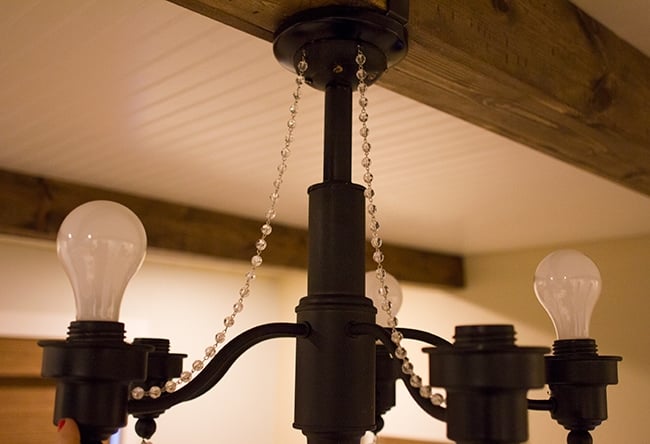
< div>I draped five sections up to the top piece (ignore the bulbs, they were temps.)

Pin
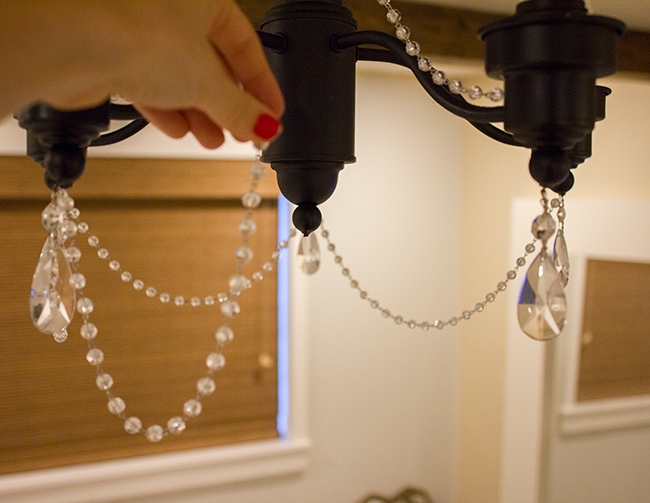
Then five sections from the bottom of each post to the bottom center.
Pin
Pin
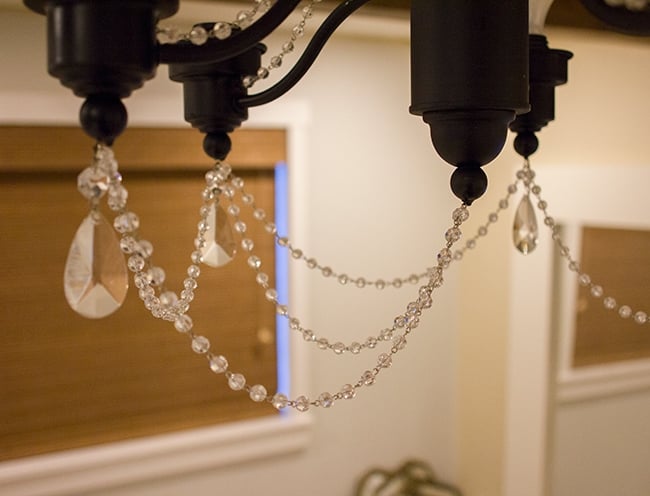
Then I used the last five sections to go between each post.
Pin
I grabbed up another small hanging crystal at Joann’s for the bottom center (I just thought it needed one more there).
Lastly, I picked up some Candelabra bulbs from Lowe’s (around $1/ea):
Pin
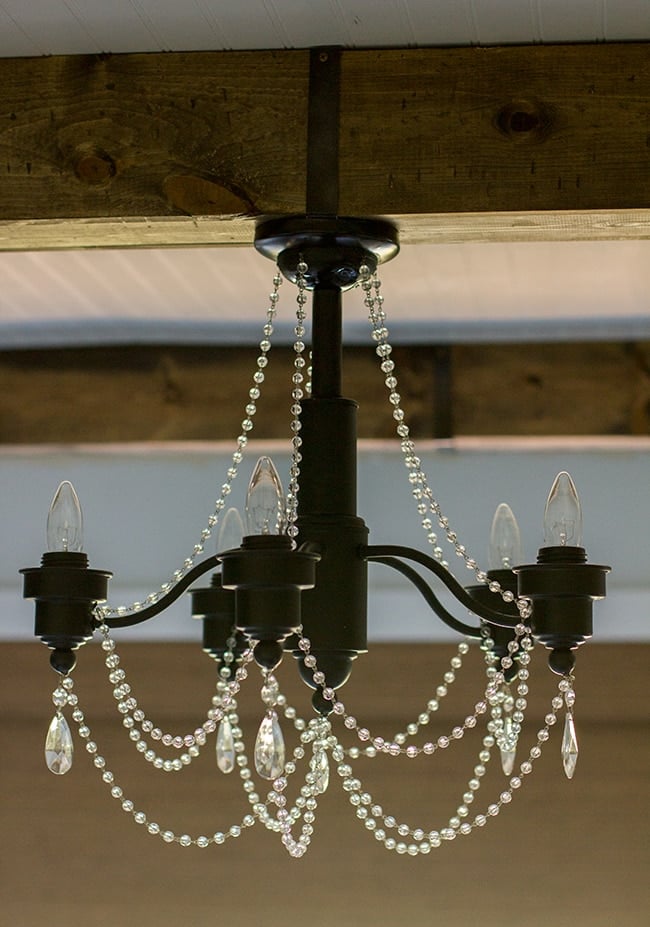
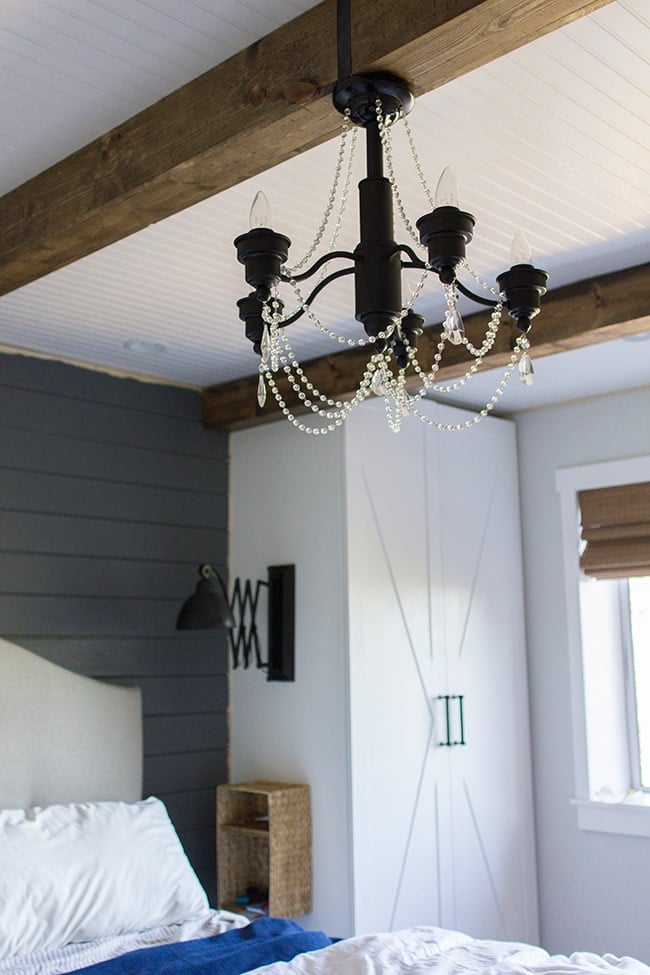
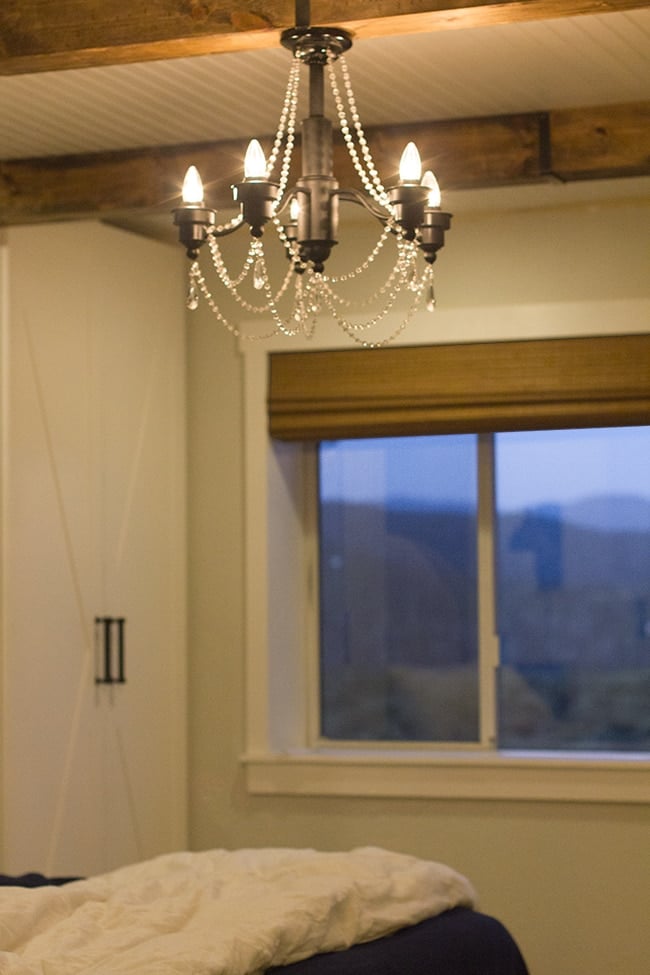
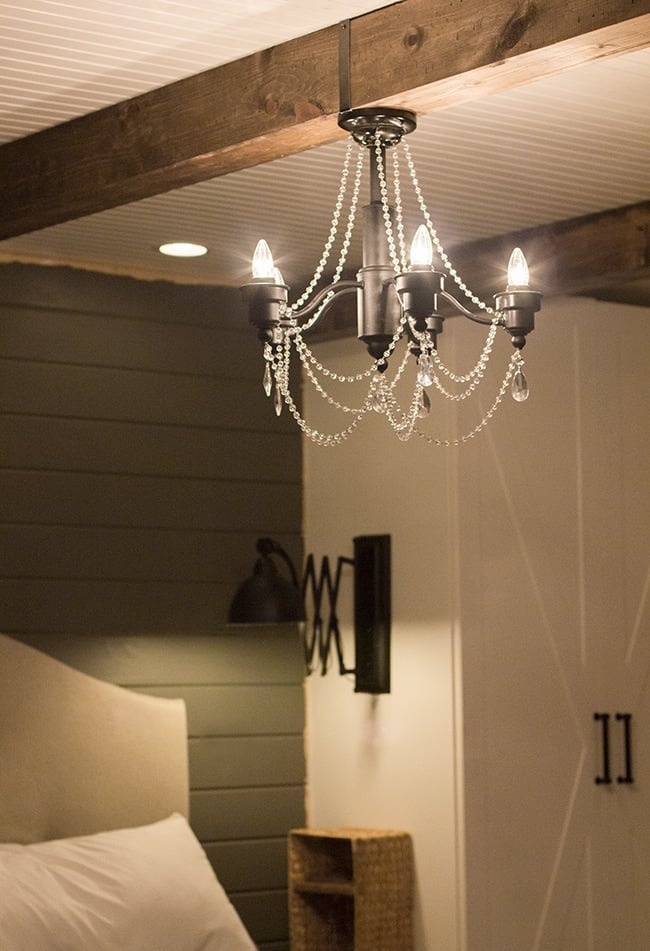
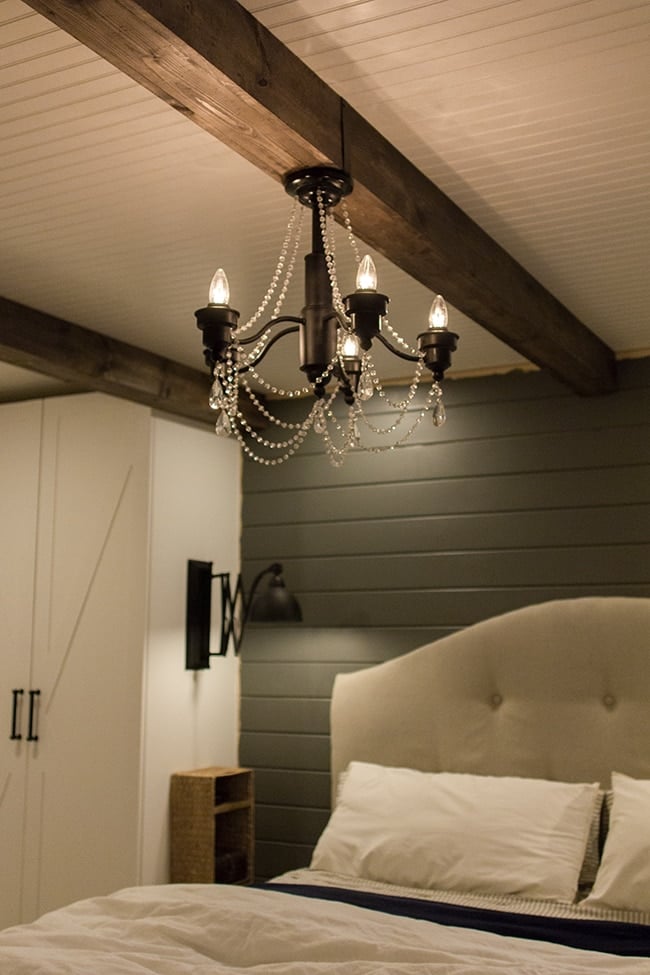
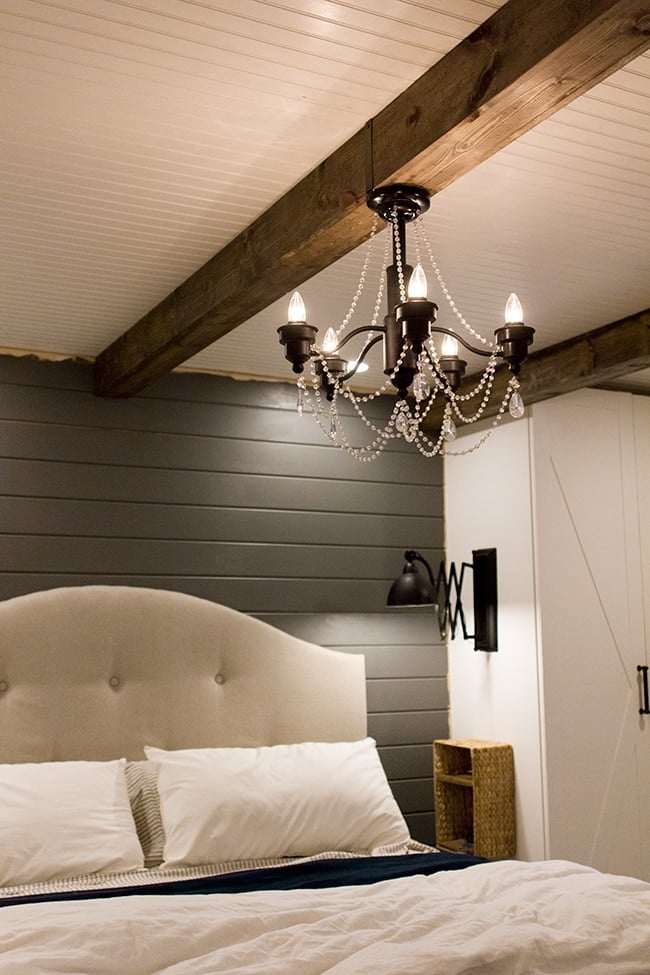
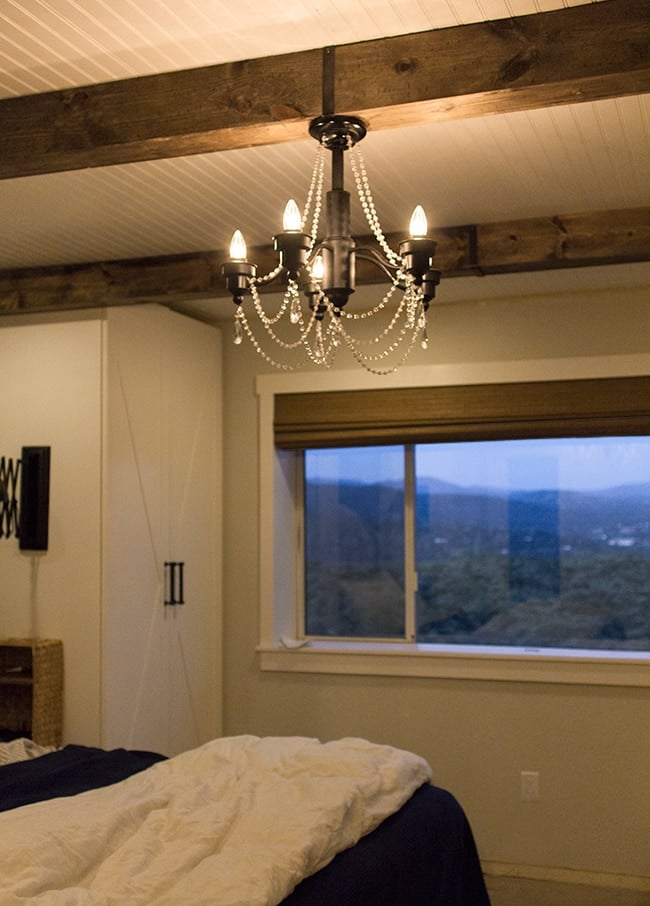
And boom, instant romance.
Pin
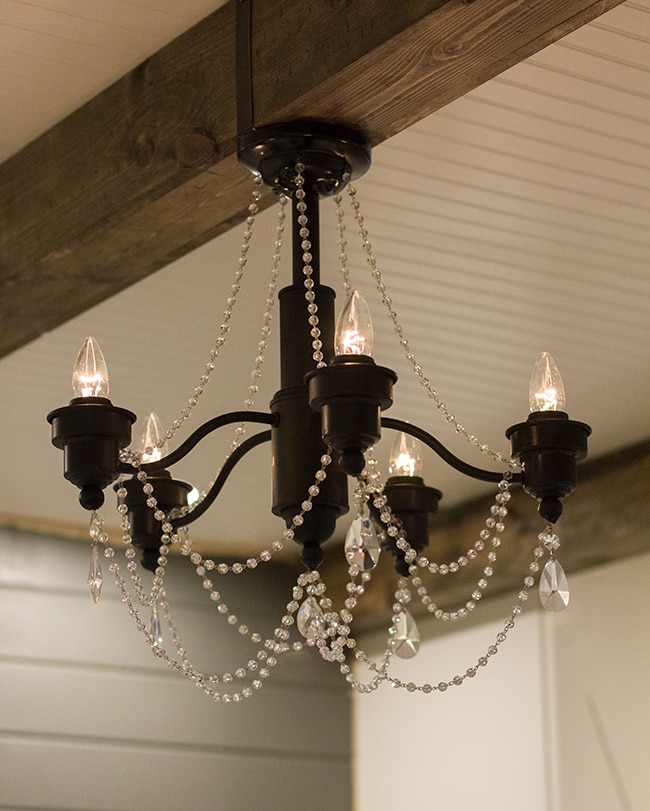
It emits such a gorgeous glow.
Pin
Especially at night.
Pin
Just what this room needed.
Pin
Sorry, I couldn’t stop taking pictures (ignore the unfinished parts, please!)
Pin
Pin
Pin
One more…
Pin
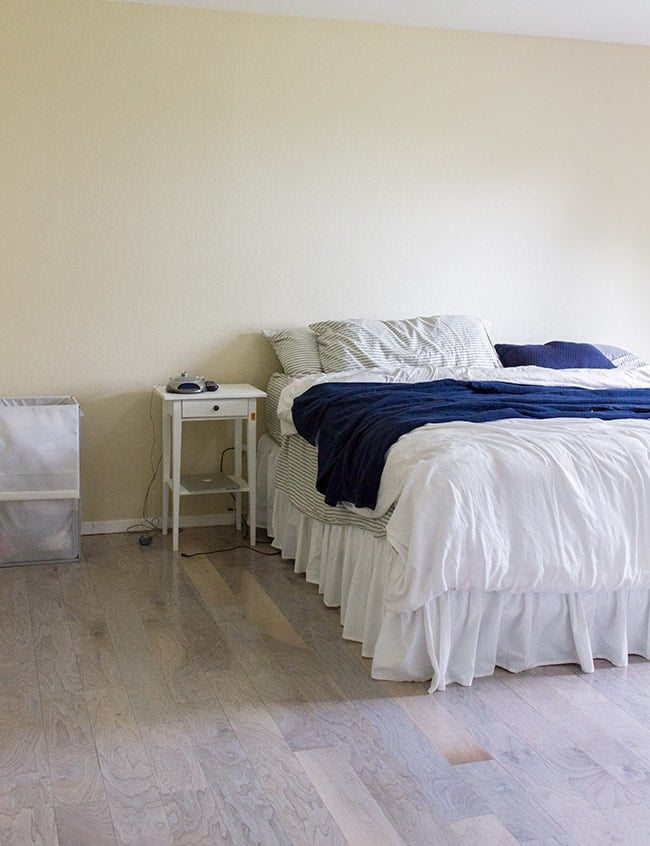
The room is starting to feel less like a construction zone and more like a Master Bedroom. Except there’s still dust and screws and nails everywhere, and it will be like that until we’re done (next month!)
Just for fun, can we look back to what this room looked like not too long ago?
Pin
So glad we’re over that phase! But there’s still a long way to go, and I’m happy to report that I scored my greatest find ever this week… my vintage dream dresser. It’s currently in the garage getting a makeover so it should be ready to show off on Monday. Check back then for the results, or if you can’t wait, follow my instagram for real-time updates 🙂
Pin

Related posts:

DIY Reeded Glass Door
How to DIY Floating Kitchen Shelves
DIY Venetian Plaster Fireplace
TwitterFacebookEmail34Pinterest
34
SHARES
Previous Post: « Master Makeover: DIY Wood Beams
Next Post: Refurbishing a dresser with a natural wood finish »

Reader Interactions

Comments

  1. Ruth Burroughs says

    December 13, 2014 at 1:10 am

    What kind of black paint did you use?

  2. Daniela Moysés says

    December 5, 2014 at 5:50 am

    I loved it! Great job! I can't stop look the pictures too and I will start to follow you on Instagram nooooooooow!

  3. Anonymous says

    November 11, 2014 at 8:55 pm

    I'm just wondering if you know if you could make this then add a shade to it as well? I like when there's a shear shade and the crystals peek out at the bottom and slightly through the shade

  4. Paul Fitzpatrick says

    August 10, 2014 at 4:15 am

    Awesome job! I've done something similar with a couple of candle style wall sconces turned upside down painted gloss white and added long icicle crystals from an old chandelier (free!). I was wondering where did you get those wall mounted arm lamps?

  5. Jenna Sue says

    July 17, 2014 at 3:00 pm

    You should do it! Closets are the perfect space for some sparkle.

  6. K Frer says

    July 17, 2014 at 2:46 pm

    I love this! I SO wanted a glam chandelier somewhere in our house, and would have loved to do this to our dining room. Alas, it's long since hit the junk pile (actually I think we craigslisted it?) and been replaced by something more modern from Ikea. I like the modern too….but still….Maybe I can swing a mini version of this in my closet or something!

  7. Rachel says

    July 11, 2014 at 9:34 pm

    Gorgeous! 🙂

  8. Tessa Ernst says

    July 11, 2014 at 1:07 pm

    That looks great, you have such a good vision and you do a great job of bringing your vision to life. One of the best things about your blog is you are real, you admit mistakes and you share pics throughout the whole process, not just the finished product. You keep us all in the real world, these transformations take time (and $) and you are a great inspiration. Keep it up!

  9. Aimee Rose says

    July 11, 2014 at 3:57 am

    Love the combination of rustic chic, this room has come such a far way from where it started – it definitely motivates me to get working on mine!

  10. Katie Alberter says

    July 11, 2014 at 12:31 am

    Great makeover! It looks absolutely beautiful in your bedroom! Totally off topic, but I just noticed your new blog picture and you look great!

  11. Lauren says

    July 10, 2014 at 3:49 pm

    Wow I wouldn't even think that was the same chandelier! It looks sooo good! I have a chandelier in the my stairwell that I've been wanting to paint to match the banister… I'd never think of something like this! Might have to try it 🙂

    Lauren | https://www.livelovelauren.com

  12. Sanditerese says

    July 10, 2014 at 3:45 pm

    You haven't done a single thing that I haven't liked! I love everything you do. Can't wait to see what's next. I wish I had just a bit of your creativity.

  13. stephanie, sandpaper and glue says

    July 10, 2014 at 3:26 pm

    lovely! 🙂

  14. Richelle says

    July 10, 2014 at 3:03 pm

    Great job on the transformation, it looks perfect in your room.

  15. Brianna Jenkins says

    July 10, 2014 at 2:27 pm

    That chandelier looks like something someone would pay a fortune for! It looks great!!!

Newer Comments »

Welcome!

Hi, I’m Jenna and I’ve been designing and DIY’ing my way through homes since 2008. Join me as I learn, share my experience, and hopefully encourage/inspire you along the way!

As Seen In

Primary Sidebar

Welcome!

Hi, I’m Jenna and I’ve been designing and DIY’ing my way through homes since 2008. Join me as I learn, share my experience, and hopefully encourage/inspire you along the way!

JOIN THE FUN

  • Email
  • Facebook
  • Instagram
  • Pinterest
  • YouTube

Shop MY HOMES

  • Heights House
  • Riverside Retreat
  • Cottage House Flip
  • Modern Farmhouse

Shop MY AMAZON

As an Amazon Associate I earn
from qualifying purchases

Recent Posts

  • Fall Stem and Floral Roundup
  • DIY Reeded Glass Door
  • 40+ Sage Green Kitchen Cabinets (with Paint Colors!)
  • Modern Mediterranean Kitchen Reveal
  • How to DIY Floating Kitchen Shelves
  • DIY Venetian Plaster Fireplace
  • How to Make a Sink Drip Rail

Subscribe via email

Footer

Shop My Homes

  • Heights House
  • Riverside Retreat
  • Cottage House Flip
  • Modern Farmhouse

Connect

  • Instagram
  • Facebook
  • Pinterest
  • Youtube

Information

  • Contact
  • About Jenna Sue
  • About the Blog
  • Privacy Policy

Copyright © 2022 · Jenna Sue Design Co. · All Rights Reserved ·

SUBSCRIBE VIA EMAIL: