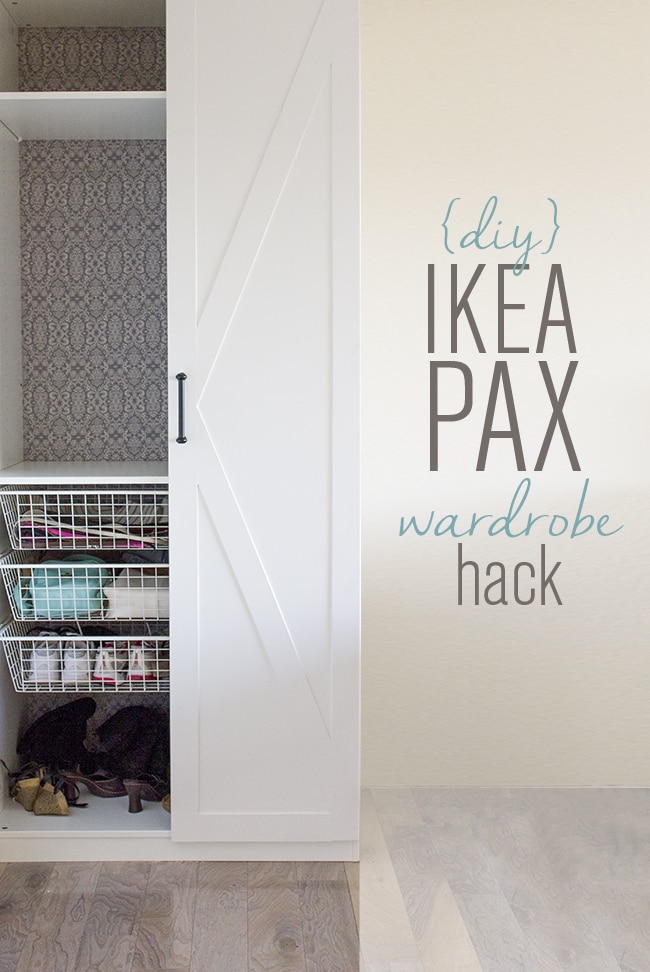
Our Pax wardrobe is rockin’ some fancy doors right now thanks to my latest Ikea pax door hack:
Jump to:
Materials list
- Ikea Ballstad doors (or any plain doors)
- (1) 1/4″ 4×8′ sheet of plywood (ripped into 3″ strips)
- Oil based primer
- Paint
- Hardware
Inspiration
If you remember in my Pax wardrobe part 1 post, I mentioned that I had hoped to get the Bergsbo style paneled doors we have on our pantry, but Ikea didn’t have enough in stock so I settled for the plain Ballstad doors instead, knowing I could transform them somehow.
Excuse the poor garage lighting…

At first I was going to recreate the same paneled look (I love the way it turned out on our foyer door) but then I decided since I’m going through all this trouble, I should switch it up a bit.
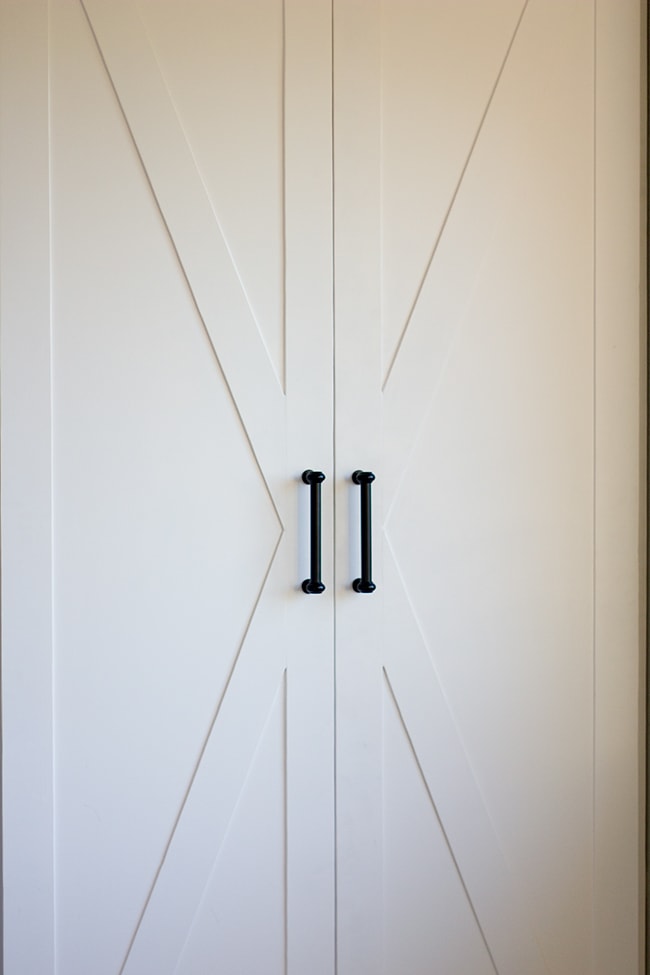
I settled on a criss cross barn door style pattern, similar to this but without the horizontal bar in the center:
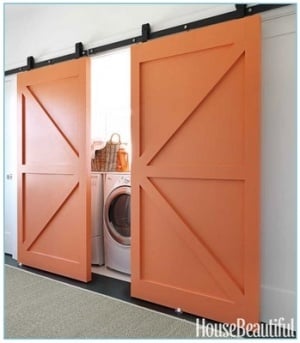
It has a rustic farmhouse meets German cottage style vibe—perfect. Let’s get started.
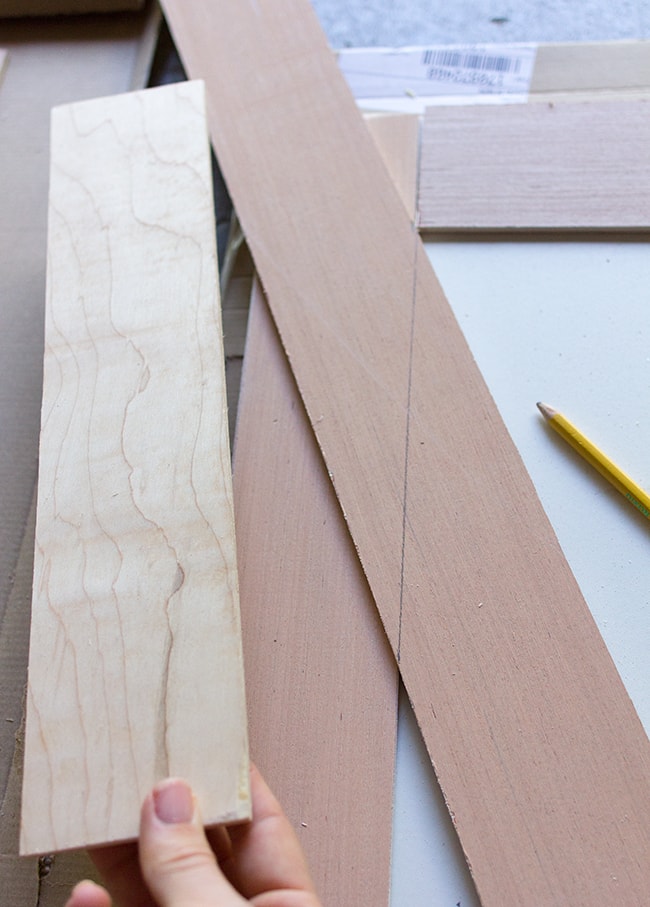
Rip your plywood down into 3″ strips
For the panels, I picked up a cheap 1/4″ 4×8′ plywood sheet at Lowe’s (the pinkish wood that’s $15) and ripped it down into 3″ strips.
Warning: this stuff is not easy to cut into skinny strips using a table saw. At all. There were two of us trying to keep it even the whole time but half of them ended up a little crooked.
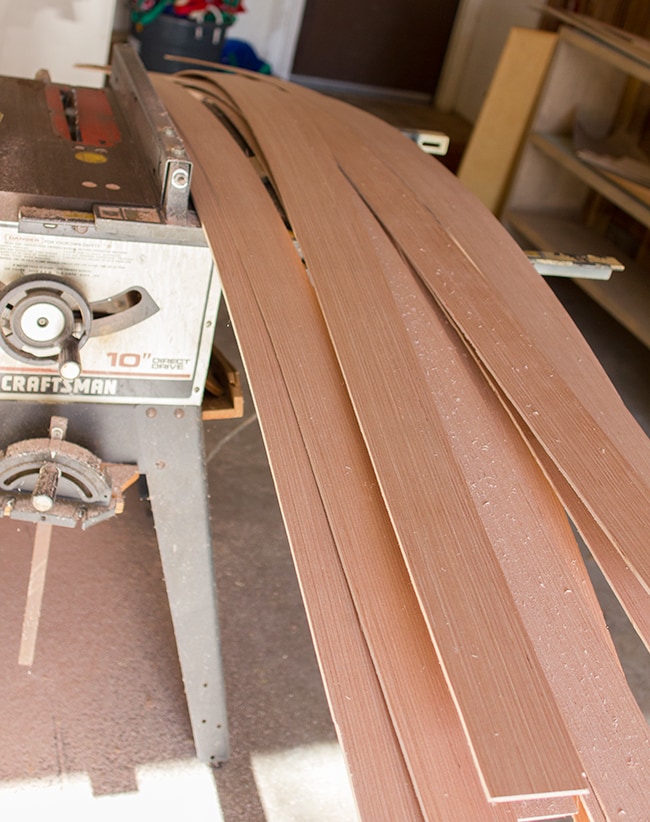
It’s because they’re so flimsy. I probably should have splurged for the $30 cabinet grade 1/4″ plywood because it’s sturdier and easier to cut.
Cut strips to length of the door
Once they were all cut, I selected the straightest strips to use for the edges and started cutting them to the correct length:
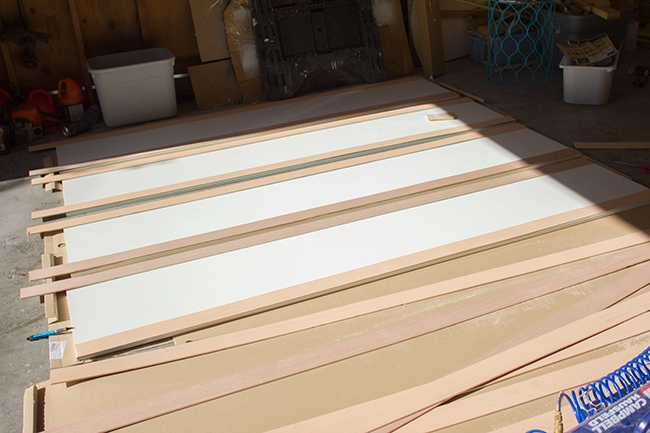
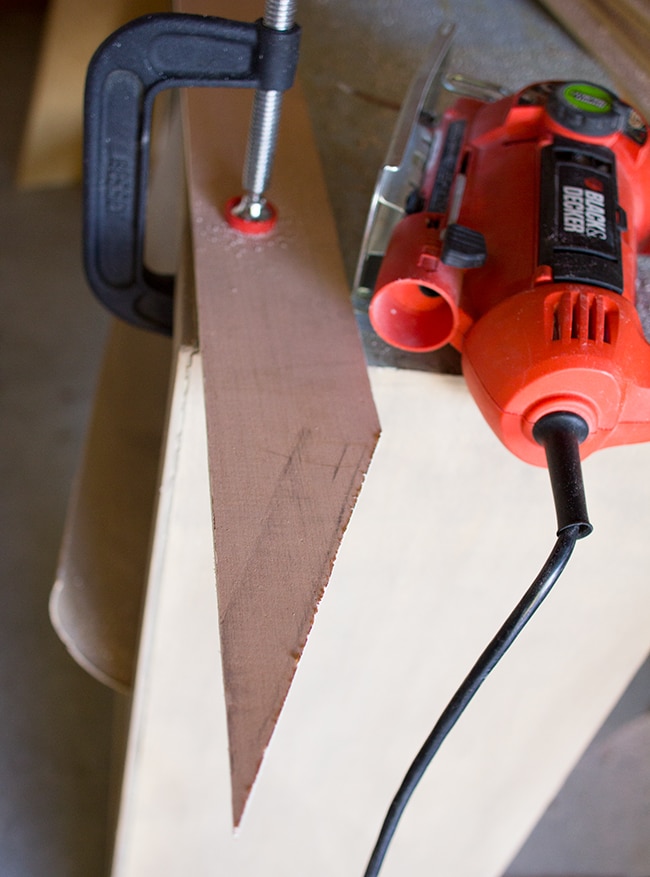
Trace and cut diagonal pieces
Then I chopped up some of the leftovers for the top and bottom horizontal pieces.
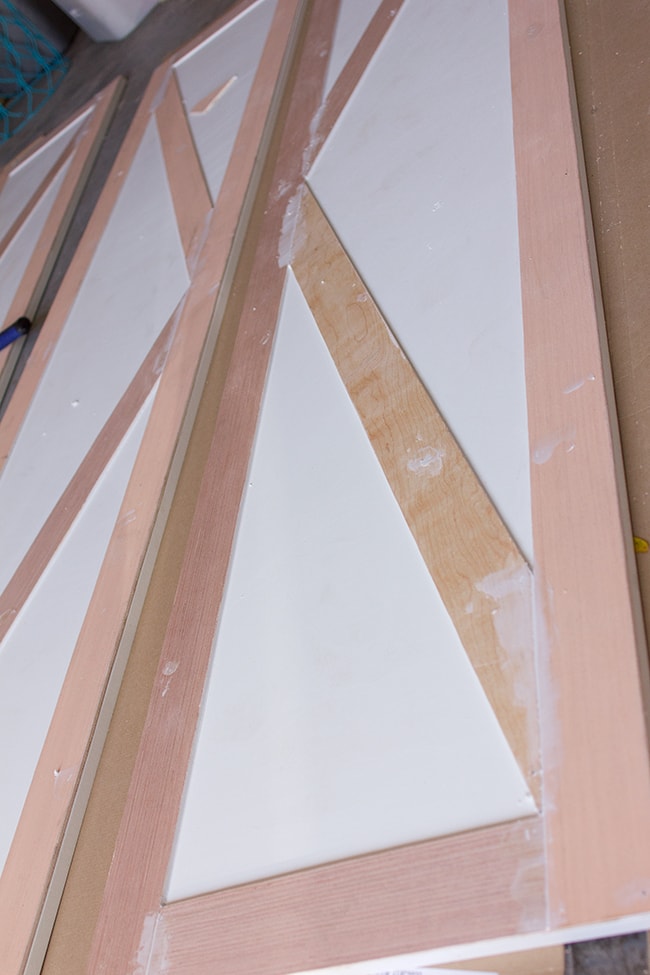
For the cross pieces, I measured to find center and lined it up across the door, then used a straight edge to draw my cut line.
Then… I realized I didn’t have a saw that would cut that angle (it was way past 45°, more like 75°) so I searched through my arsenal of tools to find an acceptable alternative.
At first I tried my skilsaw, but that was a disaster, so my only option was a jigsaw. Yikes.
If there’s ever a project to perfect your jigsaw skills, this one is it. Things started out pretty rough, but by the end I had it down…
All I can say is… thank goodness for caulk. And spackle. And sandpaper.
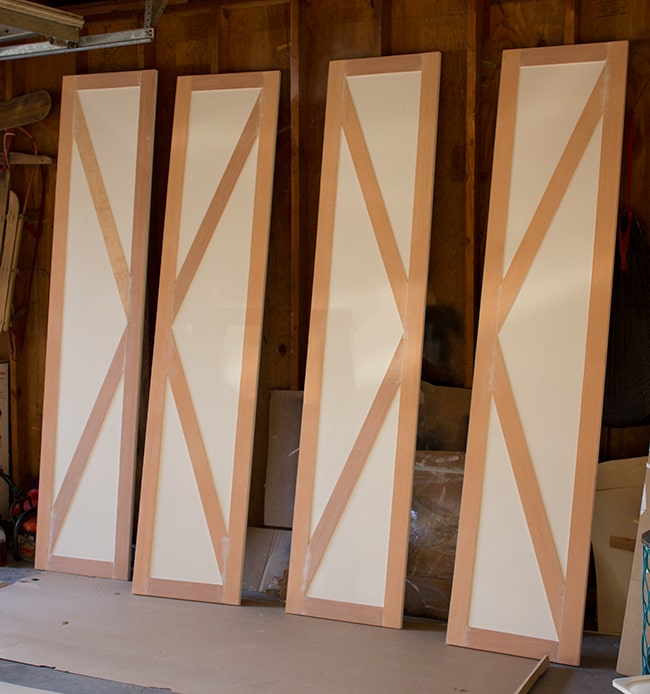
Anyway, after spending half a day making a million cuts and using up every last board I had, my pieces were arranged and ready to attach…
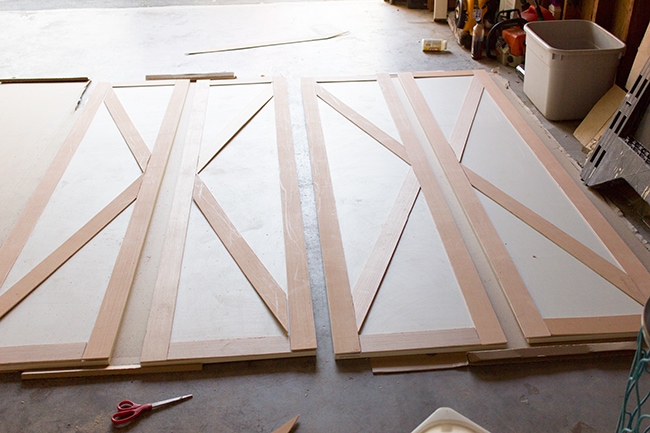
Align pieces and attach with a nail gun
Then I realized my 1″ finish nails were too long, so I ran to Lowe’s and picked up some 5/8″ brads for my nail gun. It worked.
Spackle nail holes and caulk seams
I spent the rest of the evening spackling all the nail holes and caulking every point where the wood met the door…
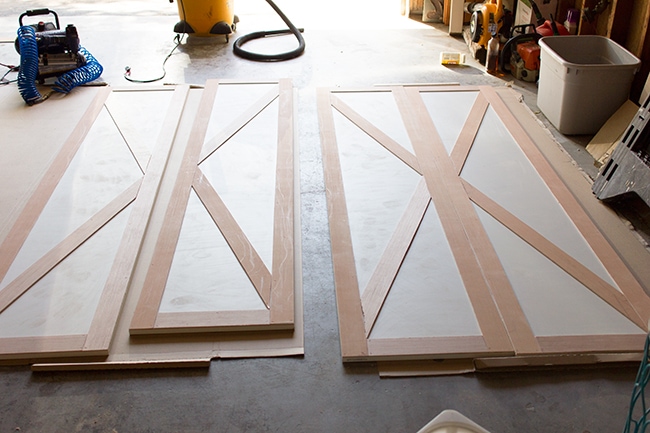
Sand and degloss
Finally, I sanded everything and thoroughly vacuumed & wiped them down with deglosser. They were ready to prime:
Prime with an oil-based primer (if surface is melamine/non-wood)
I used two coats of Zinsser’s shellac-based BIN primer (in the red can)—the shellac based is designed to work with the plastic-y surface of the Ikea doors:

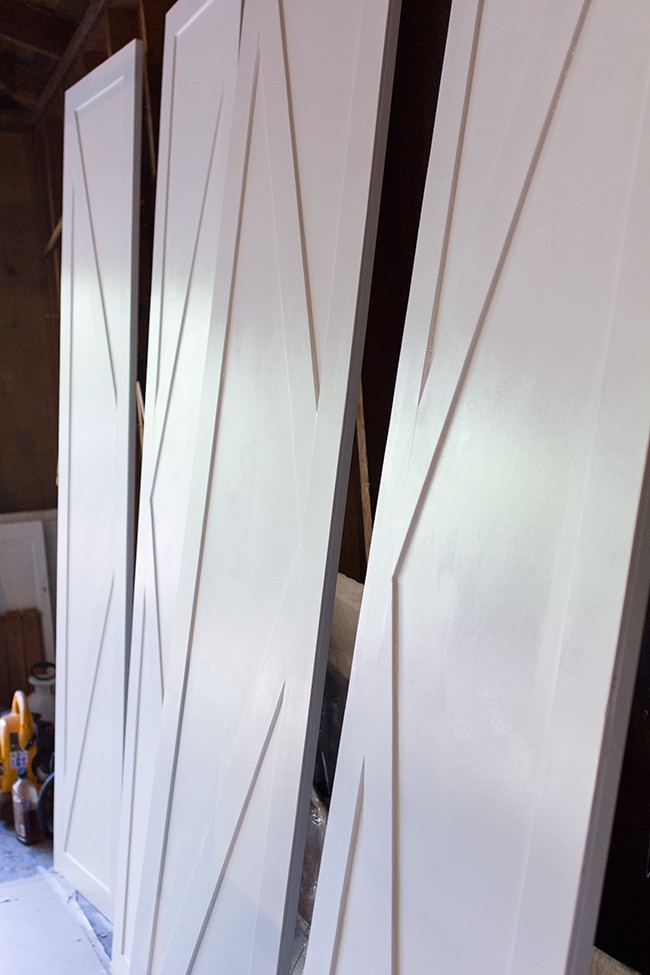
Paint doors
After making sure to sand (using 220 grit) and wipe down the doors between each coat, I applied two coats of Valspar’s Signature paint in satin (color matched to Kelly Moore’s Swiss Coffee):
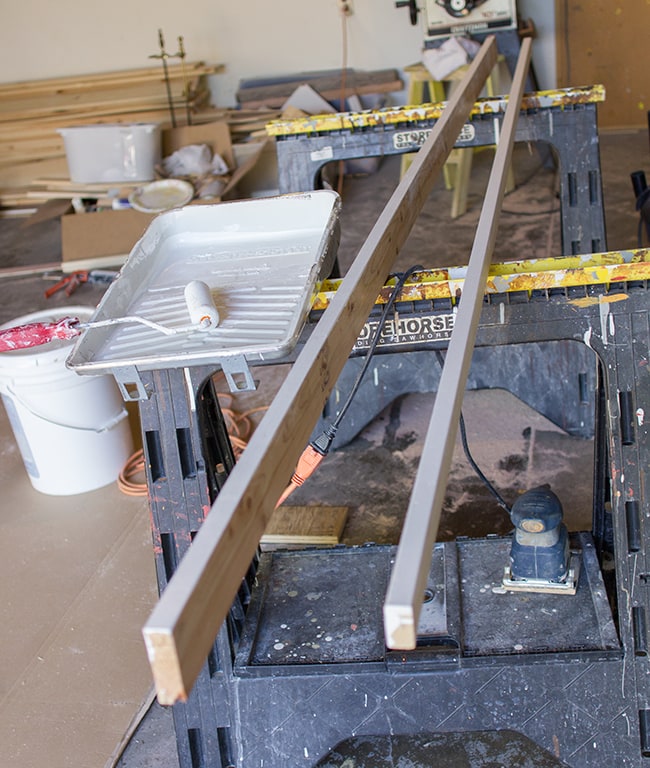
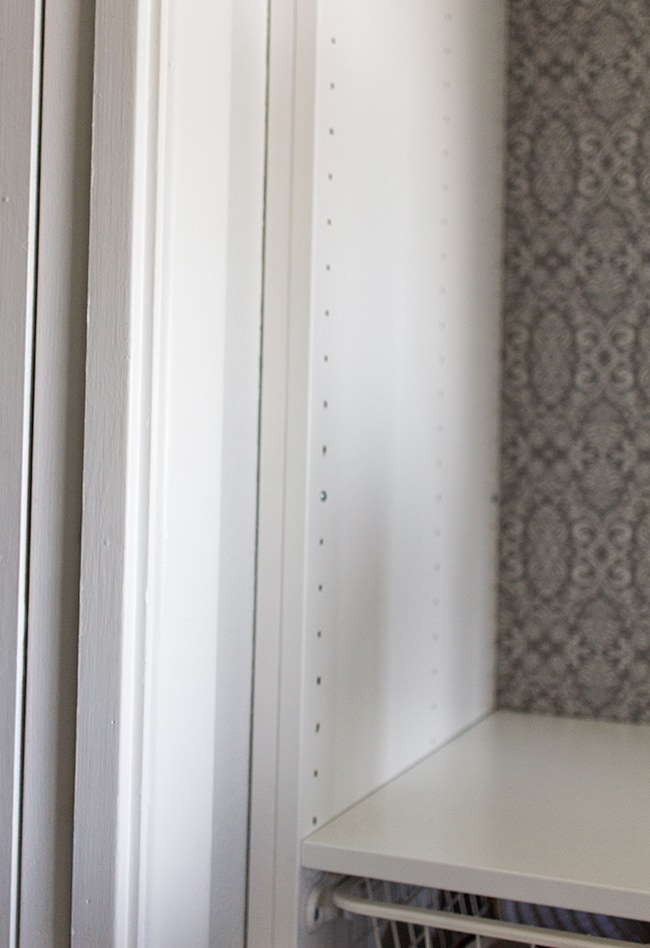
While the doors were drying, I painted the edges of some strips of wood I picked up to go between the wall and the side of the wardrobe. I decided these were necessary so the doors could open up all the way (they were really close the wall).
Install doors
After everything was dry, it was time for installation.
We attempted to secure our strip of wood to the drywall using inserts, which worked at first, but as soon as we secured the back of the wardrobe to the back wall, the inserts all ripped out. Oh, the joys of crooked walls.
In the end, we decided to just attach the painted wood piece to the wardrobe (instead of the wall) and secure everything in place through 1×3″ boards we added in the back corners (which are hidden of course). These things aren’t going anywhere.
Then we put the doors on.
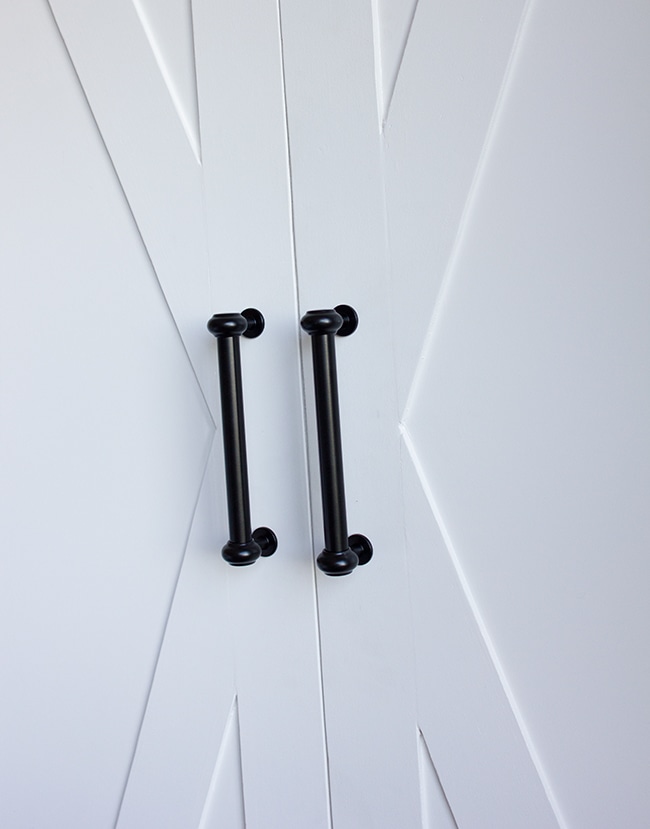
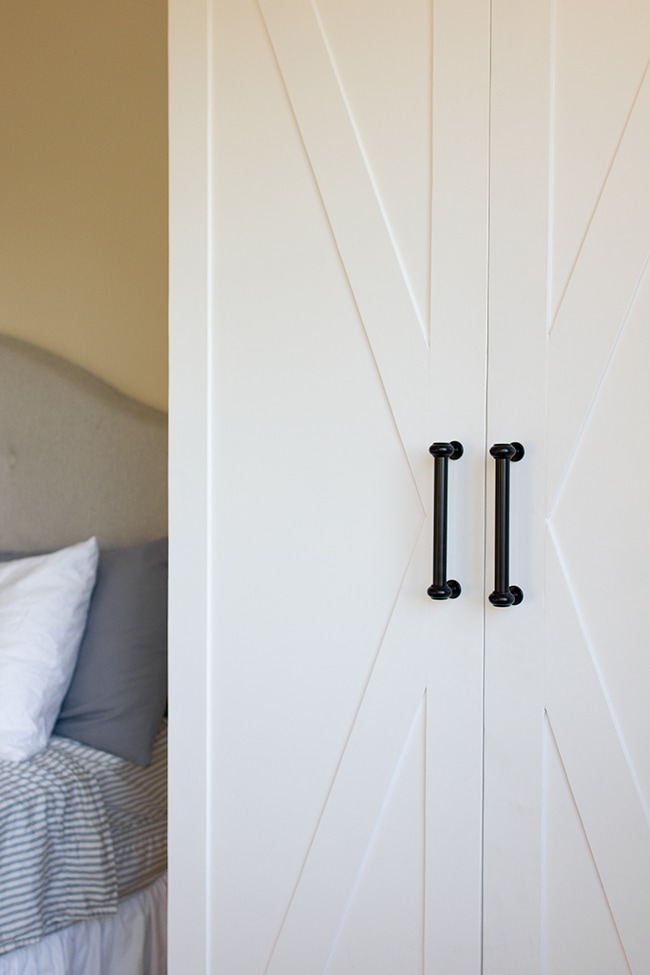
Add hardware
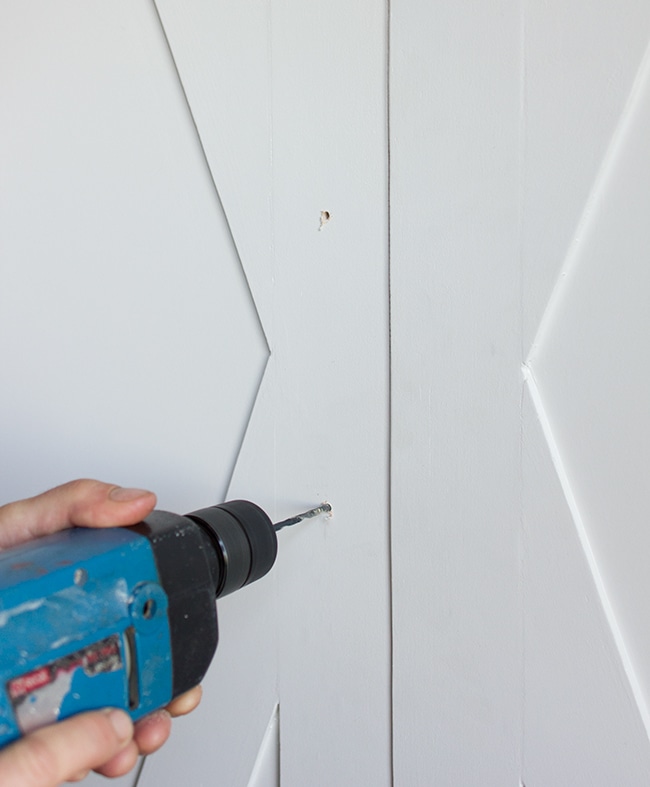
I picked these Fintorp handles up from Ikea. Love them.
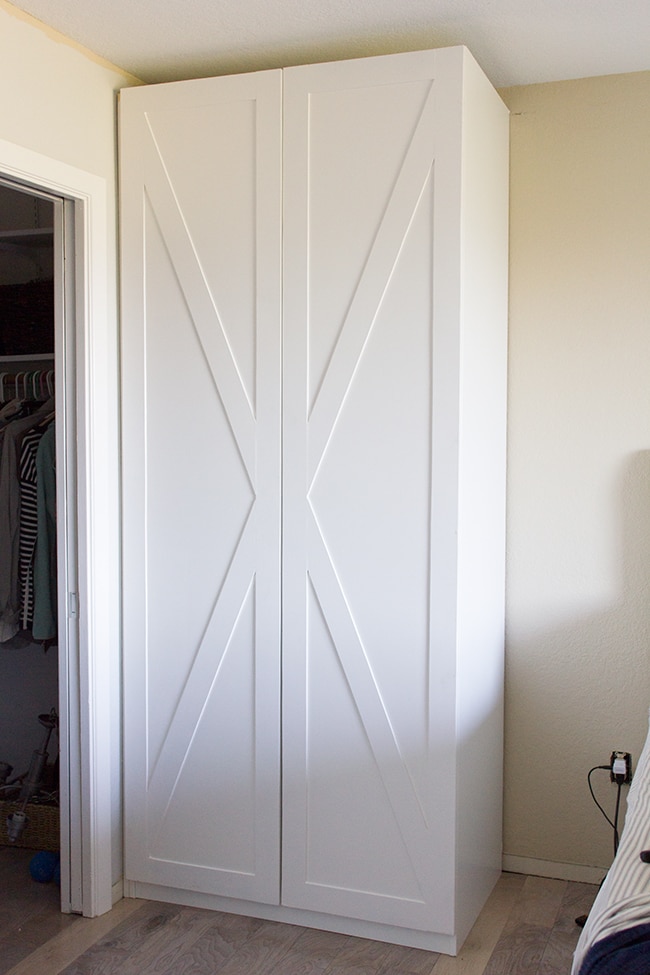
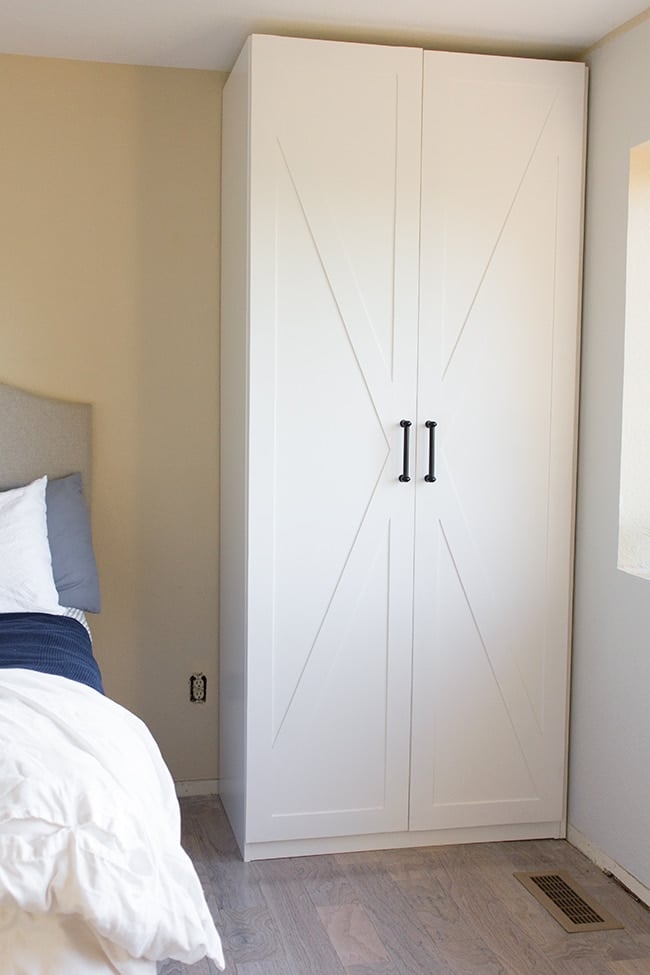
Ikea Pax Door Hack Reveal
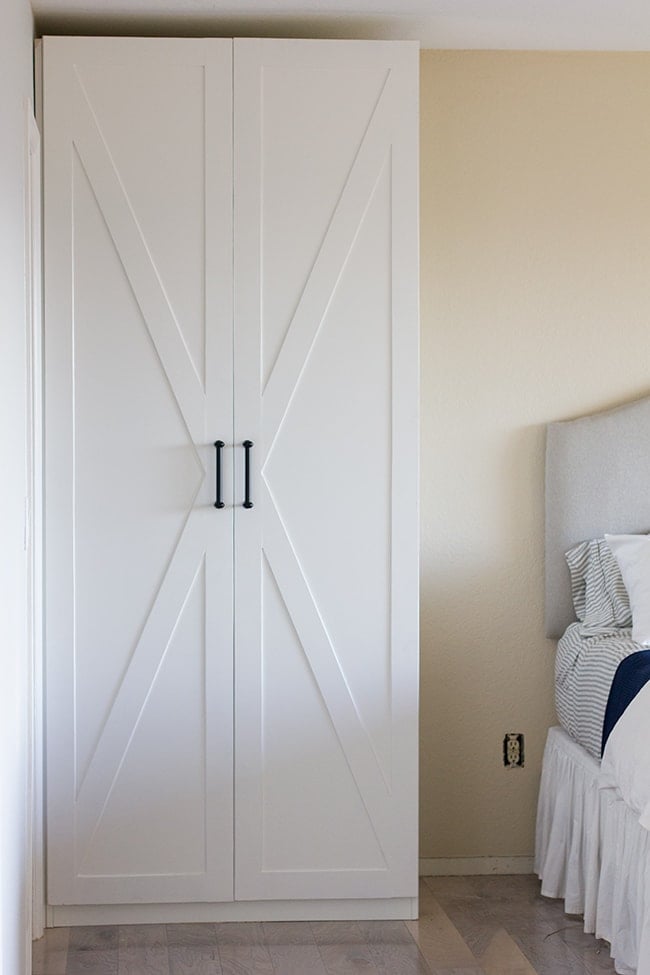
I like them.
I like them a lot.
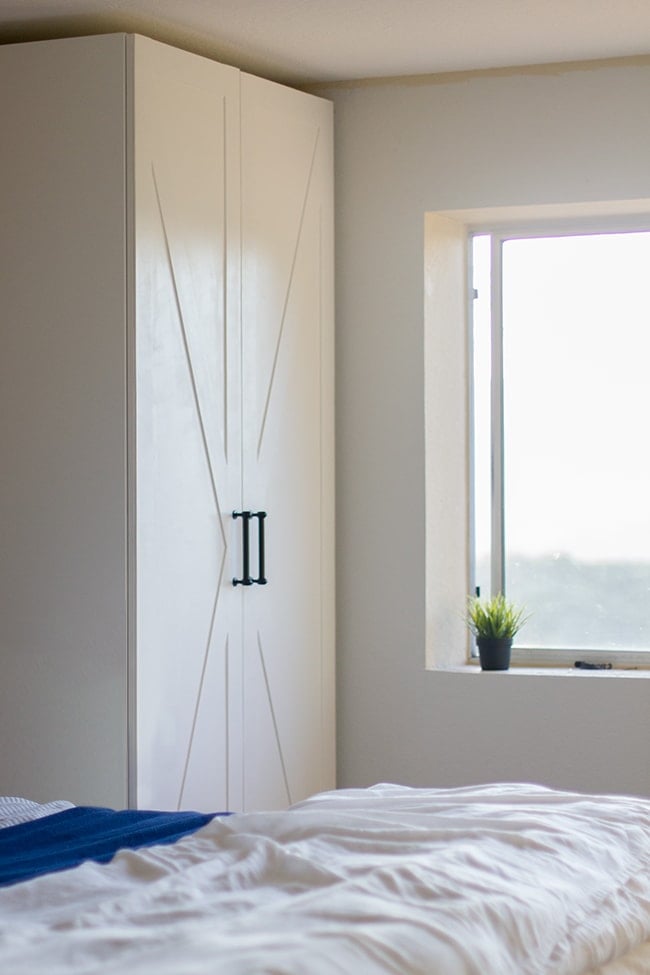
It only cost $15 so even though it took 3 days out of my life, I can’t really complain.
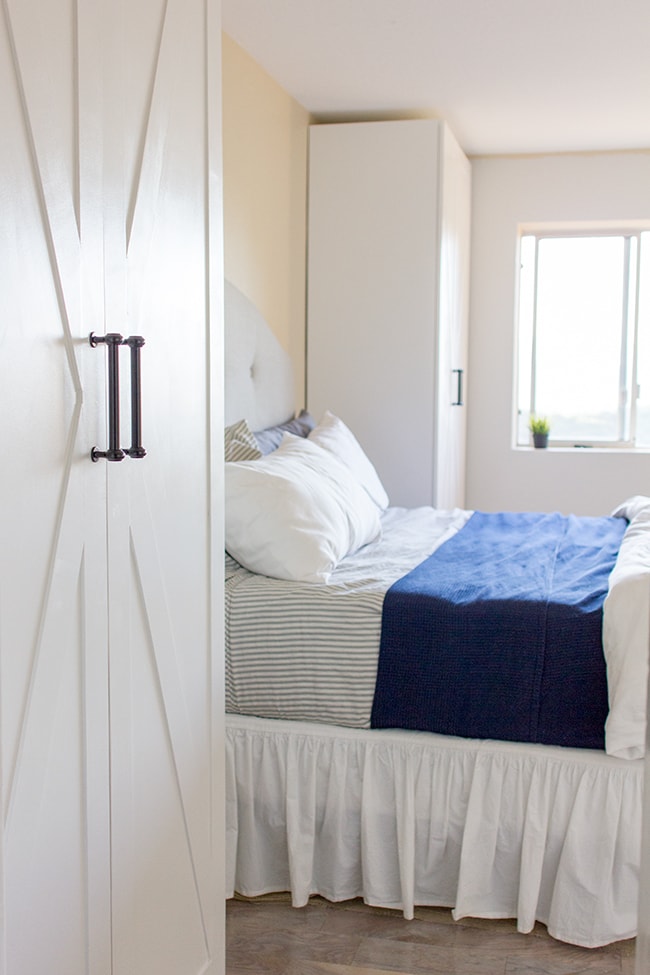
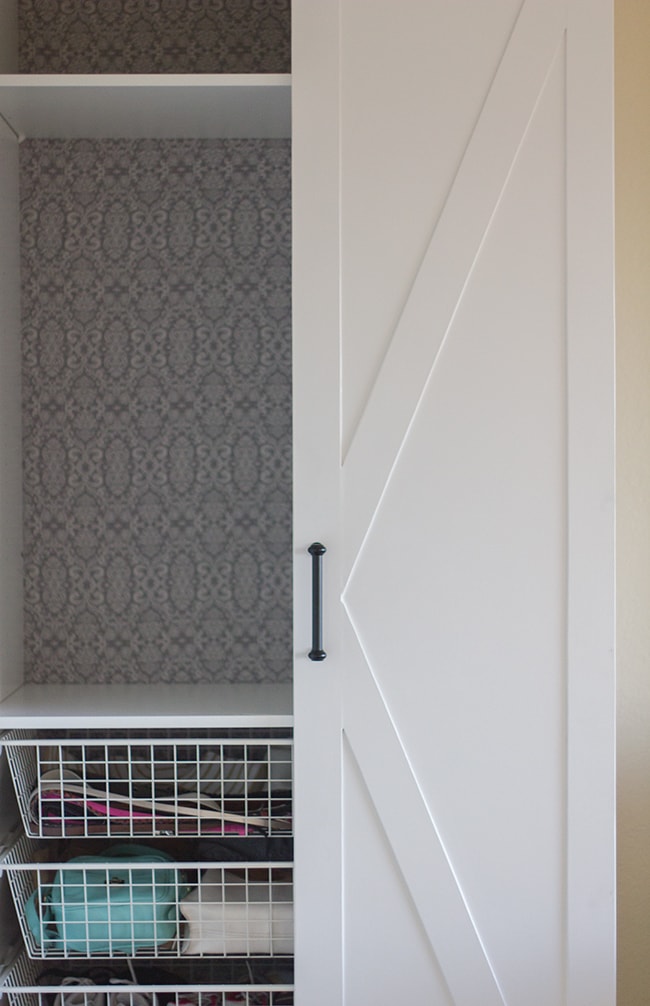
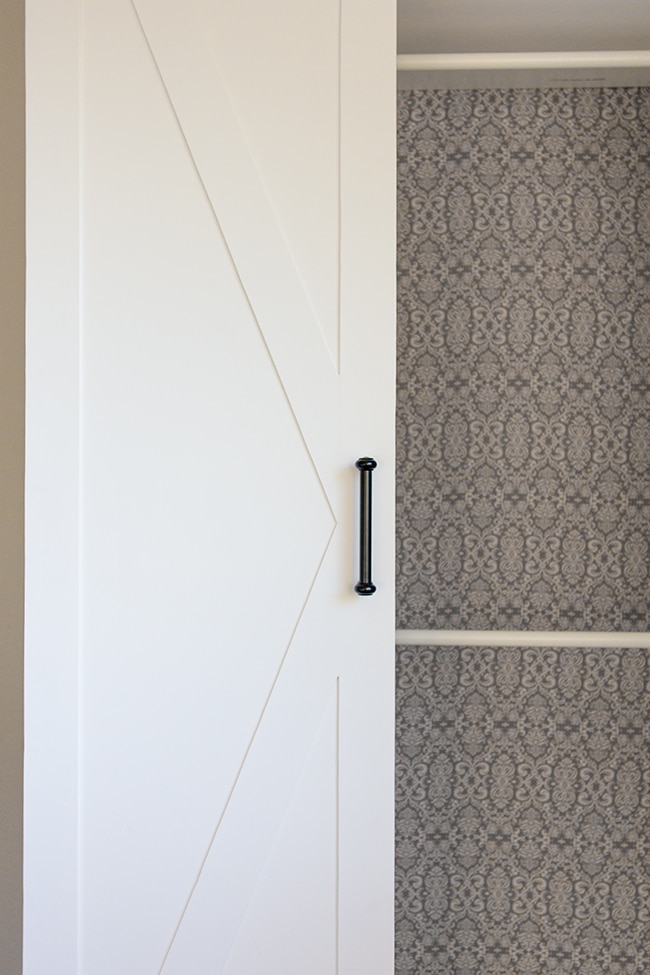
And of course I’ve already started organizing in here. I have a project or two lined up for the inside so there will be more to come.
Brad’s side is still empty. I’ll work on him.
We still need to add crown molding and baseboard and trim along the back wall, but at least they’re fully functional. And fun to stare at cause they’re just so pretty, I think.
Have a happy & productive weekend!


Jessica B says
Where are the door handles from? Love!