That’s right, another planked wall! I wish the entire house could have wood walls but since we don’t live in a real cabin/cottage, I’ll just have to pretend. Or make it happen myself.
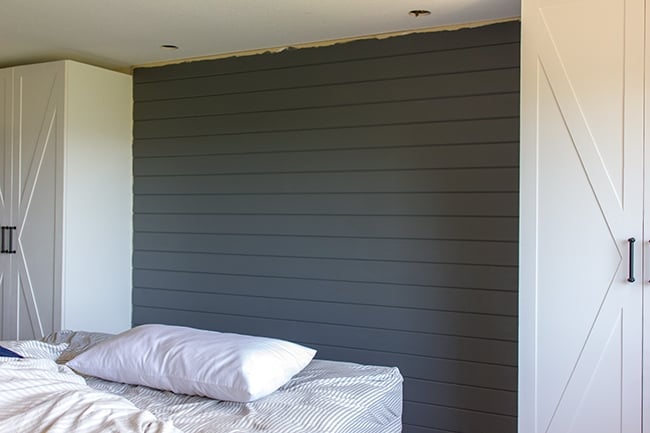
Here’s the wall that was in need of attention:
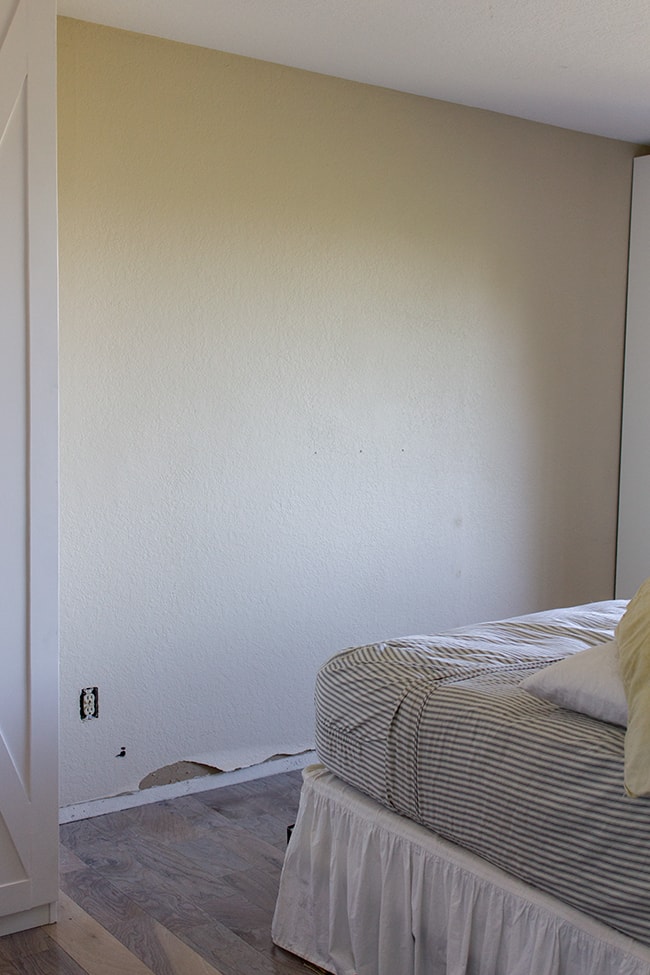
So blah and boring, right?
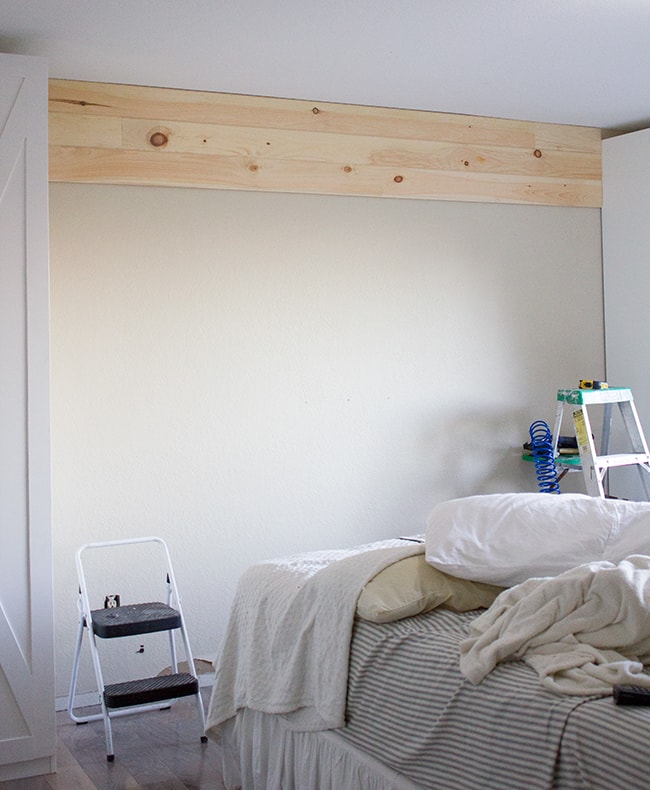
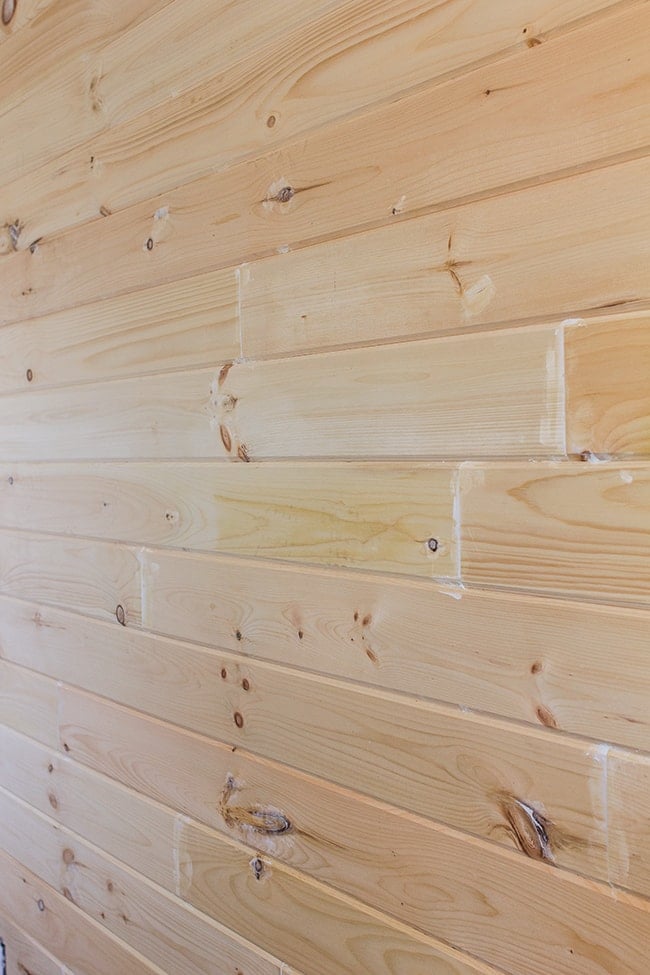
Luckily I had plenty of tongue and groove pine leftover to fill it up with wood planked goodness.
By this time, we’ve been around the plank wall block several times so it was a piece of cake. In case you’re new here and looking for installation instructions, you can read about our past experiences below:
Planked kitchen ceiling
Ceiling Part 2 & kitchen wall
Planking the studio
Planking the living feature room wall
Planking the foyer
That should be enough to cover everything we know, so I’ll just do a quick run-through.
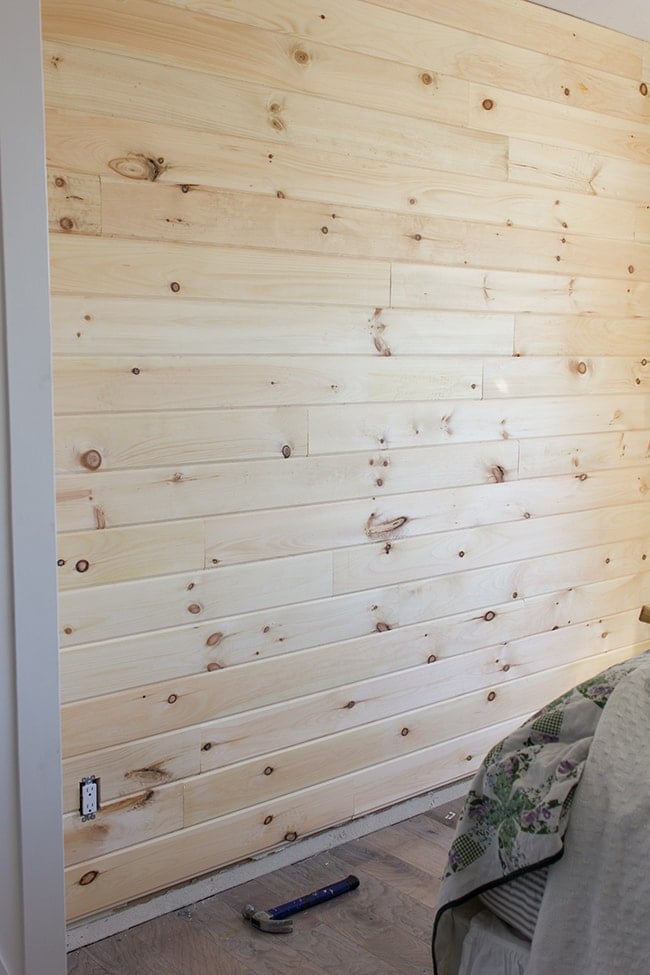
Our wall was 16″ longer than our 8′ boards, so we had to cut pieces. I prefer a more seamless look so we always stagger the seams so we can later fill them in and they’ll blend in better.
I do this by making random cuts so none of them line up.
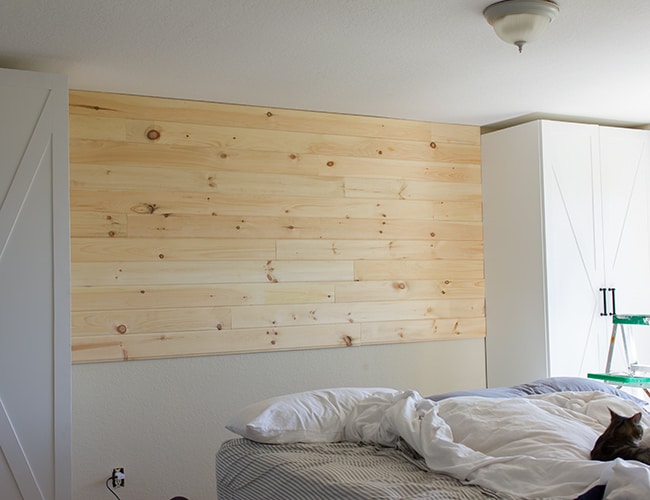
It goes by really fast. Nail a board up, measure the remaining distance, cut the second board to size and nail it up. Onto the next row.
Once we got near the bottom, we had a couple outlets to work around. Now that I’m quite comfortable with my jigsaw skills, I was able to easily measure, mark, and notch it out in a few minutes.
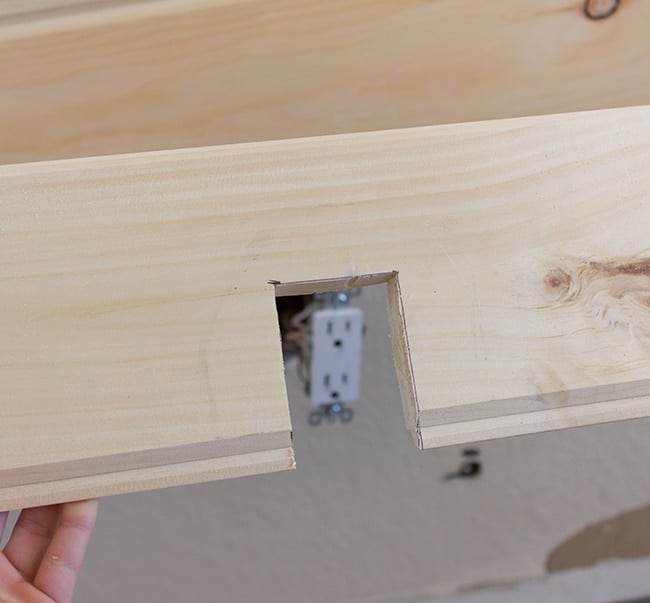
We also took the time to update our old beige outlets with square white ones. Because they were now sitting 3/4″ past the wall, we had to get these longer screws to attach them to the box:
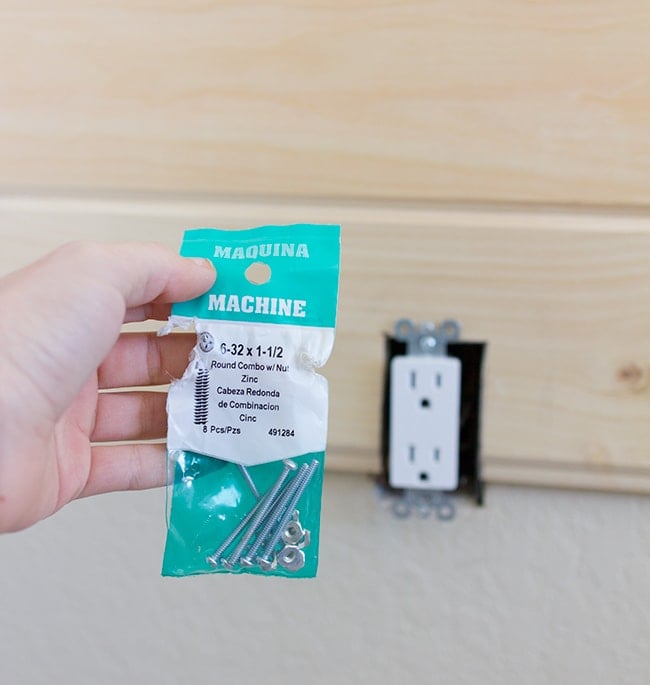
Don’t even bother with spacers—this is the quickest, cheapest, easiest way to extend your outlets.
All done! We took our time and spread this across a couple days but I’d say it took around 3-4 hours.
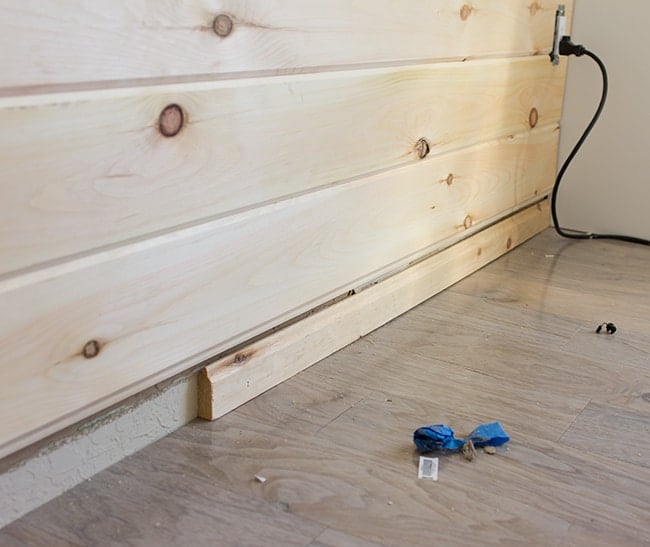
Instead of ripping a new board down to fit at the very bottom, we found some scrap pieces and nailed them up. Our trim would cover it all completely so there just needed to be some sort of base behind it.
Then it was time to patch the seams! If you don’t want them to be as noticeable, it’s crucial to line them up as closely as possible when you’re nailing them up. Boards like to do their own thing, so sometimes they require a few extra nails to stay in place.
I just used lightweight spackle, and went over some of the knots too.
After letting everything dry for a while, we broke out the belt sander. This part is necessary for smoothing the seams. Once painted, every last bump and groove is magnified so you have to smooth them down to one continuous piece. Hand sanding just won’t do it.
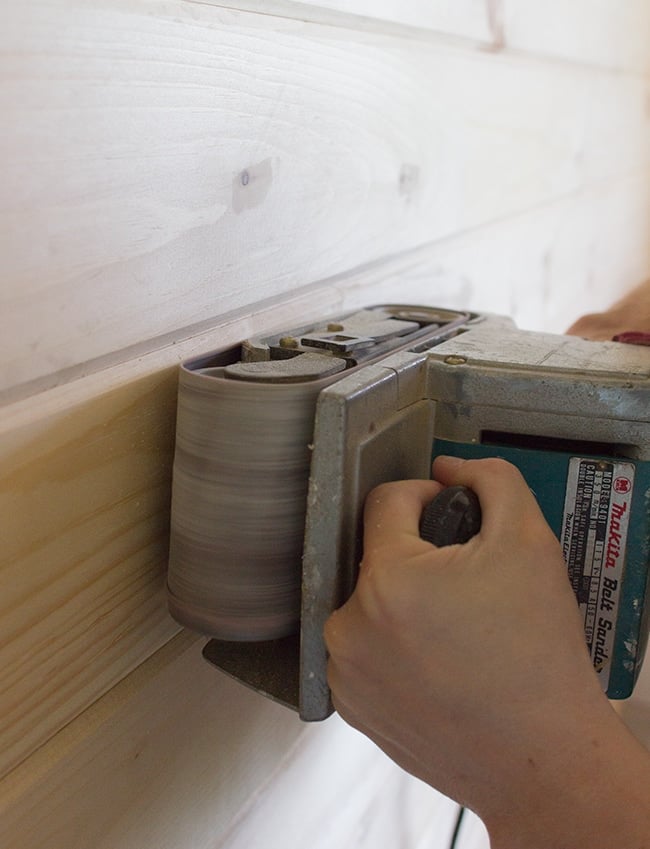
Of course it’s not going to be perfect, but it really helps.
After thoroughly wiping it all down, I made sure to use a good oil based primer over the knots. I didn’t know about this step for the first planking projects I did and I totally regret it because the knots will bleed through the paint over time. You can’t use oil based primer over latex paint, so now we’re stuck touching up the knots regularly to stop the bleed through.
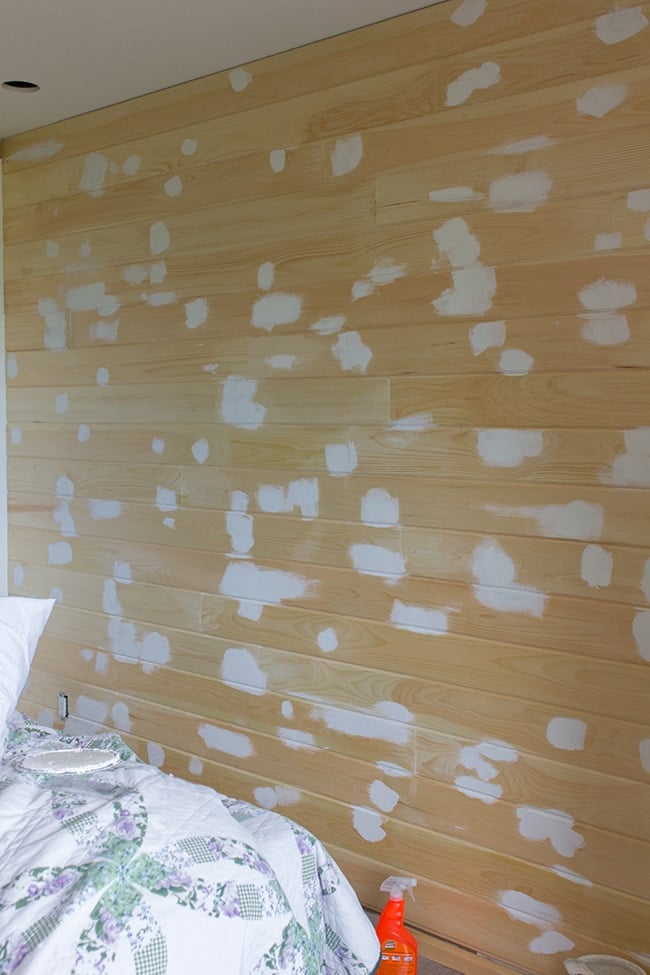
I used 3 coats on these suckers… hopefully that will do the trick.
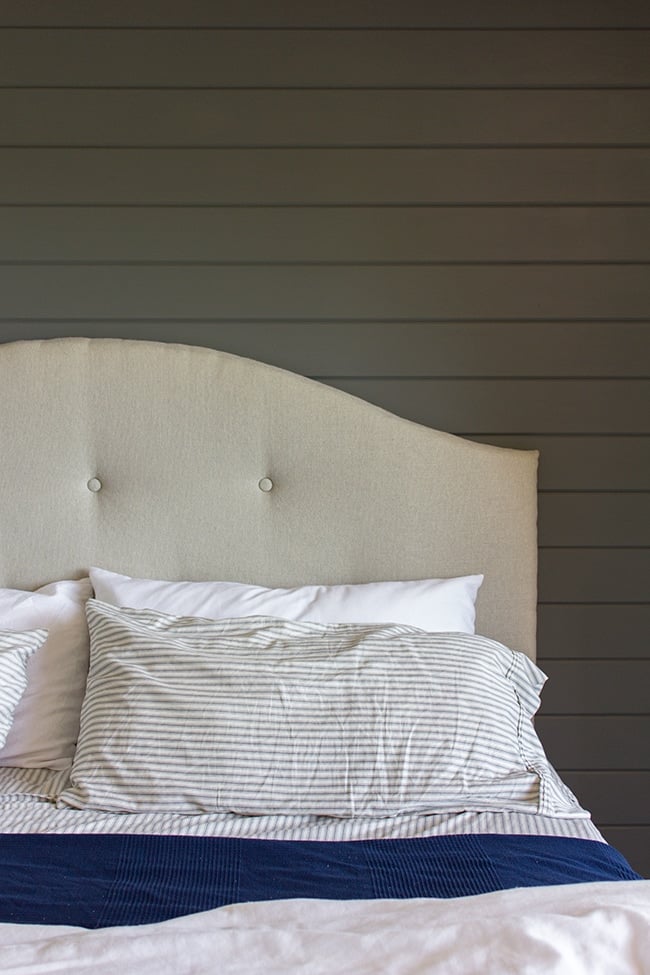
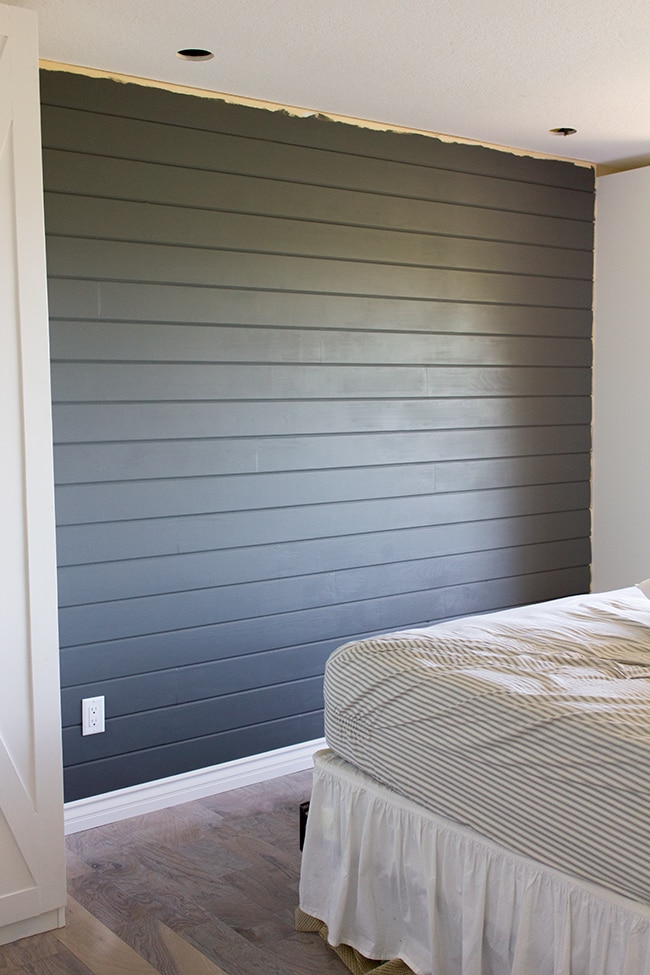
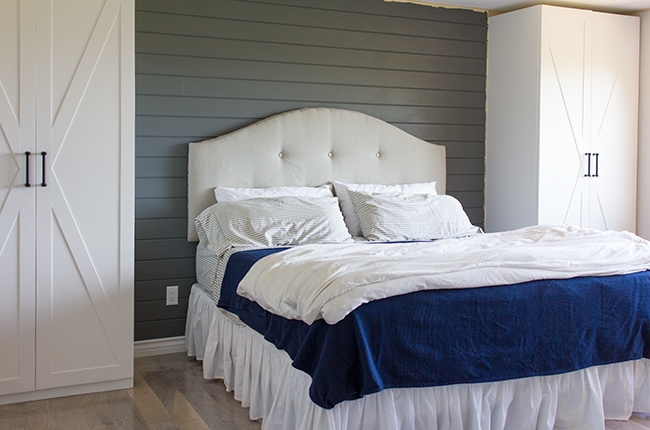
Finally, it was time to paint! I chose the same color as I used in the office—Valspar’s Ocean Storm in an eggshell finish. The Signature coverage works great every time.
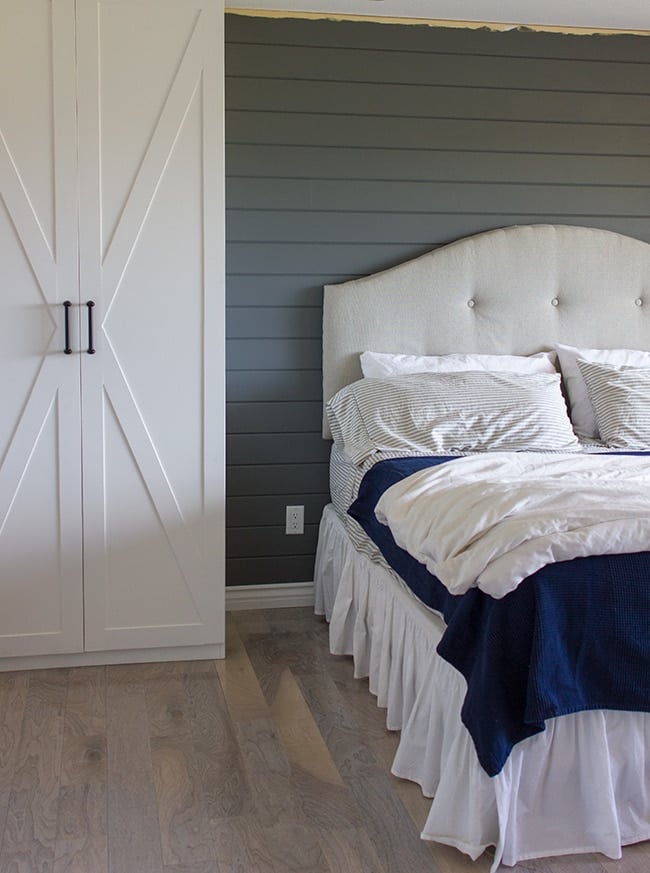
To finish it off, I added baseboard and outlet covers.
 |
| Oh yeah… we drilled some light holes too. I’ll post about it next week. |
The sides and top are left unpainted because I’ll be adding trim and crown molding later on.
Finally we reattached the headboard and moved the bed back. It feels like an entirely different room already.
We still have a long way to go (I’ve planned it all out and I’m predicting around 2 months of working on it almost every day), but it feels great to check off some of the key elements. It’s looking a bit sterile right now but things will start to warm up in there soon, little by little.
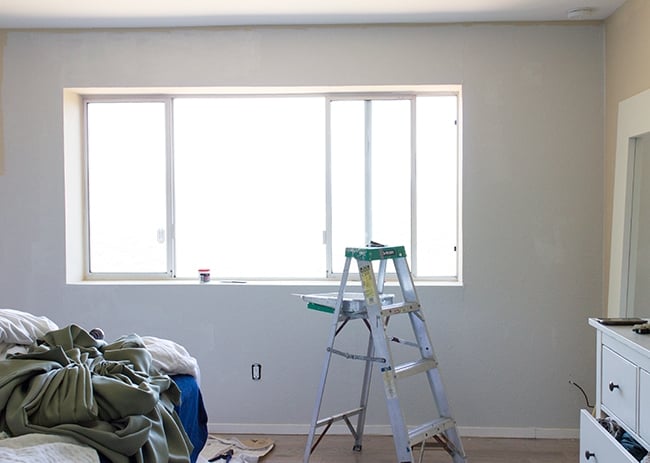
Thanks for stopping in to see the latest progress! Tonight I’m headed to Lowe’s to pick up some lumber, it’s time to trim out this bare window…
Come back for the transformation on Thursday!


Linda Weeks says
project looks great… I’m going to see about this valspar paint asap! what a dramatic color! but it really works in the bedroom, bigtime!
Chastity Beene says
This is awesome! Going to send the link to my hubby:)
Pine Tree Home says
Looking great as always!
Cindy @Made2Style says
You guys work so fast it's crazy! Those wardrobes look awesome!
Angela Santaniello says
I love a planked wall and I doubly love how you painted it dark…super unique!
Angela @ Number Fifty-Three
Jennifer Jones says
It is looking so incredible! You really work at the speed of light, always so impressed! And the interior and exterior of those wardrobes make my heart race! <3
Brianna Jenkins says
Looking great!!! Adding the planks adds a lot of personality to the room.
Brandi says
Looks so amazing!
Tessa Ernst says
Looks great! I love the color of the grey you used, it looks just as good there as in your office!
Rachel says
Looks fantastic! Very impressed with the amount of change in your room already.