Is it Thursday already?! This week has just flown by—and it’s been a productive one. We added some much needed character to the room with simple trim work:
It’s the same procedure we used to trim out the kitchen and studio windows last year, with one extra step that I think made a huge difference.
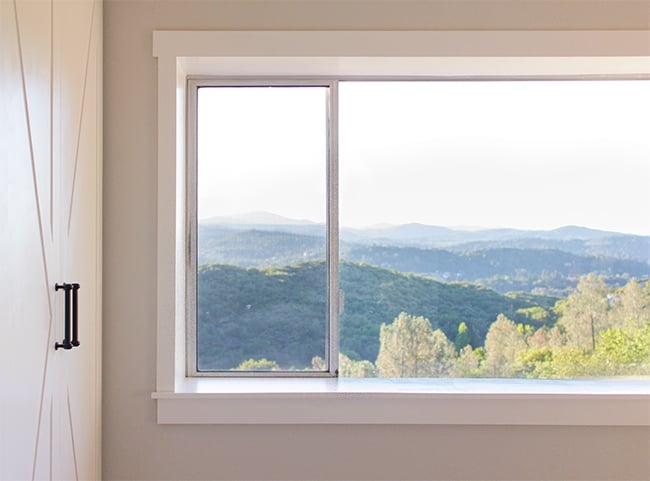
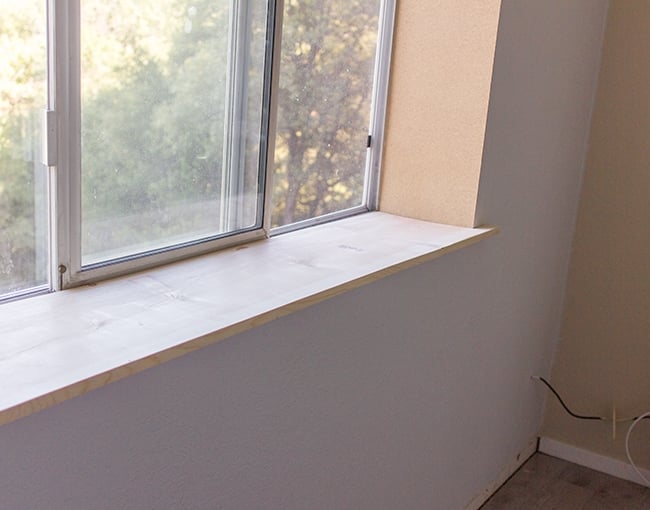
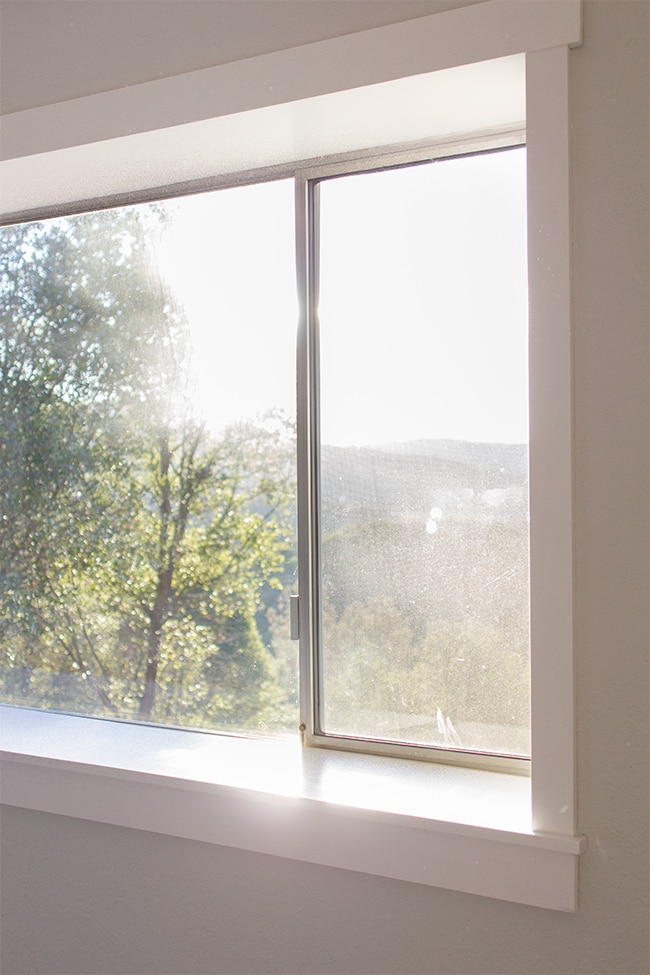
First, let’s see what we were working with before… (this was also before the tree was removed so ignore what’s going on outside)

It was as plain as they come. Just a 12″ deep drywall cutout. And it was the super textured drywall…
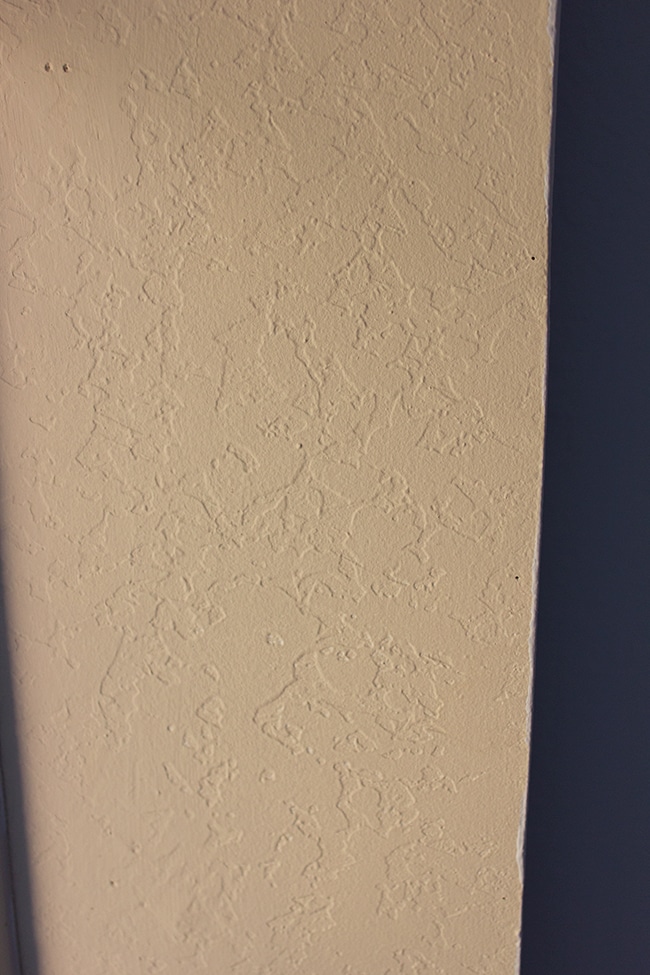
The worst.
Our kitchen windows were the same, and to smooth it out I applied a ton of drywall mud and sanded it all down. It was very messy, labor intensive and time consuming. I did not want to deal with all that drywall dust again (especially in our bedroom, where we sleep) so I came up with an alternative.
 |
| My talented Dad was my assistant for the day |
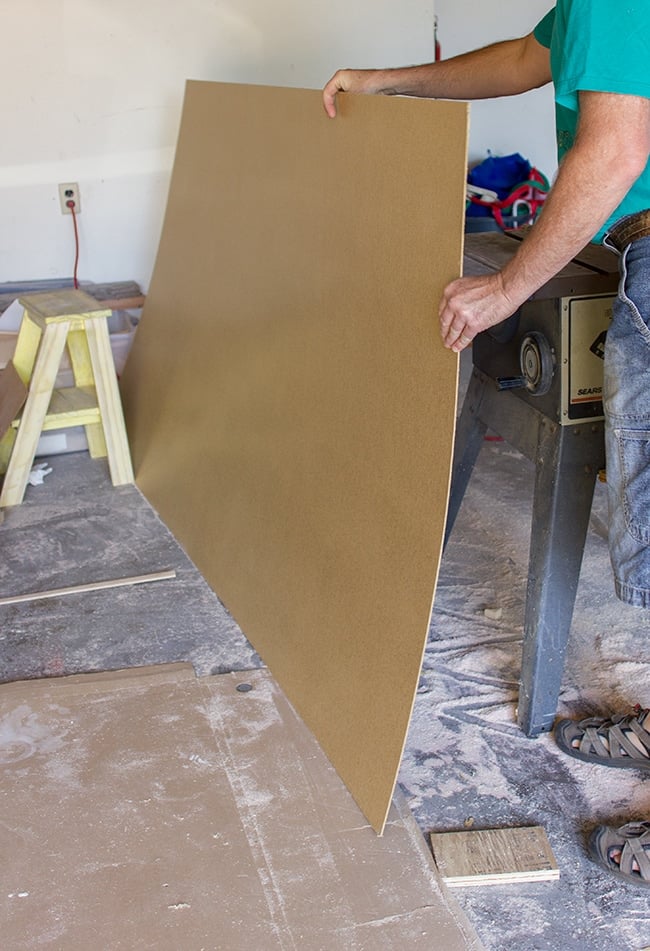
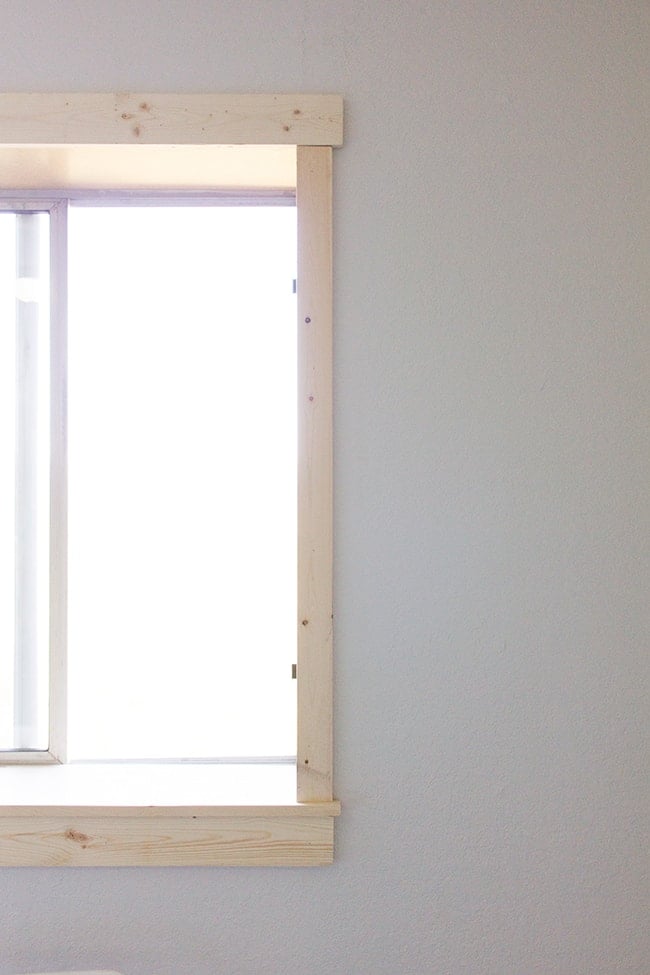
These are the cheapest, thinnest sheets of smooth surface I could find at Lowe’s ($10 for a 4×8′, in the paneling section) and I figured I could simply cover the inside of the window with it.
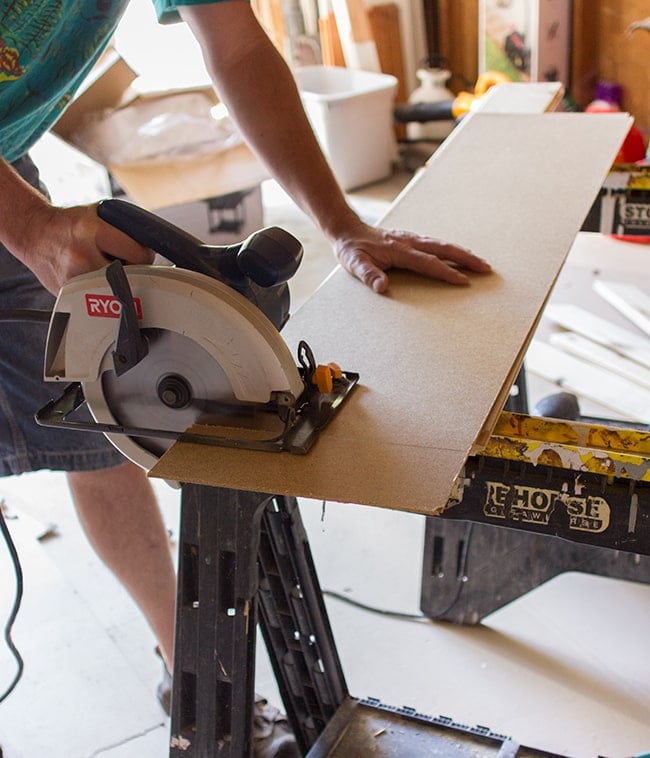
We started by ripping two strips to the depth of our window with the table saw (around 11.5″)
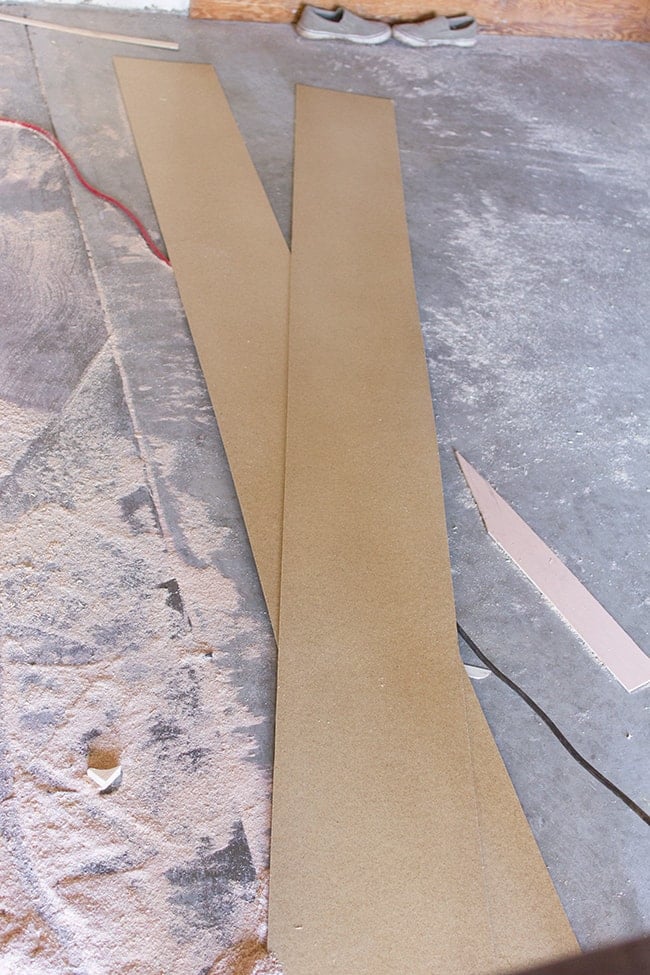
Then we measured the length and cut two pieces for the sides and one for the top using a circular saw.
Before securing into place, we applied a liberal amount of liquid nails so these babies wouldn’t go anywhere. Ever.
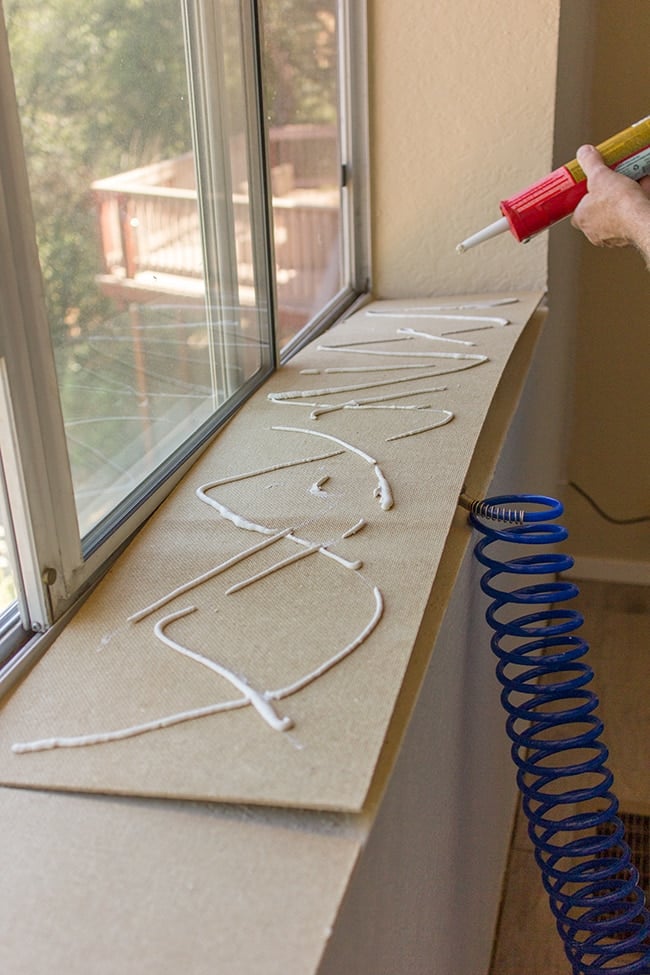
Then we shot a few nails through it.

It’s not going to line up perfectly everywhere because houses are never built perfectly, but that’s what caulk is for!
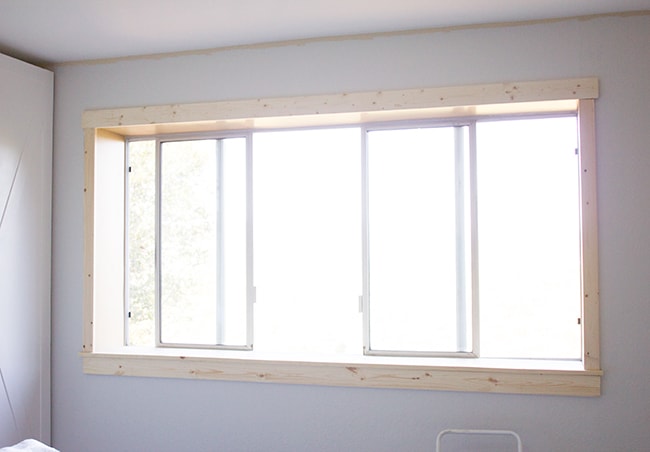
Once all three pieces were in, we moved our attention to the window sill.
The window is just under 8′ long, but I had to buy a 10′ board to extend it 3″ on either side.
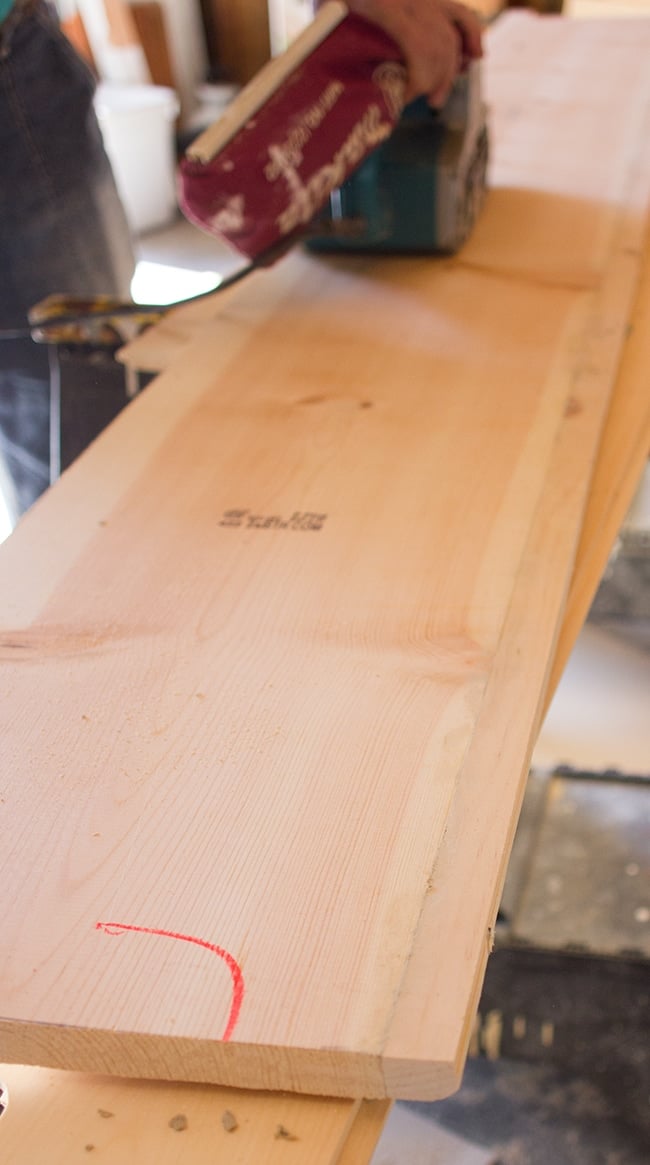
Once we figured out the depth we wanted, we drew it onto the board and cut it out with a jigsaw.
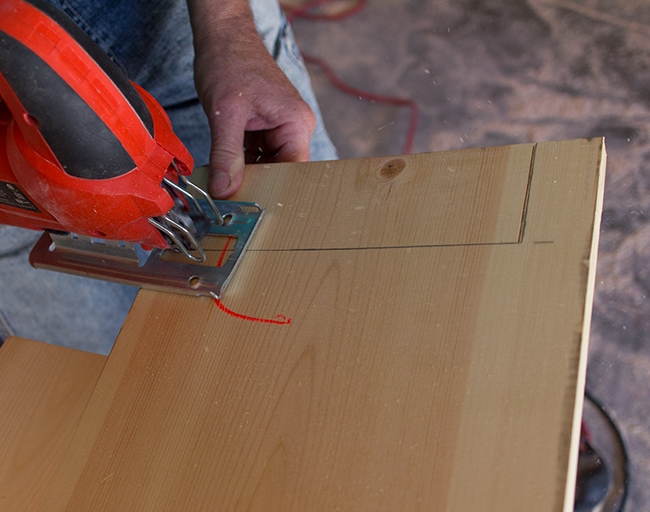
The line doesn’t have to be exactly perfect, because again, caulk. Although my jigsaw skills aren’t too shabby these days after my wardrobe door project.
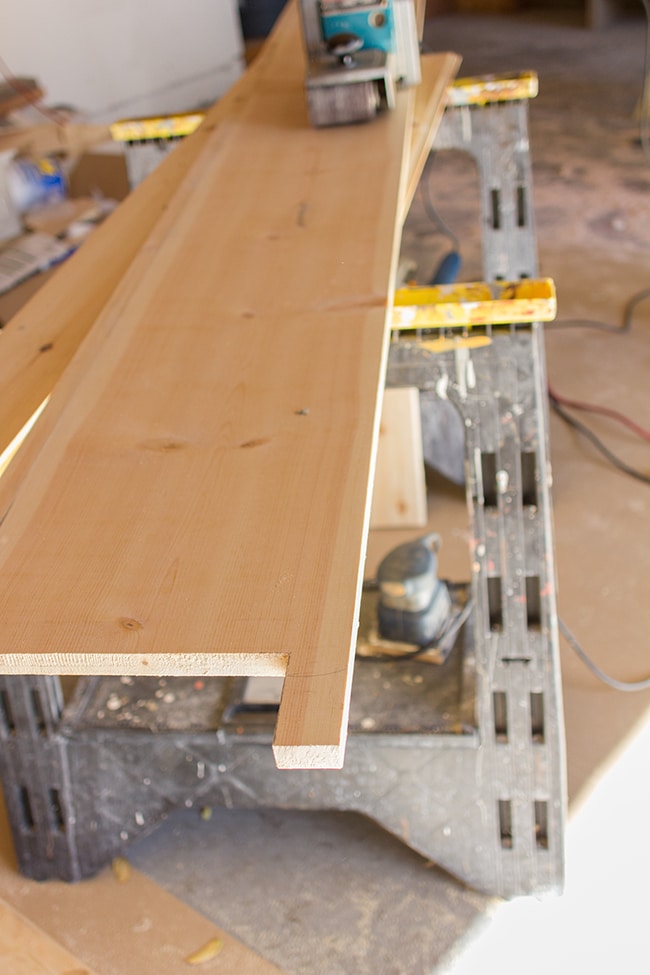
After both sides were cut, we had to deal with one issue. The sill needed to stick out a couple inches, which meant our piece had to be about 14″ wide, but unfortunately, the widest 10′ long boards from Lowe’s are only 12″ (which means 11.5″).
So we did what we did in our deep kitchen window—add a piece to the back.
We ripped down a small piece from another board, predrilled pilot holes, added wood glue, and attached it securely with screws. I neglected to take photos of these steps (all hands were on deck), but here’s the piece added to the back of the sill after we added a bit of wood filler in the seam:
To make it look like one piece, we used a belt sander (which is one of the best inventions, ever) to smooth it all down. Once it’s painted it looks like one solid piece.
The test fit was successful!
Then we applied lots of liquid nails and nailed it in place.
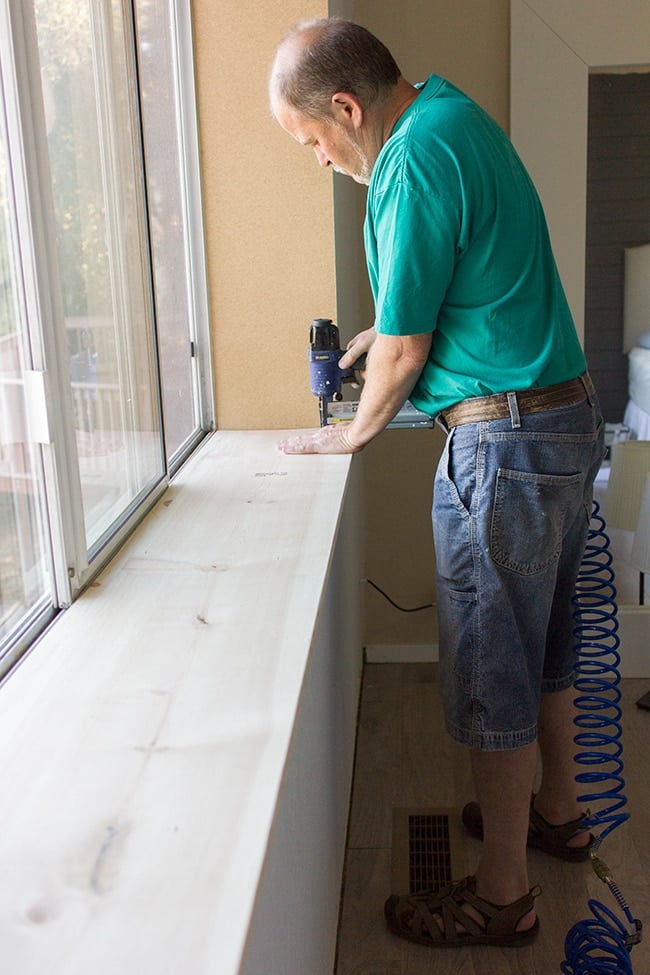
Yay. Hardest part is over.
Looks like more work than it is, right? I think so.
Then I spent some time filling all the nail holes and caulking all the seams.
After letting everything dry overnight, I sanded it all down the next morning and it was time to paint!
I used the same white semi-gloss paint that’s used in the entire house—Kelly Moore’s Swiss Coffee.
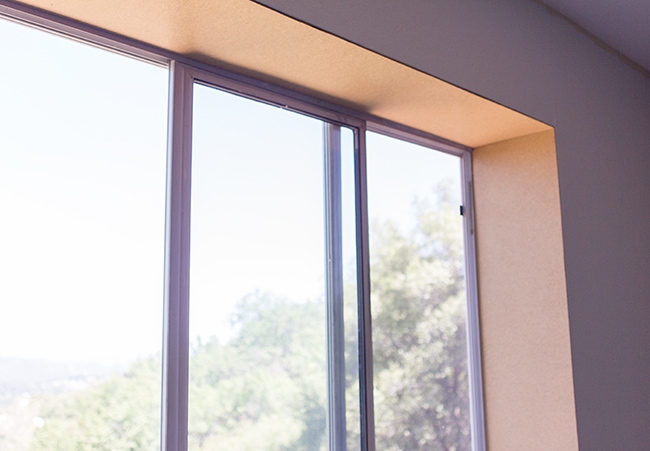
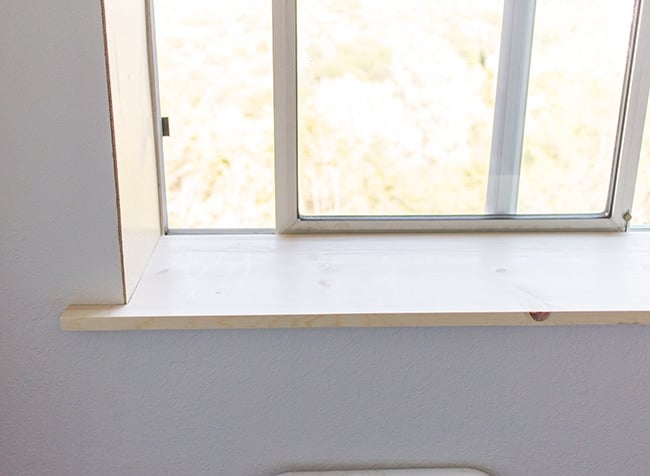
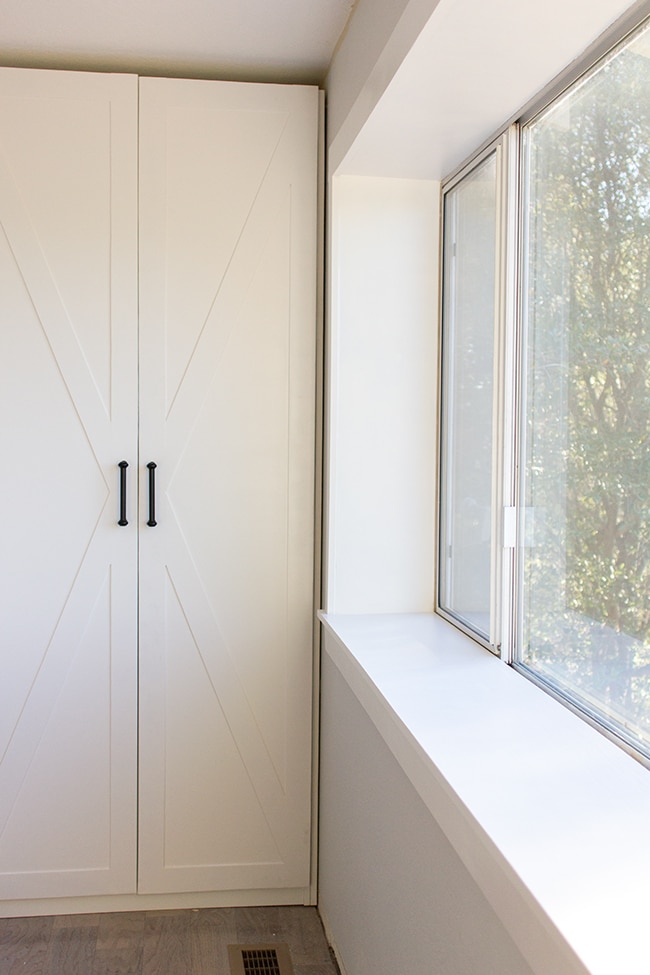
Ahhh… breath of fresh air.
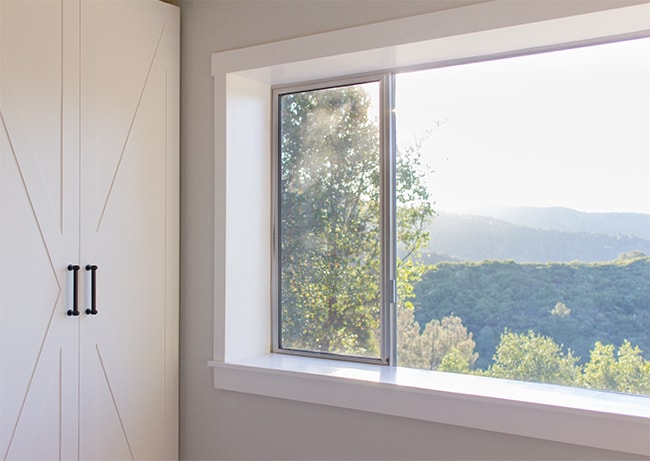
I like how it nicely frames the view… kind of like a picture frame.
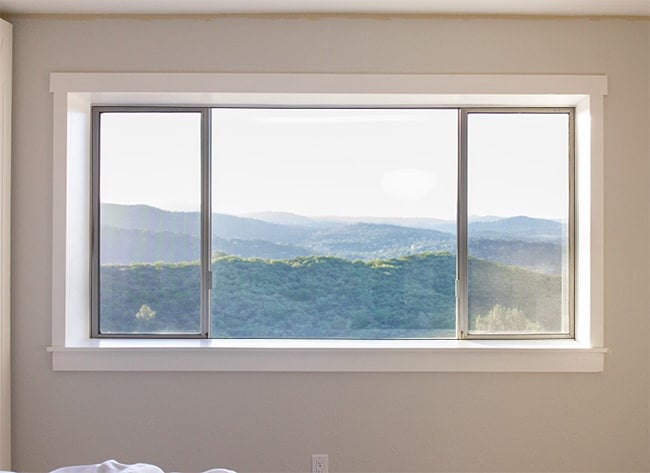
Instant character for around $50.
If you have a normal sized window, it should cost well under $20. And take way less time if you didn’t have an extra large window sill to extend, or textured walls to cover. It would be the easiest project ever. One of my all time top bang for your buck house projects. So what are you waiting for? Get out there and trim those windows!
In the midst of window trimming, we’ve been working with an electrician on another project behind the scenes and hope to finish up this weekend. There was an “oopsie” which led to a change in plans which led to a lot more work (hint: it involves a ceiling treatment), and our weekend is already packed so we’ll see how much can be done by Monday.
Tune in next week to see what happens! Or follow the #mastermakeover on instagram for real time progress 🙂


Janet Dawson says
Absolutely beautiful job! Thanks for sharing it with us.
Lynne Halloran says
Amazing! The trims you added look absolutely divine. Of course, the nice view from the window definitely helped as well. Anyway, I totally agree that the trims look like a picture frame, holding up a gorgeous scenic painting. Kudos to you guys for the fantastic job! Thanks for sharing!
Lynne Hollaran @ Suburban Glass
Ashley @ Life on the Parsons Farm says
I have been wanting to dress up the windows in my house for a while. Goin to show this post to my husband and maybe we can get this project on the to-do list!!
atparsons.blogspot.com
Deb says
Looks fantastic!
Catherine Hansen Peart says
That looks so lovely. I love beautiful big ol' sills like that. Great idea to keep in mind for later!
Lydia Pudel says
What an amazing view!
And with the trim it looks even better!;)
NIce job, well done.