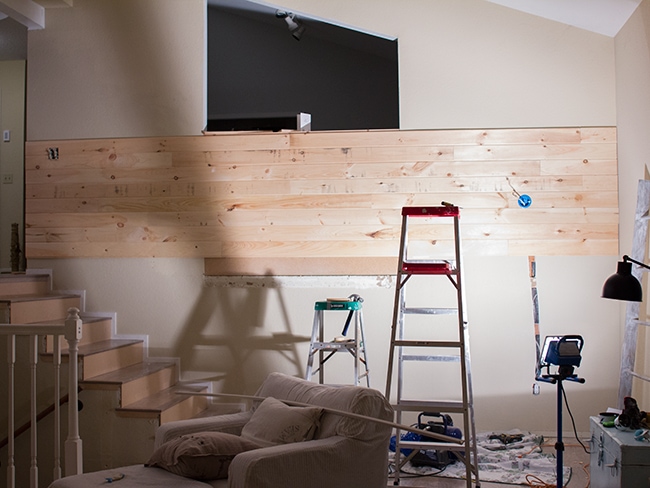
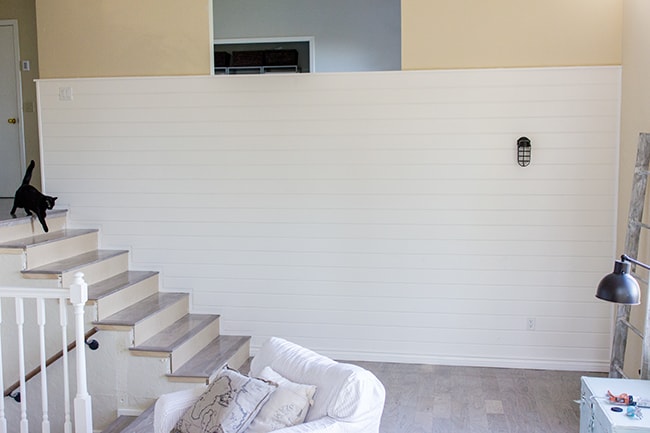
We took a break from the kitchen this weekend to focus on this wall…

It has been the biggest eyesore in our home and, after a few weeks to rest from planking the studio, we decided to just get it over with.
I won’t go into a lot of detail here since I’ve covered the planking process when we did our kitchen ceiling, kitchen wall, and studio, so here’s a quick rundown…
First, I decided I wanted a light fixture on this wall. The living room currently has zero light sources (we hope to add recessed lighting in the ceiling one day) so for now, we needed something in there ASAP.
There was an outlet in the corner which was controlled by a switch at the top of the stairs, so Brad tapped into that by running a wire up to our new light box location…
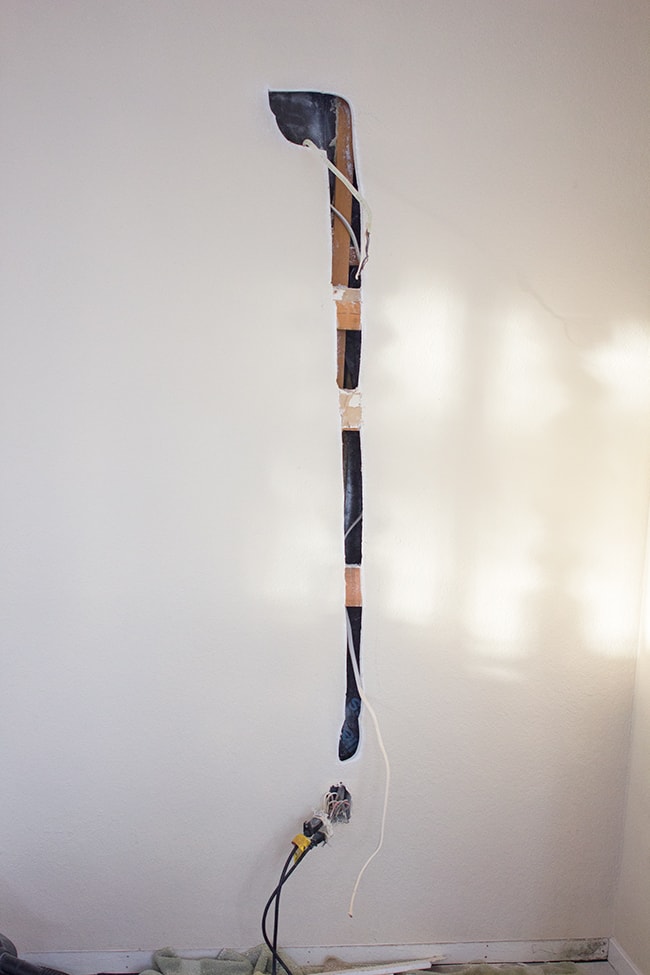
Luckily, it didn’t have to look nice because it would all soon be covered.
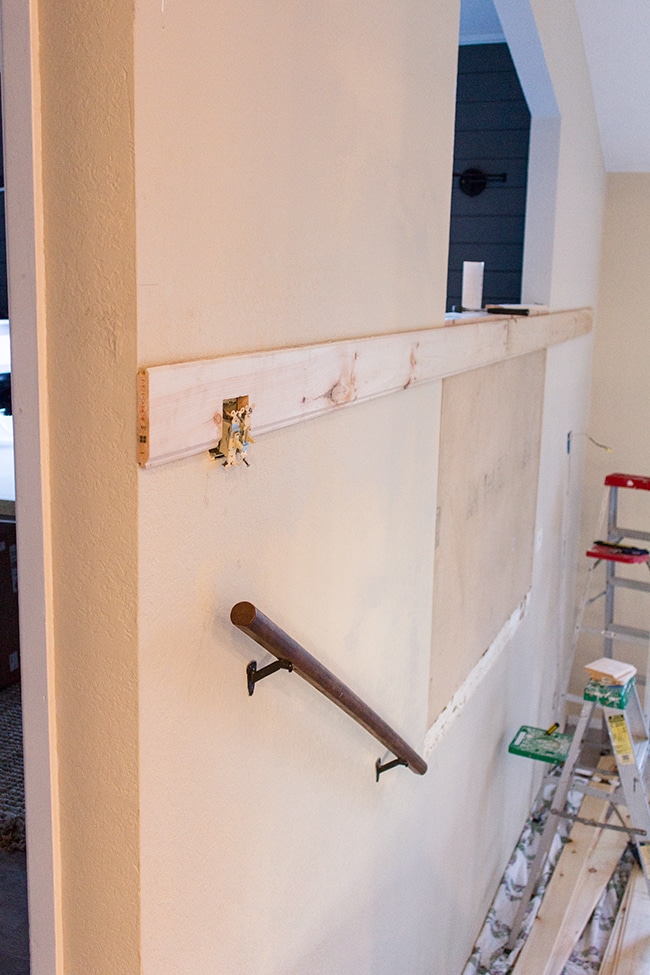
Then it was time to get down to business!
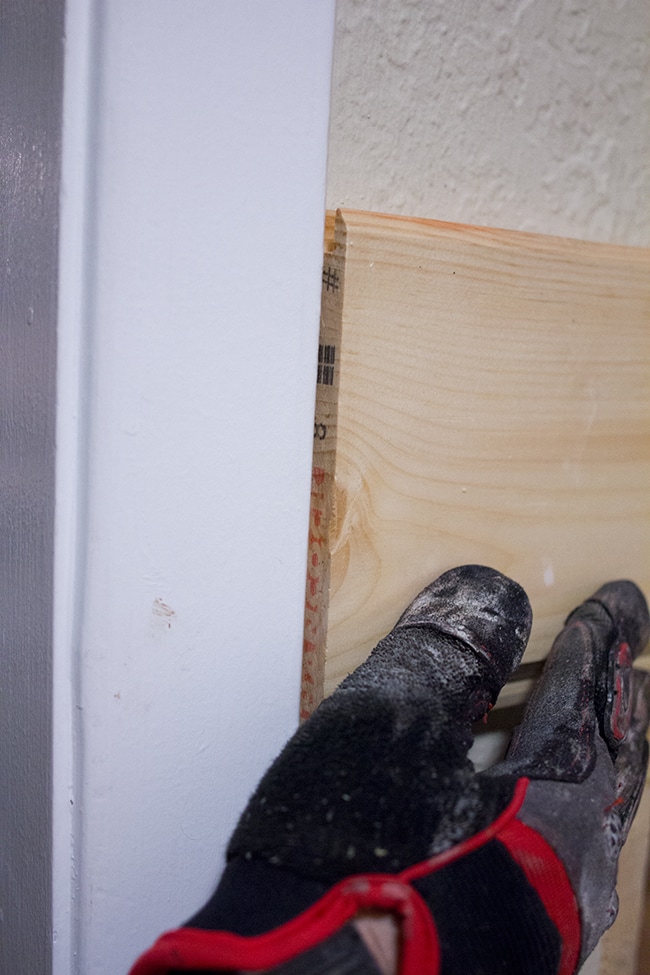
We started on this edge since the boards all needed to line up even with the wall. We’d make our cuts at the other end where the measurements didn’t have to be exact since they would be hidden behind quarter round trim.
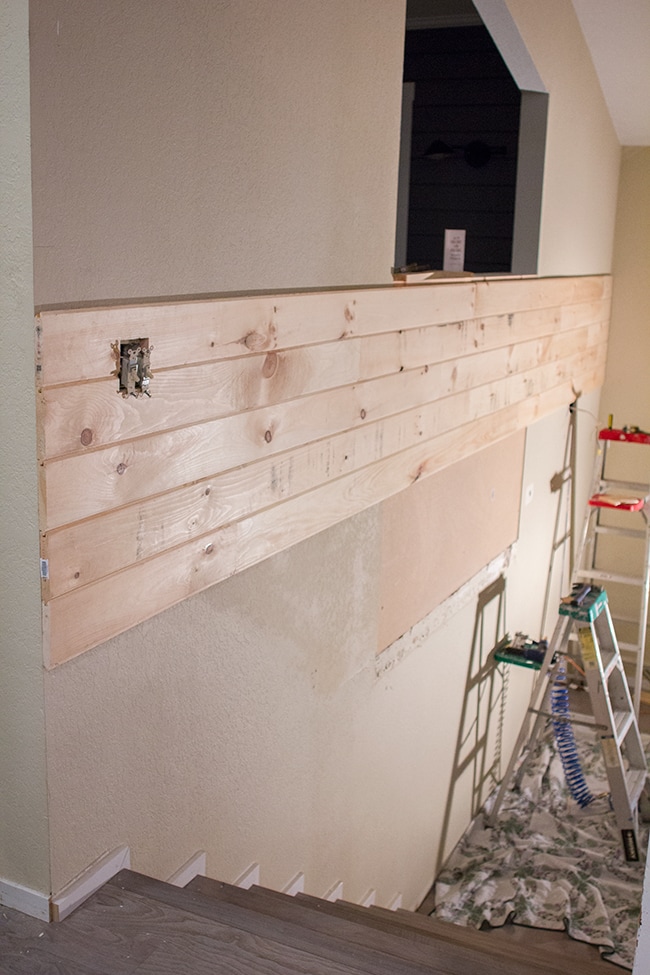
I expected this to be our most challenging planking experience and I was right. This wall was not straight at all because of the cutout in the center. There was a lot of prying and hammering and forcing into place. Several of the boards had to be screwed in to get them to stay up against the wall, but it was nothing a little putty and sanding couldn’t hide.
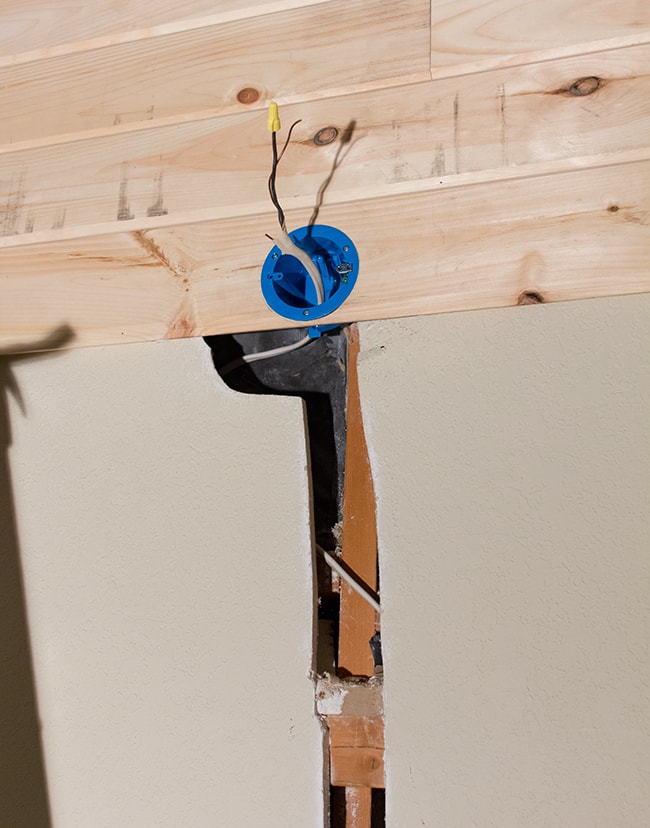
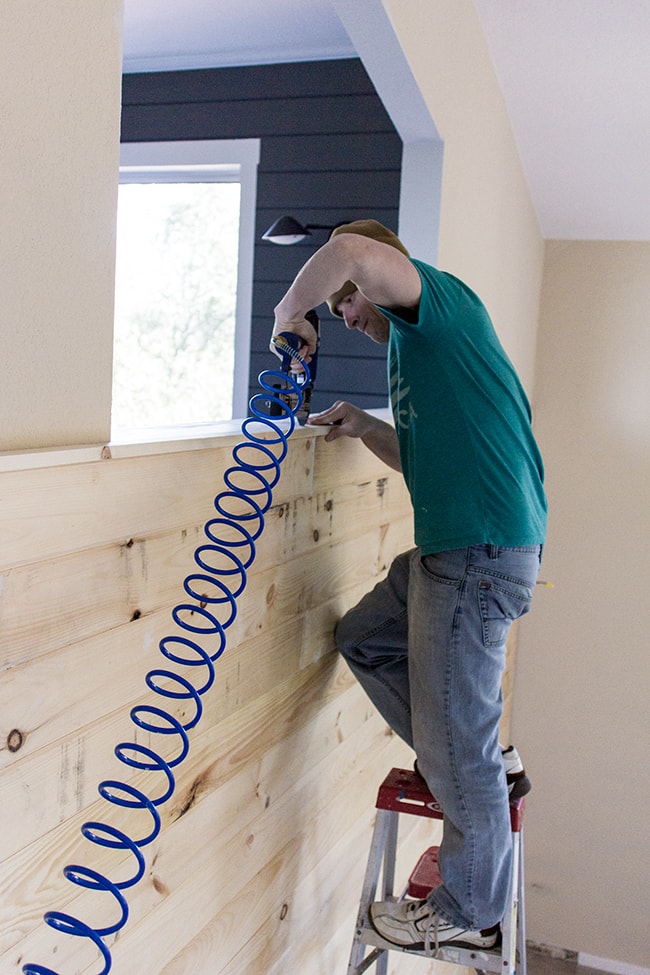
Once we got to the light, Brad cut out a hole to fit and mounted the box.
We worked on it over the course of a few nights.
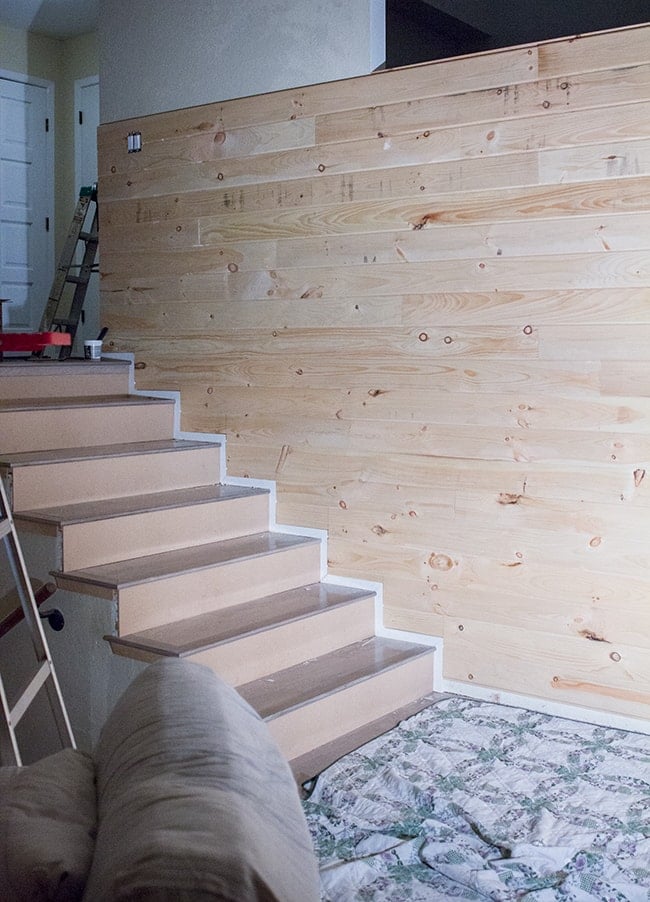
For the stairs we made the long cuts with a table saw and short cuts with a jigsaw.
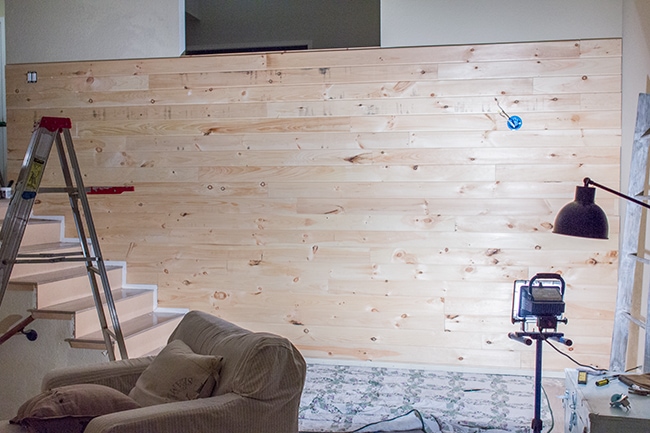
After night #2, all of the wall planks were done. Whew!
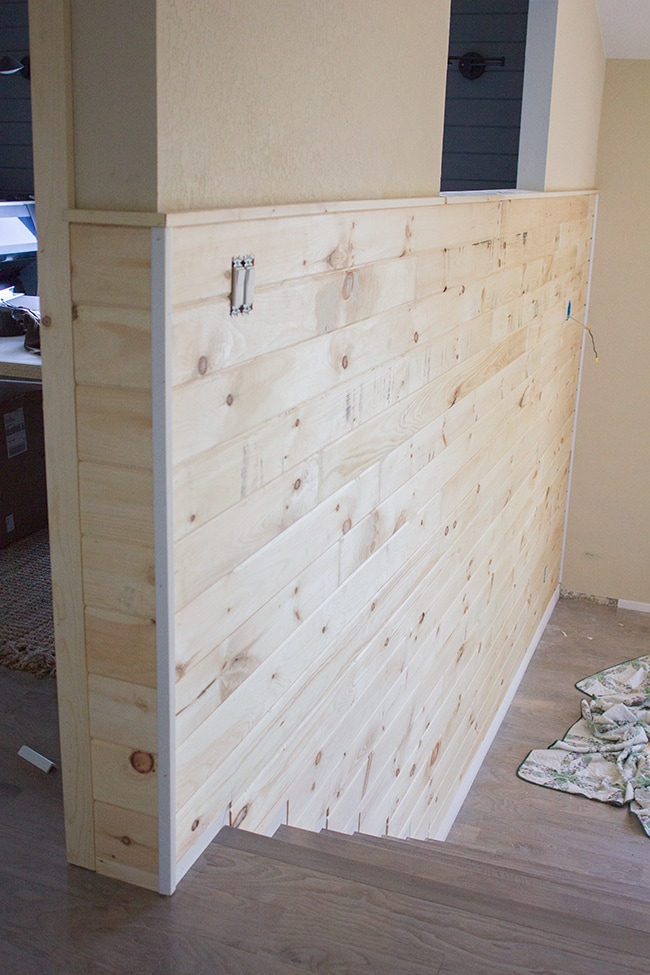
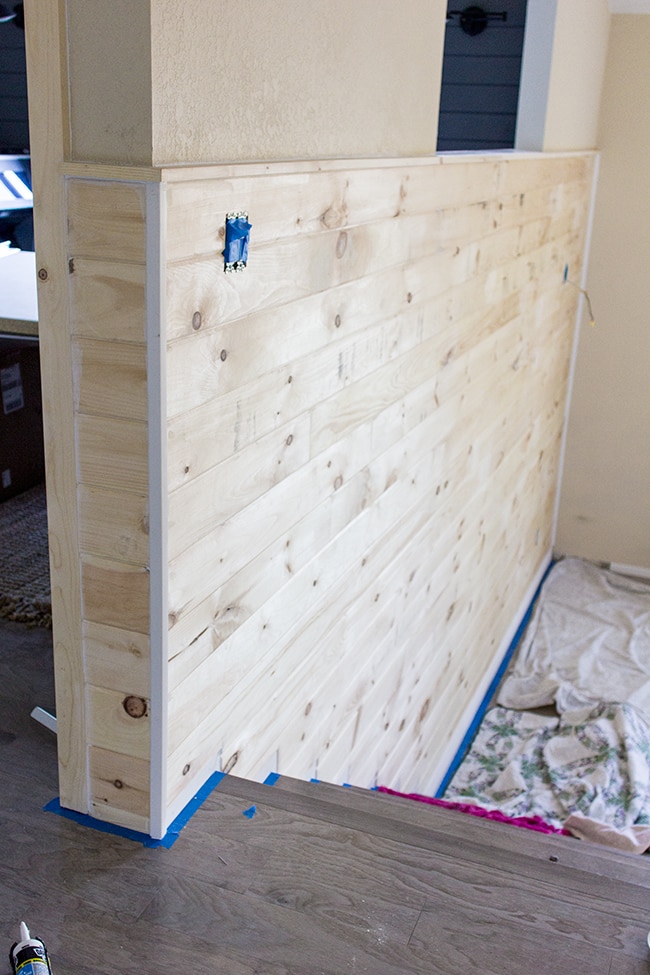
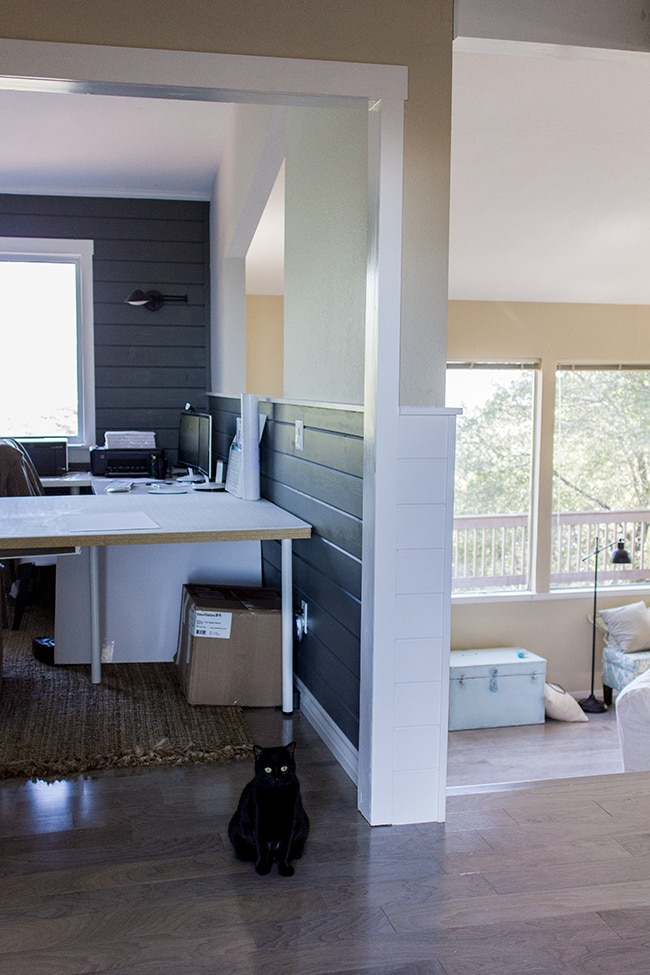
But it wasn’t just this wall… it had to wrap around to this little wall on the left:
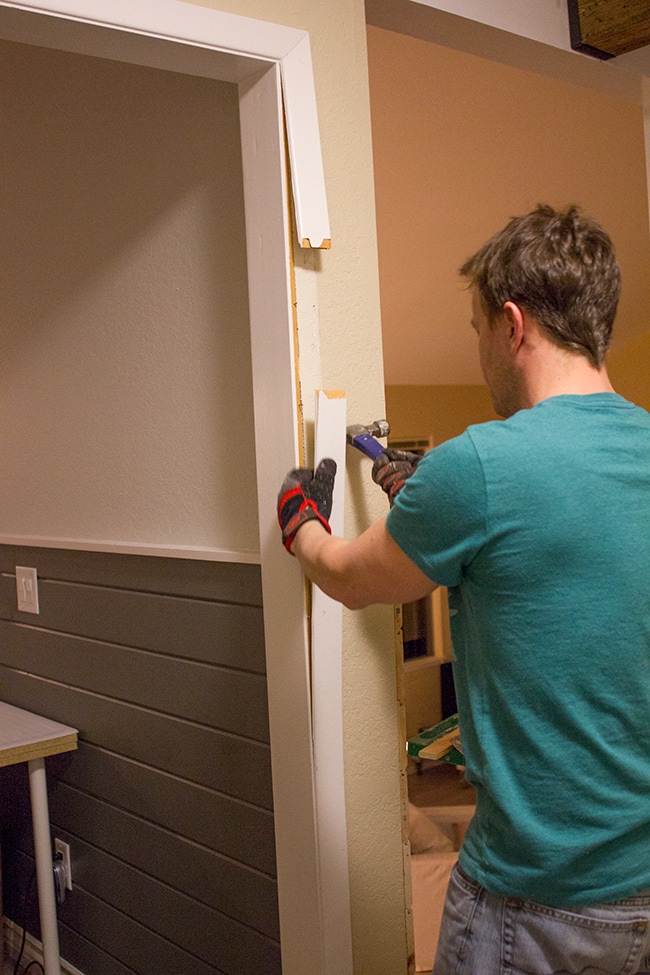
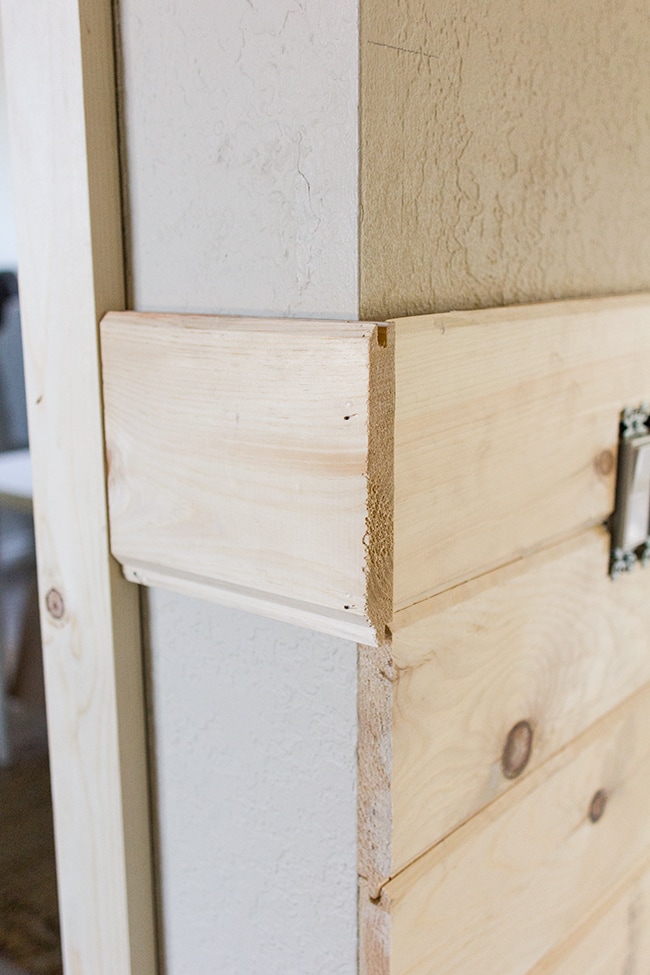
This is the first thing you see when you enter our home so it’s quite important. But we had a problem—the original door trim wasn’t thick enough:
So out they went…
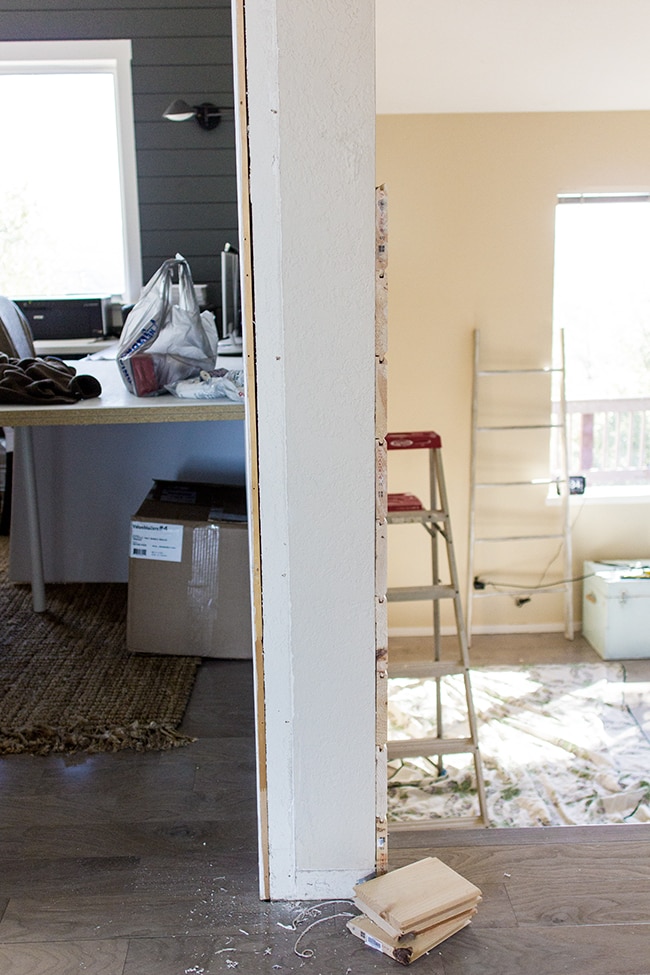
We decided to reframe it the same way we framed out our windows—with 1×3″ and 1×4″ boards. They are actually 3/4″ thick so they line up flush against the planks.
Blank slate after removing the trim:
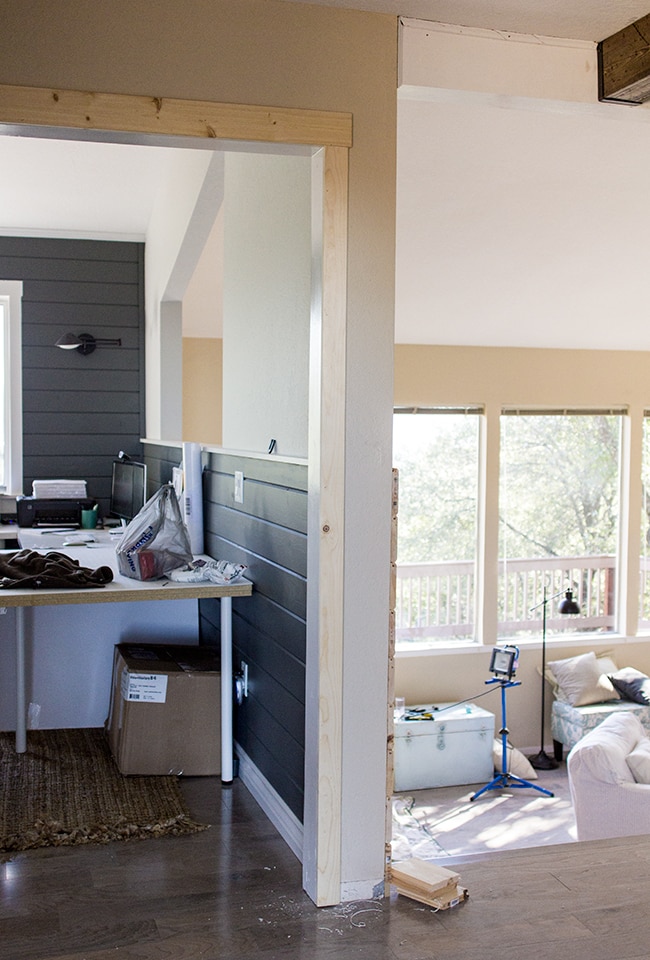
Then we chopped the boards to size and mounted them right up against the boards on the other wall. This part went fast too.
Done!

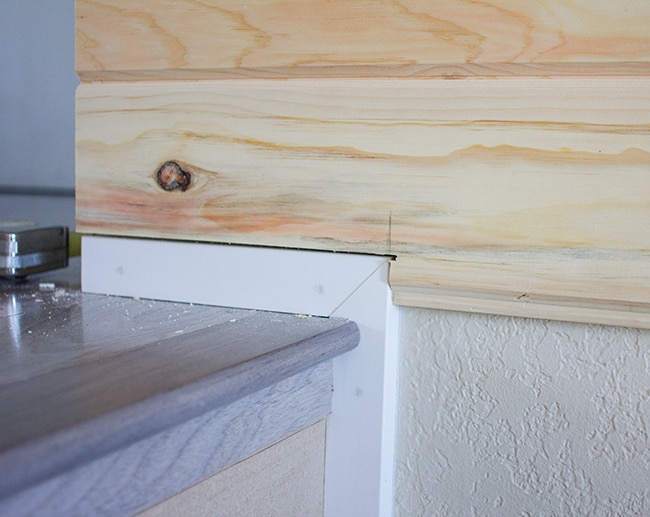
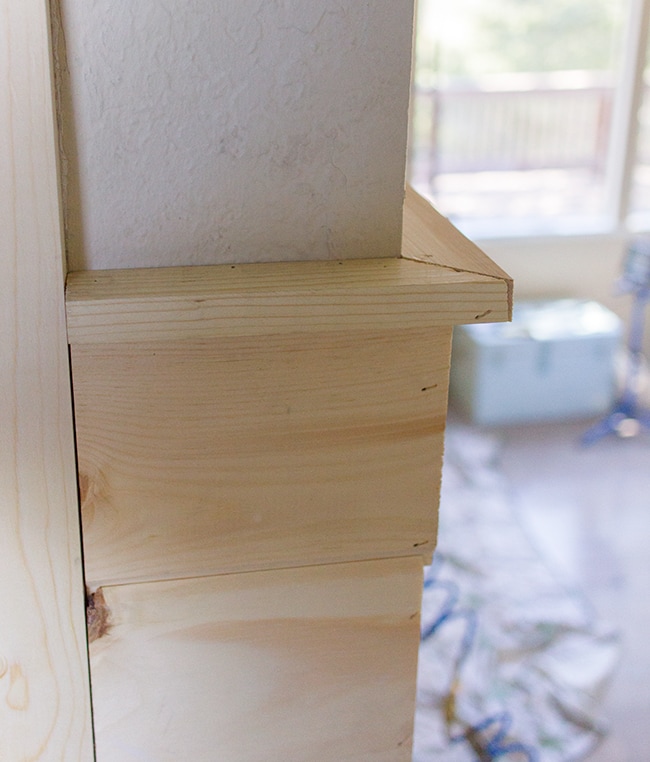
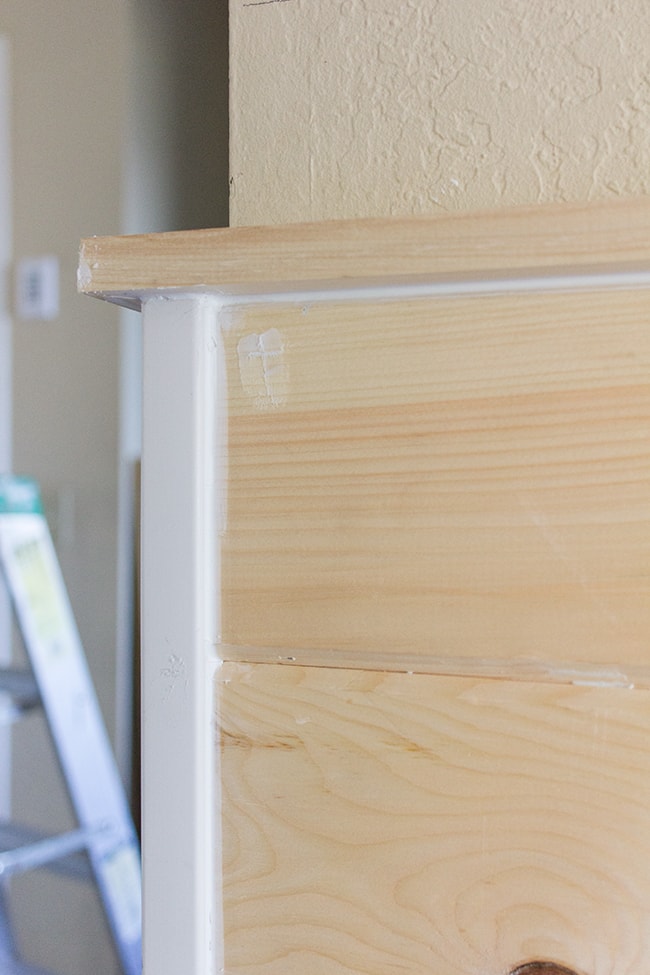
Then it was time to build the ledge to finish off the top. We used cheap plain ‘ol 1×2″s and nailed them right into the planks…
I mitered the corner for a nicer finish.
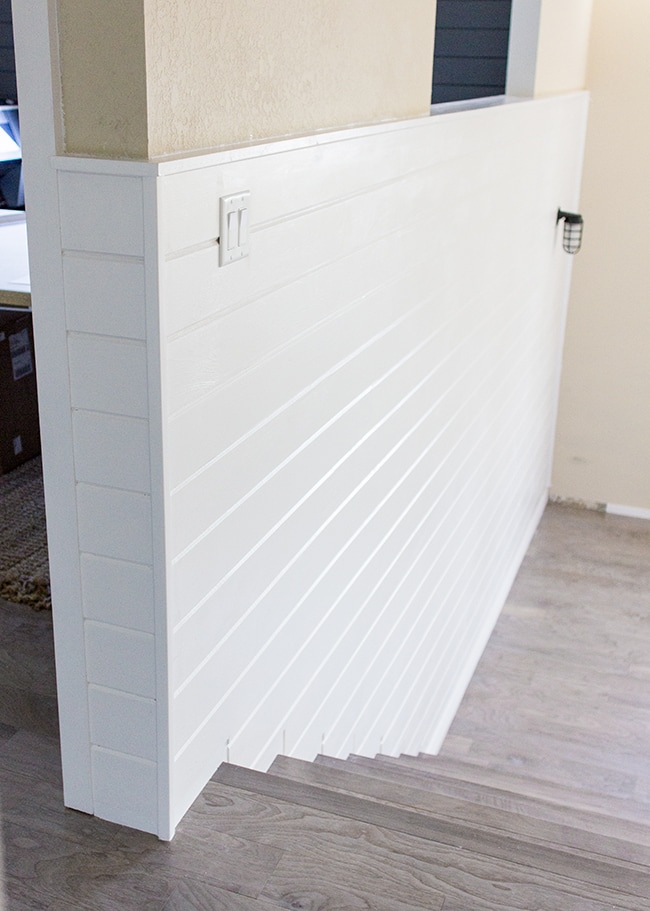
Next up was the L shaped corner piece. You can pick these things up super cheap at Lowe’s/HD, and they are pre-primed and lightweight.
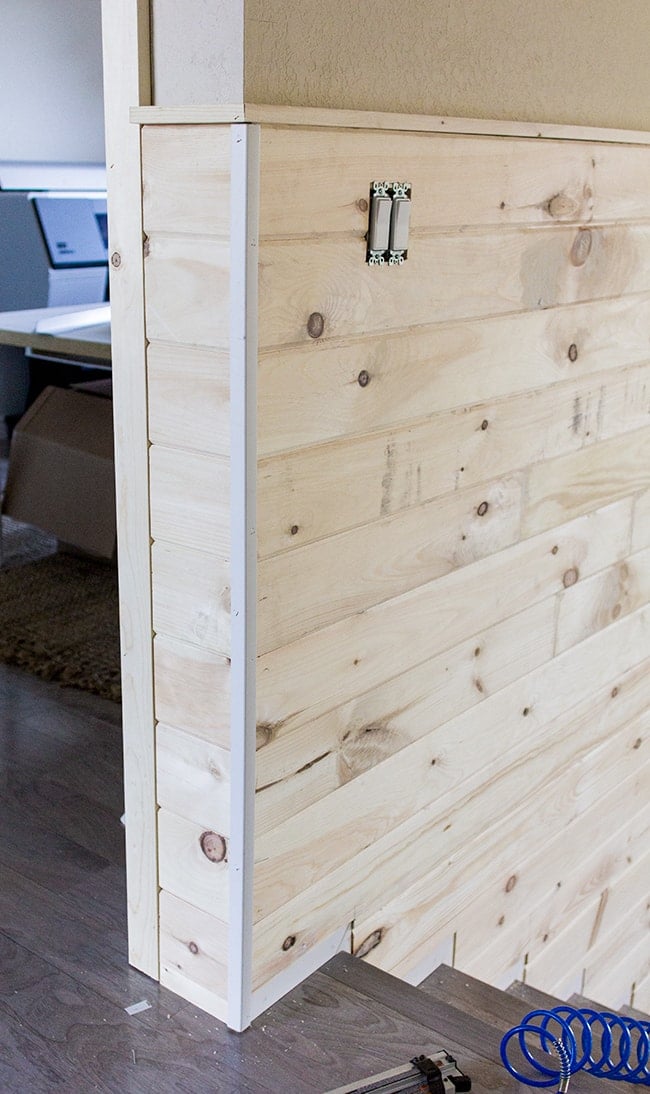
Next up was the baseboard. I used the same style as my studio—I bought enough for the rest of the living room which will be replaced soon.
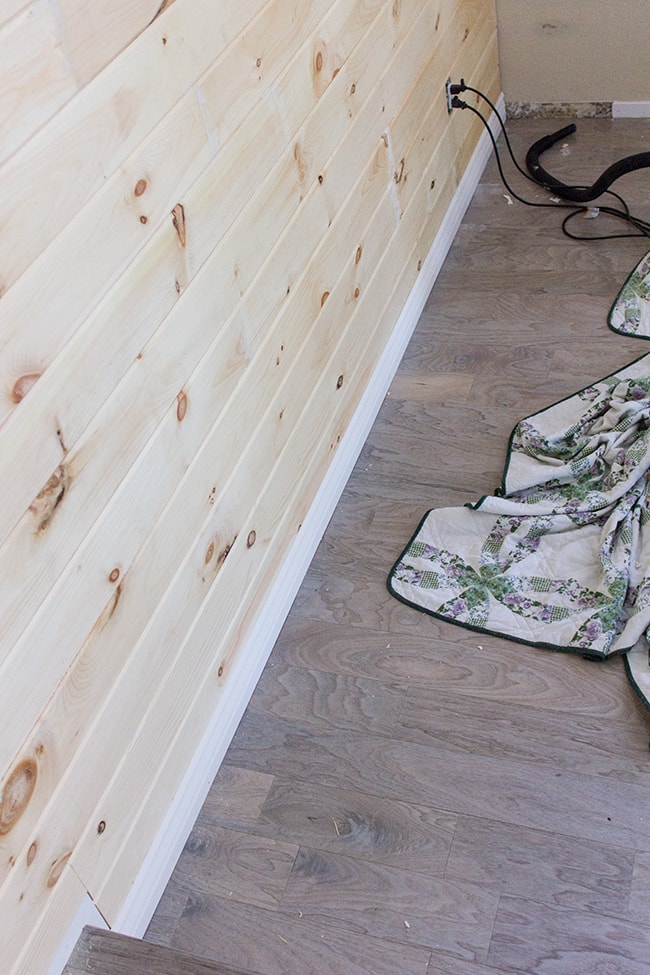
And finally, the quarter round in the corner went up and the trim was done!
Then came the tedious, time consuming part…
Spackling, caulking, patching, sanding, taping, prepping. This part takes almost as long as it does to plank the dang wall in the first place.
To address the seams where one plank met up with another, I first used some lightweight spackle, let it dry, then we went over it with this beast of a sanding machine:
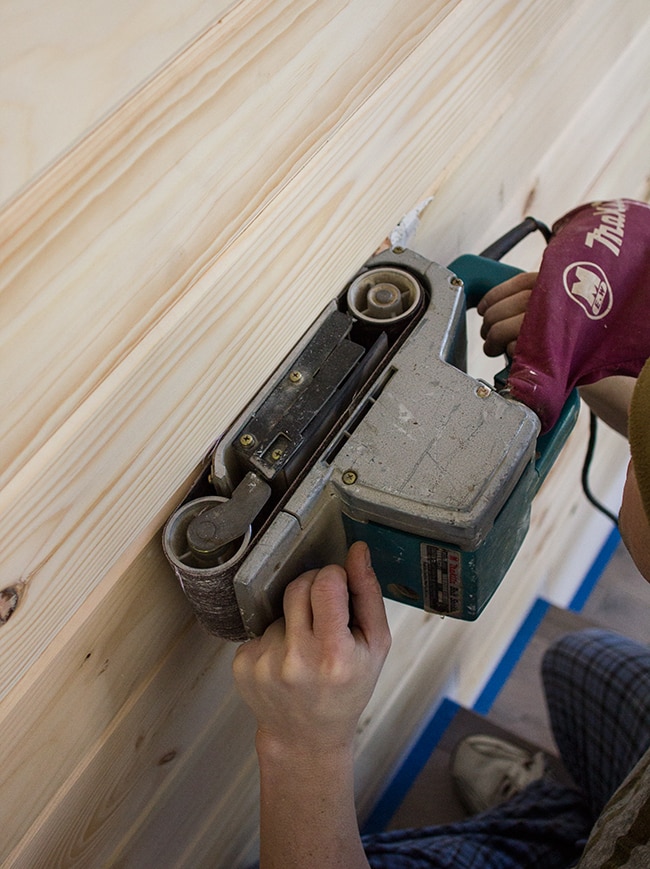
This is seriously the key to seamless planking. It would never work sanding by hand, because it’s rare that the planks are perfectly level. And if they aren’t perfectly level and smooth, you will definitely see them.
But this thing works wonders…
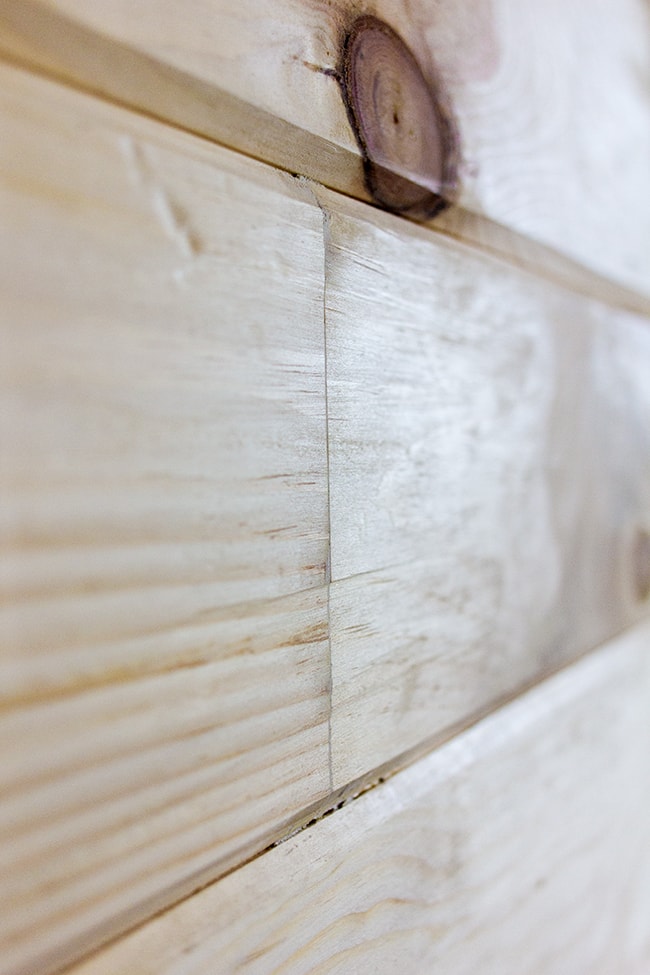
I wish you could feel how smooth this seam is—actually, reach out and touch it on your screen and that’s what it feels like. You can’t even tell there’s a seam. I love you, belt sander.
After the surfaces were prepped, we taped it off and it was ready to go! We didn’t bother taping the walls because they’re about to be painted over anyway.
Let’s get right to it…
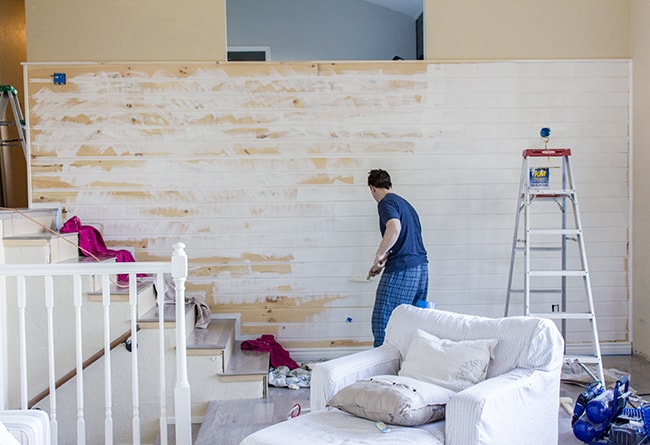
After 3 coats of Kelly Moore’s Swiss Coffee (in satin, same as the kitchen)…
 |
| The stair treads are next, don’t worry! |
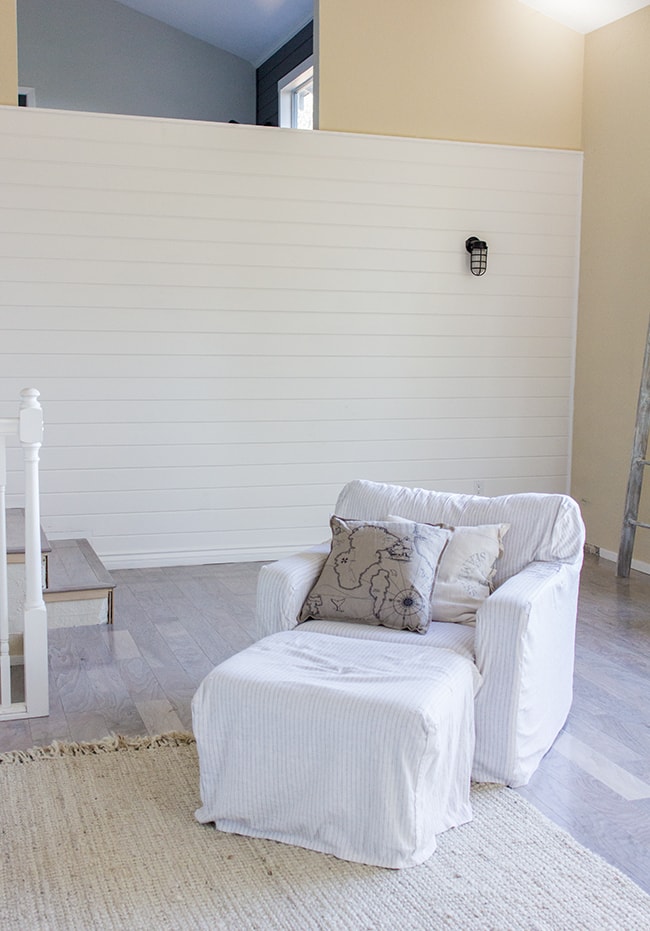
Oh—and as for my light?
I picked up this guy last week:
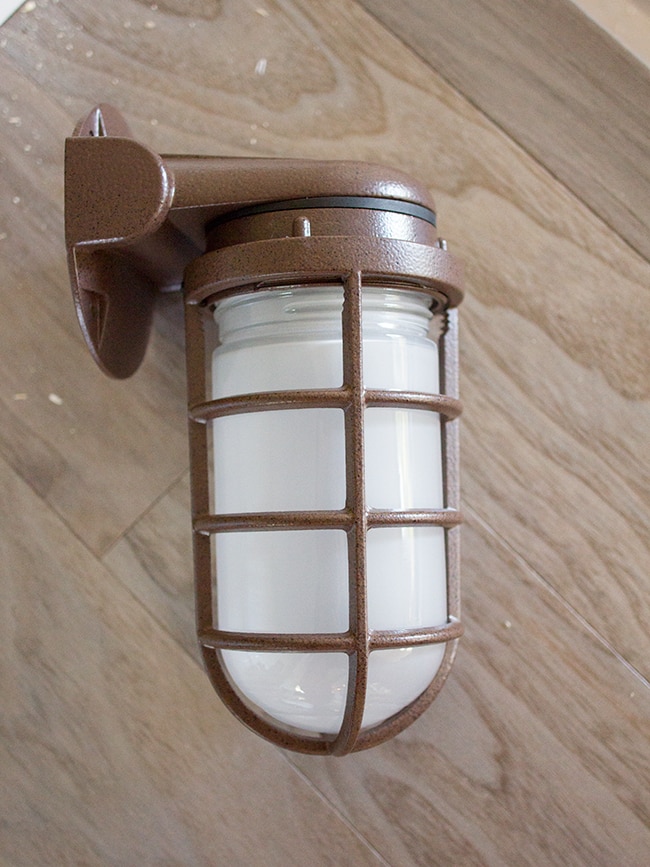
I wanted this in black, but it was the only one I could find online and the price was right ($48 shipped) so I bought it and spray painted it black.
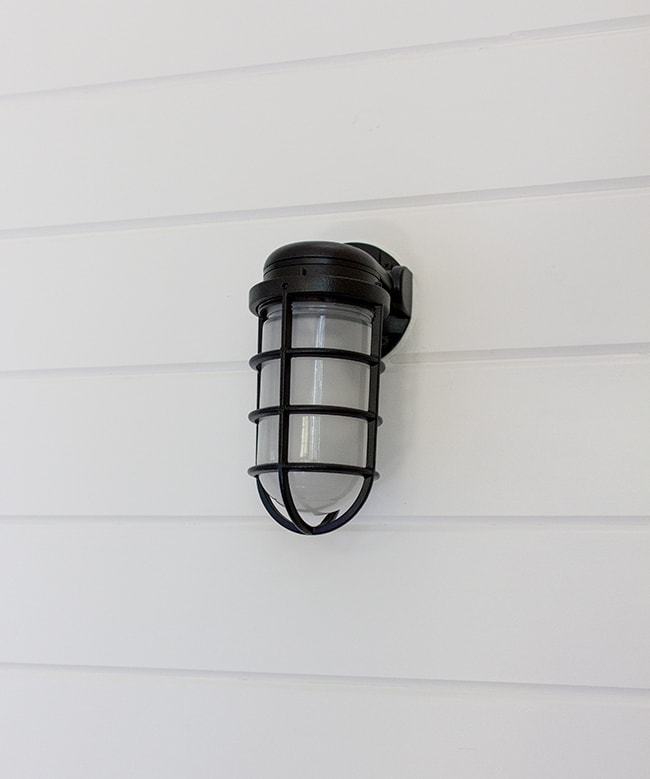
I’m digging the rustic/industrial look it brings to the space, and it ties in nicely with the cage pendant light we installed last week in the kitchen.

It’s lonely right now but I have a vision for this space… as soon as I can find the right pieces!
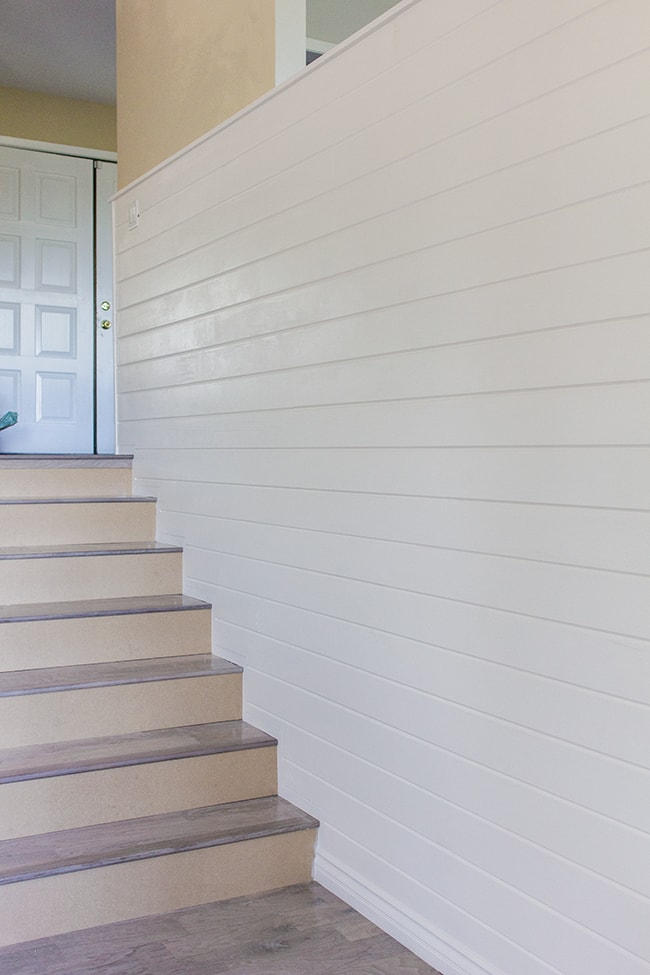
We decided not to put the hand rail back on, but we’re definitely planning on reinstalling the railing on the right side of the stairs (we’re redoing it so it isn’t quite as 70’s).
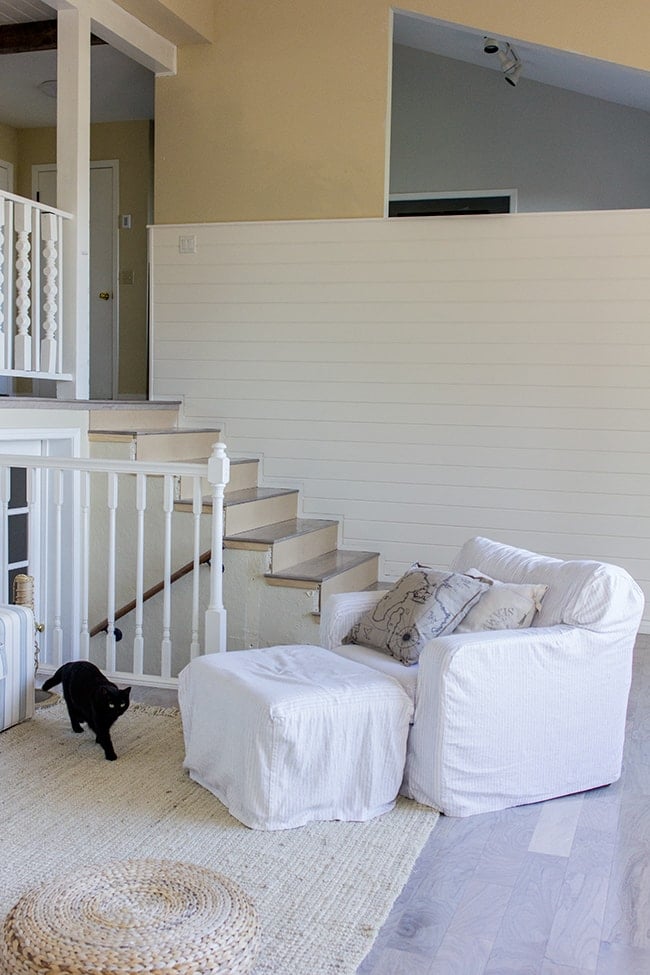
Looks much better when you walk in the door!
And I’ll leave you off with the view looking down from the kitchen…
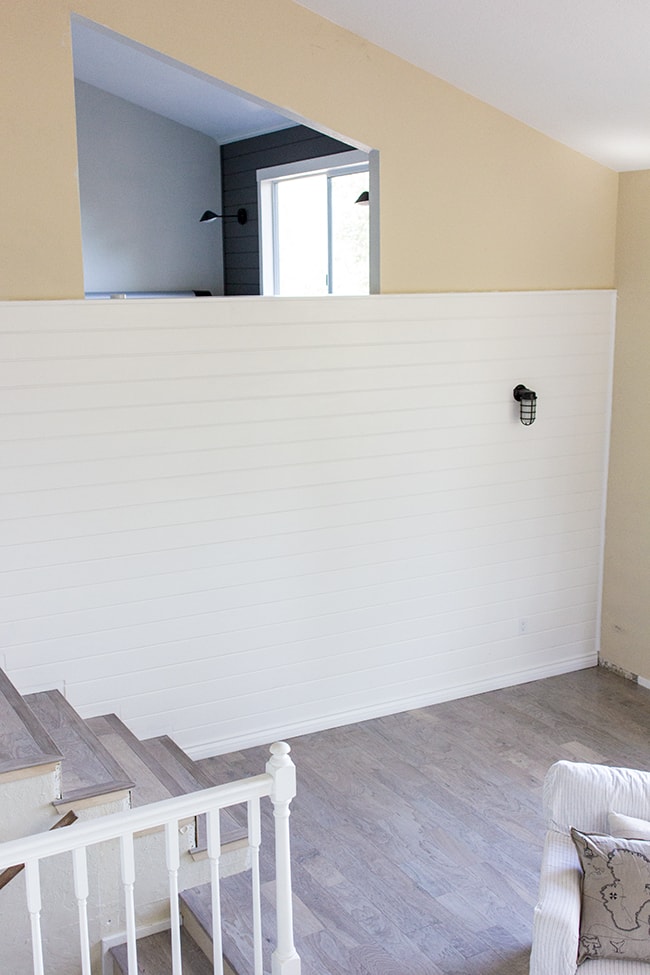
It’s a little plain and unexciting with it being empty right now, but it’s the perfect backdrop for what I have planned.
And beige walls—your days are numbered. We’re going to have to hire this paint job out because the walls at the highest point are just way too tall (even with an extension ladder), and they’re over a staircase so there’s no way we’d be able to get in there. One step at a time!
More kitchen updates in the near future…


SiliconIT Hub says
Life in living meets with luxurious comfort and warmth at film city ahmedabad jackie shroff.
Callie says
Ah yes that makes sense! Wow, must be even higher than our living room ceilings. A hassle but worth it for the lovely open space! 🙂
Jenna Sue says
Yes, I haven't forgotten about it! Our Ikea delivery should be here this week so I can finally put my new desks in and start decorating 🙂
kristin maynes says
Looks great!! It's so pretty! Will you be showing your office/studio soon….I'm excited to see it! I'm putting together a studio office and I'm having the hardest time with arrangement and decor. I need your inspiration! 😉
Cindy @Made2Style says
Your spaces are really coming together and I love the flow and cohesiveness from one room to the next!
Jenna Sue says
We probably would if it weren't for having to cut in! We can't reach it to tape off the ceiling and there's no way we could paint a straight line using a brush on a stick :
Callie says
Wow you guys are getting so much done so quickly! I think this is my favorite plank wall yet…adds such visual interest to the large space of the living room, and how it wraps around with the office wall is *perfect*. Also love the Susie photobombs 😉
I totally applaud hiring out painting the high living room walls (yay hiring out sometimes for less-desirable tasks) but I think it might be do-able with the combination of a high extension ladder and a roller on a long handle. We had to do that for our high living room walls/ceiling in our last house…doable but really not fun, haha! I made husband hold the ladder the whole time I was up there.
The White City Project says
Wow! I love the crispness of this wall! Thanks for the tips and details about how you installed, it will certainly help if I ever decide to tackle this type of project.
Jenna Sue says
Thank you! She loves the camera. Things are going a little better… let's just say they are tolerating each other. Nowhere near friends yet though!
Lisa @ Fern Creek Cottage says
The planked walls are awesome, but I can't stop staring at your floors! I love the color so much! They are some of the prettiest wood floors I've seen!
Inês Figueiredo says
Awesome wall! You are my hero! And Susie photobombing? The cutest….how is she and Biscuit geting along?
Heidi says
I can't wait to see what you have in store for that wall!
https://jax-and-jewels.blogspot.com