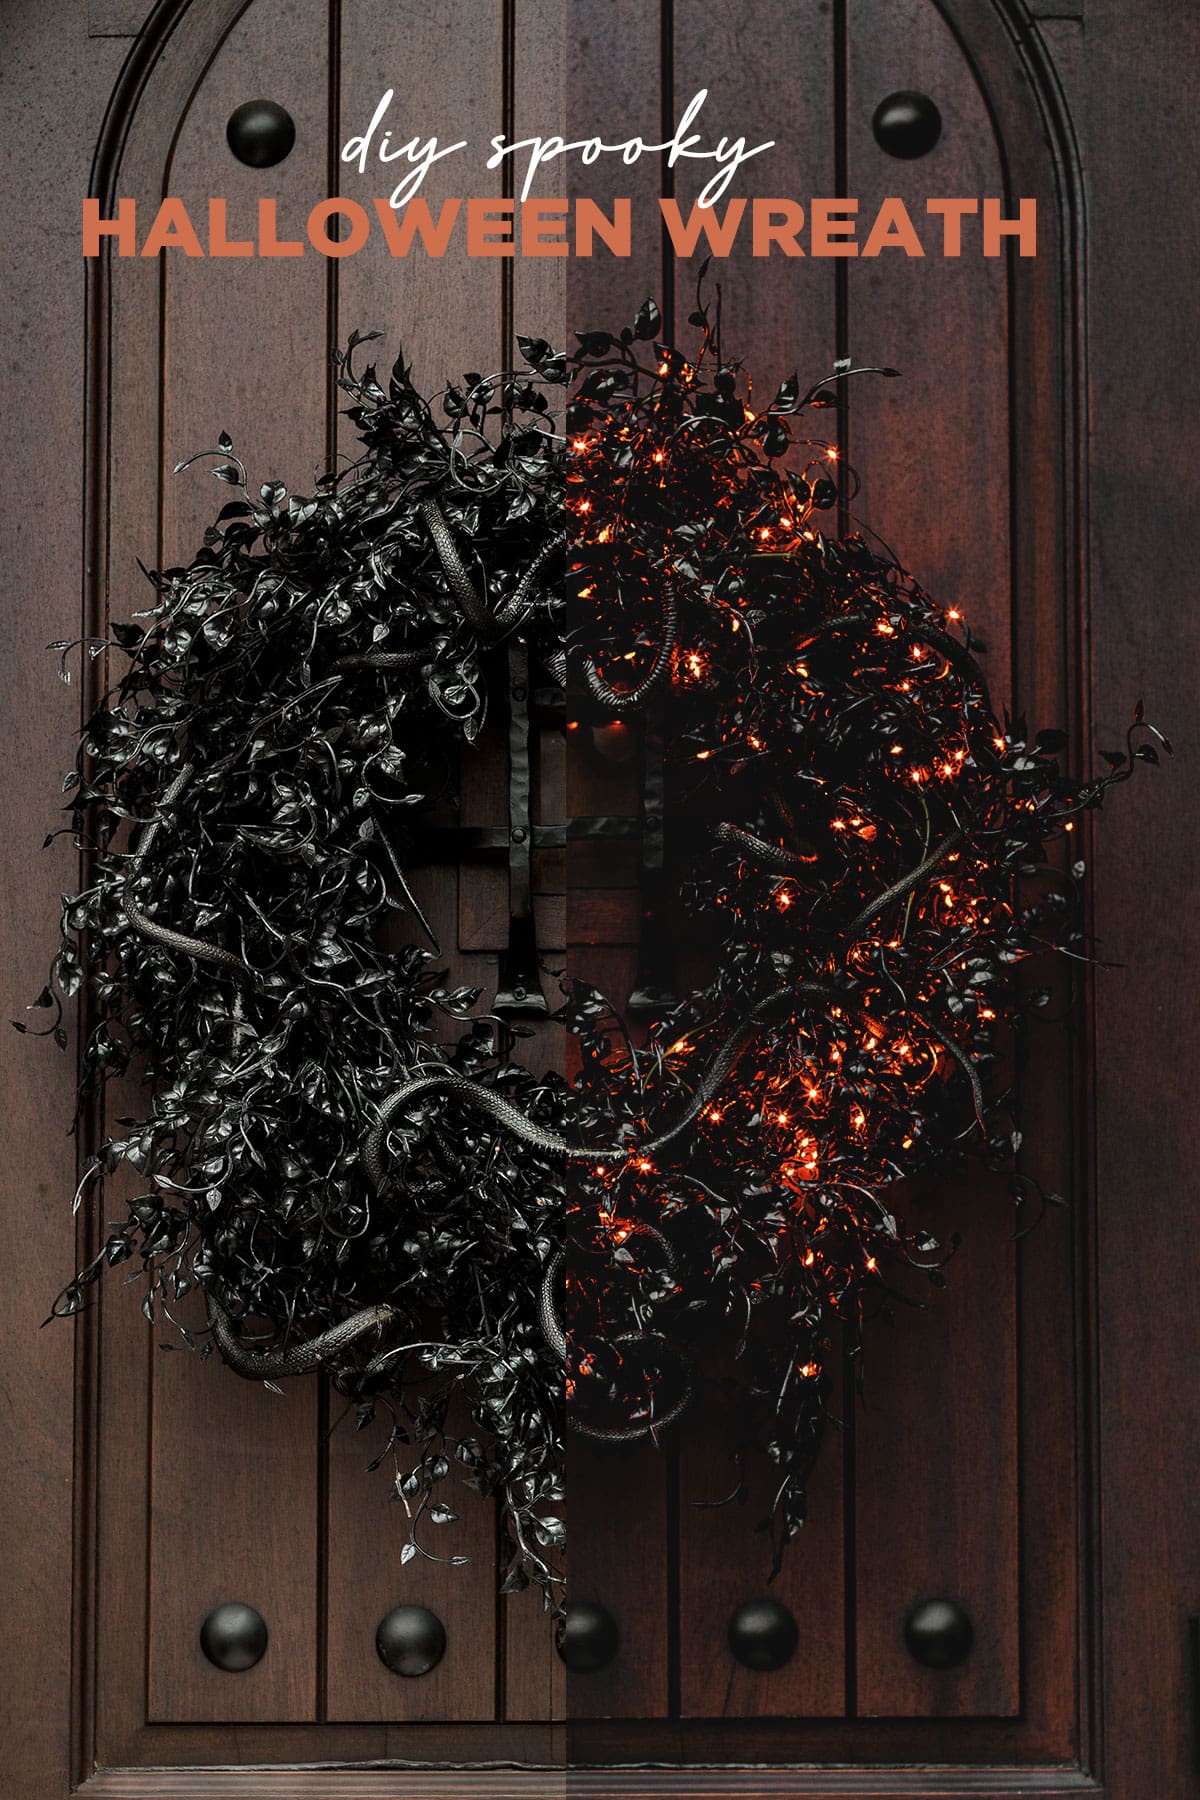
If you’re looking for a simple yet spooky Halloween wreath idea, this easy DIY adds just the right amount of eerie elegance to your home. Keep reading to learn how to make your own hauntingly beautiful Halloween wreath with this step-by-step tutorial!
A couple months ago, I spotted this wreath on Anthropologie and immediately wanted to make my own version.
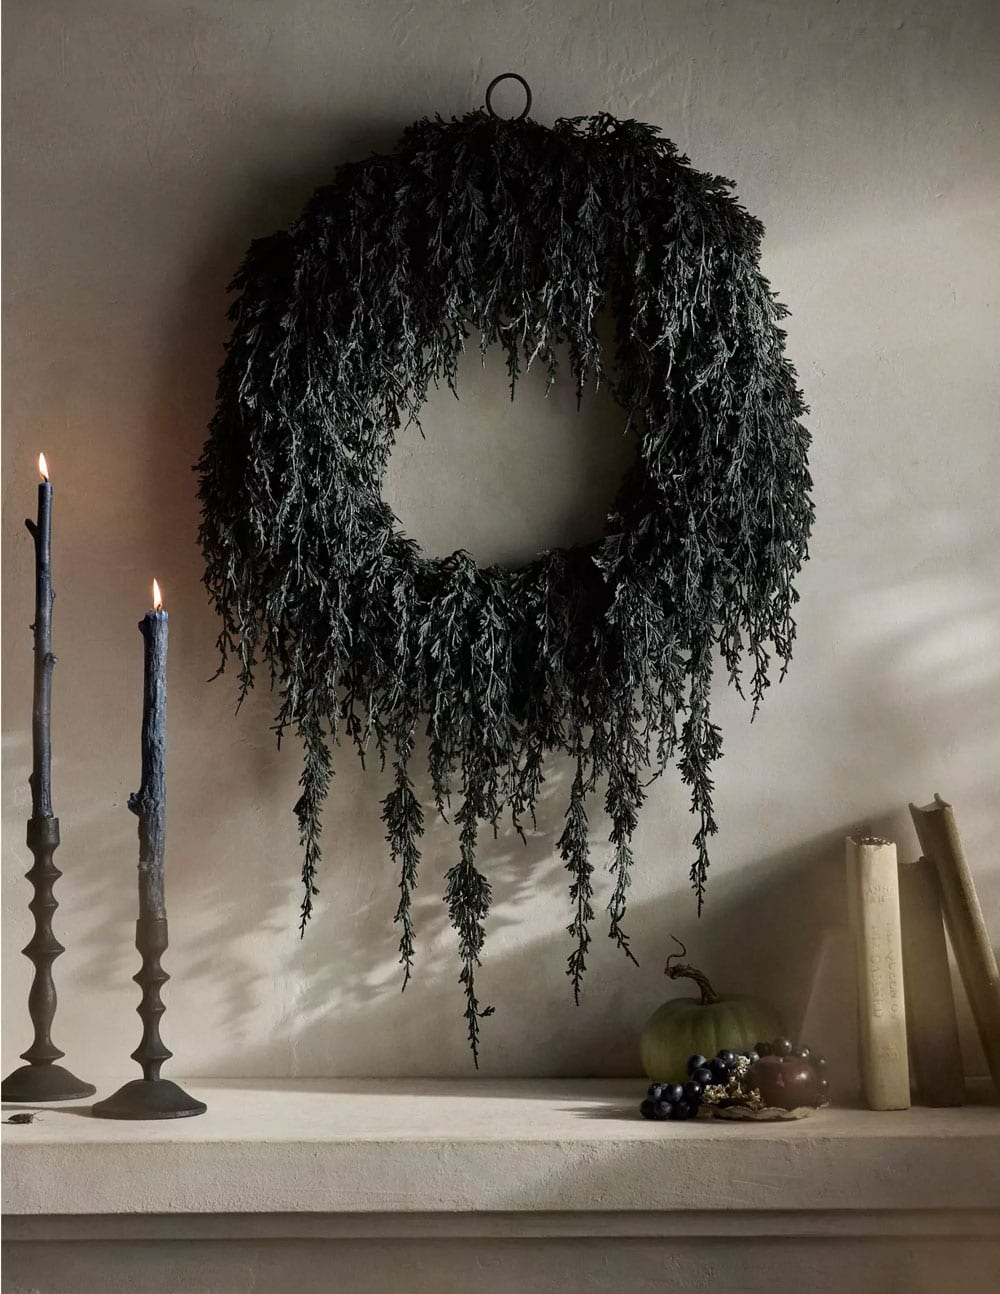
It was so popular it sold out in August, but you can get that similar ‘creepy chic’ feel with just a few materials!
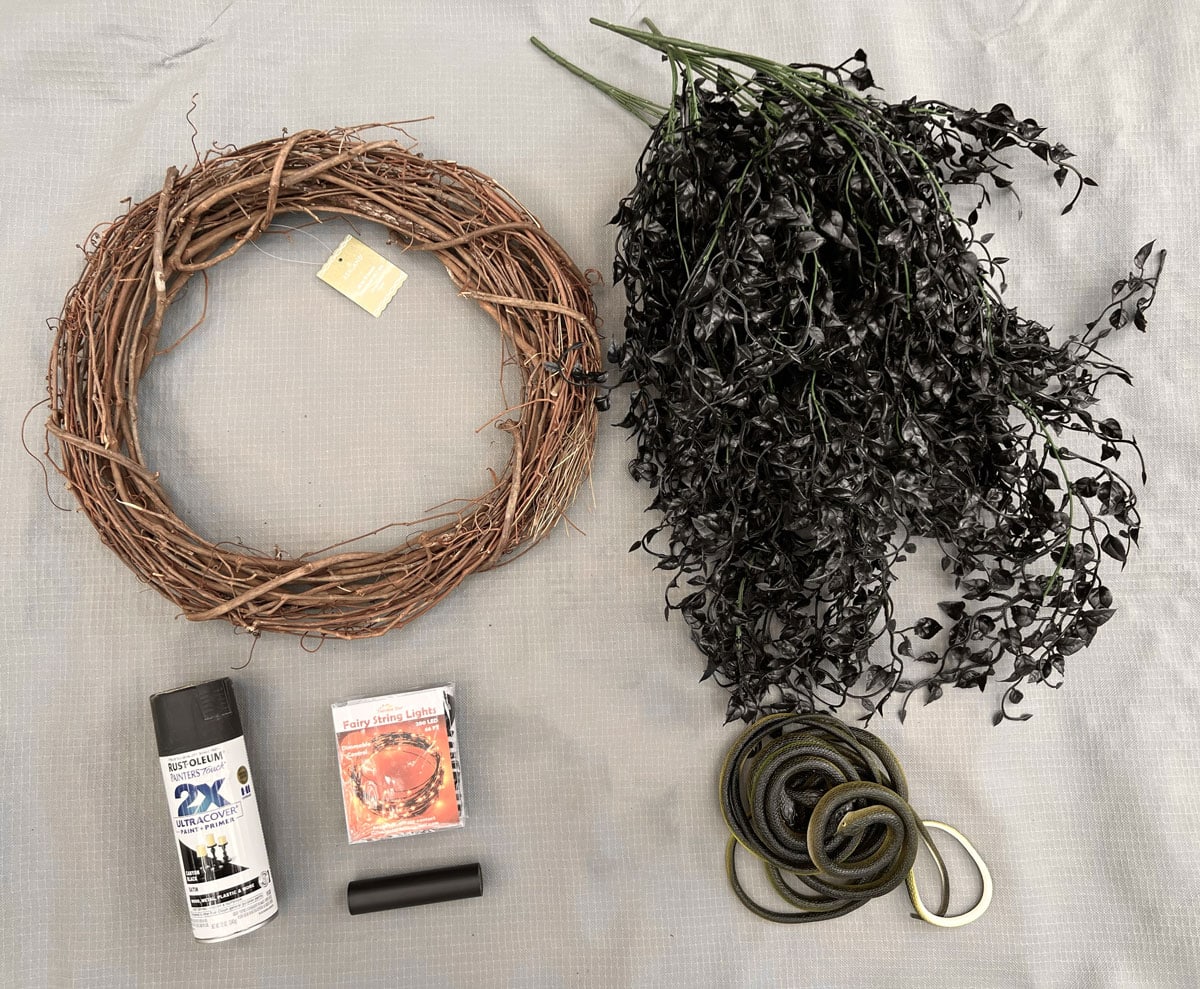
Materials
- 18” Grapevine Wreath
- Black faux ivy
- Black spray paint
- Orange LED fairy lights (Optional)
- Mini USB charger (Optional)
- Snakes (Optional)
How to make a simple and spooky Halloween wreath
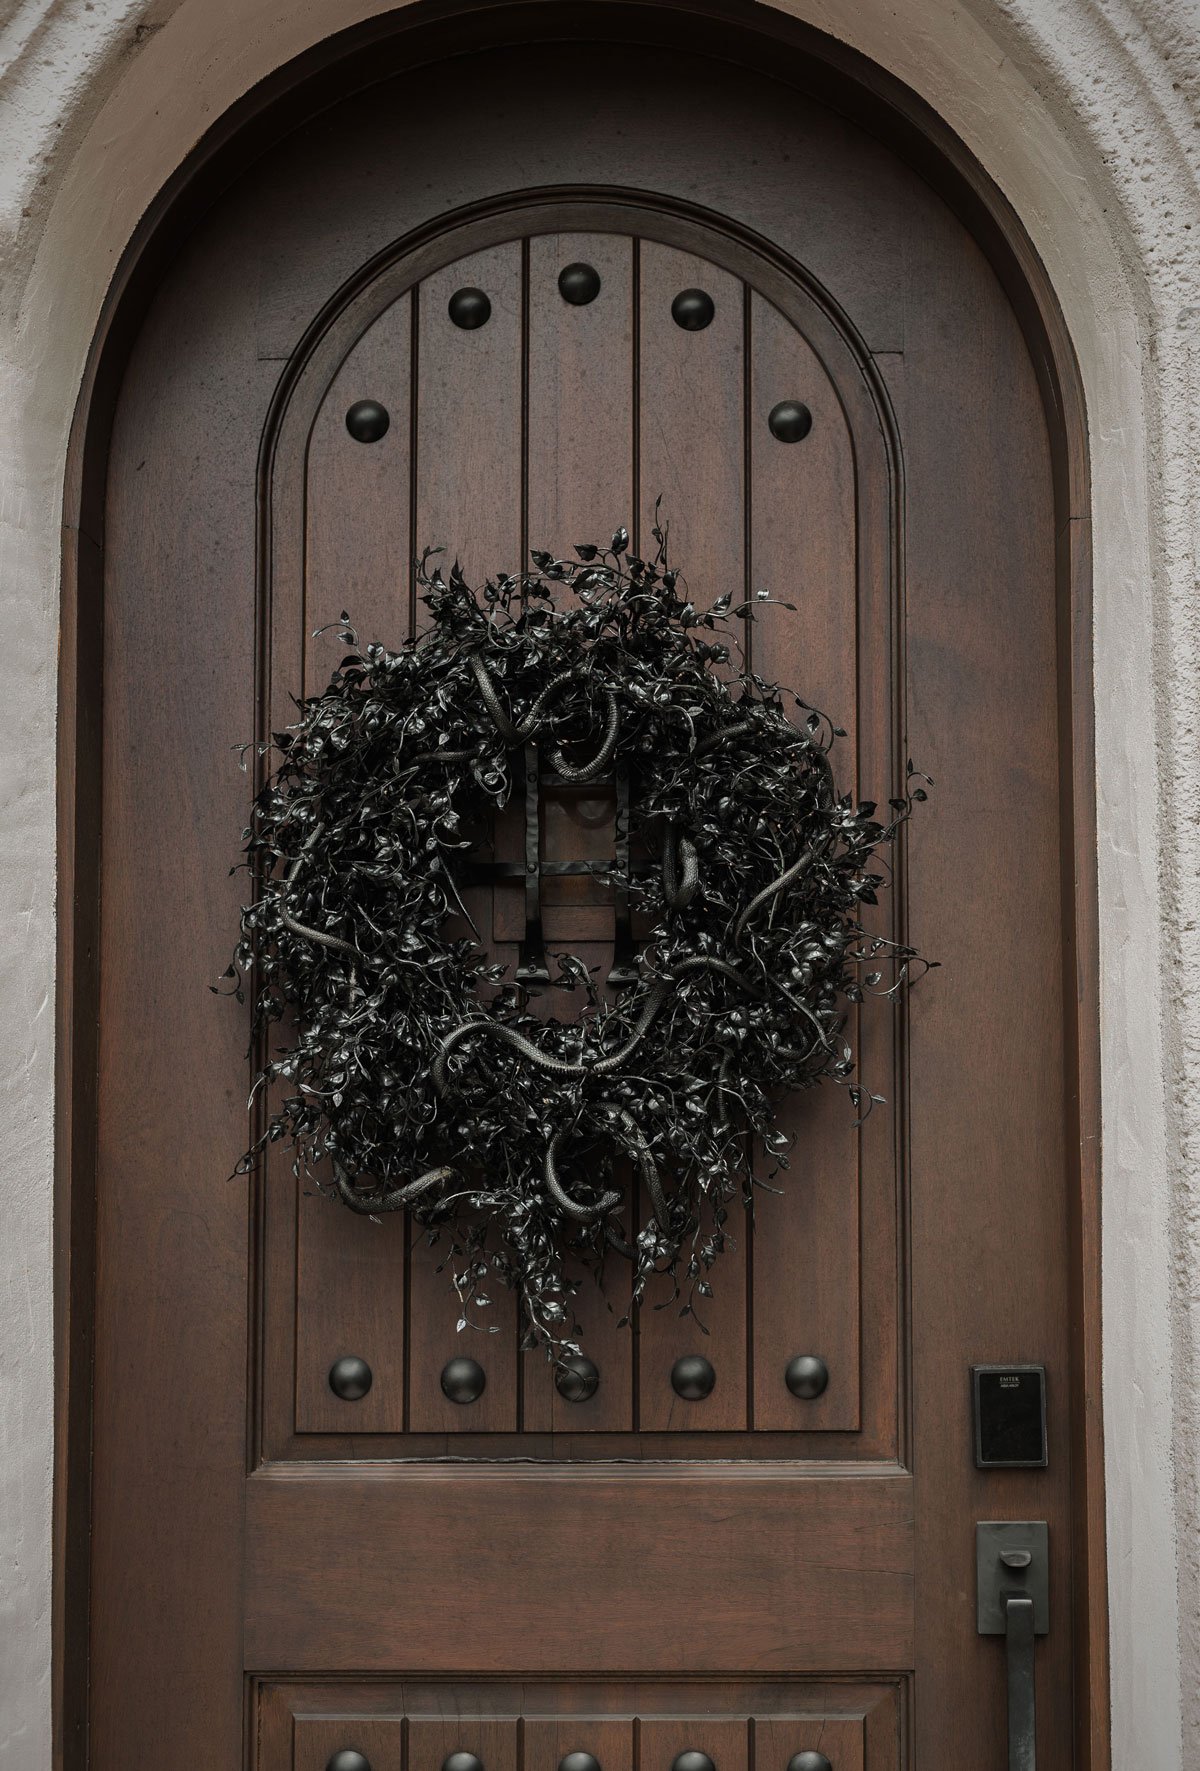
Only the first two steps of this tutorial are necessary if you want to keep it simple and understated like the Anthropologie wreath. I decided to up the spooky factor by adding orange glow lights and snakes.
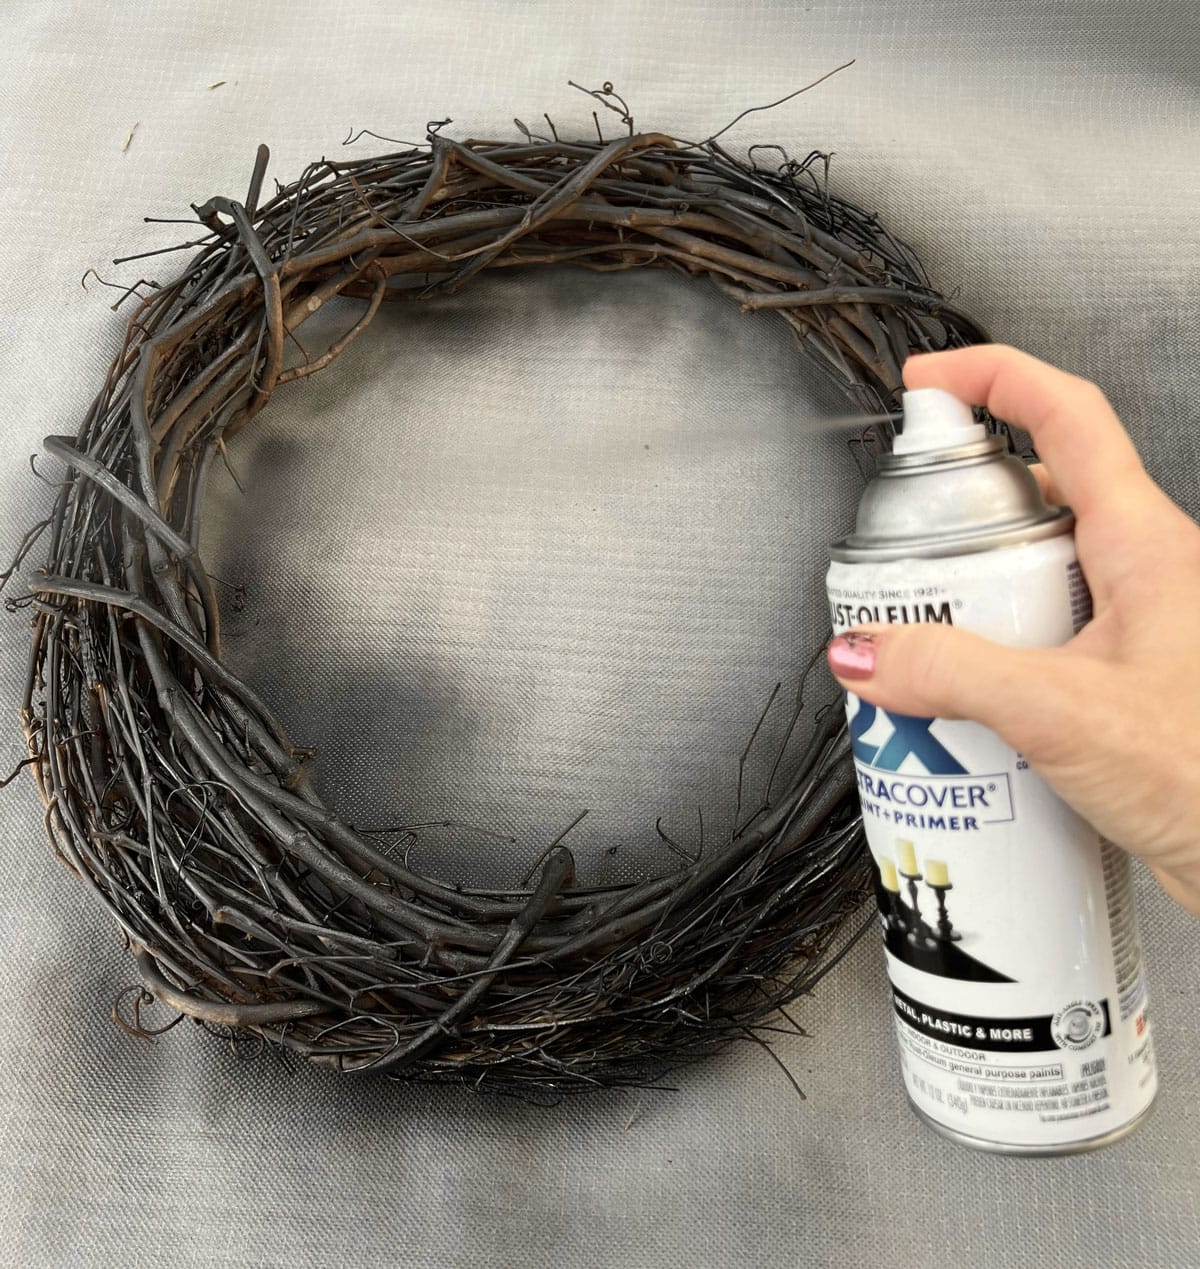
Step 1: Spray paint the wreath black
Start with a basic grapevine wreath. I bought this 18” wreath for under $5 from Michael’s. Coat it in black spray paint.
Step 2: Add black hanging vines
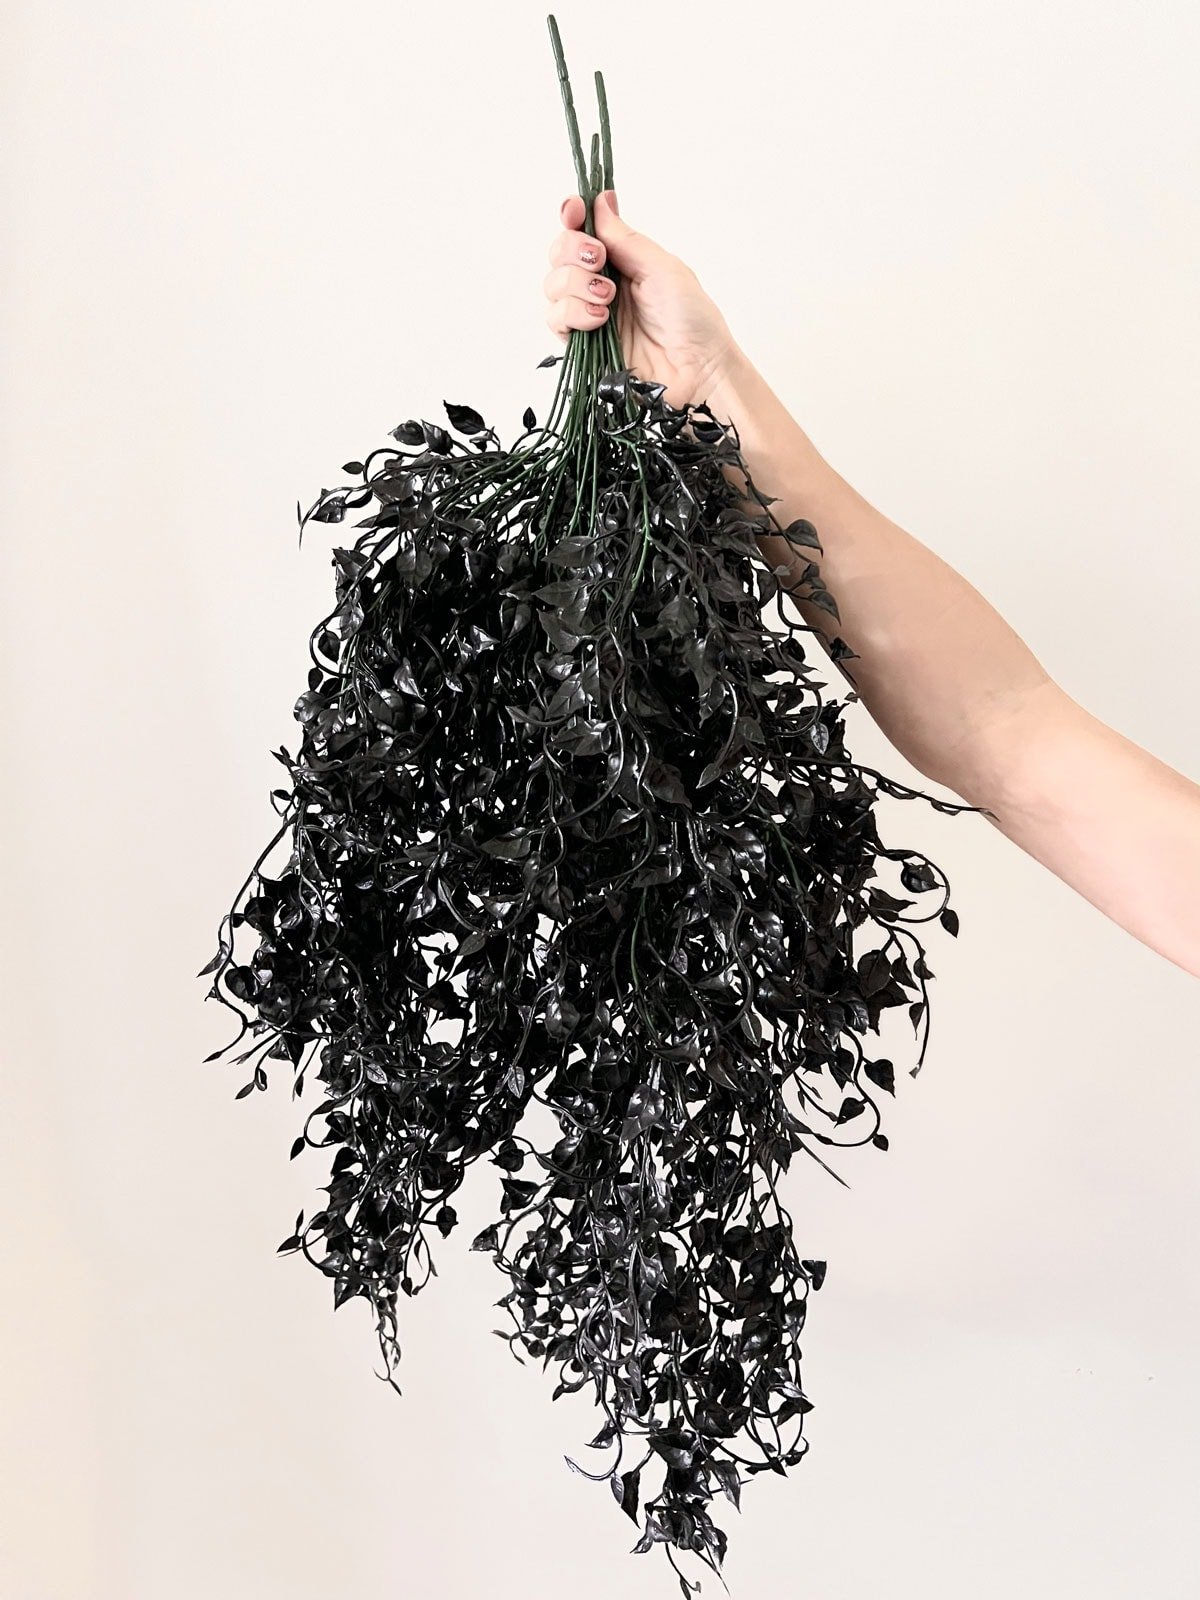
Grab a set of these hanging black faux ivy plants (mine were on sale for $20).
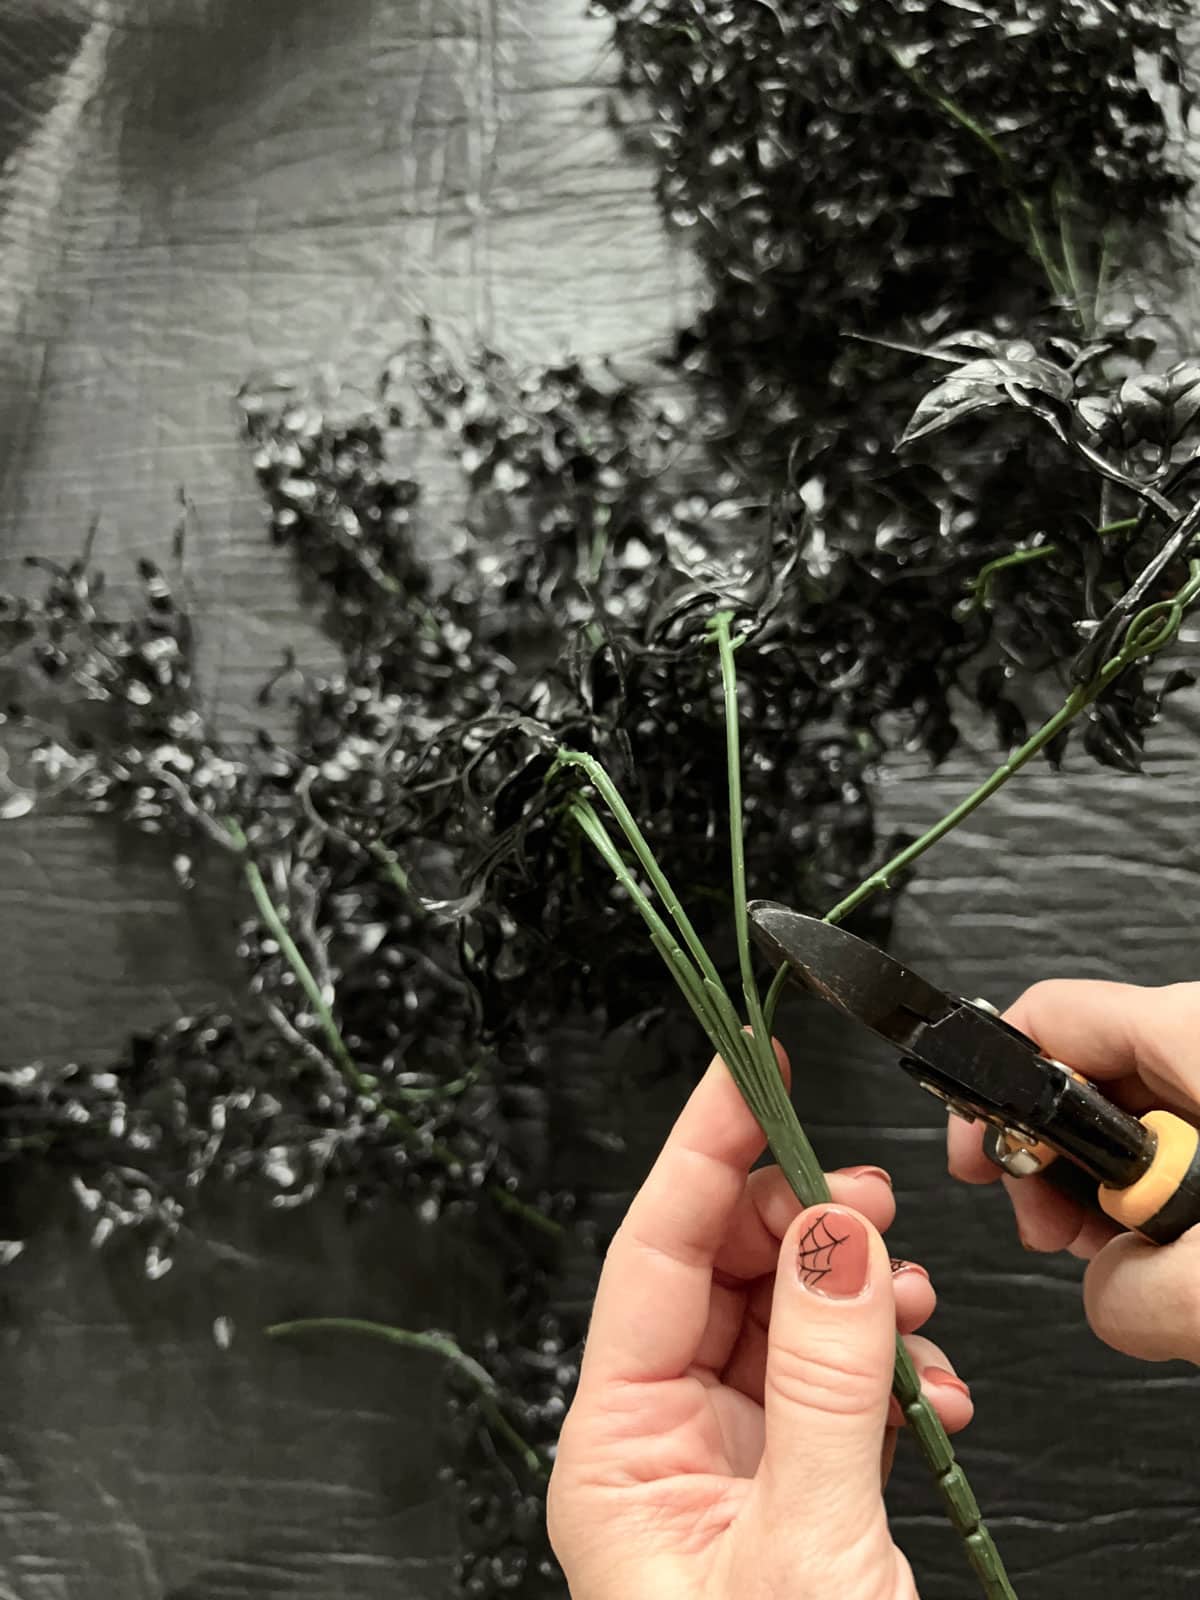
Cut the individual stems off at the base.
Weave the stems through the grapevines, working your way around the wreath.
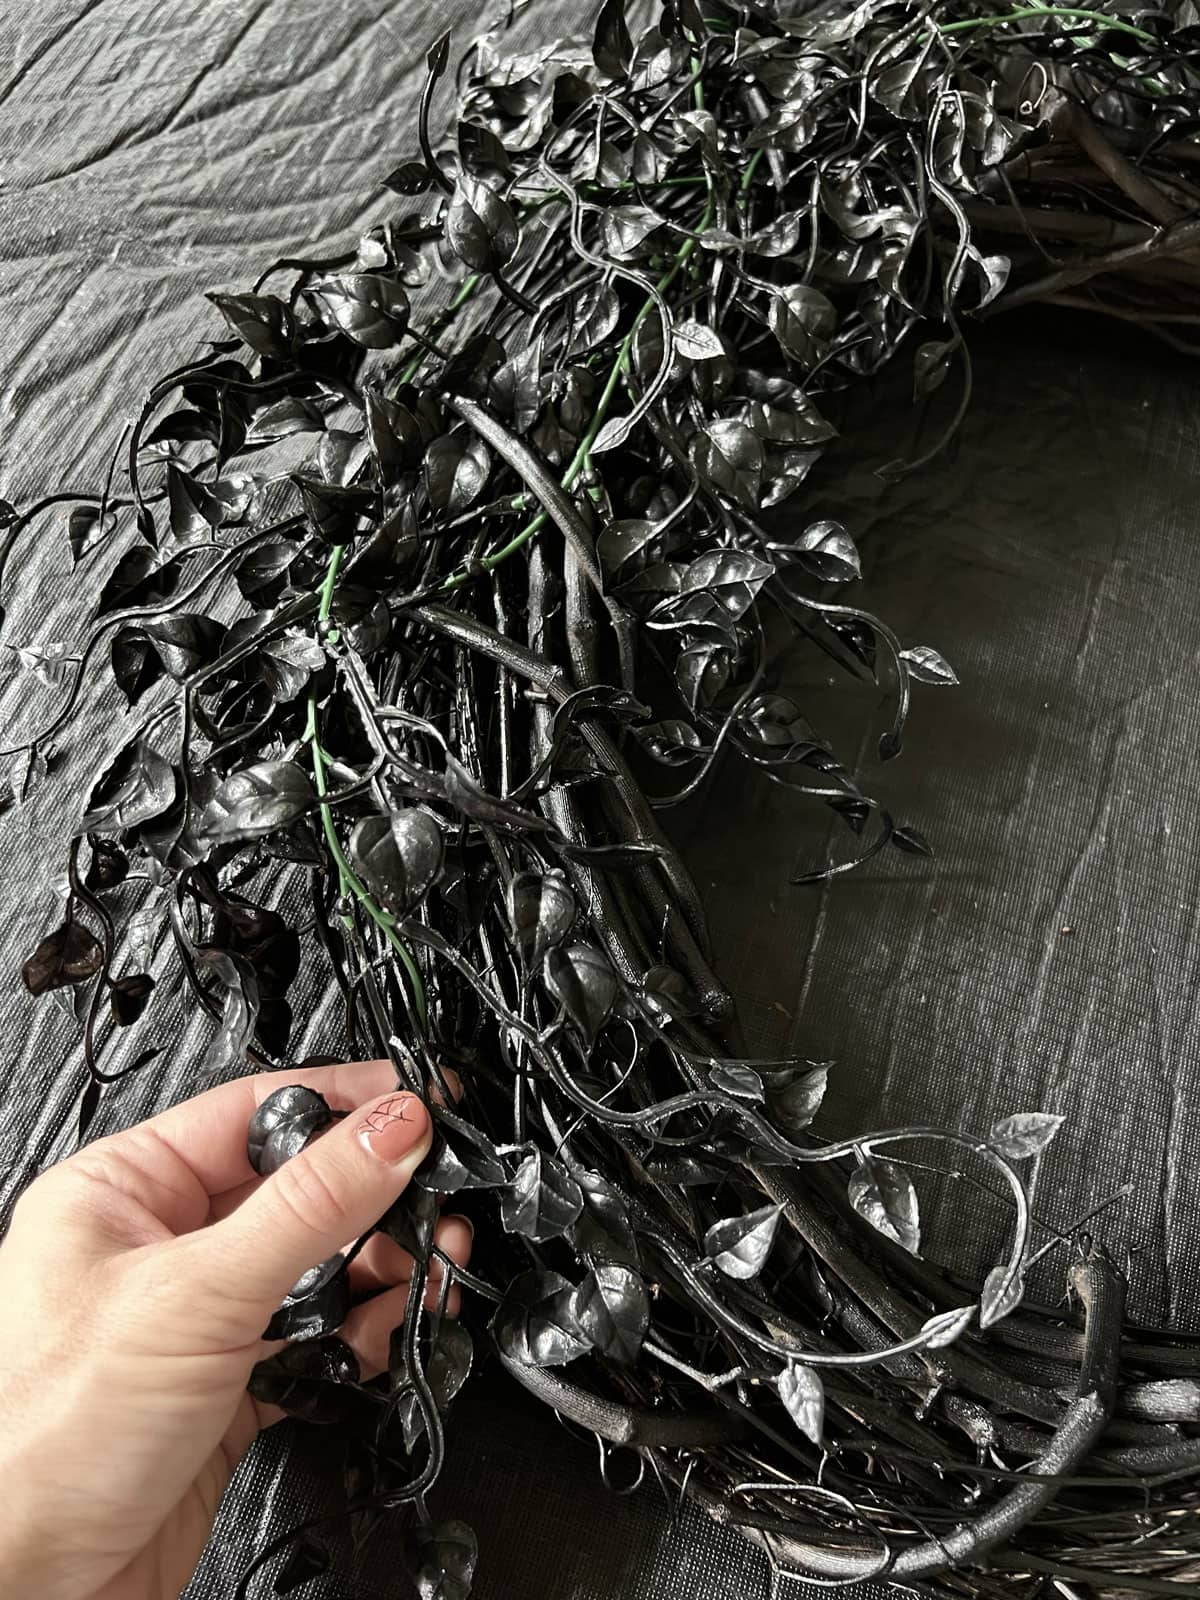
Keep going until you’ve covered the entire wreath. Allow some longer pieces to hang down around the sides and bottom.
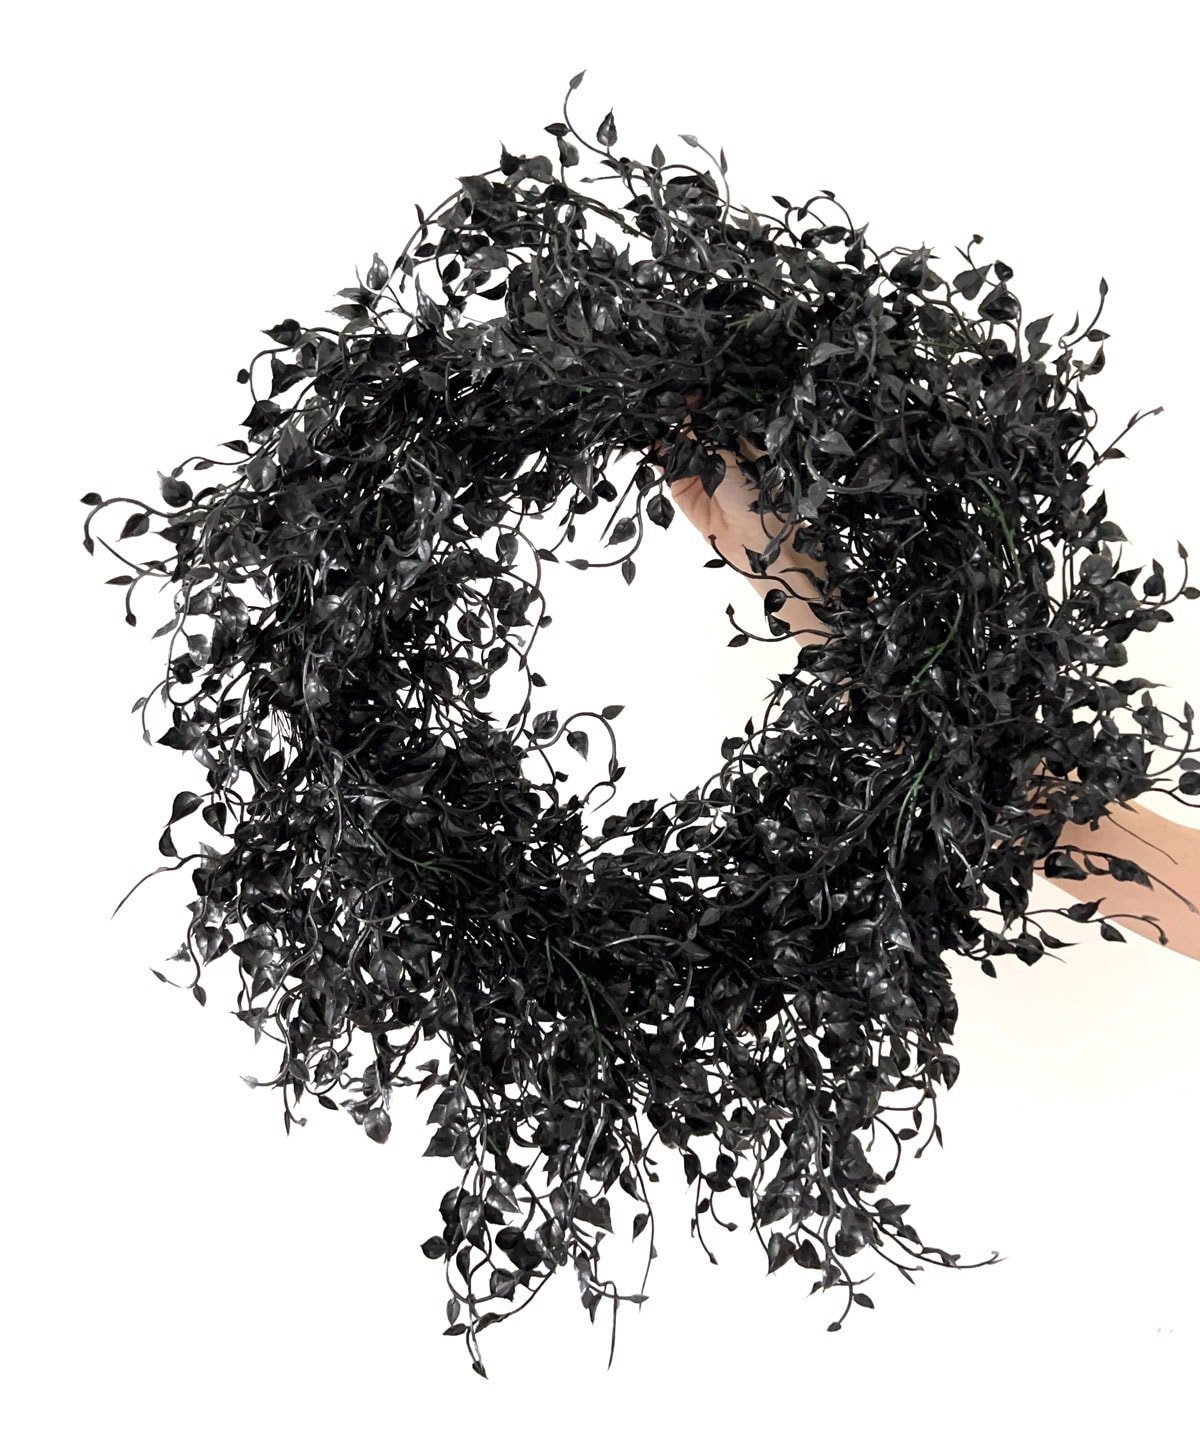
If you love the simplicity, you can stop here. I thought it would be fun to add a couple more embellishments…
Step 3: Add orange fairy lights
I found these orange LED battery operated fairy lights on Amazon, and wove the strand around the wreath. For the power supply, I connected it to this mini power bank and tucked it inside the wreath.
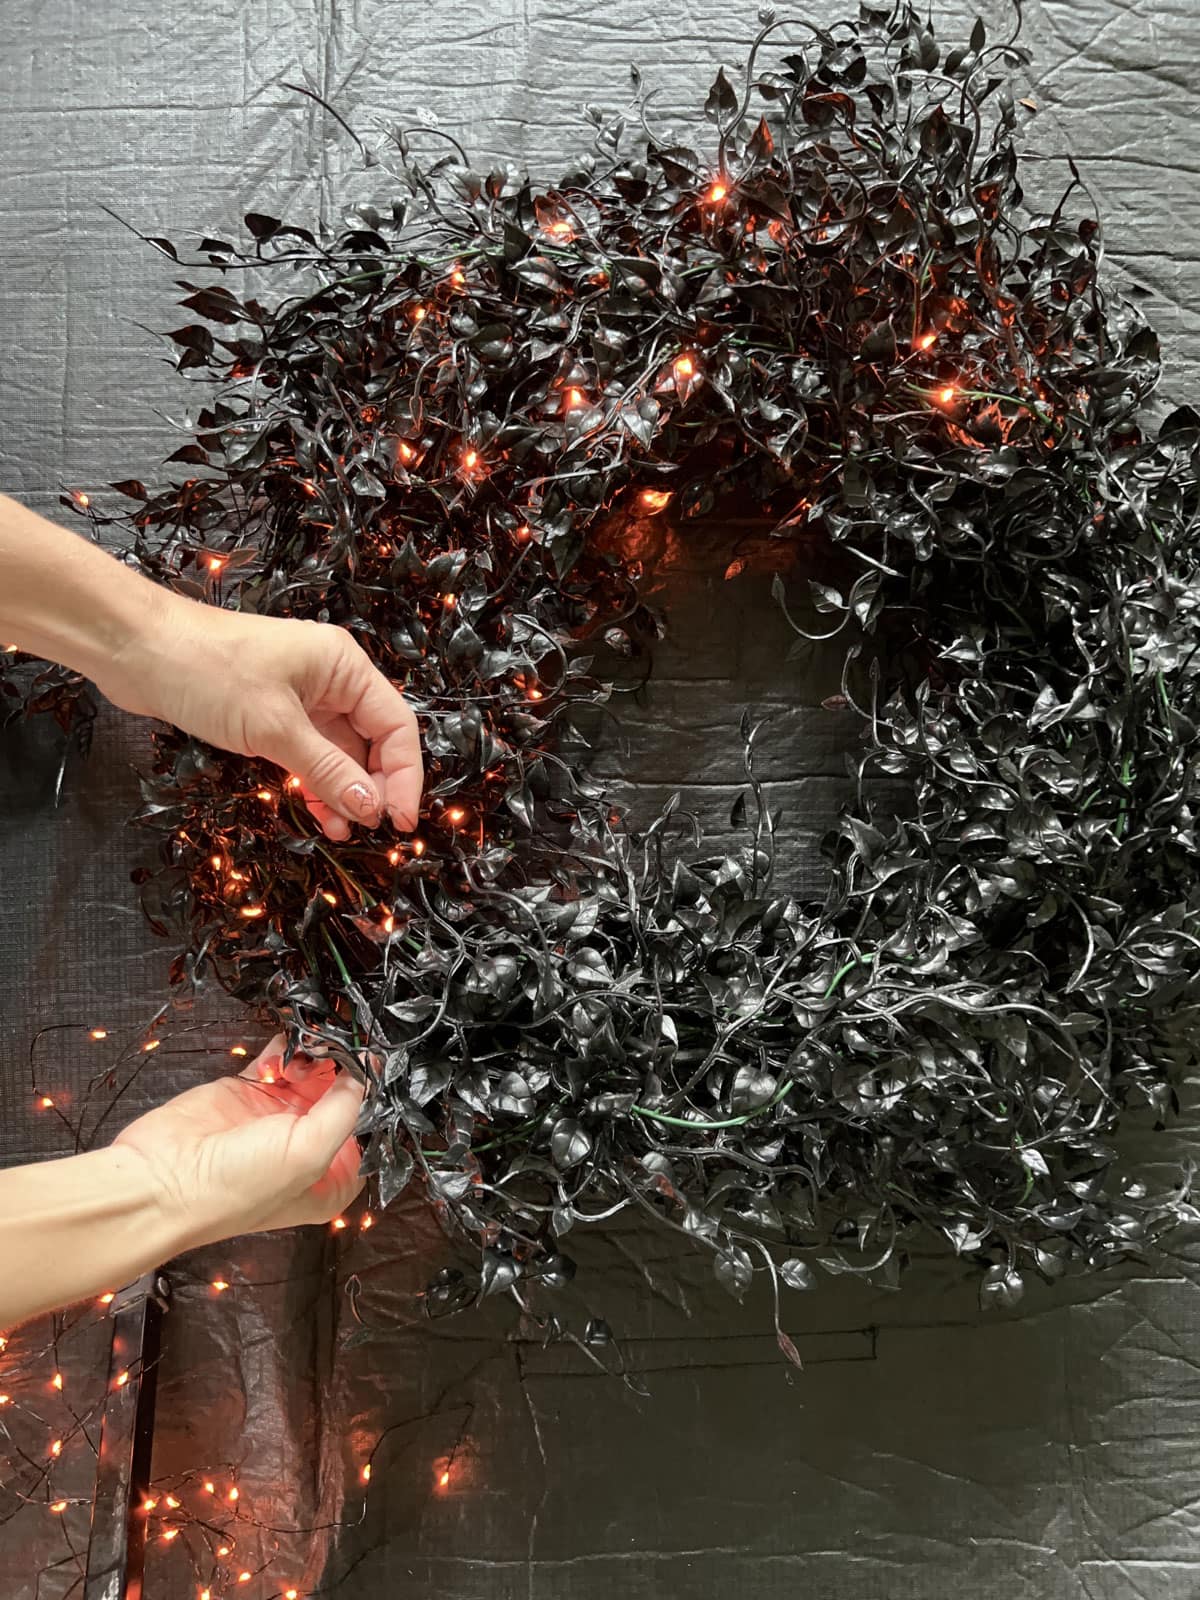
The lights can be dimmed and give the wreath the coolest, eerie glow!
Step 4: Attach snakes
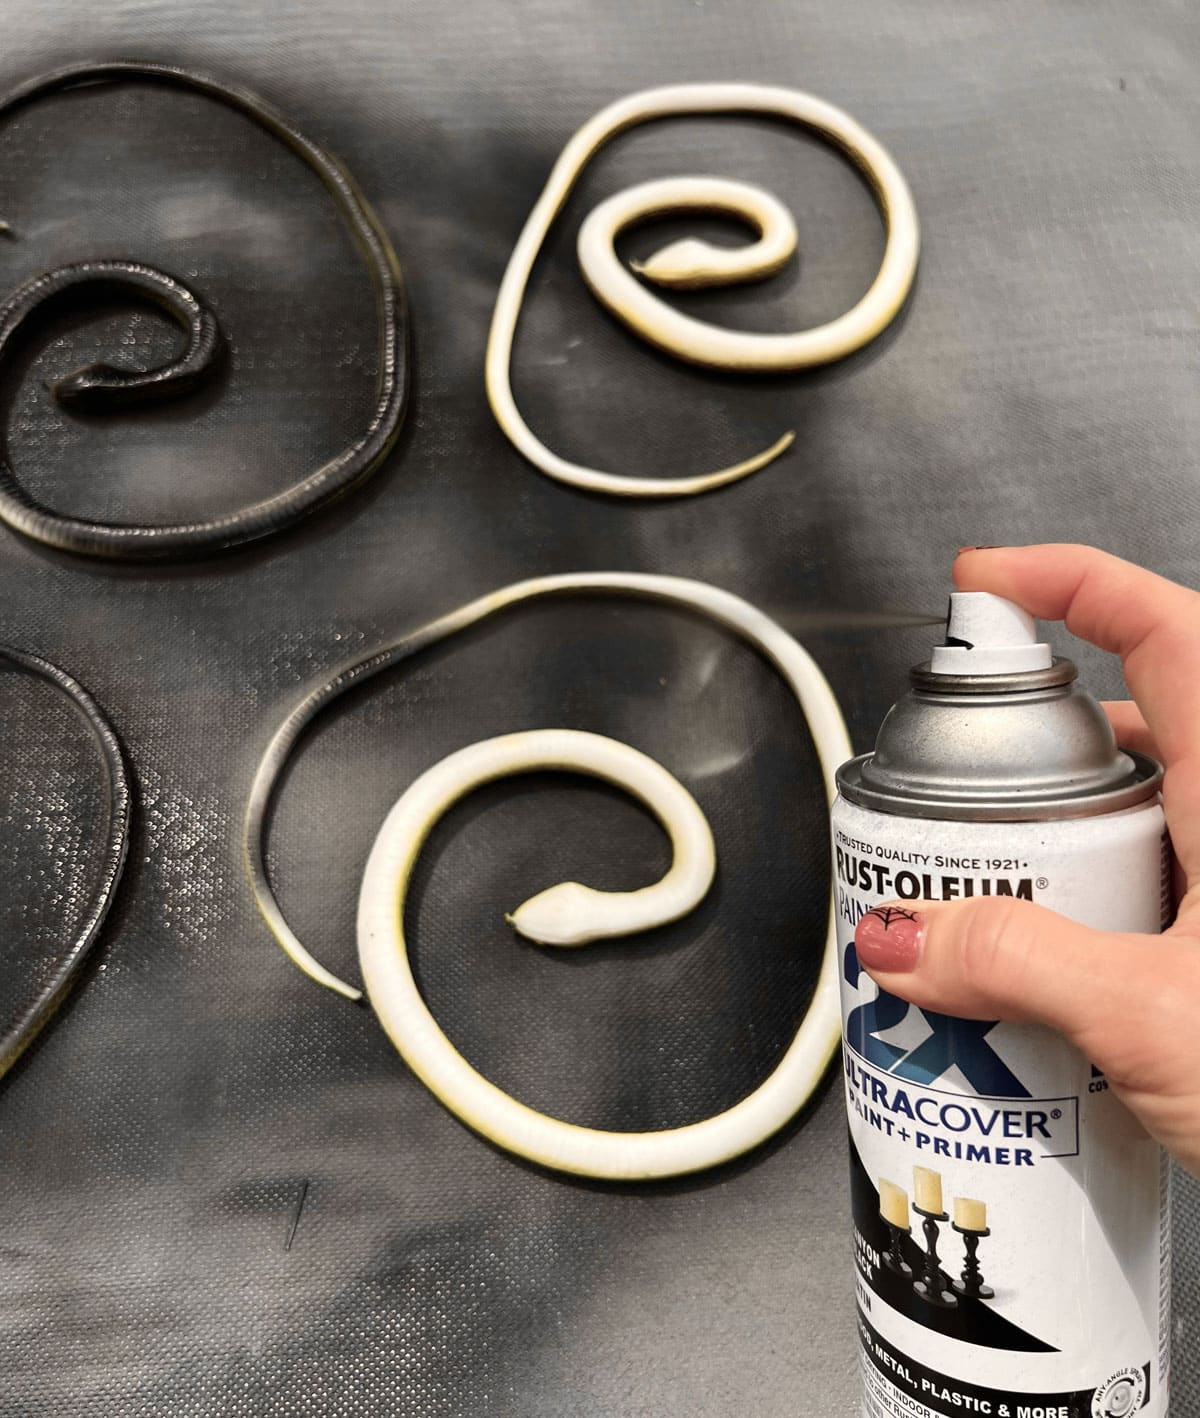
This is another step that can be skipped, but it definitely gives it that extra creepy touch. I found these black rubber snakes on Amazon and painted the bottom to make them solid black.
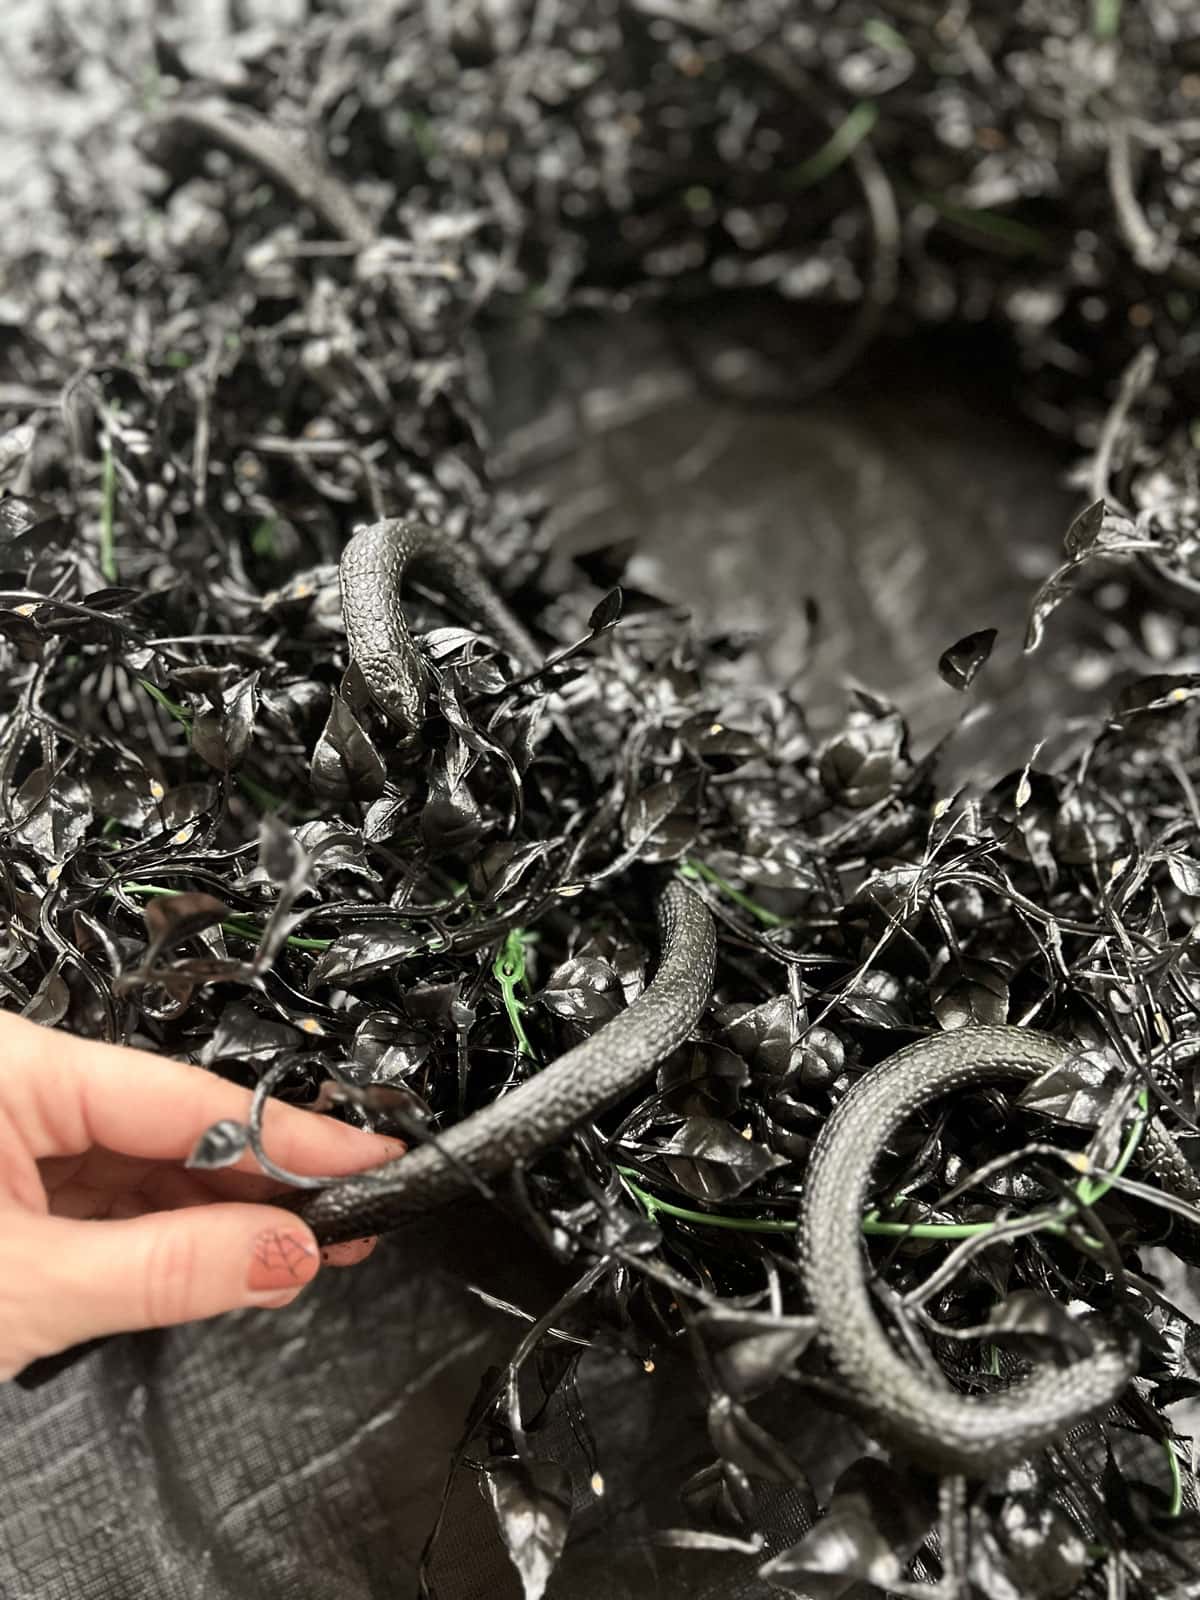
Then I wove five of them through the ivy. You can also use hot glue for a more secure attachment.
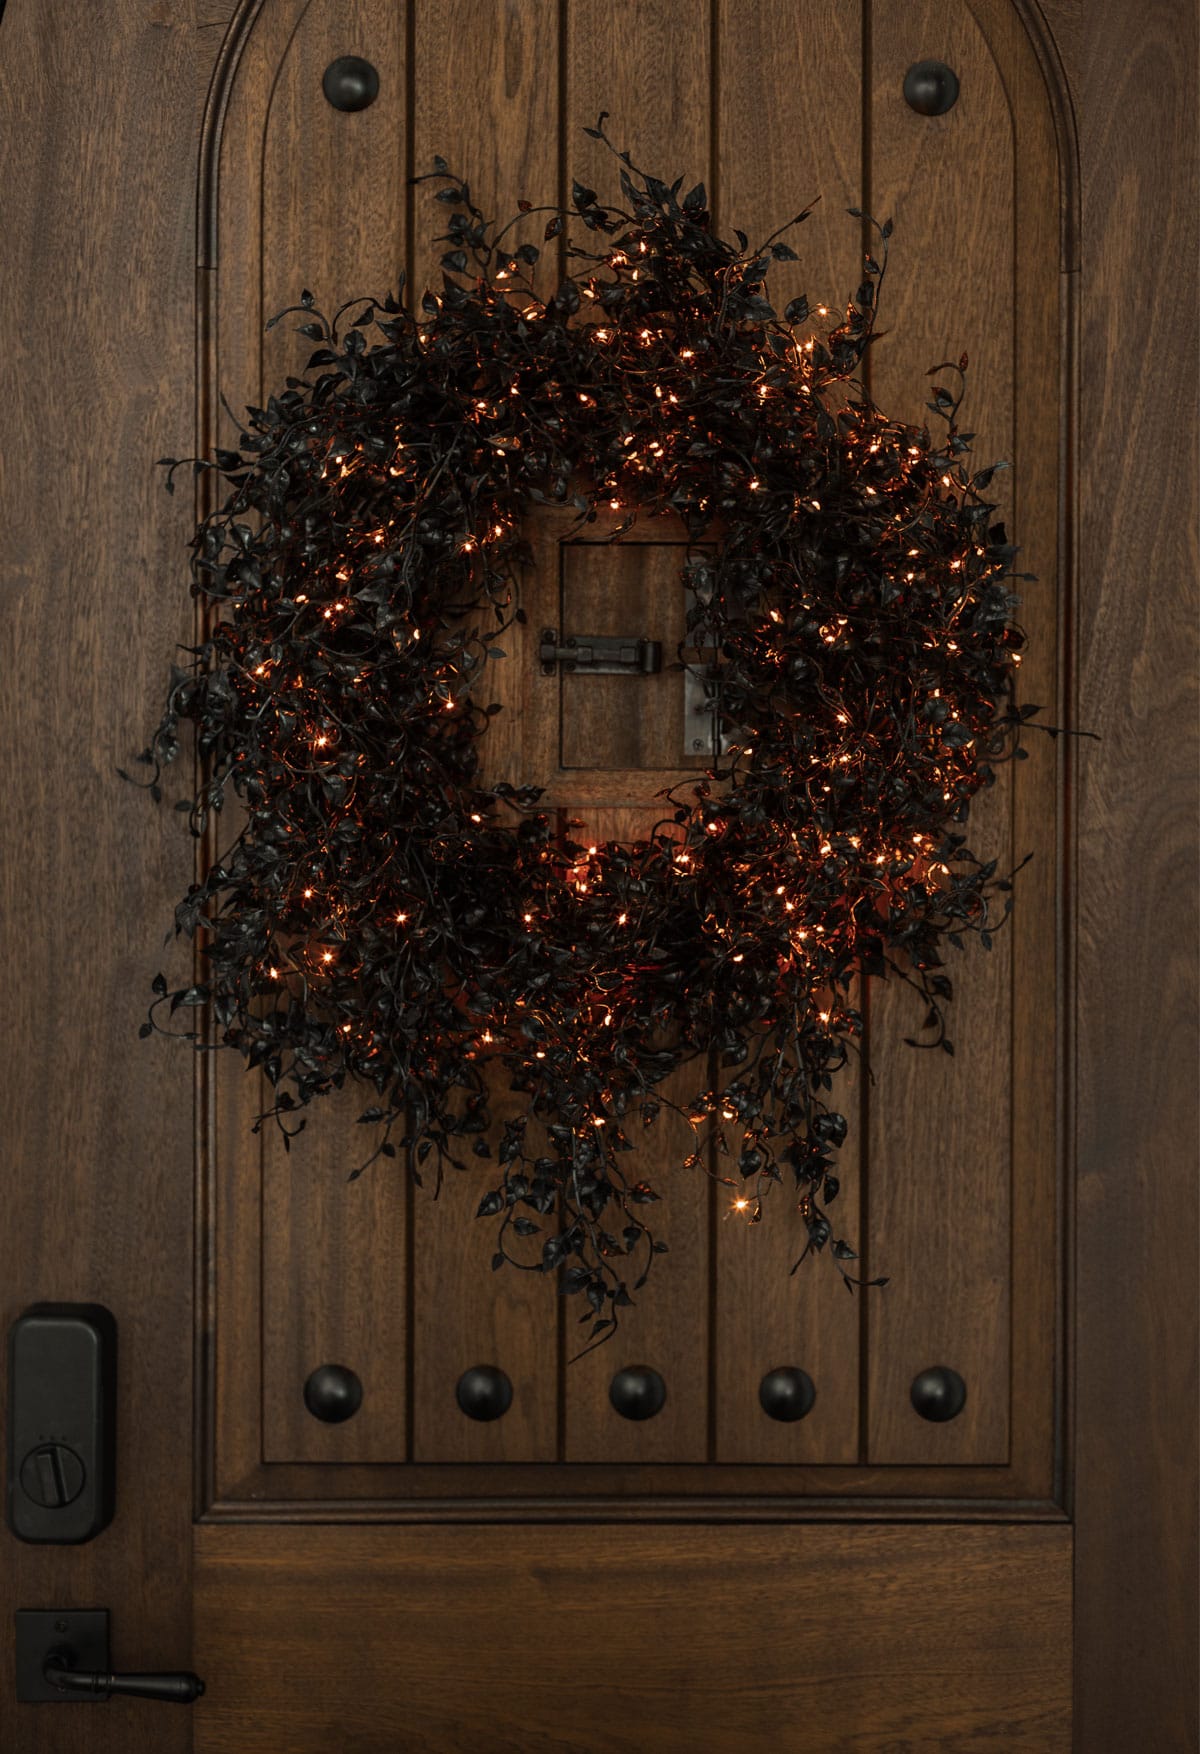
I love how it looks on our front door!
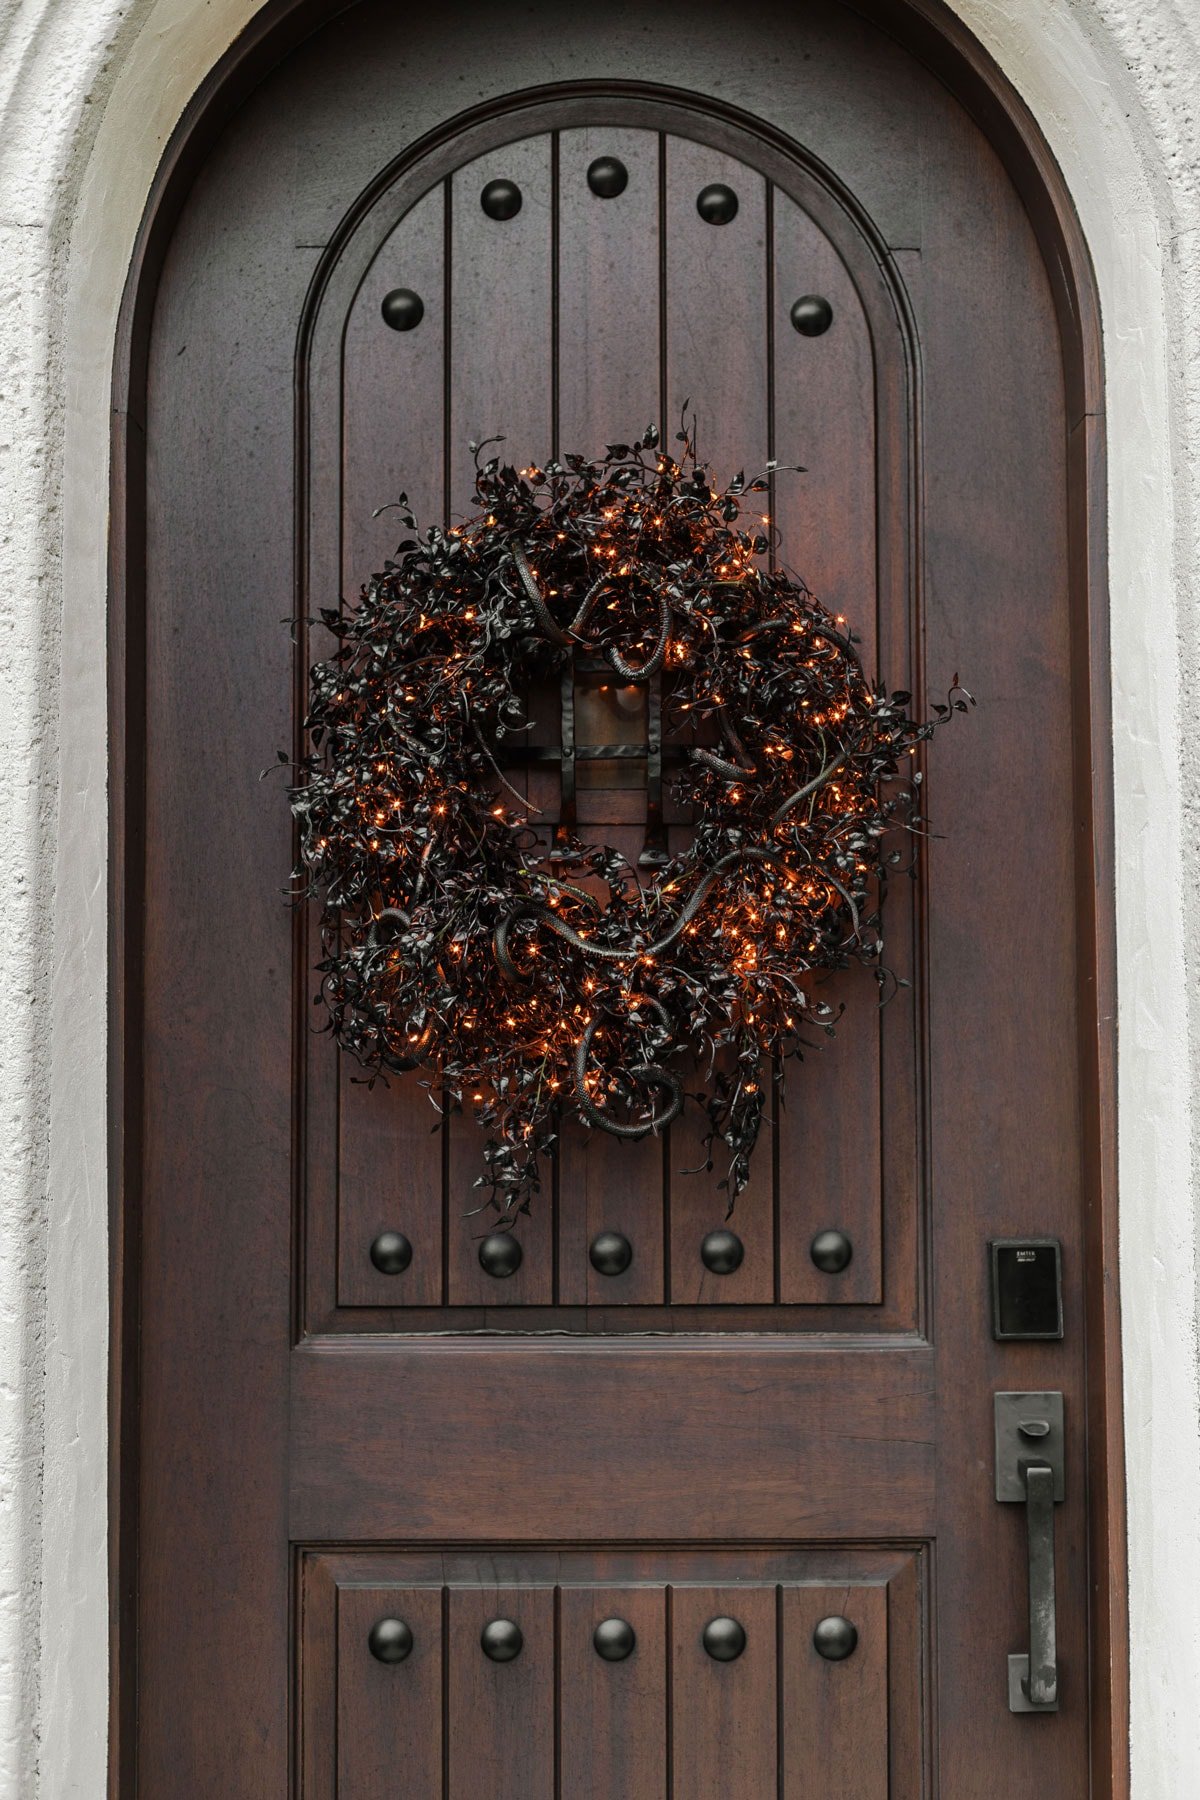
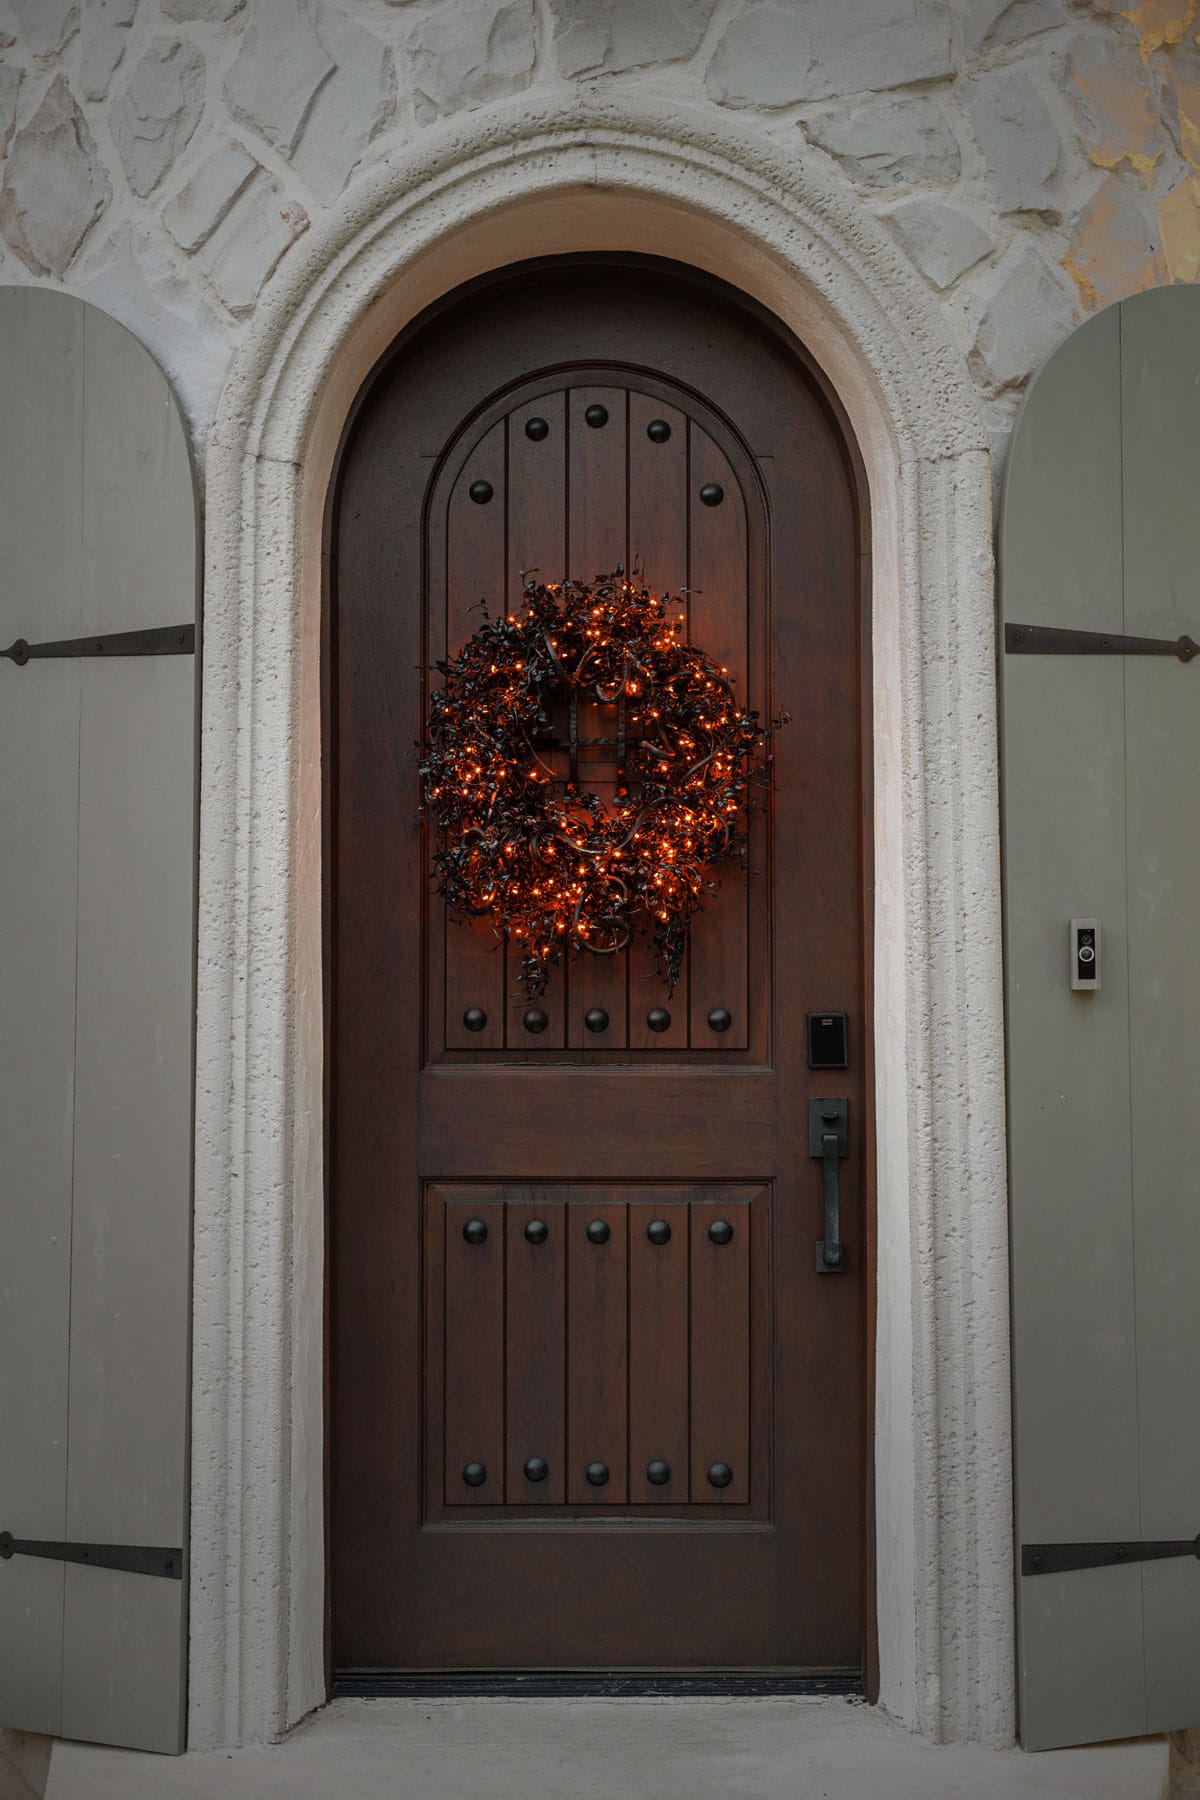
Everything on the wreath is technically outdoor-safe, but we don’t have any protection from the sun or rain so I decided to keep mine on the inside of our front door.
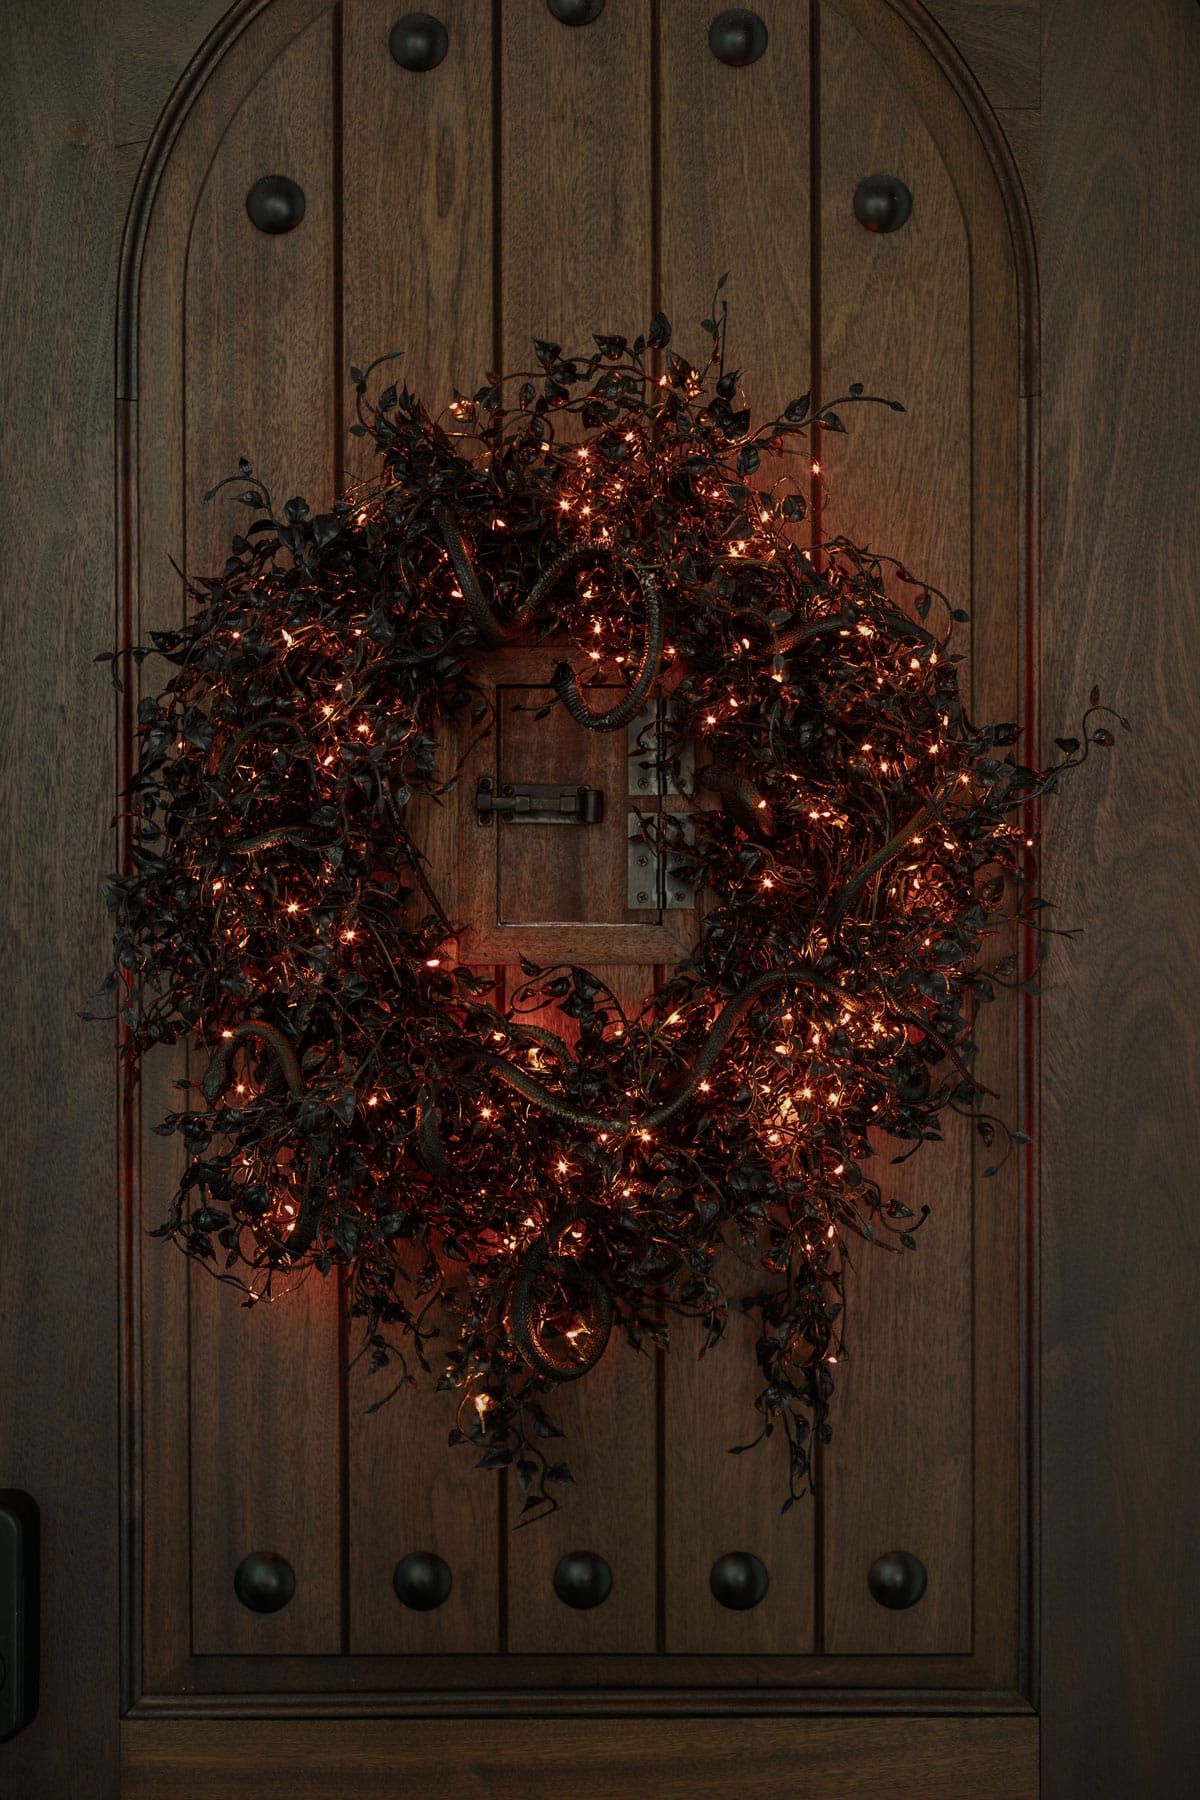
Let me know in the comments if you’d try this Halloween DIY! I’ve got one more fun little holiday craft to share before we’re back to non-Halloween content. Happy spooky season! 👻


Anita says
Love yours more than the store bought one! Saved it on pinterest to make for next year!
Jenna Sue says
So glad you like it Anita!
Cathi says
I have an old grapevine wreath that was on the way to Goodwill… pulled that out of the pile and ordered the other supplies! I’m not even a huge Halloween decorator but this really caught my eye.
Jenna Sue says
Yay! It’s going to look great!
Ana says
I love it! So crafty. How did you hang the wreath?
Jenna Sue says
Thank you! I attached floral wire to the back and hung it on a nail.
Mandy Allen says
Lol, I thought the snakes were ribbons until I read the list of materials! I think your version is much more interesting and attractive than the Anthropologie one.
Jenna Sue says
Thanks Mandy! Definitely a spookier/fun version but I love it both ways.
A.B. says
You really shine at finding DIYS that look expensive, and especially with holiday and Halloween decor. Would love more creative and easy DIYs like this. Looks so much more high end than it is. Maybe put together elegantly “themed” party posts? Then you don’t have to wait for a holiday to share. 🙂
Jenna Sue says
That means a lot, thank you so much for the kind words! I could definitely be a party planner in another life 🙂 Big renovations are nice but creative crafty DIYs like this are my jam.
Lindsay says
Your design eye and capabilities are outstanding! I’ve been following you for a few years now and am always quite amazed with your imagination and ingenuity.
Jenna Sue says
Ahh that is so sweet of you to say! These smaller projects are my favorite — wish I had more time for them honestly!