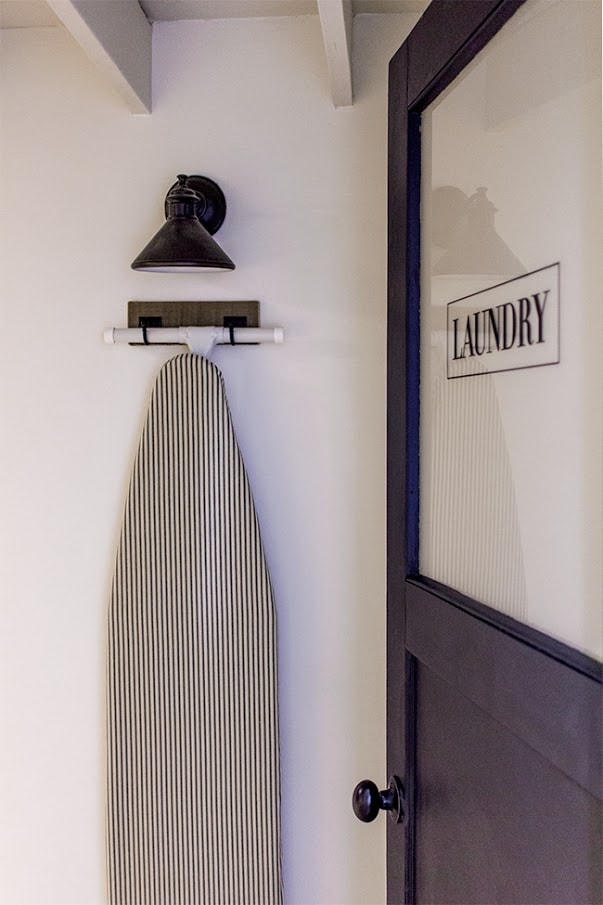
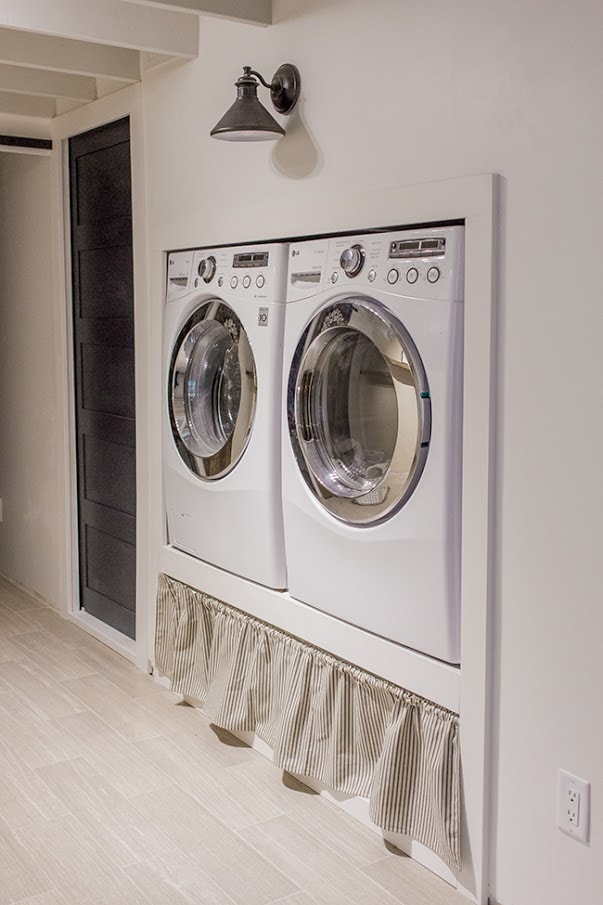
Remember when our drawer making attempt failed and I decided on a farmhouse stye curtain instead? The fabric arrived Friday and I couldn’t wait to test it out!
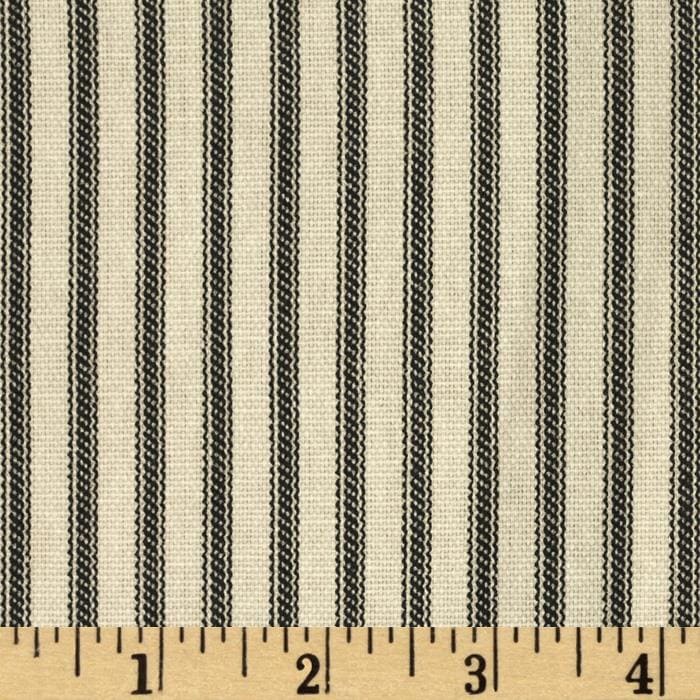
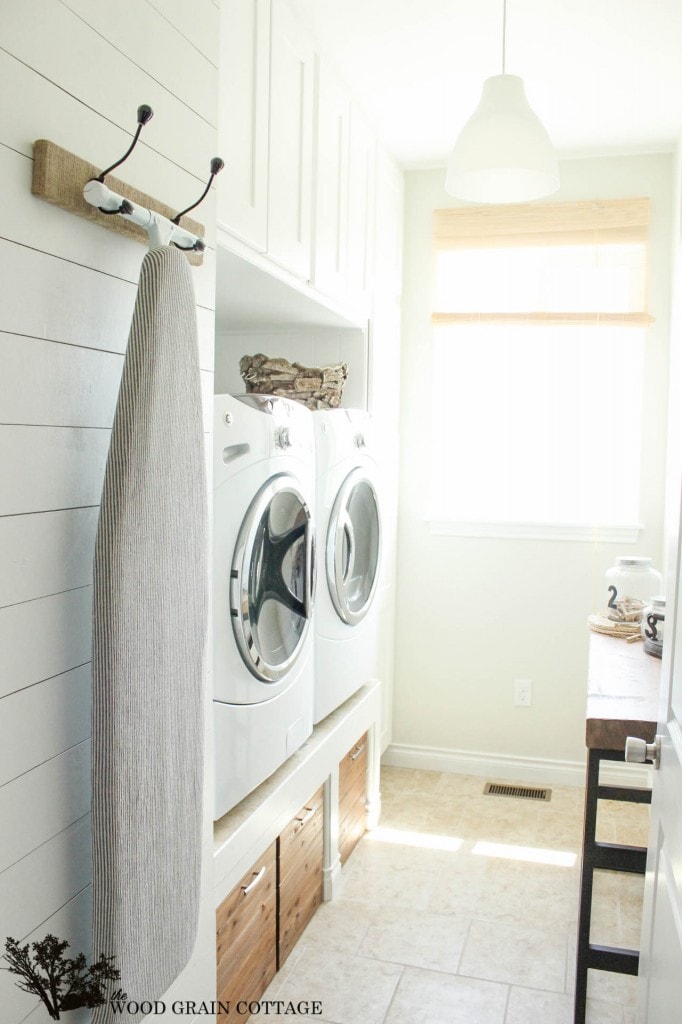
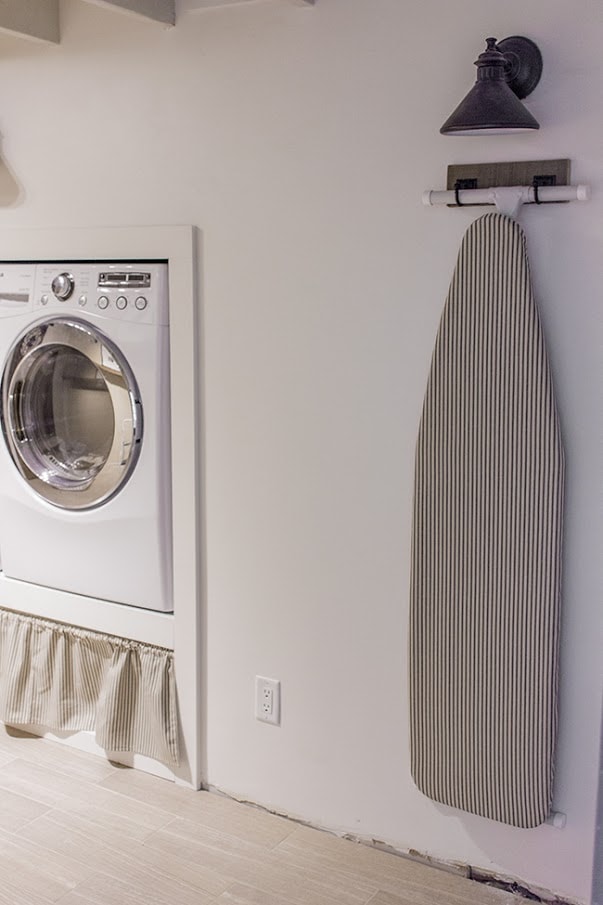
I opted for a classic black and ivory ticking stripe from fabric.com after falling in love with my friend Shayna’s striped ironing board—don’t you just love this room?
My fabric wasn’t the same as hers but I loved the pattern and colors and knew it would be perfect for my space. I bought two yards so I could have an ironing board cover made, and there were just enough scraps leftover to make a wide curtain. Shayna’s seamstress kindly offered to do the job and I did a happy dance when I saw my new ironing board:
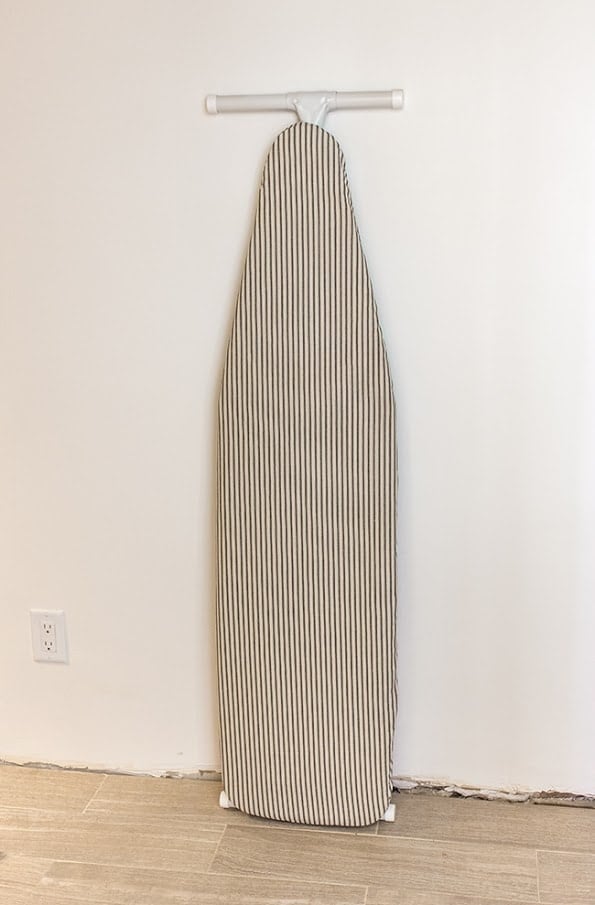
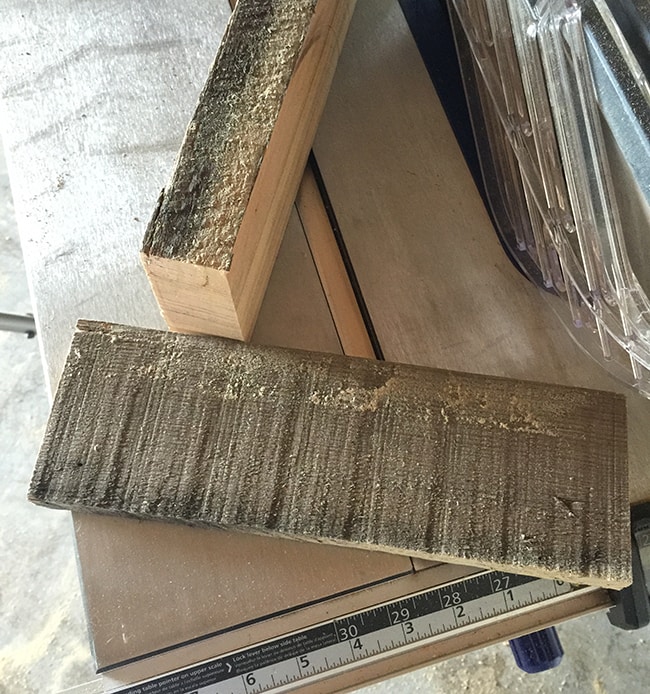
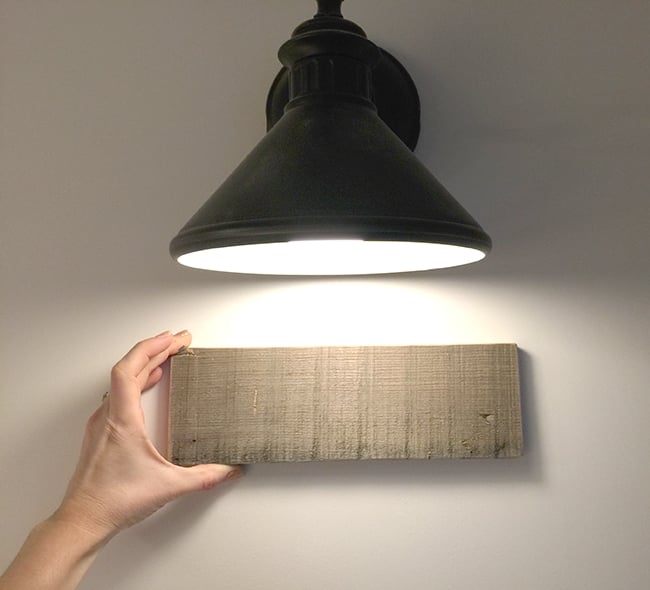
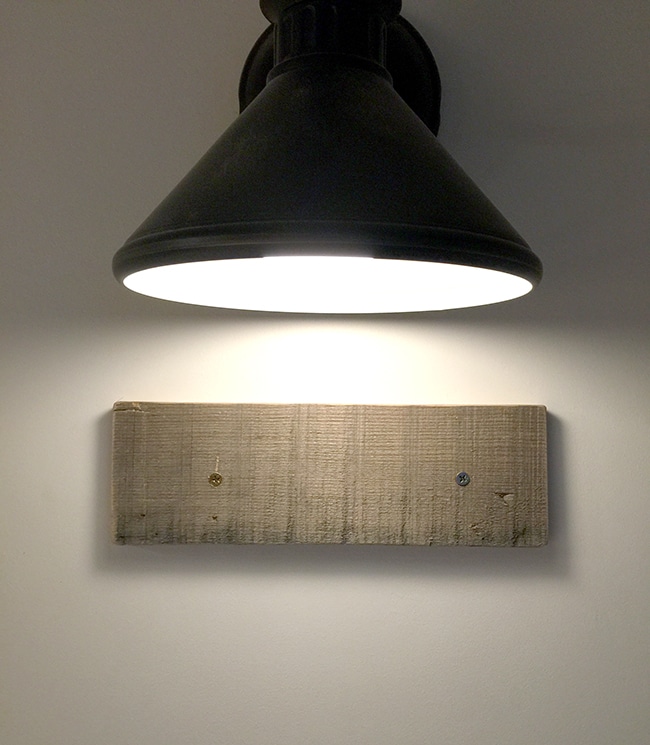
I had the perfect spot to hang it underneath the wall sconce, so I decided to make a hanger for it using a scrap piece of wood and a couple hooks. I found a leftover chunk of the reclaimed shelf we used on the other side of the room and cut off a smaller piece (around 11″ wide):
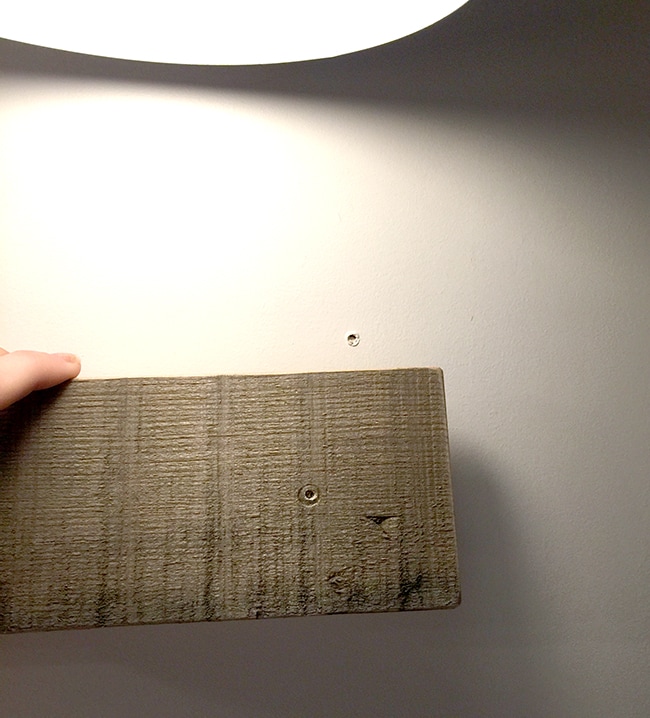
Then I centered it under my light, positioning it so that the left screw would end up in a stud.
The right screw would need a drywall insert, so I drilled a pilot hole to mark it.
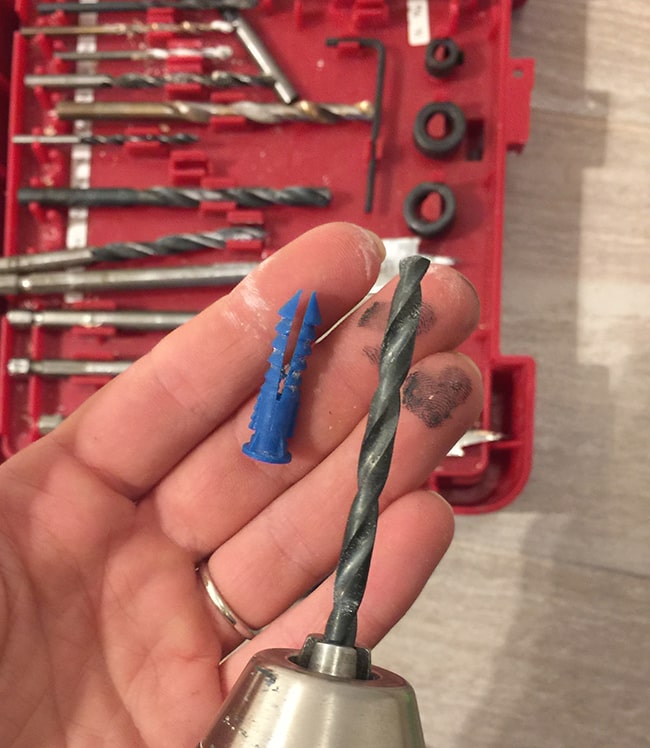
I found an insert and selected a drill bit around the same size to make my drywall hole for it to fit.
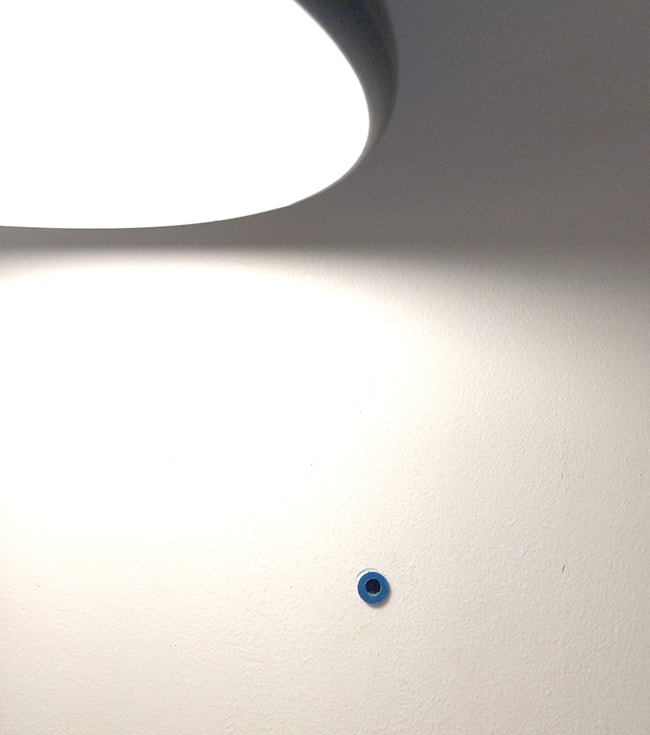
Then I held the board back up and inserted the screws:
I found a couple small hooks at Lowe’s, spray painted them black and attached those to the board (covering each screw):
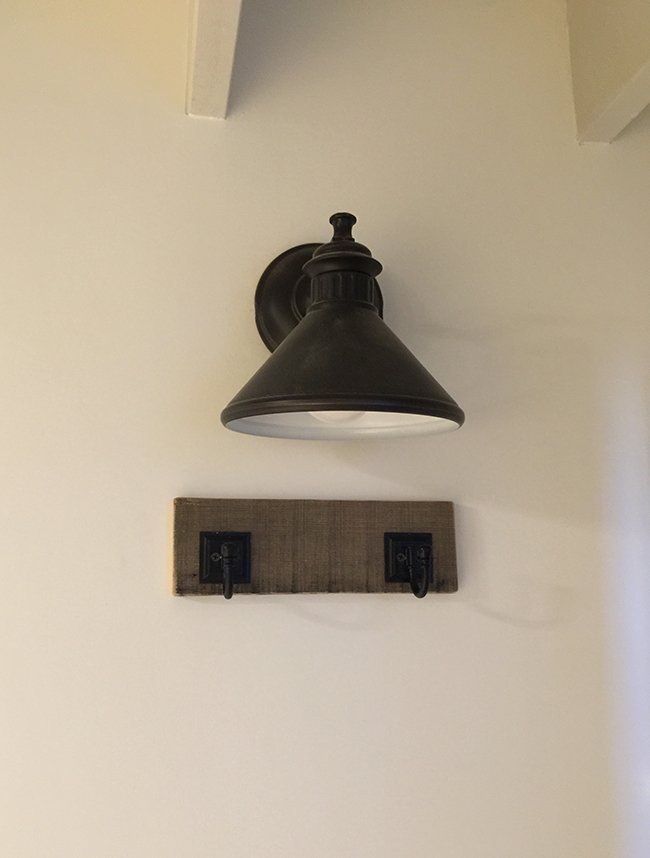
Finally, a simple and successful laundry room project!
Moving on to the curtain… I bought an inexpensive 1/2″ tension rod on Ebay for $12.50 shipped. There was a pocket sewn in at the top of the curtain which I knew wasn’t going to work but I gave it a try anyway…
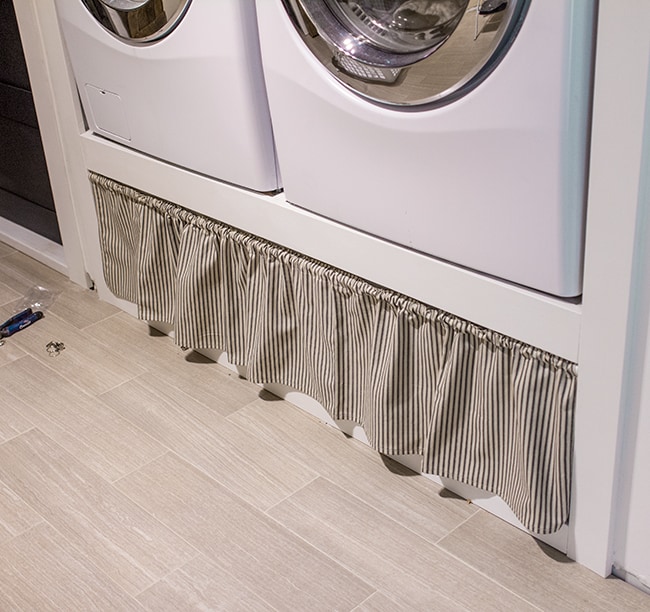
Looks nice, right? But not functional at all…
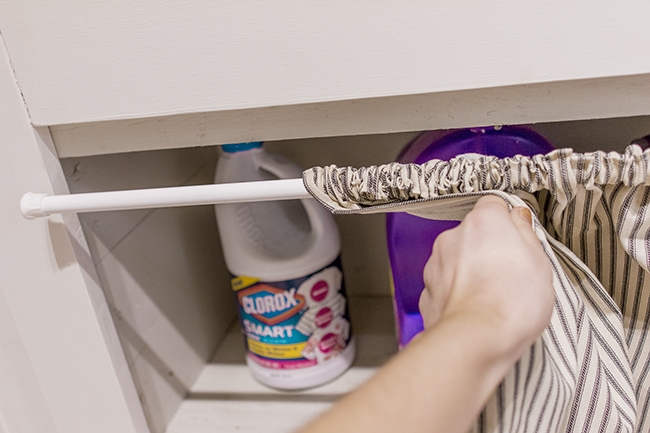
The fabric bunches together and will only open so far before pulling the curtain rod out. I anticipated this, so I bought these little clips on Ebay that I could attach to the fabric and use the rings to freely slide across the rod—but clearly, that didn’t turn out as I had planned:

Time to get creative. I removed the rings and stuck them directly into the fabric:
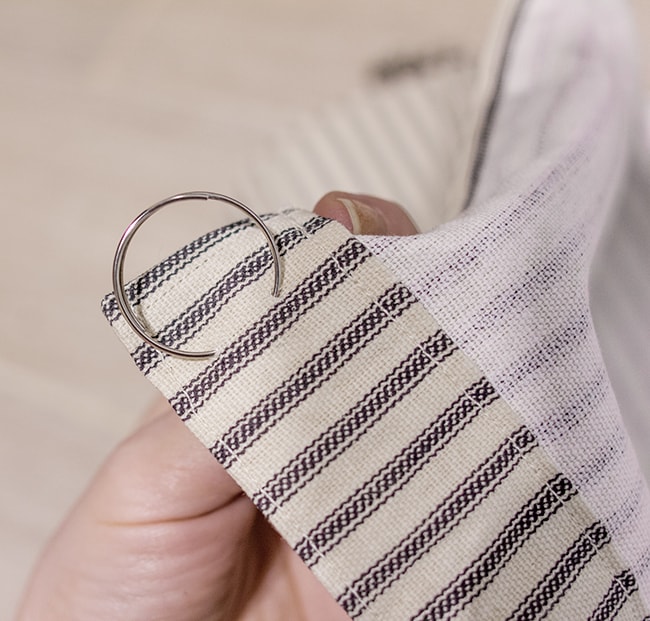
Ding ding ding, we have a winner.
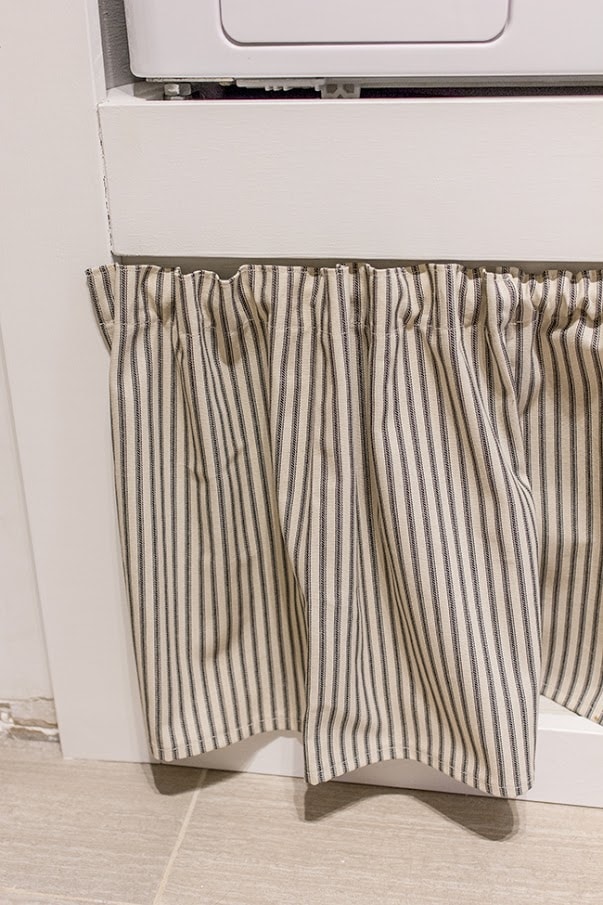
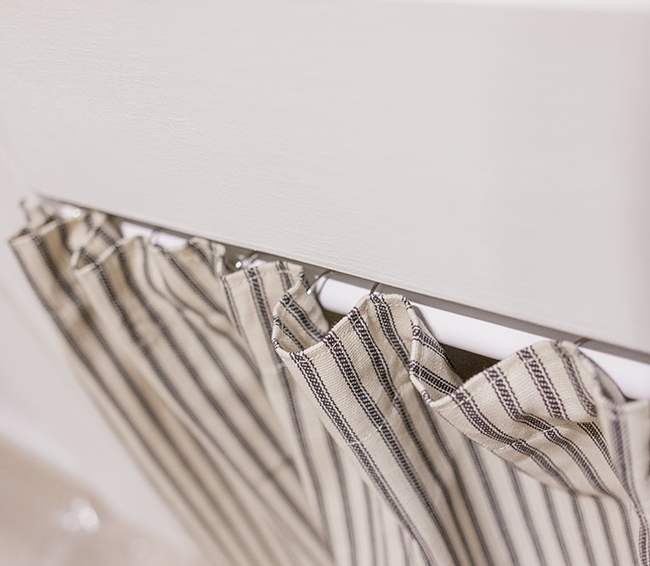
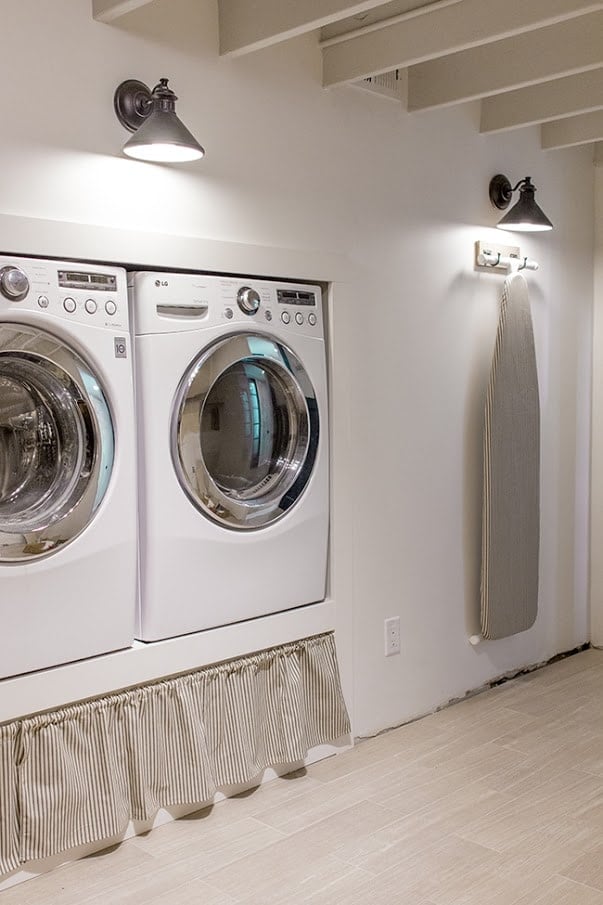
They’re a little larger than I’d like though (you can still see the rod peeking out from the top) and I need a lot of them so I ordered these cheap 3/4″ rings for $3.50 shipped (gotta love Ebay!) They should be here at the end of the week so I can finish this project then, but for now I am absolutley loving this new fabric in the space. It’s the first step to softening up all the hard lines and stark white.
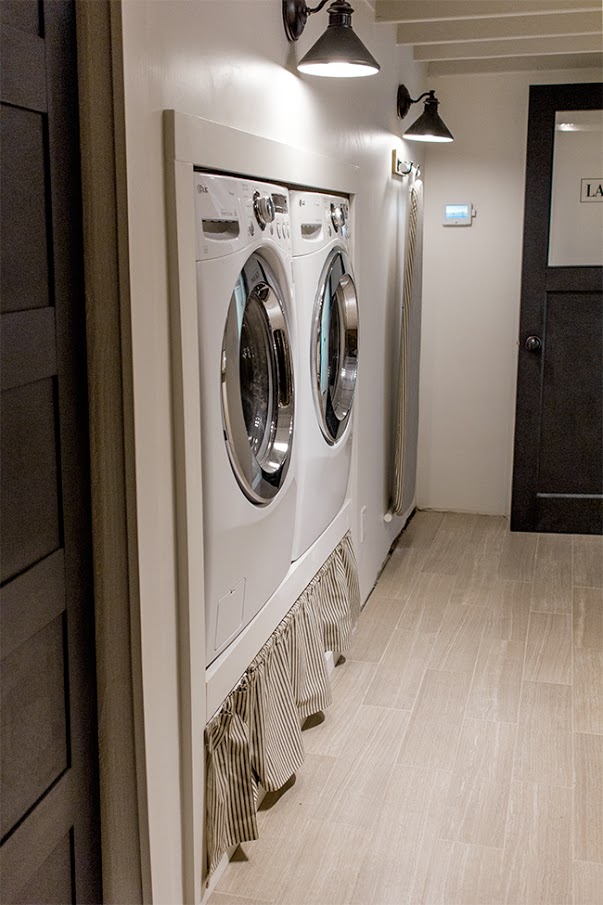
This side of the room is almost there! Just need to add baseboards, some art on the back wall, and a jute runner to cozy up the space.
Meanwhile, the other side of the room is a total disaster area. But we made one small step this weekend when our LED strip lights arrived! Brad wired them up and I started running them along the groove we routed into the shelf last week. The back has sticky tape for easy installation so they can be mounted anywhere.

When we turned them on… it was not an ideal situation.
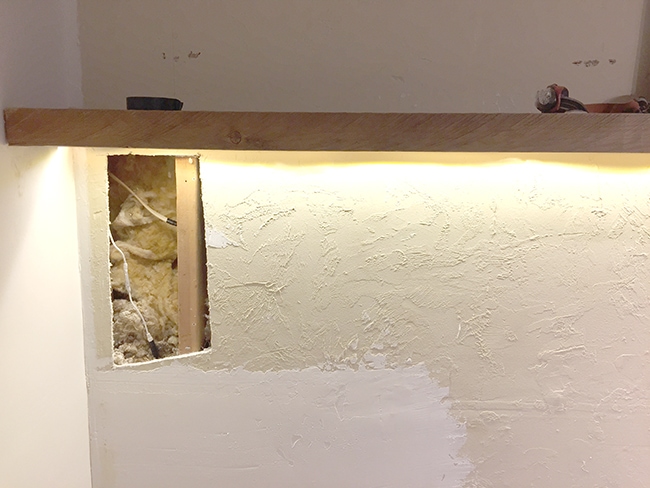
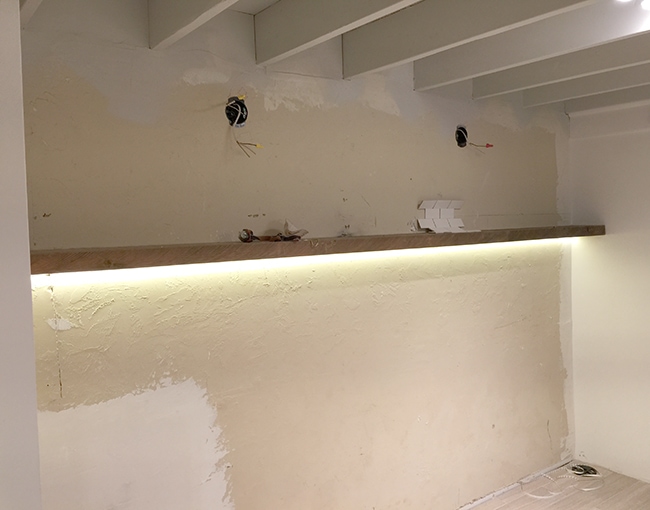
The groove they were sitting in created a weird lumpy shadow and the edge of the wood cast a yellow tint onto the wall. Argh! So we decided to try running them underneath the wood instead, alongside the groove.
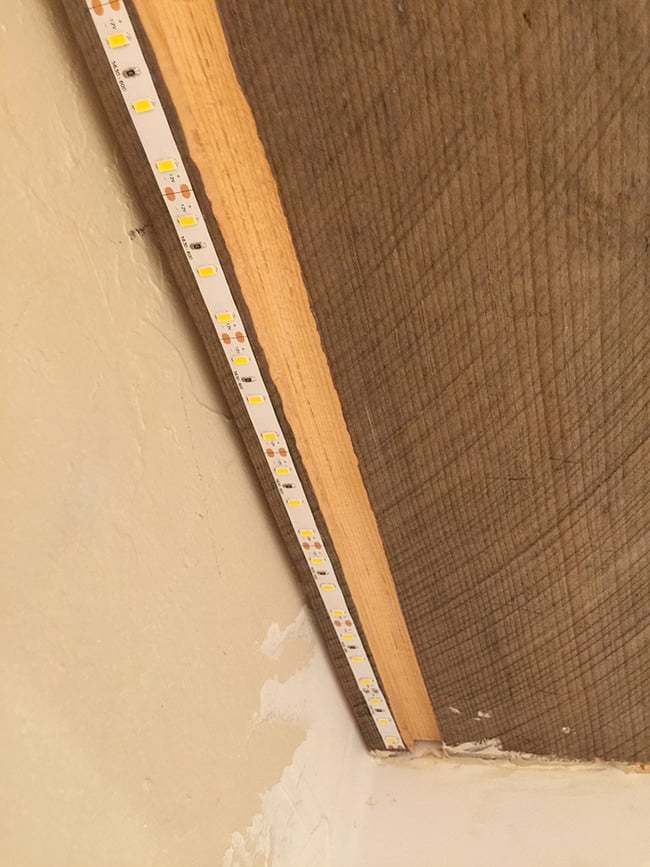
Much better. Light is so hard to capture in person and it really doesn’t look this bright at all in real life, but we think it will work out nicely once the cabinets are in.
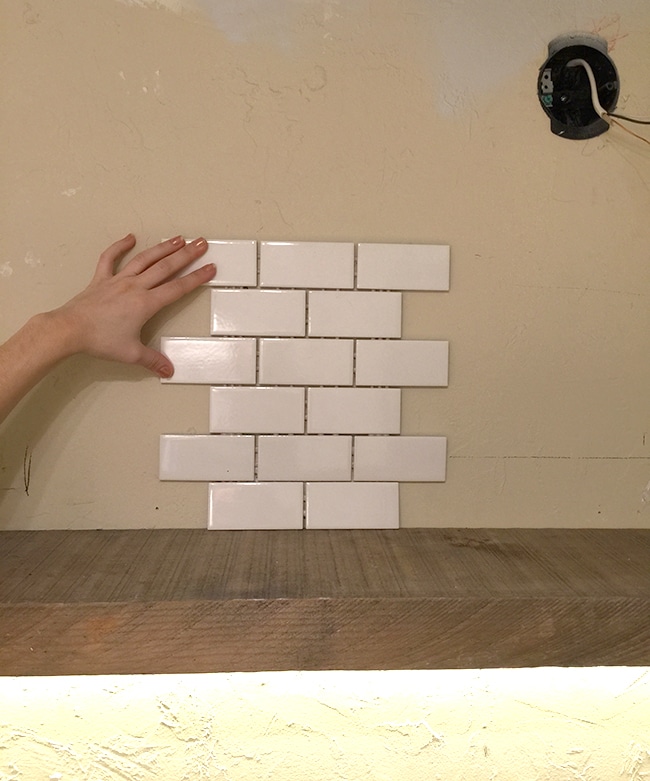
With our subway tile… just for fun:
After going back and forth with Lowes for months, we finally have a scheduled arrival date for our cabinets. March 25th (yes, that is nearly 11 weeks after placing our order). It’s not Lowes’ fault, but the cabinet maker (Diamond) for taking forever. We’ll actually be in Florida at the time but we have someone watching the house so they’ll be able to let the installers in to get it done while we’re away. At least it will be done when we return! As of now, the only thing left to do after the cabinets come in is tile the back wall, hook up the wall sconces, add the baseboard, and the final decorative touches (and organize the storage room which I need to finish this week). That means this is the last laundry update you’ll get until April, but in the meantime I have some serious spring fever and I can’t wait to share all of the seasonal touches I’ve been adding to our home!
More on that next week, and as always you can find more frequent updates on instagram. Four days until Spring… you ready? 😉