Who is ready to see the first stage of our new master bedroom?! After the past two weeks of work, I sure am.
{Warning: 60+ photos ahead, so get comfy…}
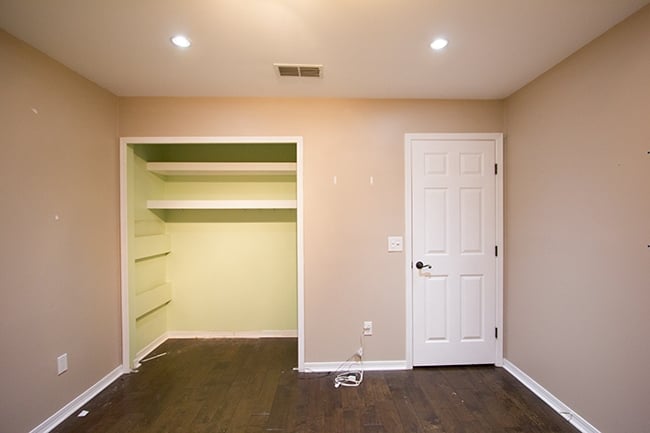
As a reminder, let’s go back to what this room used to be: my office.
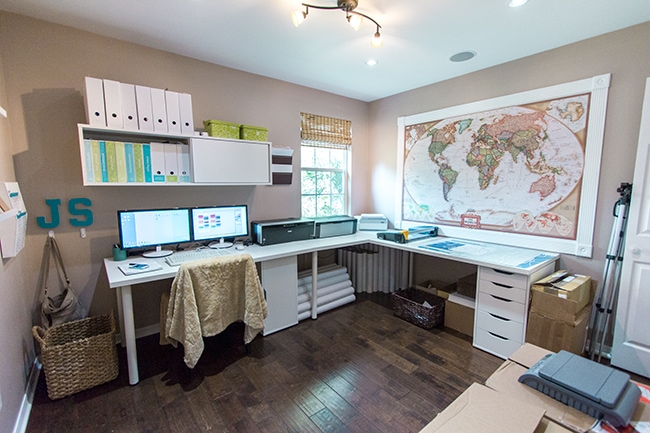
Don’t let the wide angle lens fool you—this room is small (9’6″ x 11′) and bursting at the seams.
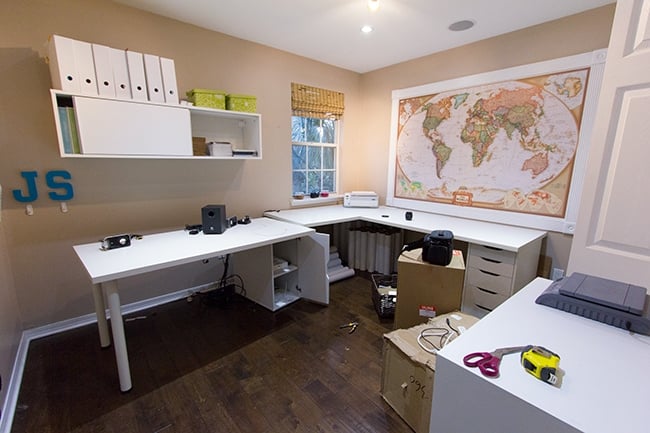
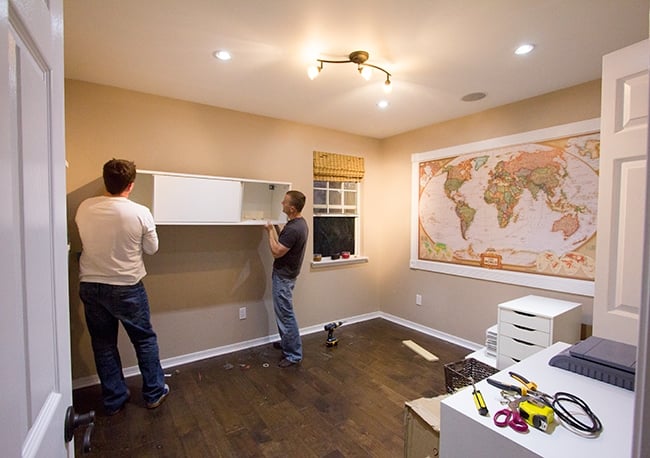
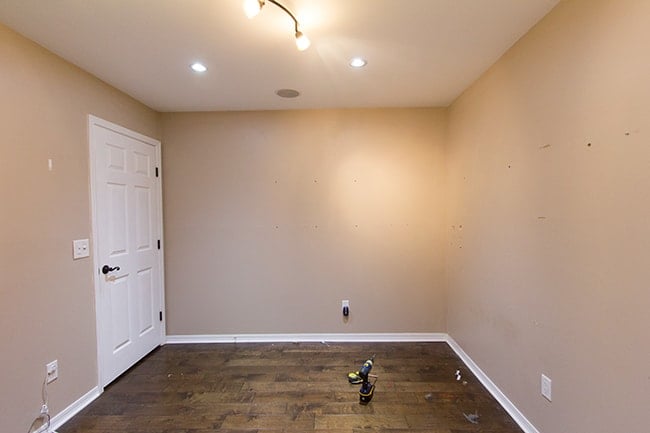
Step 1: Remove everything.
I was slightly sad to see the big map wall go… it was one of our very first DIY projects, after all. But it would be traded in for something much better.
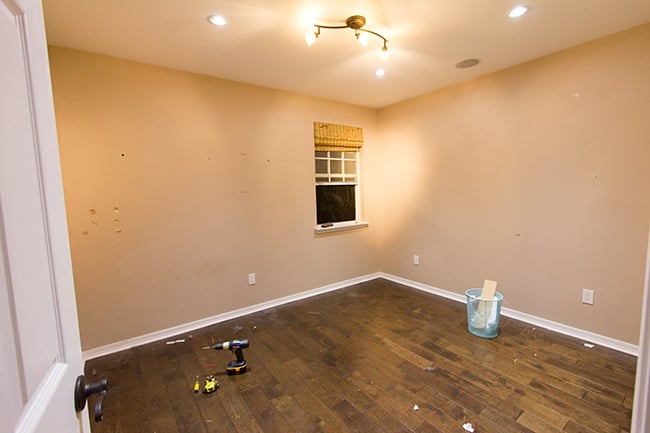
Here’s the aftermath:
If you’re wondering where everything went… we had to set up a makeshift office in our current bedroom (luckily it’s big enough for most of my stuff).

The third desk is behind the bathroom door next to our bed, and everything else is scattered about the living room, dining room and garage. Yes, it’s pretty much a disaster zone.
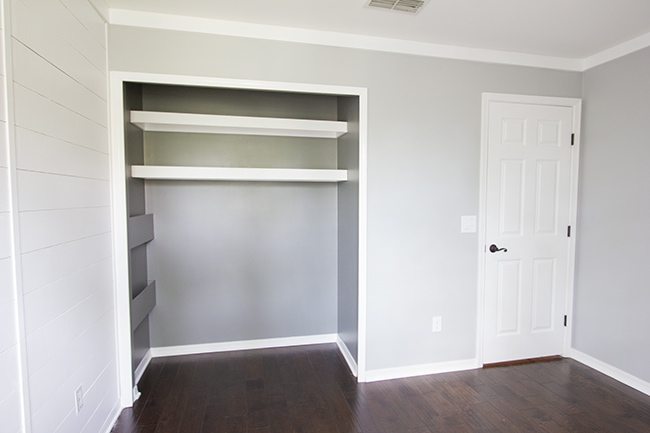
But back to our new bedroom. Let’s get acquainted with the orientations here. You’ve seen the view from the door…
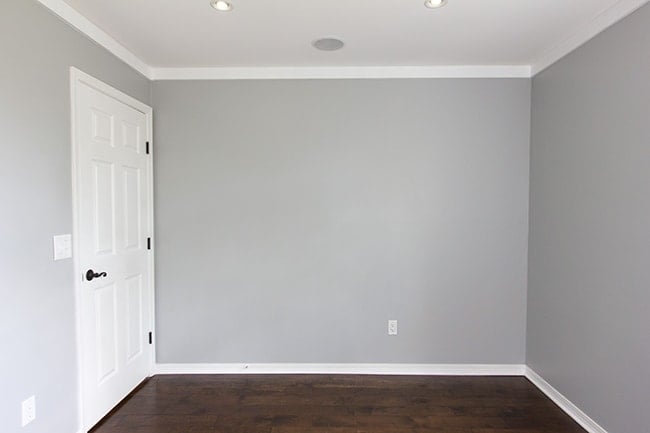
Here is the view from the wall across from the door:
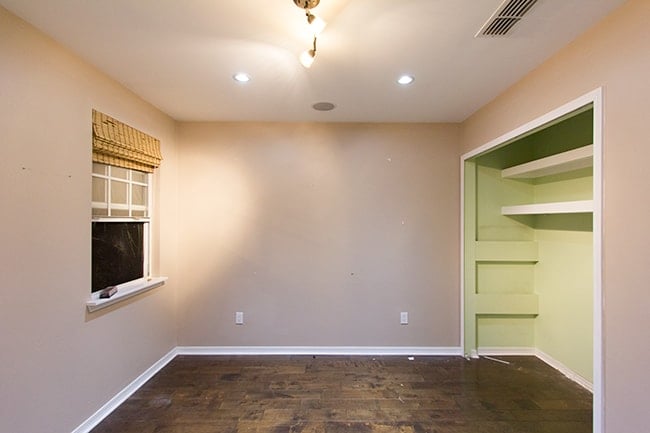
And then from the right wall, which is now the plank wall:
And finally, from the left wall, looking across to the plank wall:
Got it? Good.
Now that that’s out of the way, it’s time to paint!
I chose a soft medium gray for the walls, and a deep charcoal for the closet. Luckily, my sister was flying in to town for a couple weeks so she had the honor of helping me. It was nice to have slave labor sister bonding time.
For the medium gray, I went with Valspar’s Urban Sunrise (in the Signature series paint which I believe is their most expensive) in eggshell.
And oh, it was worth every penny.
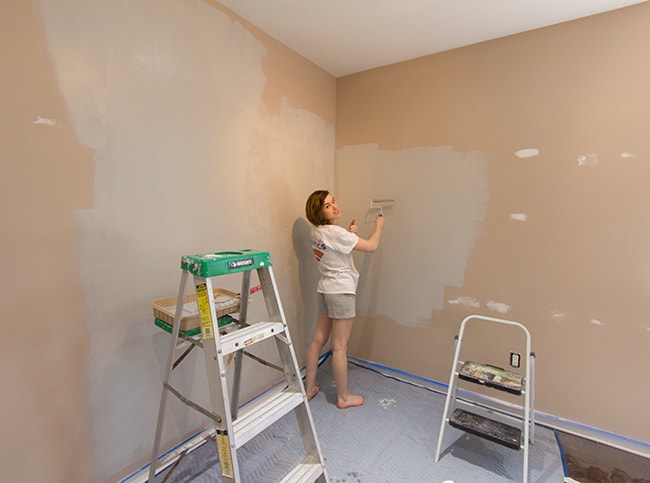 |
| She was so excited to help. |
I was surprised to discover this stuff covers amazingly well. Literally one coat was all it really needed, but just to be extra safe we did a quick second coat.
It went by fast with both of us at work, and I looove the color:

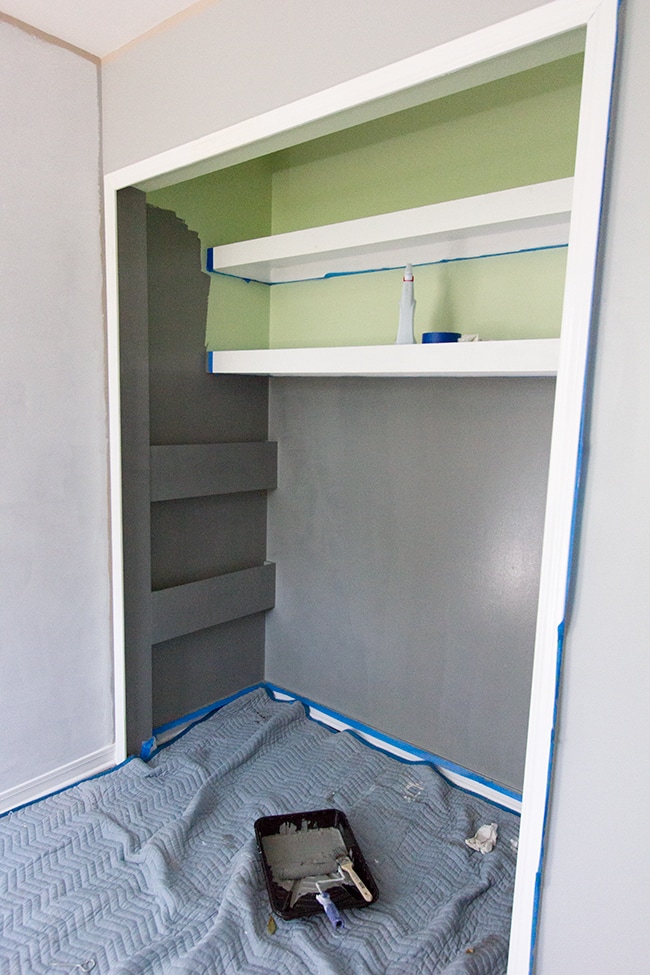
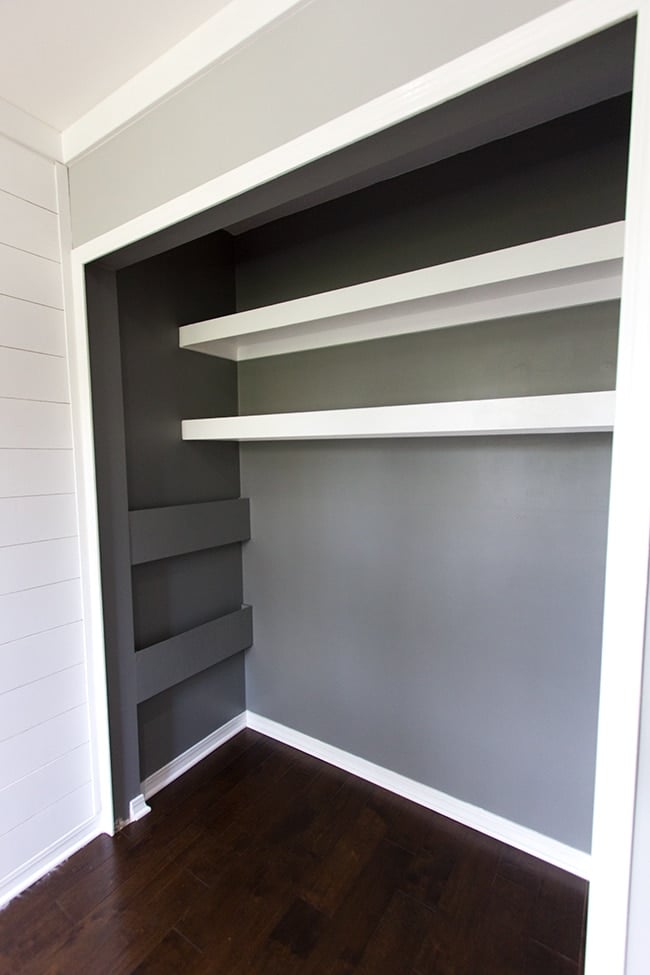
After that was tackled, I moved on to the closet. I used a deeper charcoal gray in the same color family as the walls—Valspar’s Mark Twain House Ombra Gray in eggshell (it’s one of their historic preservation colors).
I was so impressed again—even against a lighter color, the paint covered in one coat!
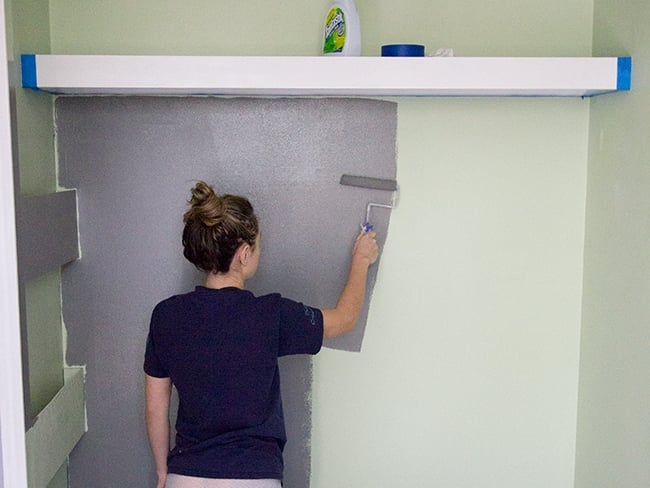
Goodbye green:
I think the secret to getting this type of coverage (along with using good paint) is your brush. I’ve used foam rollers for as long as I can remember, but this time I used the regular rollers with fur or fuzz (whatever it’s called) and it made a world of difference.

Make sure to use this for walls!
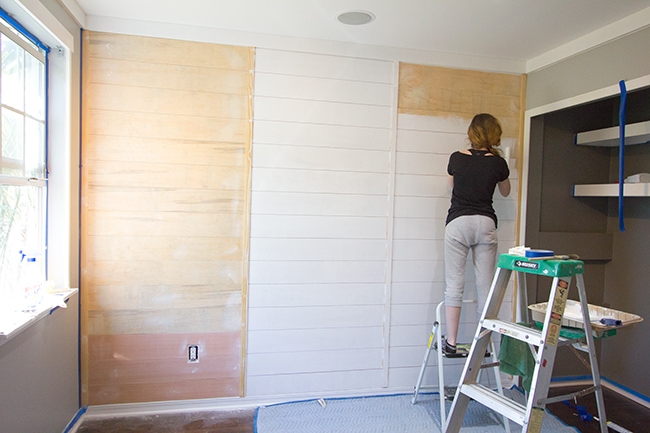
After the closet was done, it was time to paint the plank wall.
When researching how to do this project, I read that it’s important to make sure the wall behind the planks is white (or whatever color you are painting your wood), as it will show through between the cracks. If you’re wanting to tackle this project yourself, be sure to check out Domestic Imperfection’s tutorial, she has some great tips!
So I painted it with some random white I had lying around:
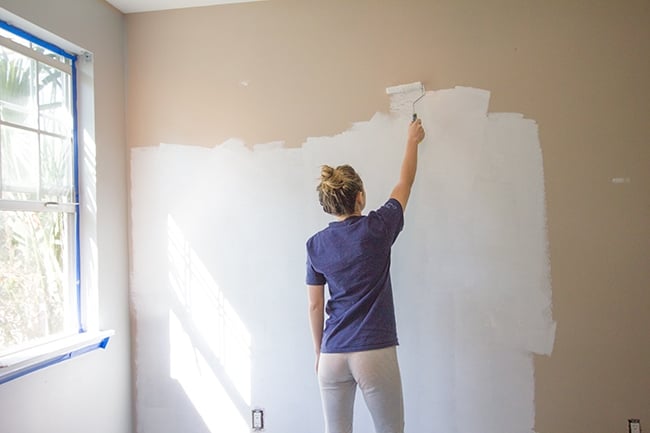
I didn’t have to worry about cutting in to the sides or the top of the wall, as it would be hidden by boards.

After a few days of painting, everything was dry and ready for the wood treatments!
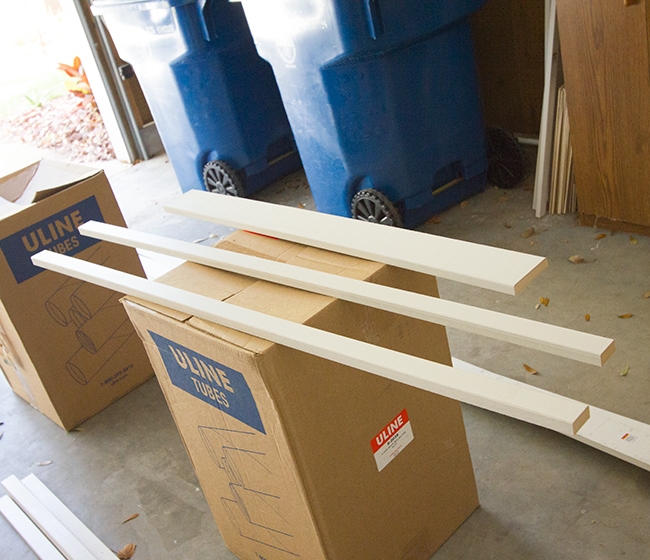
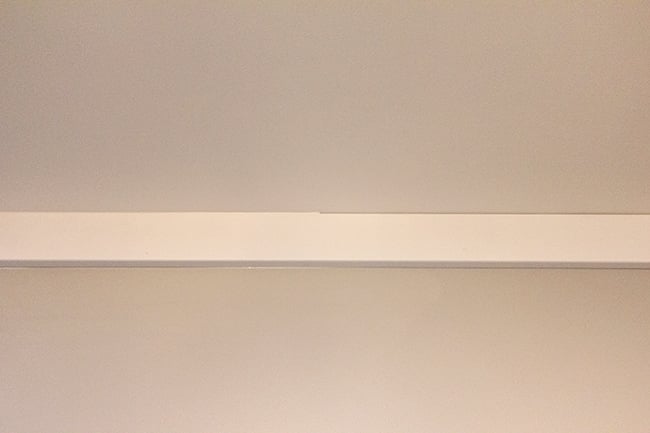
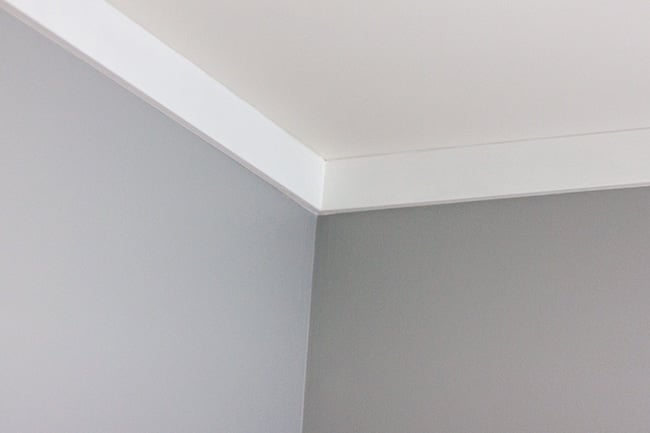
Something that has always bothered me about this house is the lack of crown molding and trim around the windows. I knew the trim would be easy, but the last time we tried installing crown in our bathroom it was a nightmare, so I decided on something much simpler: 1×4″ boards around the ceiling. Any molding is better than no molding, and still makes the room appear more finished.
I picked up some 1×4″ pre-primed MDF boards, measured and cut them to size (I mitered the corners, although you don’t have to). I also painted them before installing to make things a bit easier.
Luckily, our room is small enough that one piece from Lowe’s was long enough to cover the longest wall without having to make multiple cuts.
Not so luckily, our ceilings and walls are not level at all, so there were some gaps that had to be MacGyver’d…
Aside from trying to cut and cram spare pieces of wood in the corners to fill in the gaps, it was as simple as holding it up against the ceiling and securing them in with the nail gun. Took all of 5 minutes.
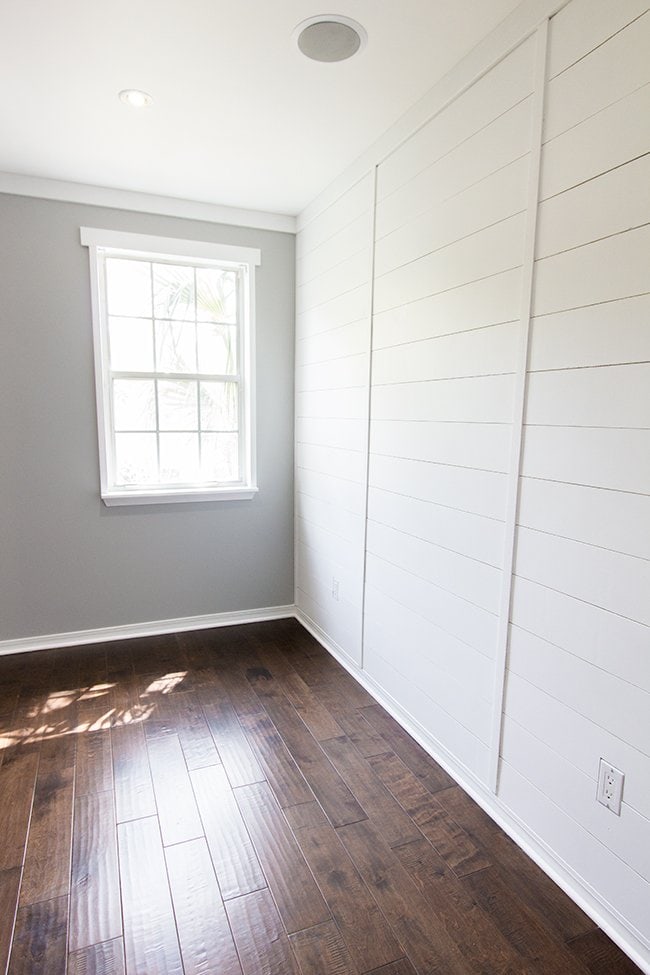
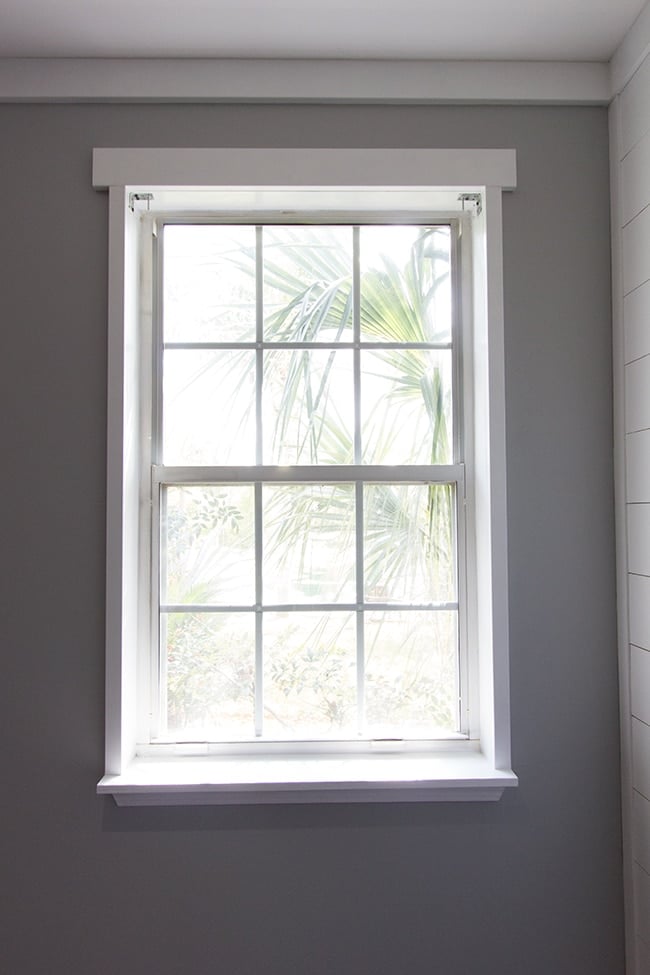
And now for the poor, bare window…
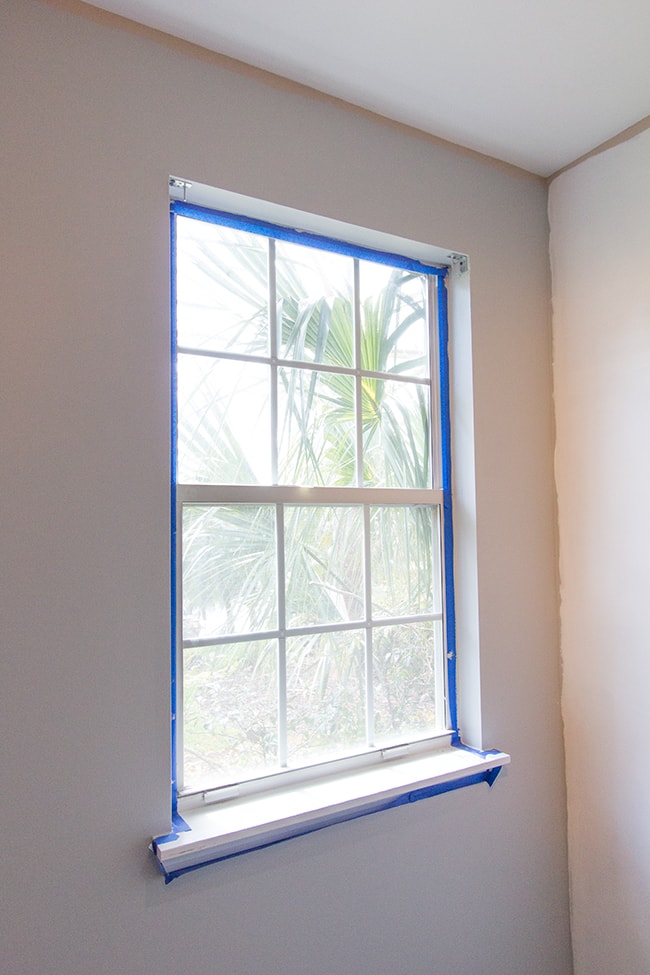
I picked up a couple small 1×2″s (which work out to actually be 1×1.5″) that fit perfectly in the vertical space on either side of the window. The 1×4″ would sit against the top.
A few nail gun holes later, and our window had instant character:
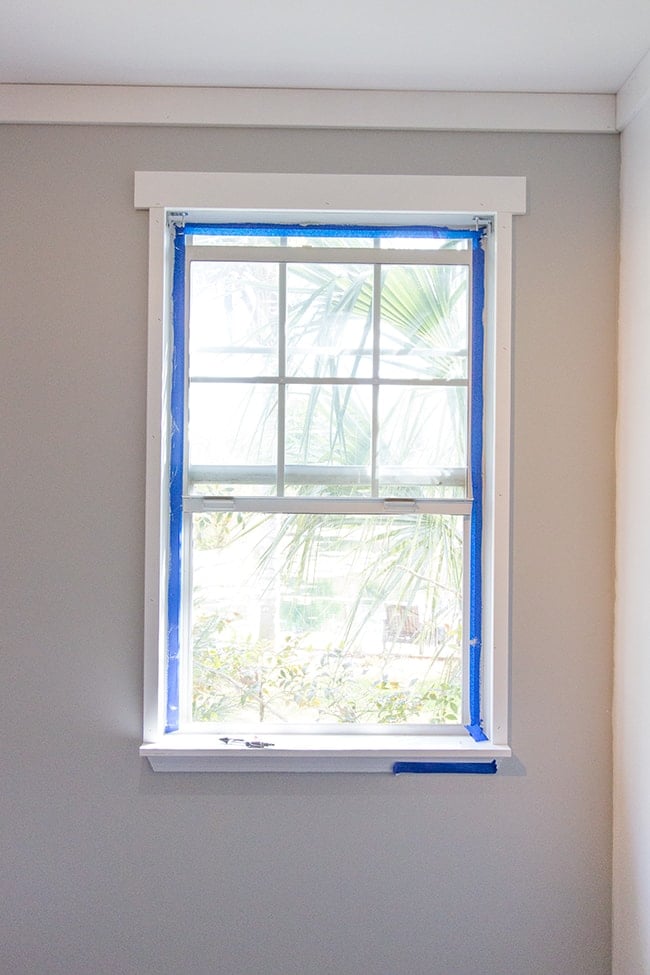
I can’t believe I didn’t do that sooner. Probably one of the easiest/cheapest projects with the most impact.
Yay for trim:
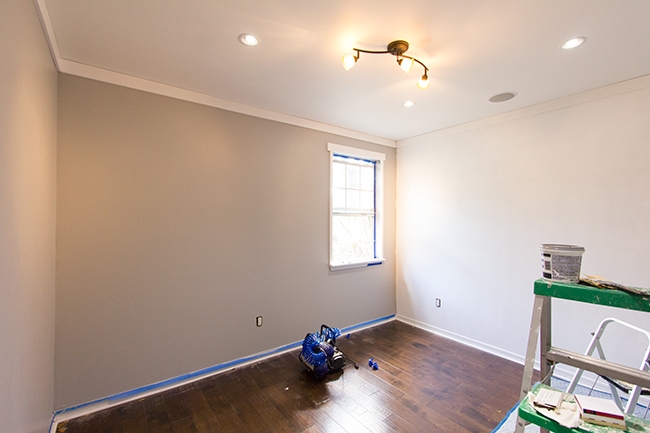
To finish off the ceiling trim, I used putty in the nail holes and filled the ceiling and wall gaps with caulk. A bit hard to see but the left side is after caulk and the right is before:
Except the white caulk on the gray walls was pretty obvious… and then it dawned on me that you’re supposed to caulk before you paint the walls. Doh. It ended up taking me an extra day to let the caulk dry, tape, and paint back over the caulking with gray. Lesson learned.
Now for the exciting part: the plank wall!
There are several options for wood materials, but in most of the tutorials I read, people had plywood cut down into planks (thank you HD and Lowe’s for doing this for free).
I had read about someone using something called tempered hardboard, which is sold in the paneling/beadboard aisle for just $9 for a 4×8′ sheet:

I pulled a few panels out to inspect:

They seemed really thin and it concerned me. Then I grabbed 1/8″ plywood and compared the thickness:

The plywood was just a few bucks more for the same size sheet, and I wanted the wood to be thick enough to look like planks of wood, so plywood seemed like the best choice.
Before I get into detail, let me explain my plan.
I love the look of a classic, seamless white plank wall:
| Source |
But I also love the sophisticated board & batten look:
| Source |
So what’s a girl to do? …why not combine both?
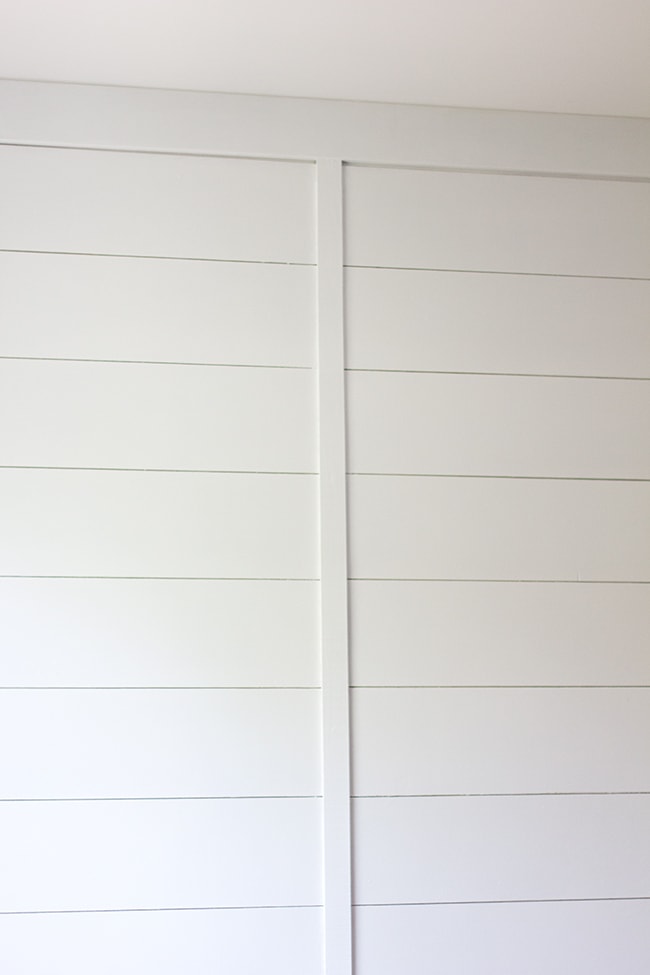
I decided on three columns of planks, with vertical battens in between as dividers. That way I get everything I want, plus I don’t have to worry abou
t seams across the wall (the plywood boards are too short to reach across an entire wall).
Perfect. Done.
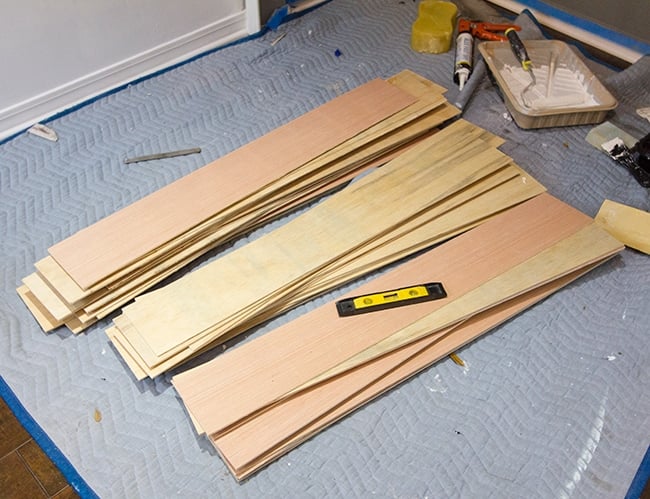
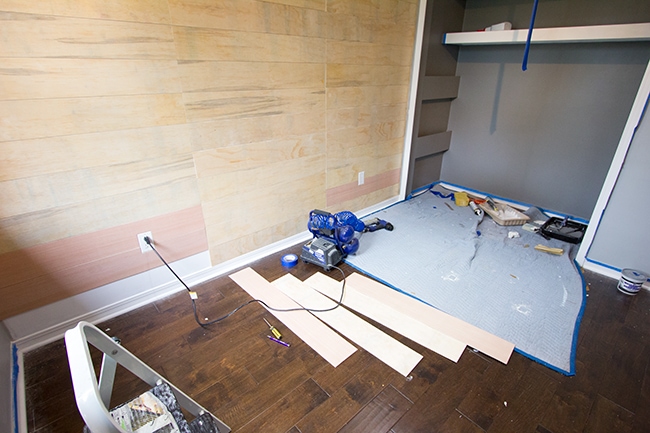
It took the poor guy quite a while to make all of the cuts…

I had him cut them 6″ wide and 39″ long. After 30 minutes or so, I had my wood!

Yes, the edges were a bit rough, so I made sure to sand them down before attaching them to the wall.
Once I got home, I realized I didn’t buy enough wood, so I had to go back the next day to get more (whoops). Make sure to plan carefully!
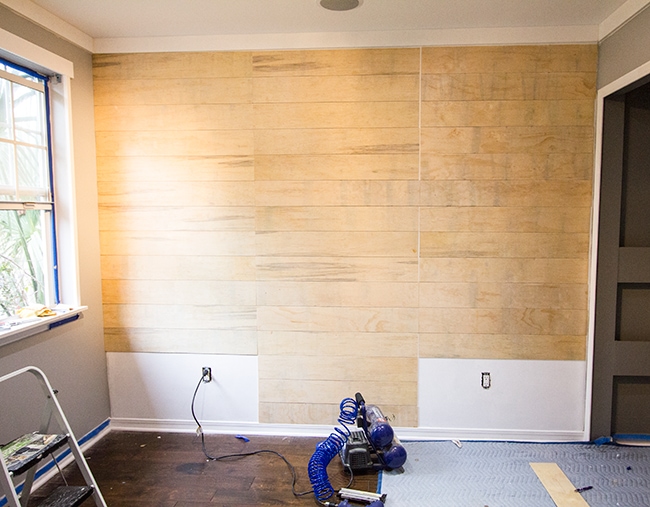
The next day, after all of my wood was sanded and ready, it was time to begin installation.
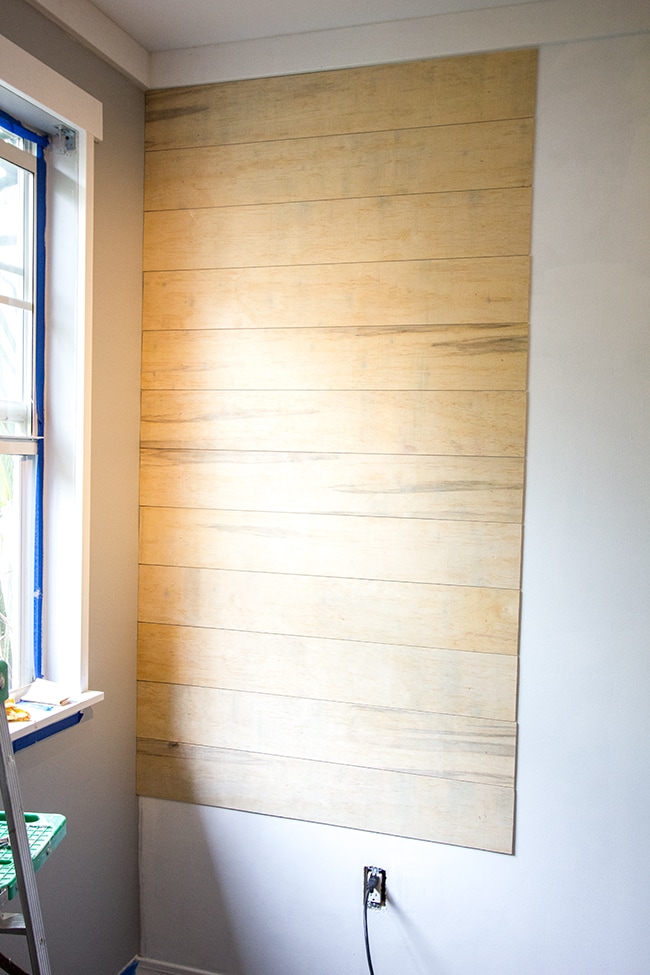
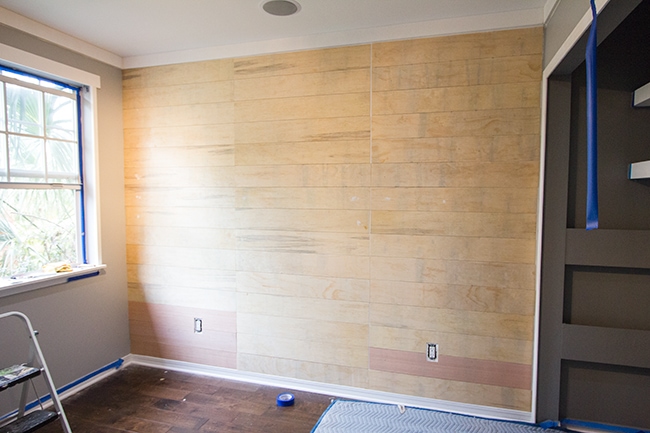
I started at the top because I didn’t want any weird cuts from the leftover space to be visible (most of the bottom of the wall will be completely concealed after the bed and furniture are in), but I’ve seen people start at the bottom too.
A couple nails on each end and one or two in between to keep the board flat against the wall was all it took.
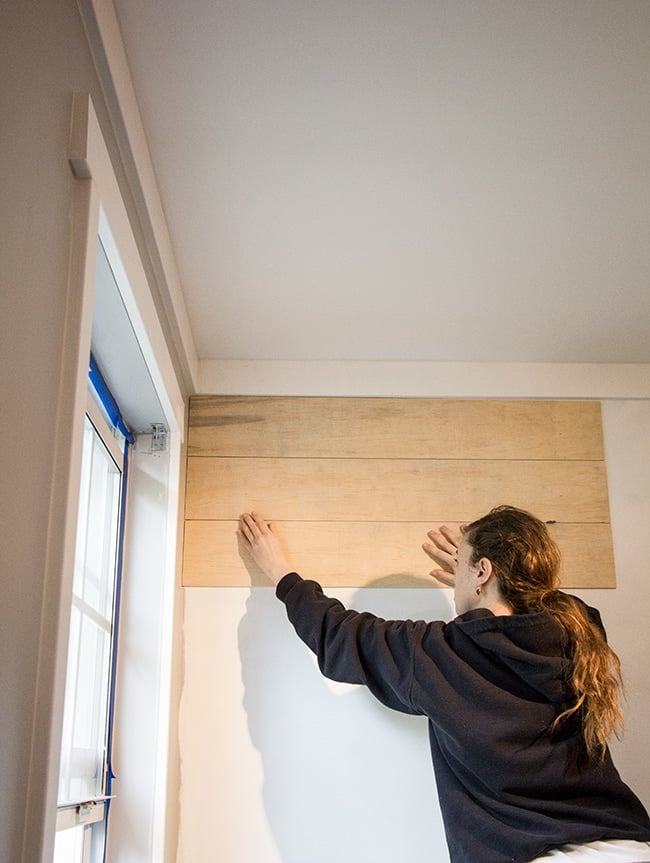
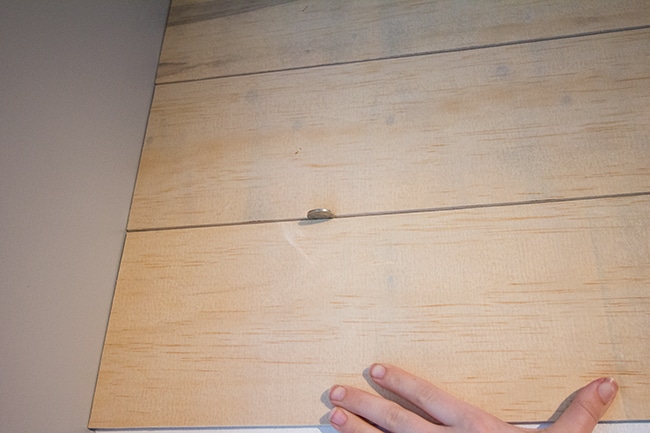
For the top row, I used a level (since my ceiling is not level), and we used spacers for each subsequent piece to keep things level and also to allow a small gap between the boards so there is definition.
Our spacers were a nickel on each end.
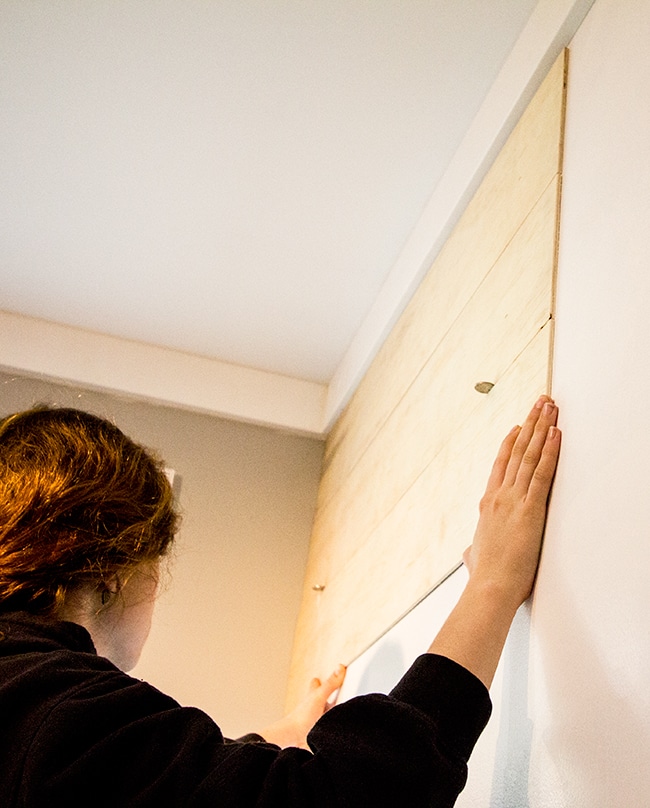
It was pretty much autopilot after that.
One column at a time…
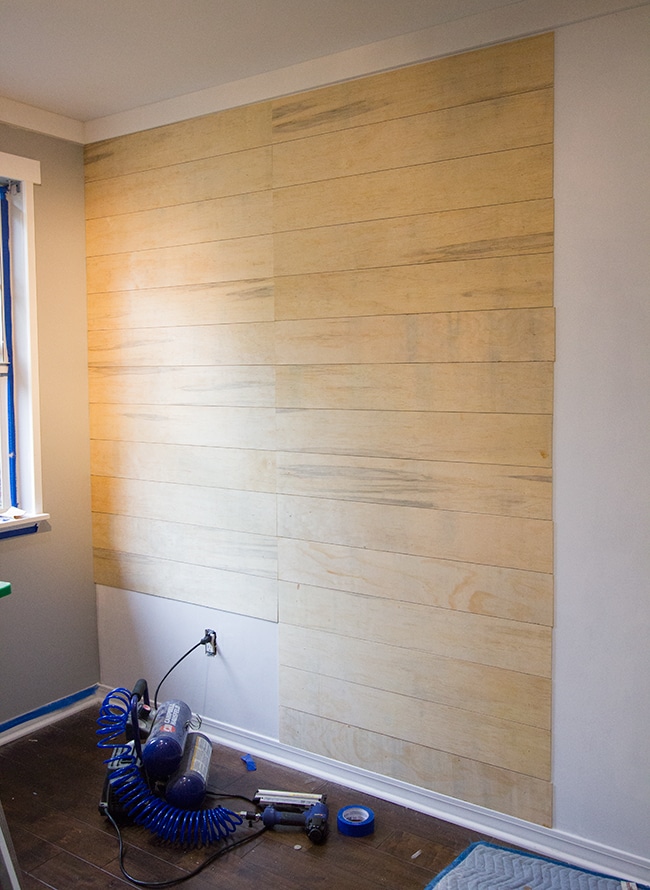
Since there was a human error factor in cutting the boards, they weren’t all the exact same width or height.
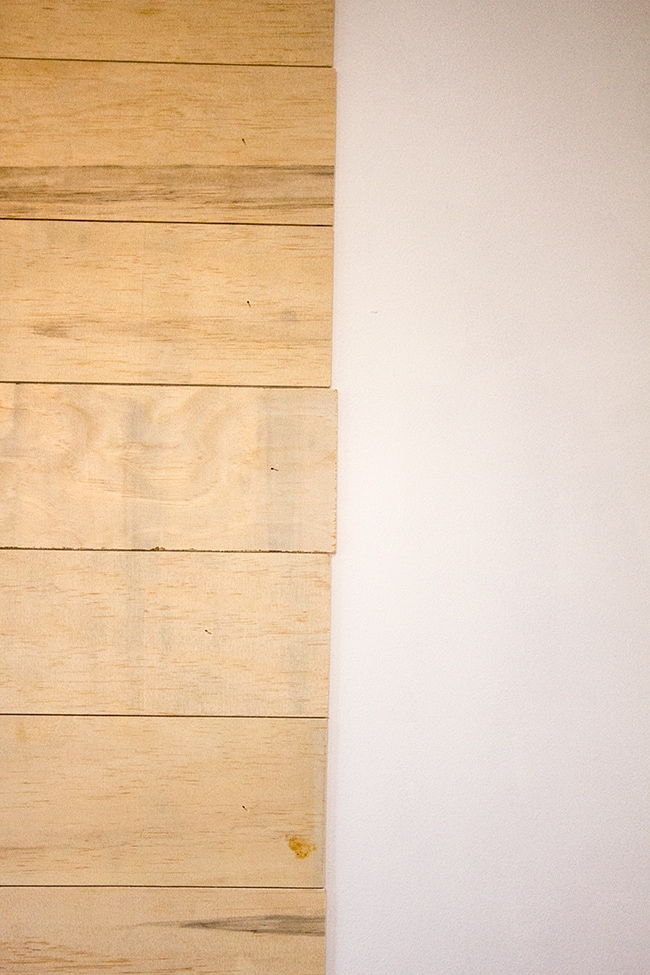
But the edges didn’t matter because they’d be covered by the vertical pieces. Plus, rustic looking is the goal here.
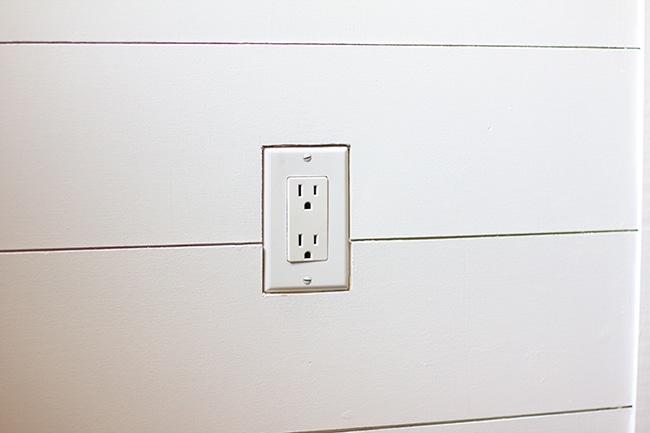
Next it was time to deal with roadblocks: the outlets.
I decided to cut around the outlet covers instead of installing the covers on top of the wood, because that would require moving the whole box forward since the screws are barely long enough to reach. I didn’t want to deal with that mess, plus these outlets will be hidden behind a bed so I wasn’t worried.
Here’s what I did:
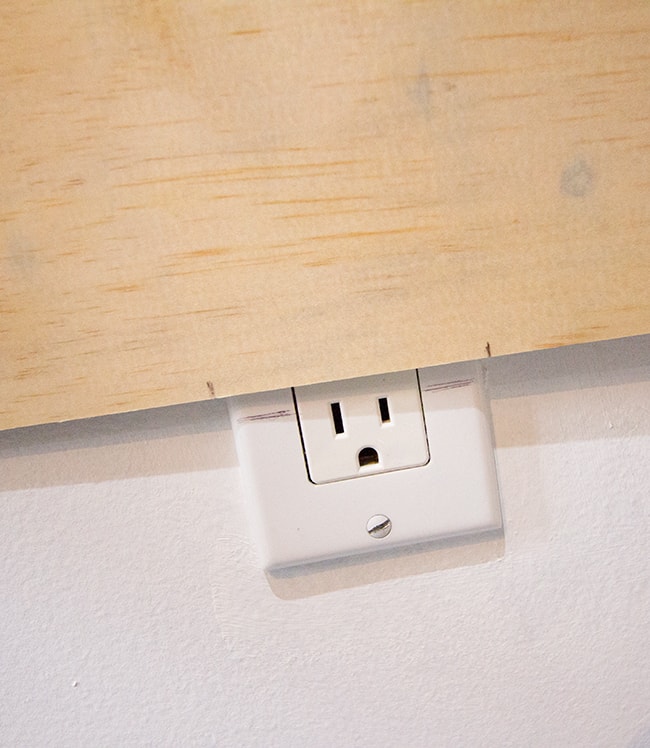
Held up the board in the position it would be attached to the wall and made horizontal marks on the outlet covers. Then I marked where the sides of the outlet sits.
I then removed the outlet plate, lined up my next two boards, set the outlet over where I had made the marks, and traced the hole.
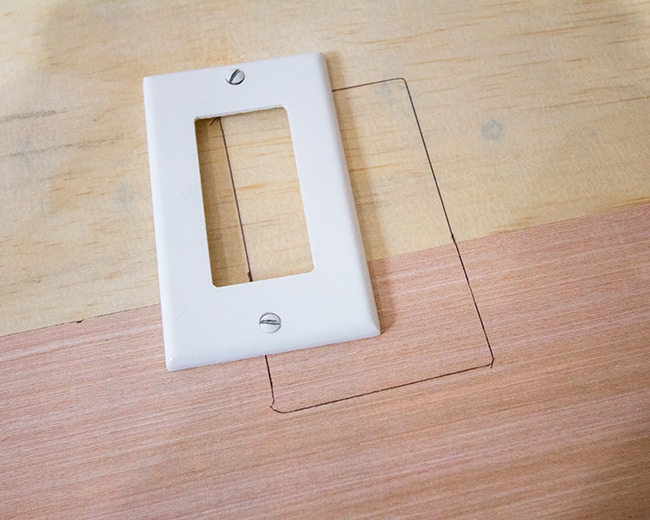
I then took my boards into the garage and made the vertical cuts using my miter saw, then scored the horizontal lines with a utility knife and it snapped right off.
Shablam.

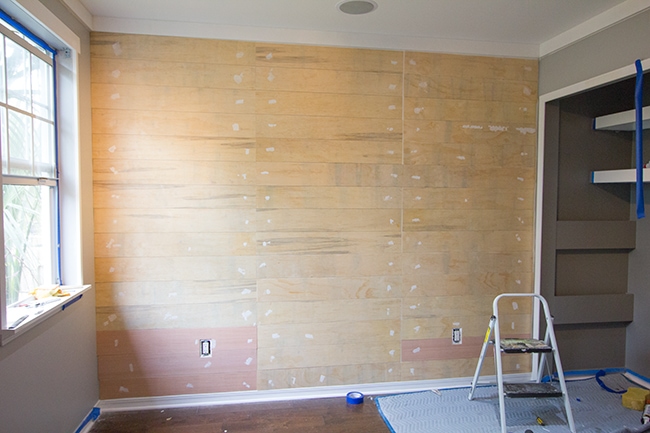
Repeated the process on the other side… and it was almost done!
For the very bottom row, I lucked out. The guy at Lowe’s had cut two of the boards to ~5″ instead of 6″ by accident and they ended up fitting perfectly above the baseboard. For the third and final piece, I marked a line and Brad trimmed it down with a jigsaw (we don’t have a table saw).
Ta-da!
Then it was time to patch up all the nail holes.
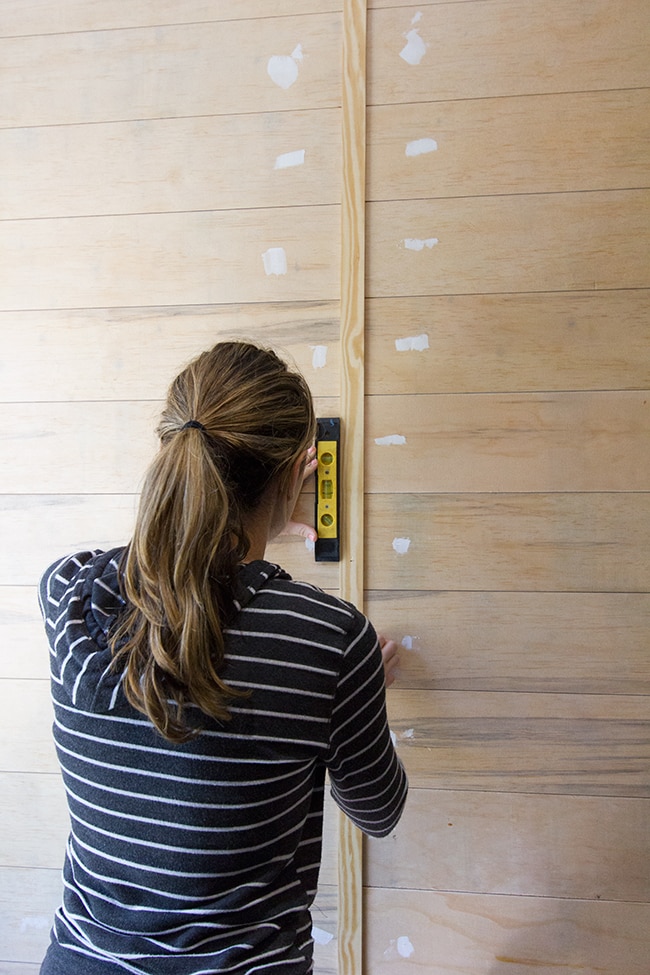
While that was drying, we took another trip to Lowe’s to get our batten pieces.
I settled on these 1/4″ x 1.5″ lattice strips:
I had to go with something thinner so they wouldn’t stick out past the ceiling trim. I realized they would stick out past the baseboards, but I was okay with that since it would be mostly hidden… and it’s hardly noticeable. Not really worth redoing the baseboards and doorway trim in the entire room and then trying to match it up with the hallway!

$23 for 4 pieces… jeez, they aren’t messing around. They also had a white MDF version (I think it was around the same price) but I wanted the material to be wood to match with the wood planks.
Back at home, it was as simple as trimming them to size and nailing them up (using a level of course):
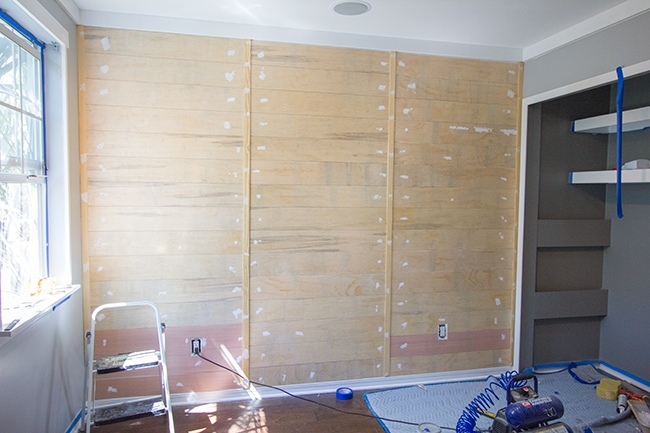
And with that, we were done with the nail gun!
After a quick sanding, we got straight to painting:
I wanted a flat, bright white look, so I just grabbed a quart of the base white/off the shelf Valspar Signature. I figured after how well the other paints covered, a quart would be plenty (I only used half a quart for the whole closet!)
Except I didn’t take into account that wood soaks up paint unlike a wall, so after debating on whether or not to use a third coat, I grabbed another quart and finished the job the next day.
After that came a few days of meticulous touch-ups, followed by a thorough floor scrubbing (it was quite a mess… good thing we don’t have carpet or we’d be replacing it right about now!)
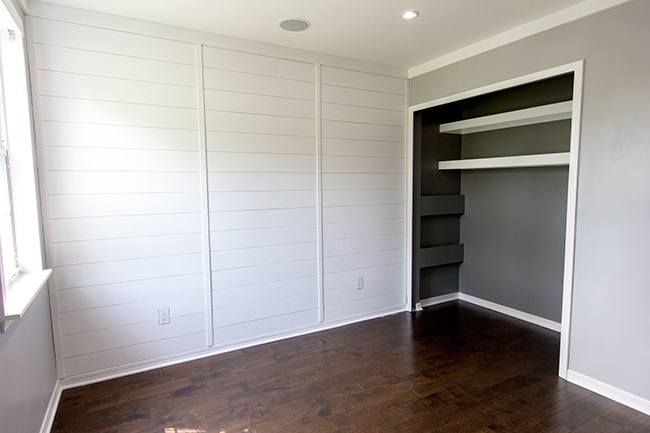
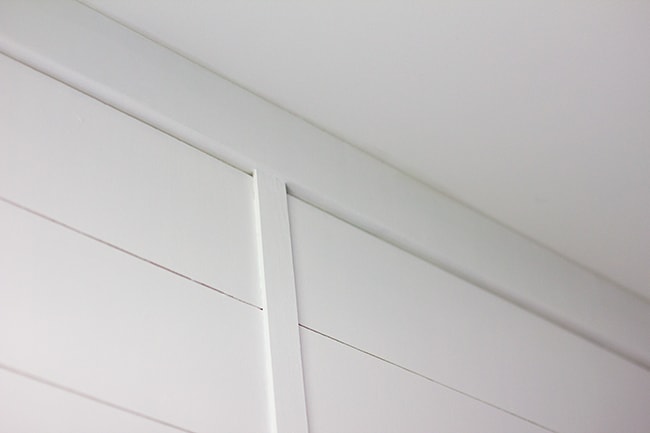
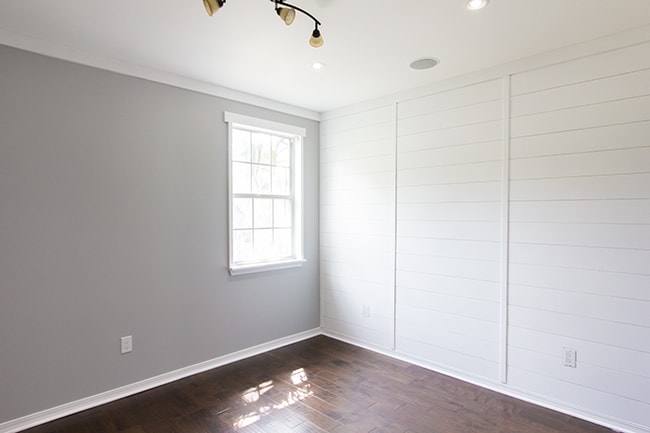
And in the end… it was all worth it. For my new happy cottage room:
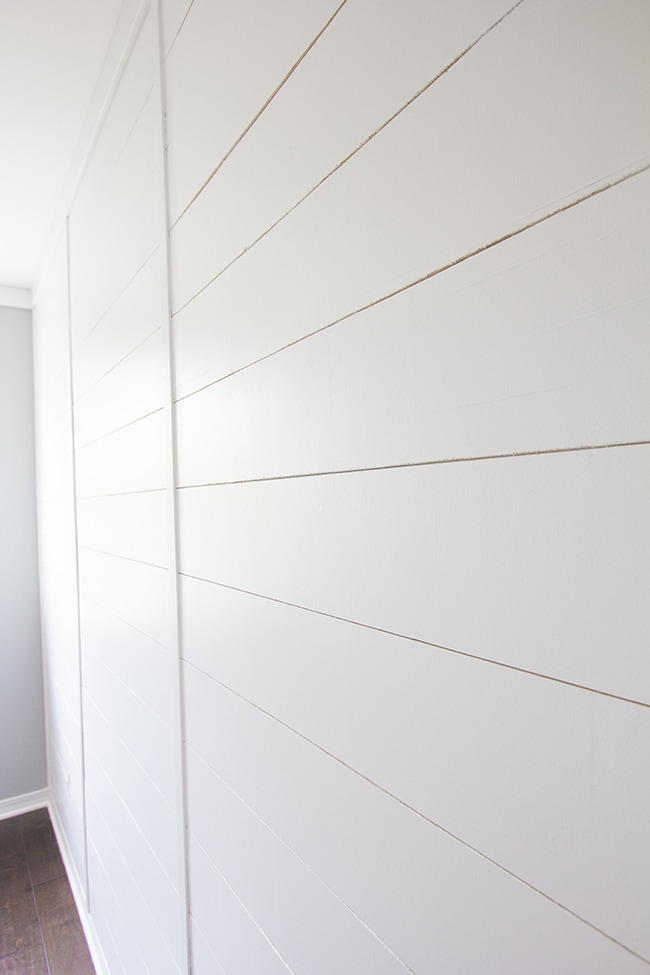
Closeup of the seams:
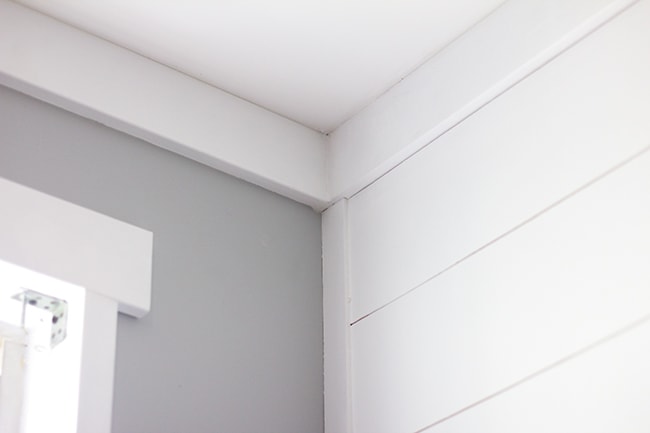
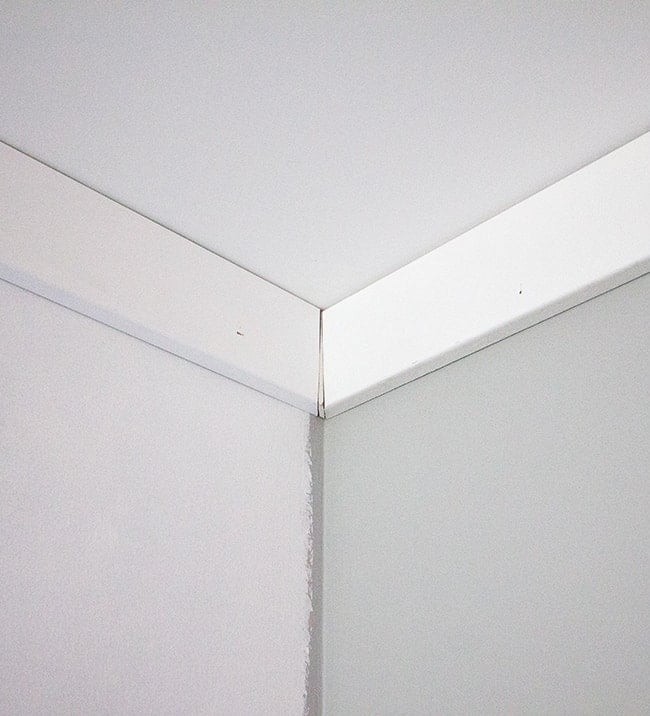
Optical illusion time… a) corner of a ceiling where it meets the trim and walls, or b) corner of a gray box with a white top? Can you see both?
And there you have it.
We’re anxious to start getting our furniture moved in… particularly because my giant new beast of a printer is in the garage waiting to be awoken from its’ slumber….
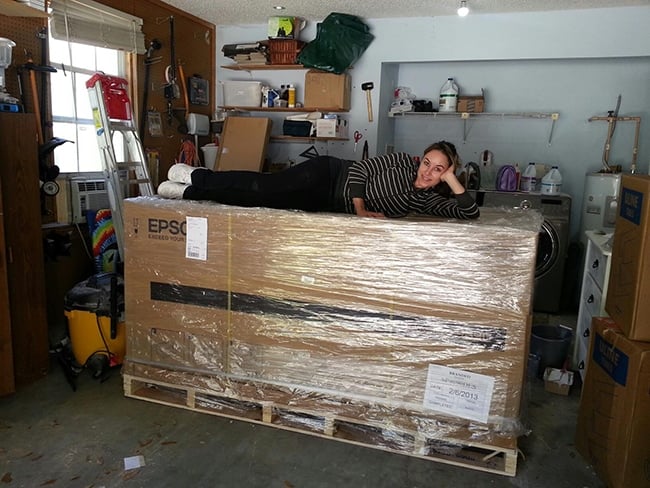
Can’t wait to get started on that!
Be back soon with a furniture-in-the-room update…


Leila says
Thank you! Mine is small also so it may work out well. If you have a chance would you mind sending a picture of your set up ? leilaviana@gmail.com
thanks!!
Jenna Sue says
Ah… thanks for the tip! I'll keep that in mind for next time 🙂
Anonymous says
Looks great, but you don't have to move an electrical box when you do something like this. A little $5 package of electrical spacers will fix it super easy. If you don't know what they are – which I'm guessing not – from your steps; this blog does a great job explaining them. https://piecesofmolly.blogspot.com/2012/01/electrical-spacers.html
Jenna Sue says
We have a small cable box and hid it behind the TV. Brad installed an electric box in the wall and we mounted the TV in front of it. There's just enough room behind it for our wires and boxes 🙂
Leila says
Hi Jenna,
I have a question regarding your current bedroom. I see that you installed the tv, but i dont see any cable box. Do you have cable? If you do, where do you hide the box ? we are thinking about mounting the tv to the wall but we want to hide all the cables, electrical and network. What do you suggest?
Kristin @ A Mom on the Run says
Oh my goodness Jenna, I love this! Now to convince my husband that we need to do this in our guest room!
Tyesha Turner says
Looks great! I've been thinking about doing planked walls in my master….I think it's a go!
Jenna Sue says
We didn't use primer, but the general consensus is that you can use latex over oil but not the other way around.
Hadas De-Vir says
thanks a lot fo all efforts you ahd to show us each step and step !!! it became so beautiful!!!!!
i bless you to have a great time in your new bed room
Hadas -Israel
Addicta says
Wow so beautiful! Love this!
Sean Riker says
I love this…does it matter if you use acrylic or oil based paint with this primer?
Alicia Rozeboom says
You did a phenomenal job! I've been reading your blog for awhile and I love how you and your husband DIY everything – very admirable. Can't wait to see the finished product 🙂
Ashlee says
Jenna, that looks so great! I can't wait to see it all together. The trim adds so much and the dark gray in the closet is stunning.
Jackie K. says
Wow! I'm impressed. Can't wait to see your next step.
soitwasweekend says
Oh my…! The new planked wall looks amazing!!
And I love the little addition to the window
– just a little bit of wood and such a transformation on both, wall and window.
I need a bigger apartment for my own, so I can attach a lot of wood everywhere 😉
Love, Midsommarflicka