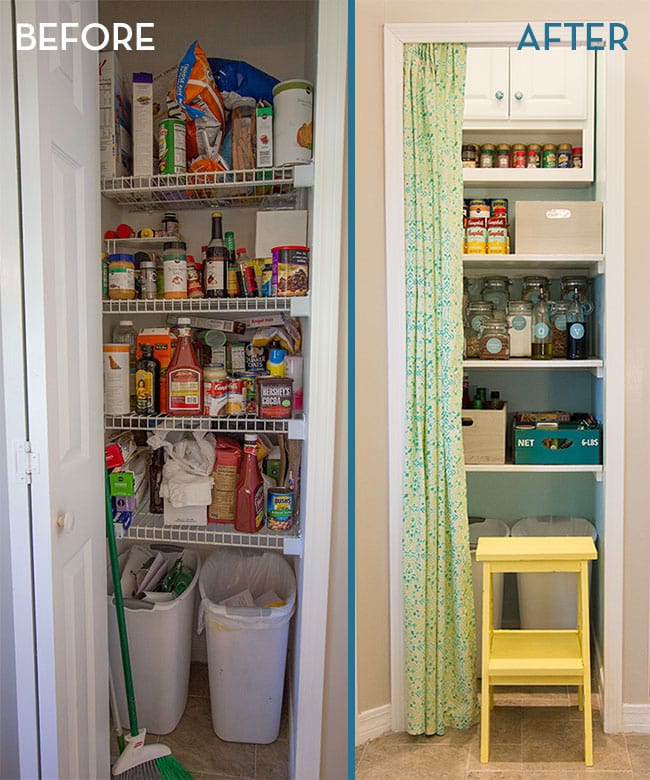
The day has finally come…

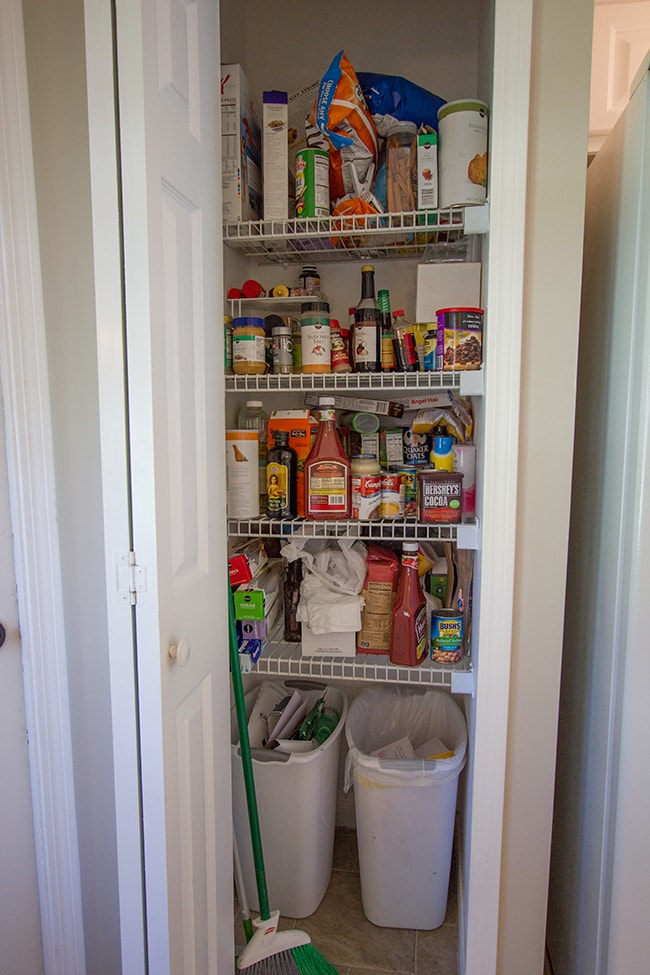
Let’s take it from the top….
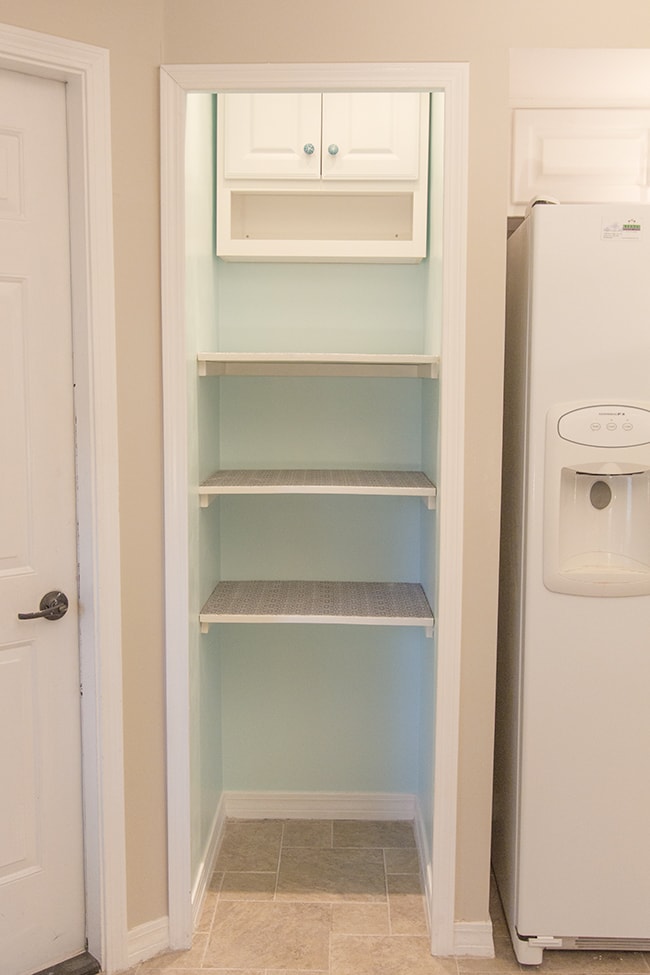
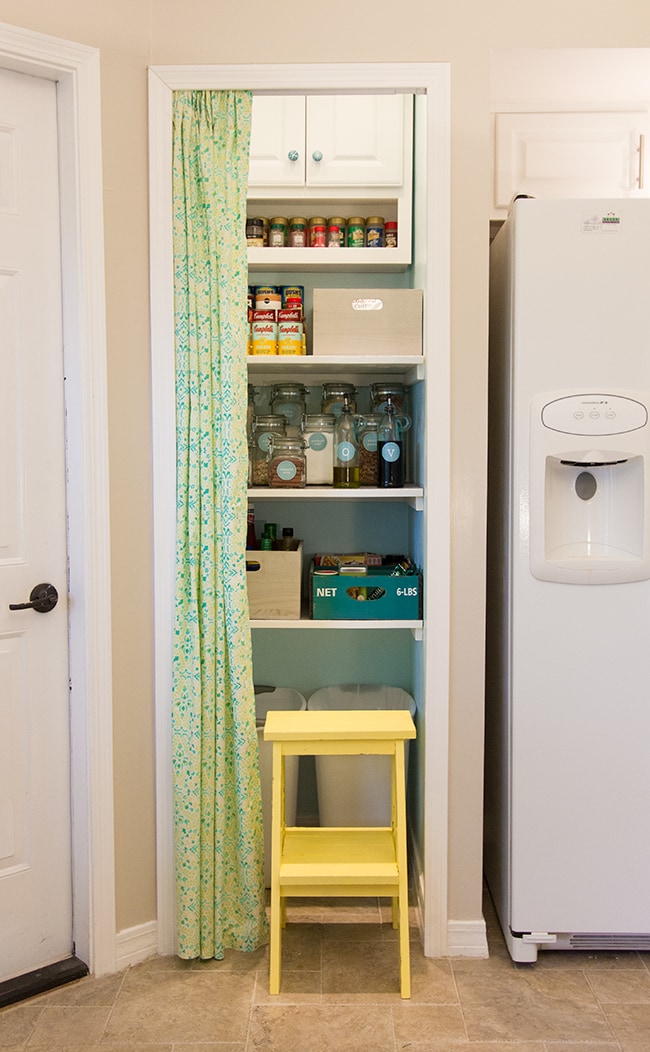
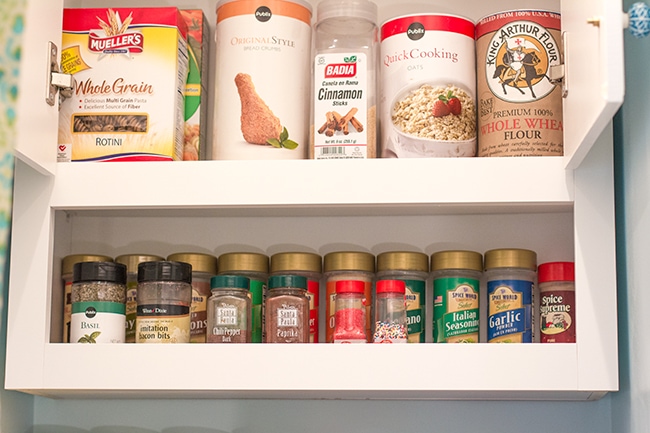
To utilize the empty space, we installed a medicine cabinet (where the old fourth shelf was) which allowed us to store items up to the ceiling.
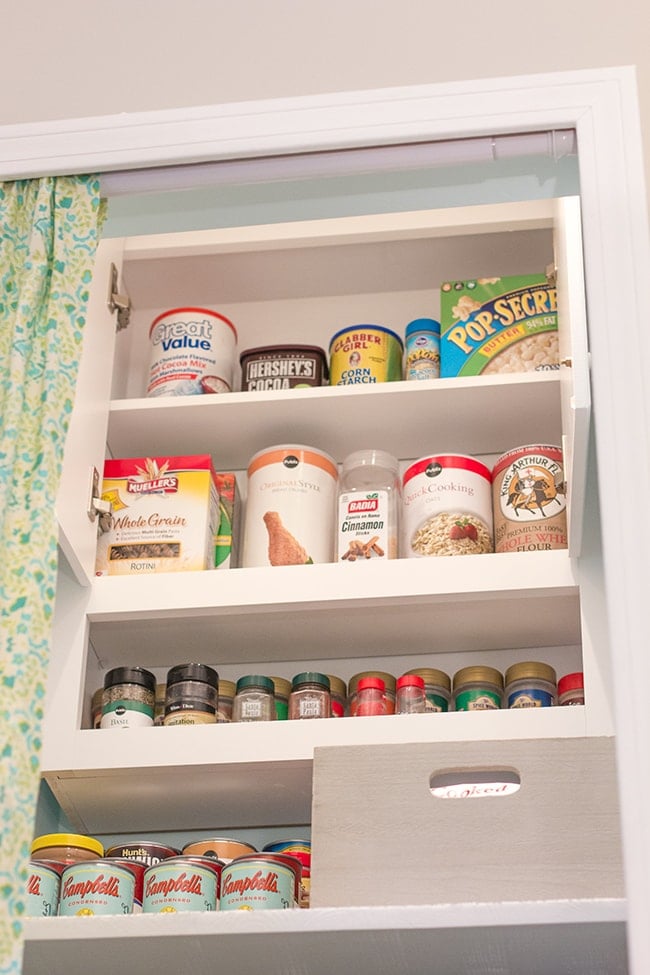
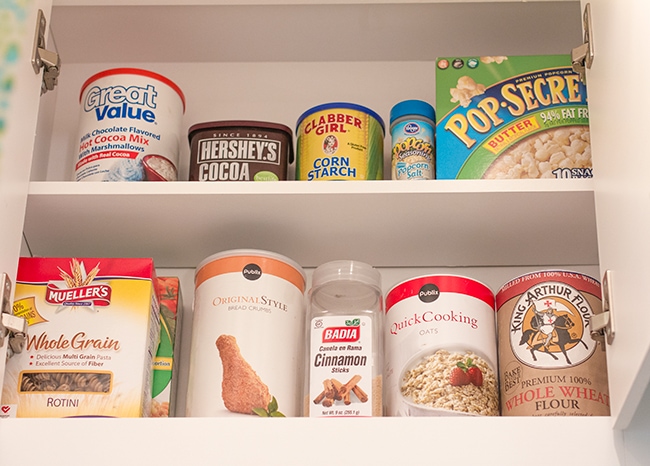
The cabinet holds our more infrequently used items, such as reserves of flour, breadcrumbs, pasta, popcorn, and a few baking supplies:
The open shelf at the bottom was what sold me on the medicine cabinet because it makes a perfect spice rack!
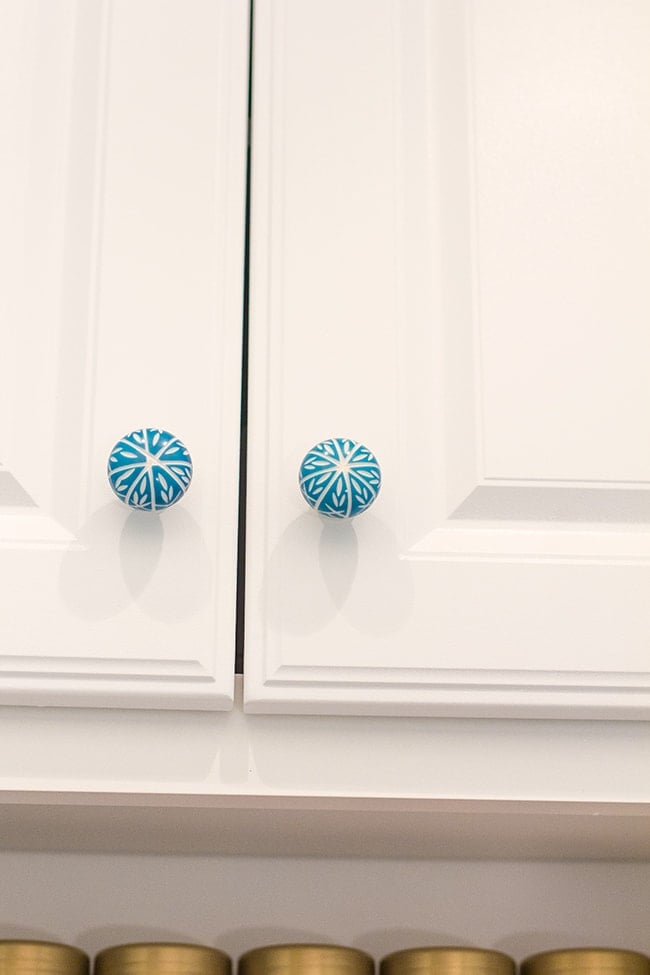
I also swapped the knobs for these cute teal ones from Hobby Lobby:
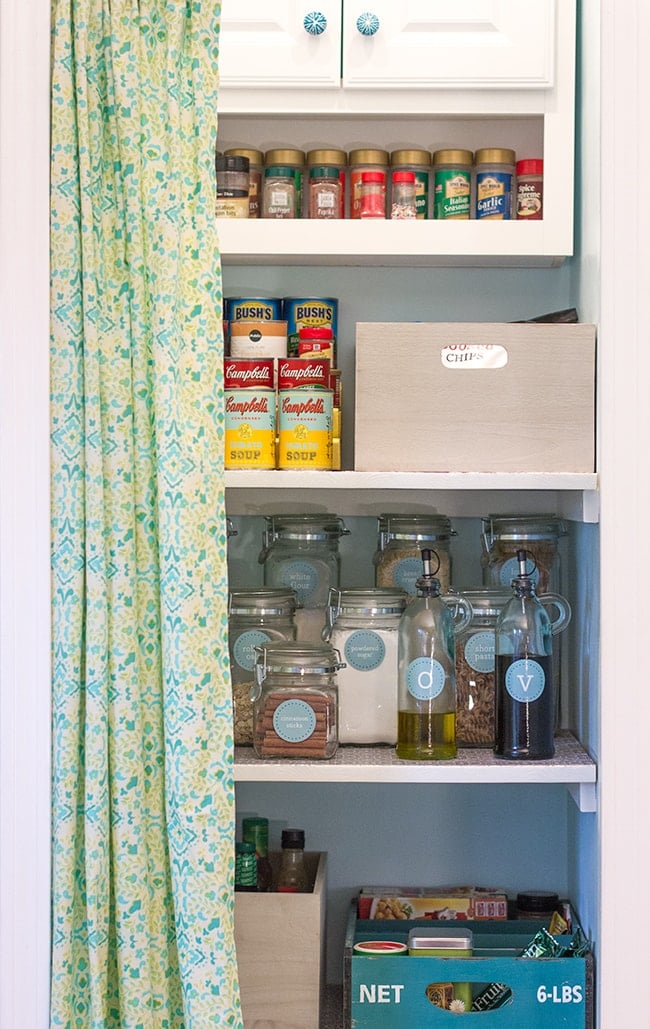
On the top shelf, I arranged our canned goods (on a tiered shelf I built from 2×4’s and painted yellow):
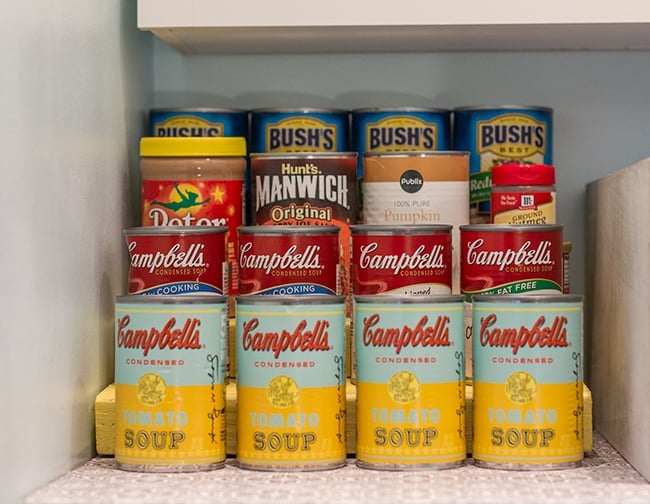
And um, how perfect are these retro Campbell’s cans? I found them at Target yesterday and had to have them. Aqua and yellow, hello!
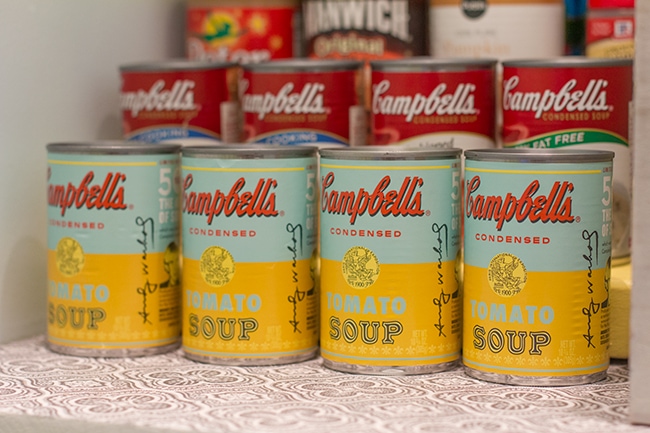
(I don’t think I can bring myself to open them though…)
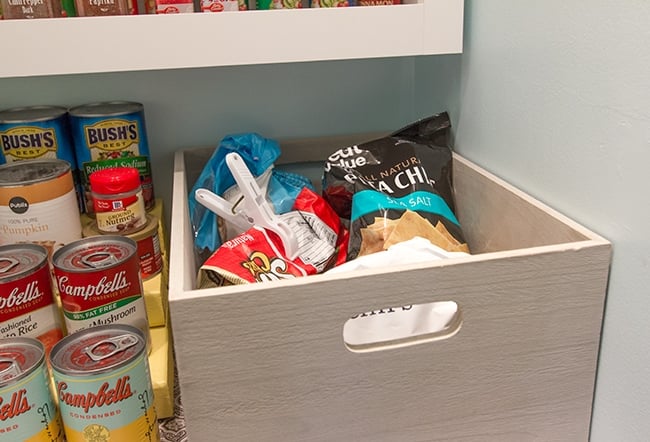
On the right side is a bin that holds our chips and snacks:
The next shelf down is where all of the jar foods are stored:
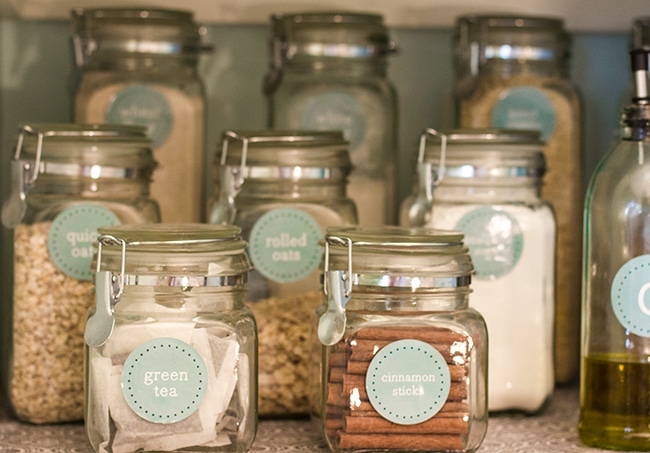
These include flour, sugar, oats, bread crumbs, pasta, etc. The jars were purchased at Hobby Lobby and I made the labels from plain white 2″ round sticker sheets.
I also picked up a couple of these aqua glass jars from Hobby Lobby for our EVOO & balsamic vinegar (used almost daily):
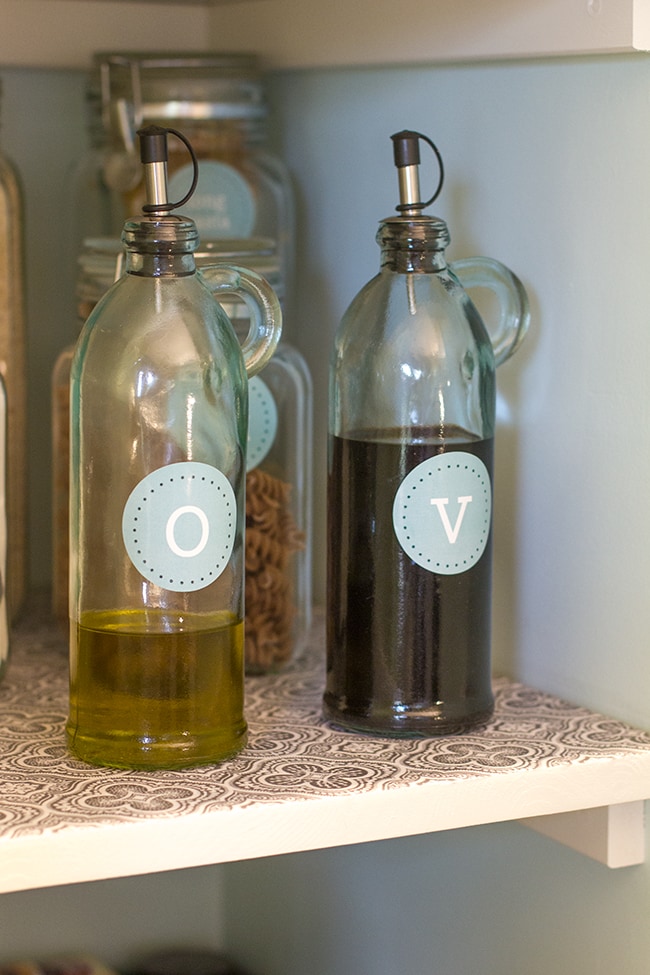
The bottles came with corks, but to adapt them for pouring I picked up a set of bottle drizzlers for $5 at Target.
On the bottom shelf is another whitewashed wood bin, where we store things like honey, peanut butter, pam spray, seasonings, sauces, and unopened condiments:
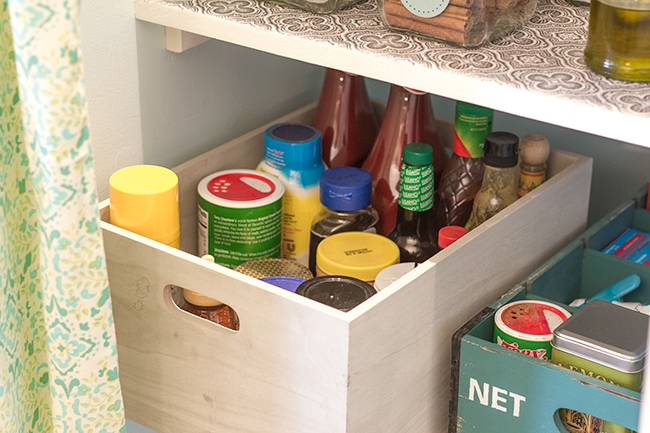
Next to that is a shallow wood box with dividers that I couldn’t resist at Hobby Lobby.
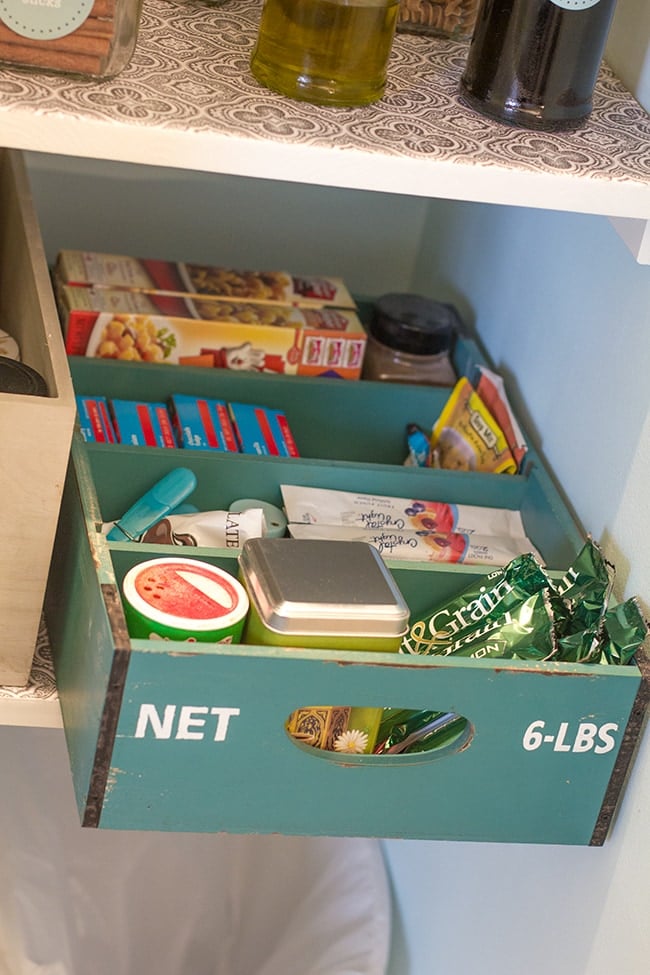
It’s used to divide smaller items like jello, soup/seasoning packets, crystal lights, breakfast bars, tea, etc.
Since I am vertically challenged, I had to have a quick and easy way to reach the items in the cabinet (without going into the garage and dragging out the step stool every time).
My solution:
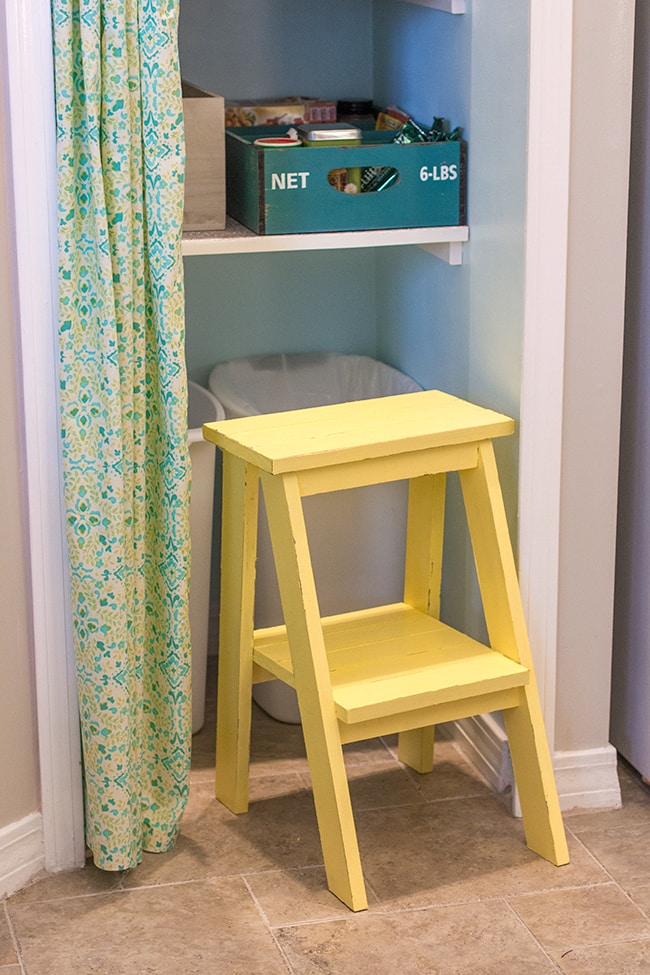
This DIY step stool. I found plans online from Ana White and spent a couple hours yesterday afternoon putting it together with Brad.
My first legitimate woodworking project, and somehow we made it work!
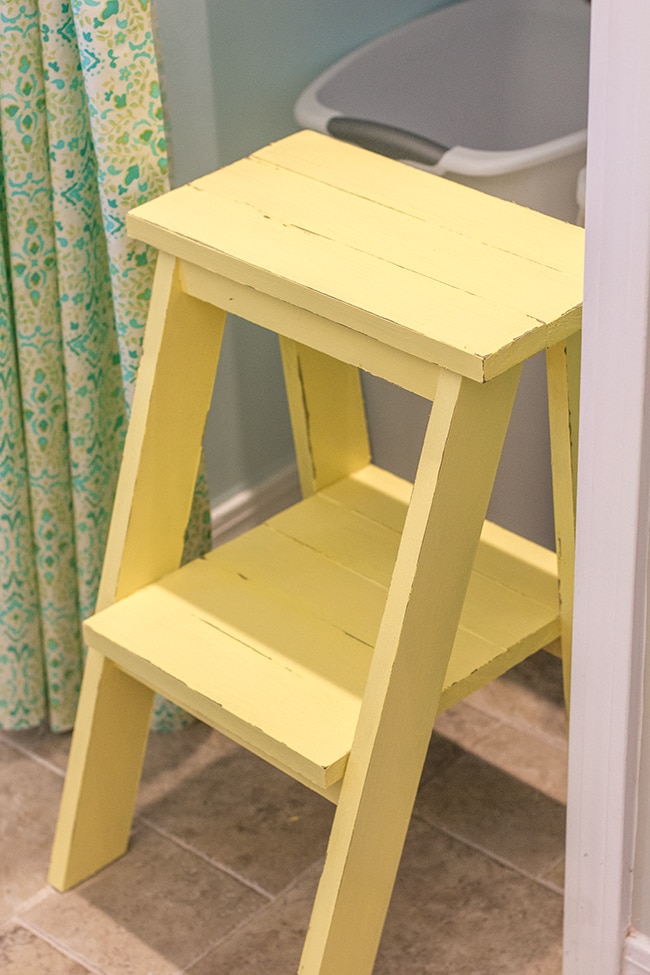
It’s just the right height to reach the highest items. And there’s still plenty of room to use the trash cans so the stool will stay put (which is nice because it can also be used for other areas in the kitchen).
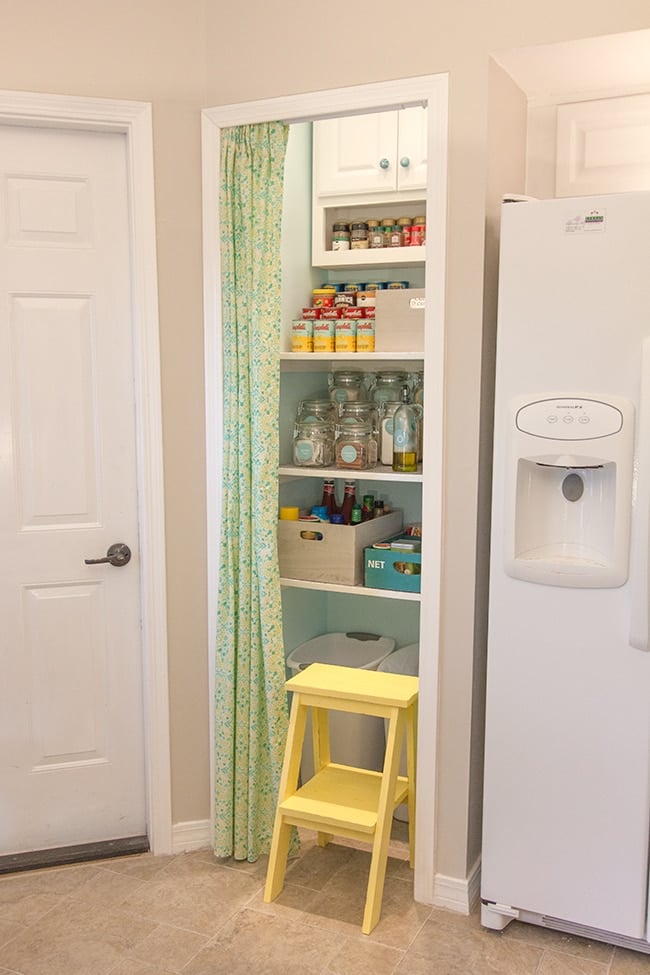
And of course, the curtain…
Do you like the fabric? I love how it ties into the aqua and yellow accents. I think it was a good choice.
For those interested in the costs of this transformation, here is the breakdown:
Pantry:
Recessed lighting – Lowe’s: $32
Cabinet – Lowe’s: $72
Wood for shelves – Lowe’s: $41
Shelf fabric – Hobby Lobby: $5
Aqua paint – Valspar’s Tropical Mist/leftover: $0
Total: $150
Accessories:
Curtain fabric – Etsy: $22
Curtain rod – Walmart: $5
Whitewashed wooden bins – Container Store: $53
Teal wood organizer – Hobby Lobby: $20
Jars – Hobby Lobby: $35
Oil/vinegar bottles – Hobby Lobby: $10
Oil/vinegar caps – Target: $5
Knobs – Hobby Lobby: $4
Total: $154
Stool:
Wood – Lowe’s: $18
Screws – Lowe’s: $12
Wood filler – Lowe’s: $3
Yellow paint – Valspar’s Touch of Honey/Lowe’s: $14
Total: $47
That makes the grand total, including a new step stool and all the accessories, $351. For a completely new organized pantry and a happy kitchen experience? So worth it. I even impressed my toughest critic, Brad, who is normally skeptical about all of my projects but actually said this looks like it should be in a magazine. Thanks, babe.
The cabinet was the most expensive item, coming in at $72 w/tax, but there was no way I could have built something as finished looking as that. I love that it has doors so I don’t have to stare at things I don’t use very often—it minimizes clutter and creates a more streamlined look.
The real splurge here was definitely the wood bins from the container store. They were the perfect size and I’m a sucker for anything whitewashed and wood, so I went for it.
Everything at Hobby Lobby was purchased at 50% off (on sale) or using a 40% off coupon. That really helped to bring the costs down.
In the next post(s) I’ll go over how I made the curtain, the step stool and the tiered can shelf. (I did them all yesterday afternoon!)
Thanks for looking and I hope this has inspired some of you to get moving on your own pantry remodel. Trust me—worth the effort and it makes your time in the kitchen so much more pleasant!


Keaton Oakes says
My biggest problem would be maintaining a clean and organized pantry. Hahaha! After a few days, it'll be back to the old cluttered and disorganized pantry that I used to have. Bu I love the idea of putting in a separate jars the cereals, flour etc. It saves more space in the pantry and lessens the unnecessary clutter.
pantry cabinet says
Very impressive! I love the color of the step stool
Jenna Sue says
The link is in my follow up post 🙂 https://jennasuedesign.blogspot.com/2013/01/pantry-details-no-sew-curtain-tiered.html