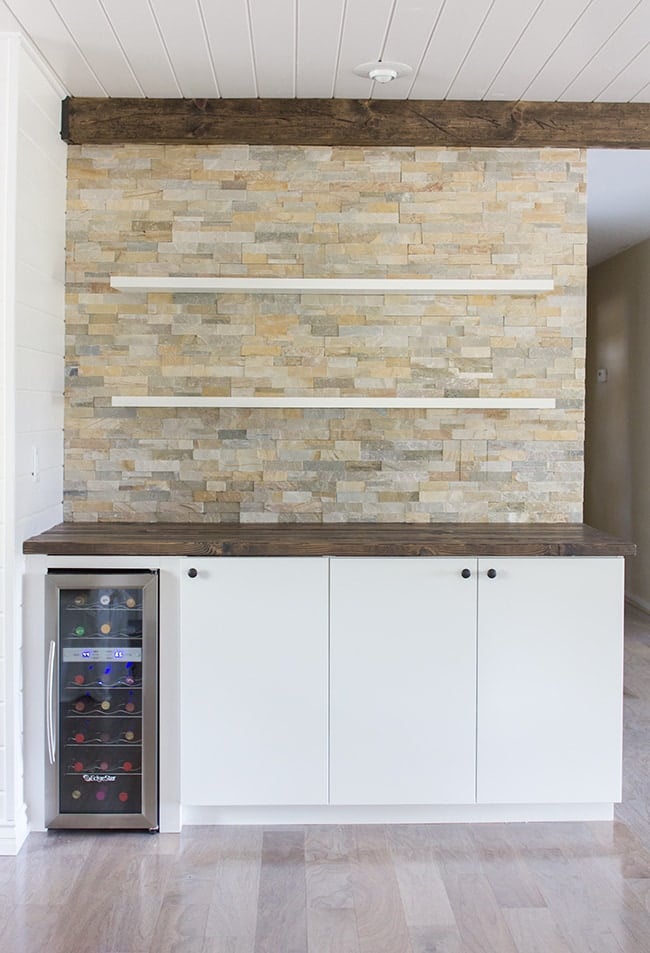
Today I’m sharing all about our stacked stone wall installation:
As a reminder, here’s what it looked like Friday:
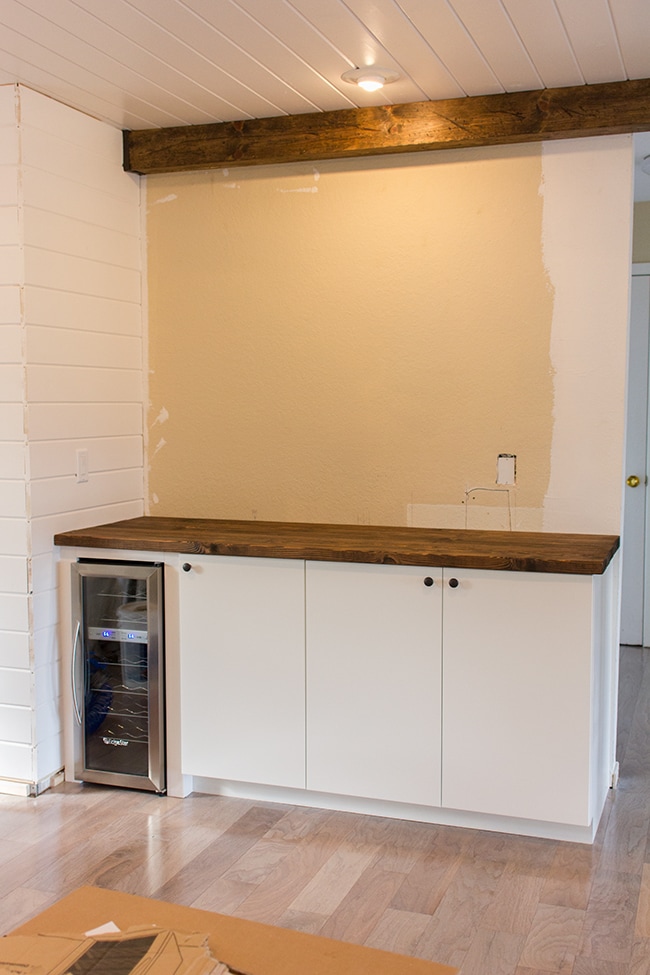
Let me start by saying this project was not an enjoyable one. The tile install itself wasn’t so bad—there were just a number of small setbacks and frustrations that made this drag on for over ten hours and wear our patience thin. Renovation has its ups and downs… this was definitely a low point.
Just need to keep it real once and a while and let you guys know that this DIY stuff is not all sunshine and rainbows 🙂
On that note, let’s start at the beginning!
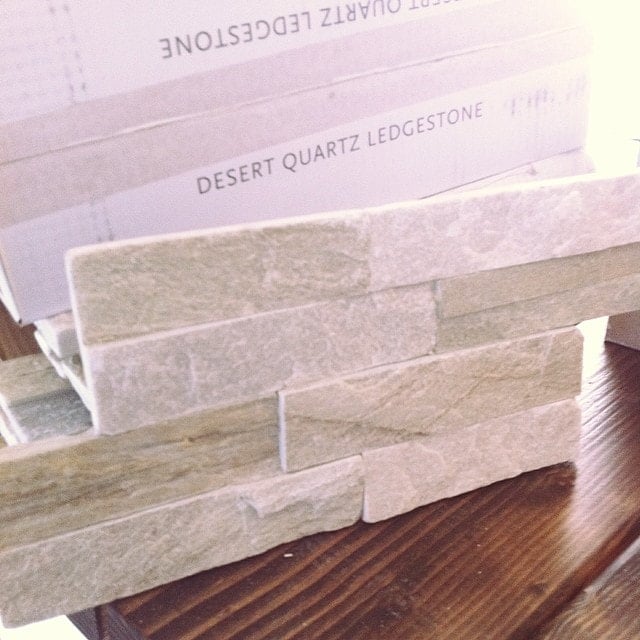
I found this Desert Quartz Ledgestone at Lowe’s for $4/ea:
We bought 80 pieces but ended up using only 62 of them (+ we had a 10% off coupon), for a total of around $240.
I also wanted to make the wall functional with shelving. On our Ikea trip, I bought a couple of these…
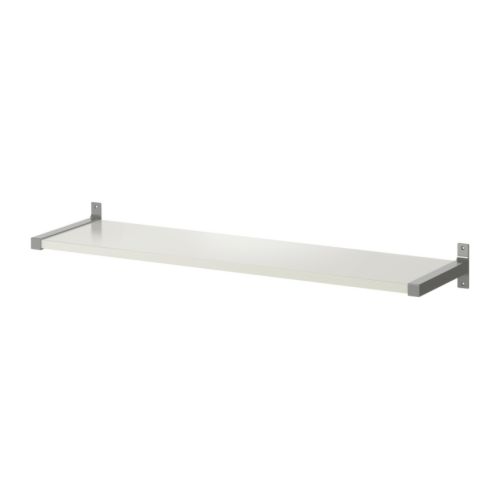
But the brackets ended up creating a problem. We couldn’t install the shelves on top of the stone because it was an uneven surface, and we couldn’t tile right over the brackets without notching them because they had a slight curve at the back. And you can’t really notch quartz stone anyway because they don’t break off easily like porcelain or ceramic tile.
So I had to come up with a plan B quick…. and that’s when I spotted these unused desks from the old studio…
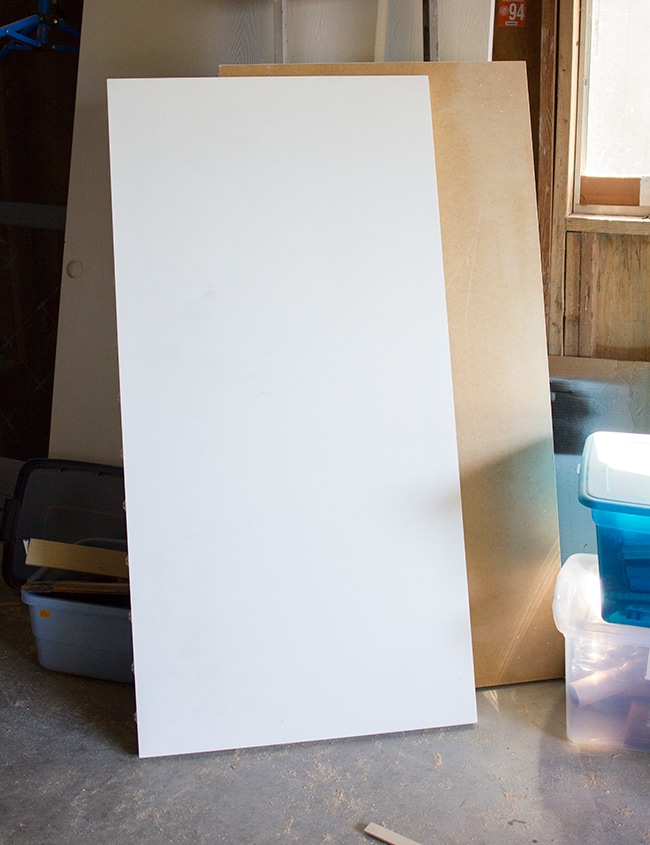
They certainly weren’t the right depth, but the length was perfect, and they were lightweight. I could make them floating shelves!
First I patched and sanded the small holes where you attach the legs:
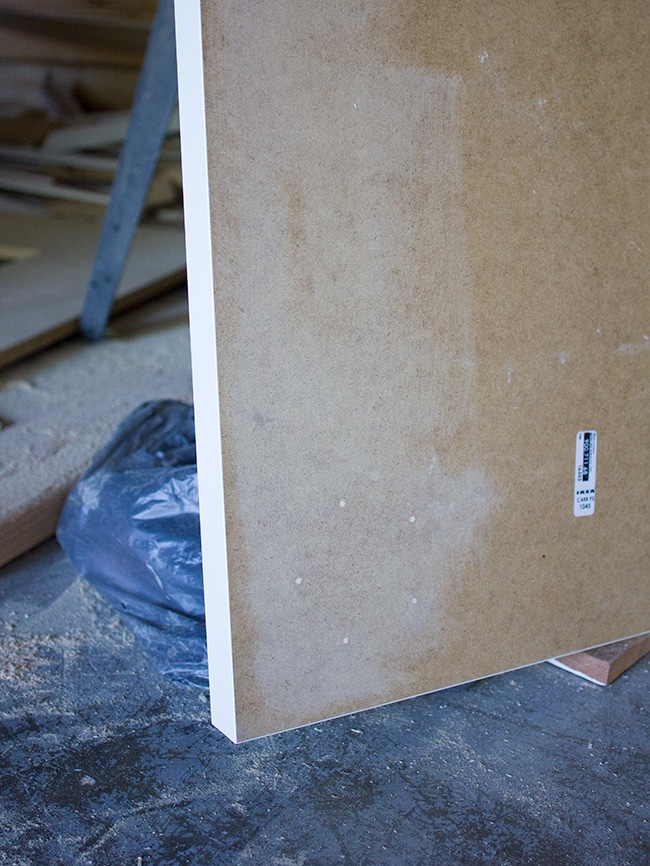
Then we ripped them down to 11″ on the table saw. They have this paper/cardboard filler inside of them that can be easily pushed down…
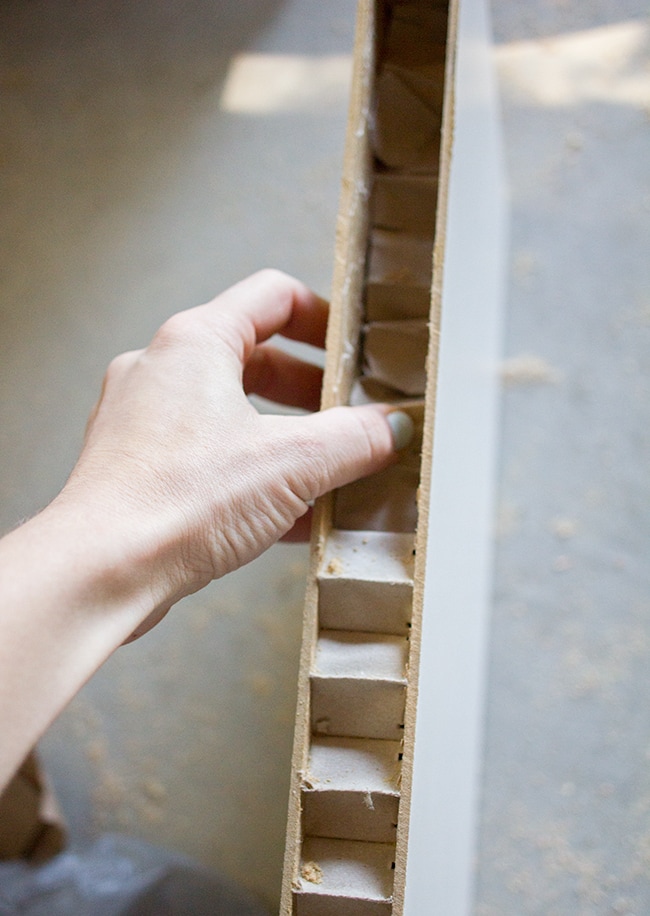
It makes the perfect pocket to insert a cleat.
For the cleats, we ripped down some spare 2×4’s to 1.75″ by 1″ to fit snugly inside the shelf opening. Here’s the cleat going into the shelf on the left:
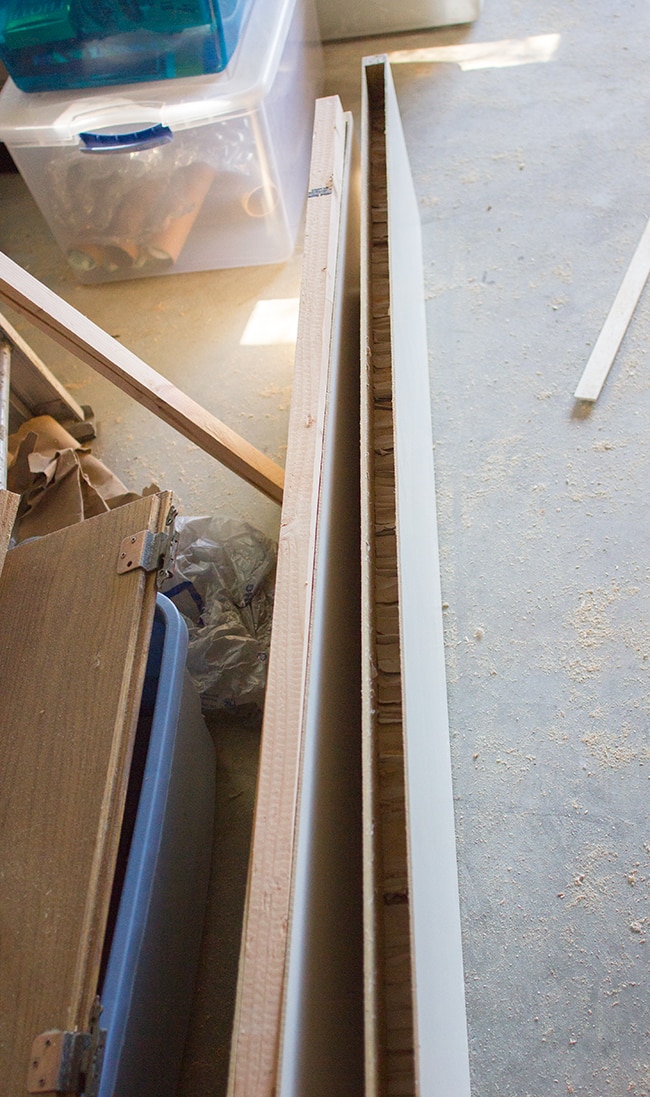
Now that we had that part figured out, it was time to start tiling!
Originally we thought we would need a cement board backer, but I discovered that the manufacturer says it’s only necessary for walls 10′ tall or more. Whew! Drywall it is.
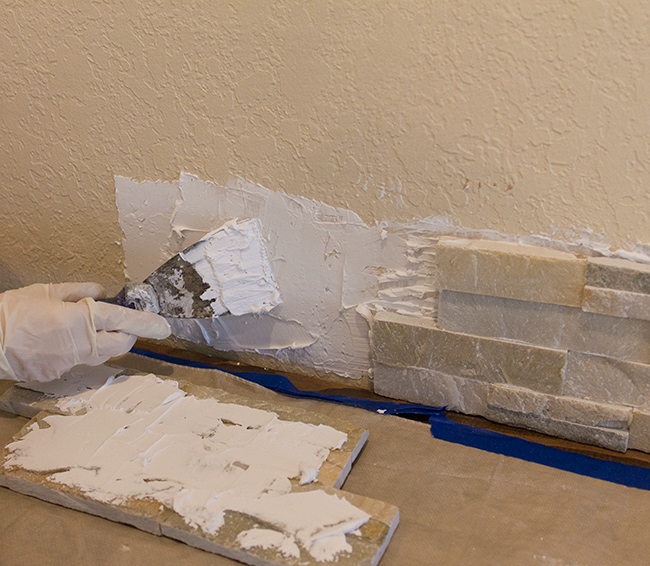
We used the same Type 1 mastic we had used for the backsplash tile (the guy at Lowe’s said it would be fine). We just made sure to use a lot more to get into all of the grooves and hold it (these tiles are heavy!) and we buttered the backs of each piece.
The pieces fit together quite nicely…
Here’s something else we had to deal with—this outlet. I really didn’t want it breaking up a wall of tile. In hindsight we should have rewired it to the side of the cabinet before we installed the bar but it was too late for that.
I have to give credit to my dad—he came up with pretty genius solution: hide it behind a removable piece of stone, James Bond style.
To do this, we first had to position a piece over it and trace it so we wouldn’t get mastic on that area.
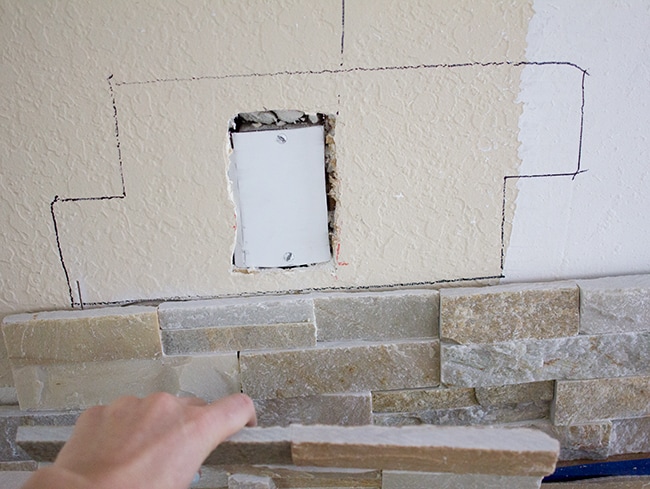
Then we tiled around it as normal.
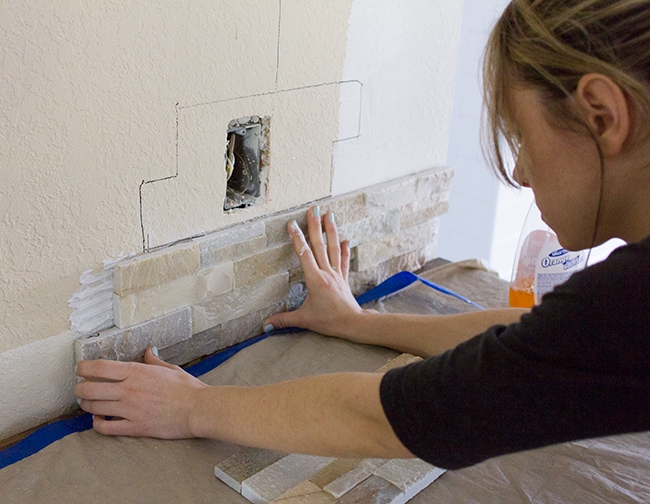
The secret stone was done last so we’ll come back to it—back to the rest of the wall.
We used the same wet tile saw from our backsplash and it worked great. It was a little trickier to maneuver since there wasn’t a flat surface to hold the tile down, so it was difficult to get straight cuts sometimes.
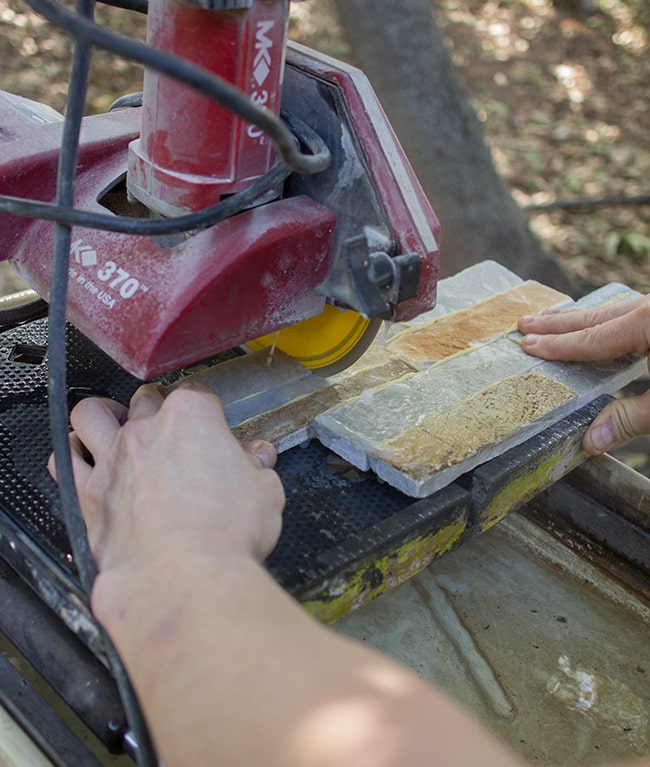
The two pieces on the left were notched from another tile to fit. The great thing about this stuff is that there are uneven gaps everywhere, so if you mess up a little, it’s no big deal!
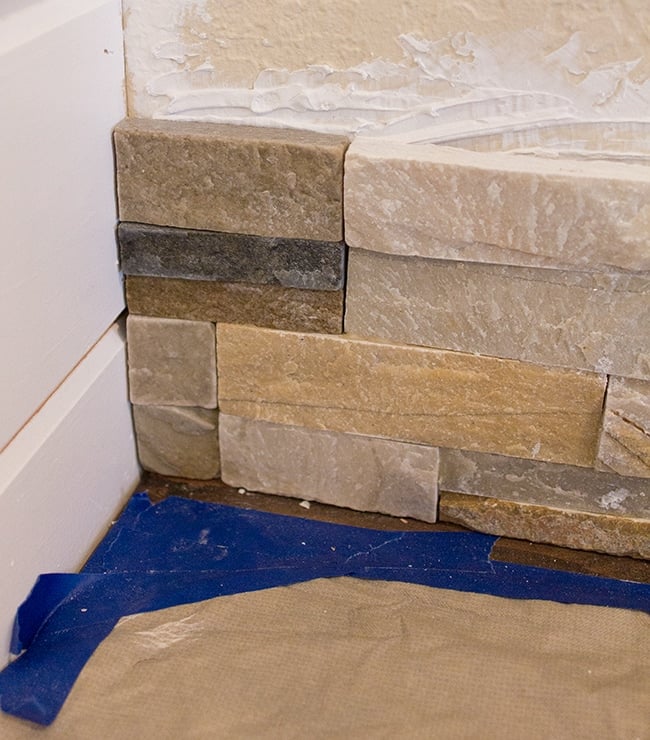
Some of the gaps are bigger than others, naturally, and you end up with parts like this…
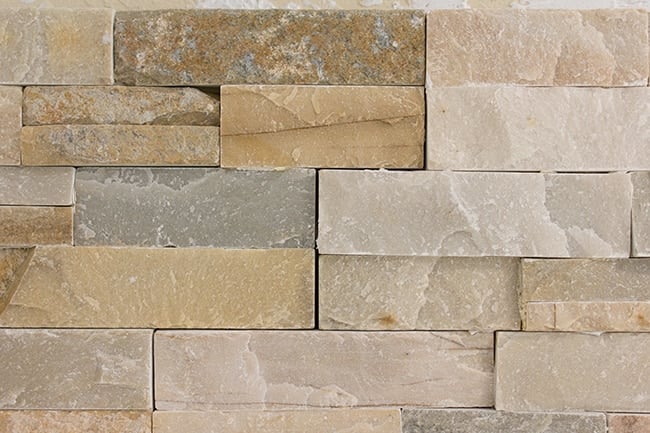
It all blends together when you step back, but I could always go back in and add some colored caulk.
After our second row was complete, it was time to start planning out our first shelf.
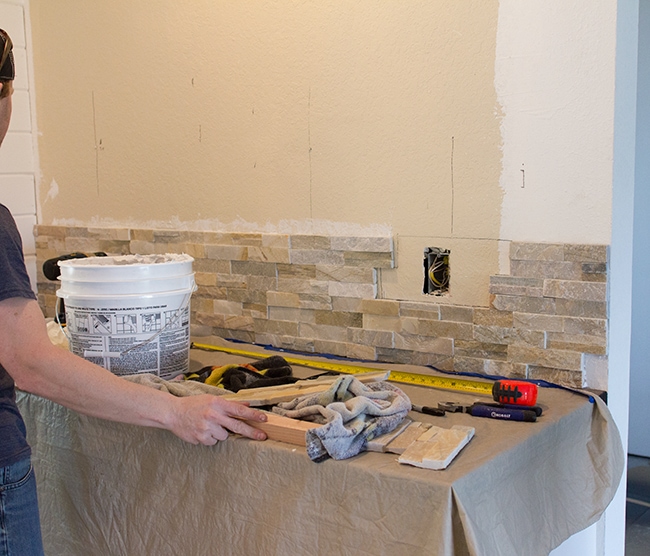
We marked the studs and drilled our first cleat into them using 4″ decking screws (making sure it was 100% level—this part is essential!)
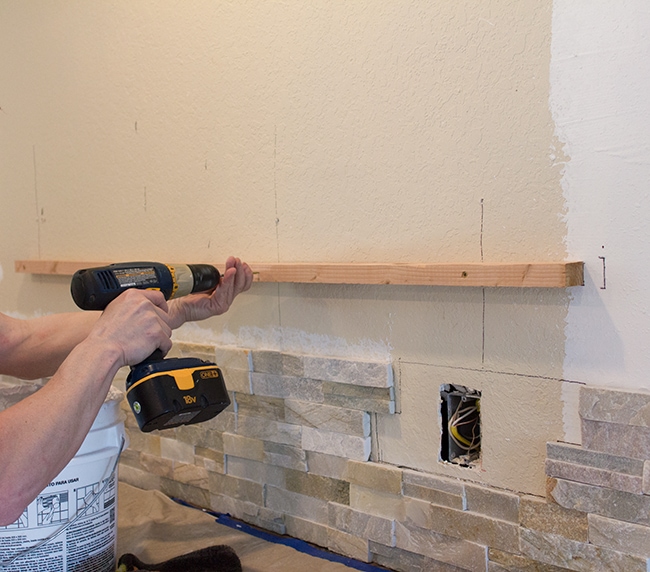
Then we slipped the shelf over it and secured it from the top using screws every 8″ or so.
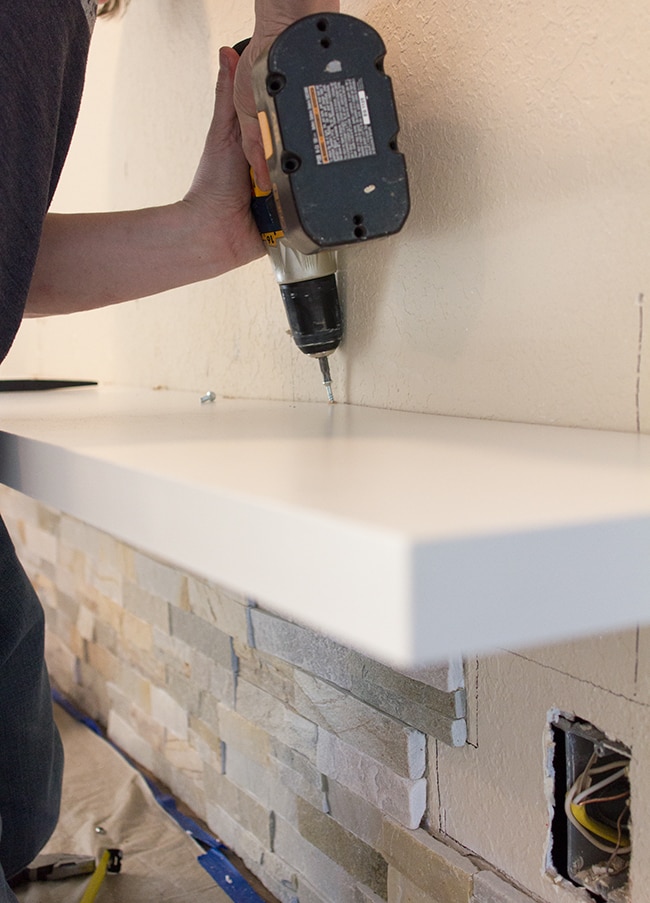
For those of you who want to try this at home, it’s worth nothing that this method won’t support a ton of weight. We’re only using this for lightweight items so it will suit our needs, but I wouldn’t use it as a bookshelf or anything.
After the shelf was up, we tiled around the bottom…
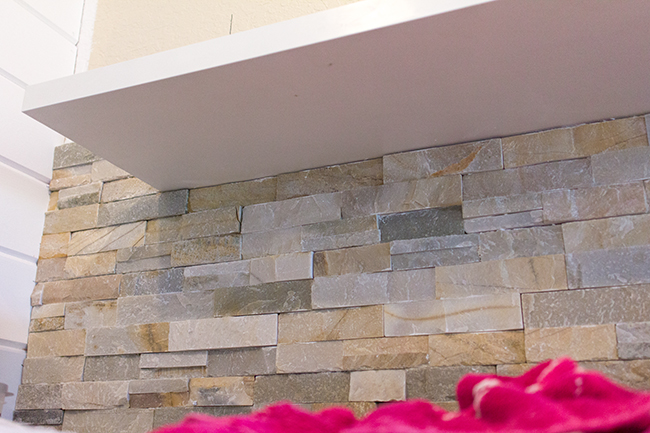
And up to the edge so we would have a level surface for the next row.
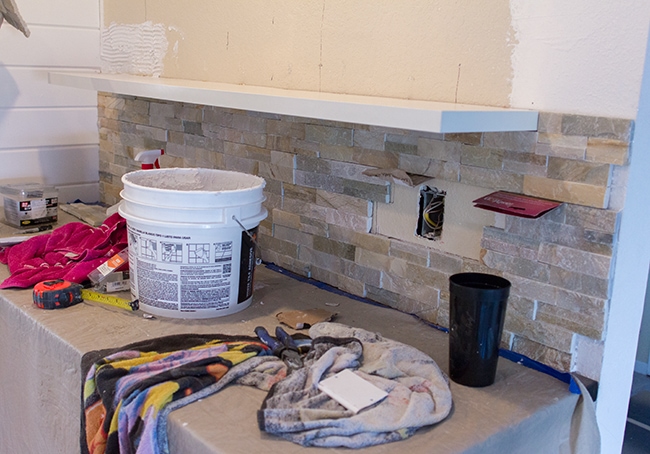
And the tiling continued…
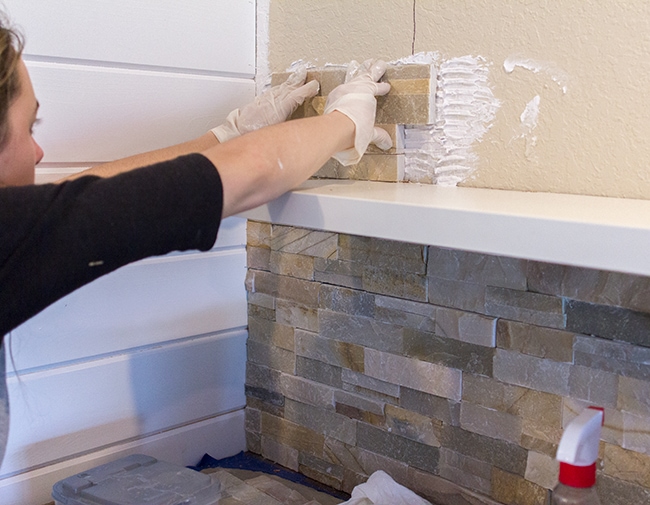
3 rows later and it was time to install our second cleat. The first board we had was bowed a little too much (it was actually a 2×4″ we saved from our kitchen demo, so it was almost 50 years old and a little worn down), so we had to rip the shelf out and start over.
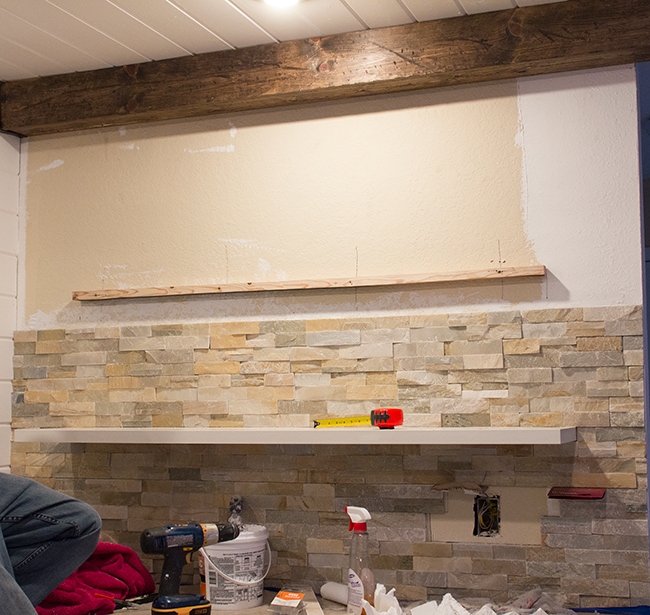
The second time around worked out though.
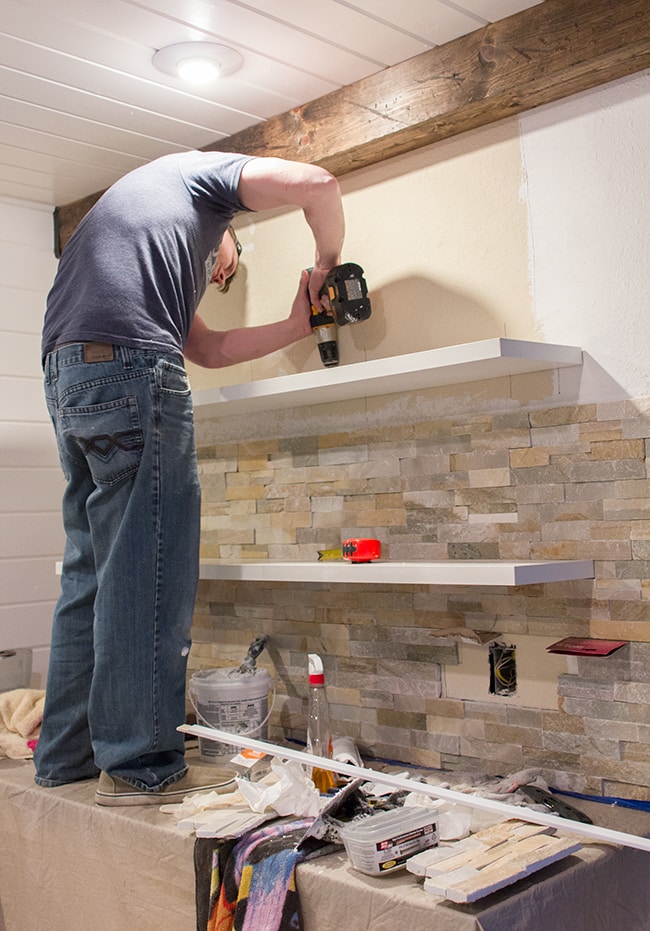
And it was about this time late on Saturday night that I started hating life and called it quits.
I should also take this moment to thank my husband for putting up with all of these projects I throw at him, especially lately. Renovation is not his passion or hobby, it’s mine, and he’d much rather be doing something else every weekend (and most nights). But he always agrees to help me and goes along with whatever new plan I throw at him (I think after three houses he’s finally trusting my vision!) So Brad, thank you, seriously, for everything <3
The next morning we came back (somewhat) refreshed, ready to finish the job. First we had to deal with a teeny angled slivered cut to fit under the second shelf…
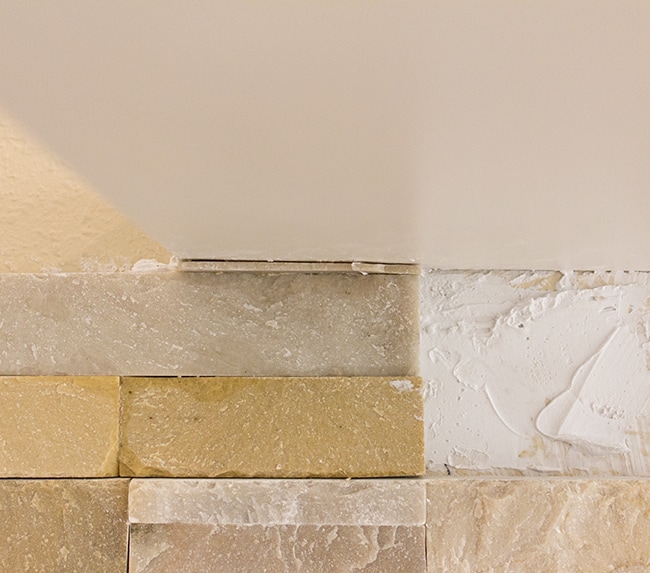
Stone likes to do its own thing and will just break off sometimes if it wants. We had fun trying to piece this one back together. There were several slivery cuts on the top half. Each time something cracked or chipped off or was cut wrong it was another $4 down the drain (stressful!)
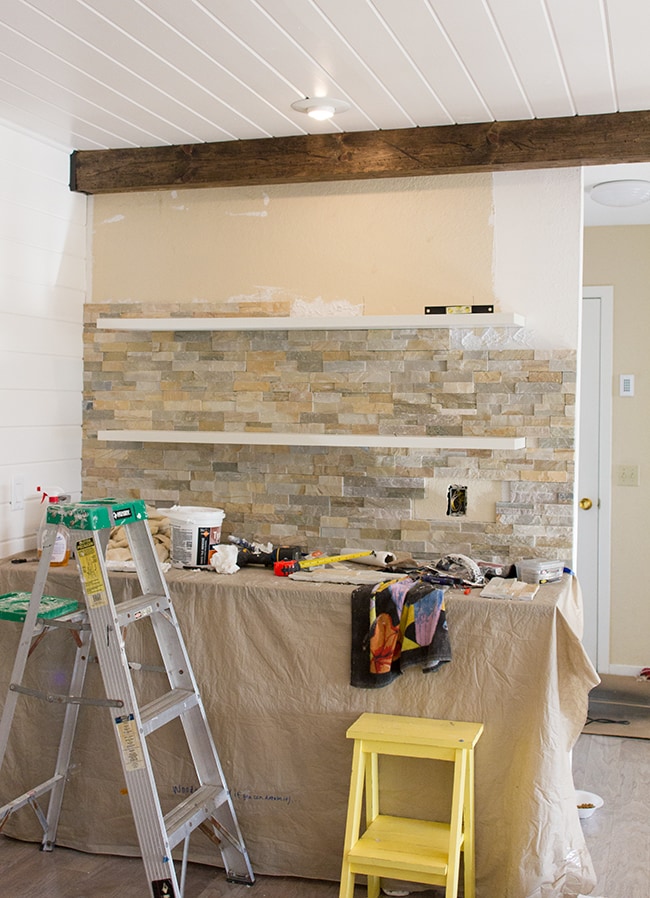
But we forged on and finally made it to the top…
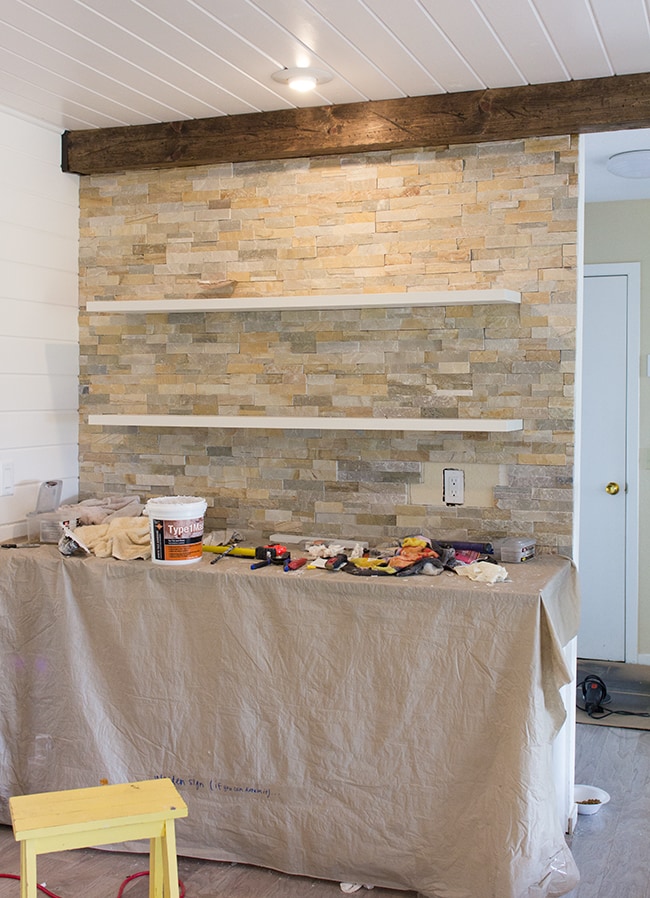
Hallelujah.
Now to deal with this outlet…
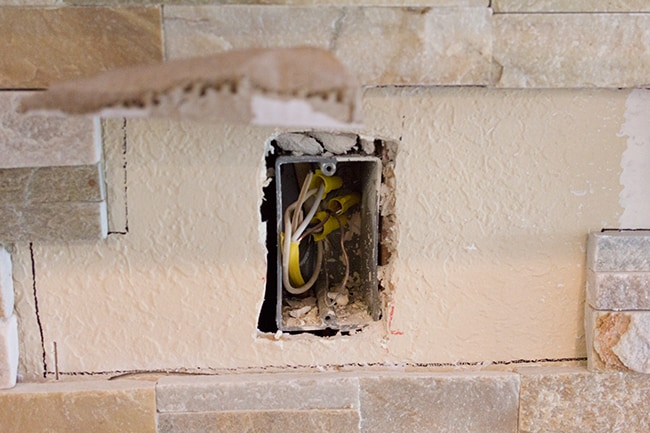
Both the receptacle and plate cover had to be recessed so the stone would sit flush. Brad cut the drywall out around the edge to do this.
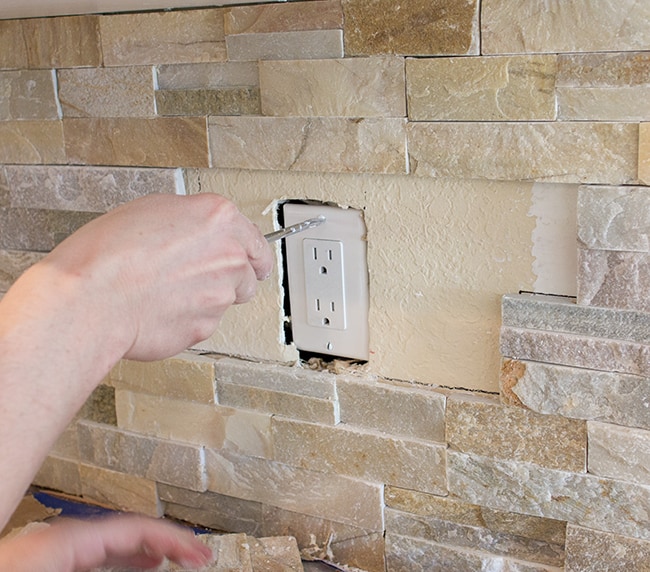
But that left us with a not very clean look, so we made a template using a jigsaw and a scrap piece of wood…
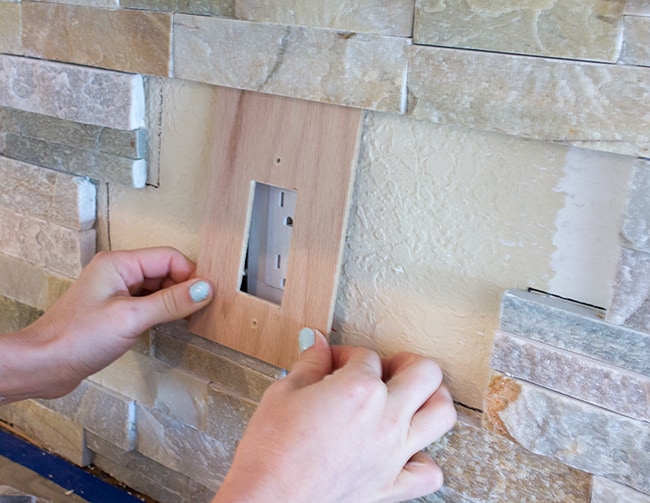
I painted it white and used mastic to adhere it to the wall, then cut my ledgestone into thirds, secured the two outside pieces around the outlet and caulked them in.
The center piece kept wanting to fall out, so we hot glued some velcro to the stone and the wood to keep it in place.
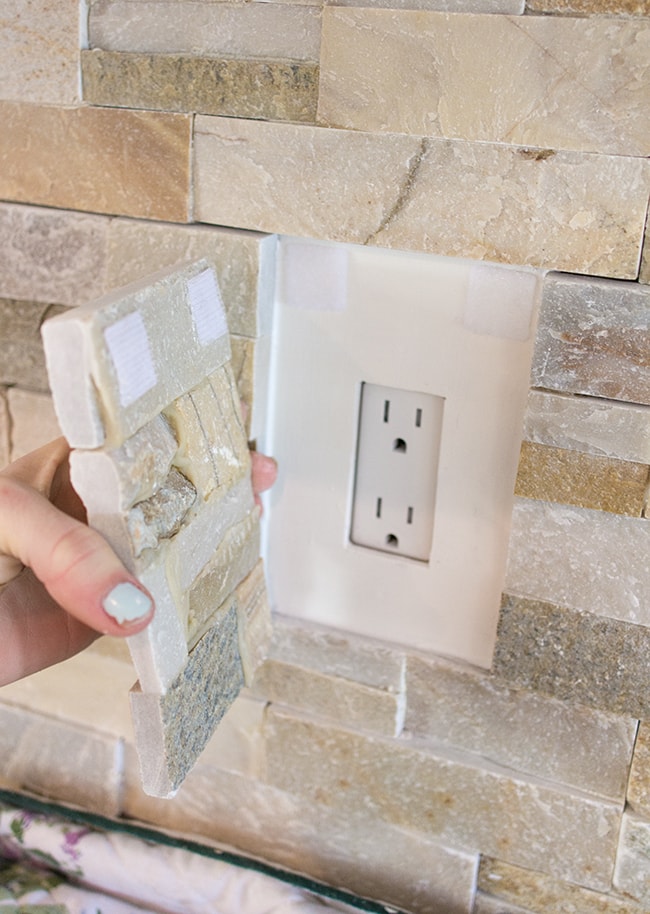
You can see it if you look closely, but that’s okay. Much better than a white square box!
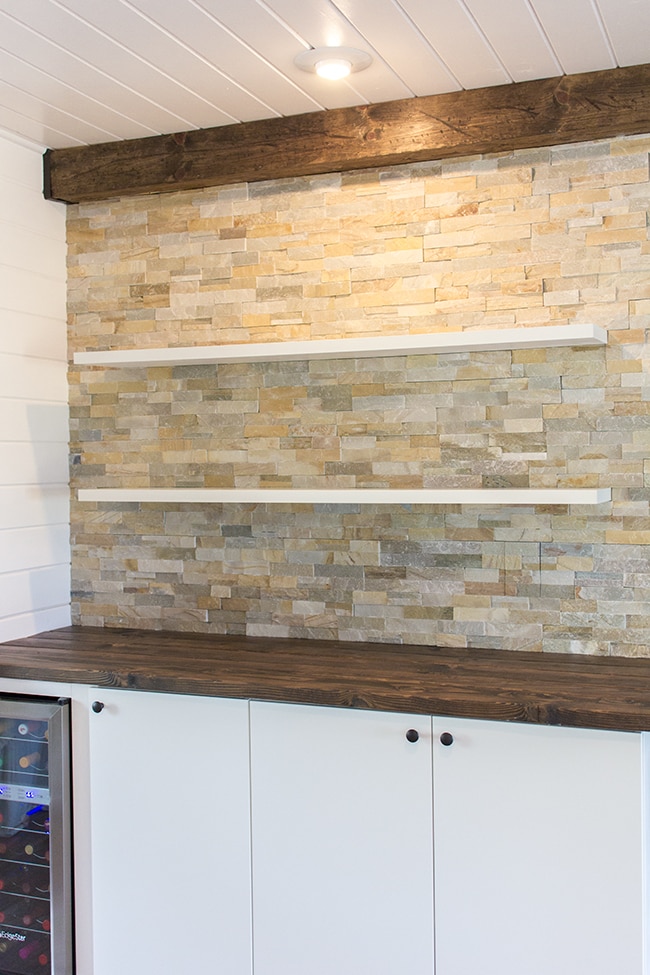
I’m not sure if I’m going to do anything to hide the edges. They really don’t bother me at this point, but depending on what I do with the wall on the opposite side (the foyer) I may add a trim piece to cover it. Thoughts?
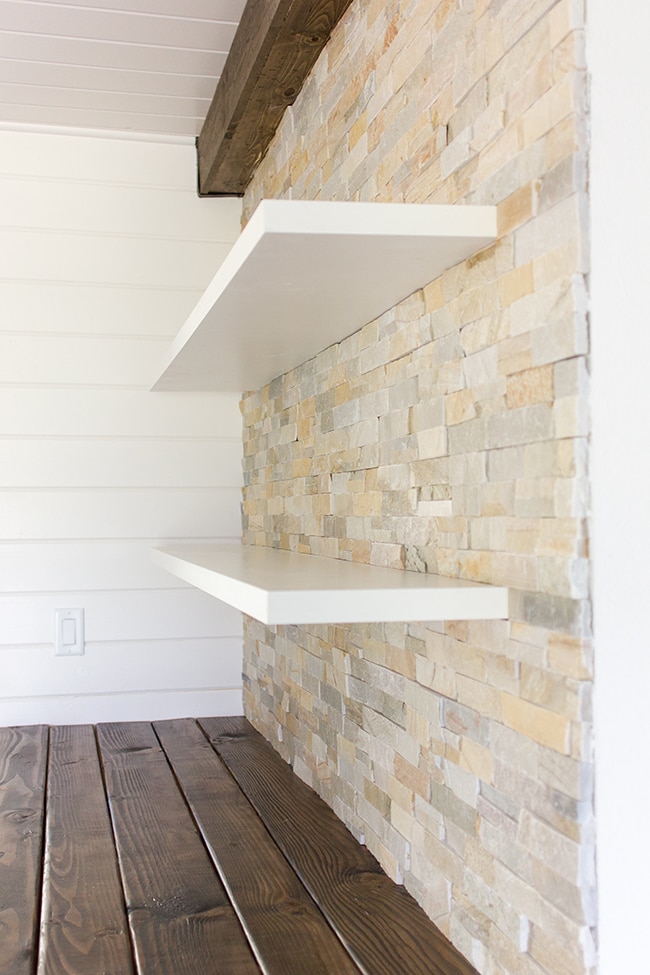
I love the warmth it brings to the room and that it breaks up all the gray. Once I get the jute rug in there, it should really tie it all together.
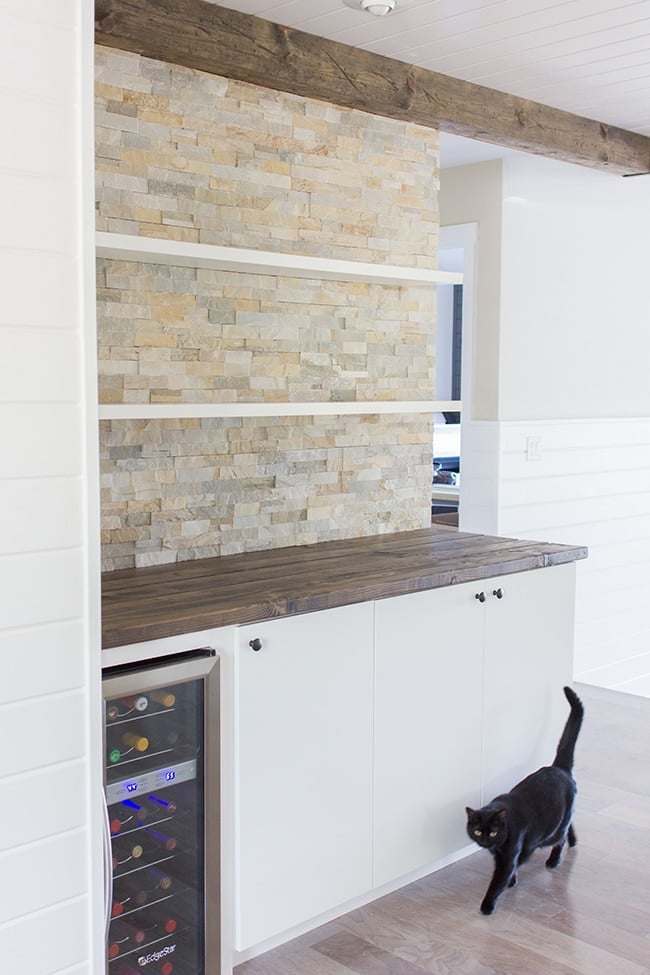
These shelves were begging to be accessorized, so of course as soon as I set down the camera I stocked it all up.
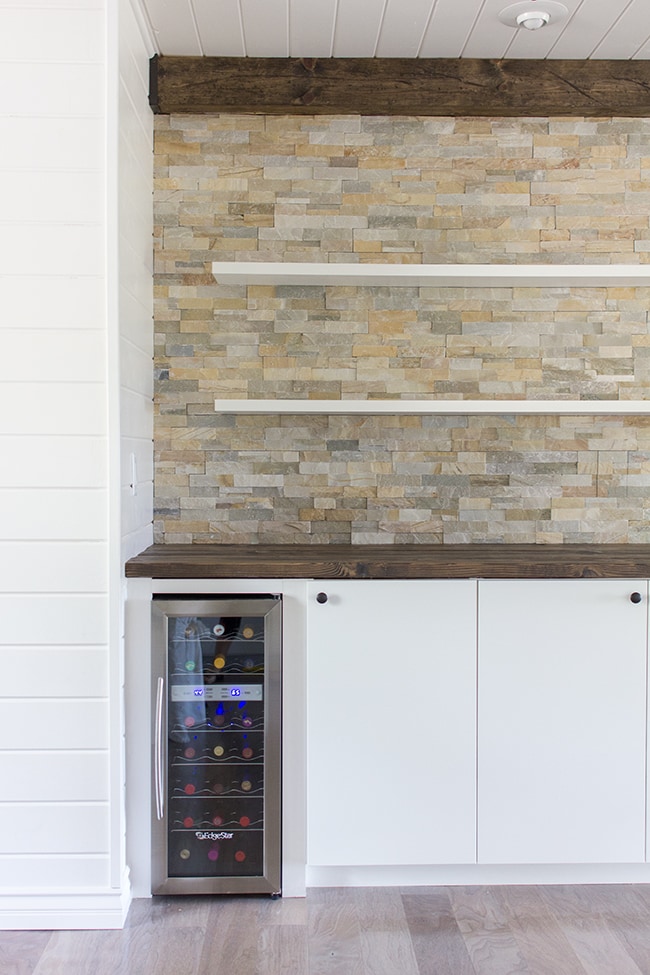
But you’ll have to wait until the final reveal to see what I did!
This week I’ll attempt to build more floating shelves for the backsplash wall. Check back in a few days to see how that turns out…




Jennifer says
Stone looks really beautiful.
The end result looks great 🙂
Sarah DR says
Perfect work on your wall, very impressive and it’s really a big make over. The floating shelves are a perfect match too. Congrations and I love it so much!
Jenna Sue says
Love it! 🙂
Jedi Mama says
I found your blog, quite by accident, a couple of weeks ago. I just want you to know that you have caused a great delay in the productivity at my own house, because I keep saying, “I'll just peek at a couple more of that girl's posts!” I've taken your house tours, and I decided that your Florida home could very well be one of my favorite houses, as far as decor and style goes, of ever. But then I've seen what you have done in this new house… WITH THOSE GRAY CABINETS AND THAT SUBWAY TILE WALL… and I swooned with all the love. So now your new house is my favorite house in Blog Land. I think I need to invite you over for coffee (It'll take a few tanks of gas for you to get here… or you could just have a package of peanuts and fly, if that's easier on you.). We'll sip nothing but the very best (Starbucks) at my dining room table, and then… when coffee time is over… I just know that you'll push your chair back and say, “Alright. Let's redecorate YOUR house, because how are you living with this ugly rug in your living room? And whatever made you think that these throw pillows on your sofa were stylish when you bought them at Walmart? And let me just pick out a few things for you to buy…” I'll take ALL of your decorating advice, because decorating has never, ever been my spiritual gift. No… I think MY spiritual gift is more “I Can Drink Copious Amounts of Chai Tea at Starbucks.” Anyway… I really want to stand up and shout out, “Well played! Well played!” while I clap ridiculously loud, because your new kitchen and bar and tile and stone are AH-STINKING-MAZING!!!! Great job!
TheKimSix Fix says
I love that stacked stone with a firey burning passion! It is so beautiful!
Deb says
You guys never cease to amaze me! Looks fantastic…
Katie {Little House of Four} says
As always…It's looks amazing!
Amy says
Love the transformation! You guys are such an inspiration! 🙂
Lisa @ Fern Creek Cottage says
What a transformation!! It is beautiful!
Heidi says
Seriously, my jaw dropped. Absolutely stunning. I can't wait to see how you stocked those shelves.
https://jax-and-jewels.blogspot.com
Valerie says
This blog is my favorite. I love watching this house come together! It's beautiful!
Jill says
Jenna Sue! I discovered you about 7 months ago because of my love of maps and I've been watching you fix up your CA house. It looks great! You have fabulous style. 🙂 Keep up the good work! The bar wall is just beautiful and the colors are incredible. You're inspiring this busy working mom of three to make some changes!
Inês Figueiredo says
Simply beautifull! Congrats