Today I have a brand new mini-makeover to start the new year. Remember the Twin Bedroom we finished in November?
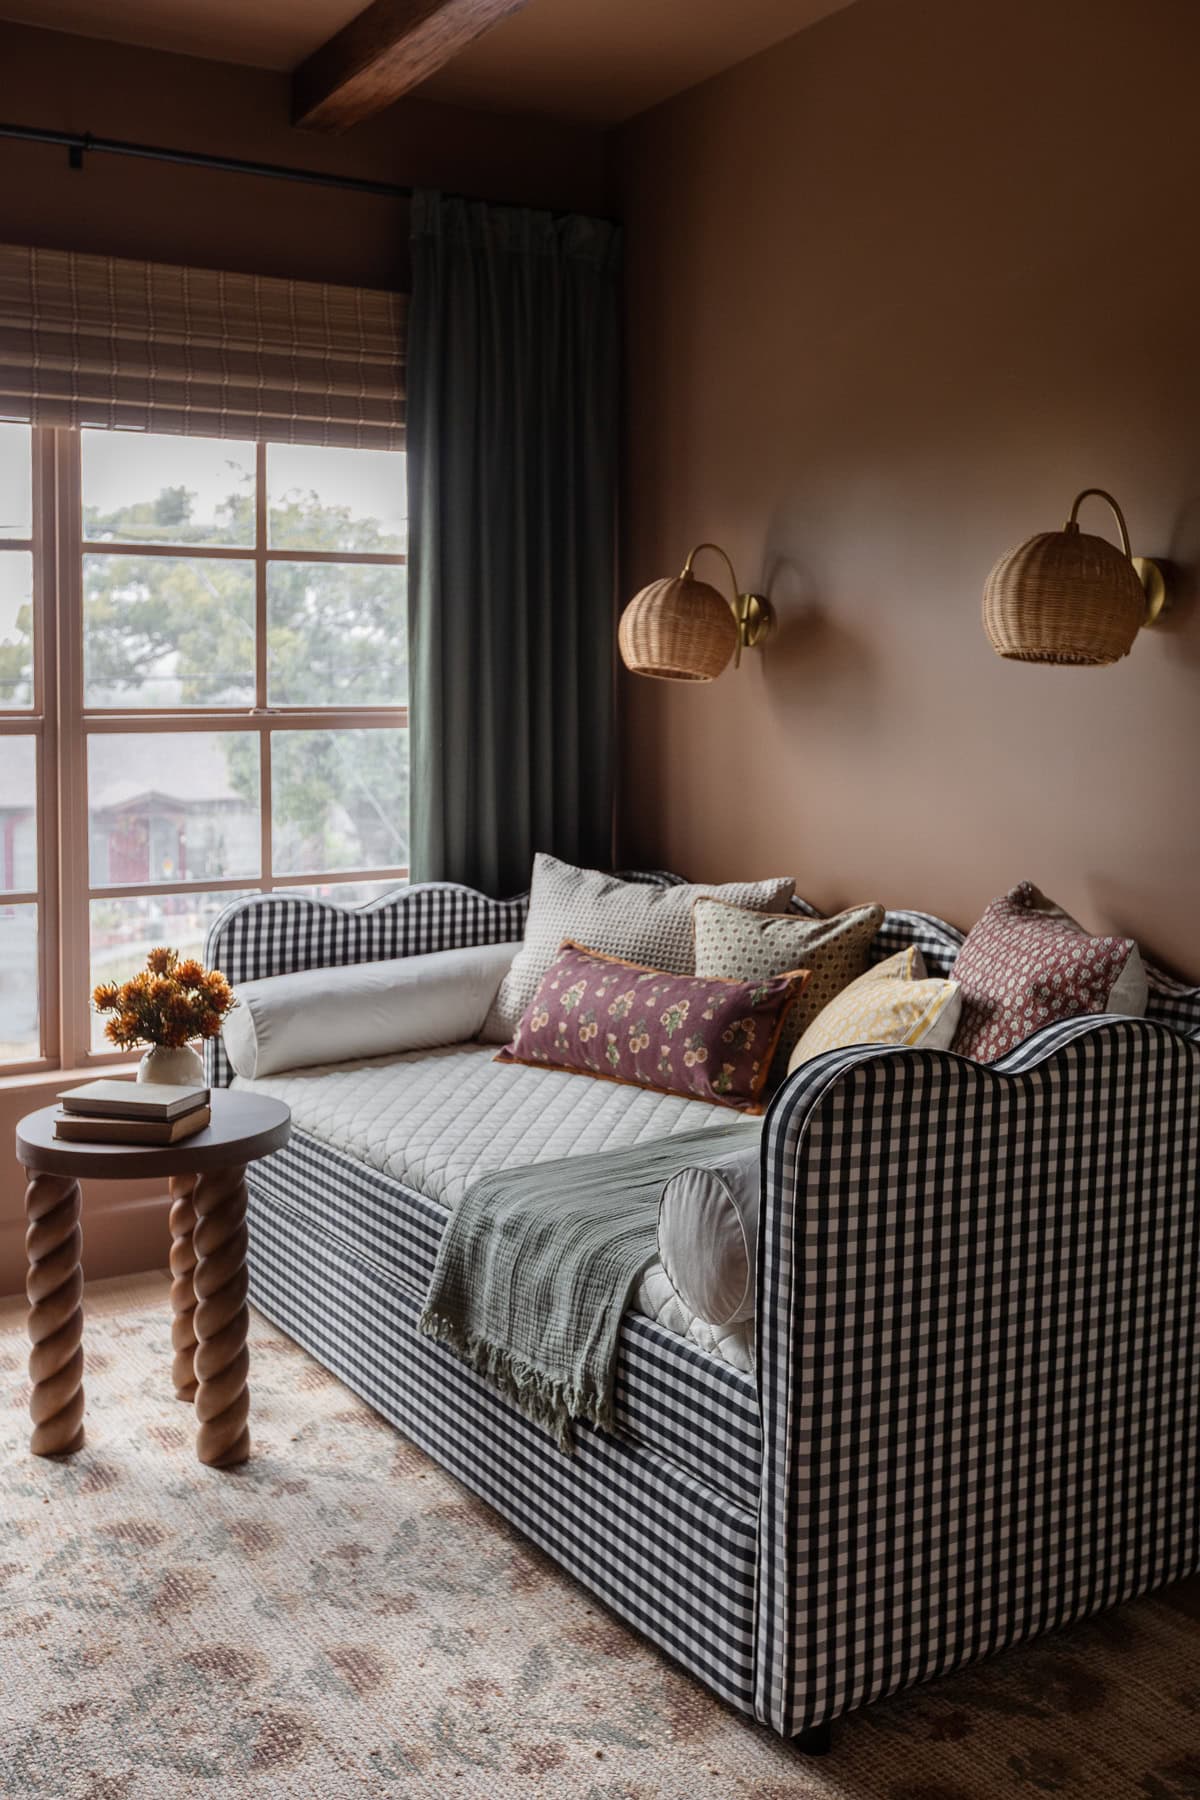
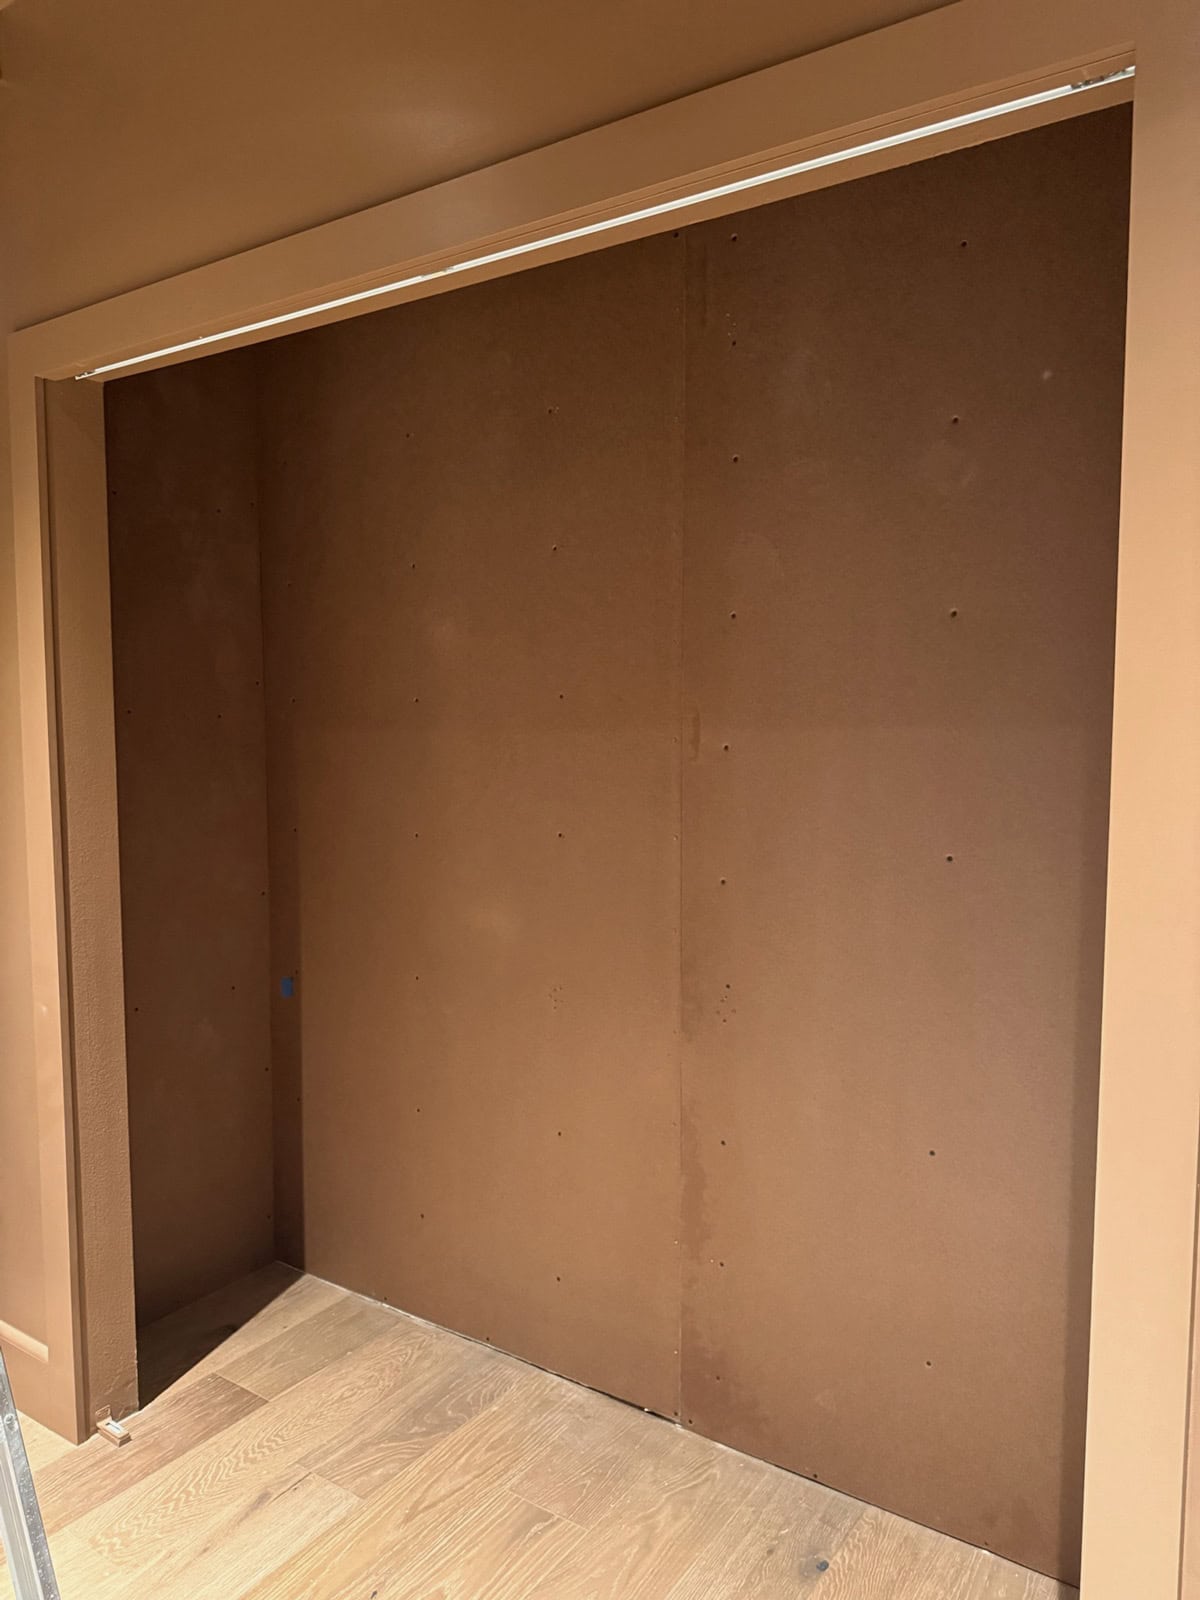
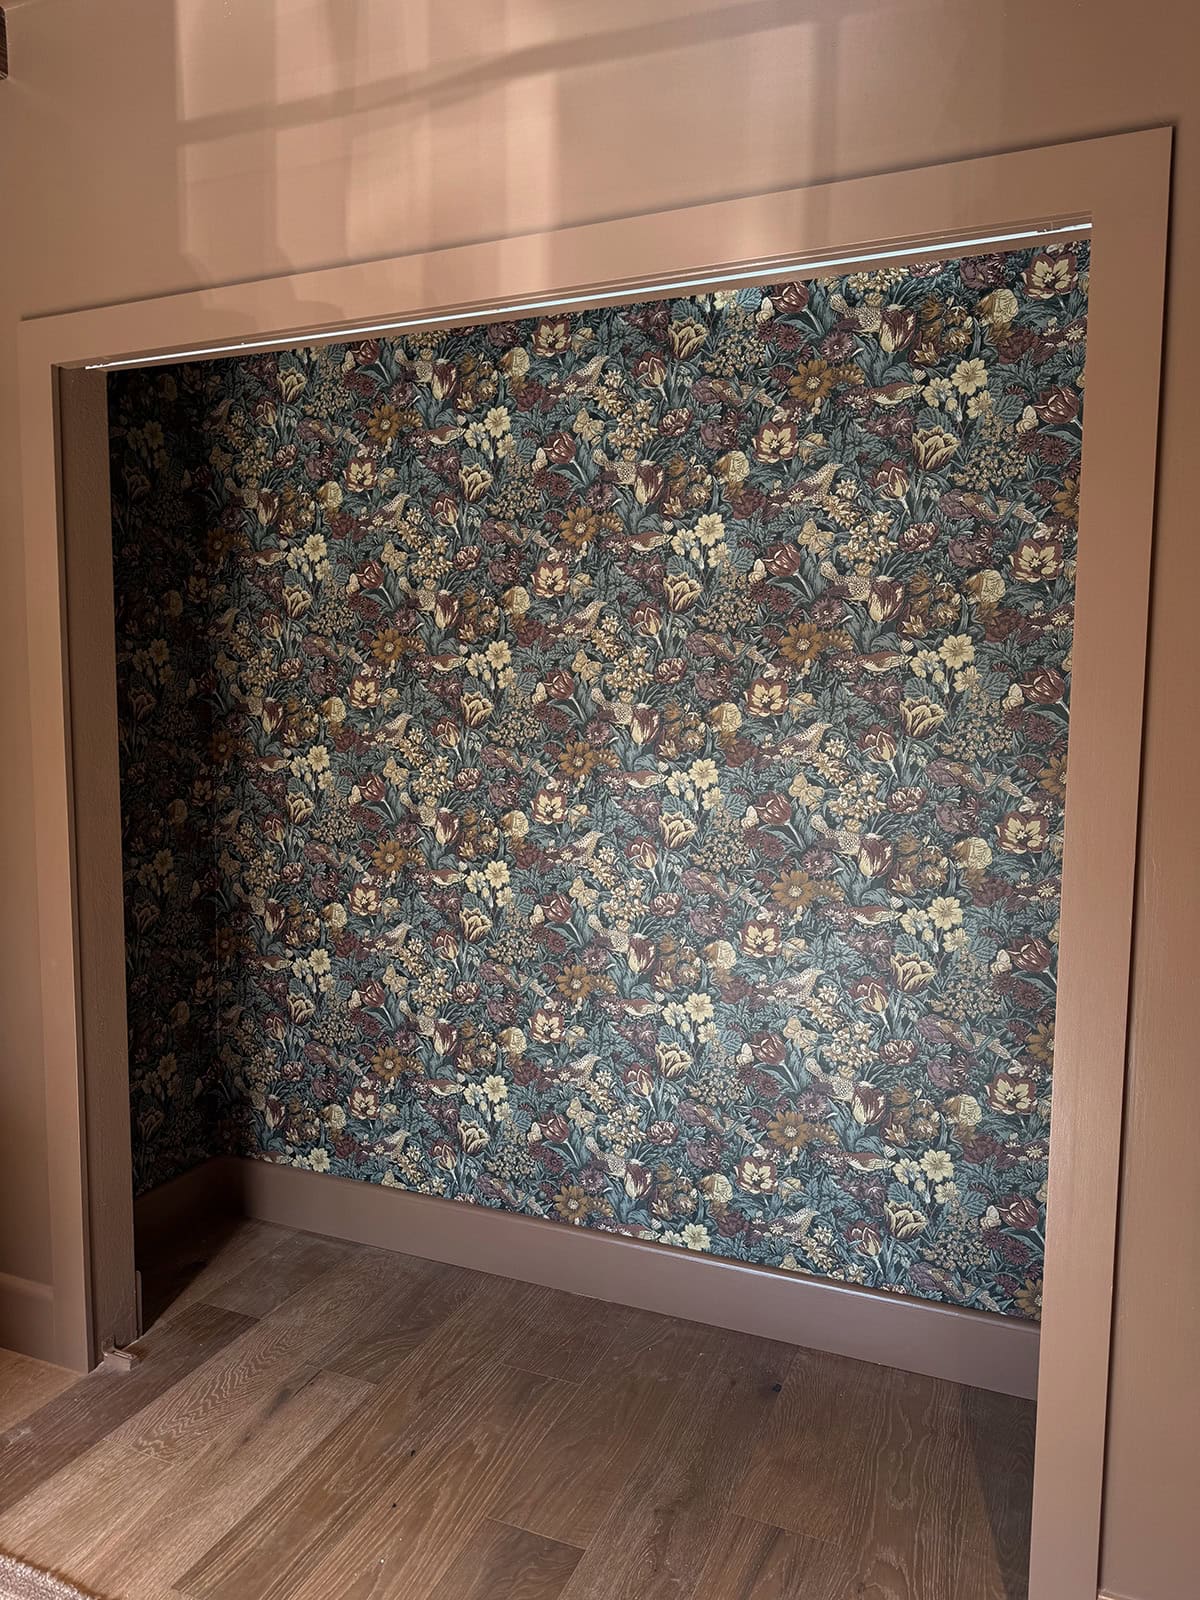
Well, it was really only 90% finished, because we hadn’t addressed the closet. Here’s what we were working with:
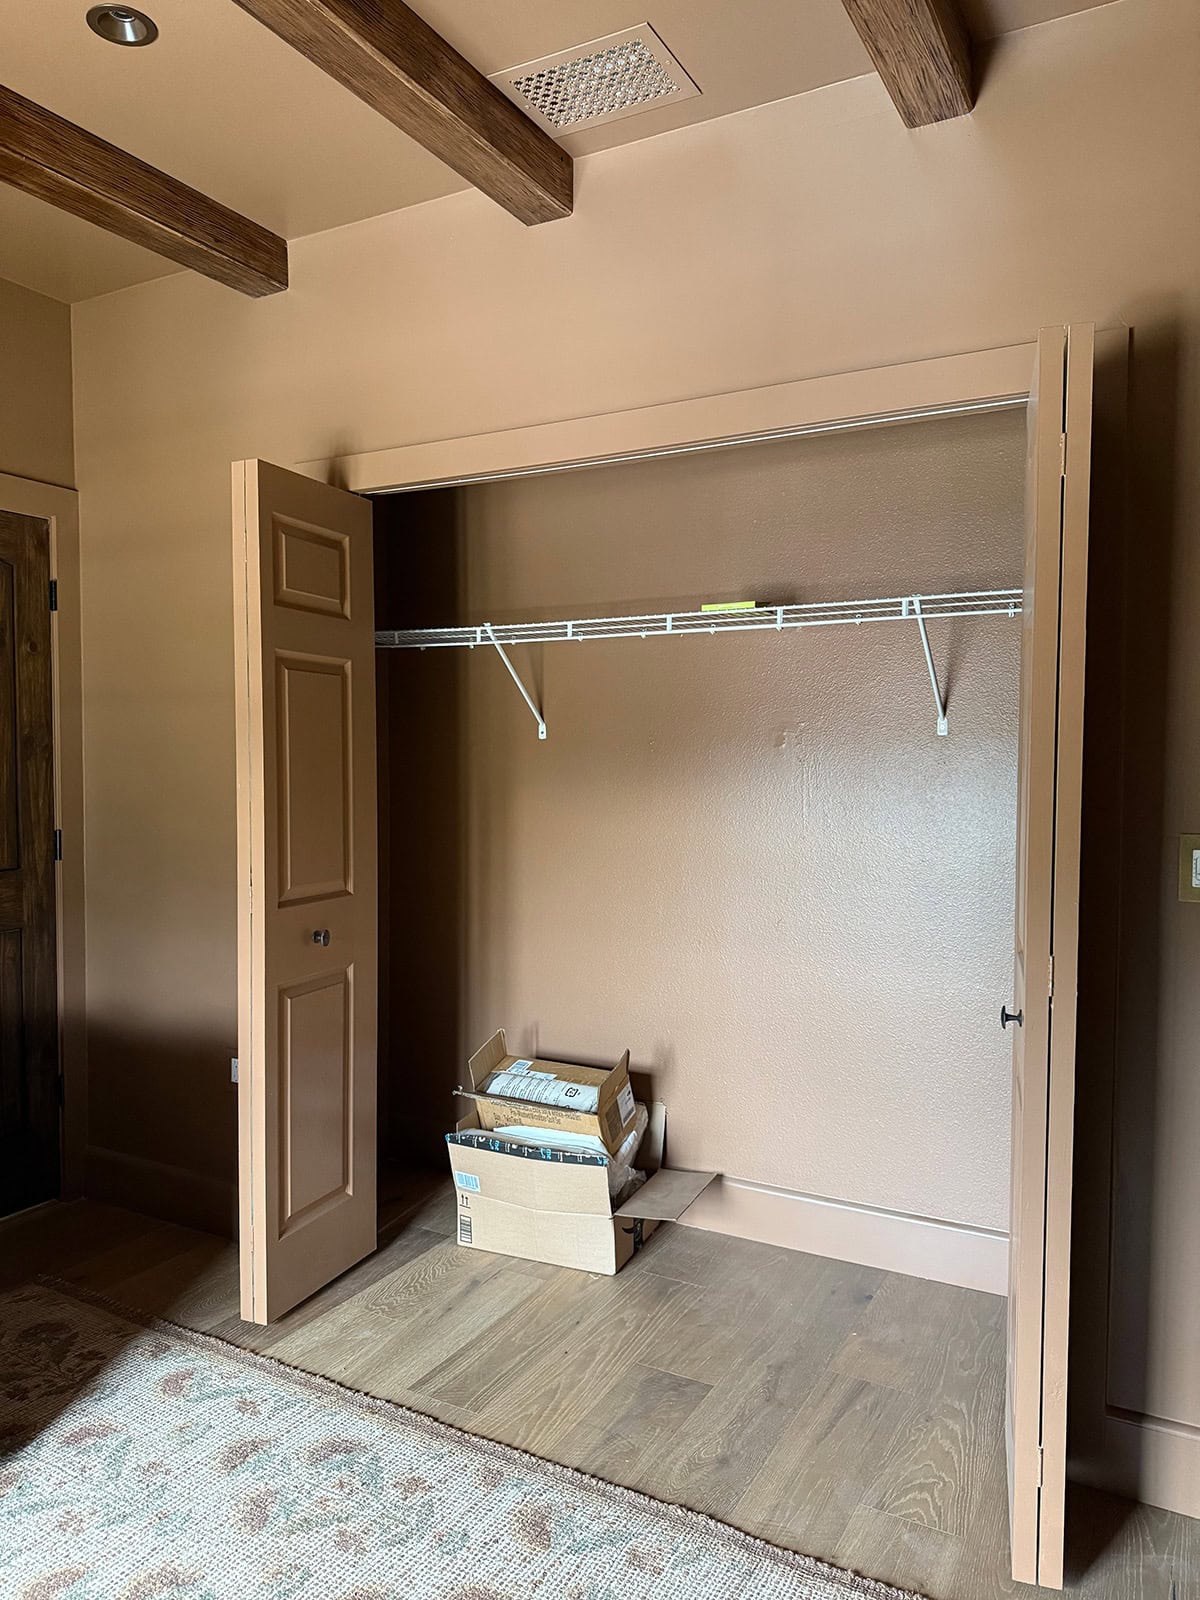
We painted everything the wall color (BM Maplewood) because I wasn’t sure what I wanted to do with the space yet (which was a mistake in hindsight, more on that in a sec).
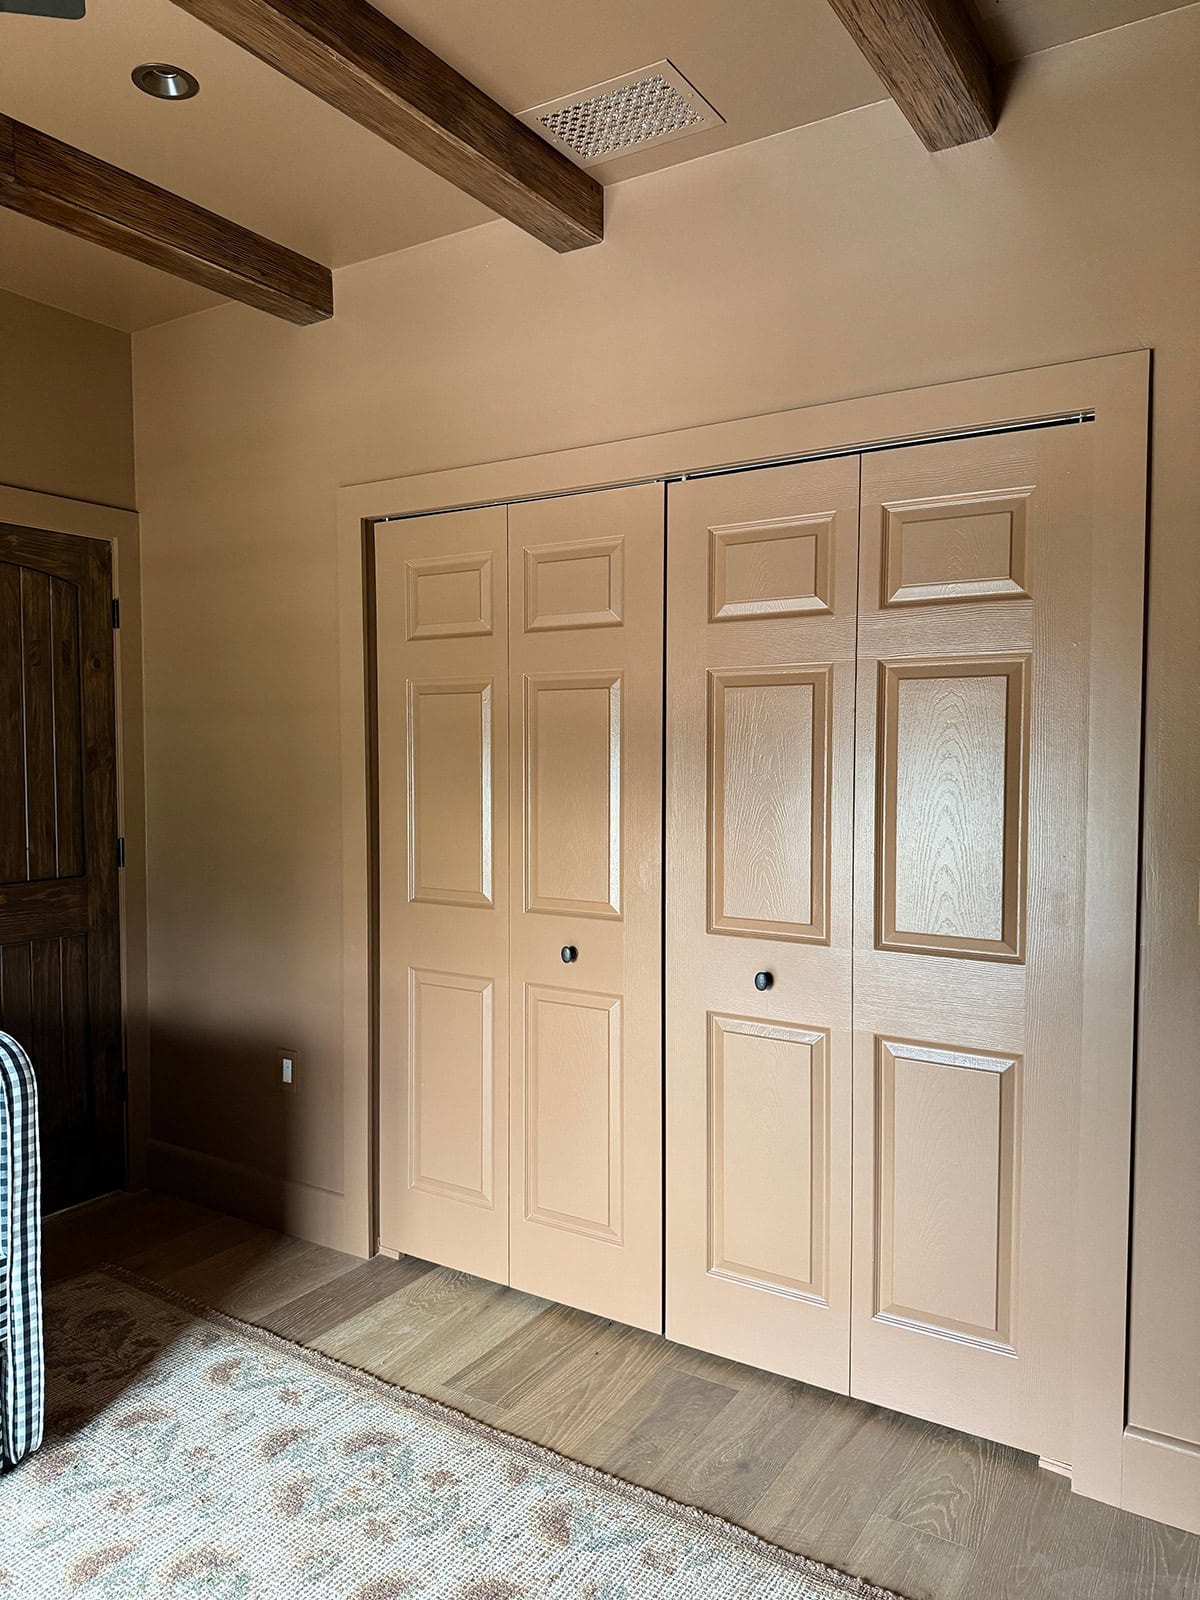
The original doors were passable after color drenching, but there was room for improvement. The rest of the room is so special, I felt the closet deserved the same treatment (and most importantly, storage!)
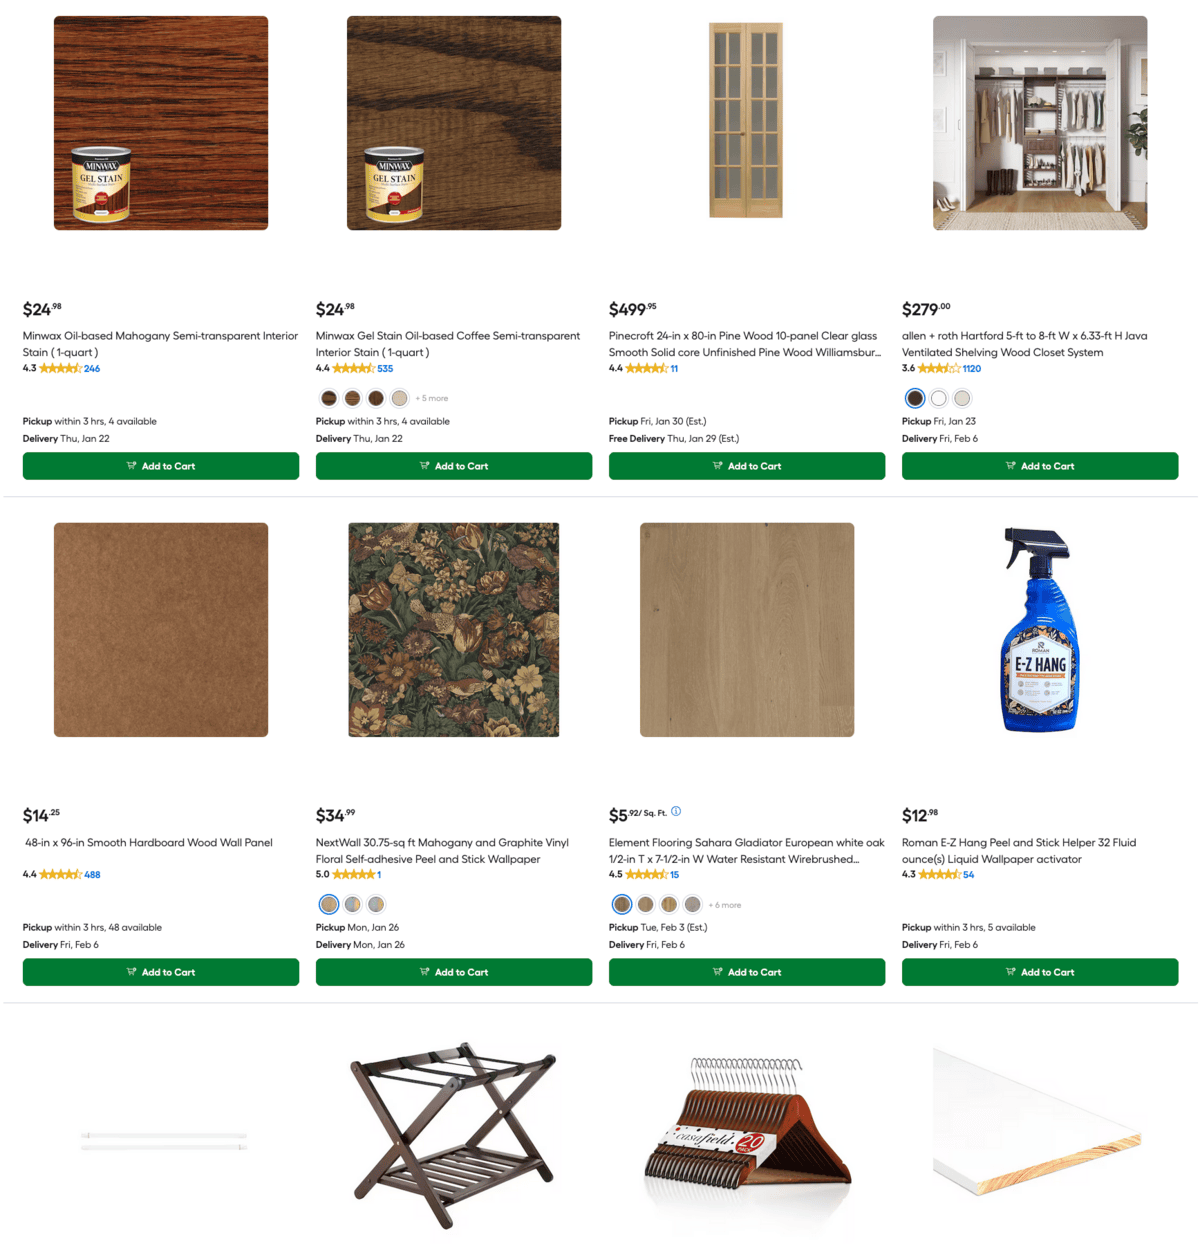
Here’s the plan I came up with (tap to shop all the materials):
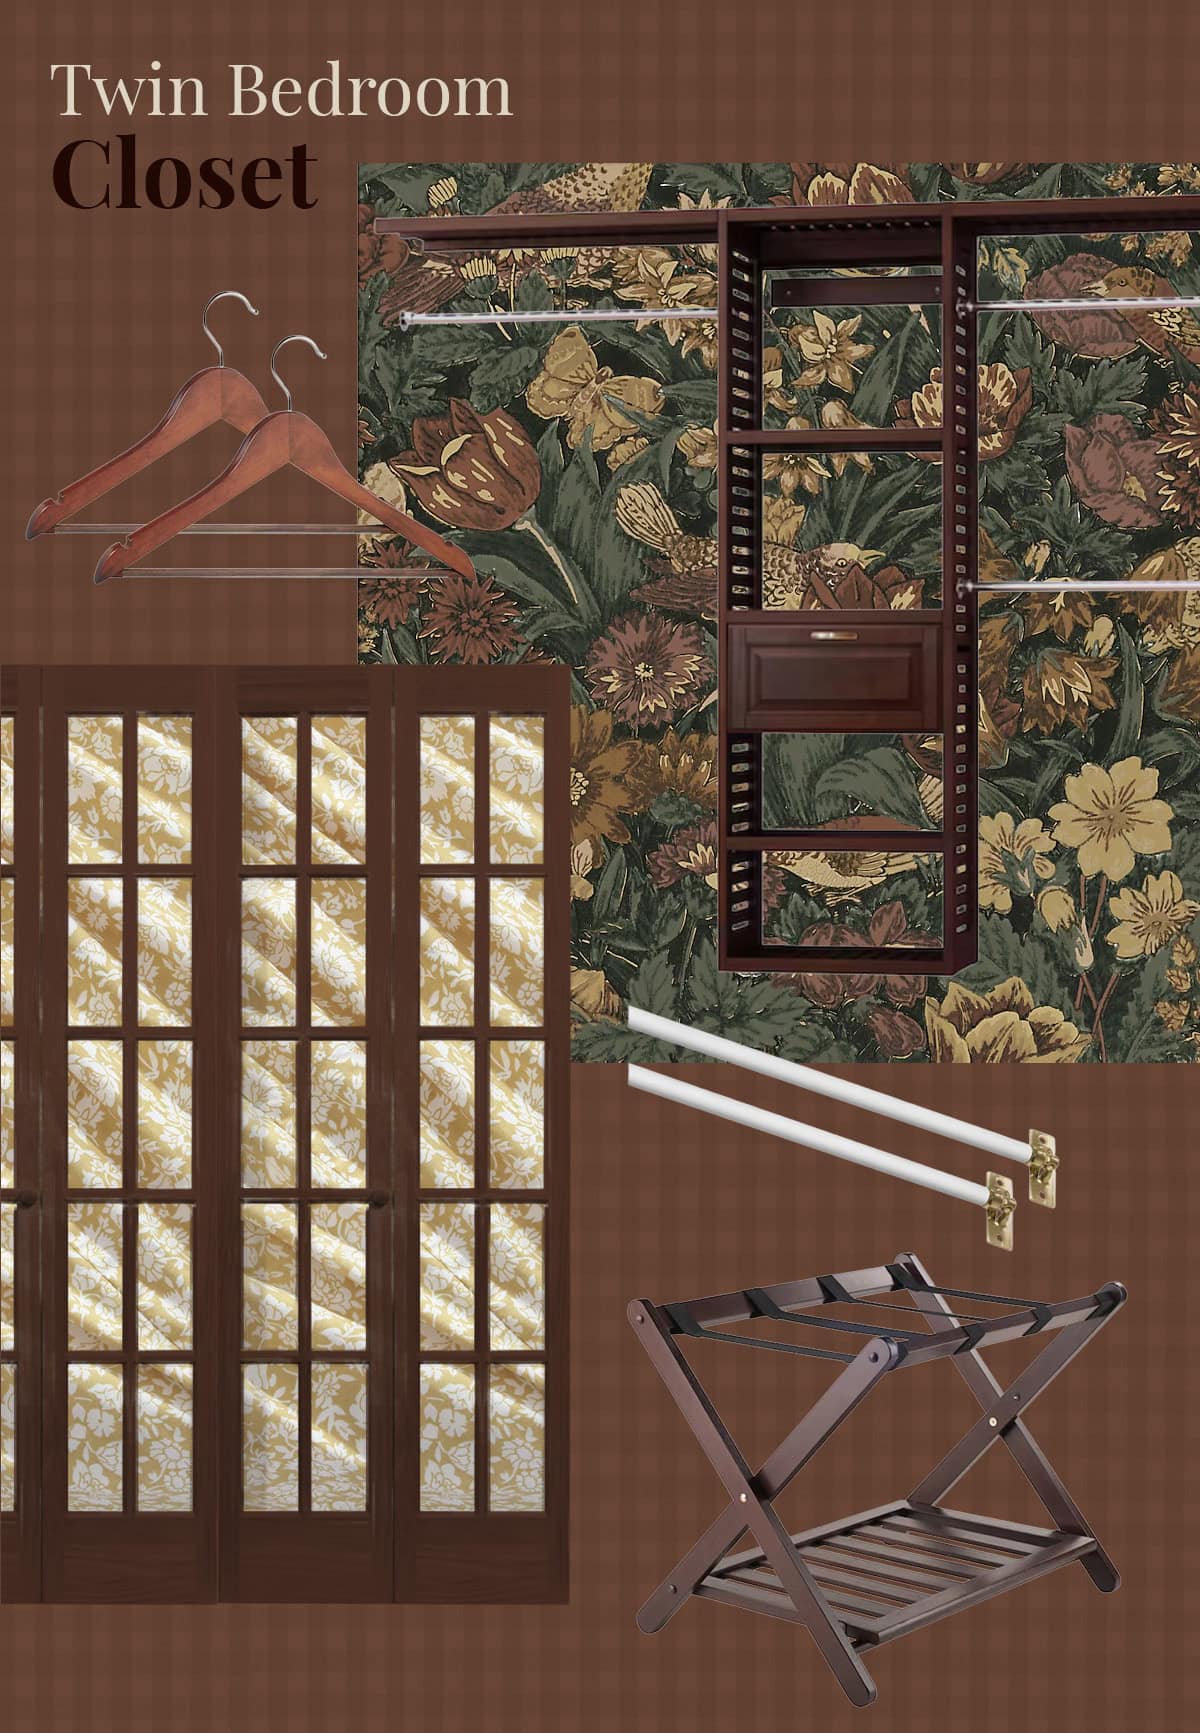
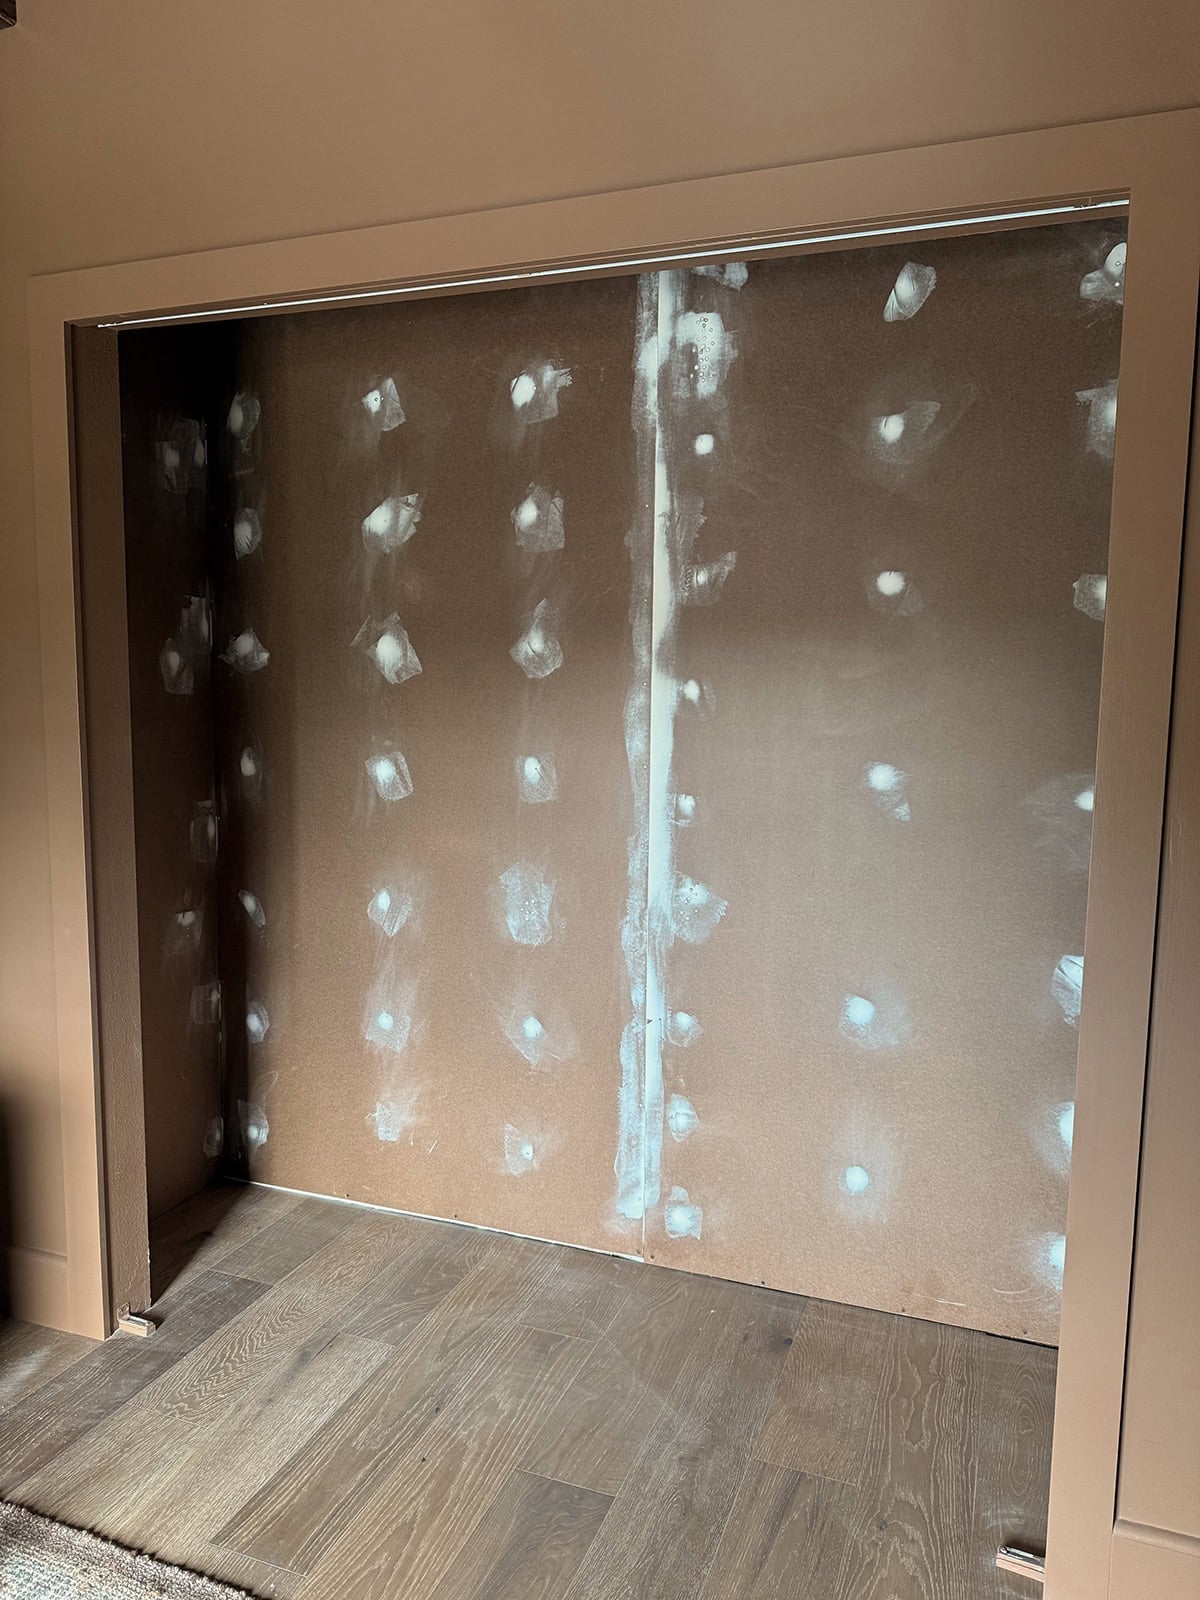
I collaborated with Lowe’s on this project, and was able to easily source everything I needed to bring my vision to life. A moody floral wallpaper was the main character, which meant the heavily textured walls needed to be smoothed out for install. Skim coating would be the easiest solution, but sanding drywall mud makes a huge mess and the bedroom was already furnished… so plan B it was:
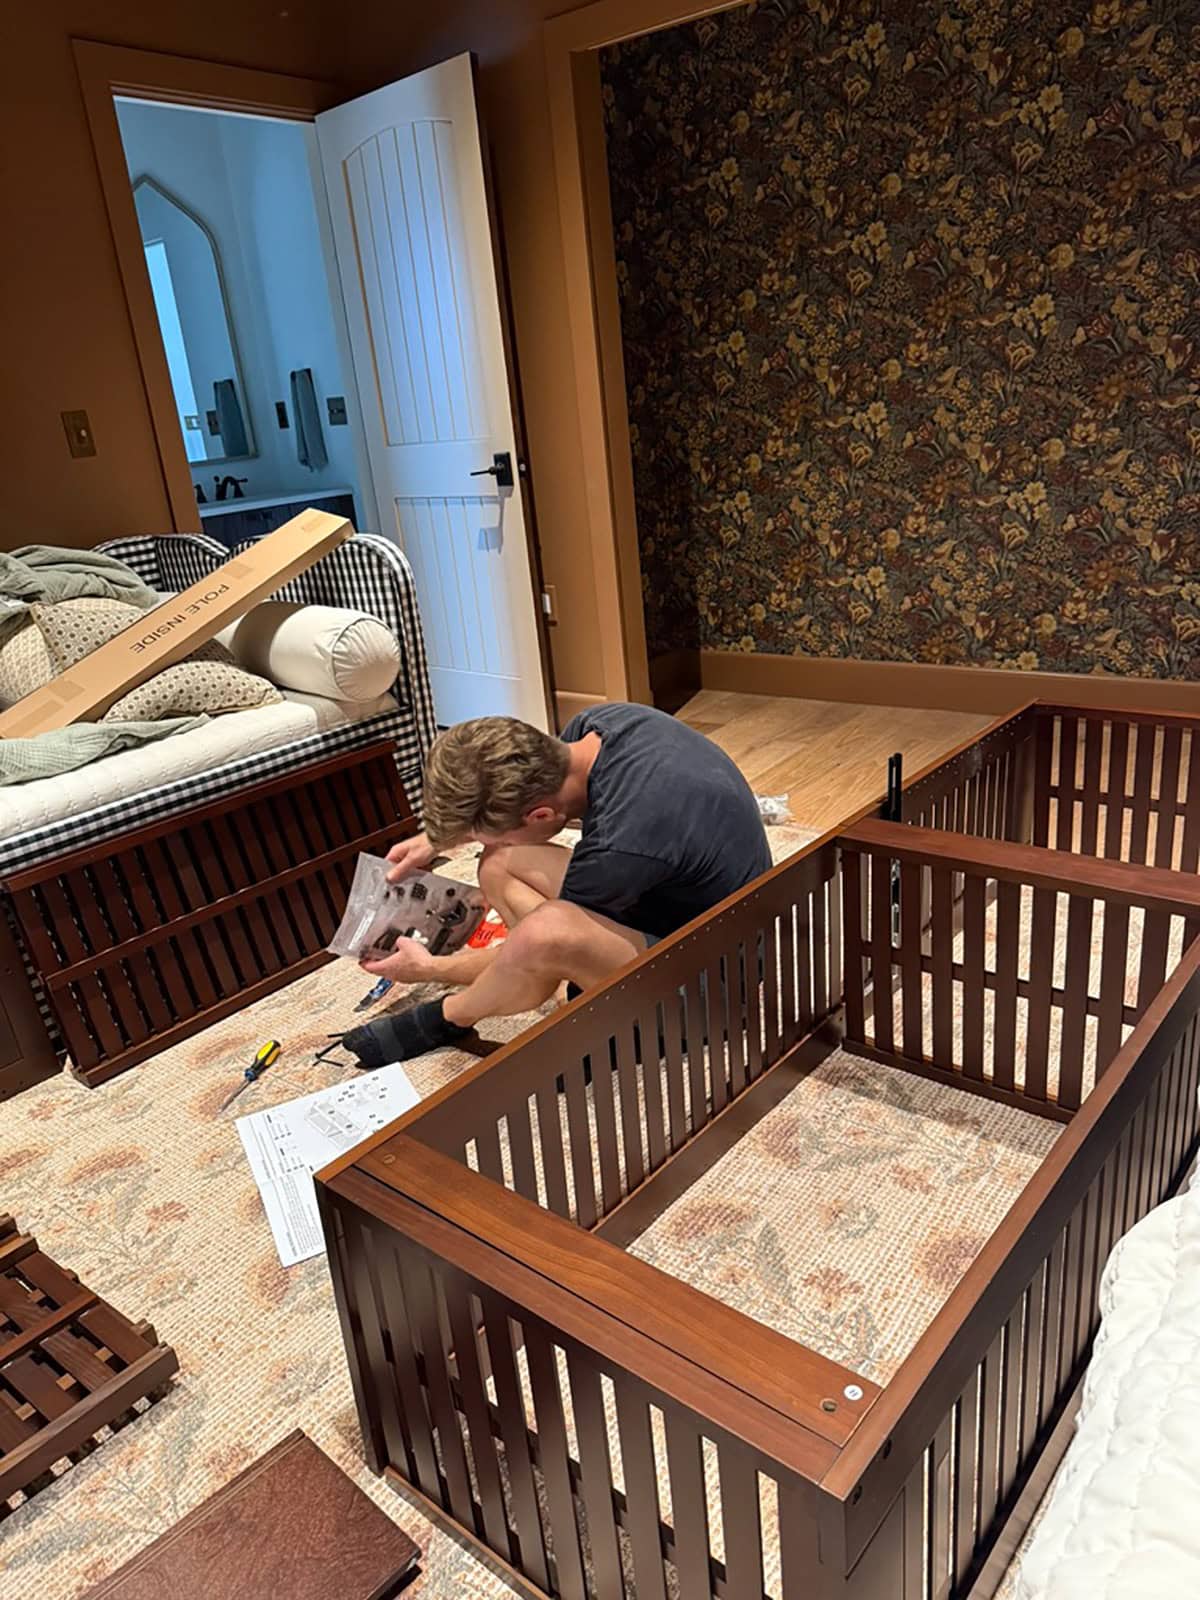
Lucas covered the drywall with thin hardboard panels. There were some mysterious missing studs behind the wall and this step took longer than it should have, but he eventually got there.
With the walls prepped and ready, it was time to wallpaper. This paper was love at first sight—the floral motif and color palette were a match made in heaven with the rest of the room. The only thing I didn’t love was that it’s peel and stick, which is notoriously tricky to install.
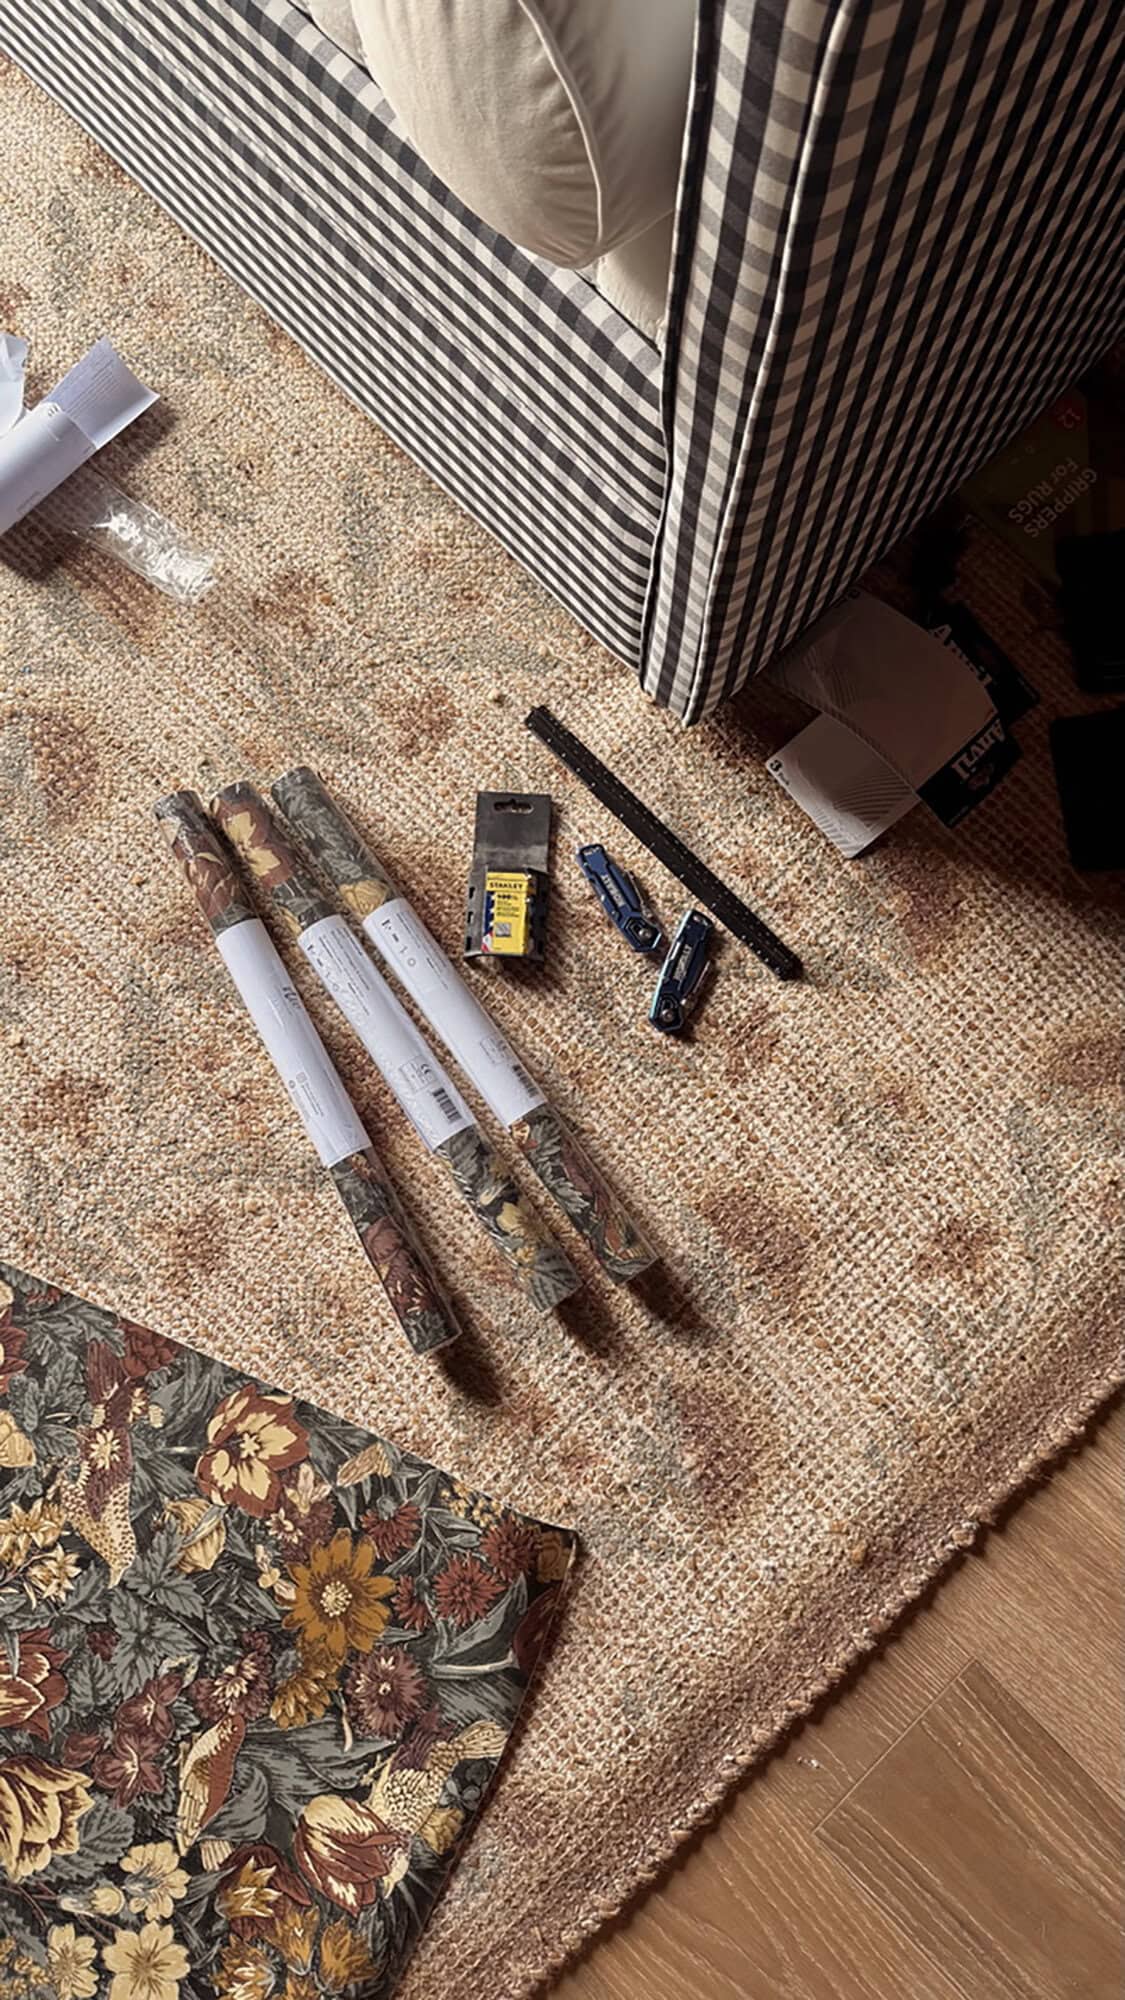
After a bit of research, I found an activator spray that works as an adhesive, allowing you to position the wallpaper just like traditional paste. Fortunately, it worked! I’ll never hang peel and stick without this stuff again.
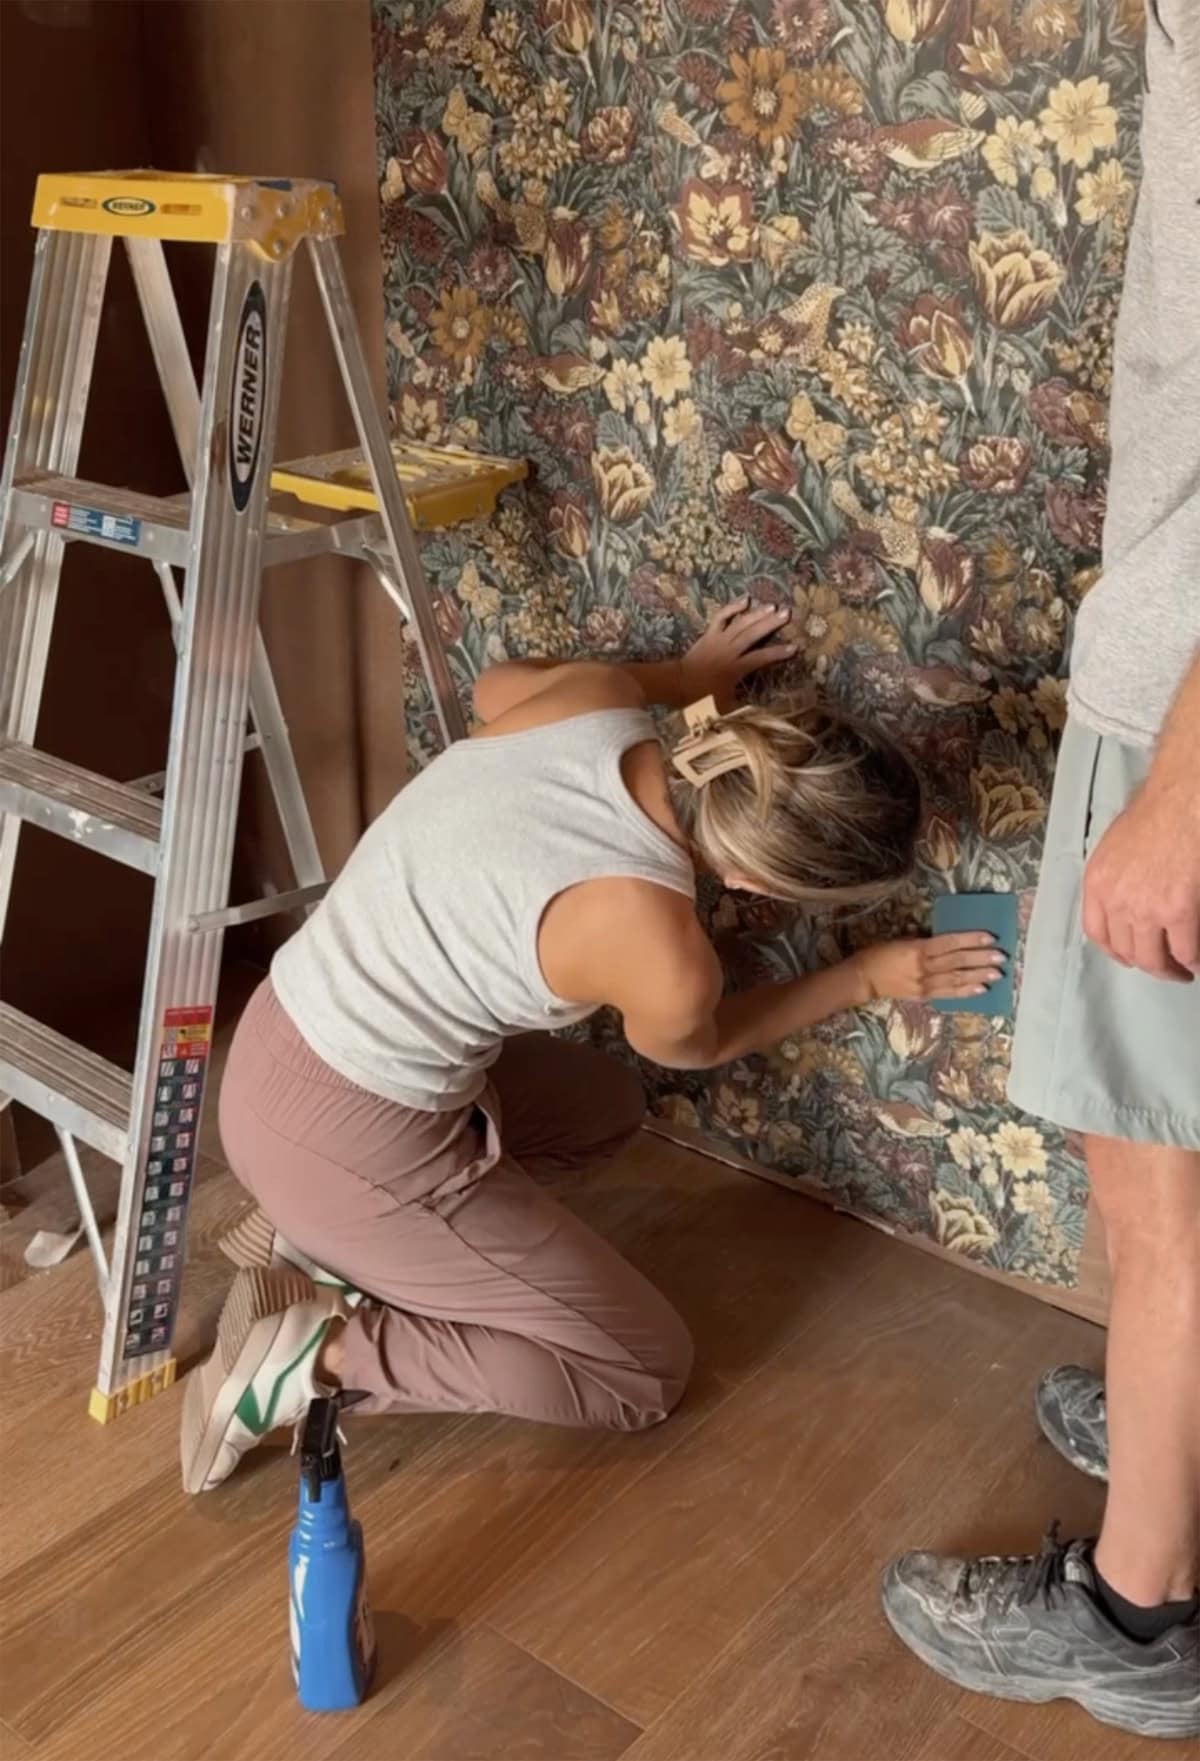
We were a little short on material, but this pattern is super forgiving and we were able to patch a couple empty spots seamlessly. No one will ever be able to tell!
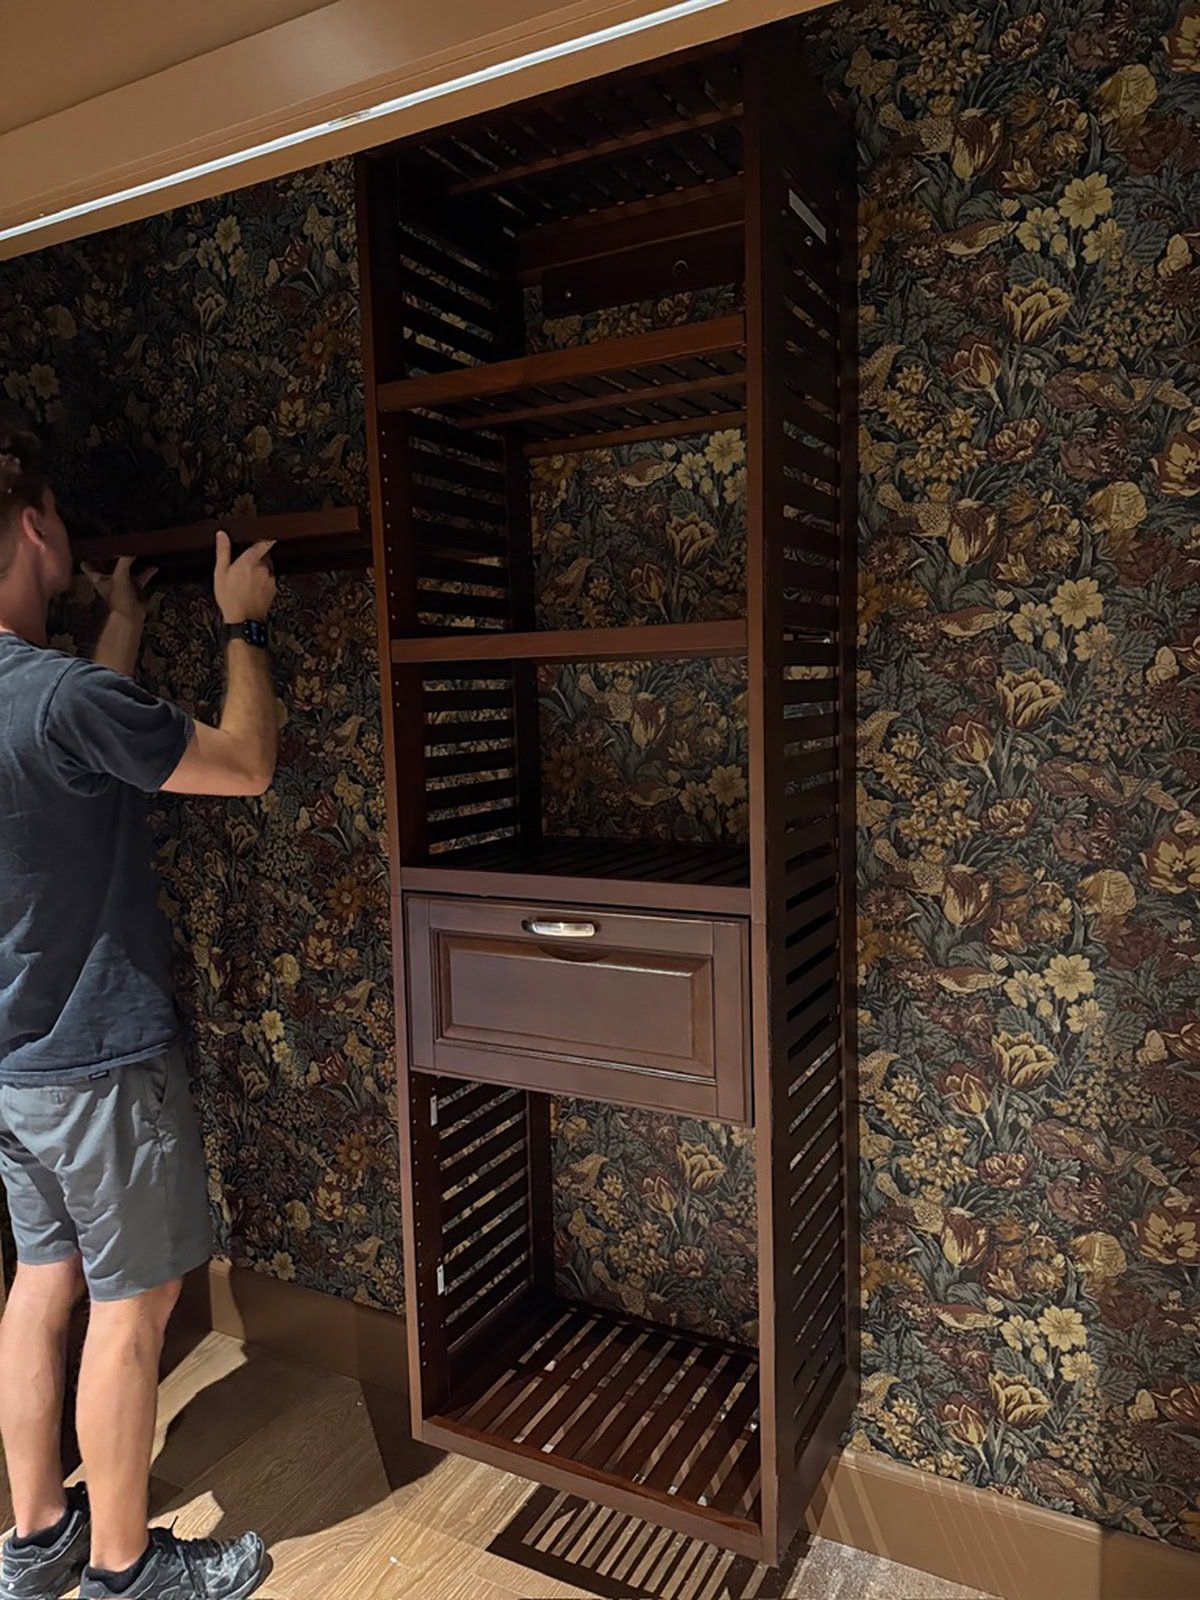
With the hardest part out of the way, it was time to add storage.
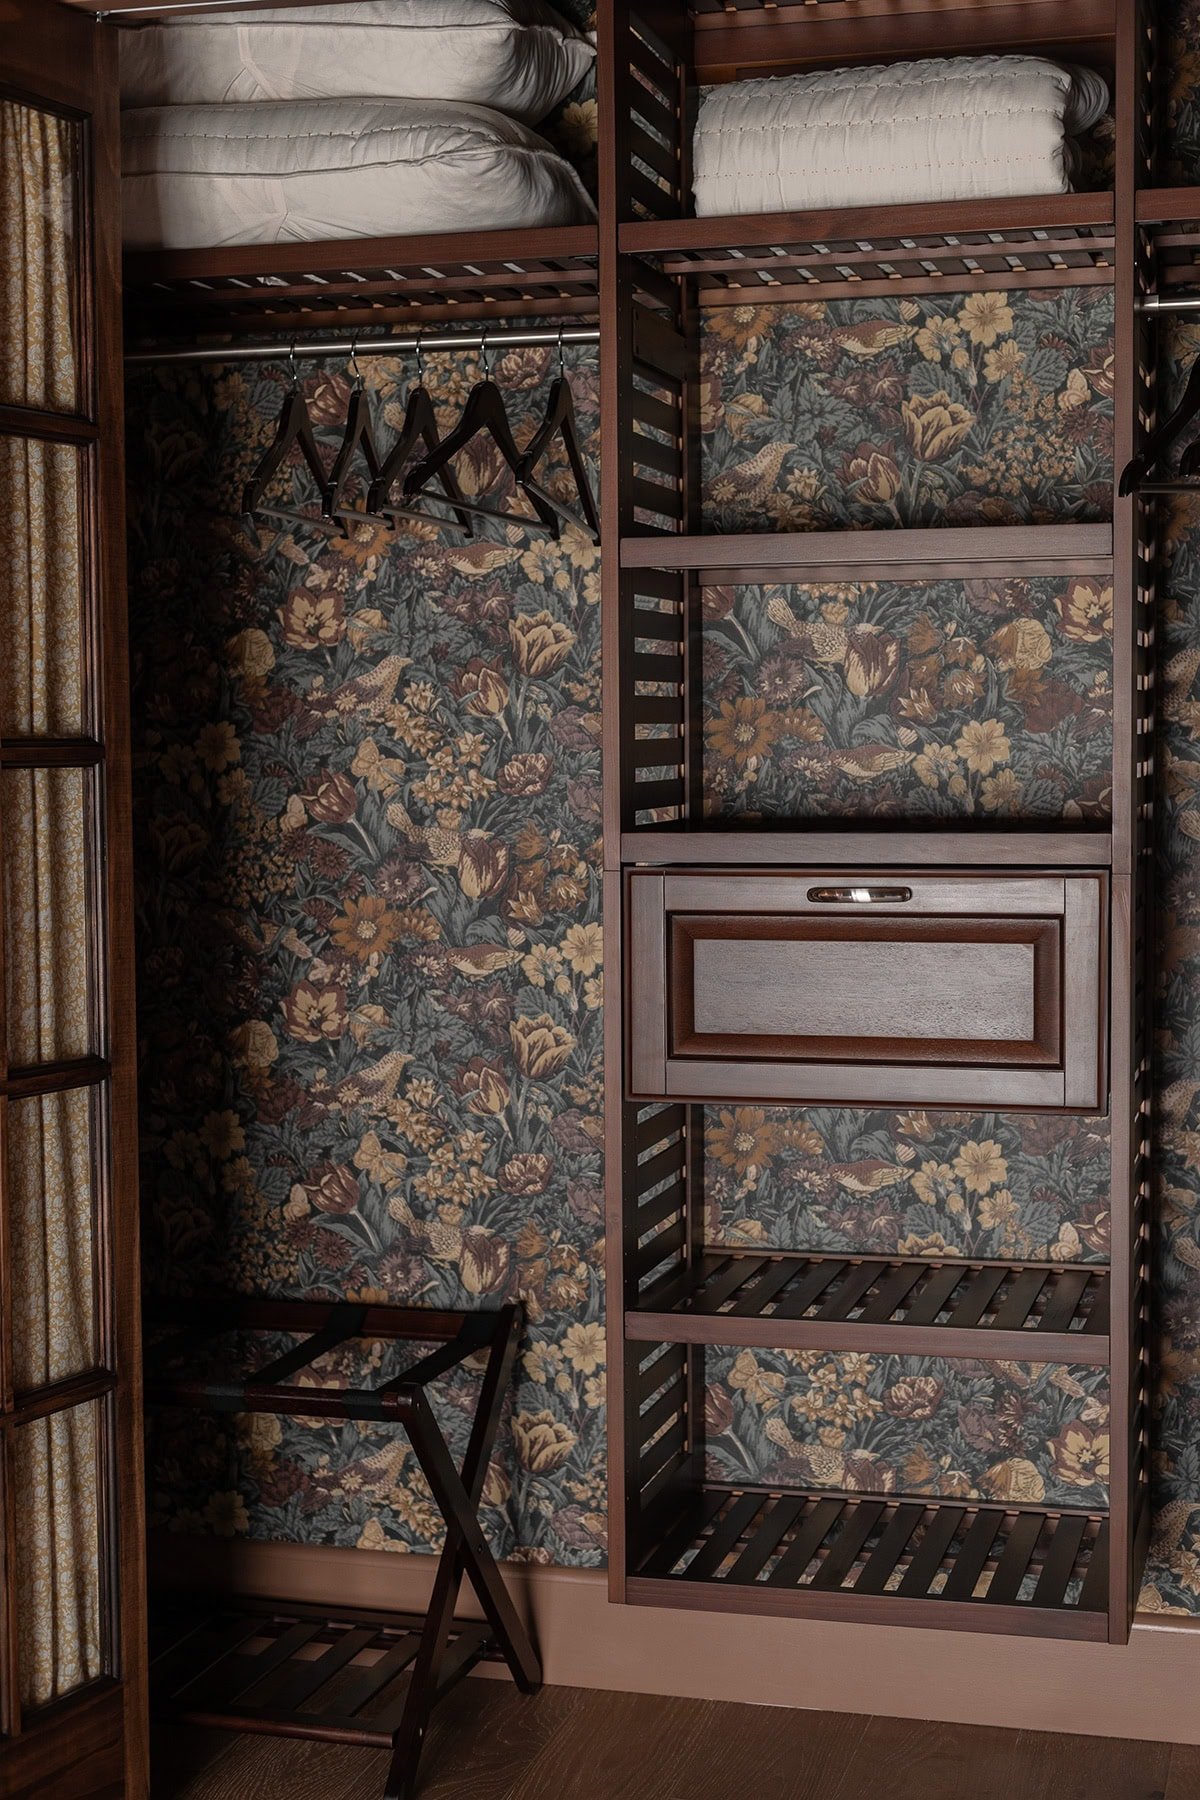
I found this affordable 8′ wood closet system which can be fully customized to fit your needs. Since this is a guest room with four beds, we mostly needed open shelving for extra pillows and bedding, and I bought an additional shelf. That rich wood tone and wallpaper are a match made in heaven.
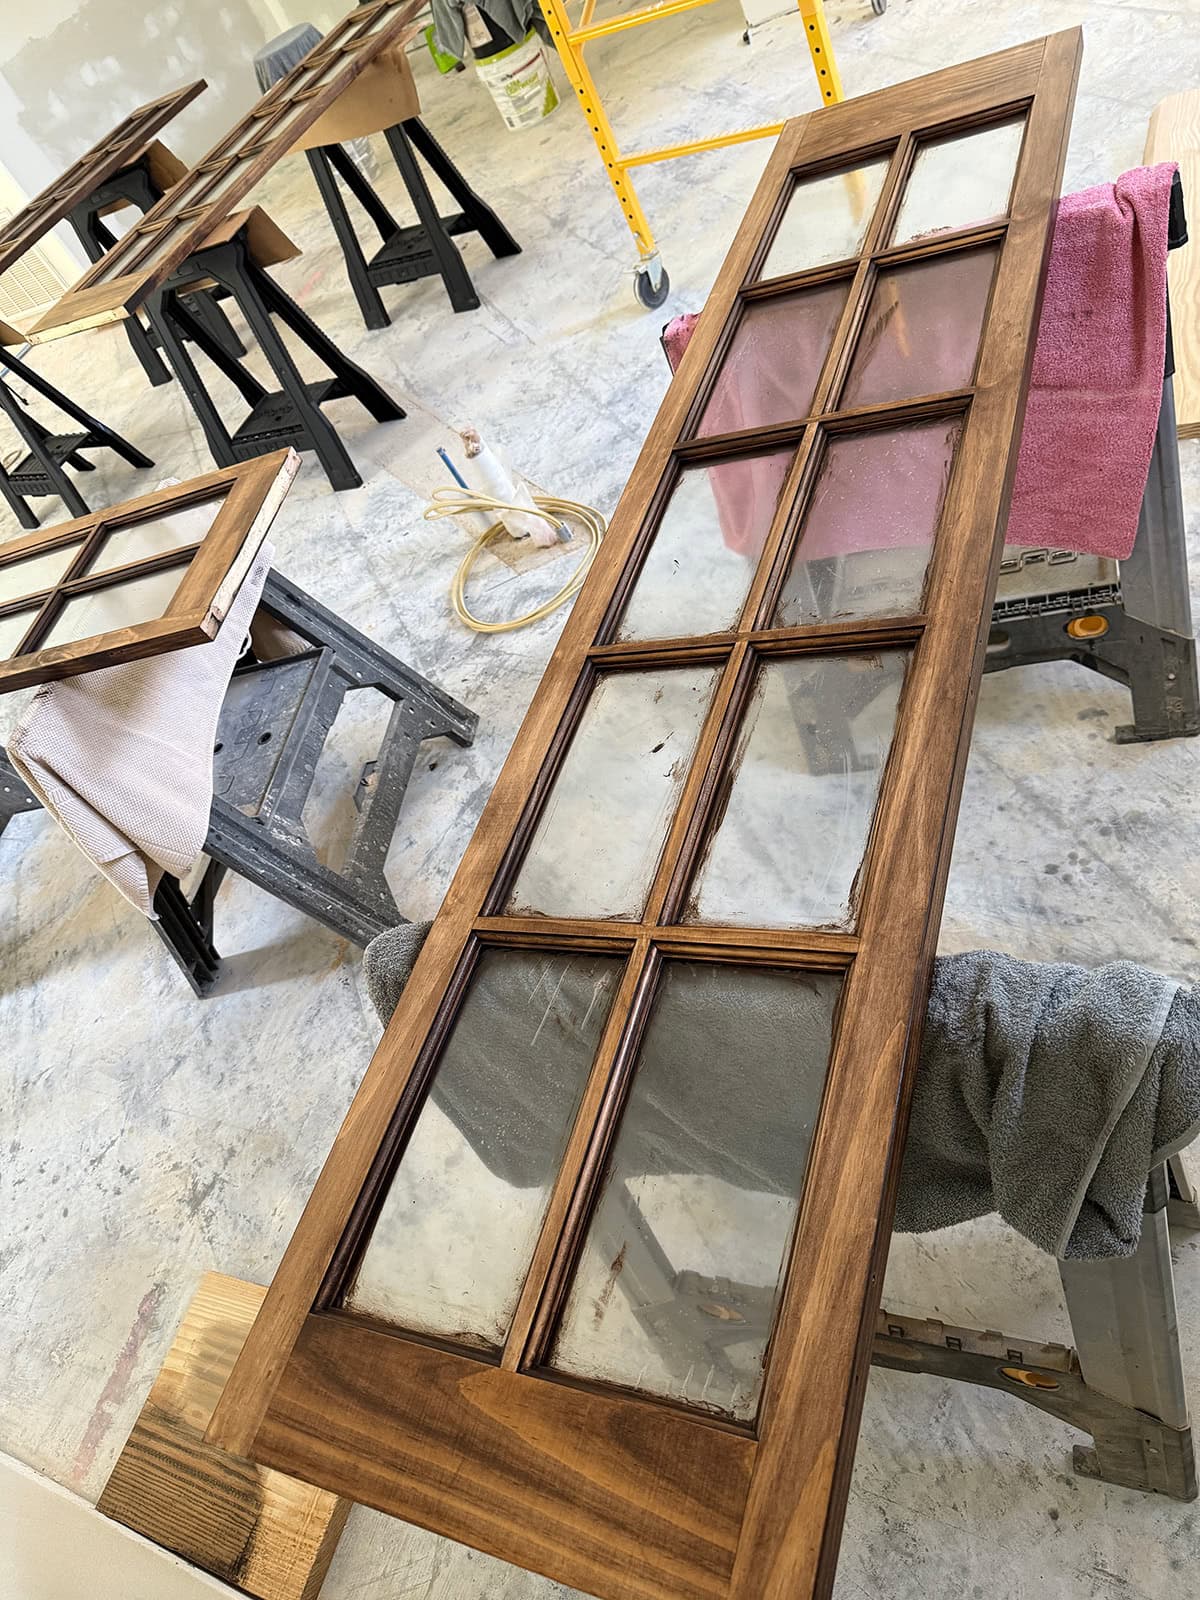
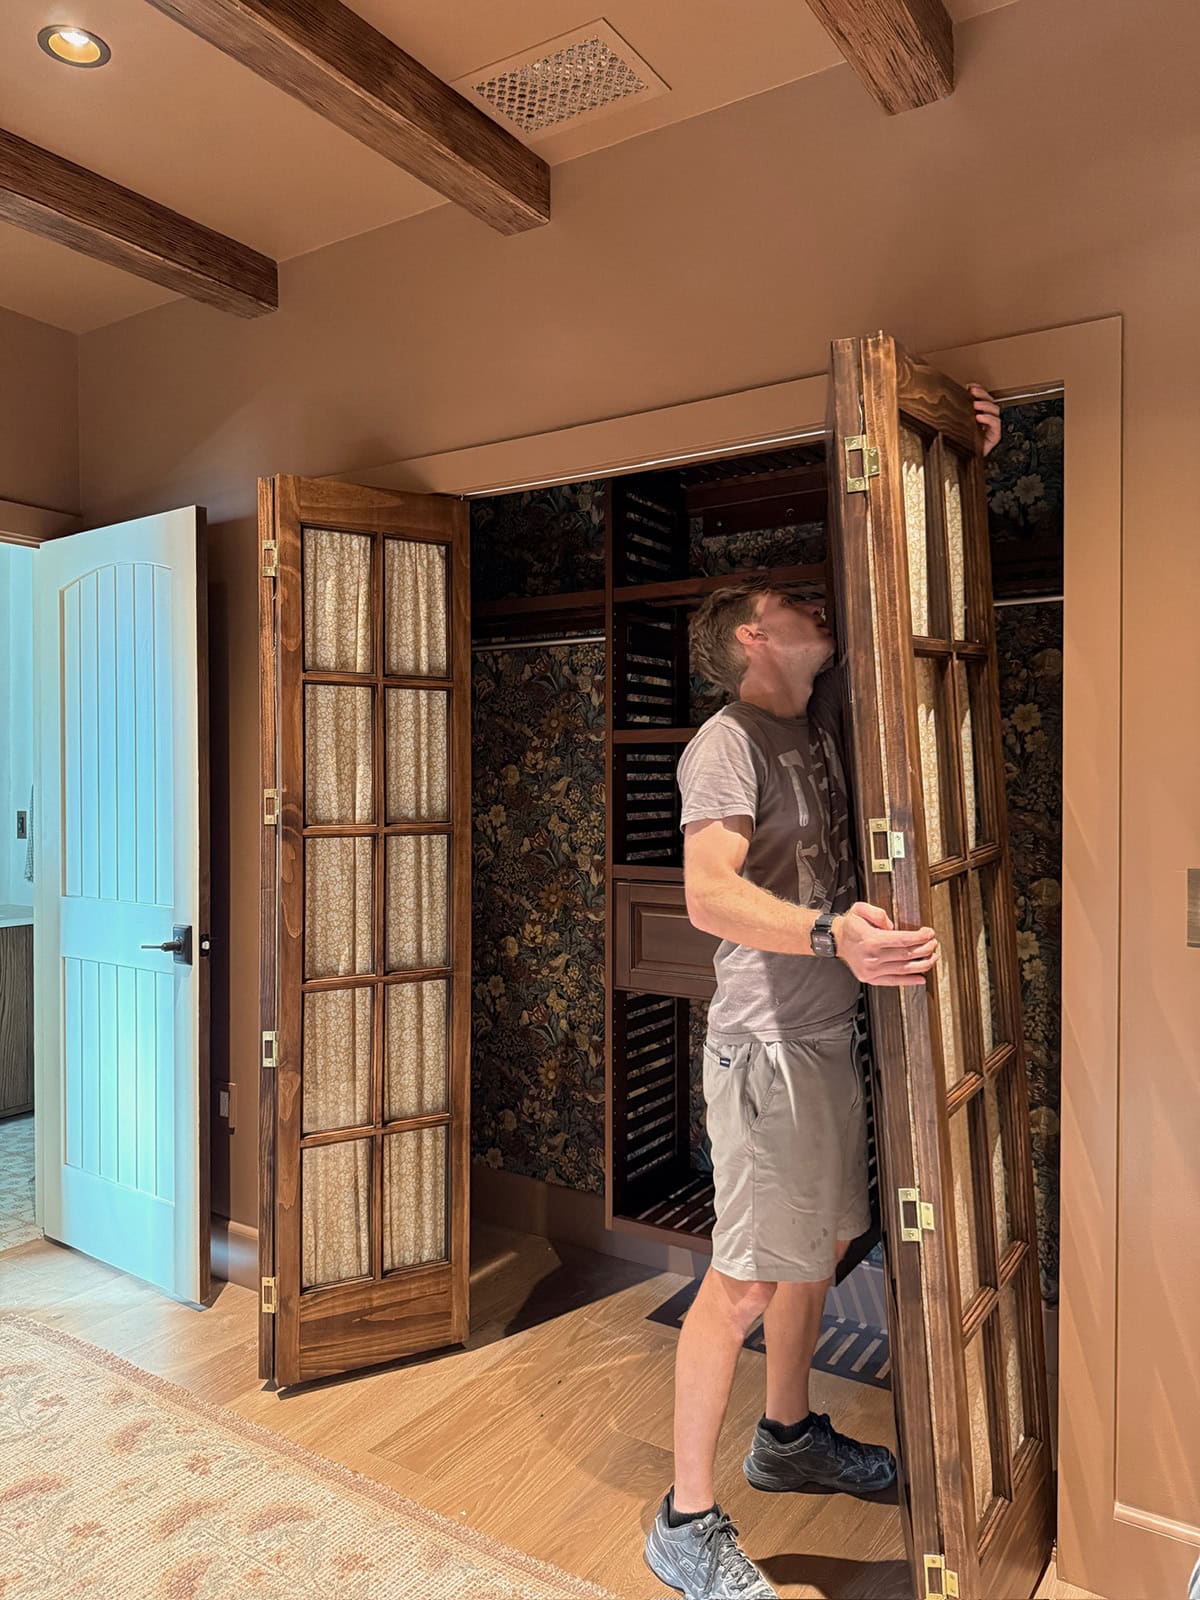
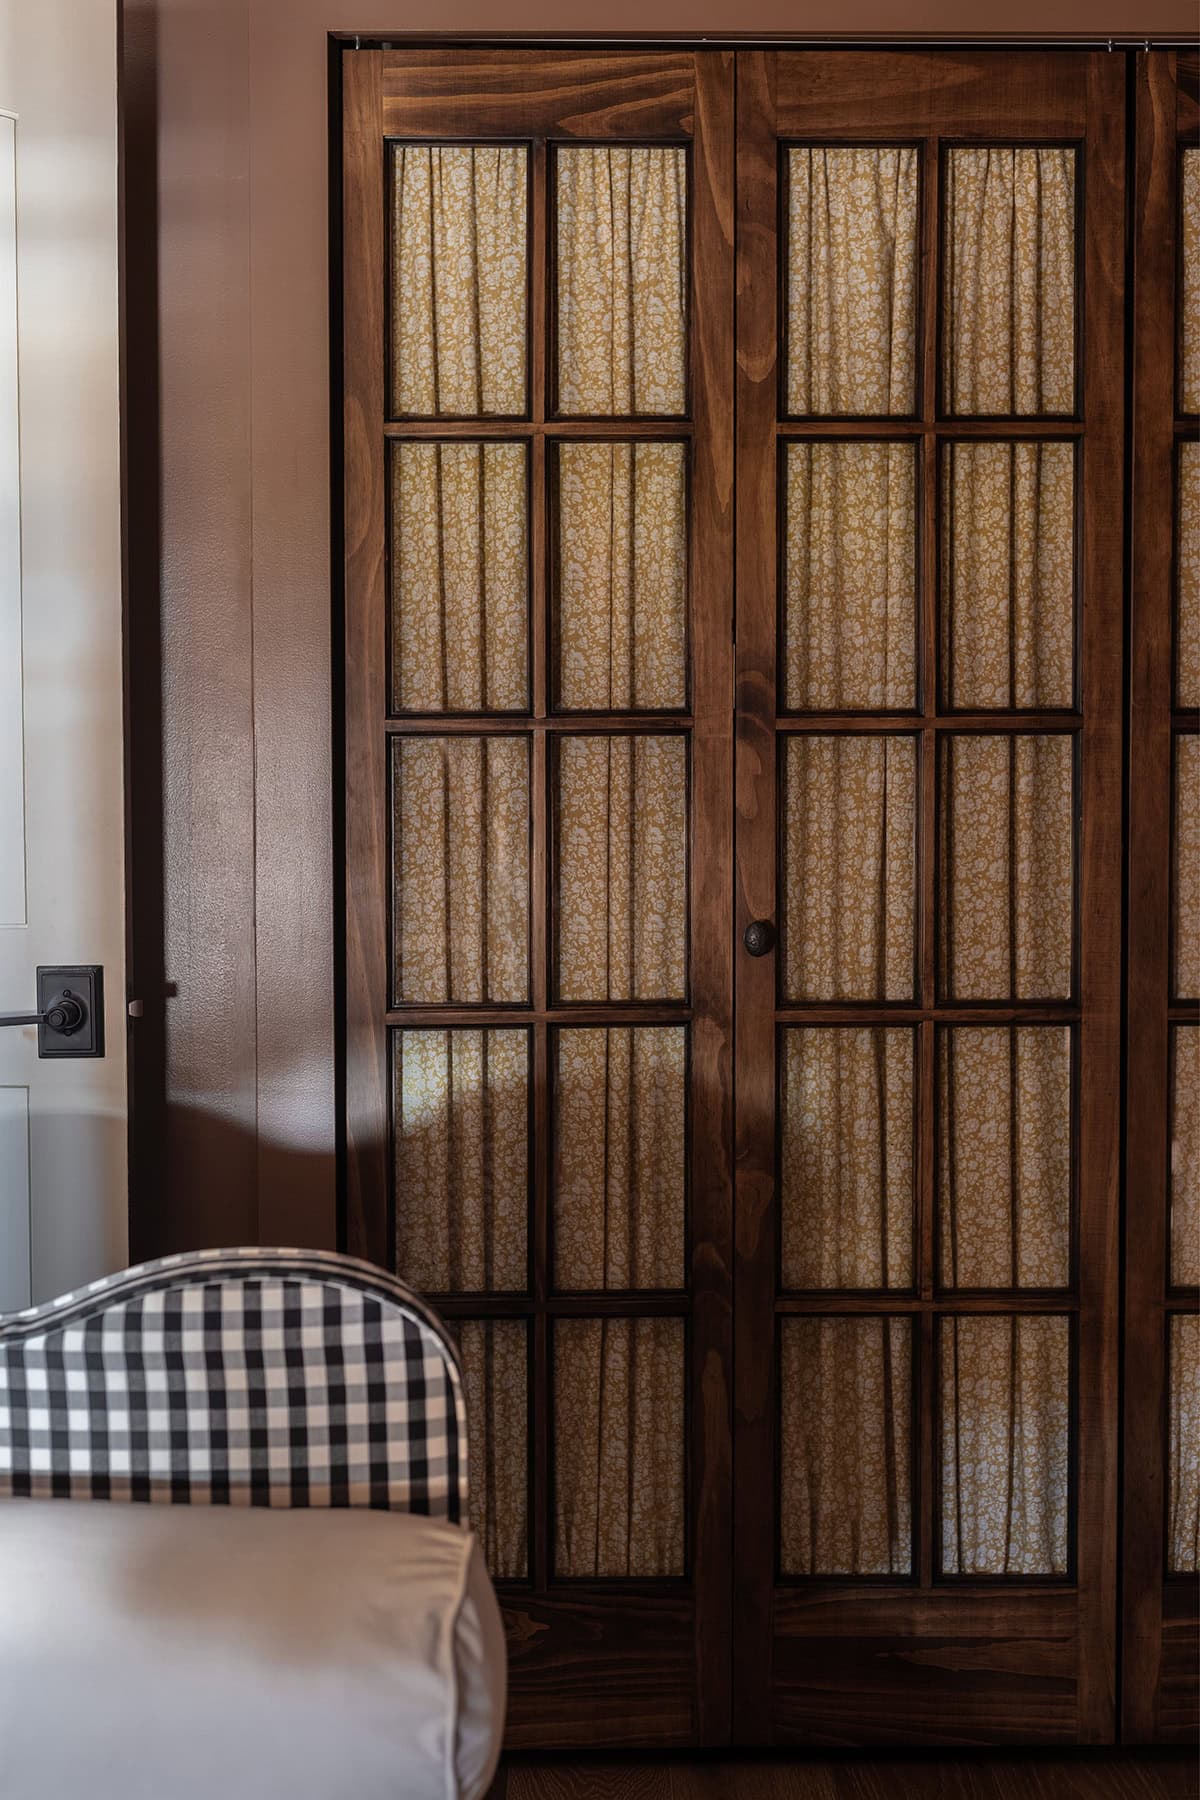
Last but not least, we tackled the french doors. They come as raw pine ready for paint or stain, and we gave them two coats of Minwax Coffee + Mahogany gel stain (50/50 mix).
I’ve always loved the look of curtains behind glass doors, and knew it would be the perfect charming addition to this cottage style bedroom. To keep costs down, I decided to make my own no-sew curtains from floral bedsheets.
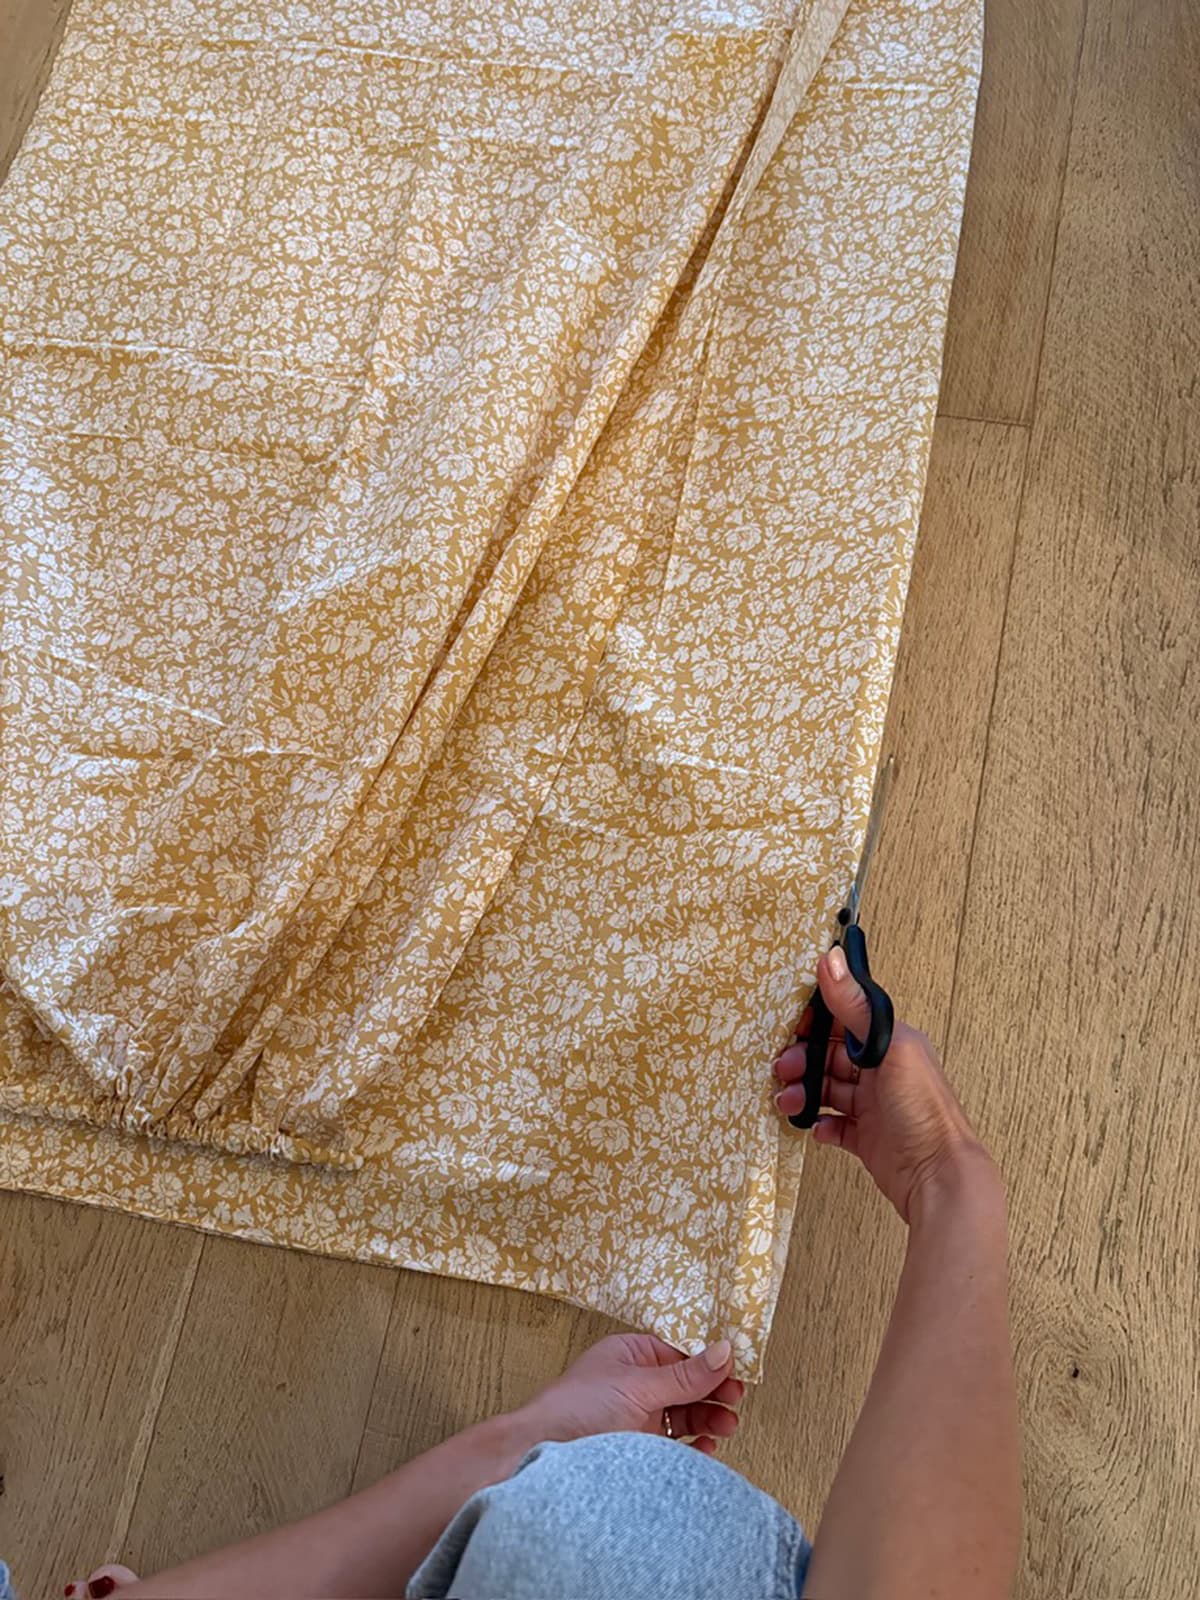
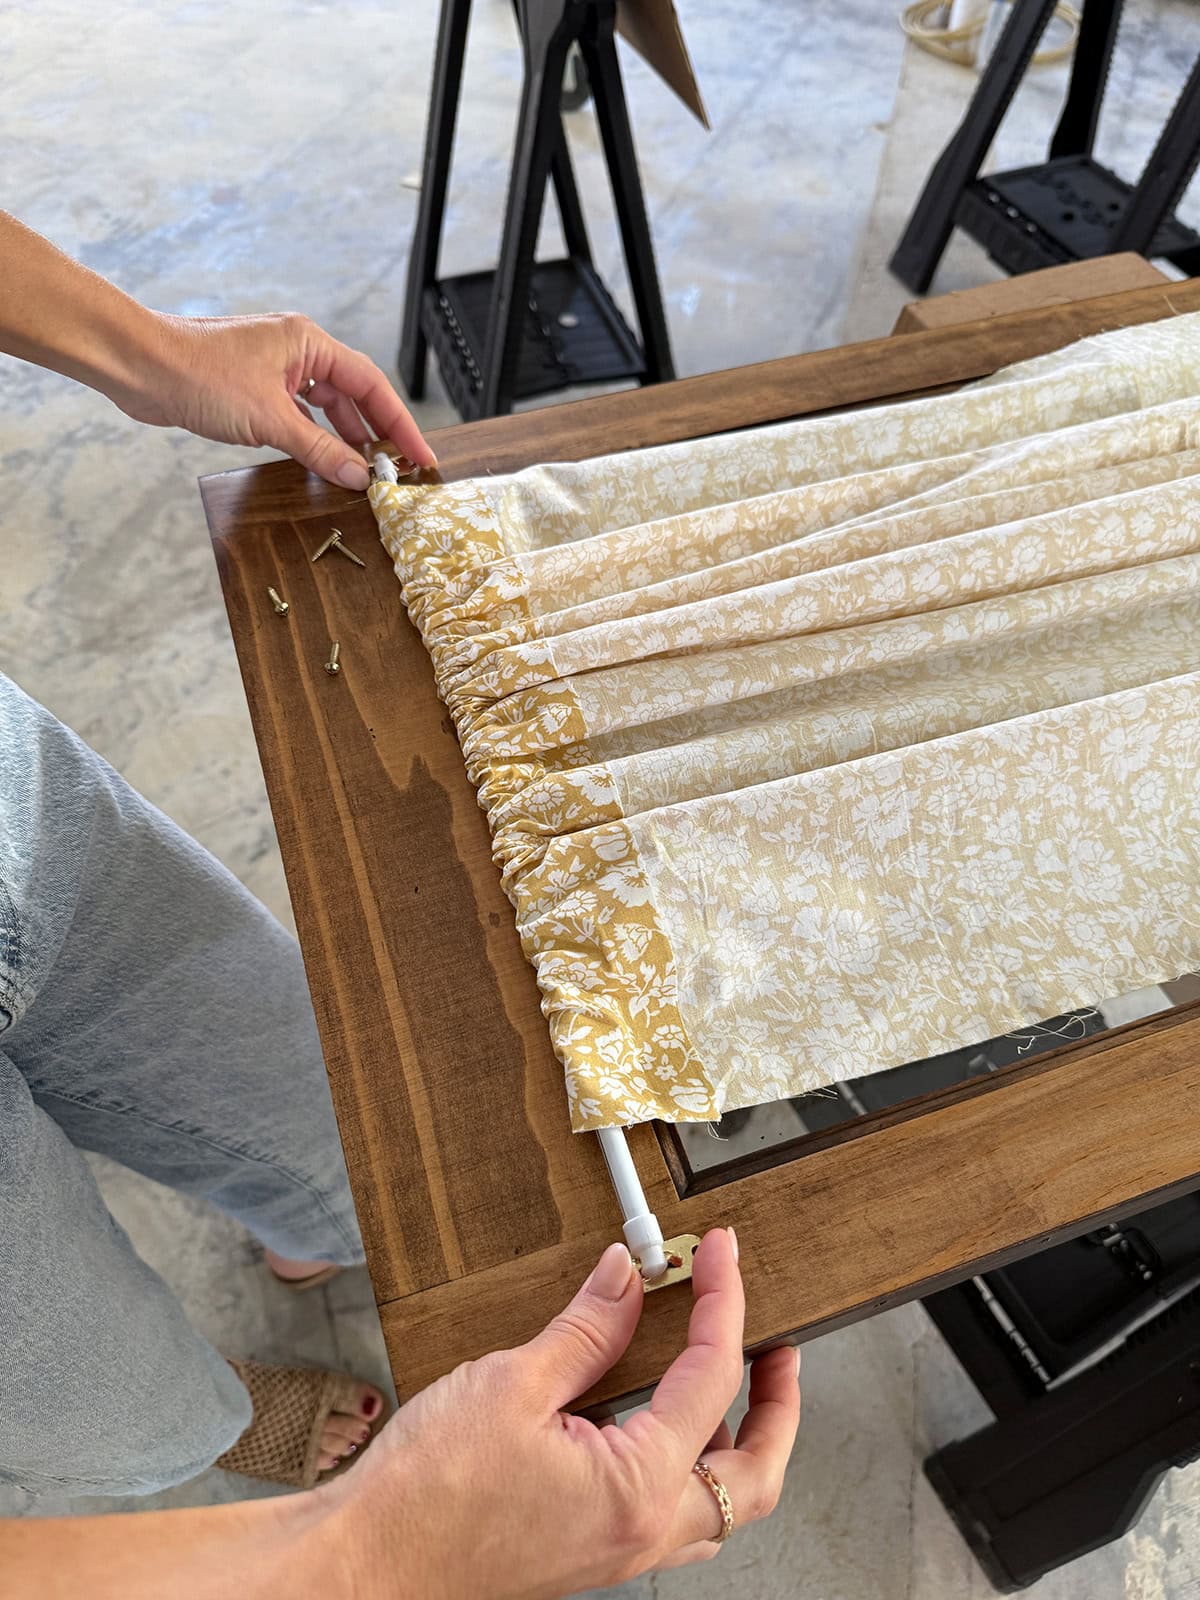
A queen sheet gave me enough fabric to create four panels, each cut to twice the width of the doors for a full, gathered look. One edge already had a built-in hem pocket, and for the cut side I added iron-on hem tape to create rod pockets. I used sash rods to mount the panels directly onto the doors.
The new doors were mounted into the existing tracks, and our closet makeover was complete!
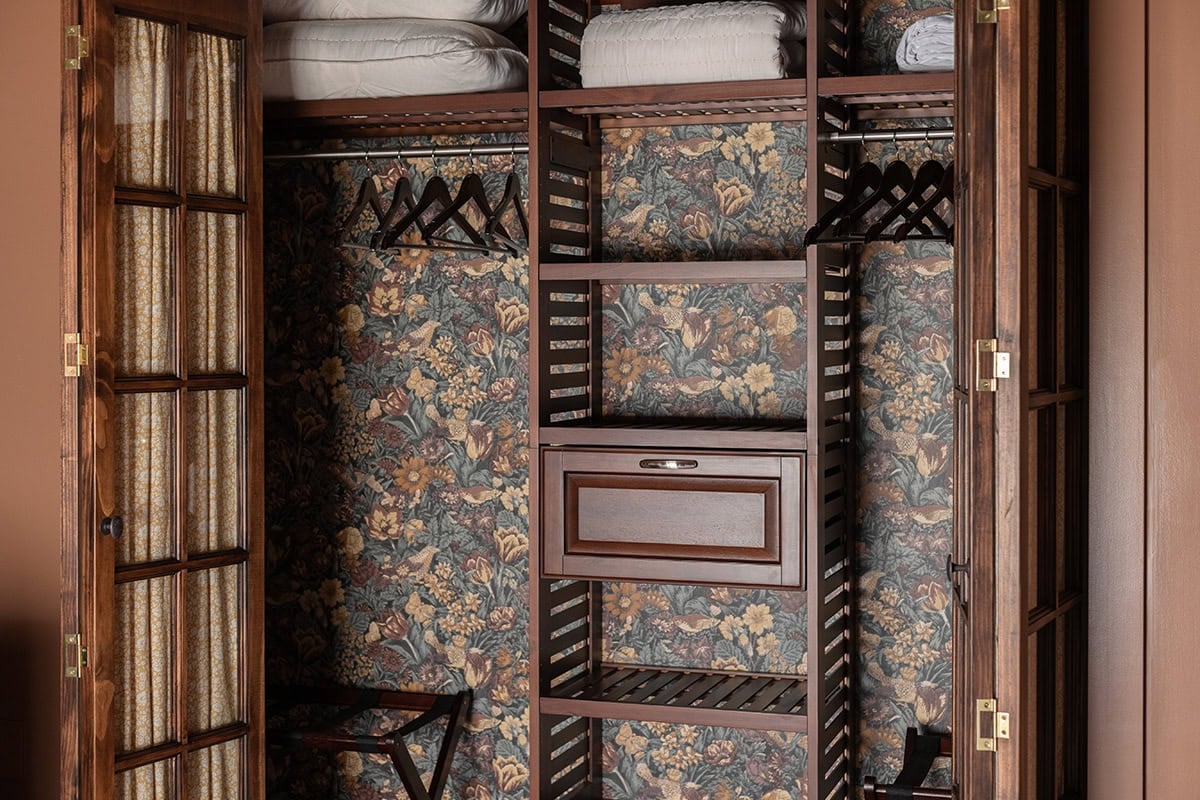
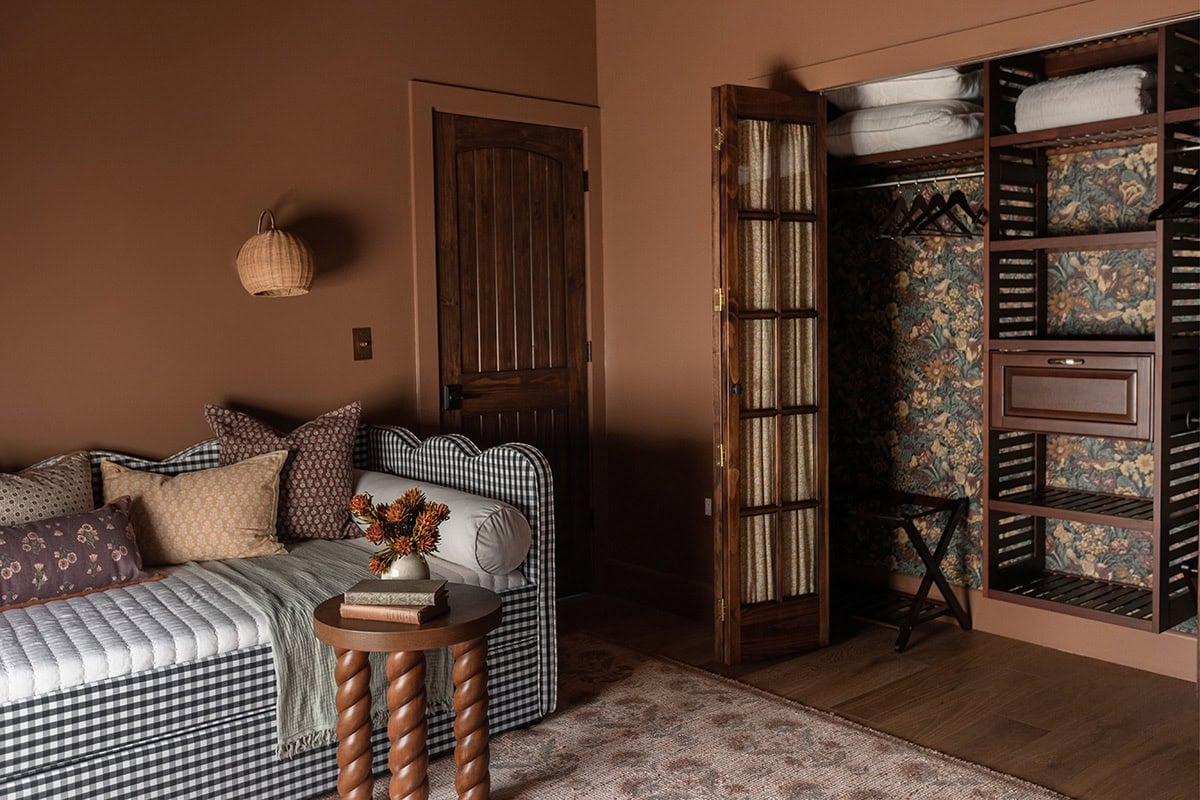
Here’s how it looks now…
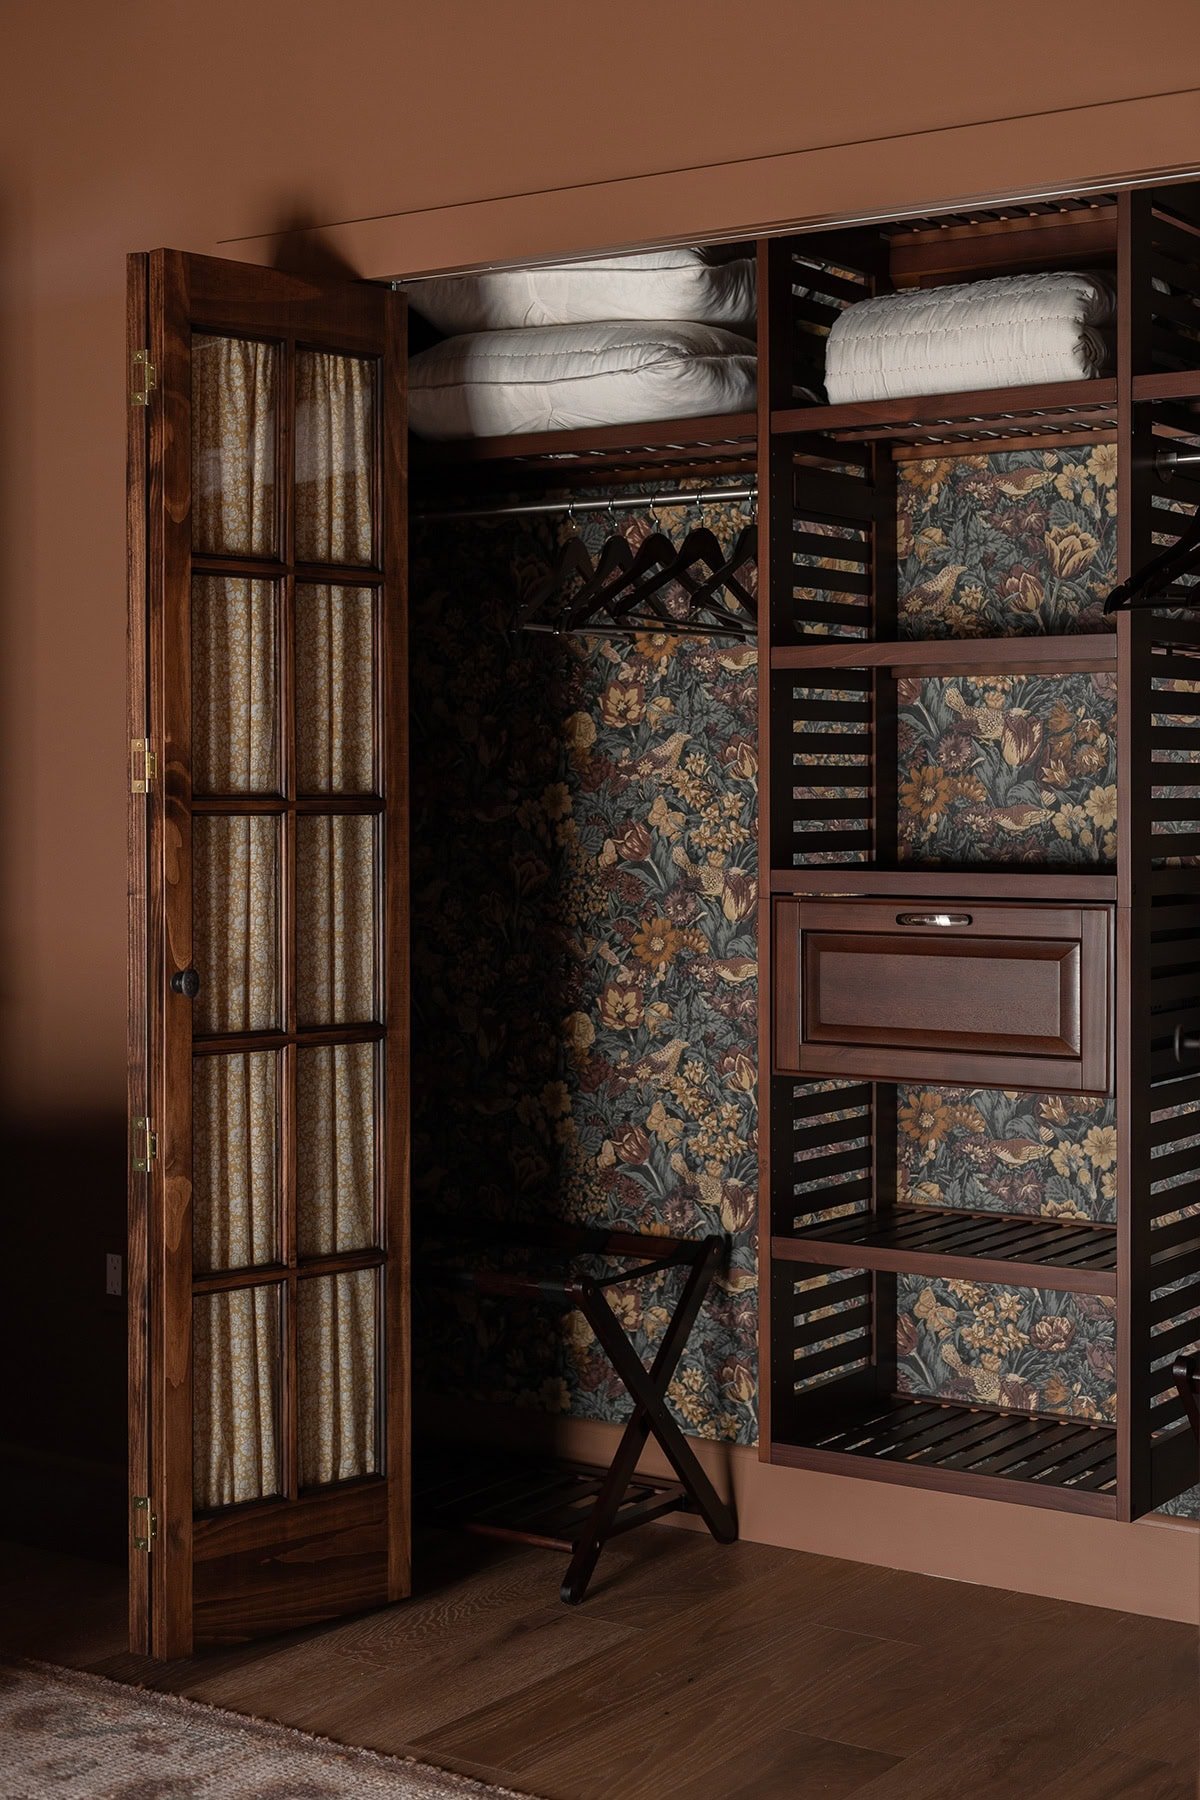
One of my favorite parts? This wallpaper paired with the dark espresso wood. They were truly made for each other.
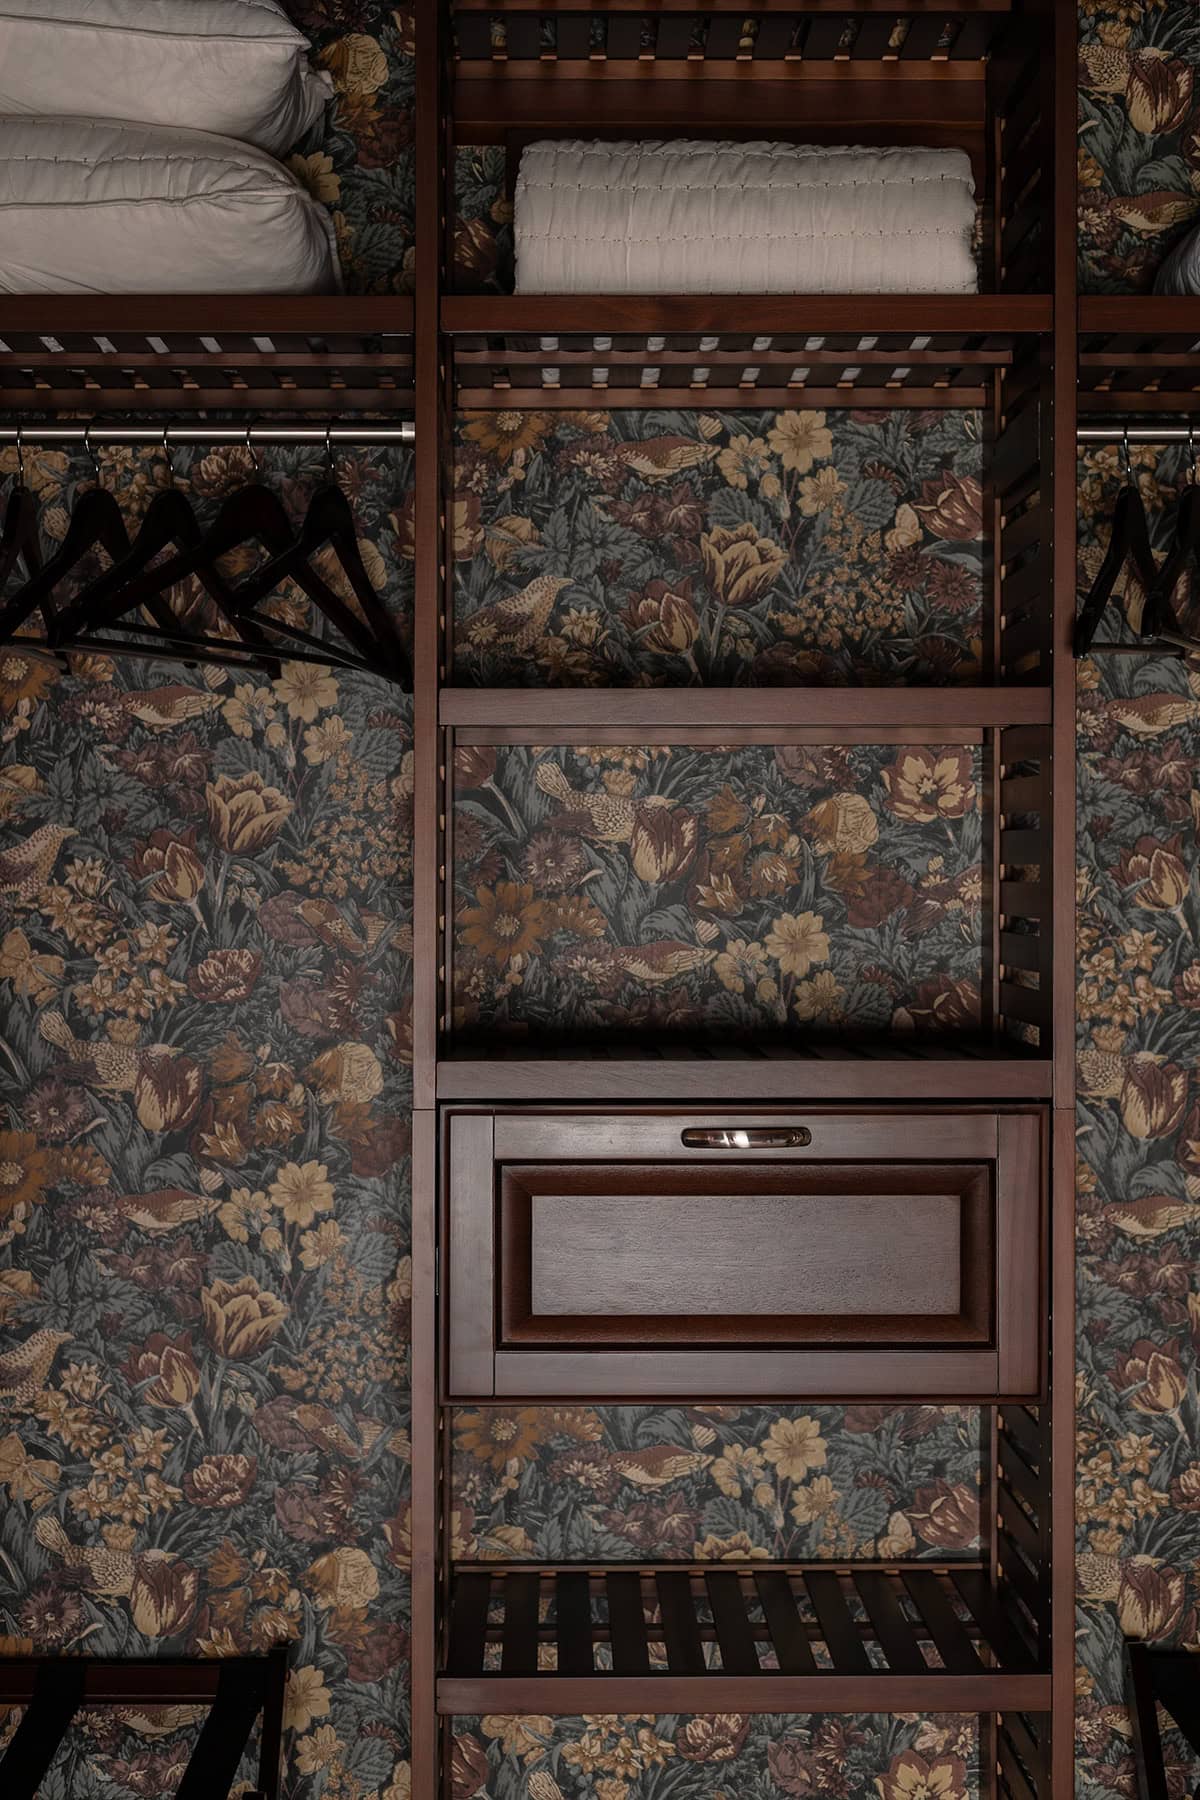
I added matching wood hangers and luggage racks on either side for clothes and suitcase storage. There’s also a large hall closet just outside the bedroom door for additional storage if needed.
I love knowing that our guests will open these doors and find a cheerful design moment when they weren’t expecting it.
I’ll never stop loving the french door and curtain combo for closets. It’s classic, charming, and never goes out of style.
Here’s how it ties in with the rest of the room.
Sources
Tap below to shop the supplies we used to bring this space to life:
You can watch a video of this makeover tomorrow on my Instagram, and stay tuned for another room reveal here on the blog next week!


Kitty says
Beautiful!!!
Thank you for giving us so much inspiration to help us make our homes even more personalized and beautiful!!