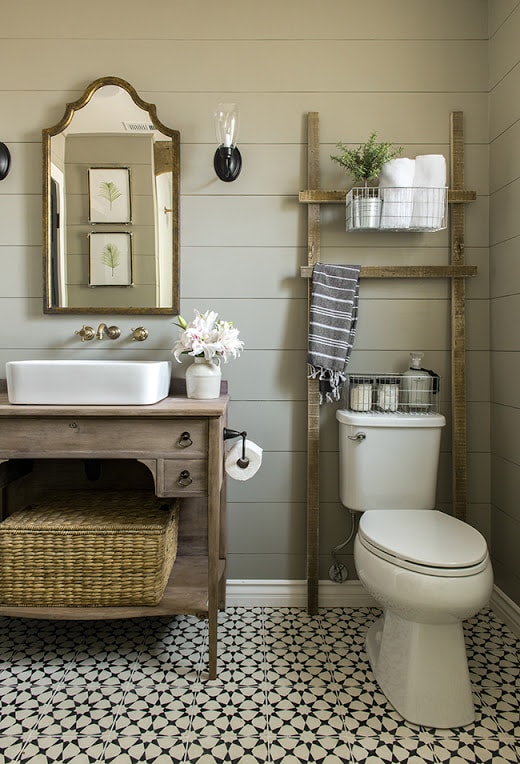
Today (in the last guest bathroom post!) I’m sharing three simple and inexpensive ways to incorporate rustic wood in your bathroom. Natural wood is a requirement for me in every space I design—it brings a warmth, timeless and casual feel to a room that can’t be replicated by anything else. And fortunately, it’s usually the cheapest and easiest material to find and work with!
A rustic, aged look was one of the main qualities I wanted for this room, so using natural wood pieces was a no-brainer. Aside from the vanity, I came up with three accent pieces I could create by myself, in one afternoon, at a very little cost. If you already have a pile of old wood lying around (or heck, even new wood that you can make look aged) you may not have to spend a dime!
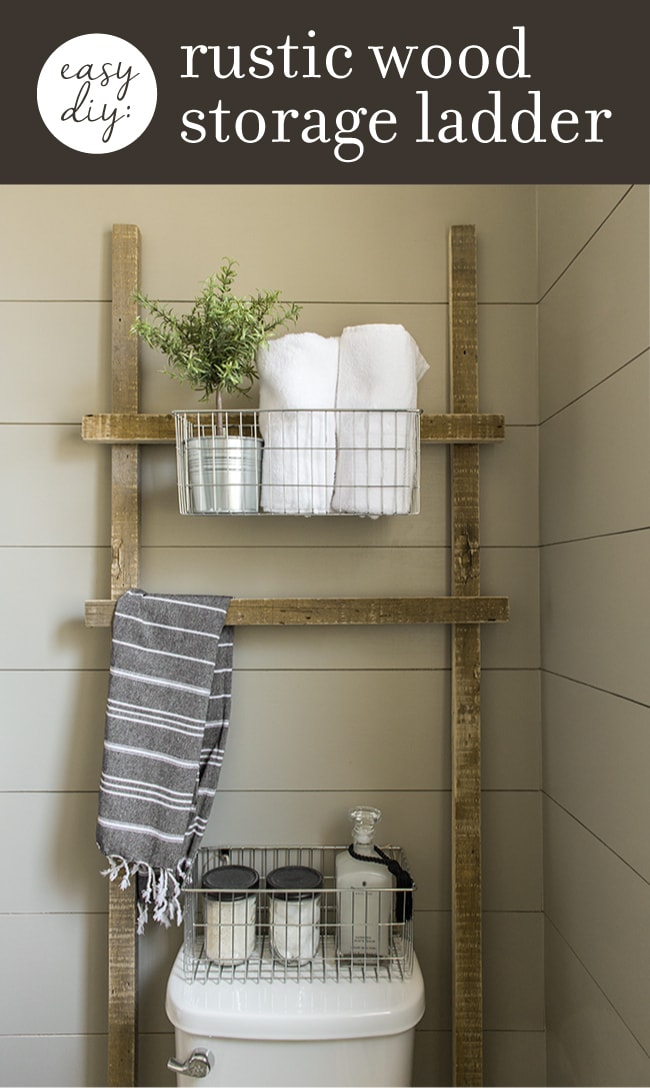
First up, this storage ladder:
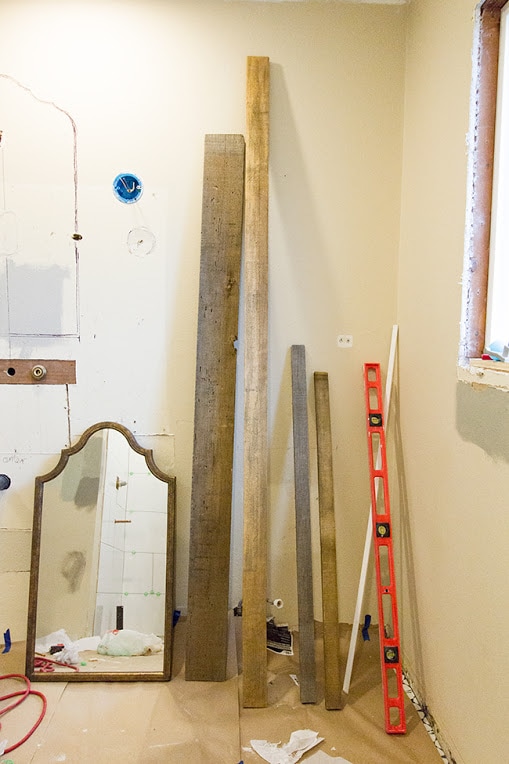
This was the only project I spent money on. I didn’t have any wood pieces long enough, so I made a trip to the local lumber yard and grabbed a handful of pieces ($10 for everything) that could potentially work:
You can make this any size/shape/scale you need—it’s completely customizable. I went with the widest piece of wood next to the mirror and ripped it down on our table saw into three pieces:
I used one for each leg, and cut two pieces to use as rungs from the third. You can add as many rungs as you want—I decided to keep it simple and stick with two.The width and height was based on the size of our toilet—I just measured it and added a few inches for breathing room on all sides.
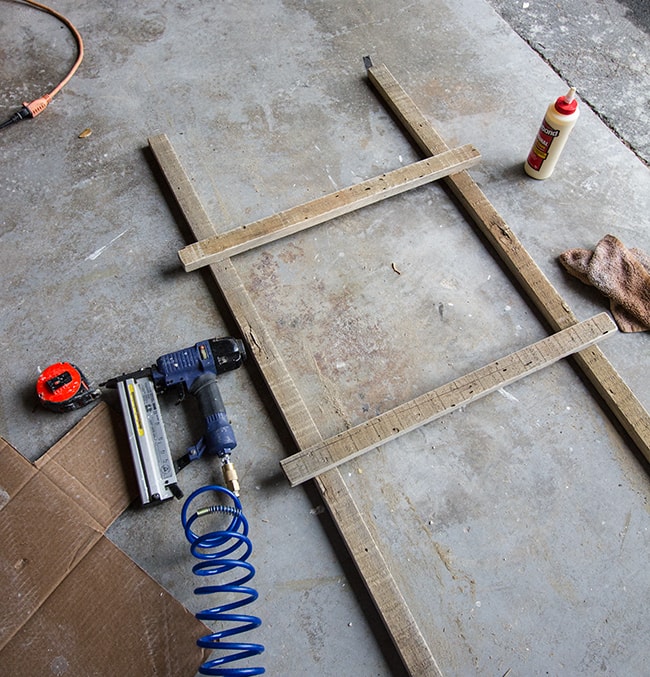
Before securing everything together, I quickly went over the edges with my hand sander to eliminate any splinters/rough edges. Then once I marked where I wanted the rungs (measuring the distance from both ends to make sure it was square), I dabbed a bit of wood glue and secured with finish nails:
I actually ended up going back later and adding two screws from the back at each connecting point since the rungs didn’t seem 100% sturdy once I added weight.
Love projects that are cheap, easy, nice to look at and serve a functional purpose!
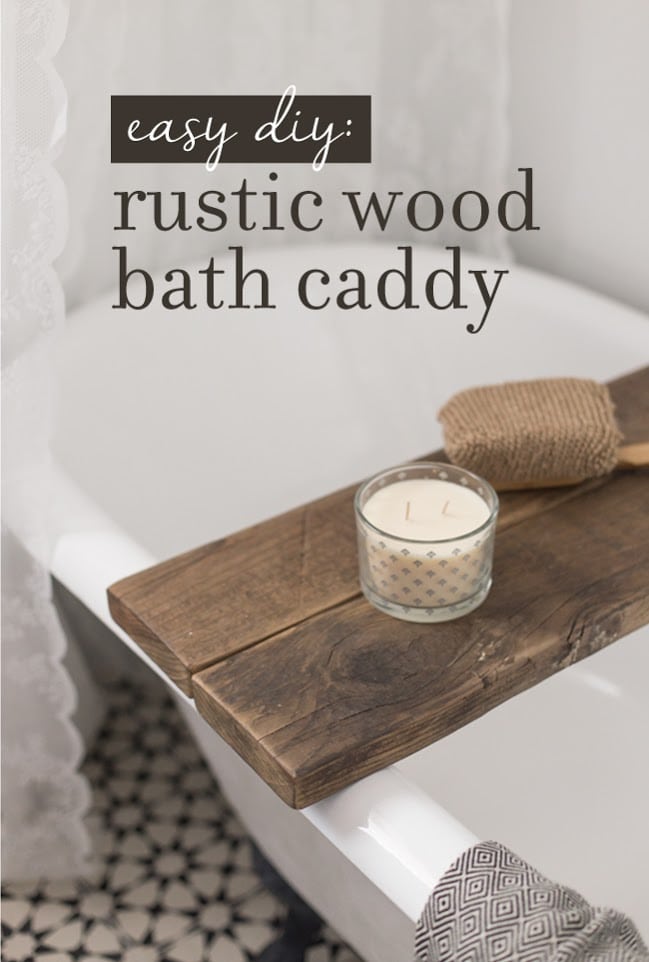
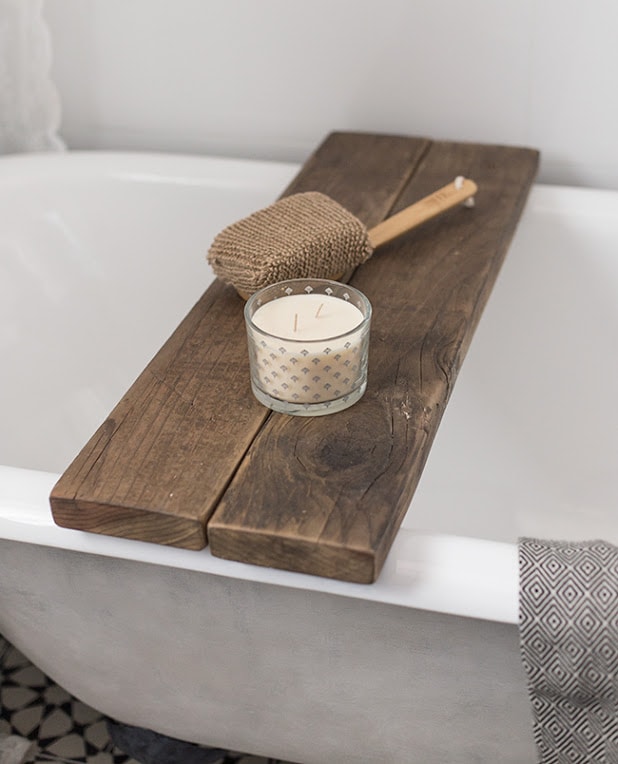
This bath caddy project falls under the same category….
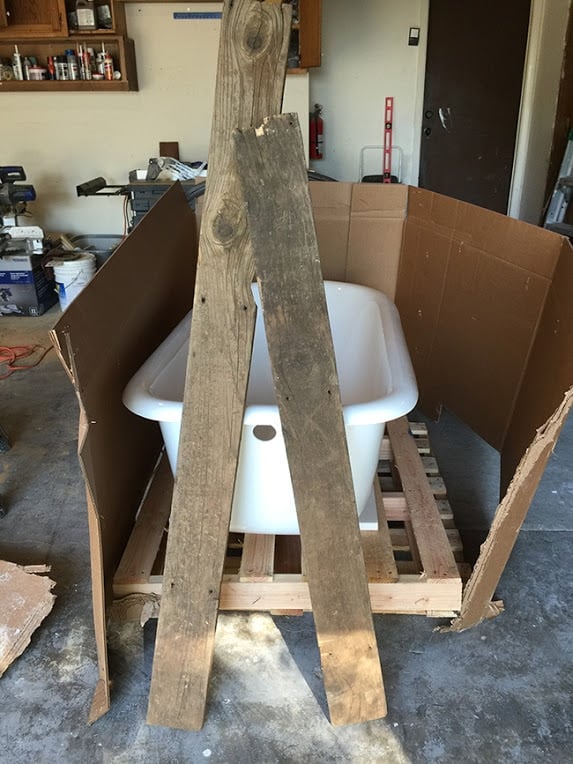
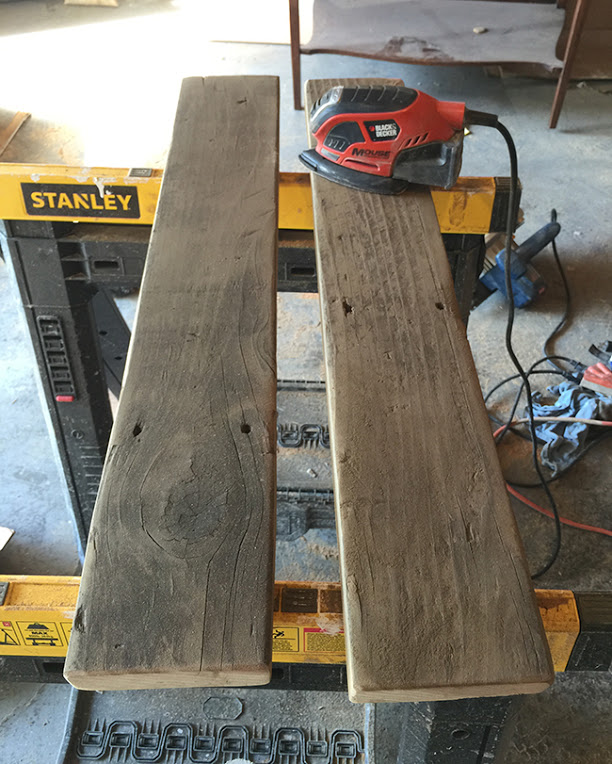
Our neighbor had left a pile of wood in the road after ripping out his deck, so of course I jumped on it. These 1×4’s were calling my name:
After measuring the width of the tub and adding an inch or so to each end, I cut my pieces to size and gave them a good sanding:
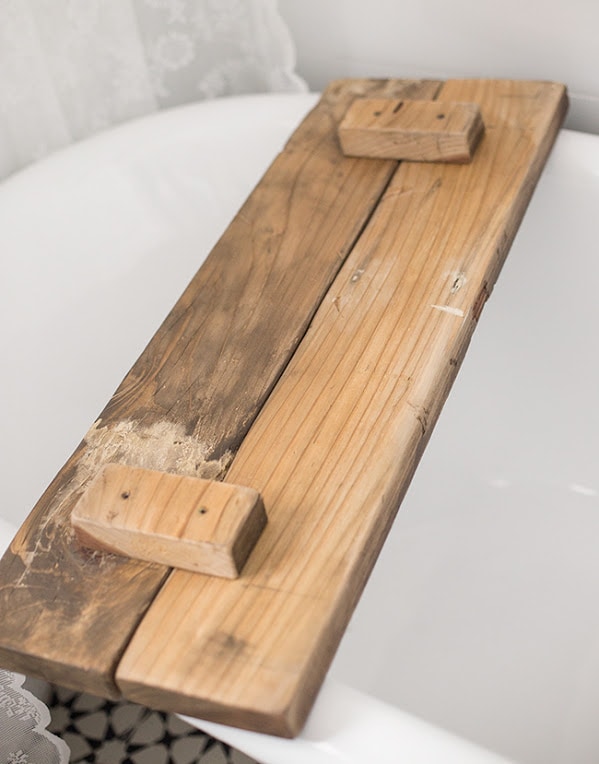
I filled the holes with wood filler (since it will be around water), touched them up a bit with stain and flipped them over to attach a couple blocks of wood from underneath (which were just cut from scraps):
One screw in each board on both pieces is all it takes to hold everything together, and the blocks also serve as stops so the caddy stays in place and can’t slide off the edge. Once it was built, I coated the entire thing with three coats of heavy duty (matte) furniture varnish to make it waterproof.
So simple and functional!
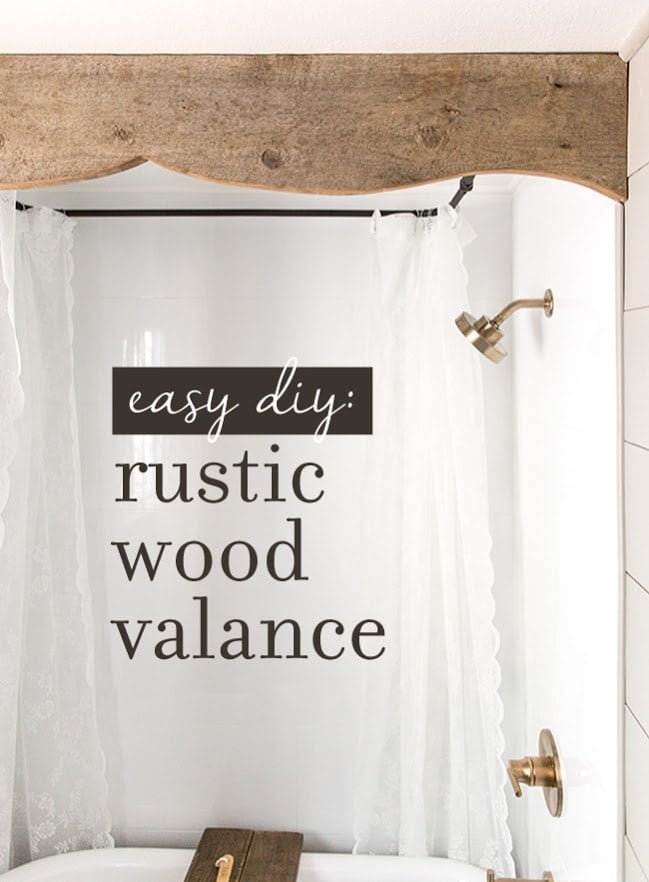
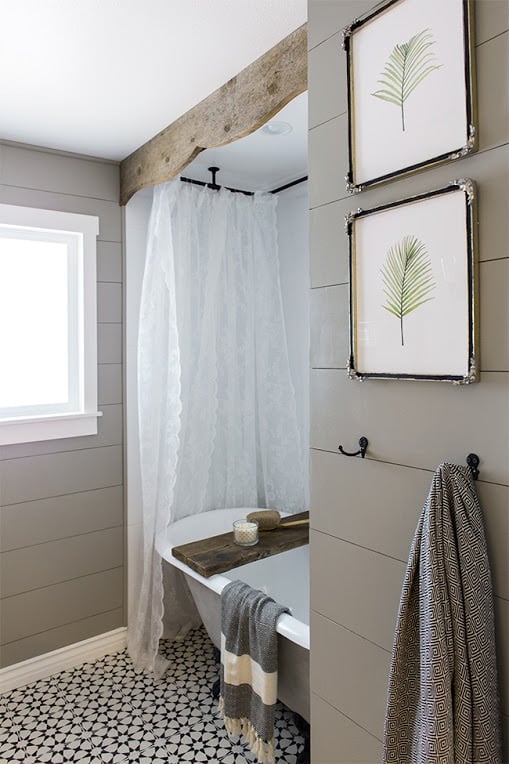
Lastly, this valance….
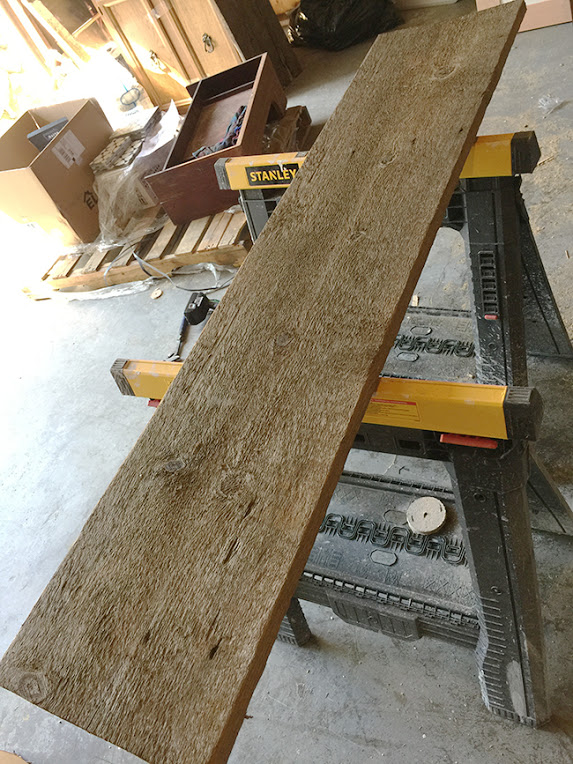
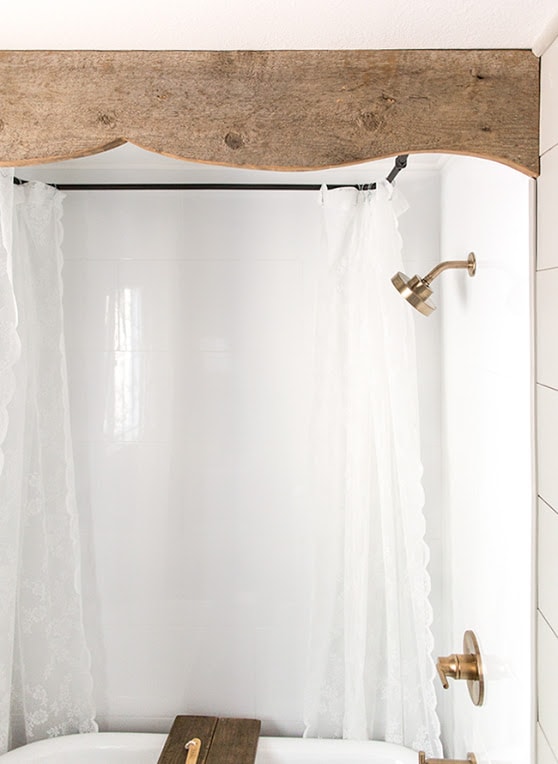
I love finding ways to add a unique details to a space—those are what really give it personality and leave a lasting impression. I had stumbled upon an old wood piece used as a valance on Pinterest and knew right away it was something I wanted to make for this room. I still have wood leftover from our laundry room barn door so this was another free project.
First I measured the distance between the two walls and cut my piece to that width.
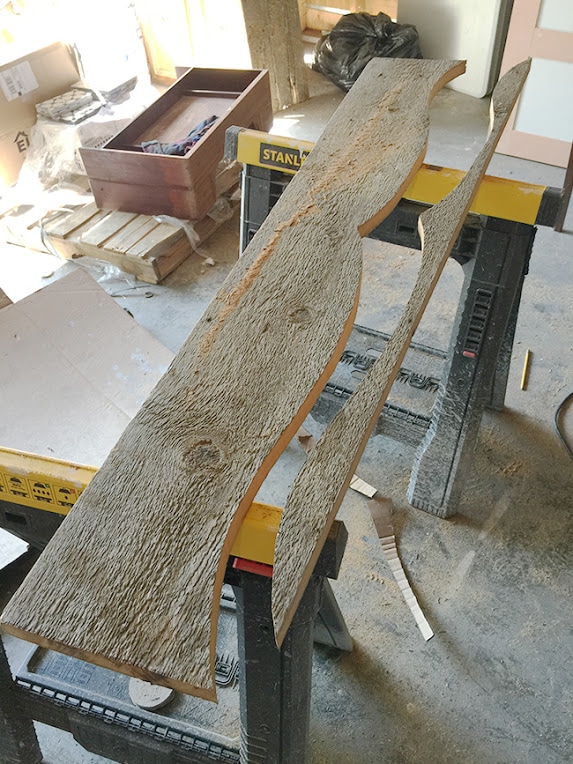
Then I decided on the overall height I wanted and ripped it down with my table saw. I could have left it as is, but I thought it would be interesting to carve a simple shape into the bottom.I cut a piece of cardboard to half the length of my board (so I could flip the template and have two equal sides) and drew a shape I liked.
FYI—this is the same process I used to make my DIY upholstered headboard way back when.
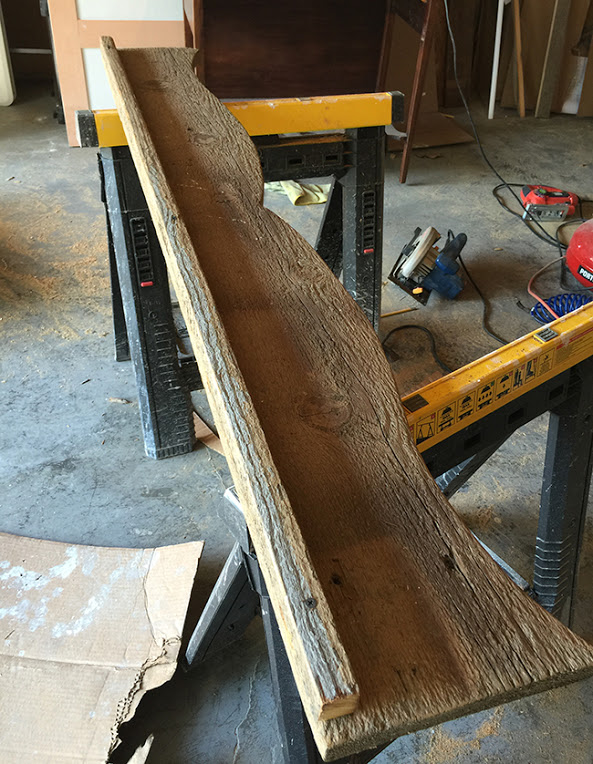
After cutting out my shape and lining it up on the board, I traced it with a pencil, then flipped it over and traced it onto the other side.
Then I used a jigsaw to cut it out (I don’t have photos of this process as both hands were occupied!). Since I was going for a rustic look, I didn’t worry too much about it being perfect.
In the final step, I flipped it over and screwed down a small piece of wood (leftover from ripping it down). I made sure it lined up at the top but left a bit of room at the sides for the shower tile. This piece was then screwed into the studs in the ceiling in order to hang it.
Not too bad, eh?
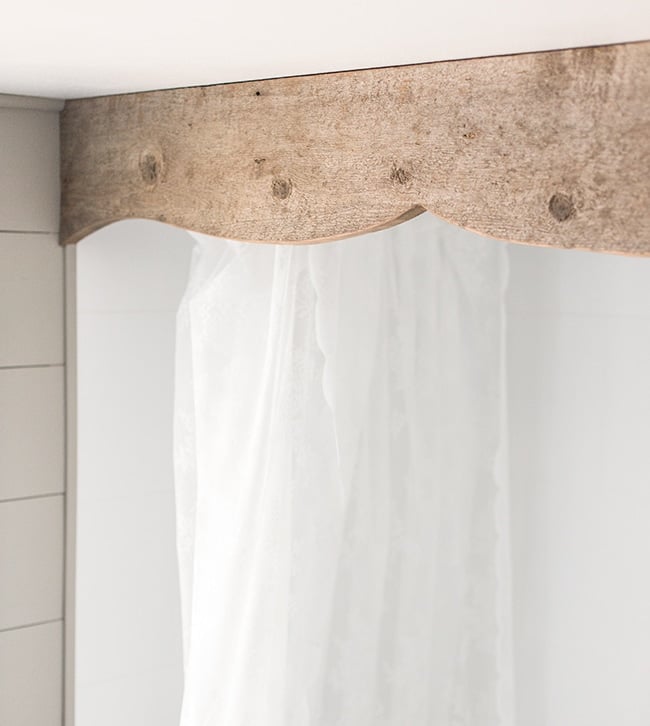
It makes the shower/tub nook feel like it’s own separate little cave which I love. And it hides a lot of the shower curtain rail which I don’t exactly want to bring attention to.
So there you have it, three great ways to add a rustic touch to your own bathroom—that anyone can do on any budget! What is your favorite? Will you be DIY’ing any of these in the near future? Find me on facebook or instagram and let me know!
Shifting gears for a second here… I’ve made a couple quick mentions of this recently but I have a big announcement coming Monday. It involves the future of this blog (and you!) so it’s very important that you check back next week. That’s all I can say for now, but I am so excited to share this next chapter with you guys. See you Monday 🙂




Roxy says
Hi, beautiful bathroom! Where did you buy the mirror and what are the dimensions for bathroom mirror and the width of vanity?
jennasuedesign says
Thank you! All the sources are in this post: https://www.jennasuedesign.com/2015/05/one-room-challenge-recap-sources-the-design-process/
Can’t remember the exact vanity measurements but it may have been listed in one of the progress posts. Hope this helps!
Meredith Watts says
Can you tell me the ladder dimensions you used? They look great and would love to replicate the exact size! Thanks so much!
Huyen says
love everything! I also love the bathroom wall.. did you make that also?
jennasuedesign says
Thanks! And yes, you can search the blog for Shiplap to see that process.
MeganM says
This is amazing!!! For the valence …… Was that a 1×10? I was also wondering if you left the ladder natural or did you deal it with something?
MeganM says
Ugh… Autocorrect! Did you seal** the ladder Or leave it natural ?
jennasuedesign says
Thanks! I don’t remember the exact dimension of the wood, but anything will work. None of the wood was sealed.
Atie says
Hi Sue,
Thank you for the sharing,
It was beautiful and creative idea, and cheapest too.
Im glad i find your project here, may i know do you put nails or screw the ledder below incase maybe it will fall. Anywhere i will try to do this project. It look superb.
Thanks again….
jennasuedesign says
Thanks Atie! I did nail it to the wall at the top for stability.
Kristel says
HI, fantastic bathroom renovation! I’m totally in love with the floor tiles (and much else too), where did you get them?
jennasuedesign says
Thank you! The Cement Tile Shop. If you search for One Room Challenge all the info is there 🙂
Melissa says
Hi there love these projects and planning to use that entire bathroom as inspo for the half bath. Wondering what paint color the ship lap is and where the mirror is from. Thank you!
Christie says
Hi! Love this ladder project so much!! can you please tell me how long and thick this wood was? Also, did you stain it? It looks distressed…
Thanks!!
jennasuedesign says
Hi Christie, I believe it’s a 1×6″. It was from a salvage/lumber yard so it was naturally distressed. Hope this helps!
Roz says
Very curious where you got the sink/vanity? I love it! Plan to make the “toilet ladder” this weekend 🙂
jennasuedesign says
Hi Roz! Sink from Wayfair and vanity was a craigslist rehab–take a look at the reveal post for all the details!
Jess says
Wondering what brand/color stain you used on these projects?
Thanks!
Heidi says
Love this DIY ladder project! Your bathroom reveal is absolutely gorgeous! One question…how did you attach the wire basket? Did it come with hardware to use for that purpose or did you make it work yourself? Thanks so much!
jennasuedesign says
Thanks Heidi! There’s little brackets with screw holes so I just screwed it directly to the wood 🙂
Lauren says
Your post could not have come at a better time! We are remodeling our guest bathroom and I am in love with everything you did for this bathroom remodel! I picked up some reclaimed wood and am going to make the above the toilet ladder and was wondering if you could help me take the guess work out of it by telling me the exact dimensions of how you cut the wood. How thick? How wide? How tall? Thanks!
Emily says
I seriously LOVE these! I actually just bought the lumber to make the ladder. I also want to make a ladder to put blankets on in our guest room. Just wondering where you got the accessories that go in the ladder above? The basket and plant and towel- love them all so much!
Thanks for all your helpful tips and tutorials! I’m a big fan.
jennasuedesign says
Thanks Emily! They’re from Overstock, Ikea and Etsy respectively — check my ORC Reveal post for a source list and links to the items.
Liz says
What were your measurements for the lumber you purchased?