I can’t thank you all enough for the kind comments, support and sharing of our bathroom makeover in last week’s reveal post. It was a very important project for me—one that I really challenged myself with and grew from as a designer. The process went by so fast that I didn’t have the opportunity to explain my choices or much about the design process, so today I’d to go into more detail and give you some insight on what’s involved with a renovation like this.
Let’s start with the design. I put in just as many hours (if not more) gathering inspiration, planning the design and sourcing products as I did on the actual renovation. Of course this part is so much more fun than actually doing the work, so I gladly dedicated myself to the planning stage every chance I could get.
Pinterest was an invaluable resource. I shared my Bathroom board and many inspiration photos in Week 1, and pulled elements from each to create my design board. It’s not as simple as just choosing your favorite ideas from each photo, and I certainly wouldn’t want to just duplicate another room someone else had designed. There was a lengthy phase of determining the direction for this space (and changing my mind a few times) before finally committing to the type of atmosphere/environment I wanted to create. After focusing in on that style, rounding up my favorite photos and letting them soak in, there were several images that kept popping back into my head.
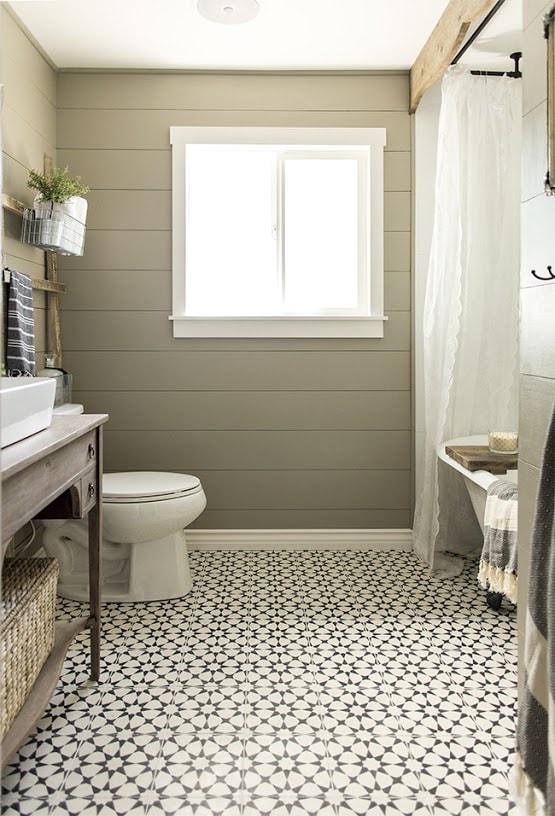
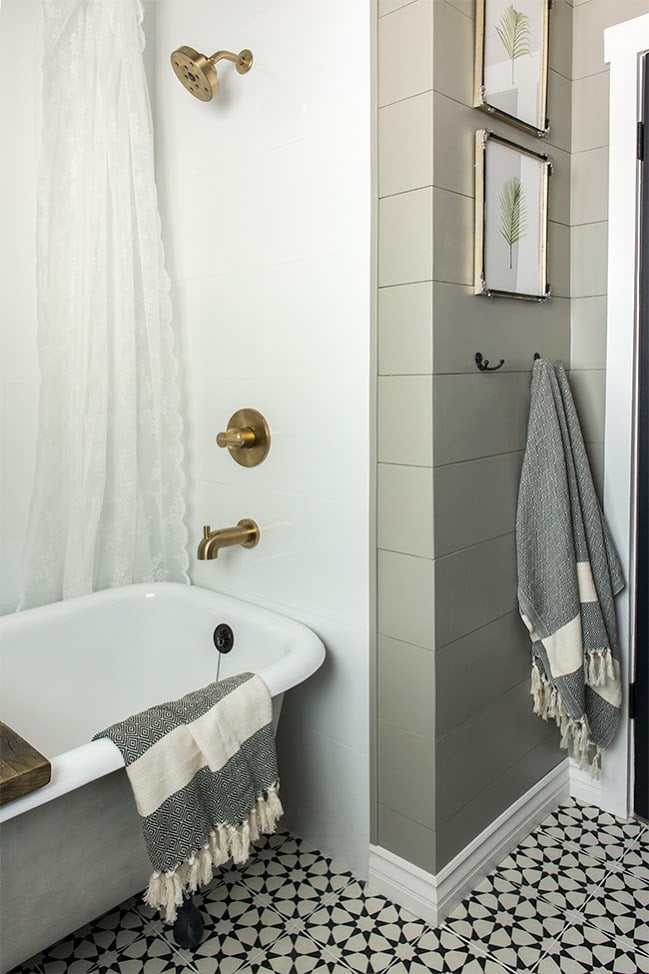
The taupe horizontal planks and gold wall mounted faucet:
A rustic repurposed table as a vanity:
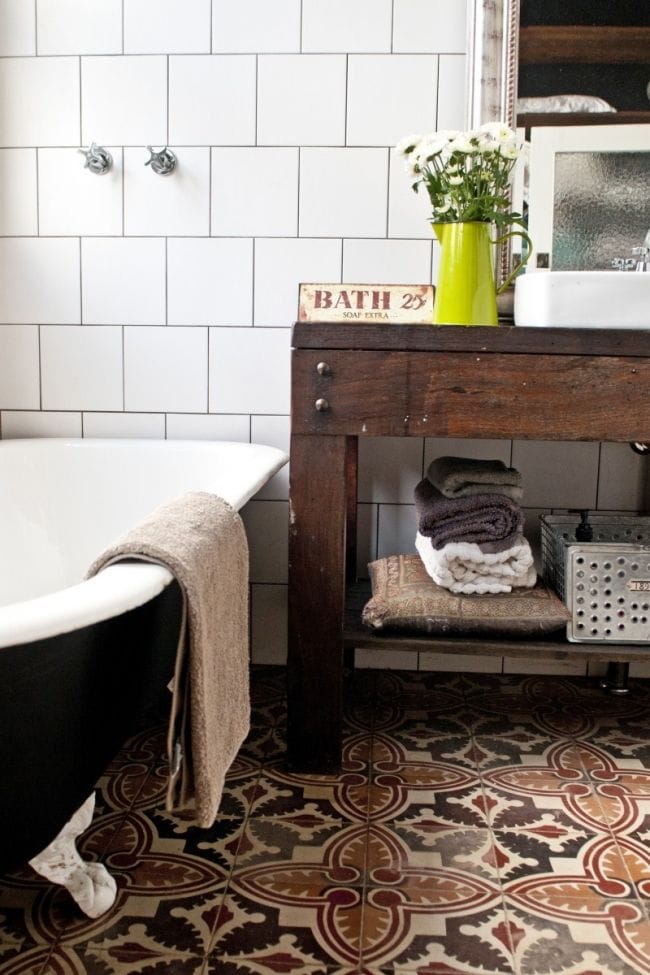
Graphic encaustic cement tiles:
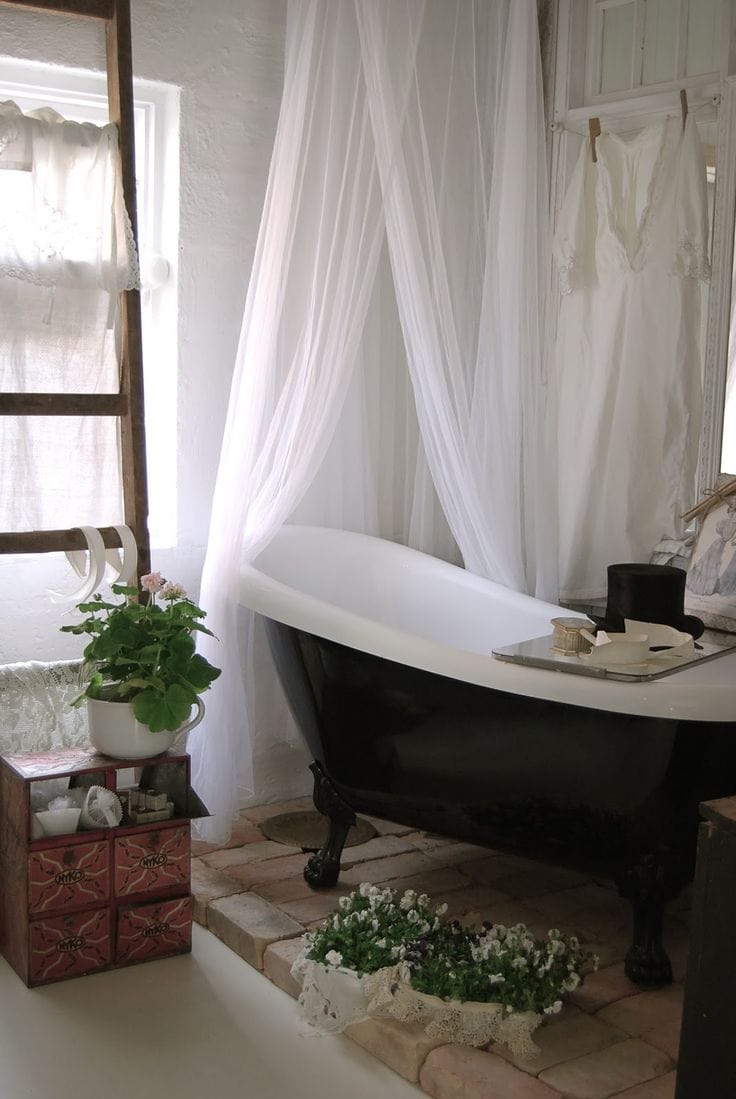
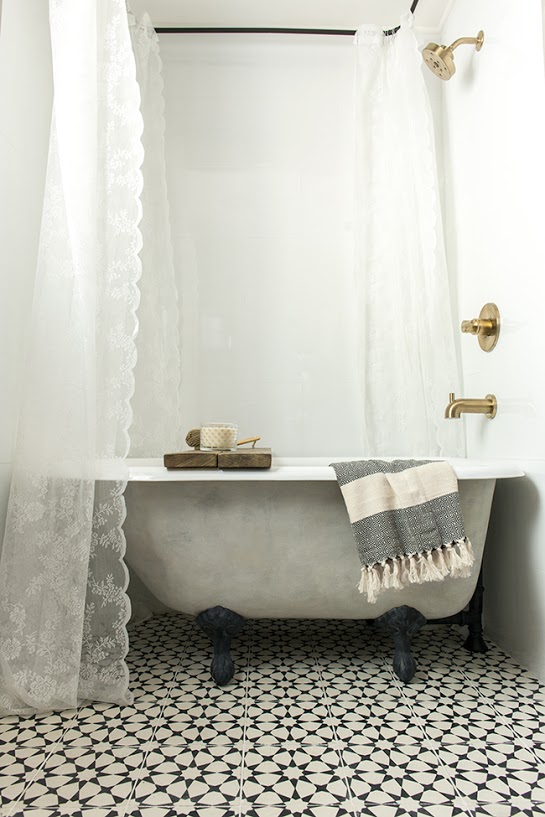
A painted clawfoot tub and romantic sheer curtains:
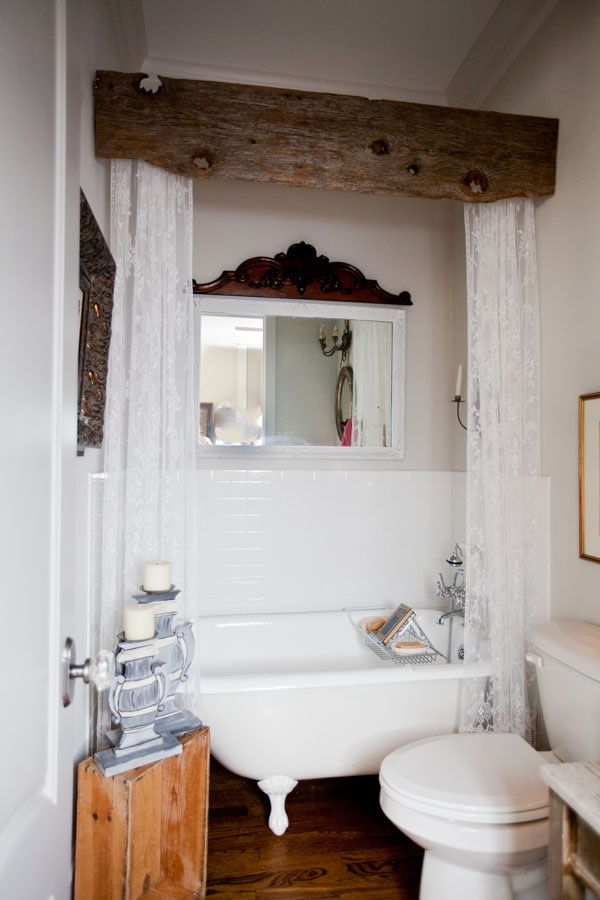
This rustic wood valance:
It was these photos that had imprinted into my mind, putting my design plan into action. I think knowing which elements will work together cohesively is just a combination of experience and intuition.
There were still a few small unknowns that would be worked out over time as everything started to come together, but I had a solid foundation to work with and began ordering my materials.
One of the biggest decisions you’ll need to make when pulling a space together is wall color. This proved to be a challenge for me after many paint samples and trips to Lowe’s—I didn’t even make a decision until week 4! Ultimately I kept going back to that original photo in my mind with the planked walls and gold faucet, and went with the closest match I could find—Valspar’s Gray Silt.
It’s neutral but warm and reads as almost a green in person under certain lighting. I love the complexity of it and am very glad I took the time to go through so many samples. Valspar was a sponsor this year and gave me the opportunity to try out their Reserve line. If you read my blog often, you know I’ve used Valspar almost exclusively for years and am the biggest fan of their Signature line, so I was definitely curious to try this new Reserve formula and see how it compared. To be honest, I didn’t notice a difference at all. Maybe it will prove to be more durable, but at least on the application side, it didn’t cover any better than normal so I’ll definitely be saving my money and sticking with Signature. For the sheen I used satin just because it’s better suited for a bathroom—I normally stay away from paints with any sort of sheen, just a personal preference (I prefer the look of flat/eggshell paint) but I had to be practical.
The verdict: Valspar’s Gray Silt is my favorite paint color of the moment, satin is my favorite sheen for bathroom walls, skip the Reserve line and stick with Signature.
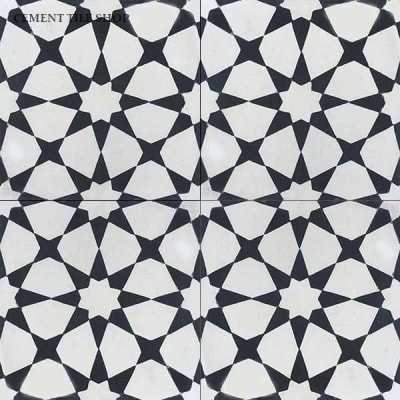
The biggest purchase and decision to make was floor tile. I was so determined to have that cement tile look, but boy are they expensive. After hours and days spent researching, I found some amazing options but unfortunately wayyy out of budget. The best deal I found was at The Cement Tile shop, and luckily they had a few options I loved. Ultimately I went with Agadir White at $6.90/sf—still way more per sf than I’ve spent on any flooring, but it’s something that I decided would make the room, and I only needed 12 boxes so I decided it was worth the splurge.
The verdict: They’re definitely more high maintenance than your standard porcelain or ceramic tile—they’re thick and heavy and fragile and you have to seal them—but I love that they are handmade and unique. It just makes the bathroom feel that much more special. If you’re on a strict budget I’d spend the money elsewhere, but if you’re looking for that specific style that only encaustic cement tile can bring… it’s worth considering.
The other big purchase was our clawfoot tub.
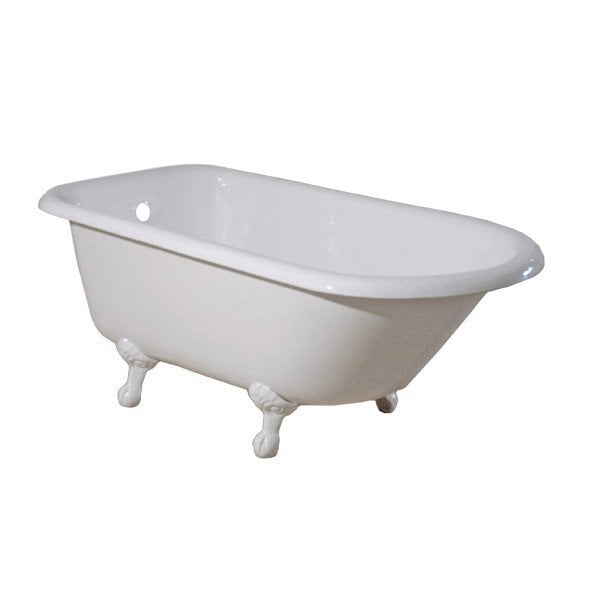
This was tricky because the standard minimum tub length is 60″ but we only had a 59″ opening. There aren’t a lot of small vintage tubs out there in our price range. I scoured Craigslist for weeks and found a couple, but after adding up the cost of reglazing/refinishing (plus the hassle of picking it up, any DIY involved and time constraints) it just made way more sense to buy new. Luckily I found this
57″ Randolph Morris model for a very reasonable price:
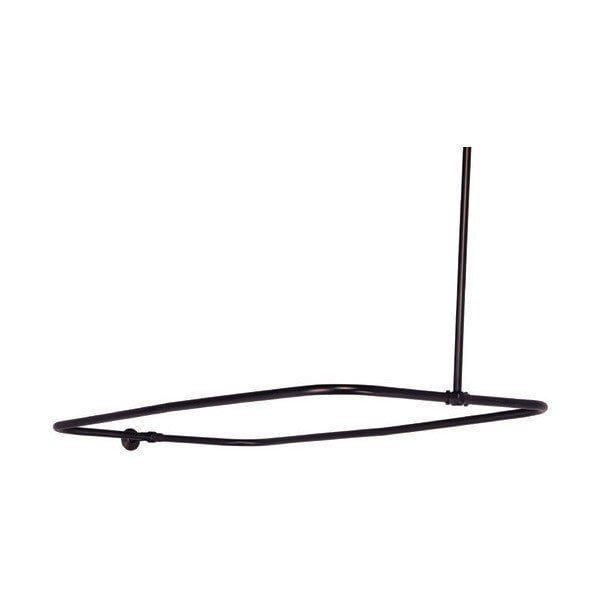
I have no prior experience with clawfoot tubs or their requirements, but the rep I worked with was super helpful and I was able to get everything I needed there in one shot. I added this shower enclosure:
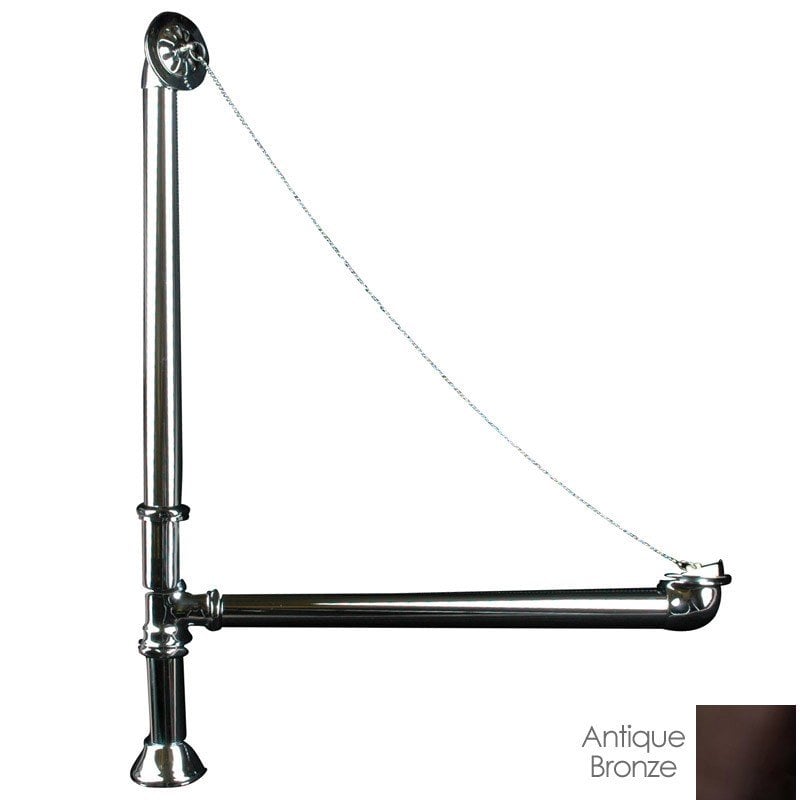
And this chain & stopper tub drain:
So all together, the tub setup definitely ended up being the most expensive investment—but probably not much more (if at all) than hiring out labor for a built in tub system—plus the room feels so much larger without a built in tub, and again, I think it adds so much to the style of room.
I ordered the tub in white and added the patina myself (more on that later) but they do offer custom tub painting at a very reasonable price. I almost went that route but it was too risky without seeing the color first in person.
I should also touch on the fact that this serves as a shower as well.
I’ve heard from others that these tubs are not ideal for showering in because you’re enclosed in a small space. I can understand that, but as I’ve mentioned before, this is our second guest bathroom and the shower was used by only one guest during Thanksgiving. We have a more private shower downstairs that our guests prefer to use, so the main objective here was to have a tub to relax in. We thought about removing the shower completely, but decided to keep it for the future if we have multiple guests staying with us at once. I don’t think they’ll mind too much 🙂 And I haven’t spent much time with
the faucet but I’m very happy with the color and price and would definitely buy it again.
The verdict: I actually still haven’t had an opportunity to break it in, but I’ve bathed in clawfoot tubs before and loved it. The quality of both the tub and accessories were exactly what I had expected/hoped for and I’ll definitely be returning to Vintage Tub & Bath if I need another in the future.
While we’re still focusing on the shower… these curtains were the happiest accident:
I was planning on buying simple gauze fabric (from my inspiration photo) and making them into curtains, but I was at Ikea last month and just happened to walk by when these jumped out at me. At $10 for two panels, I realized I had stumbled upon the best score ever and picked up two packages. Now, I realize these aren’t designed for keeping water inside the tub and I do have plastic liners that I will need to clip on when it comes time for someone to shower, but as I mentioned earlier, that’s only happened once so I’m more than willing to deal with that and stare at these beauties the other 99.99% of the time. This one detail is perhaps my favorite thing in the entire room—and to think it just came from being in the right place in the right time!
Moving onto this area…
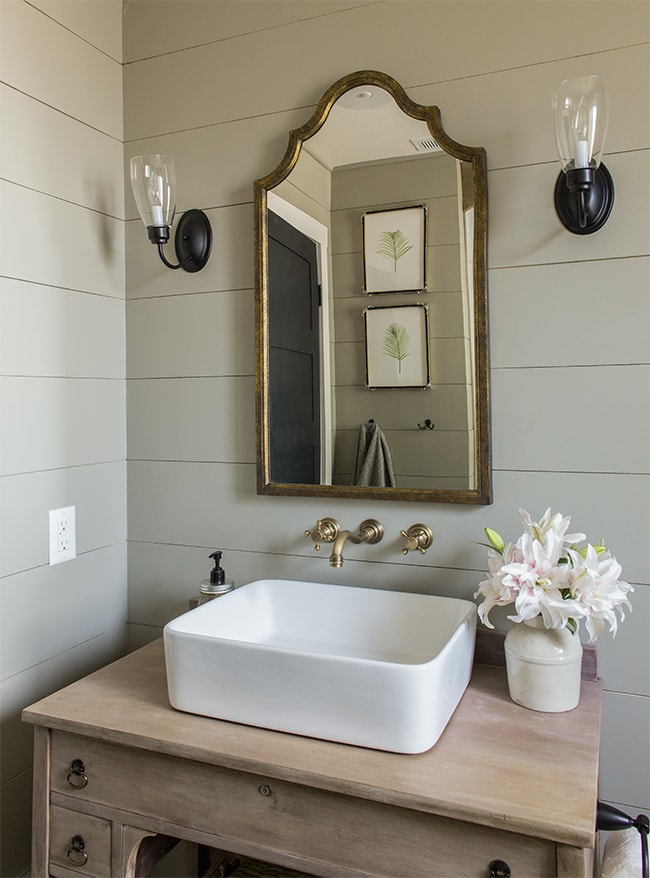
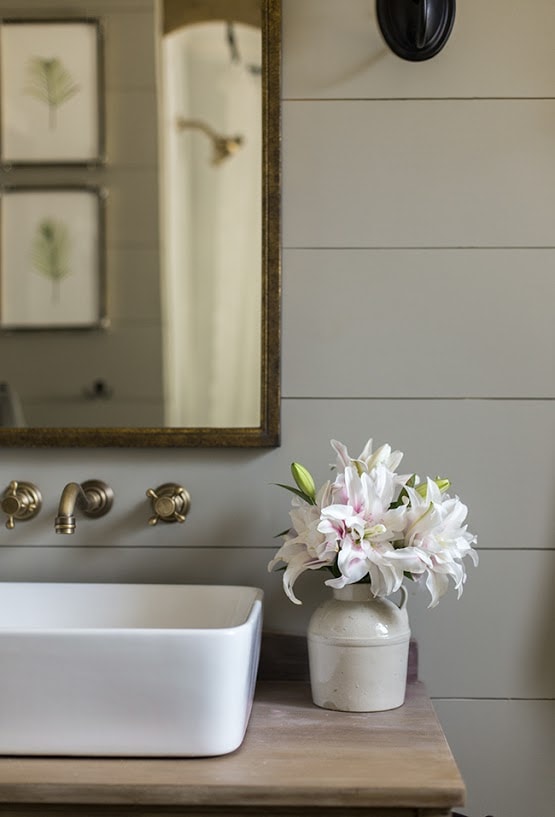
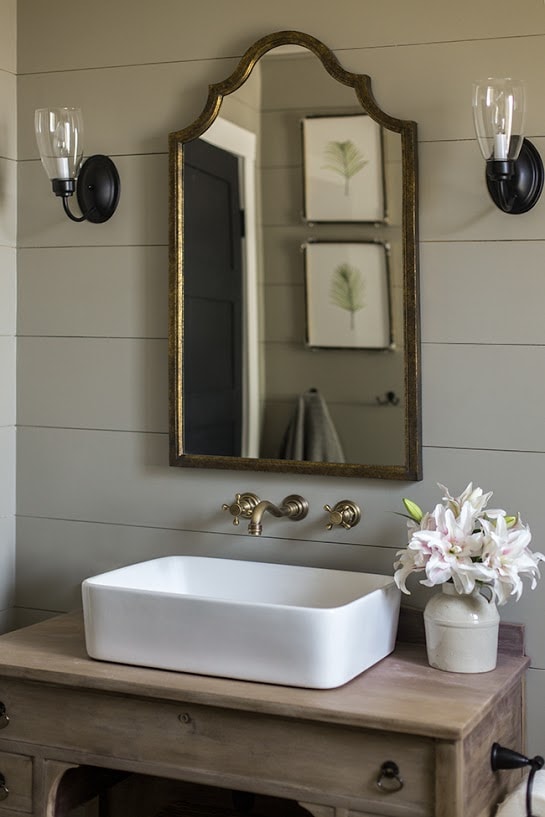
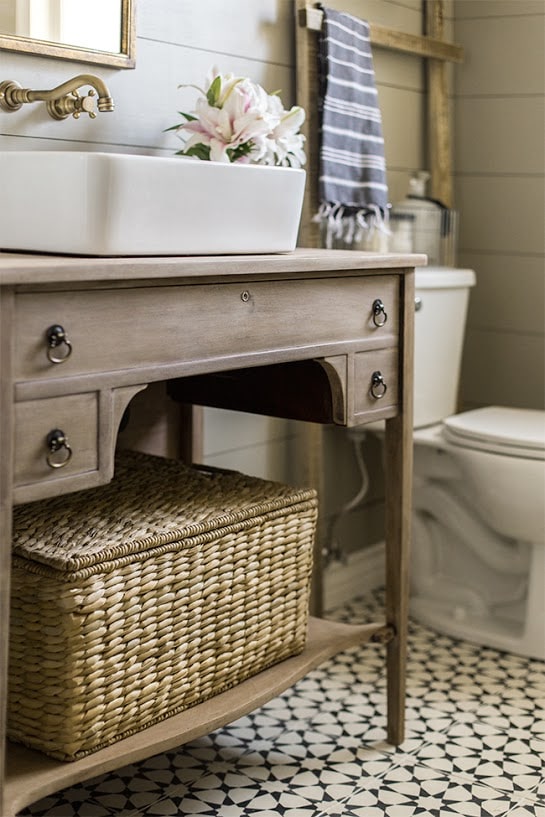
I mentioned in Week 1 that I found this antique buffet on Craigslist and scooped it up right away—and I’ll go into more detail later this month on the refinishing process. For now let’s focus on the sink, faucet, mirror and sconces.
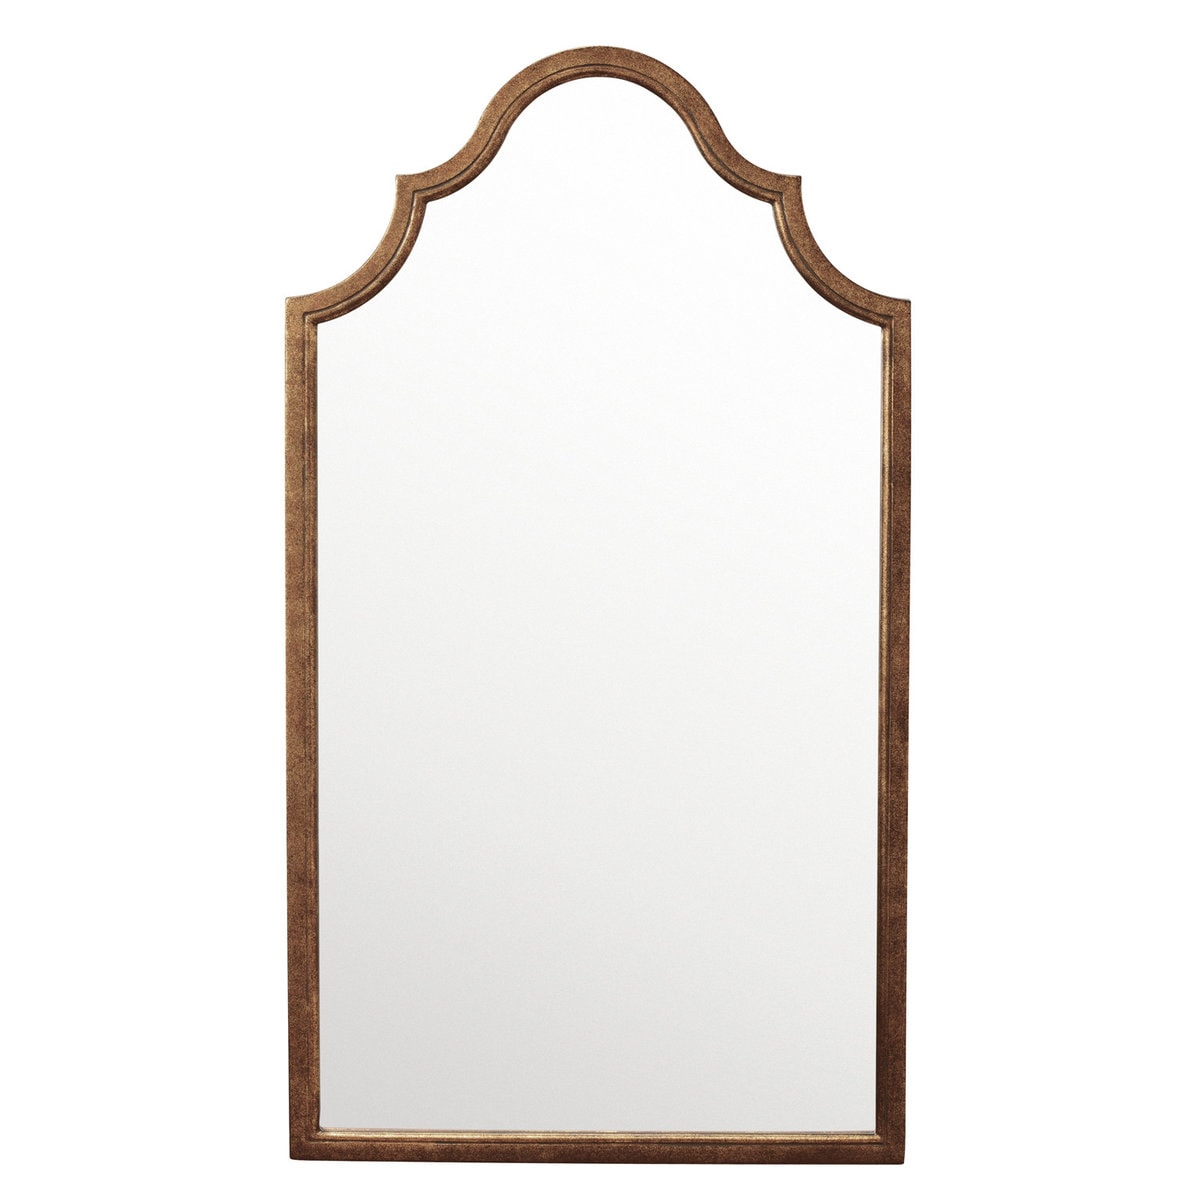
The mirror was one of those things where I knew exactly what I wanted from the beginning. In Week 2 I had linked up to this mirror I ordered from Wayfair…

I wasn’t sure how it would look next to the faucet color so I was half expecting to have to paint it black. I ended up actually liking the way the tones played off each other so I left it.
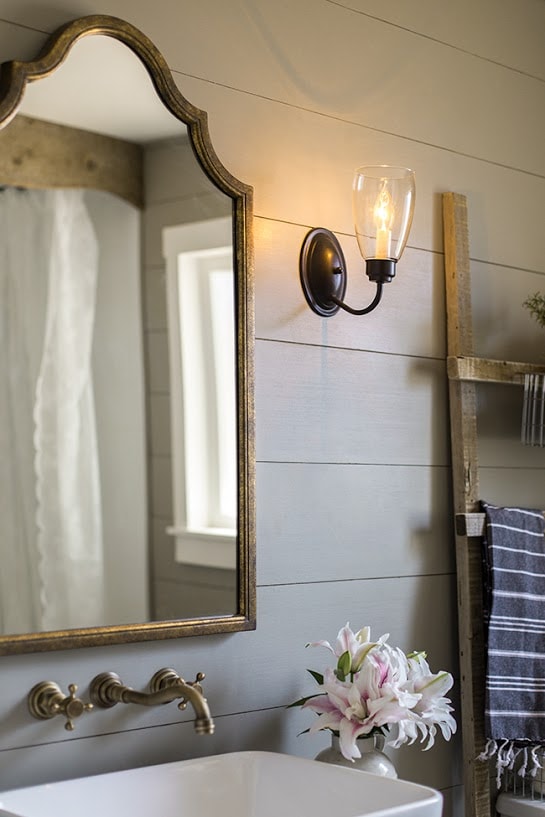
I did, however, have to paint the sconces black after ordering them. These were found on Wayfair also but unfortunately they’re no longer up and I managed to not take any before photos—but they were a rustic orangey bronze that wasn’t very well represented online and completely clashed with the gold faucet and mirror, so it was an easy choice to paint them black.
The sink was another Wayfair find. Wayfair was one of the ORC sponsors this year, but I’ve been a long time customer and honestly probably would have purchased these items even if they weren’t sponsors because they were the best deals I was able to find and exactly what I was looking for.
Which leads to my favorite part… the faucet! I was biting my nails with this one because it was a dirt cheap (almost too good to be true) no-name brand from Ebay being shipped from the other side of the world and therefore a big risk. A reader chimed in saying she had the same faucet and loved it so that eased my worries, and I was so pleasantly surprised when it came in the mail and appeared to be good quality. Our plumber installed it without any issues and it works like a dream. What a great score… I love Ebay success stories (the faucet is now available for a better price in multiple colors on Amazon!)
And lastly, I spent a long time searching for the perfect storage basket.
It needed to be the right size, shape and color. There are millions of baskets out there so you think this would be an easy task but I was coming up short at my go-to basket sources (The Container Store, Overstock, Wayfair, Pier 1, World Market, Ebay, Target, Walmart, Ross, Ikea, TJMaxx) so I ventured into new territory: Pottery Barn. Don’t get me wrong—I’m madly in love with the Pottery Barn/West Elm/Crate & Barrel product lines but I’ve never once, in my life, brought myself to splurge at one of those places. I always allocate my budget to materials/labor and have never been able to justify spending a lot on decorations and “stuff”, relying solely on DIY, flea markets/thrift stores/craigslist, and bargains online. However, there comes a point when you just can’t find what you’re looking for and it’s worth it to invest if it’s an important piece in the room. And an improperly sized basket just wouldn’t have cut it. So I made a “grown up” purchase and spent $60 on a basket. It’s big enough for lots of storage, it looks like it was meant for the vanity, and yes, it was worth every penny.
The verdict: Absolutely love every purchase here. No regrets at all.
A few more details…
These framed prints were courtesy of our generous ORC sponsor, Minted. I had selected a handful of different styles and frames, and ultimately liked the simplicity of these ferns so this set was the winner. I also love the vintage black & pewter detailing of the frames and thought they complemented the style of the room the best.
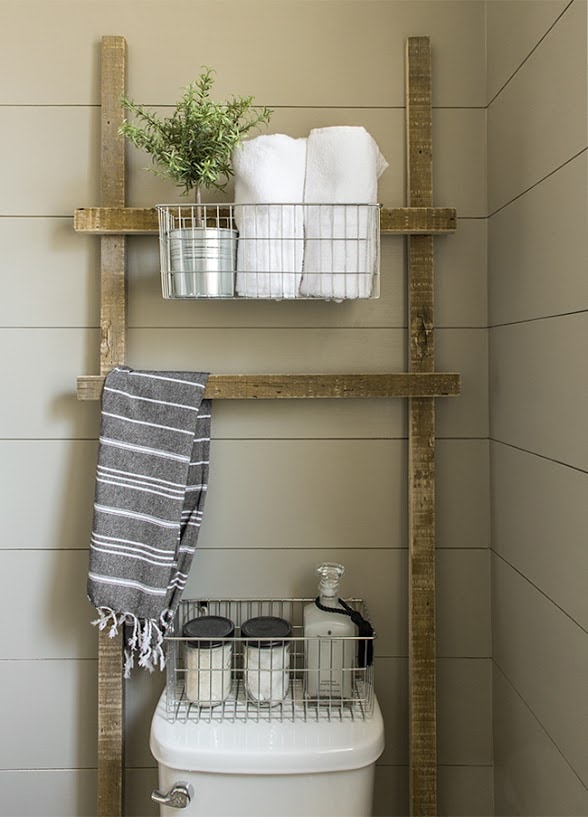
I also loved the idea of creating a unique storage area while incorporating reclaimed wood. This ladder was a super quick and easy DIY and cost just a few dollars (tutorial in the next post). You can’t go wrong with wire baskets, so I picked up two from Overstock and filled them with some bathroom basics. Rather than buy a towel holder and add more holes in the wall, I simply draped a hand towel over the ladder rung and placed it within easy reach of the sink for guests. The ladder is nailed to the wall at the top for sturdiness.
The verdict: Details are what make the room unique and they don’t have to cost a lot (or even anything if you’re a creative DIY’er). I love using items from a wide range of sources (independent artists, makers from across the world, local lumber mills) which work together to bring personal significance to a space. That’s just as important, if not more, than simply looking pretty.
Hopefully this post helps to answer any questions and give you some insight into the design process and how I work to pull a room together. In a couple days I’ll be back with simple tutorials for three awesome reclaimed wood projects for your bathroom, and how you can make them all in one afternoon for less than a few dollars (or free if you know where to look!). These really helped define the style of our bathroom so I can’t wait to share how easy they are so you can get out there and make your own! Check back soon…






Jill says
Hi again, our bathroom is almost complete and loving every bit of it! Do you mind sharing what color black you used on the bathroom door? Our carpenter is here creating the same look for our door! Thanks so much, Jill
jennasuedesign says
Thanks! It’s Valspar’s dark kettle black.
Jill says
HI Jenna,
First of all incredible work on your reno and inspiration!! I just had our small guest bath demolished today! I ordered your faucet from eBay and sink basin; now I just need to find a vintage buffet to recreate what you made for this similar look. Do you mind sharing how you attached the basin to the top of the vanity; did your plumber need to do that? I thought I saw that you were coming out with a tutorial on how you completed the process but I don’t know if you did one or not?
Thanks so much!!
jennasuedesign says
Hi Jill, the sink was secured with the drain/plumbing and I believe he used a bit of adhesive at the bottom where it met the wood too. Hope this helps!
Deb says
Every detail here is perfect! Even the frames, the lime painted tub, the vanity color, the floor tile choice, how it all works together. Love this room!! Very inspiring.
LOL regarding the faucet source. I recently had to take two exposed shower systems to India and didn’t want to pay big prices for both. I paid more for one from a U.S. source and ordered the other off eBay “from the other side of the planet” but a different seller. Like you say your room is used not often, we don’t spend much time in India so even if that shower is not the greatest quality, it was only $120 with free Fed Ex shipping (how is that possible?!?), and it’s brushed gold and great style. Fingers crossed it will hold up!
And thank you for sharing your sources!
Kam says
Hello! Quick question that’s completely off topic. Do you know how to make your site mobile friendly? My website looks weird when browsing from my iphone. I’m trying to find a template or plugin that might be able to resolve this problem. If you have any recommendations, please share. Thank you!
jennasuedesign says
It was all set up when I first did the site redesign and then something happened to shrink it! It’s still a mobile friendly version but you should be able to just enlarge the content to fit your screen. Trying to work on it with my web designer at the moment!
Meredith Lawler says
The awesome floor tile…you mentioned it’s a bit high maintenance. Do you mean high maintenance in installation, or afterwards? How’s it holding up (or what is its reputation for holding up)? Would you use this in a higher traffic master bathroom? What did you seal it with? Thank you! Love your blog!
Lora says
Hi,
I love your work…. Have been checking in regularily over the past year. This bathroom is such an excellent example of how to make a standard size bathroom just stand out! Wow! Just wondering what is on the walls in the shower suround area… Is it just painted drywall? Or some kind of water repellent surface?
jennasuedesign says
Nope, it’s tile! There’s a post that shows the installation during the 4th week I believe if you go back to the recaps.
nicole says
Im smitten with the whole thing! Question on the shower curtains…I litterally just thought of using the same curtains as I like to let a lot of light into the shower area. We only have one small window and a crappy fan/light. So, in wondering what you used for curtain rings and also how yo plan on attaching the liner when you get to that point. Also, doyou have a bathroom fan? I’d love it if you could do a post about making those kinds of eyesores more stylish, especially doorbell chime covers and cold air returns. Not realyy digging what is out there.
jennasuedesign says
I used standard curtain rings! They clip on and off so I can just clip on a liner when needed. There was no bathroom fan but there’s an AC vent, window and door for ventilation.