When it comes to shelves, I generally prefer them to be a simple floating installation (like the ones we DIY’d for our kitchen and bar wall), but this often requires some creativity. Our kitchen and bar shelves were all lightweight and hollow inside, but what happens when you want to use a big reclaimed piece of wood?
Here’s a mockup I posted of the back wall when we started this project, to give you an idea of the plan for the back cabinet wall:
That floating shelf is what we were attempting to make.
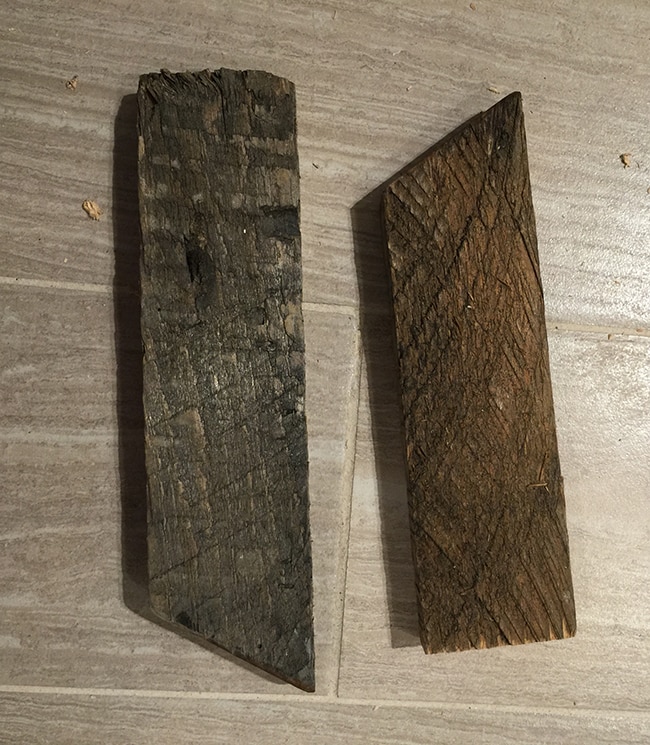
If you’re following on instagram, you may remember that I set out to find a perfect rustic board at our local lumber yard:

After an hour of sorting through a few acres of piles, I found the one, happily paid the guy $20 and was on my merry way.
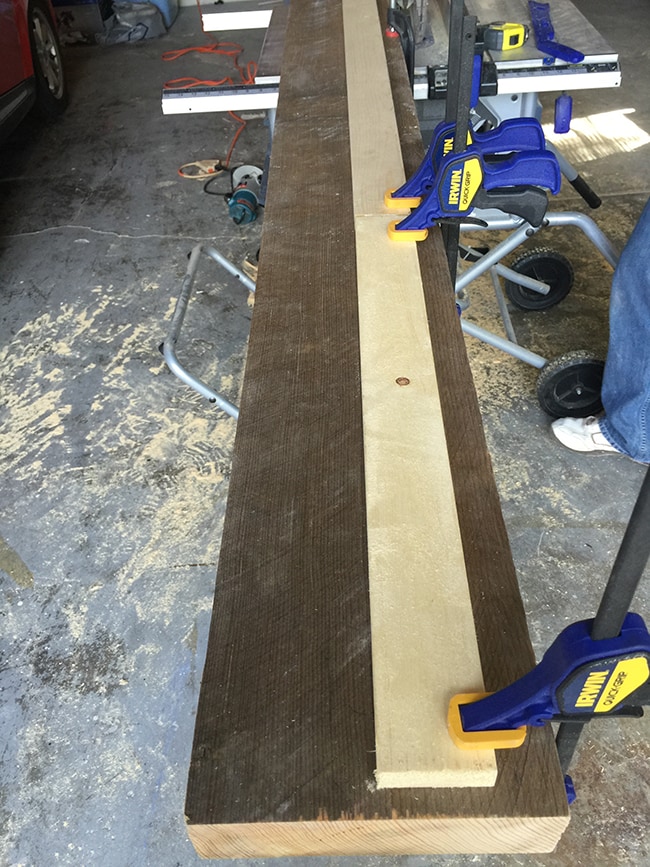
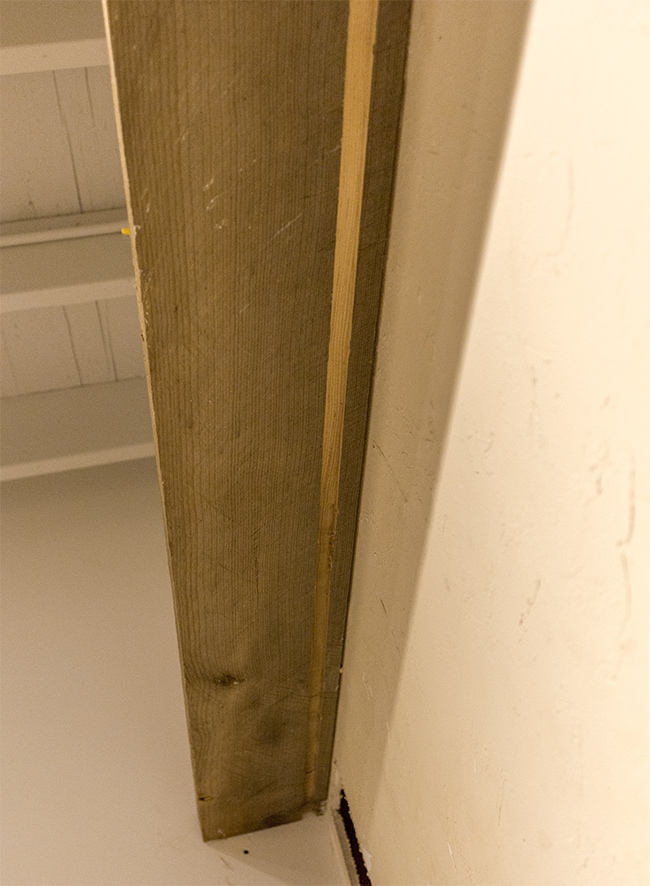
It was 2x12x10.5′ which was a bit larger than desired…
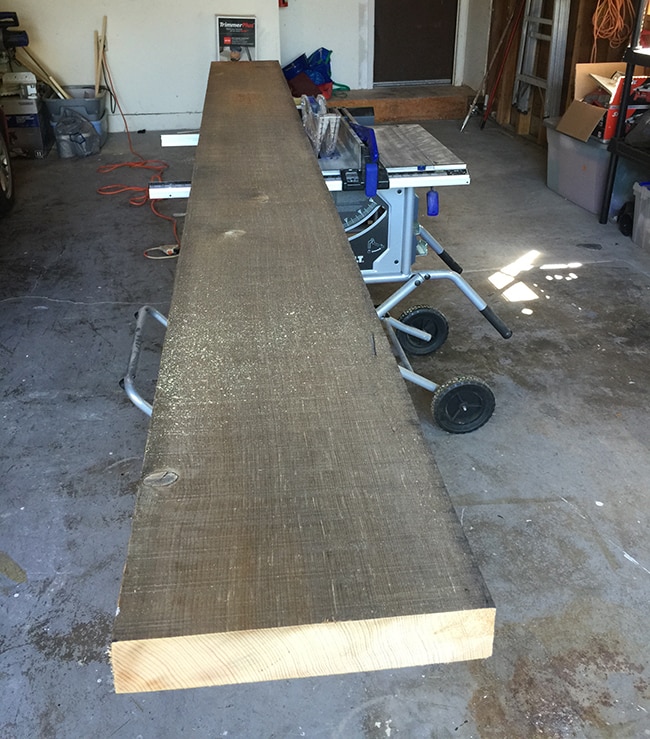
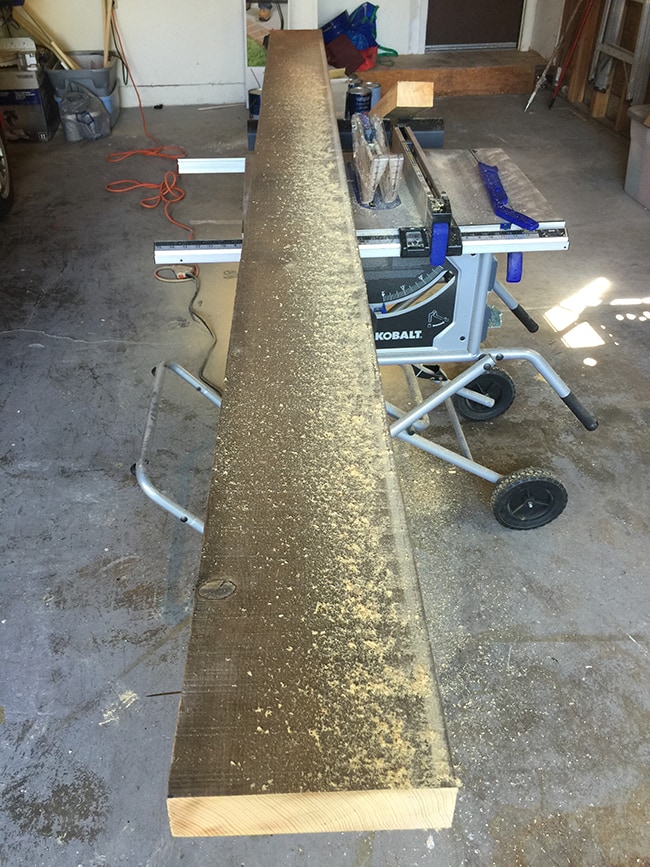
So I cut it to 10′ (the width of our wall) and ripped it down to 8″.
For the installation, I decided to try out a new method. It involved inserting four big 10″ lag bolts into the studs, then drilling holes into the shelf and sliding it onto the bolts to hold the weight. Sounds so simple, right? Well, this project ended up turning into a 7 hour nightmare but at least this one has a happy ending!
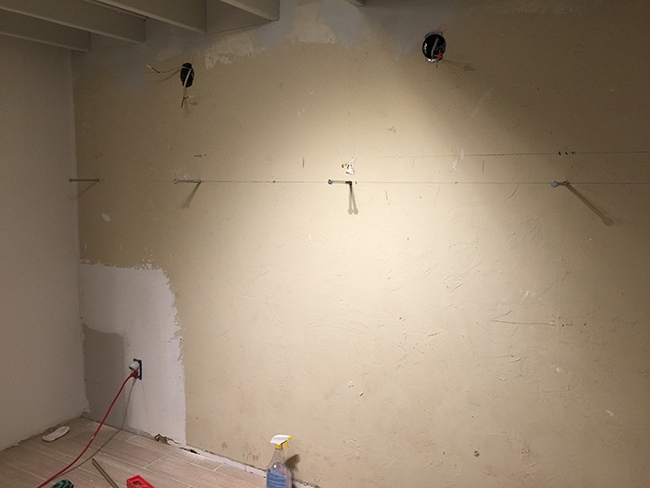
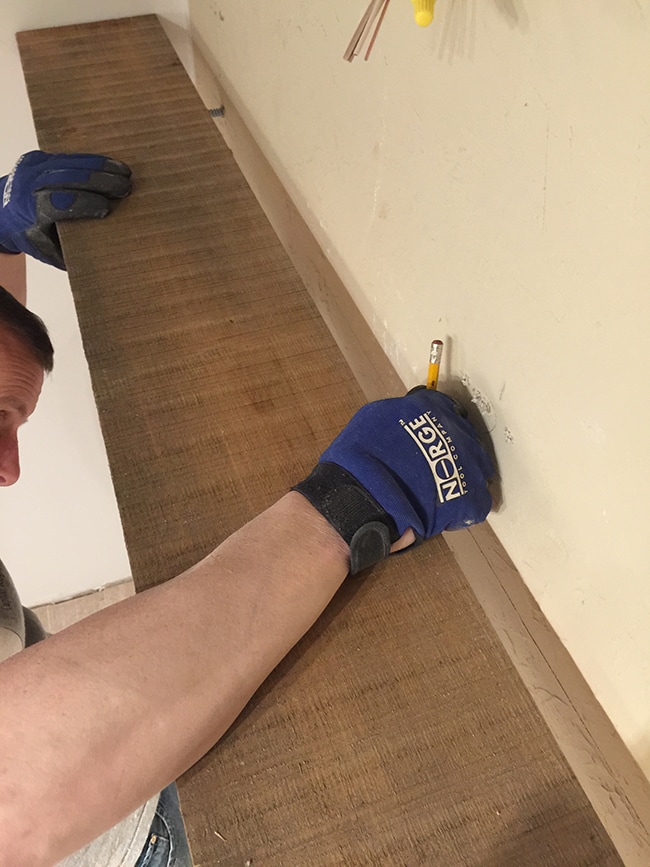
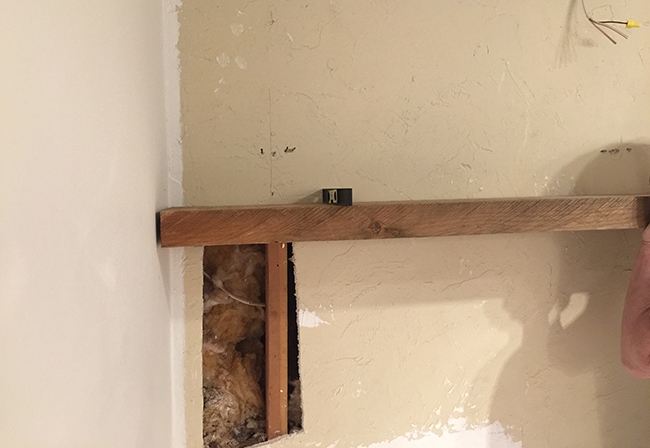
First, I decided where I wanted the shelf to be and drew a line across the wall using a big level.

We used a stud finder to locate where our studs were behind the line, and selected four locations spread out across the wall. Using a ratchet, Brad slowly drove the bolt into the stud (about 4″ deep), working carefully to ensure everything was as straight and level as possible.
We held a small level on top but there was no way for it to sit completely flat, and also no way to know if it was 100% straight from side to side… a lot of variables in this project here.
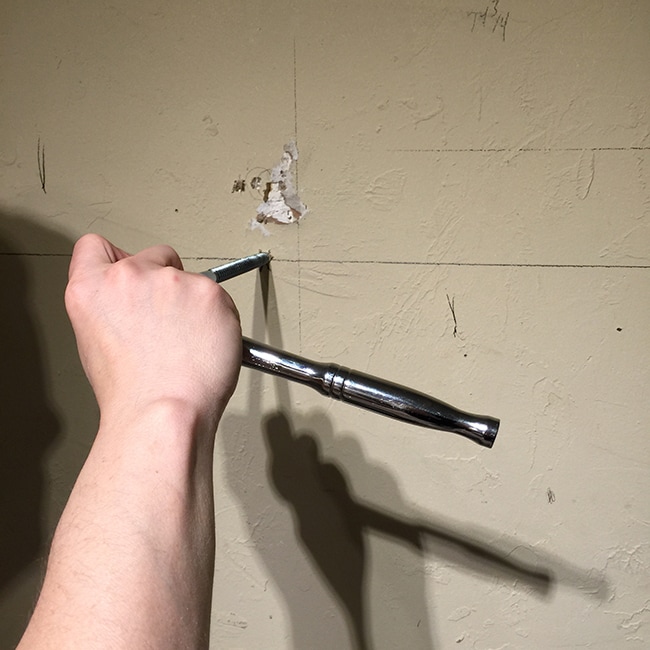
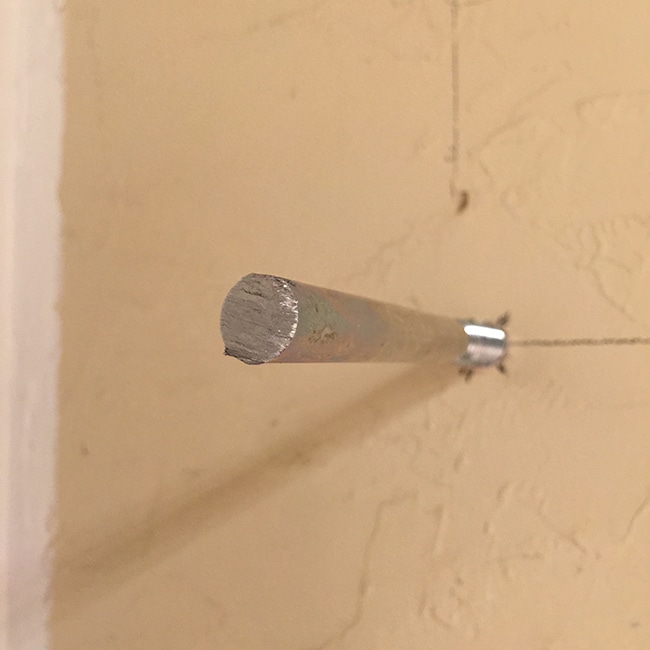
In order for the shelf to be able to slide on, we had to cut the bolt heads off. Brad used a reciprocating saw for this:

After about a minute per bolt, they snapped right off:
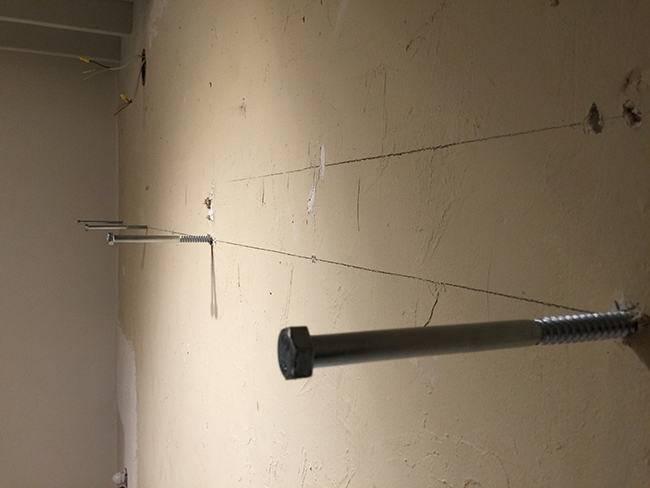
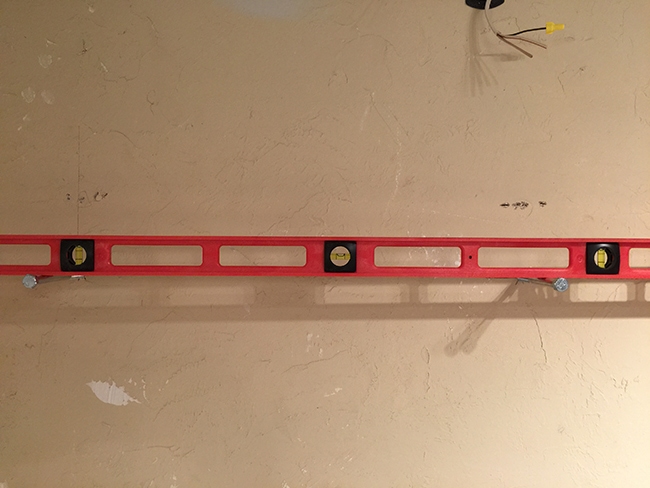
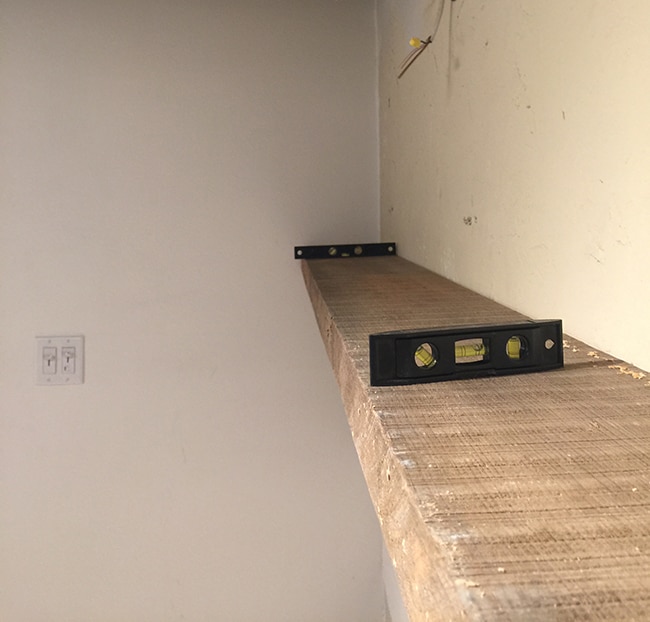
We held the level up to see how we did, and surprisingly it was pretty close to perfect:
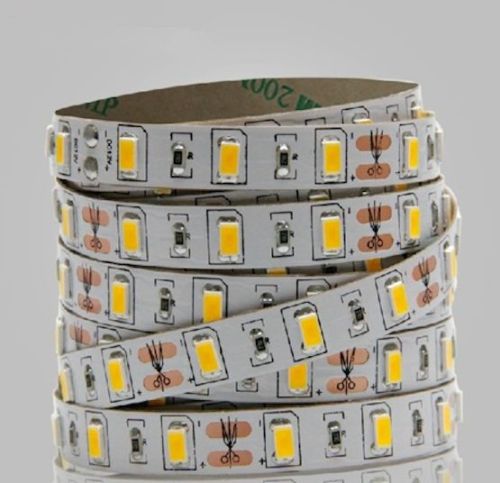
Back to prepping the board. We realized that with the two lamps above the shelf, it would create a shadow on the counters so we bought this LED light strip on Ebay to use underneath it:
We use the same one in our kitchen and it has worked great so far, and we like that it’s super low profile and can be hidden:
It’s dimmable and needs to be wired on its own circuit, so Brad cut a chunk out of the drywall in the corner to tap into the wire:

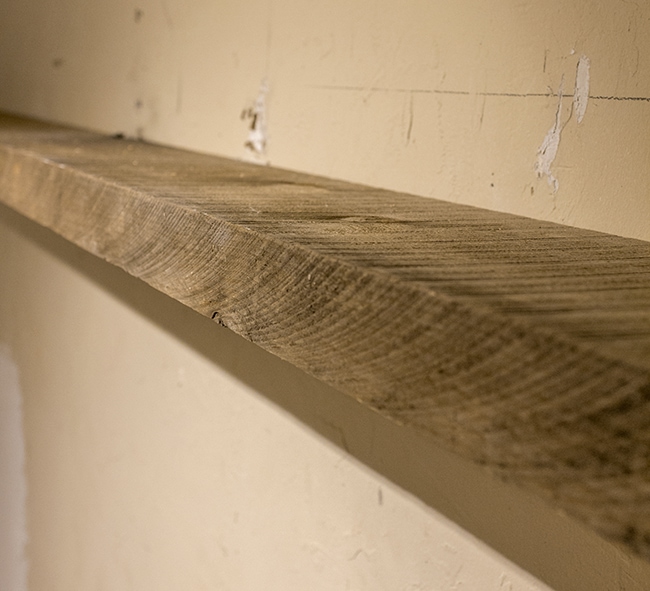
The light strip is flat but we wanted to make sure it was competely hidden, so we borrowed my dad’s router to hollow out a channel that it could sit in. This was our first time ever using a router—I think we need to buy our own!
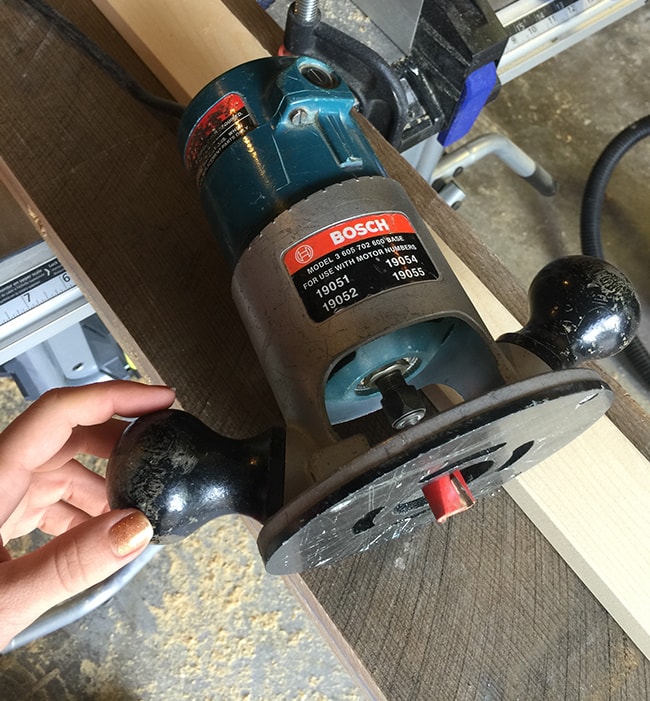
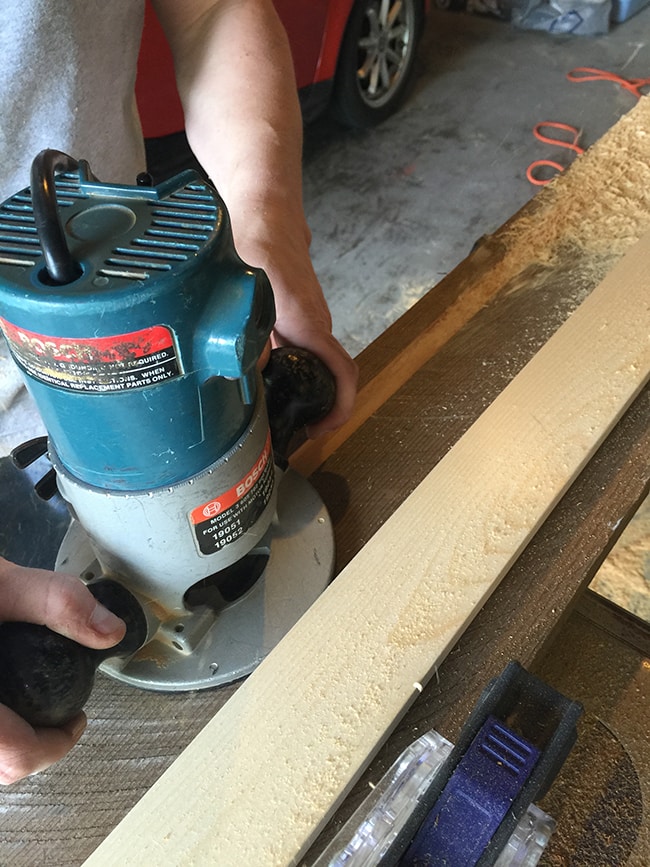
To keep the router steady and make a straight line, we clamped down some wood in the correct position:
Then simply guided the router down the length of the board:
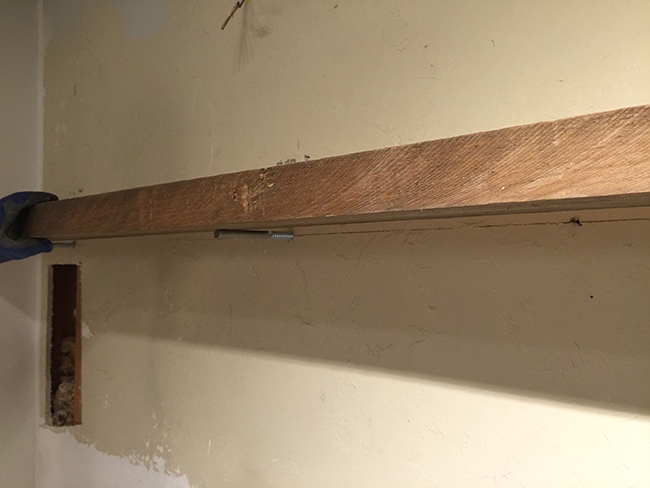
At the end of the board where the wire would need to pass through the wall, we routed out another small channel (don”t mind the unevenness, our router bit was having issues—it will be hidden):

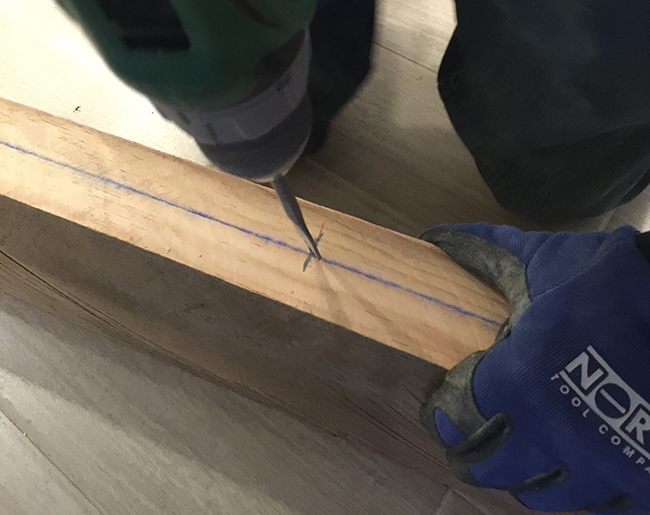
On the back side of the board we had to drill the holes for the bolts to slide in. To make sure they lined up exactly, we brought the board down and held it up to our bolts:
And marked the back where the bolts were touching:
We had marked a chalk line along the center (you could just as easily measure and mark though) and used a spade bit a little larger than our bolts to make the holes.
This was another one of those situations where there was no way to really know if it was going in 100% level and straight side to side (our drill doesn’t have a built in level).
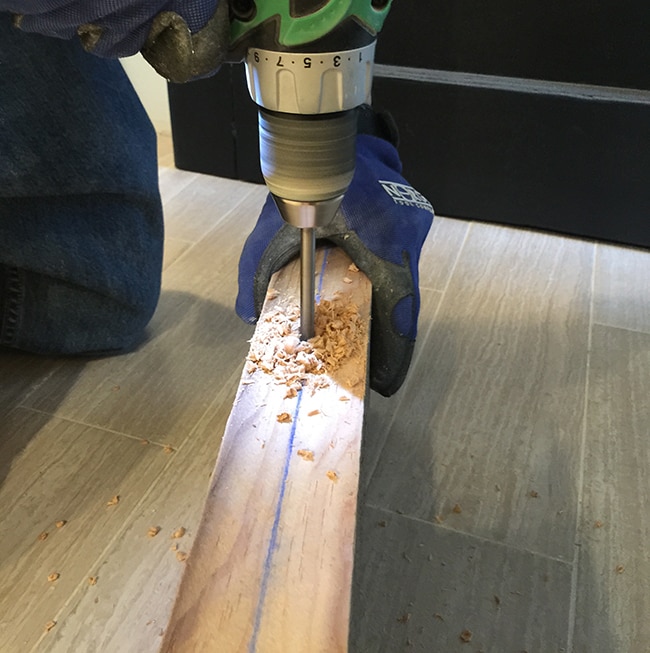
Our bit was extremely dull and worn out so this part took forever. But we finished it.
Then came the moment of truth…… we slid our shelf onto the bolts and crossed our fingers:
Nope. Not level. At all. Despite our best efforts, the forces did not align and between all the variables working against us, we had no luck. So we started trying to figure out how to remedy this situation. First by wallowing out our holes to see if we could even things out somehow. No luck there. Then we decided that our only option—as much as I really wanted a floating shelf—was to use brackets on the ends. Sigh.
So I grabbed some of the scrap wood and cut a couple cleats.
Of course there was no stud behind the wall so we used an insert, pushed up on the shelf to get it level, and attached the cleat.
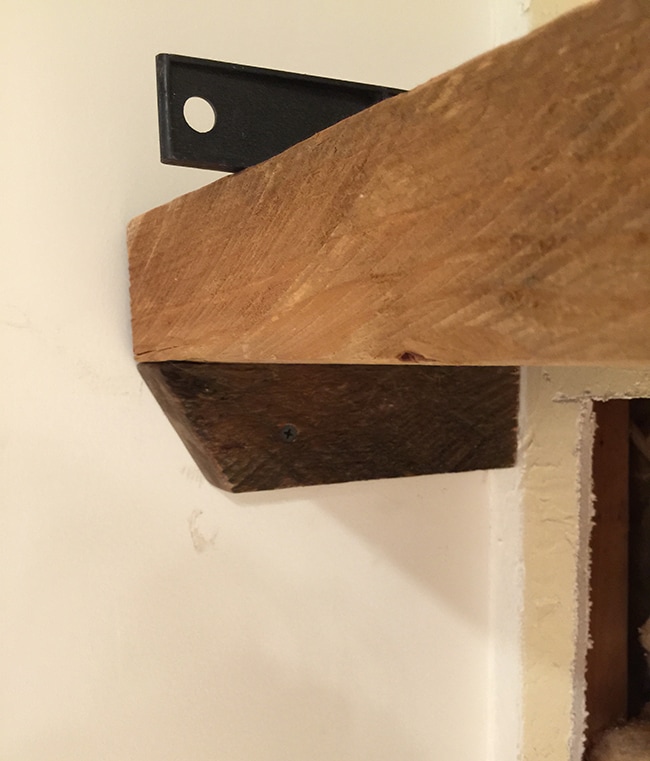
This worked to make the shelf level, but we were left with a noticeable gap between the shelf and the wall (you can see it in this photo):
I was not having that, so we removed the cleat, removed the shelf and Brad spent some more time trying to make the holes larger so we could slide the shelf over. After exhausting both drill batteries, we put it back up and it was exactly the same. Then I got an idea… why don’t we use shims wedged between the shelf and the wall to force it over? That ended up working—and not only that, but if we lifted the shelf at the same time, it held the entire thing in place and kept it level! That meant we could ditch the cleats! Happy dance.
We had to shim both sides to keep the front end raised up.
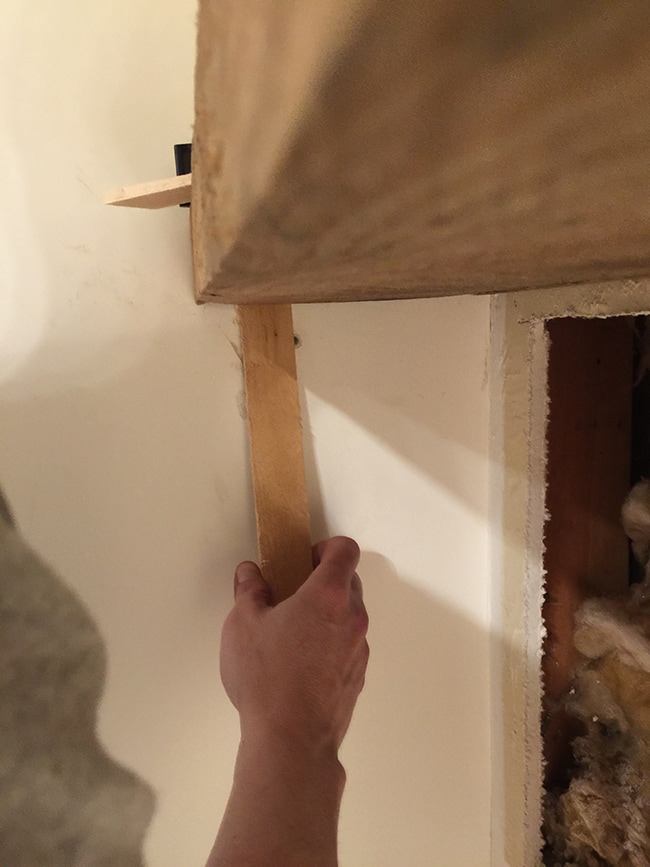
Once it was in the correct position, we snapped off the shim so you couldn’t see it. This left a small gap on either side but it wasn’t super noticeable. The walls aren’t perfectly straight and they get narrower in the back so there’s really no way to make it tight up against the wall on both sides (we already scratched the wall a few times trying to get it in).
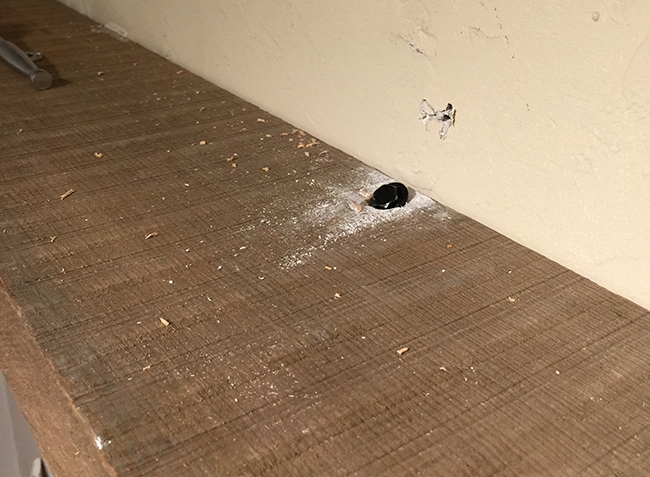
Brad thought I should use a bunch of liquid nails between the shelf and wall for a little extra protection. I applied it on the sides and around the bolts to ensure it wouldn’t move after it dried, and we noticed that the shelf had settled back down a bit and was no longer level. It wasn’t nearly as bad as it was originally, but still.
As a last ditch effort, we found a large bolt in the garage and decided to drive it into a stud in the very back of the shelf, hoping it would pull the back of the shelf closer to the wall, lifting up the front, making it level.
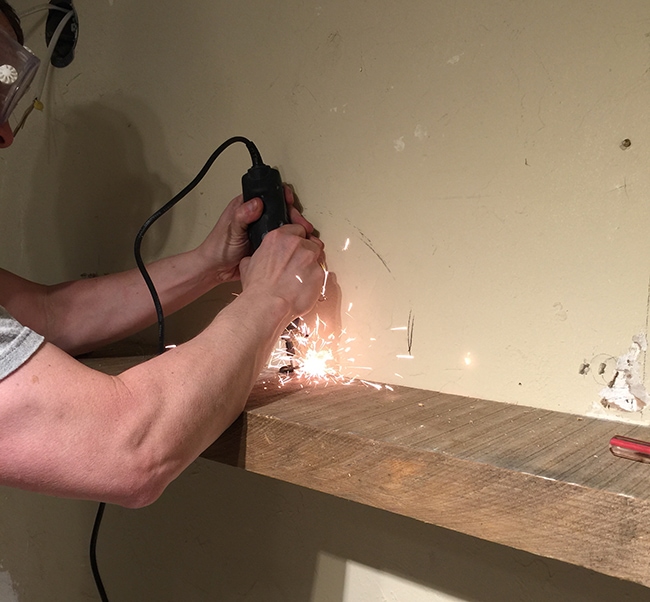
It worked PERFECTLY. If we had to do it all over again, we could have saved ourselves a few hours and just drilled a few bolts in from the top.
We counter sunk it a little but it was still sticking out, so Brad used a metal bit on the dremel to shave it down.
It blends in just fine with the shelf, and especially once I fill it up, you’ll never see it.
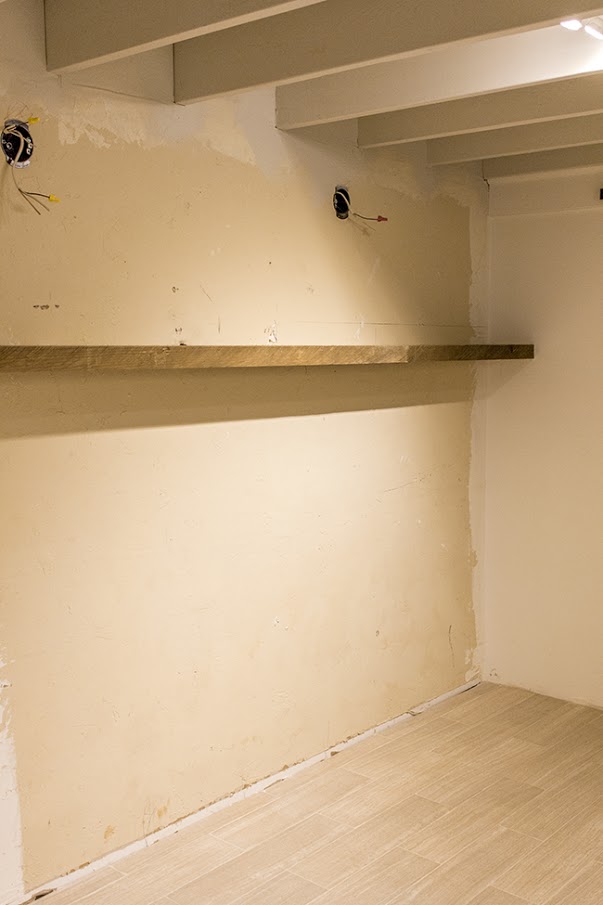
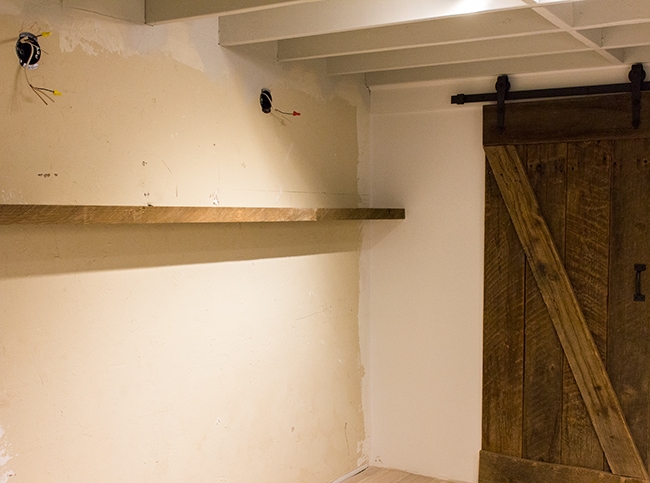
After an exhausting and challenging day, our shelf is finally complete… whew!
The light strip should arrive later this week and it won’t take Brad long to install. Here’s how the channel looks from underneath:
I’m loving the way this looks next to the barn door…
We just received word that our cabinets have shipped, so I’m really hoping they will arrive by this weekend!
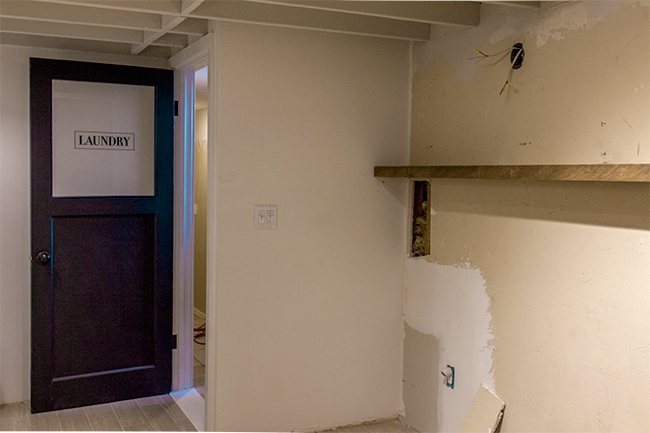
If you’ll notice our new Laundry decal on the door—I had ordered a replacement last week since our installation was a little off on the first attempt, but this time it went on just right (I think it’s easier when the door is already hung). Anyway, Jessica was kind enough to send me two decals just in case we messed up again, and since we don’t need it I thought I’d give one away to one of my lovely readers!
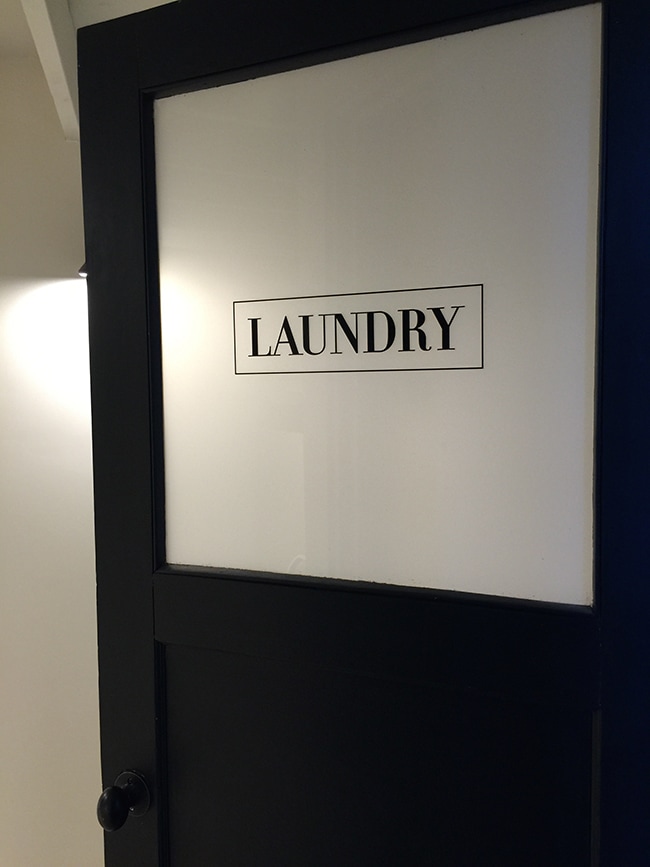
You don’t need a glass door for this—you can use pretty much any flat surface (a wall, wood, plastic, metal, etc). I think it would be fun to make a sign using a scrap piece of wood to display on a shelf or wall in your laundry room or even on or above the door.
To enter, simply follow the instructions over on my instagram account! If you don’t have instagram, you can leave a blog post comment as I’ll be including them as extra entries. Deadline to enter is this Sunday, March 15th and I’ll be announcing the winner on Monday the 16th. Good luck!


AC says
HI, I have been following you in awe on instagram and now most recently your blog. Your work is absolutely amazing and inspiring. To my utter surprise i found out your home is in sonora. I as well live in sonora. I was wondering what lumber yard you go to for your reclaimed wood?