Today’s post is a fun break from all the heavy renovation posts lately, and something a bit different than my typical neutral farmhouse style so I’m excited to switch things up a bit!
Furniture refinishing is one of my favorite ways to personalize a space and make an impact without spending tons of money. What I really don’t like, however, is all the prep work in the form of stripping and sanding off paint, varnish and old stains. I’ve always been curious about trying different types of paint that eliminate the need for extensive prep work and also give that higher-end finished look, so when Maison Blanche Paint Company reached out to see if I was interested in trying out their line, of course I happily accepted! I’ll be experimenting with different types of paints, waxes and varnishes on several different projects and documenting each one so I can share the results with you guys.
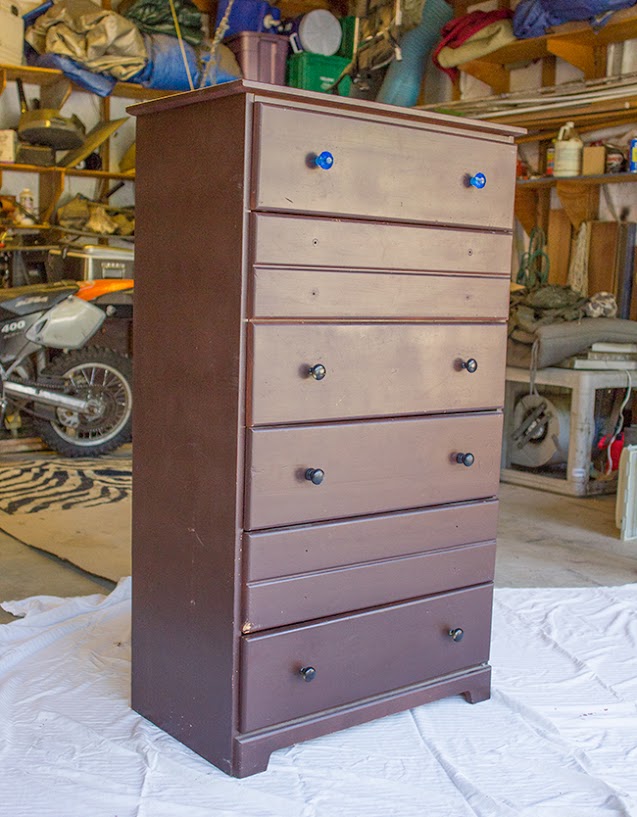
For my first project, I actually have a friend (Bonnie) who had an old dresser sitting in her garage that she was dying to transform so I thought this would be the perfect opportunity.
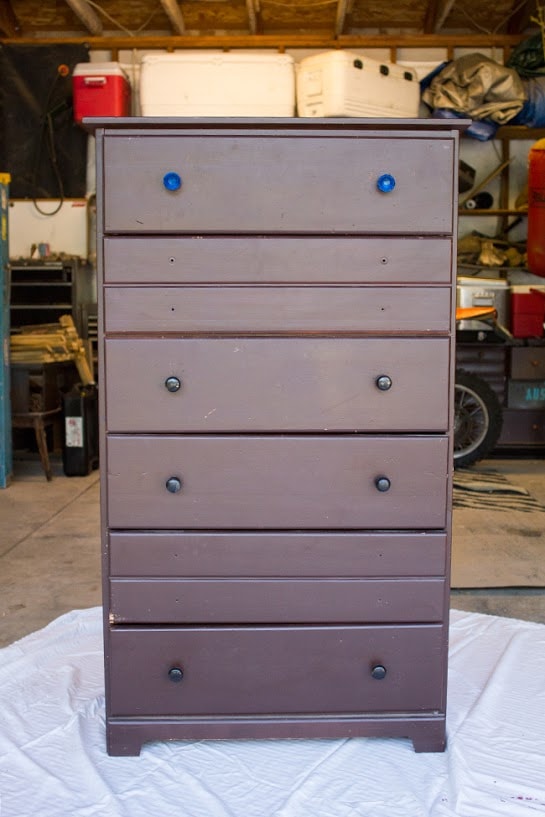
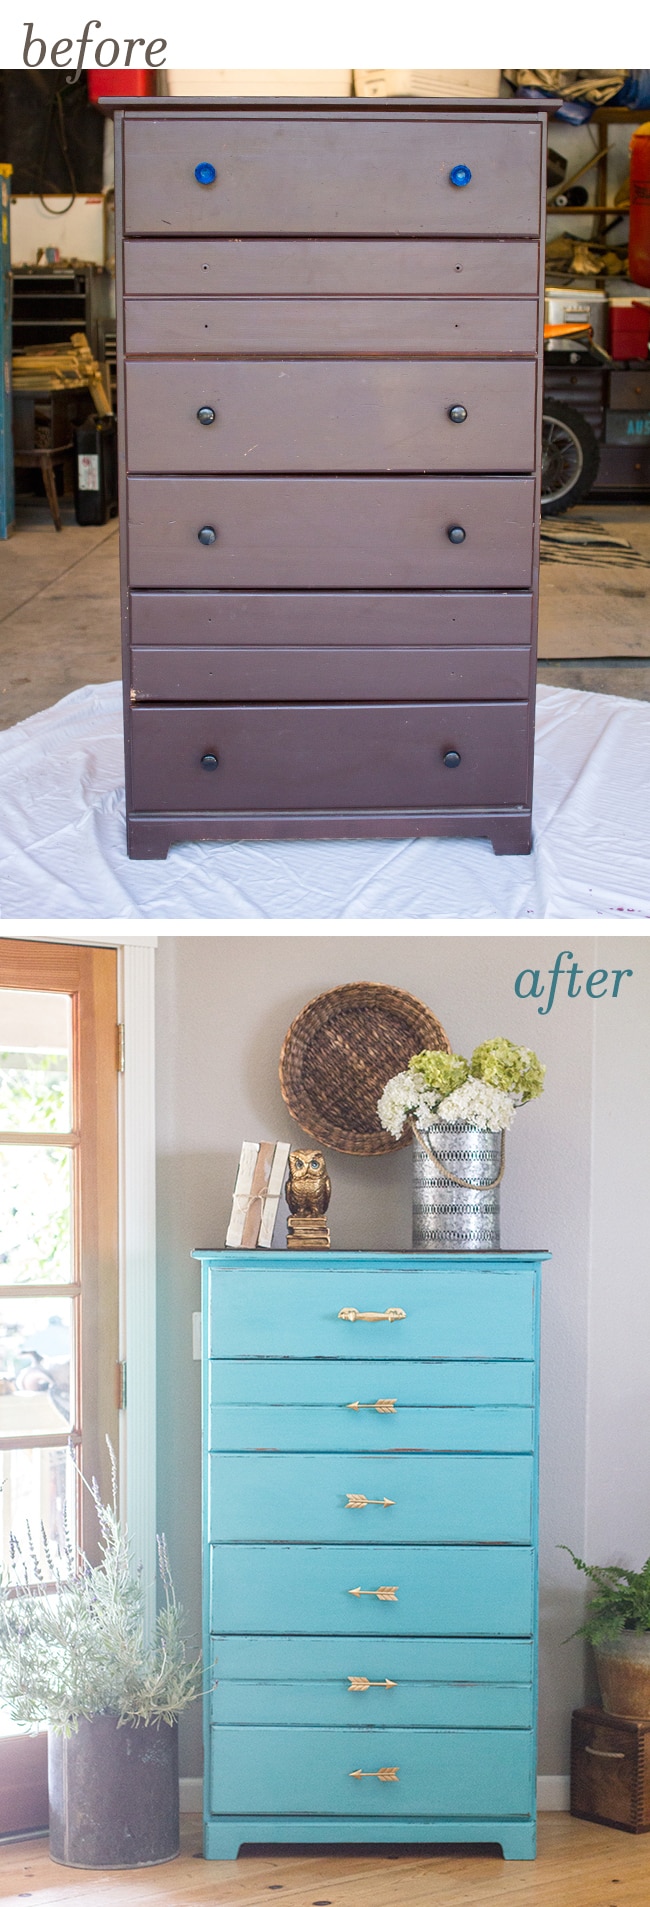
She picked this painted brown dresser for $10 on Craigslist a while back but was stuck on what to do with it.
Bonnie’s style is very eclectic—a mix of vintage, rustic and handmade with a healthy dose of color and personality. I’m always up for the challenge of stepping outside of my typical decorating style and this was the perfect opportunity to have a little fun!
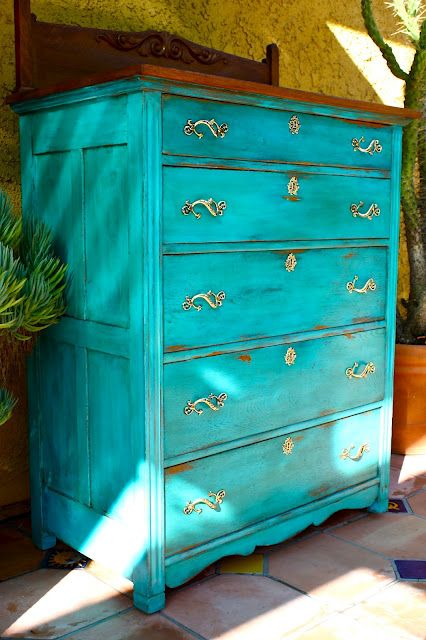
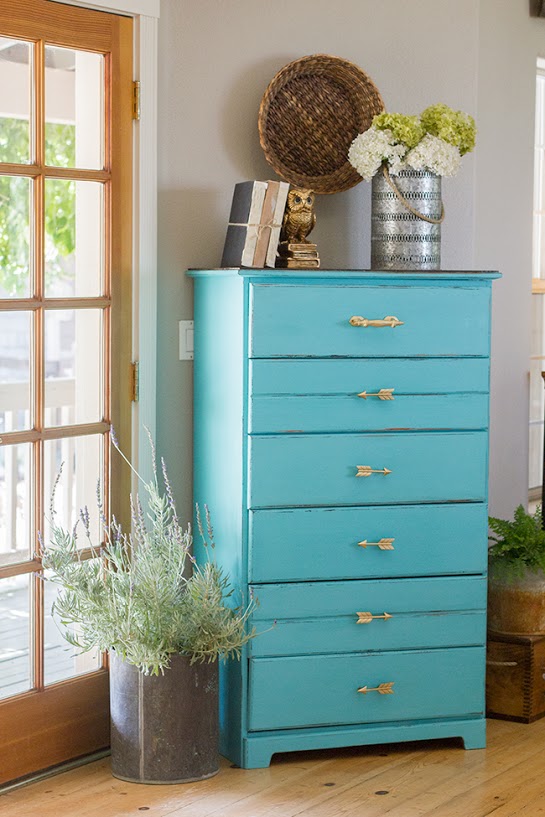
We found this photo on Pinterest and she knew right away this was the style she wanted—chippy turquoise with a natural wood top and gold hardware:
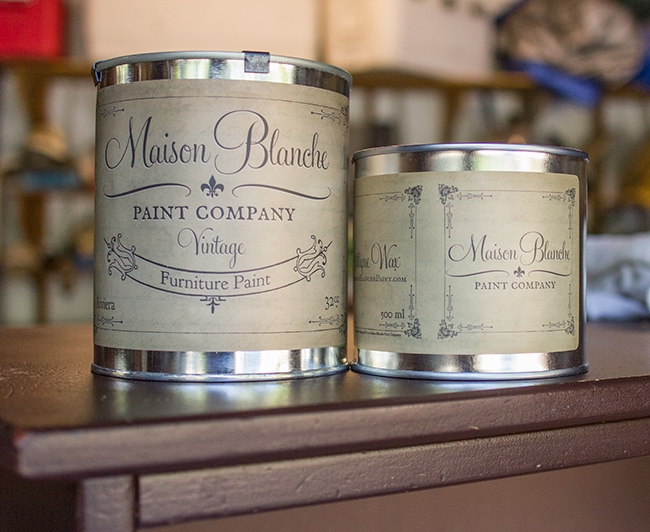
For the paint color, she selected Riviera vintage furniture paint (which is a bold turquoise), and also a clear wax to finish it off:
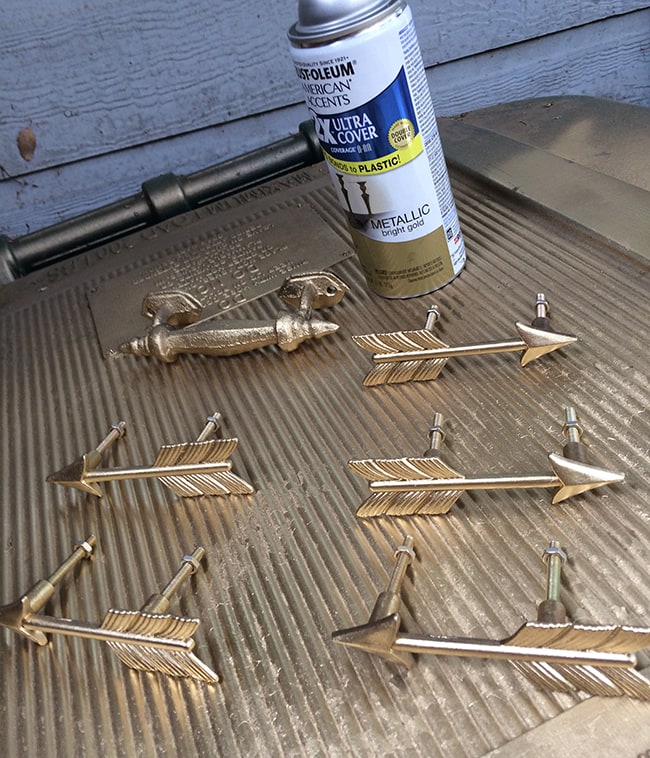
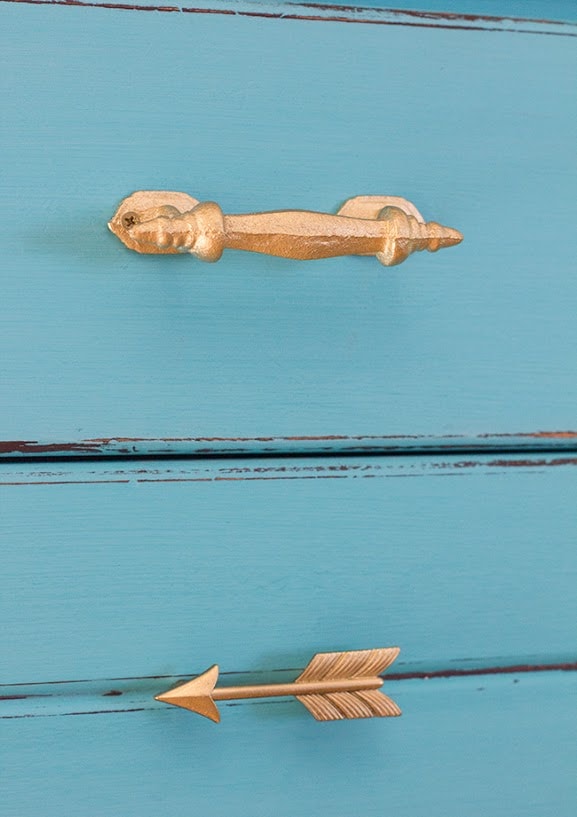
Then we found these fun arrow handles at Hobby Lobby—there were only 5 left so we picked up a sixth in a similar shape/size to use as an accent for the top drawer, and spray painted them all metallic gold to match:
For the dresser prep, we simply removed the old hardware, removed the drawers, and filled the old holes (along with any bigger cracks/holes) with wood putty:
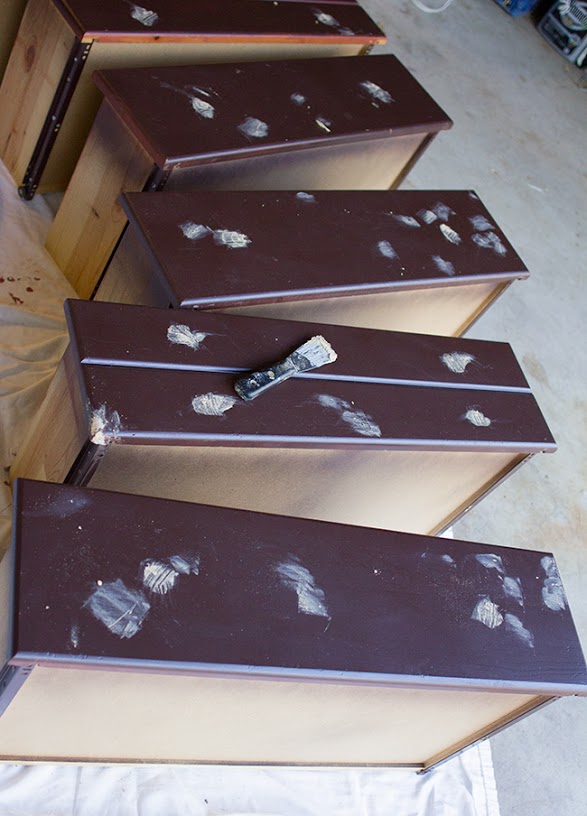
Once dry, we sanded it down smooth and gave it a quick wipe down. Prep work = done!
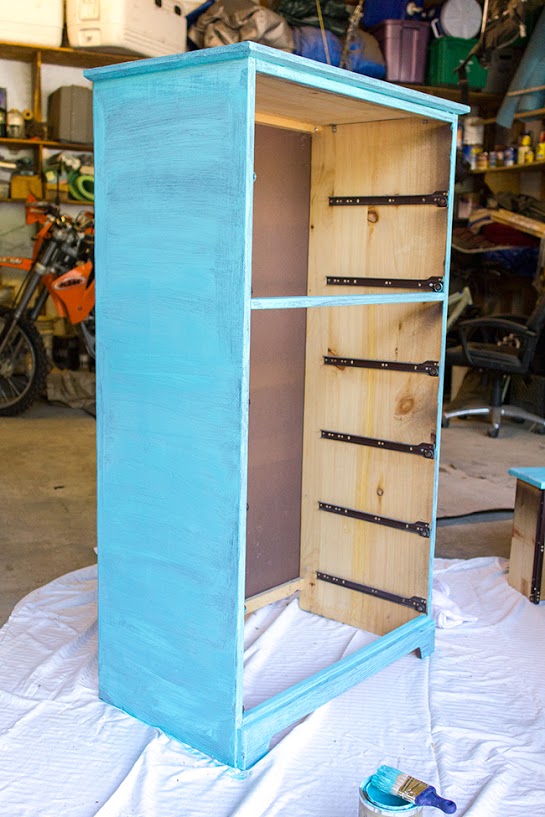
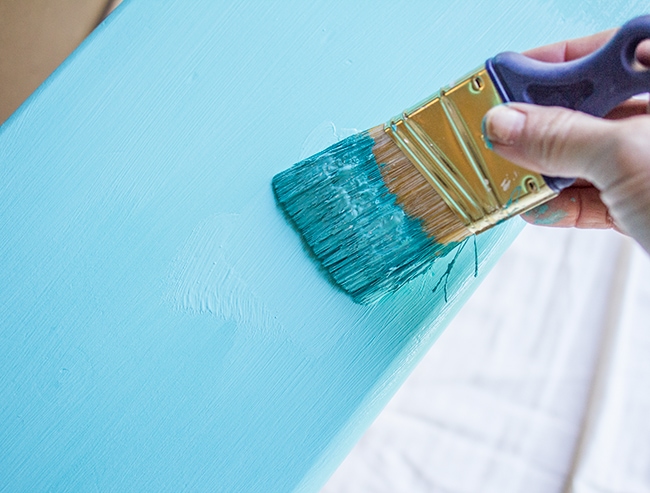
Then it was time for paint. I’ve never worked with chalk paint before so I didn’t know what to expect, so I can describe the texture as thicker, creamier and richer than standard latex paint.
You can leave the lid off and the paint will thicken if you want to experiment with different applications.
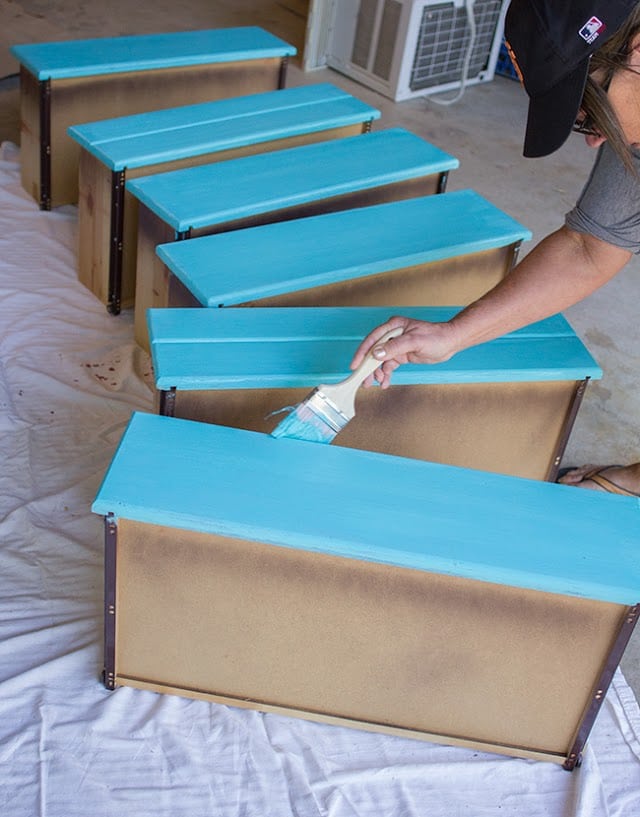
The paint dried pretty quickly and we gave it a few coats for full coverage.
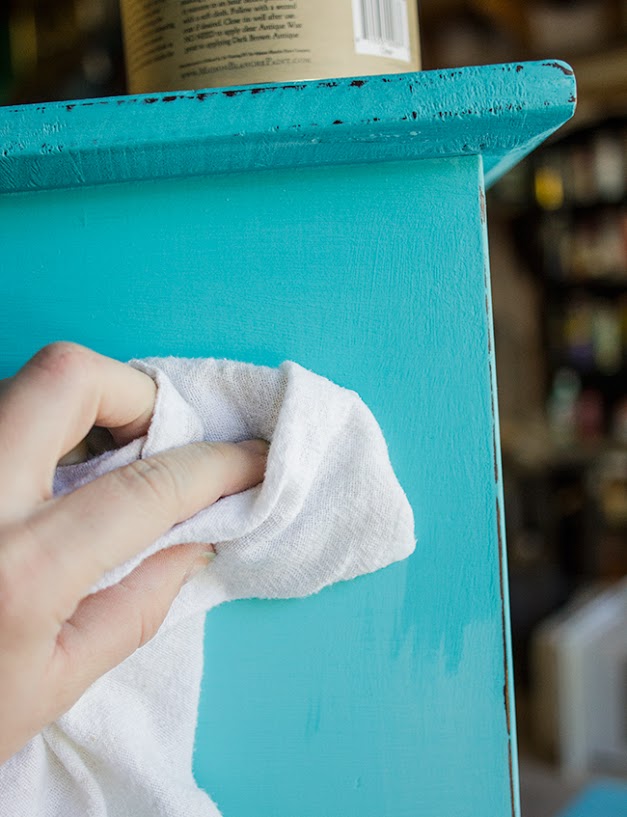
Once dry, we decided to add a subtle distressing so we went over the edges with 220 grid sandpaper by hand.
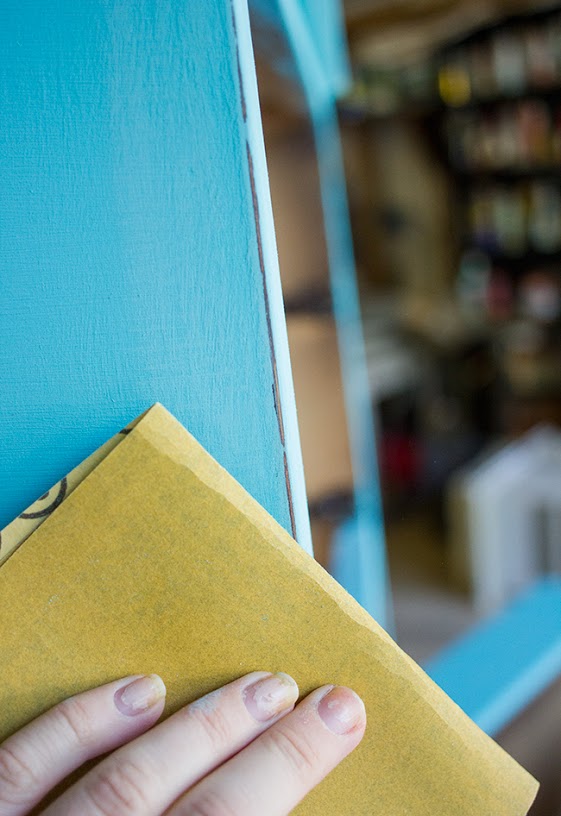
The paint dried to a velvety finish and sanded nicely—no peeling like you can get sometimes with latex paint.
The fact that it had been painted once before was actually a good thing, because in some parts we sanded it down more to the bare wood so there was different layers of color and it looked more aged/authentic.
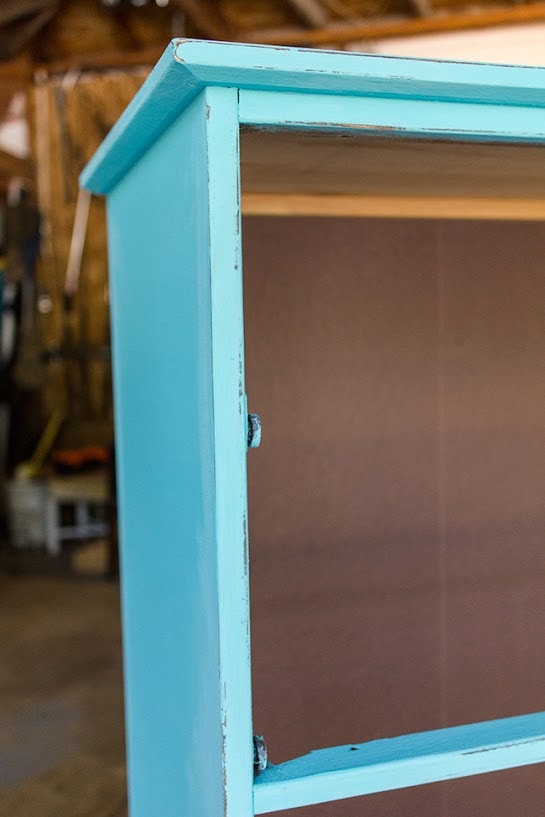
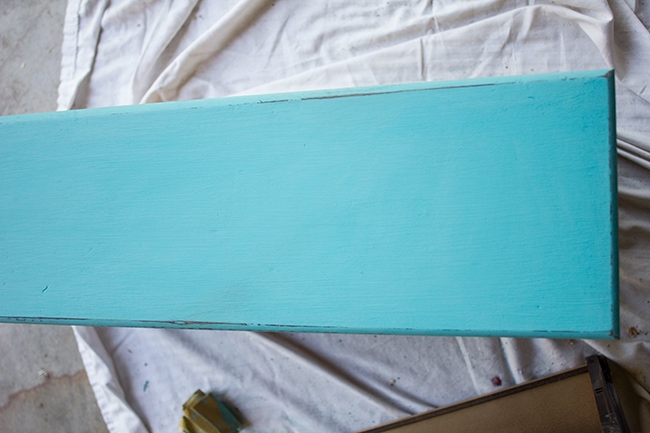
When we were satisfied with the amount of chippiness, it was time for the finishing touch—clear antique wax.
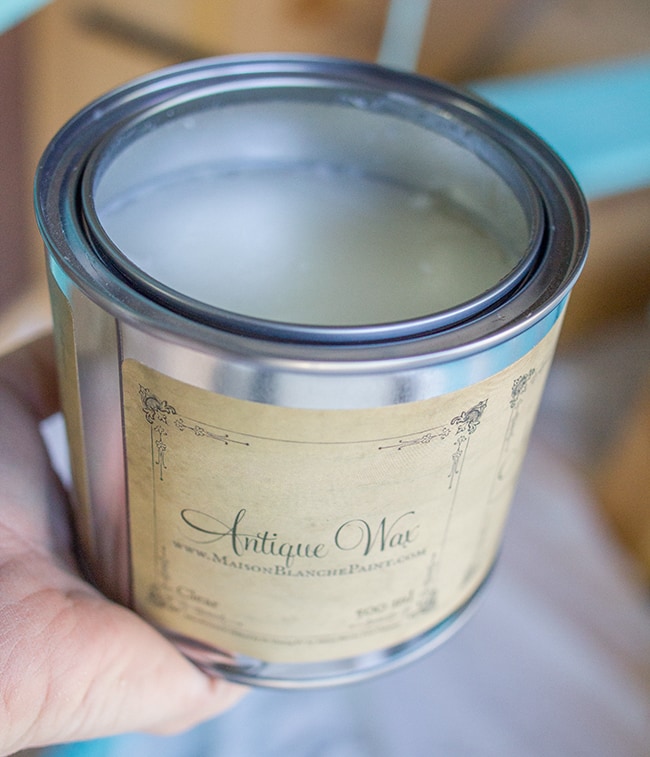
I’ve used wax once before on our DIY living room cabinet and love the texture/application process much more than any other poly or sealer! It glides on like butter and makes the color richer…
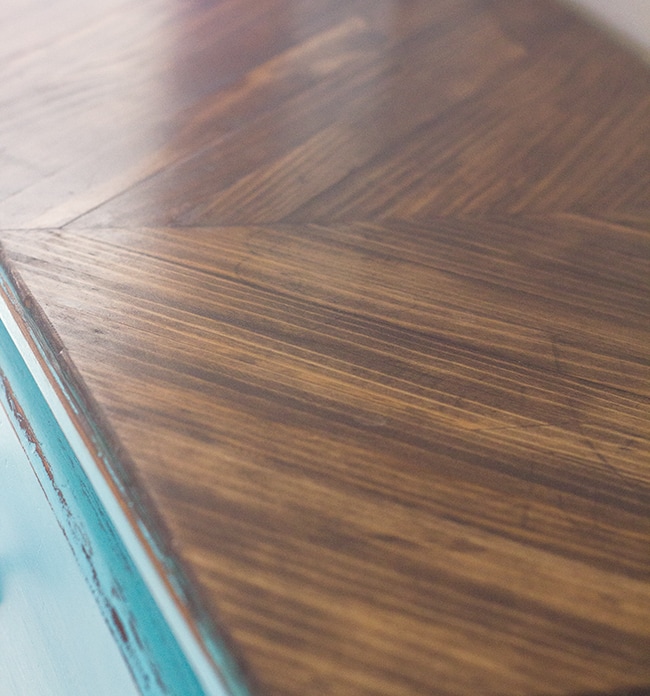
After a couple layers of wax, it was time to update the top. Bonnie has a coffee table in her living room with the top made out of stained paint sticks and she thought it would be fun to make a matching top for this dresser. After collecting enough large paint sticks, her husband made the cuts and they were nailed directly onto the top and then stained:
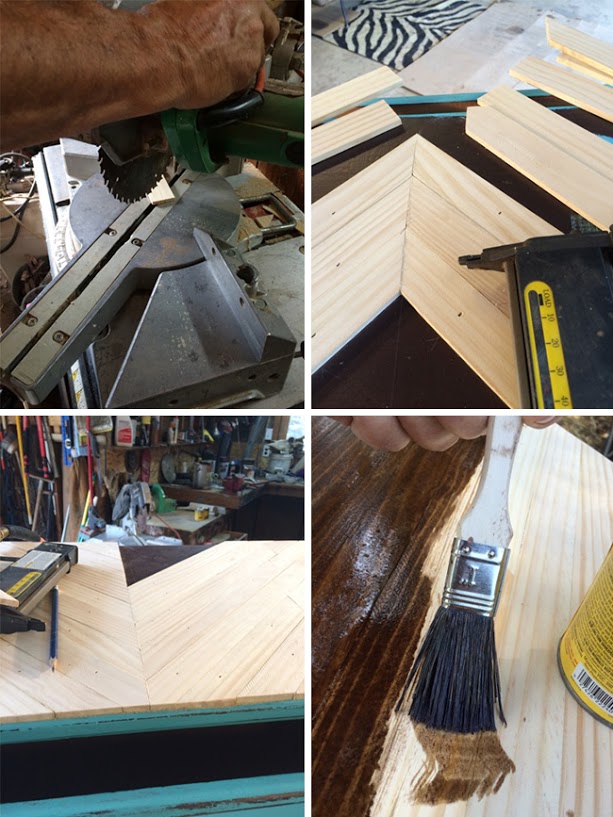
Such a great (and inexpensive) way to add dimension and texture!
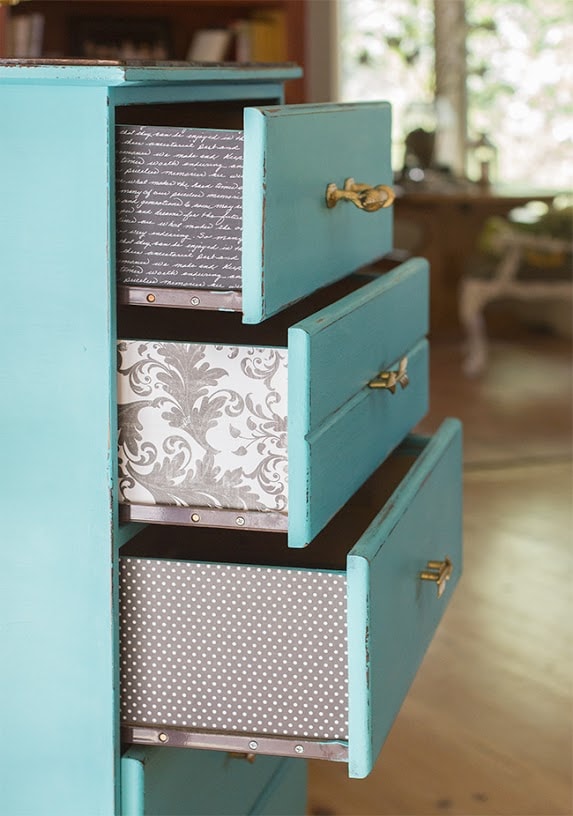
For a hidden finishing touch, Bonnie found some scrapbook paper at Hobby Lobby and used spray adhesive to stick them to the sides.
Seriously, this whole project was probably the quickest and easiest furniture makeover I’ve ever done. It helps to get a friend involved 🙂
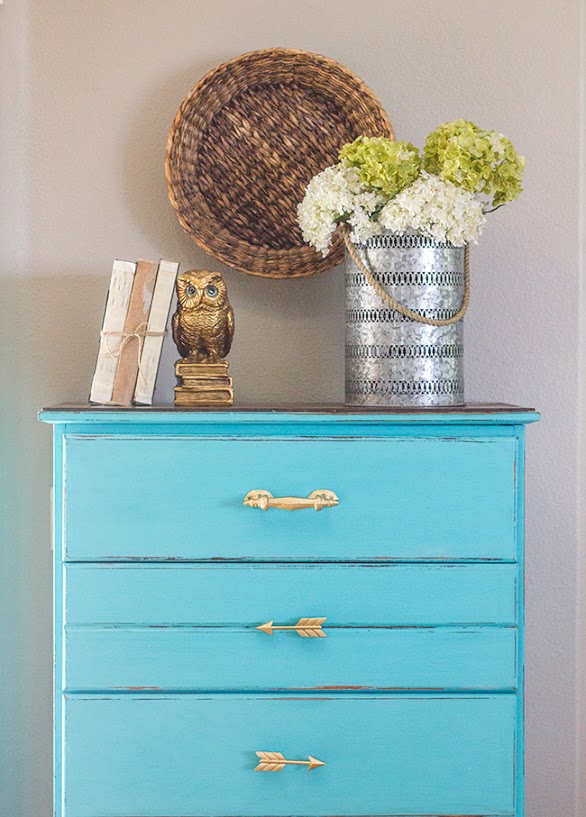
Here’s how the dresser looks now in her living room…
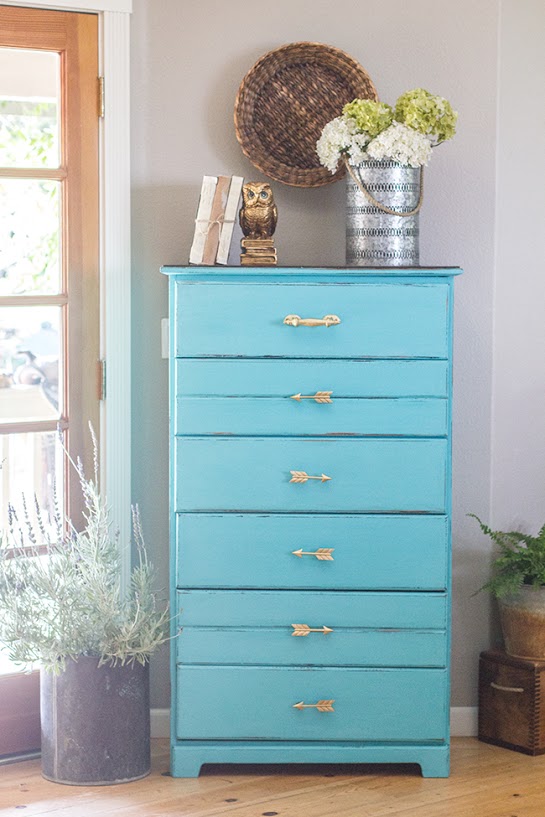
Bonnie has so many amazing “props” she’s collected over the years… I had the best time shopping her house and looking for fun accessories to style this piece with.
And how good did these handles turn out? Loving the gold…
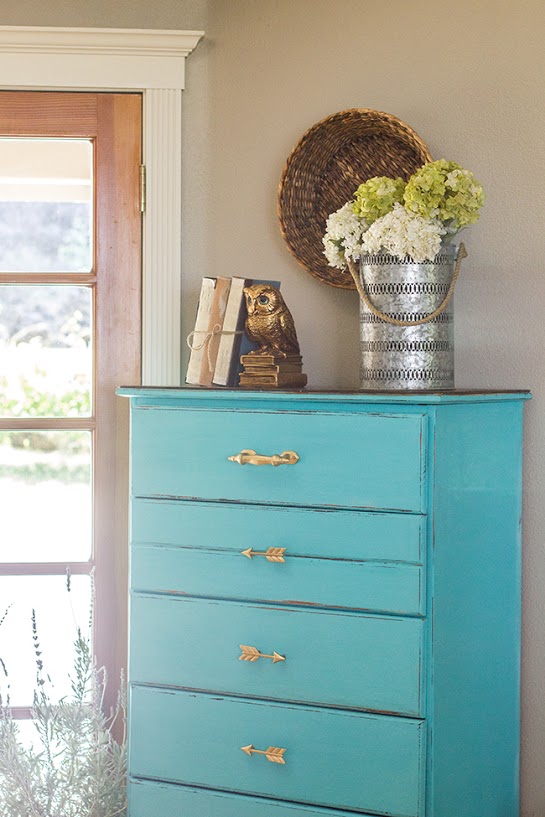
Even though it’s turquoise, it doesn’t give off a beachy vibe at all. It’s more of an “eclectic boho spring” feel which really suits her personality.
I had so much fun on this project—trying out a new type of paint, challenging myself to step outside of my comfort zone and pulling accessories from around the house to create a new stylish corner for a friend’s home—I could do this forever! Thanks again Bonnie for the good time.
What do you guys think of this makeover? Not bad for an old $10 dresser, right?
It’s amazing how far a little paint, hardware and accessorizing can go! And guess what? There’s four other fabulous bloggers who are participating and have their own paint project to share today—I can’t wait to see what they came up with!
The Golden Sycamore
I’ll be back again tomorrow for another One Room Challenge update—one more week to go, ahhhh!


Connie Wooten says
I painted a piece with blue chalk paint but want to use a poly for the top coat instead of wax to seal it because it is a coffee table and I think it will hold up better over time. My question is that I want to add dark wax to the details but not sure if I can after I poly it or should I use something else on the details to make them stand out before I poly. I know I can’t wax and then poly. Any ideas? Thanks, Connie
jennasuedesign says
I’d try using dark stain instead of poly 🙂
Stacey says
That’s a beautiful transformation! Would you use this paint on a dresser that is of good quality? I have one that’s wonderful but the color has changed over the years. I’d love a fun color.
jennasuedesign says
Yeah of course! Why not? 🙂
Arlean Gaines says
I don’t always like painted wood but I would paint my cedar chest that color in a heart beat! It looks like old painted ones I have seen. I look forward to the post about the technique…not that I will really be able to copy it..lol