This project is nearly a year in the making, and today I’m thrilled to finally share the details about our new backyard fence and DIY arbor!
Jump to:
Choosing a fence
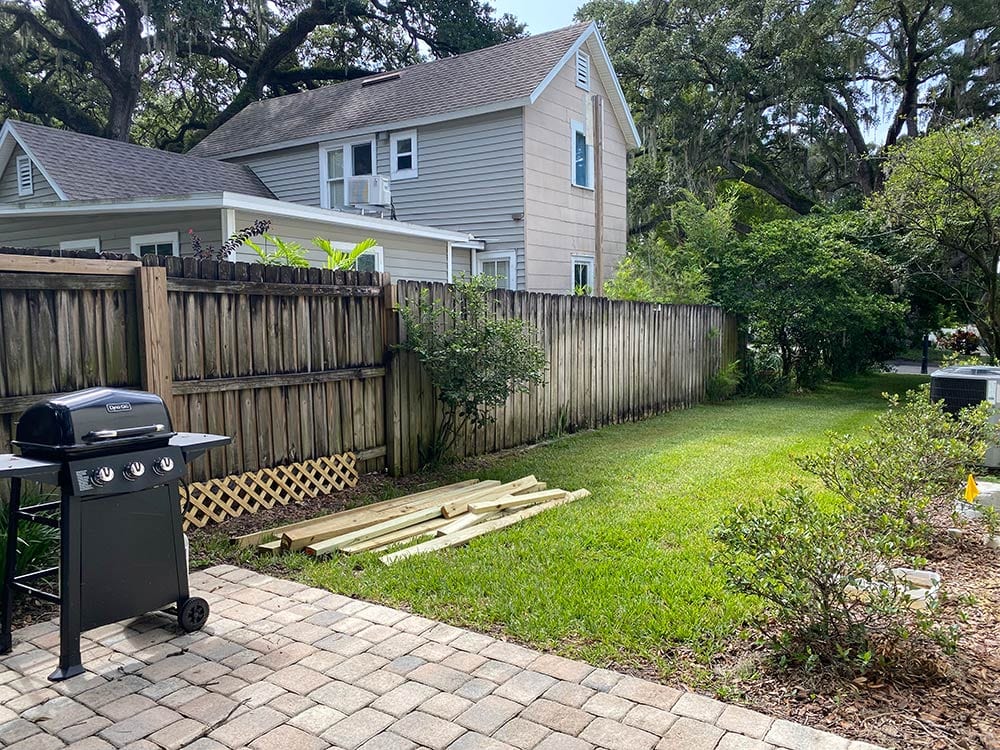
A fence was always on our wishlist, but not within our budget when we first built our house. Our house sits on a corner lot, so that meant zero privacy in our backyard—and consequently, we rarely took advantage of the space.
On our neighboring side, the fence was in rough shape and a constant eyesore. I was counting down the days until we could replace it!
That day finally came last spring, when we decided it was time to reach out to fence companies. We briefly considered building our own, but realized our time and energy was better spent on the Hacienda Hideaway.
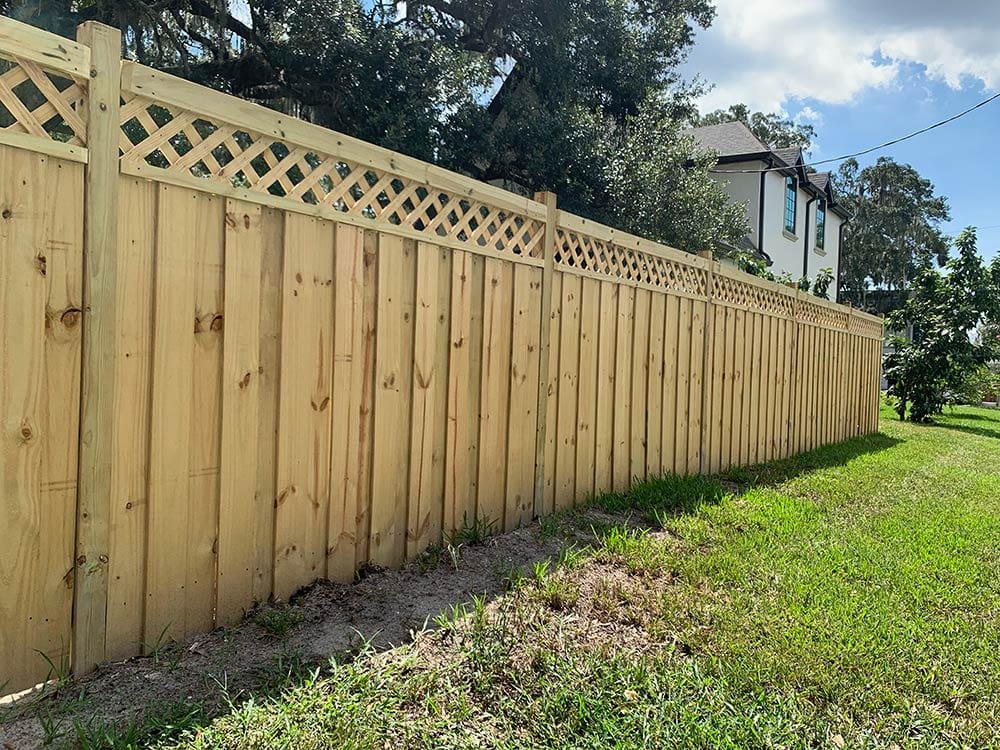
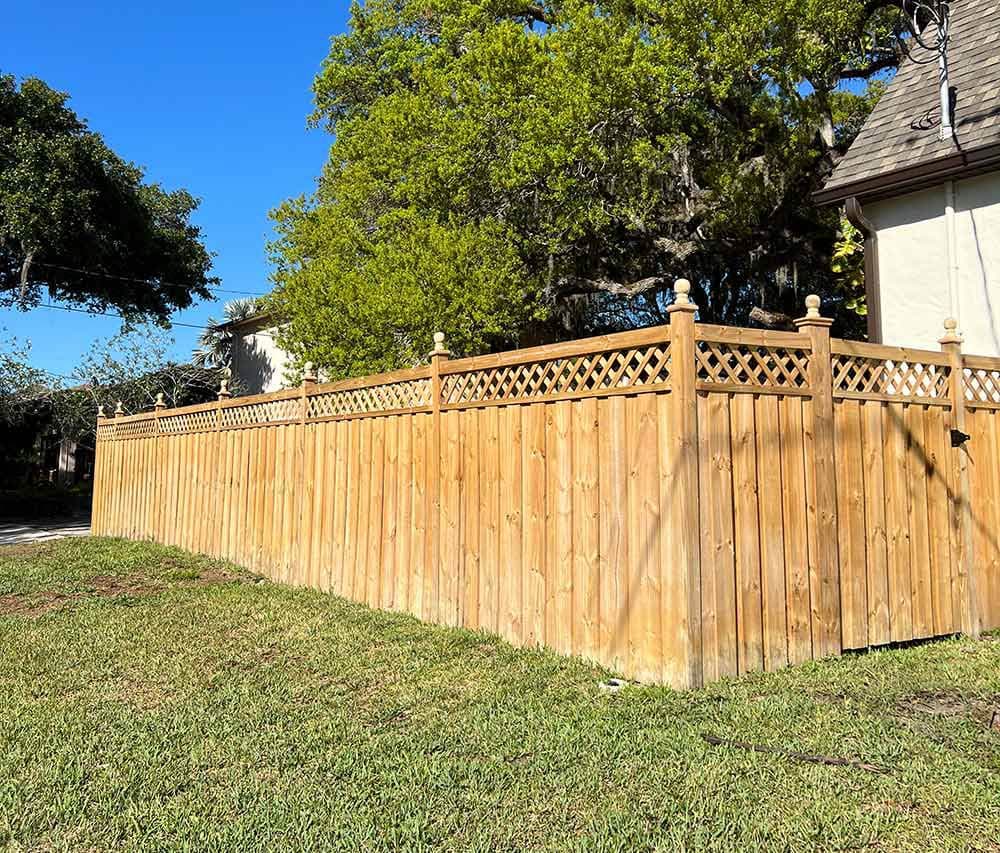
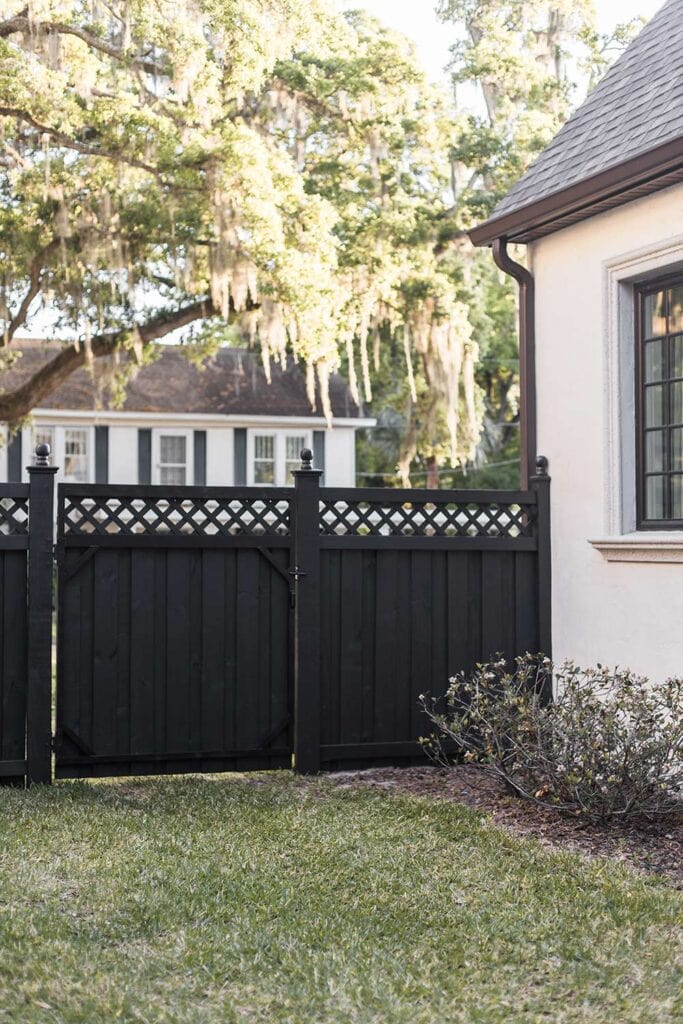
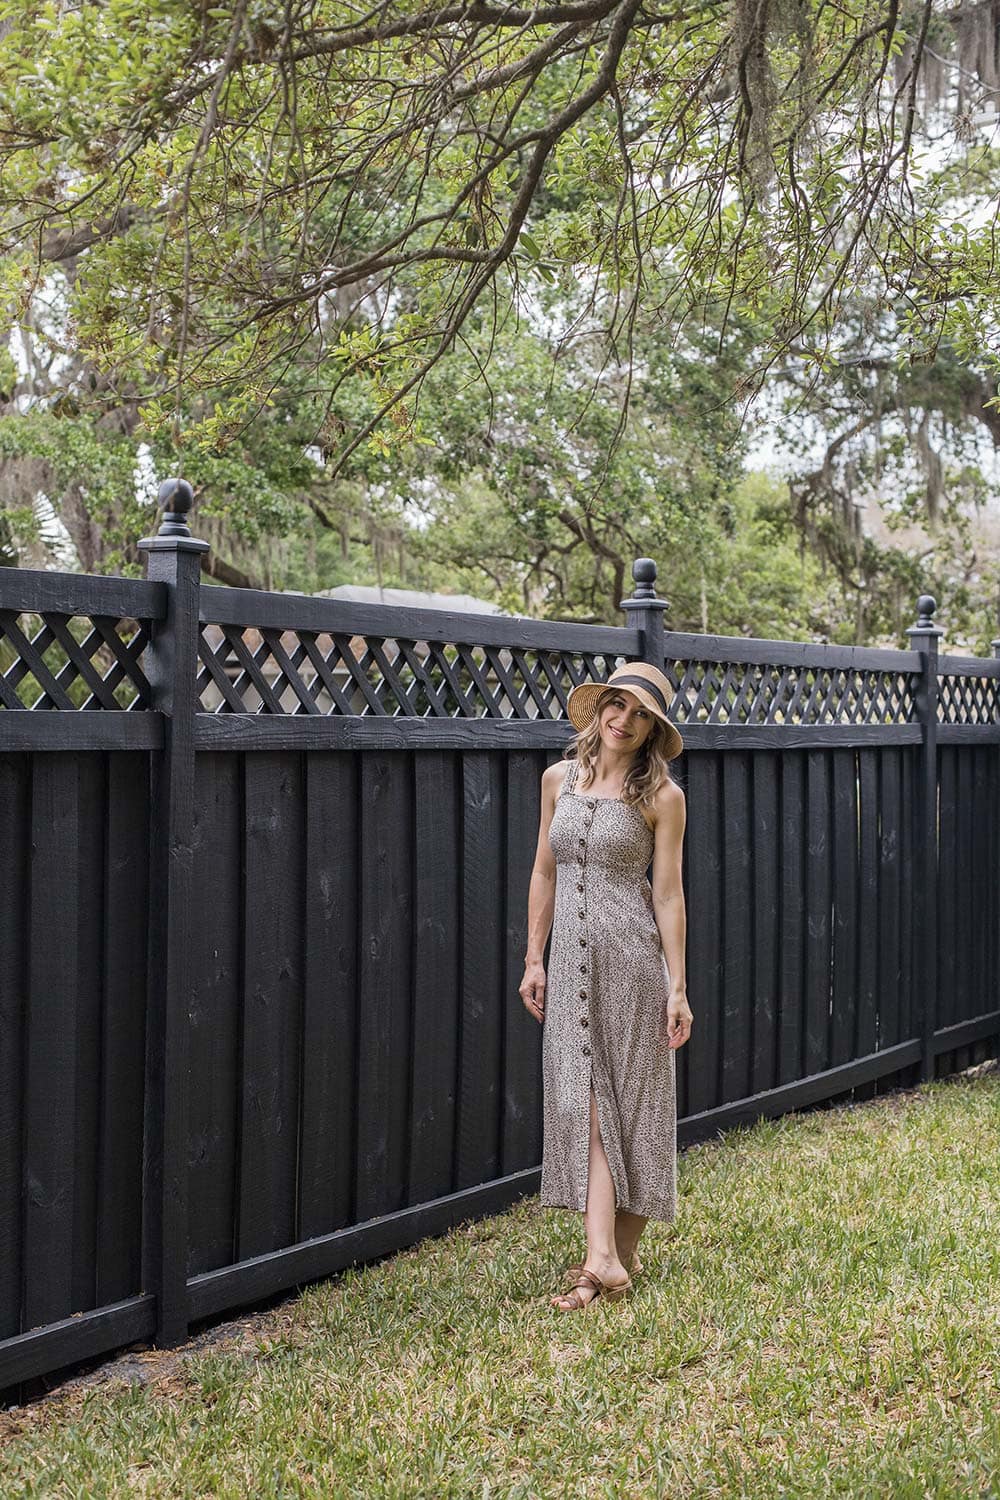
I had plenty of time to think about the type and style of fence that I wanted, and I landed on a lattice top black fence—kind of like this:
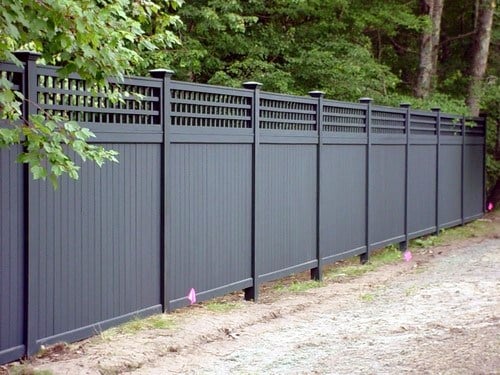
Because we’re in central Florida and the elements are unforgiving, I was set on using vinyl instead of wood. Wood stands no chance out here after a few summers, as evidenced by countless other warped and decaying wood fences in our neighborhood.
We found several local vinyl fence distributors, but only one had the color and style I wanted, and it was no longer available (this was at the height of supply chain issues last spring). We didn’t want to wait any longer, so we gave in and hired a fencing company to build a wood fence.
Surprisingly, it was a challenge just to find someone who was willing to build a fence with a lattice top. And we had to wait several months to get on the schedule!
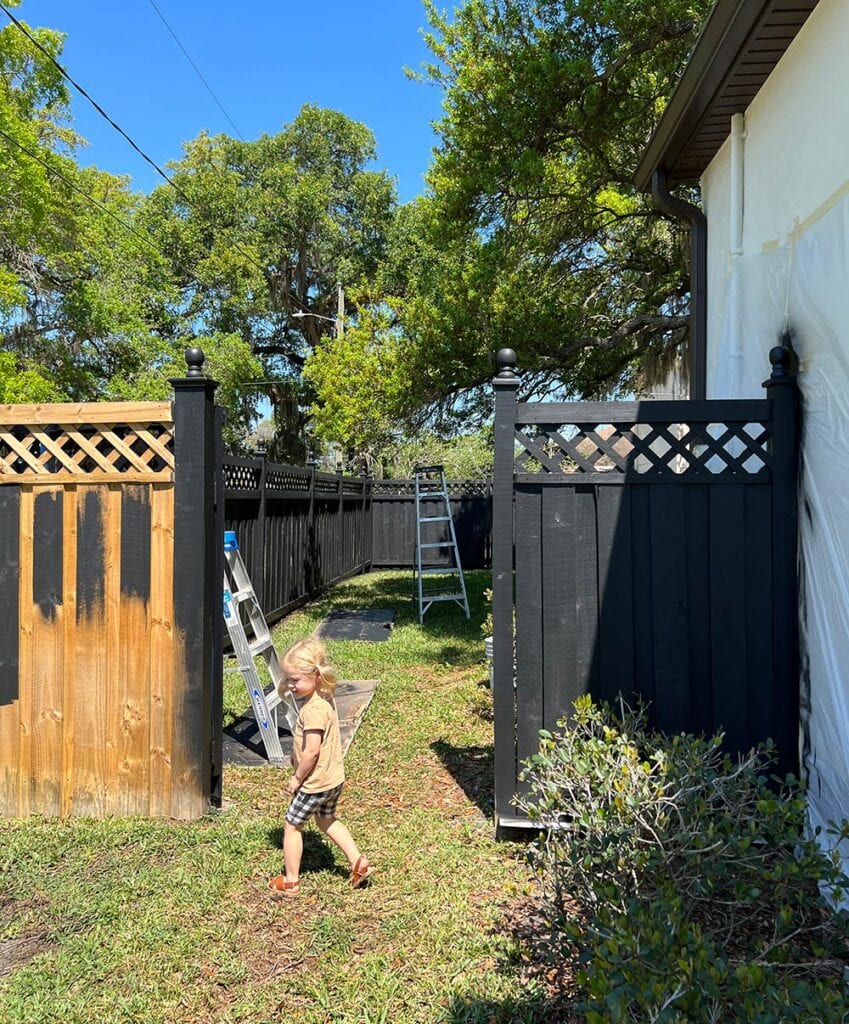
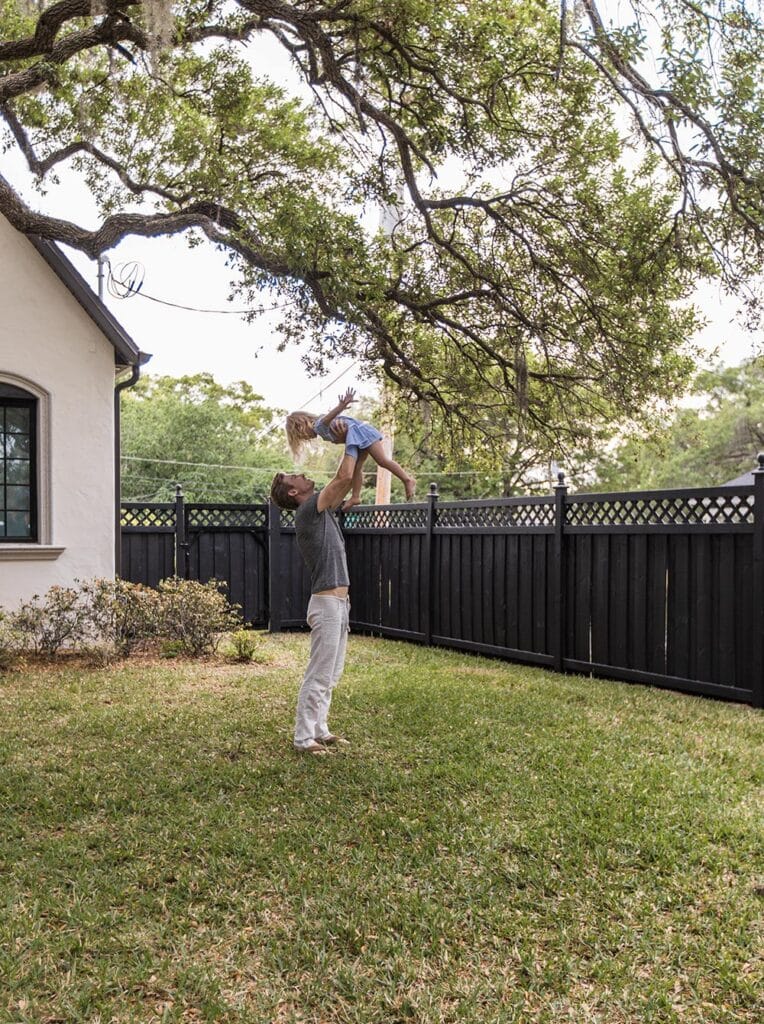
Finally, last September, the fence build began. Even though wood wasn’t my first choice, it was so nice to finally have privacy in our backyard!
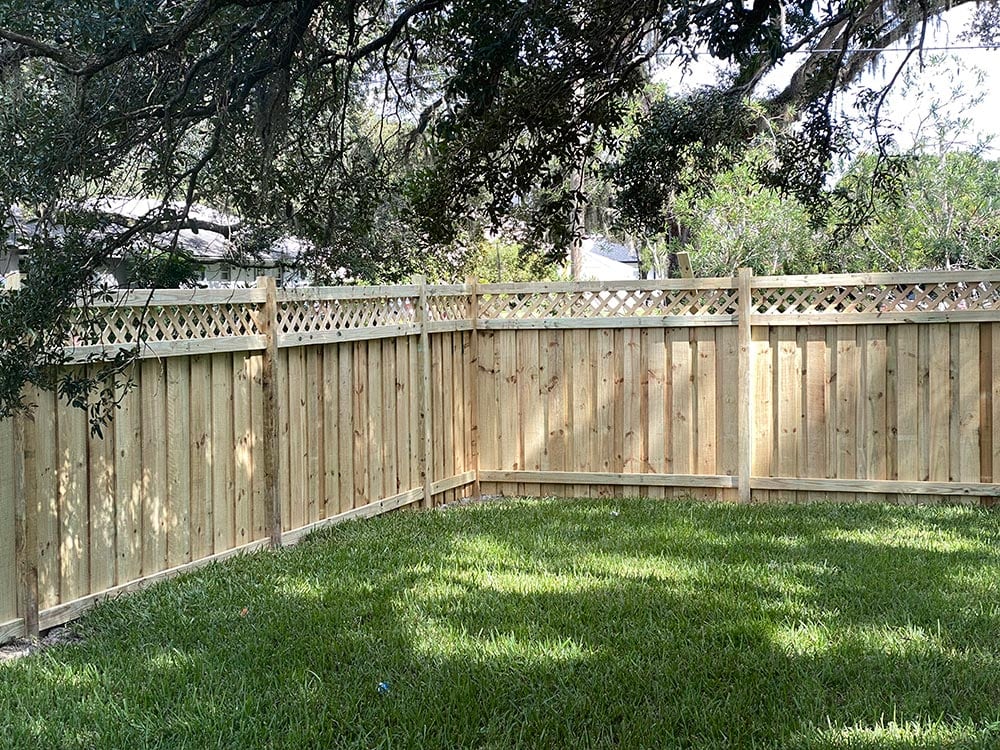
Our next door neighbors wanted to keep their fence (technically it was theirs, even though it was installed backwards) so we had to compromise, and covered the old fence with new pickets.
We were anxious to stain it black, but new wood (especially pressure treated!) has to fully dry out for a long time—months—before you can stain it. So we patiently waited all fall and winter long.
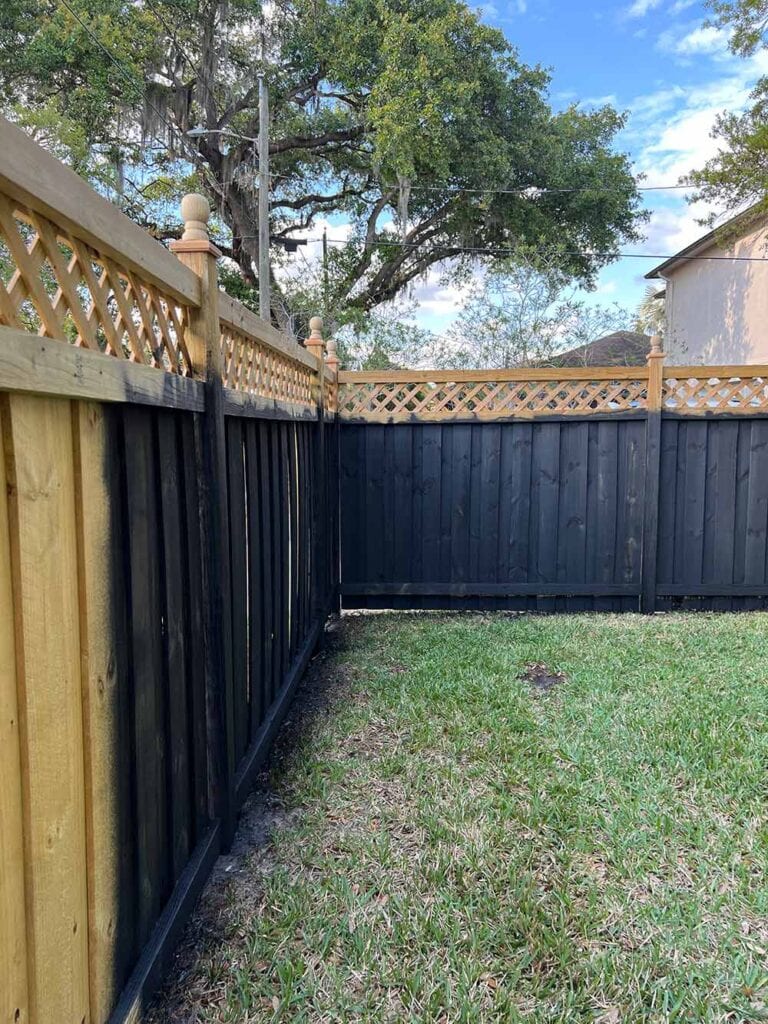
Adding post caps and finials
The fence was looking pretty good, but it felt incomplete without post caps. After a long search, I landed on these miterless fence post caps (similar here) and inexpensive ball finials:
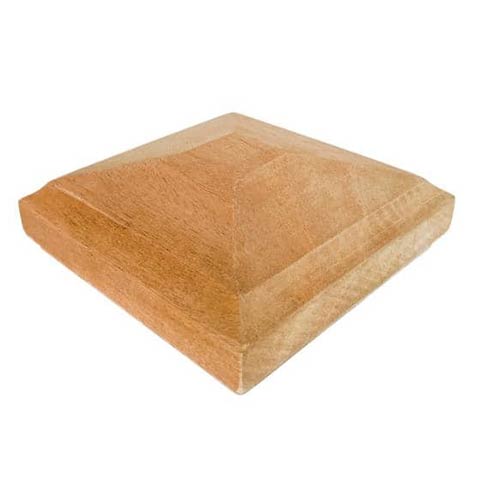
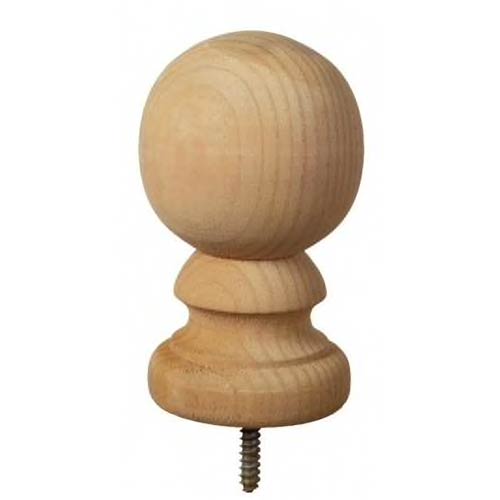
I’m really happy with these!
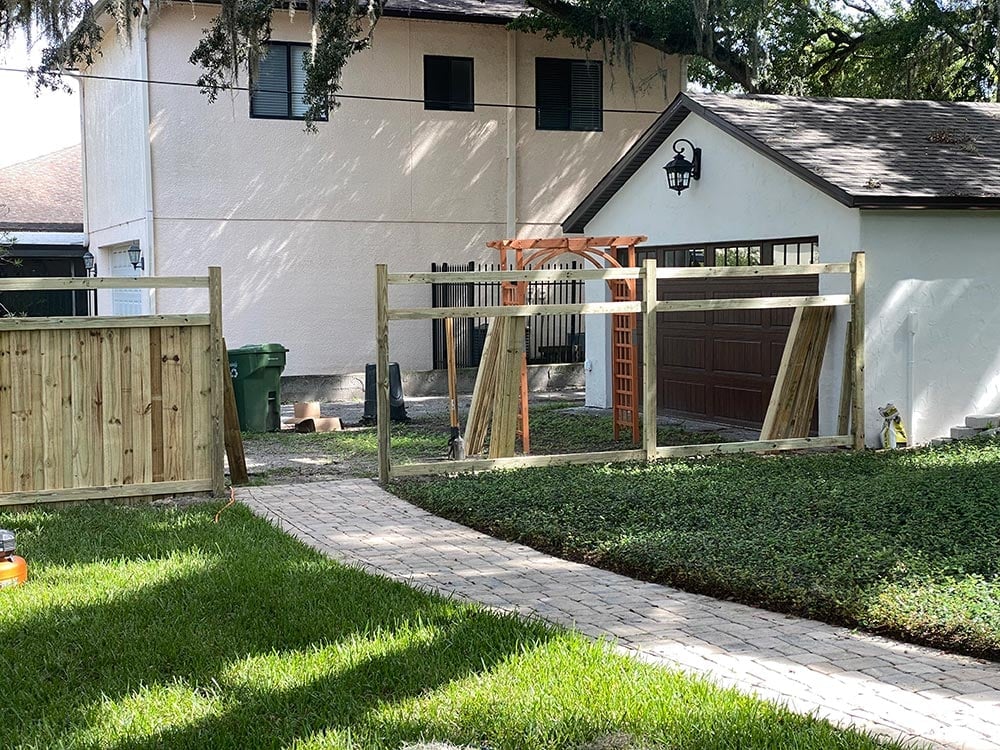
Fast forward to a couple weeks ago. We’re about to re-do our landscaping (more on that in a future post!) but before that could happen, we needed to finish this fence. And that meant tackling another project: building a fence arbor!
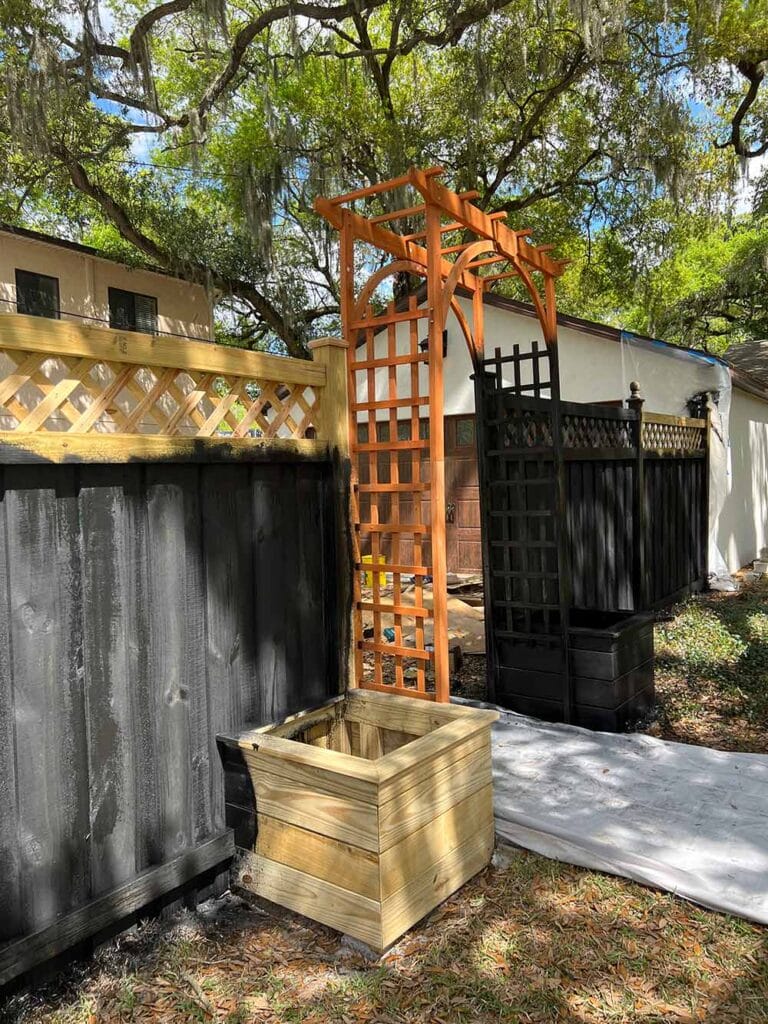
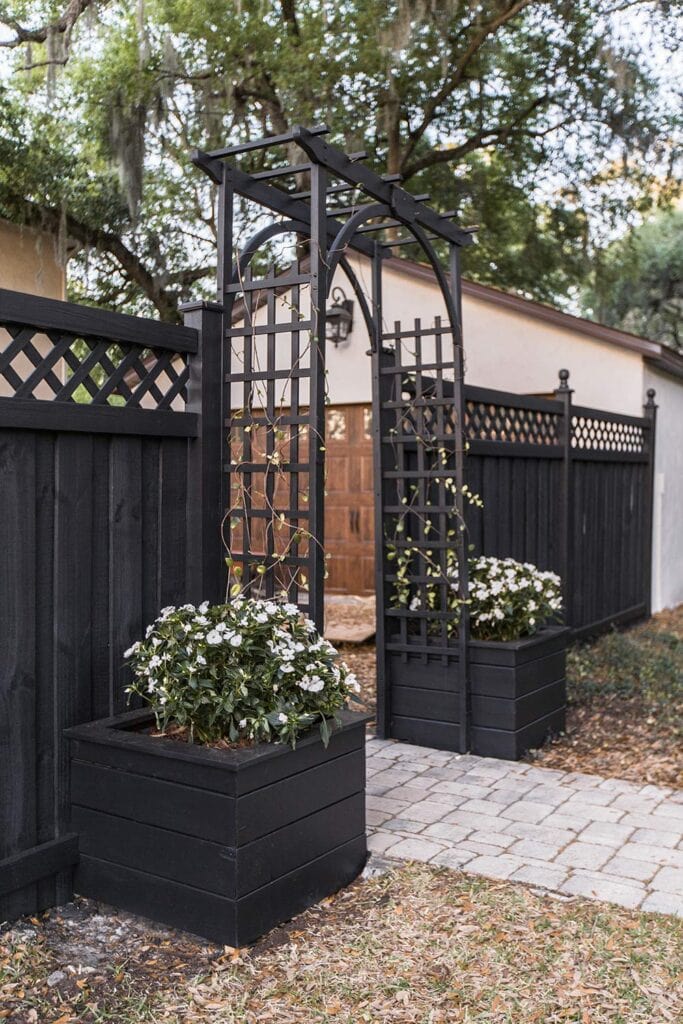
Building a fence arbor with planters
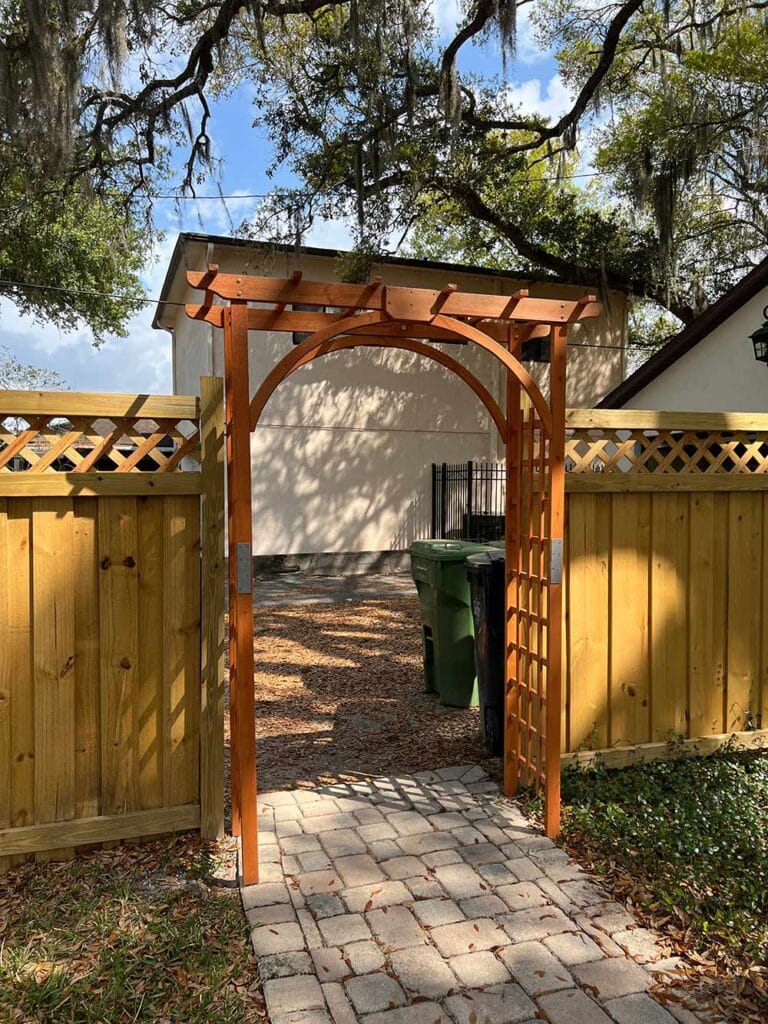
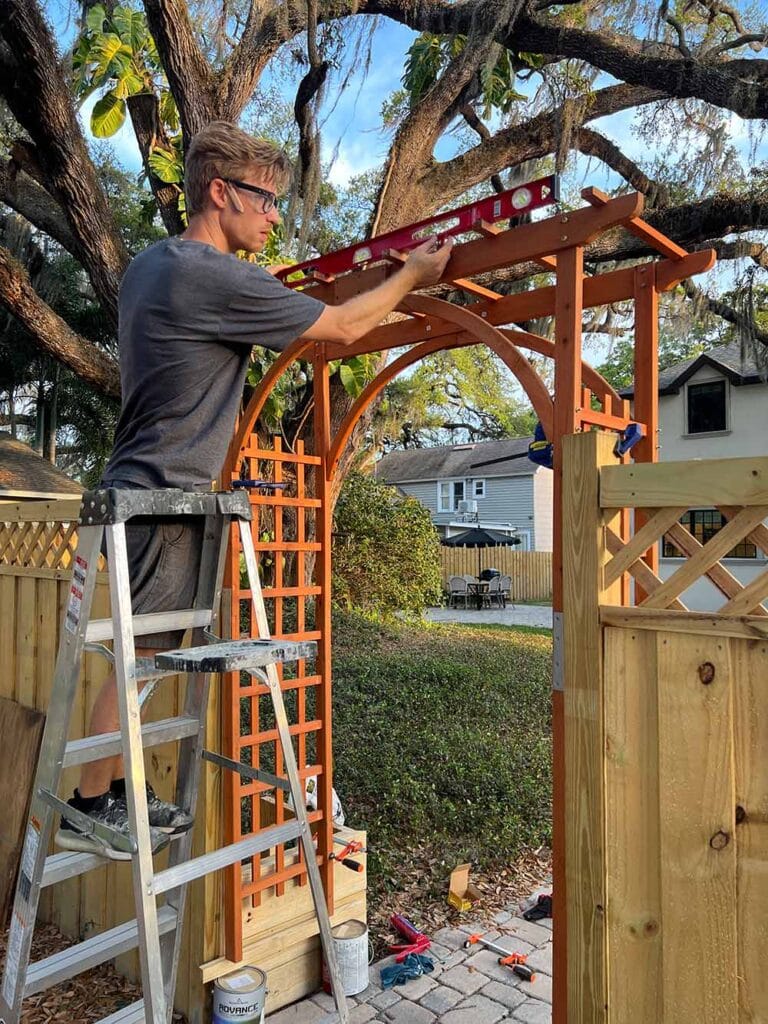
I found this wood arbor last summer and couldn’t pass it up—nice design, the right size and an absolute STEAL compared to everything else out there (and a better deal than building from scratch!)
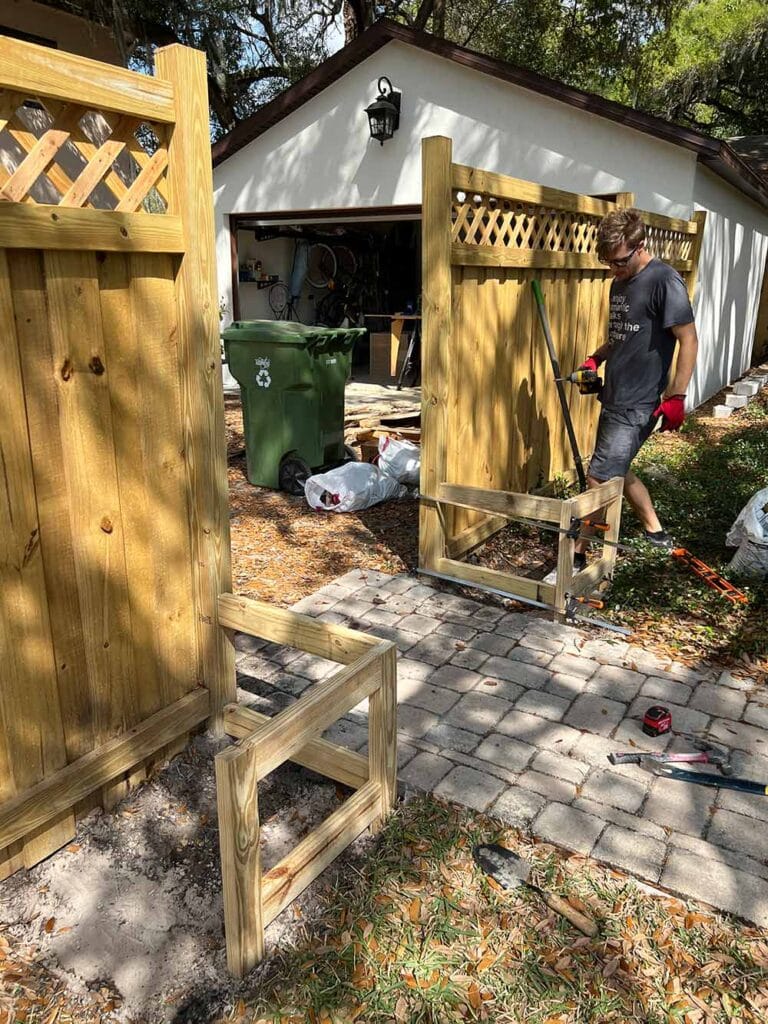
It had to be built into the fence somehow, so we came up with the idea of raising it up and adding planters on each side. This was going to take some creativity and a little force, because none of the wood was straight, level or square.
First, we had to dig out and level the ground for the planter boxes:
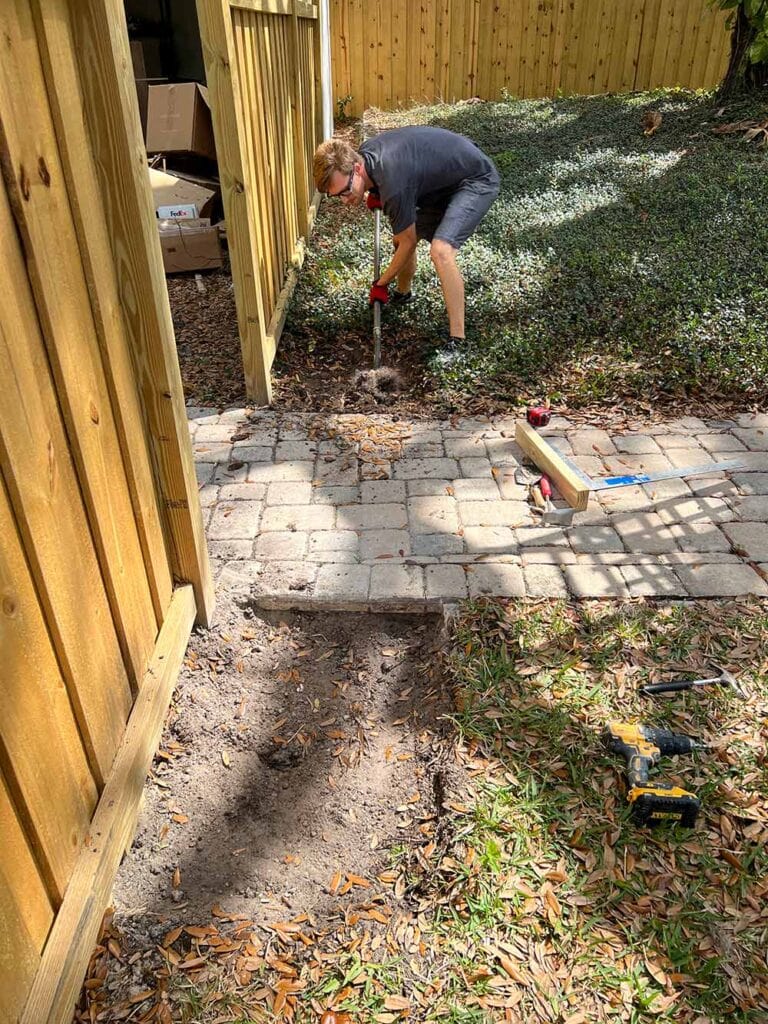
Next, the planter frames were built using pressure treated 2x4s and joined with pocket holes:
It took a whole lot of shimming, leveling, and adjusting to pull it all together…
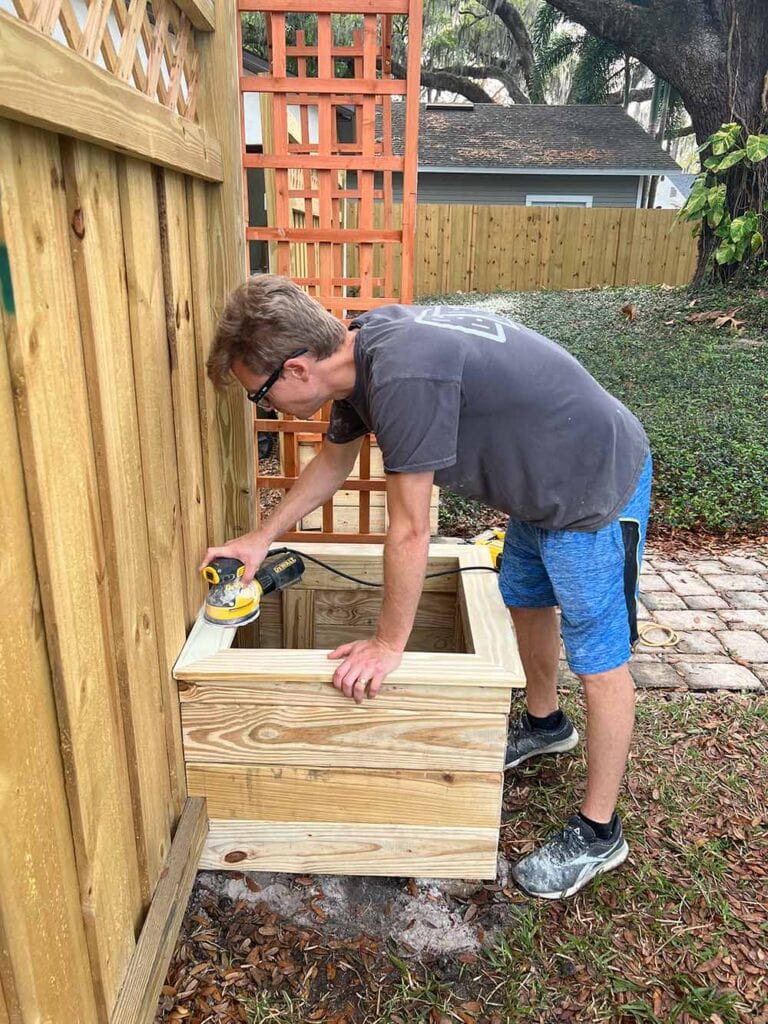
The planter boxes were cladded in decking boards (from Home Depot) and mitered for a cleaner look.
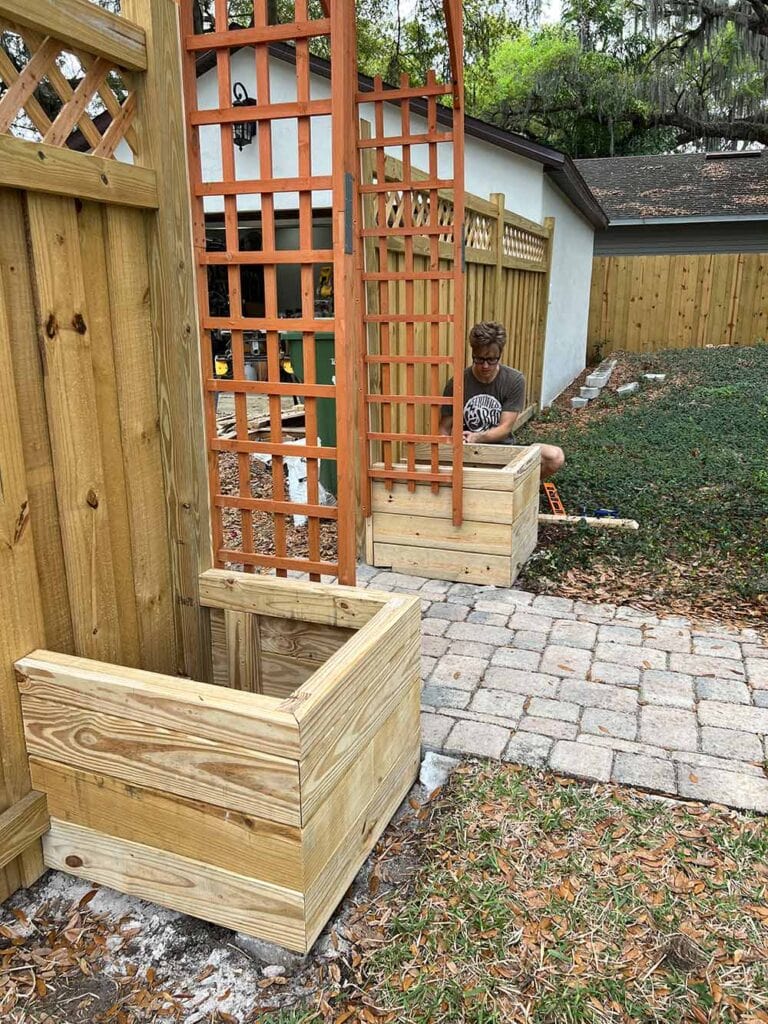
A few finishing touches, and they were done!

We had the fence pressure washed before moving onto the next step…
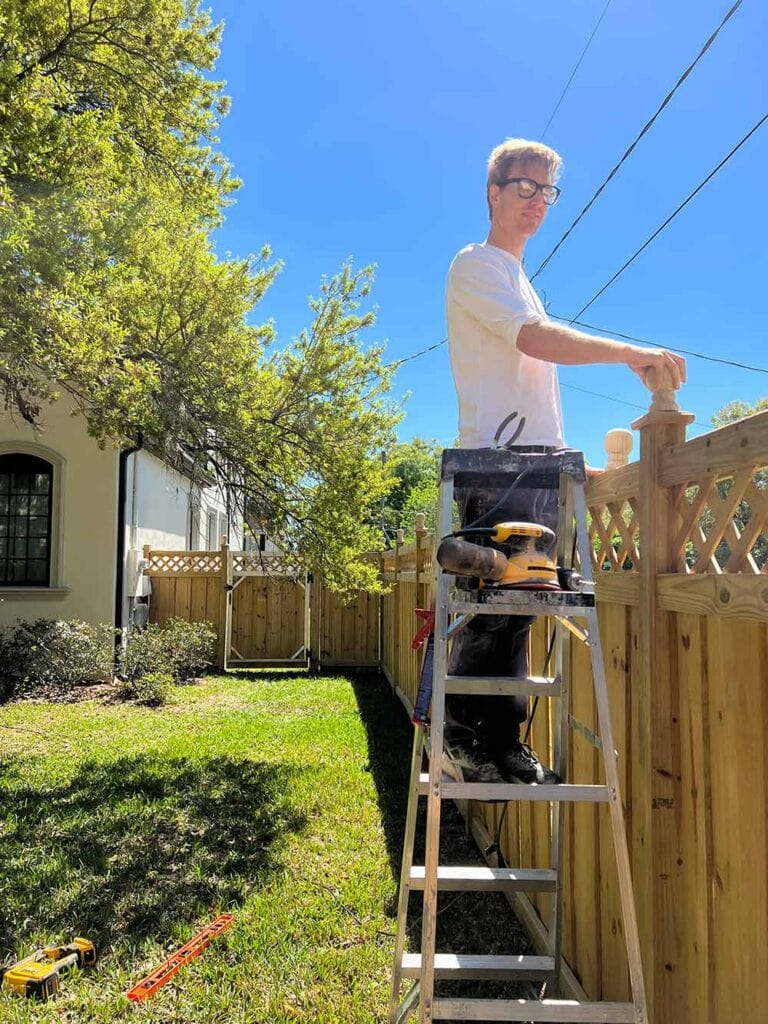
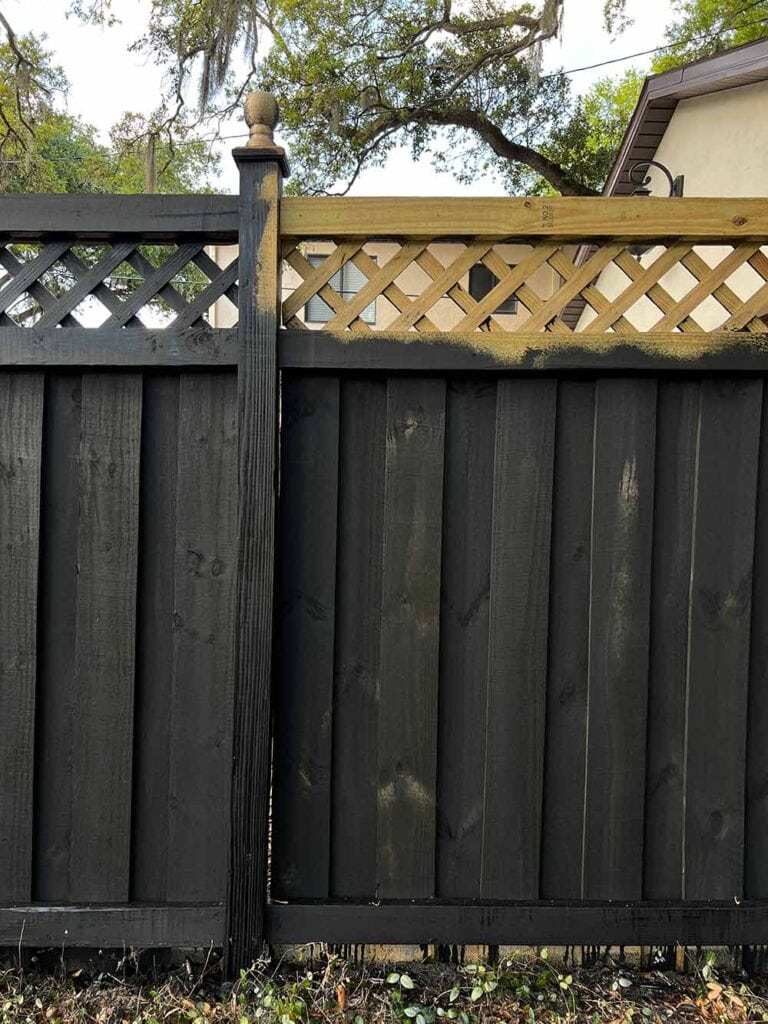
Staining the fence black
Finally… it was time for stain! Lucas figured this would be a pretty easy DIY he could tackle in one day. We chose Cabot semi-solid exterior stain in black after research/local recommendations, and bought 5 gallons, hoping that would do the trick (oh how wrong we were!)
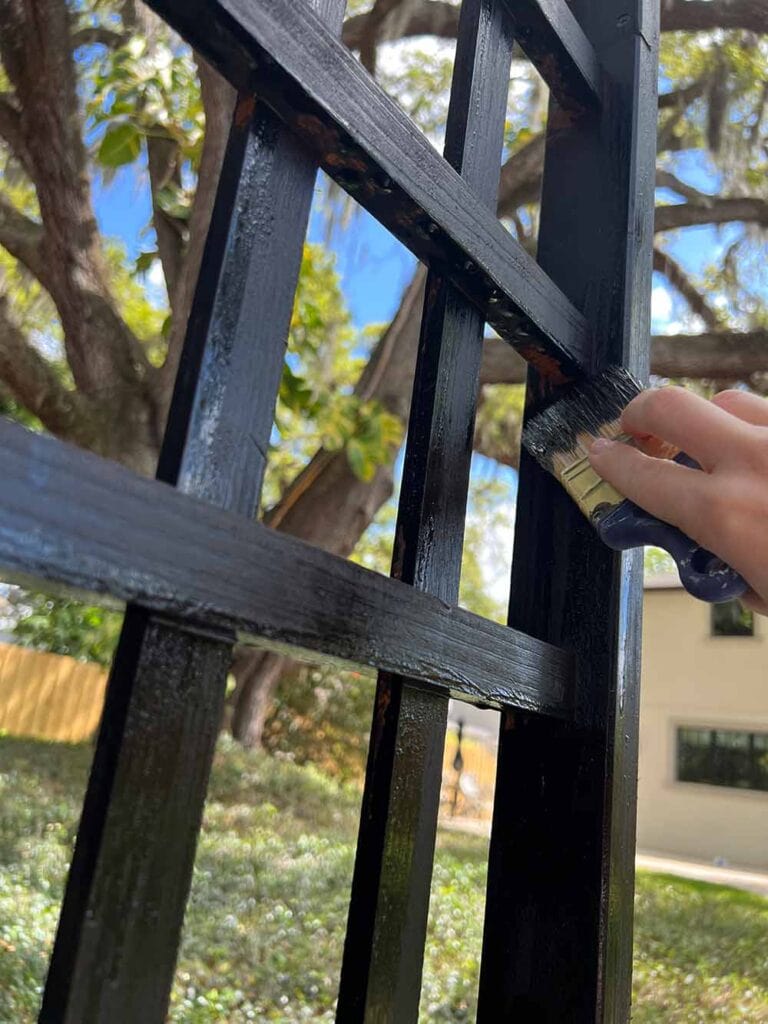
Lucas borrowed his dad’s hand sprayer, prepped the area and got to work…
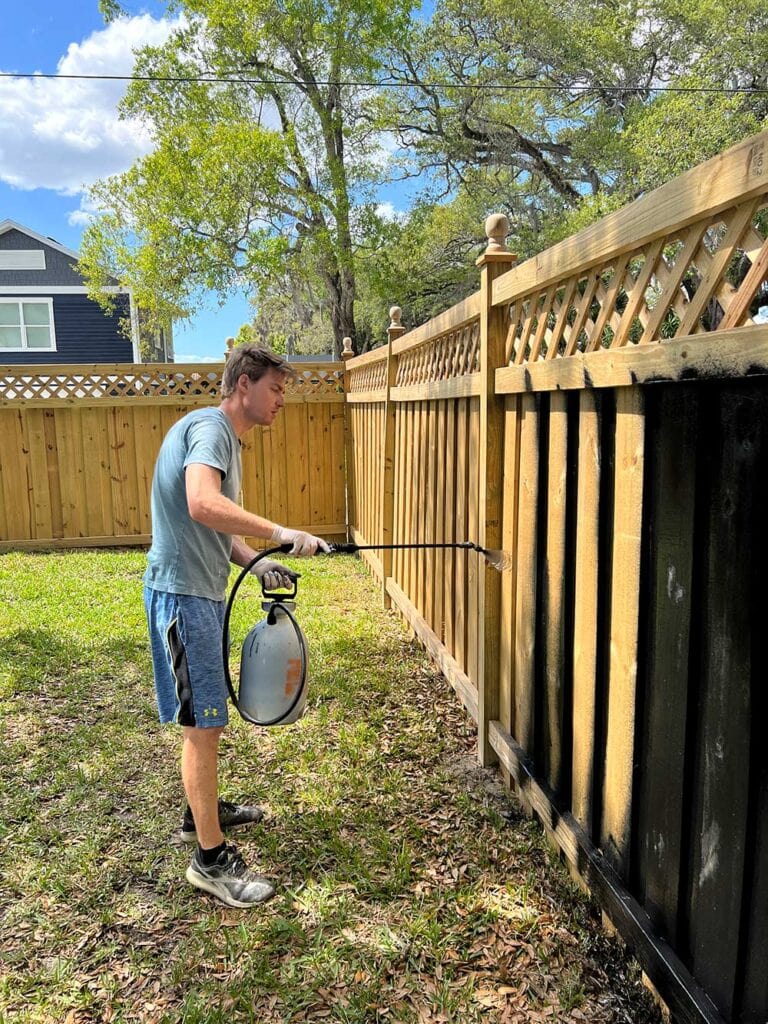
It was immediately clear that we did not have the right tool for the job. The sprayer shot the stain out like a hose, saturating everything around it, leaving a trail of puddles and drips.
Half of the stain was wasted going through the lattice, and I was rushing behind with a brush, trying to stop the drips and salvage whatever stain I could.
We got about 1/8th of the way through, and our $250 bucket of stain was empty.
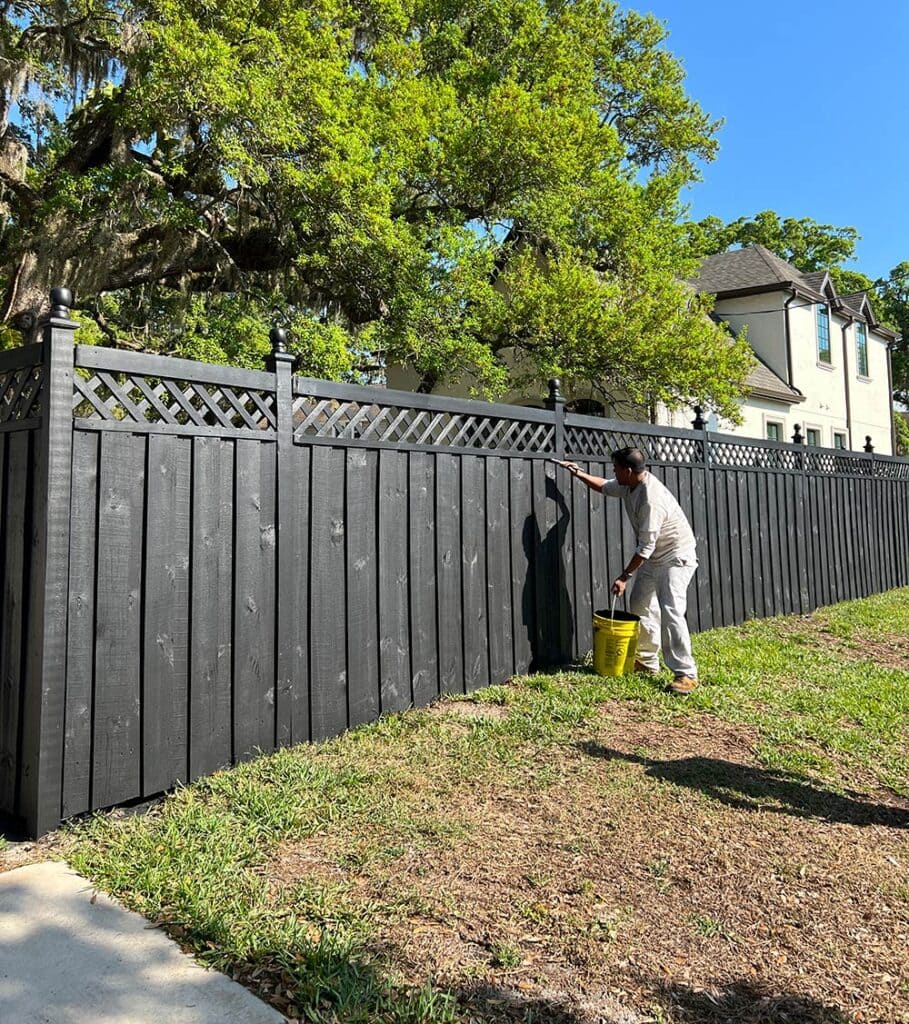
Time for Plan B: call in reinforcements! Miraculously, we found a company who could start the next day. We bought an additional 25 gallons of stain and happily let the pros take over.
We also switched to the solid stain instead of semi-solid, per their recommendation. We wanted a pure black finish with no transparency at all, and a solid stain would provide that (it’s very similar to an oil-based paint, but won’t peel off like paint).
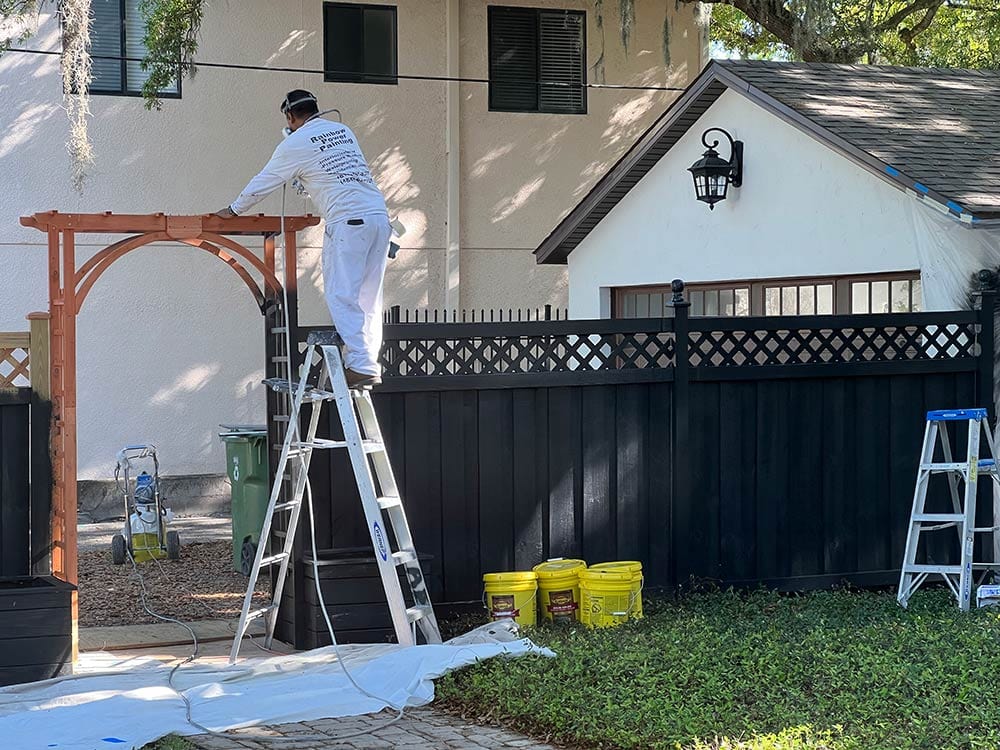
They came prepared, and finished the job in one day. Worth every penny to hire this one out. Lesson learned!
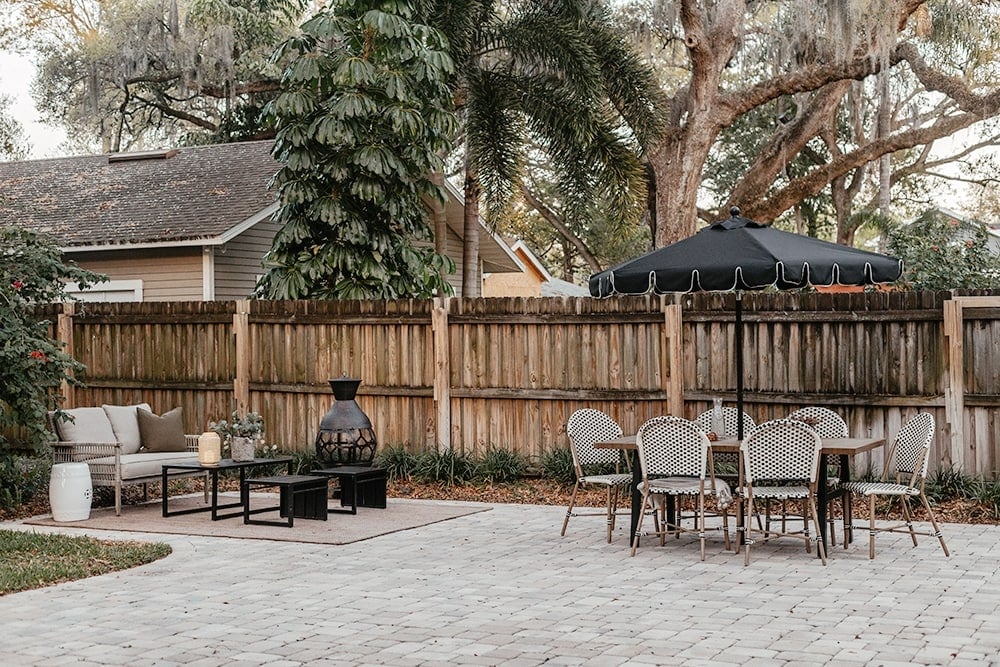
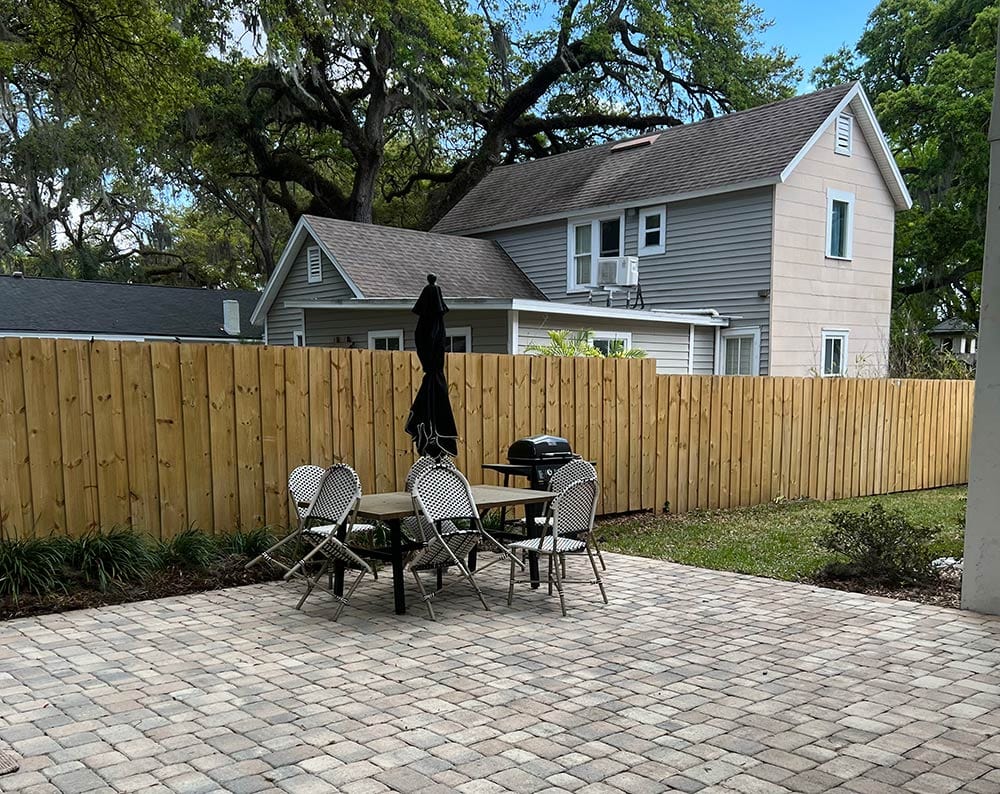
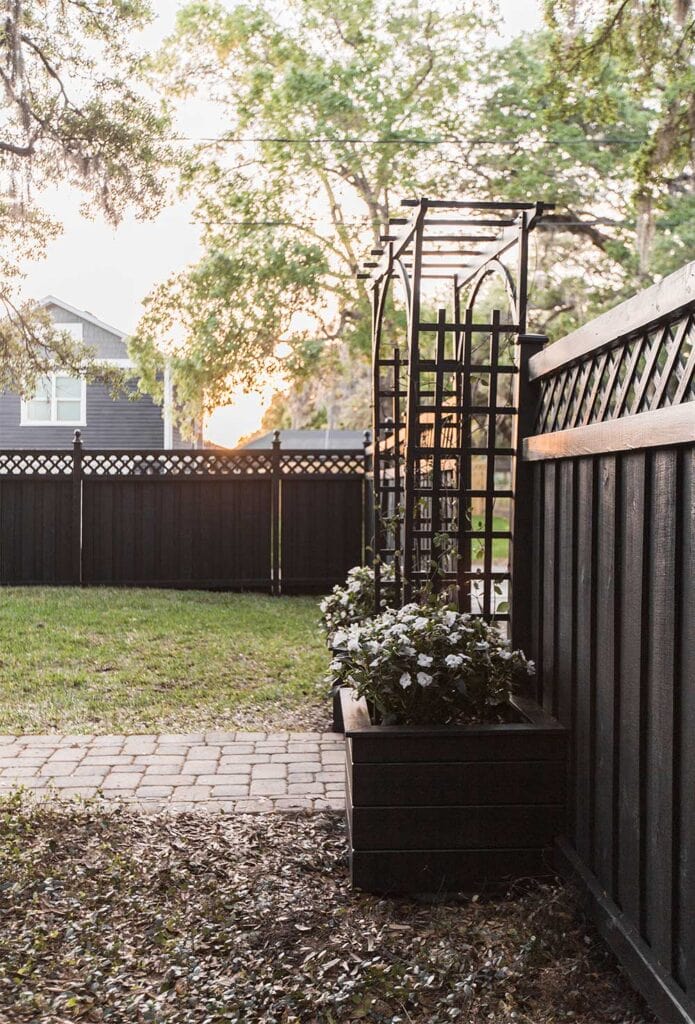
Fence and Arbor Reveal
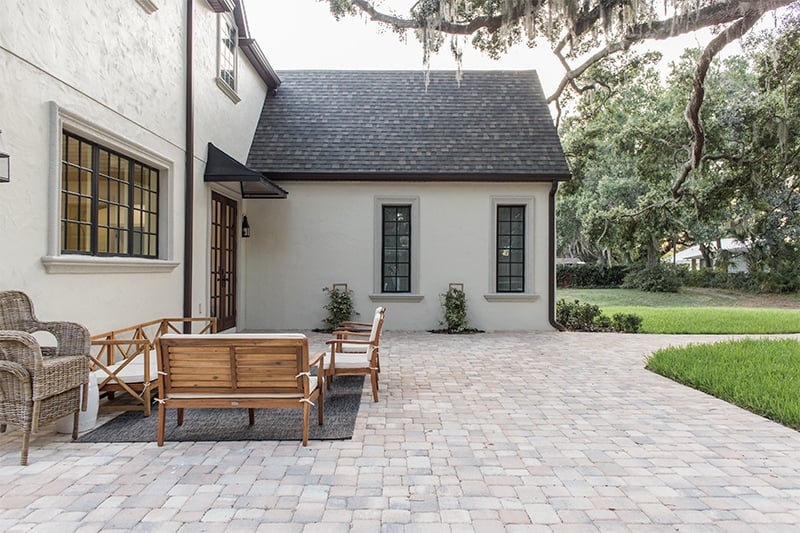
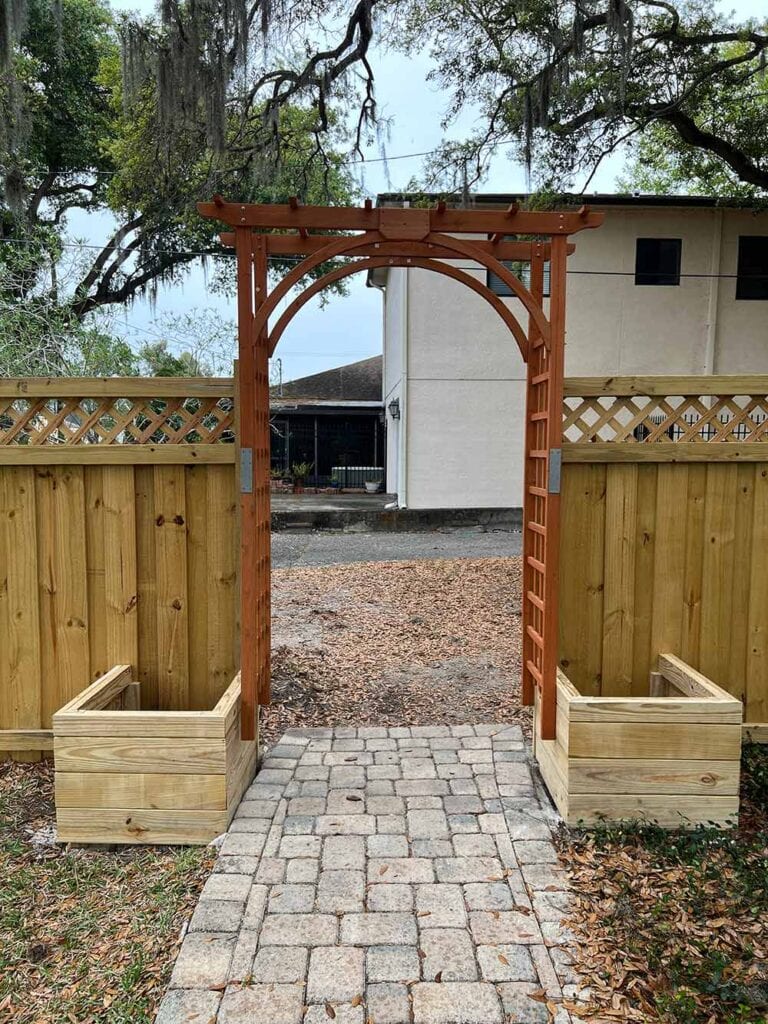
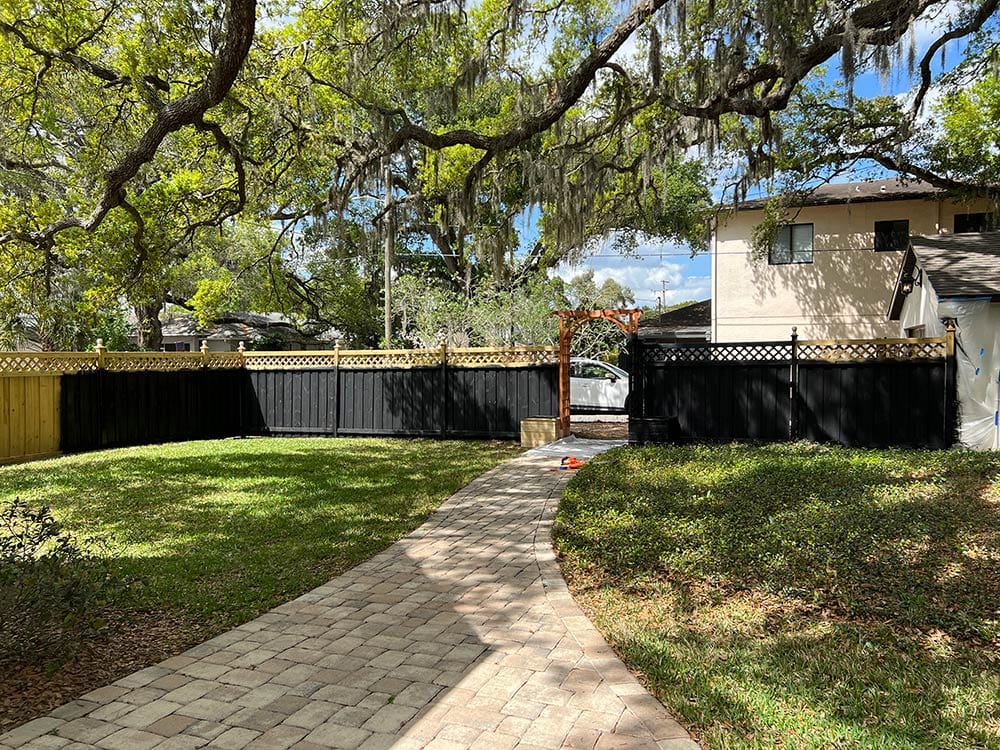
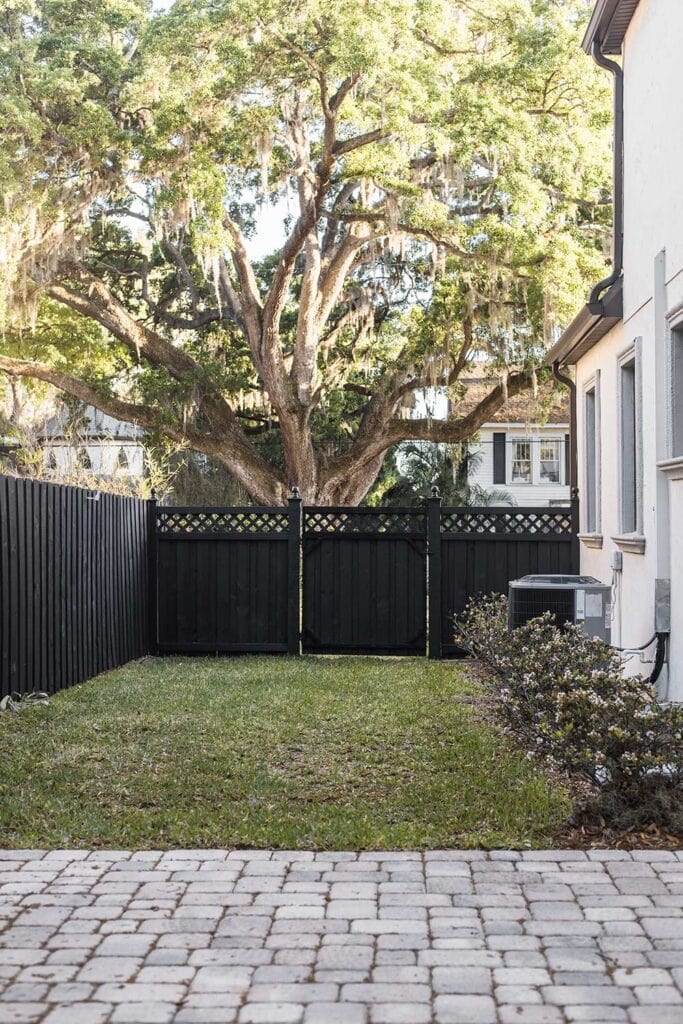
After three years of longing, dreaming, planning and building… our backyard fence is complete!
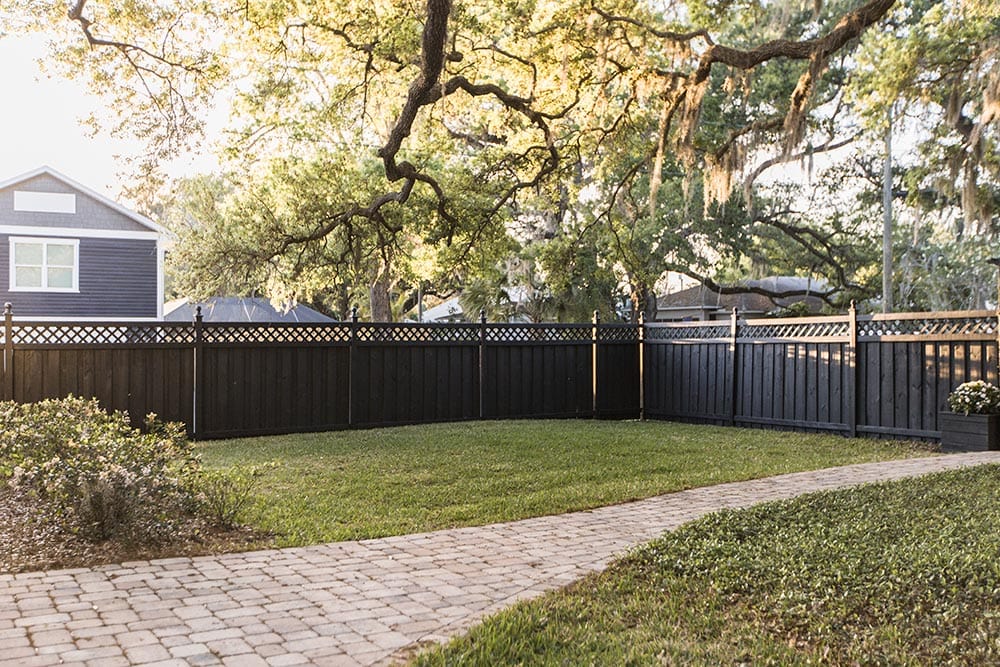
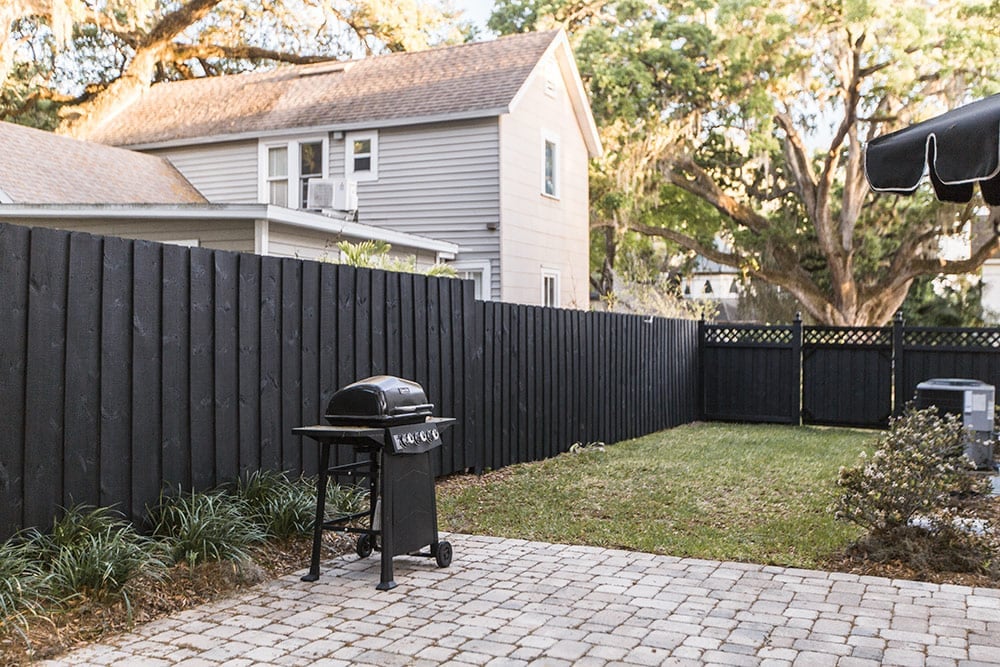
Eventually we’re looking forward to a full scale backyard renovation (with a pool!) but this is a welcome first step.
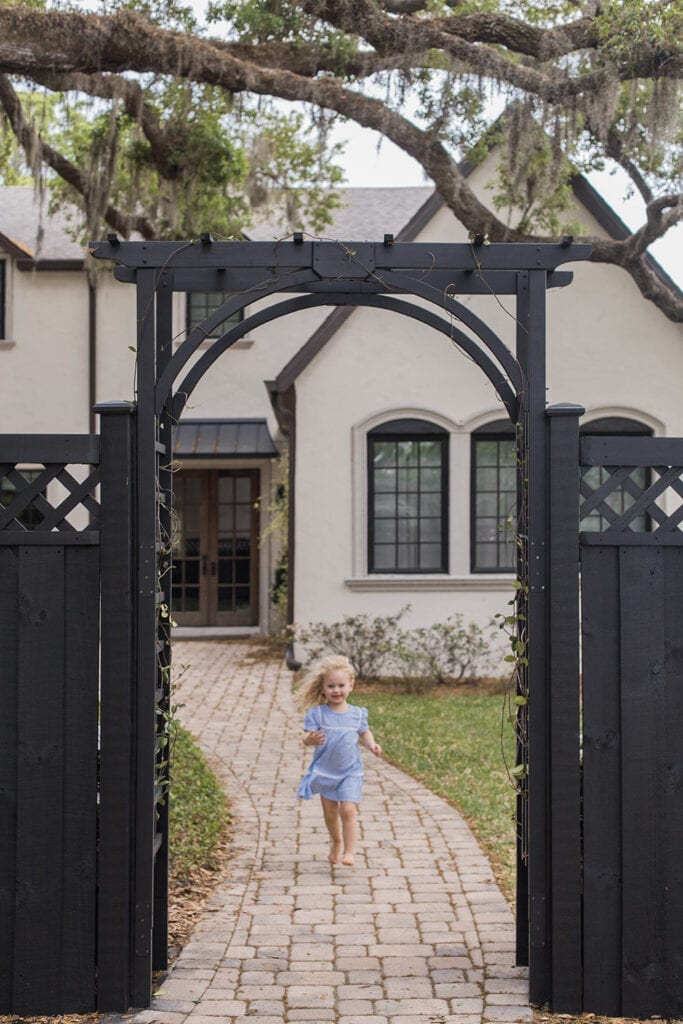
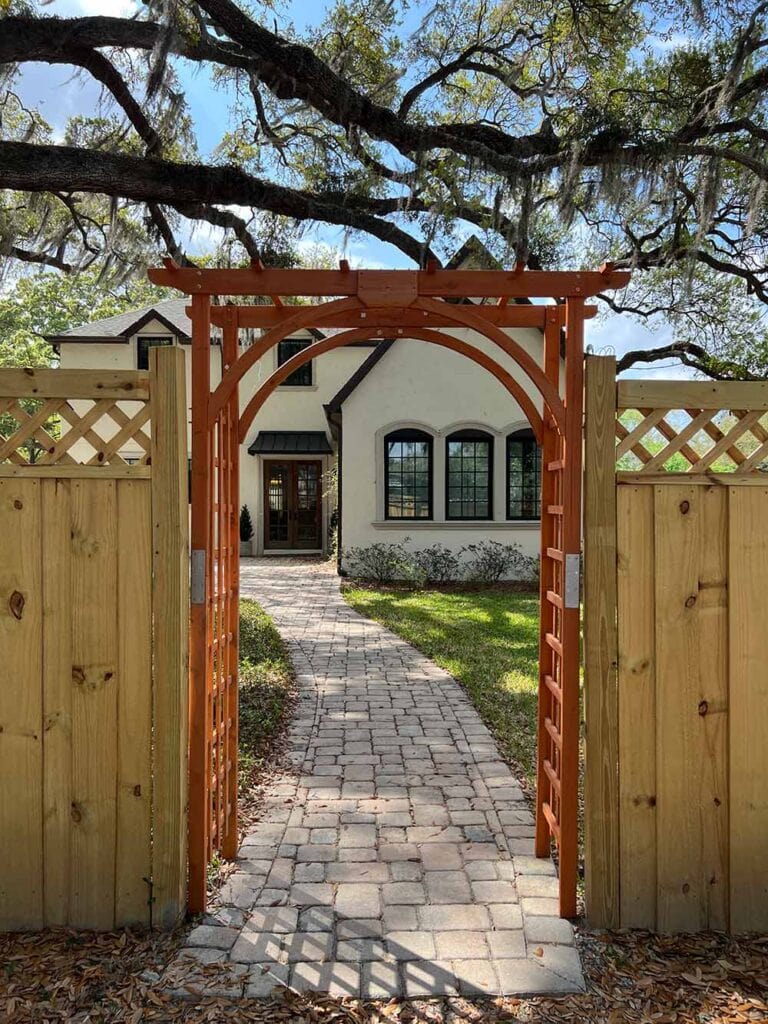
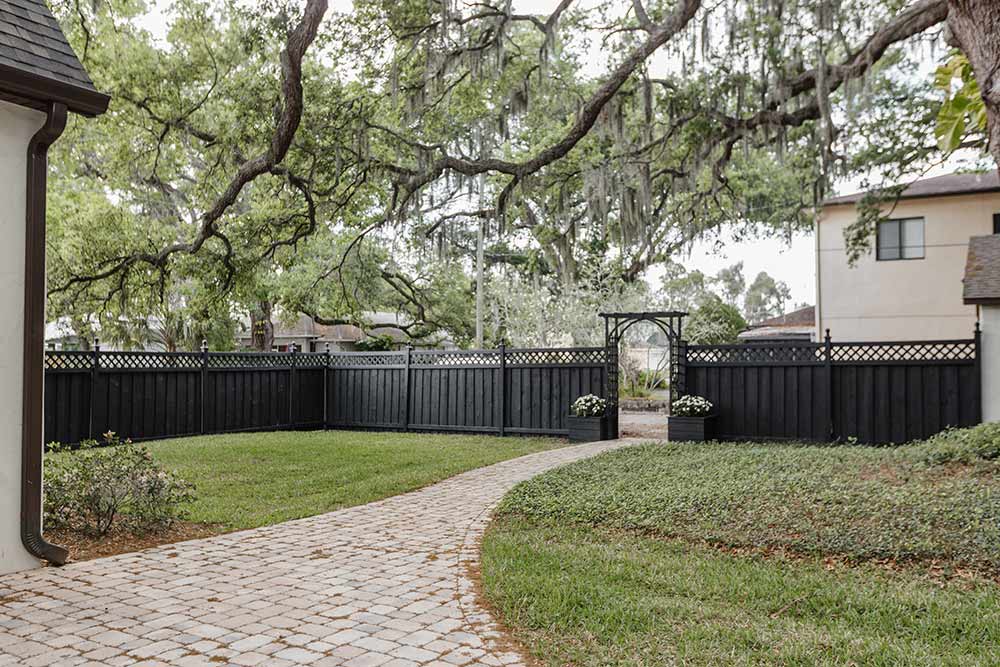
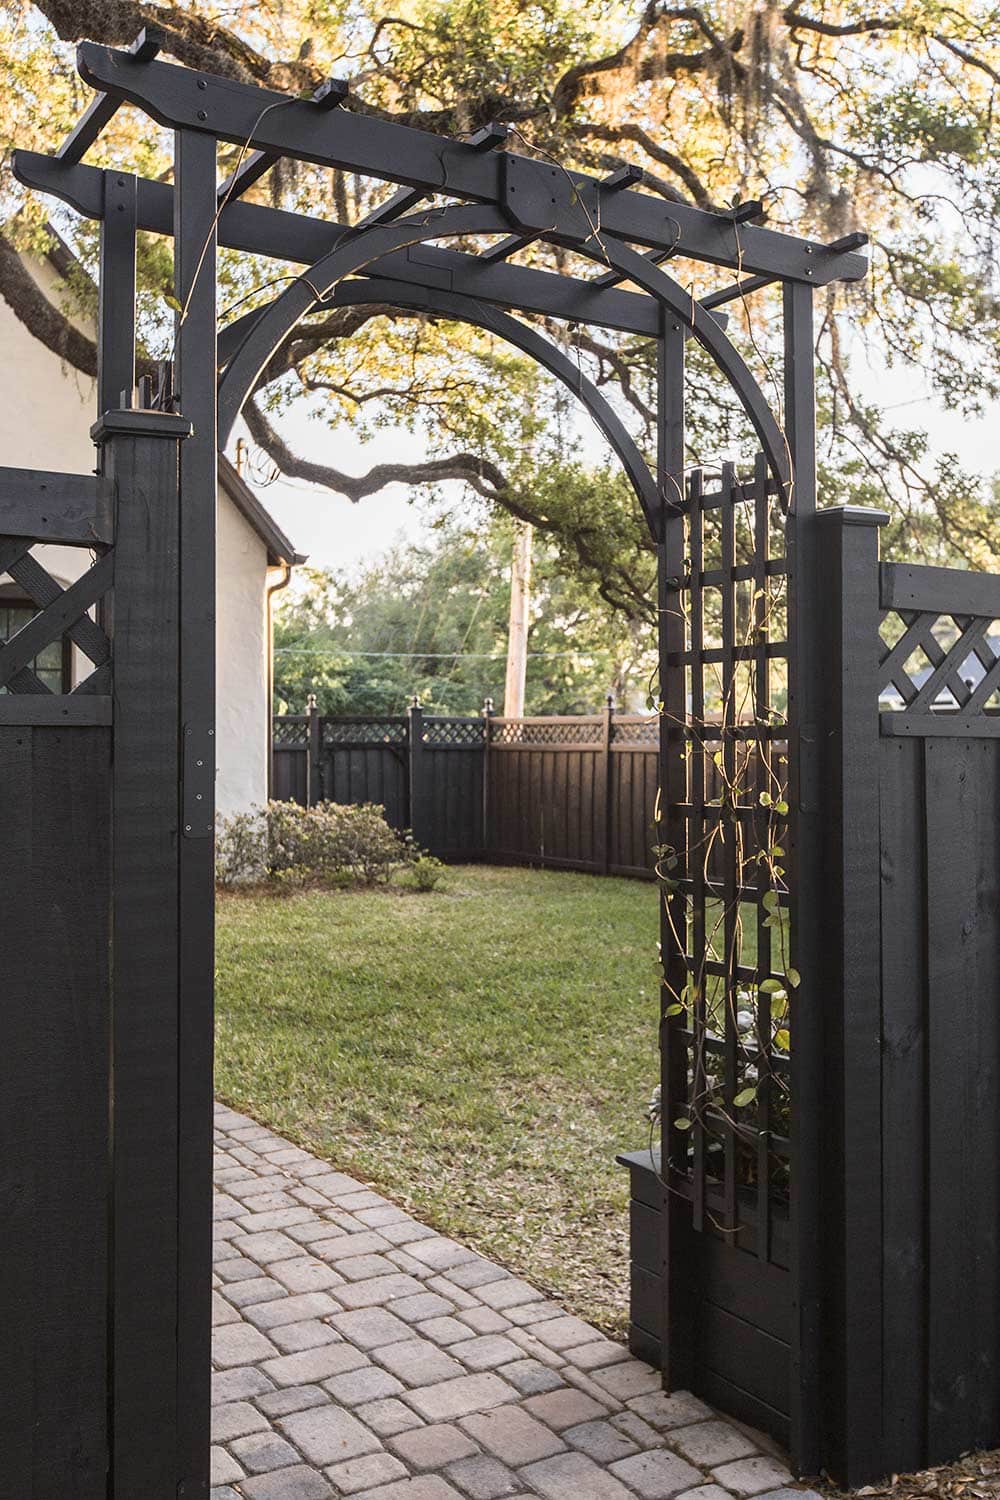
Let’s talk about this arbor though…
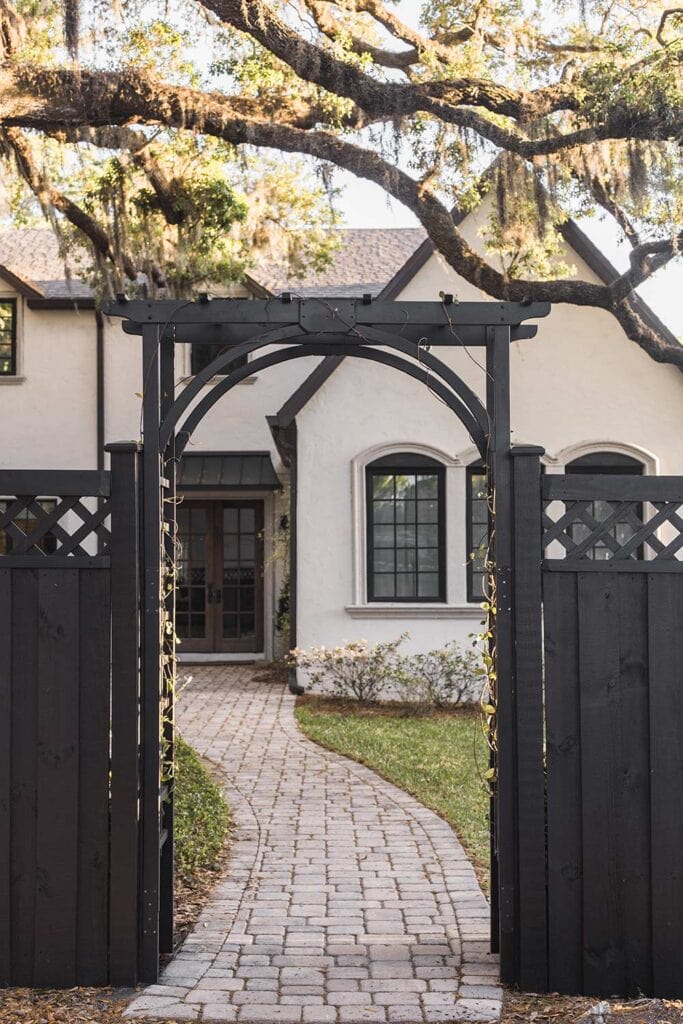
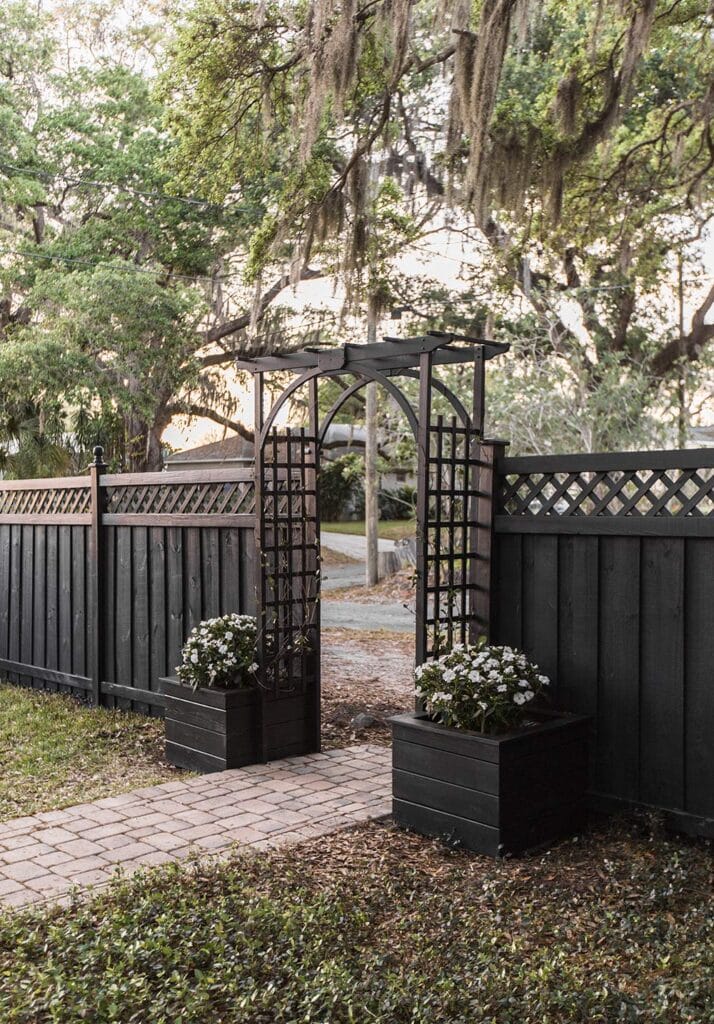
I just love the way it frames the house and gives us a “formal entrance” feel. And these planters are icing on the cake!
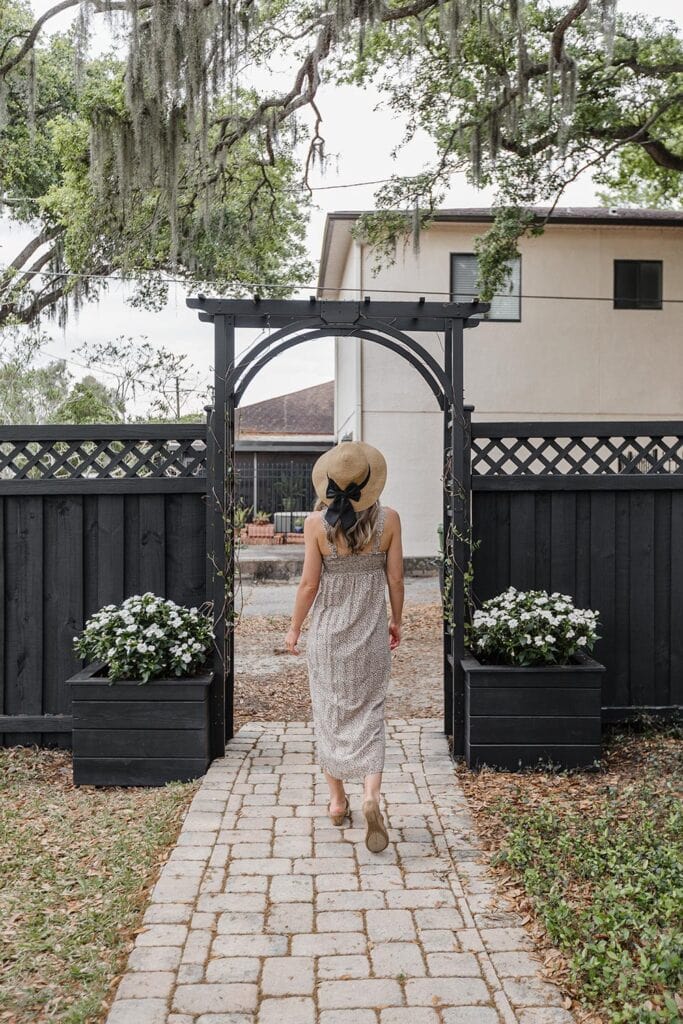
We planted white flowering bushes, and wove star jasmine around the trellis. Maybe we’ll get lucky and they’ll take root in time to bloom this spring…
The next stage for our backyard is new landscaping (at least, redoing much of our original landscaping). We’re planting a row of viburnum along the back fence.
Cost breakdown
Our total fence is 230 linear feet, for reference. We also had two gates installed. Here’s the price breakdown:
| Fence installation | $6,650 |
| Fence stain (material) | $1,508 |
| Fence stain (labor) | $1,200 |
| Arbor | $141 |
| Planter boxes | $201 |
| Post caps & finials | $364 |
| Total | $10,064 |
Keep in mind that we wasted a lot of stain in the beginning, and we also ended up with about 7 unused gallons, so we overspent on stain by ~$500. So close to coming in at under $10k!
Final thoughts
While I’m quite happy with the way the fence looks now, I can’t help but think I might regret it once it reaches its’ inevitable demise in the near future.
To be fair, I didn’t spend a ton of time investigating the life span of black vinyl in our climate, but I have to assume it’s longer than wood. Most of our boards aren’t even straight to begin with (the installers already had to come out and replace a few posts and boards).
The thought of spending $8k every 5-10 years (or living with a crumbling fence) is crazy to me, and I wish I would have done more research into alternative options. Do you have a favorite fence style/material that lasts a long time?
Maybe I’ll be surprised and our fence will outlast my predictions—we can only hope. I’m not stressing about it now—what’s done is done, and we’ll certainly enjoy this fence as long as we can. Just something to consider if you also live in an unforgiving climate and are on the fence (ha!)
But boy, do I love our new arbor! No regrets there. I also can’t wait for our new landscaping to go in—just one more month until install. Happy first week of Spring!

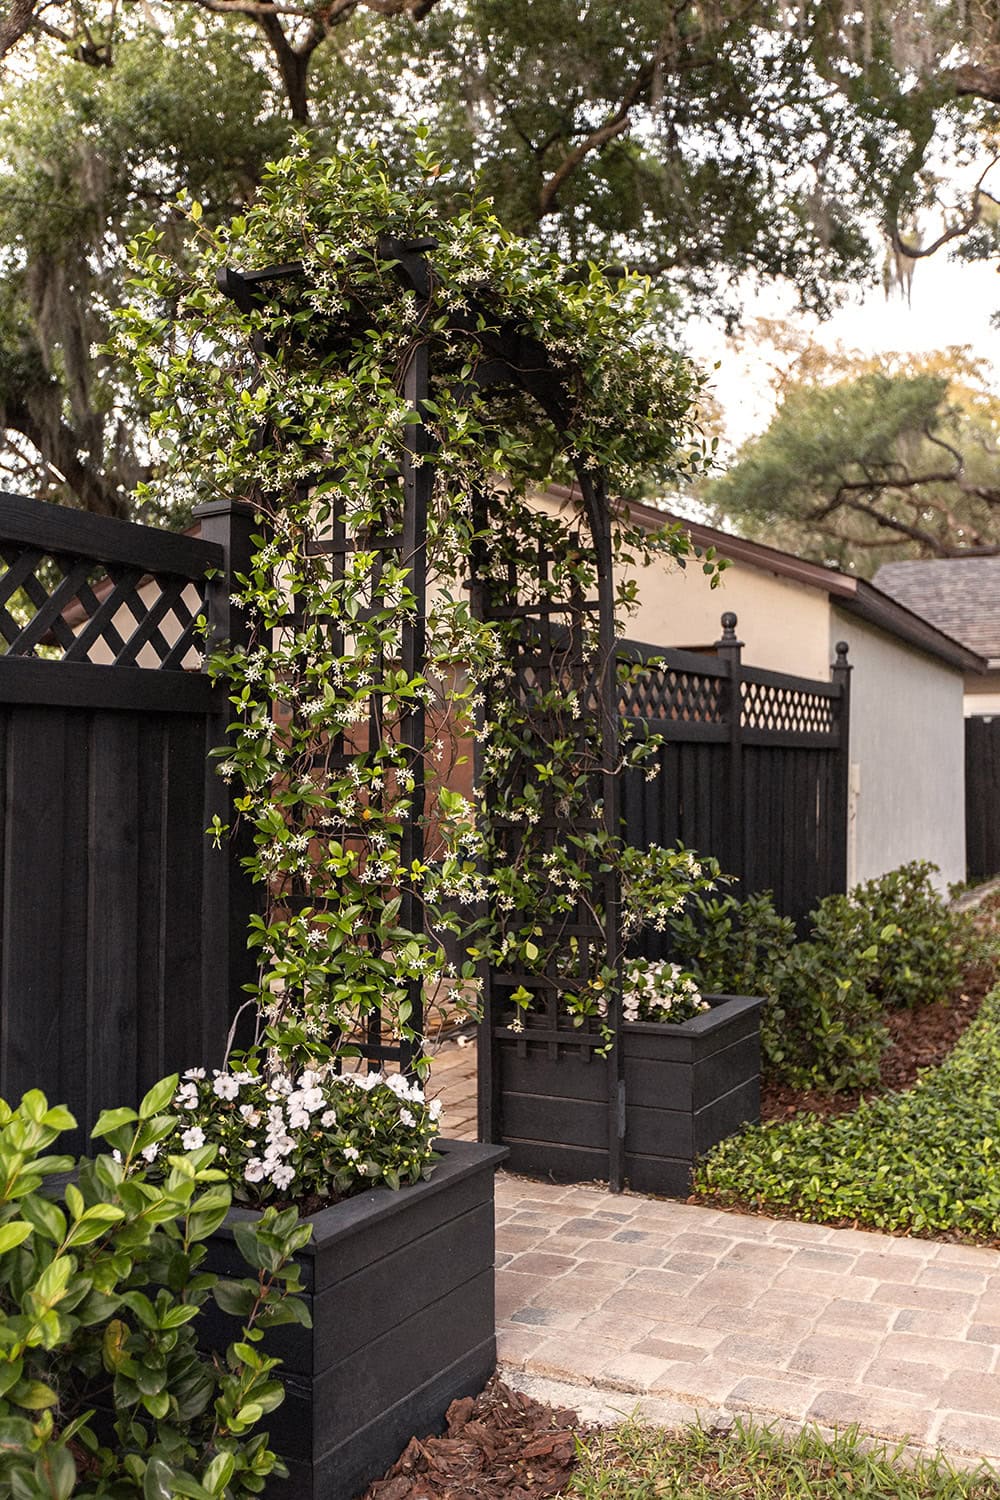
Update: here’s how the jasmine looks less than two years later! Maintenance has been very minimal, as the jasmine naturally weaves it’s way through the arbor. It blooms in the spring and smells divine!


Hepzi says
Thanks for the detailed post. It is really helpful. How much is the total sq foot for your fence as we are also preparing to stain our fence? Also, I didn’t know vinyl had such a small life time. Is it because of the weather only or the material as well?
April says
The upside of wood is that it can be restained. Vinyl can’t. And all it takes is a pine cone, a torn shooting out of the mower to put a hole in vinyl.
Because PT needs to dry and they’re putting it out faster than before, it warps and checks more often. Not unusual.
I LOVE the arbor too! Beautiful job!
Jenna Sue says
Thanks for the peace of mind, April! Hopefully I still have no regrets in a few years 🙂
Alisha Serrano says
Gorgeous project and outcome! I was wondering if you could share your paver information and source. Thank you and enjoy!
Jenna Sue says
Thanks Alisha! We sourced it through a local company used by our builder. I don’t recall the brand name but the color is McKenzie Blend.