Want to learn how to turn a plain Ikea mirror into a DIY ‘antique’ mirror?
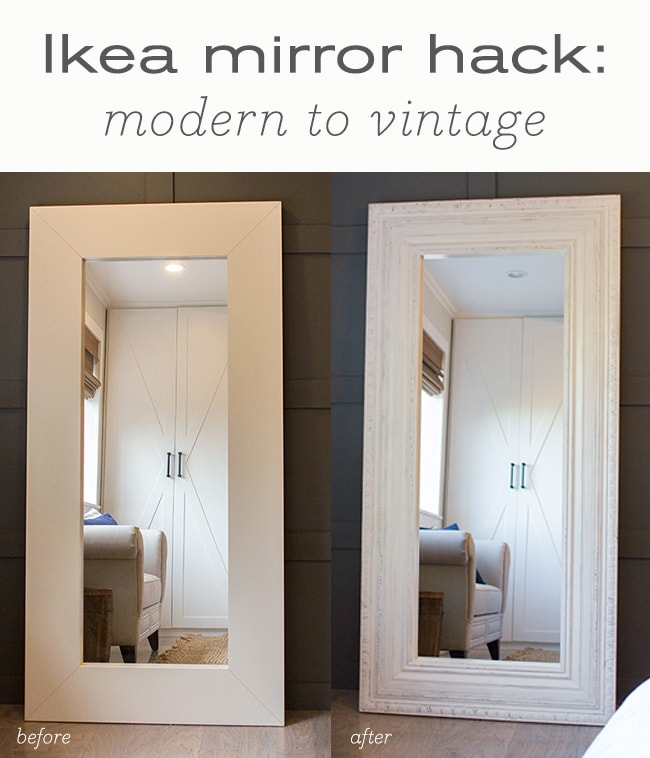
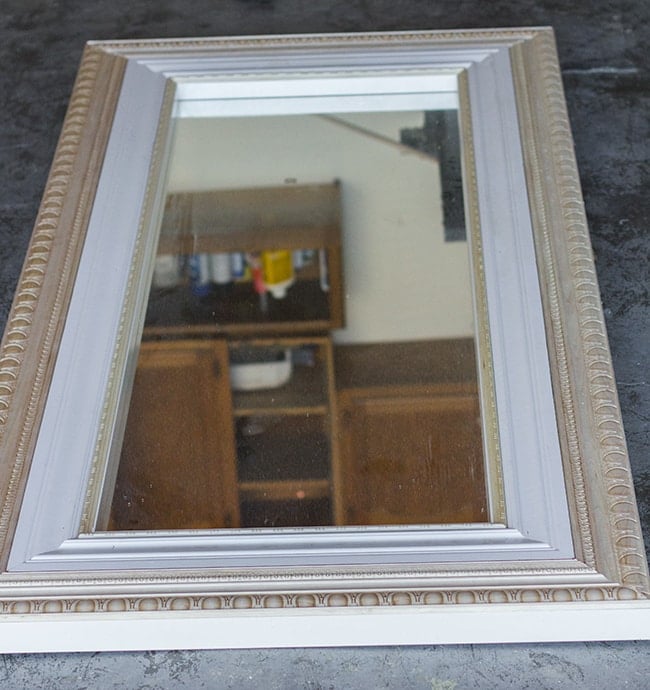
We’ve had this Ikea Mongstad mirror for as long as I can remember. There’s nothing wrong with it, it’s just a little too plain and modern for my ever-evolving taste. I’m trying to incorporate more vintage/farmhouse style pieces into our home, and only keep things I really love. This mirror wasn’t special—it was just taking up space.
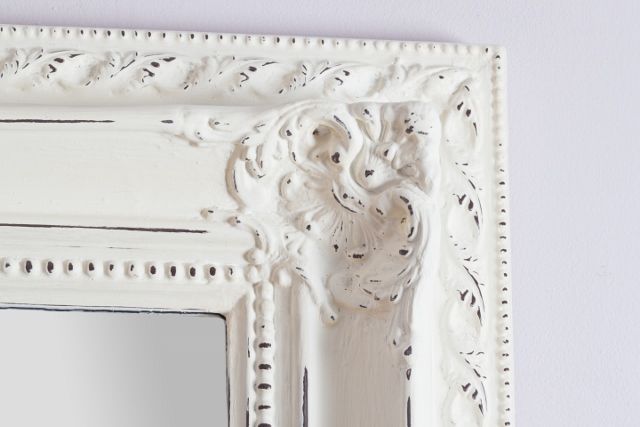
I’ve been drooling over these beautiful mirrors everywhere on Pinterest…
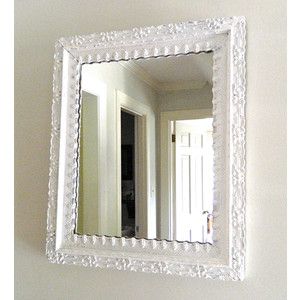
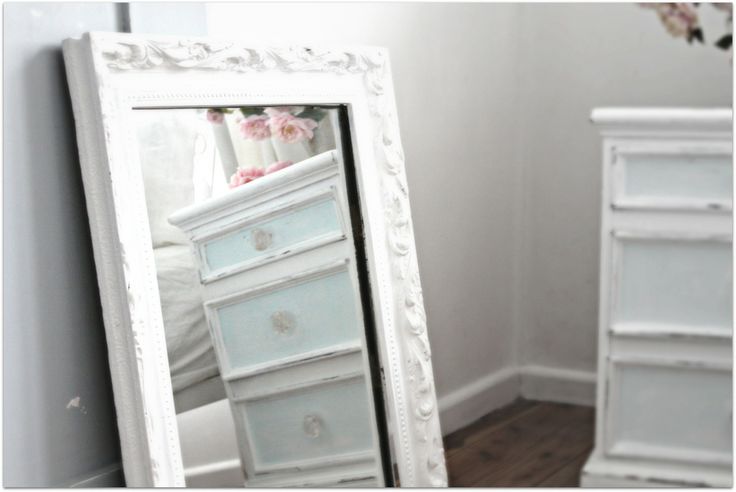
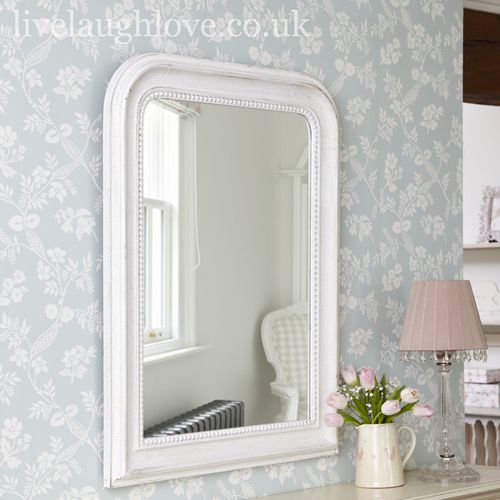
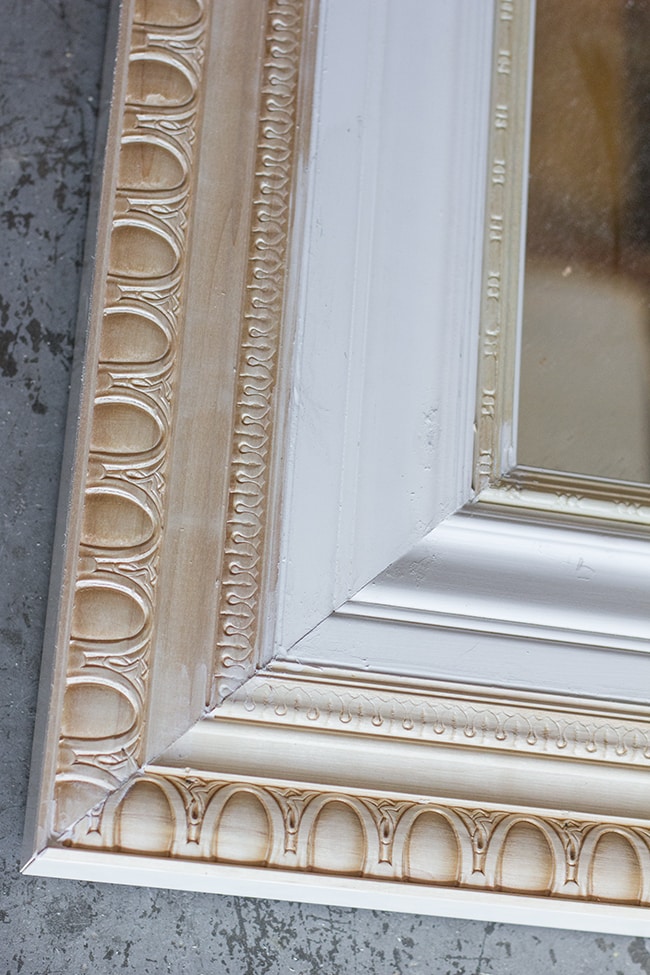
Such lovely detail…
So the other day as I was browsing the trim aisle at Lowe’s (my second home), an idea popped into my head when I spotted this fancy molding…
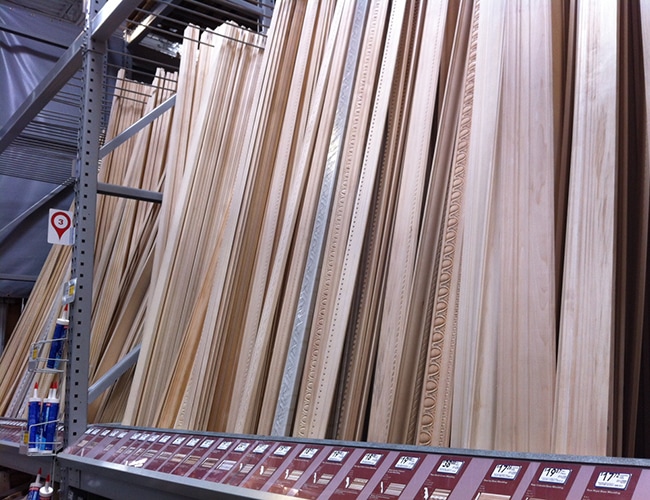
I could simply attach it to the mirror by framing it out and I’d have my own vintage-esque shabby chic mirror. Easy.
Jump to:
Materials list
- Plain mirror with a flat frame
- Variety of molding
I ended up selecting three pieces of the expensive molding (at $19/peice) and cut costs using primed MDF baseboard for the second row (I already had some at home so I only needed two pieces), and then two pieces of skinny detailed molding which were just $5 each. The total came to around $75.
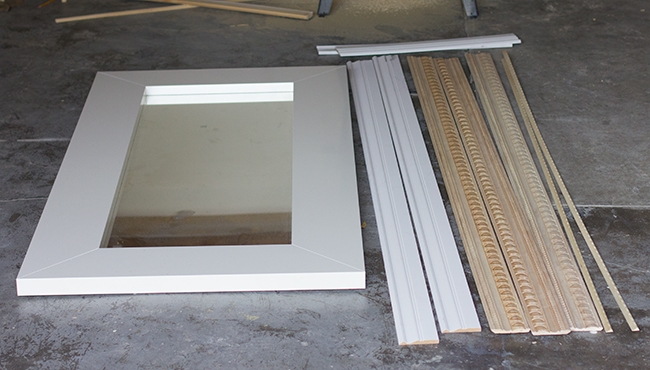
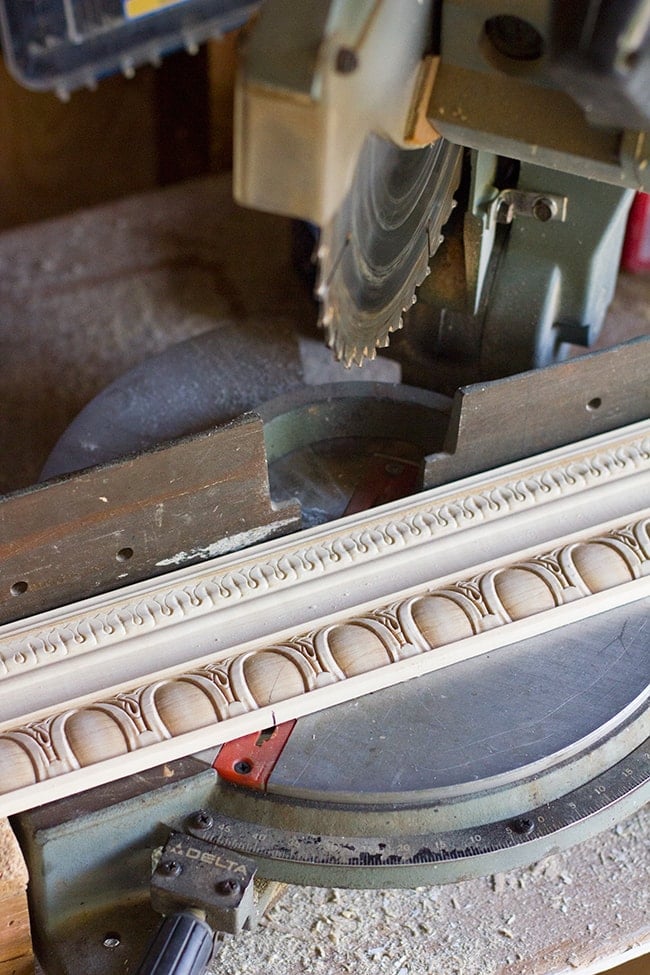
After laying out my pattern, it was time to start cutting.
Measure and cut your molding along the outside edge
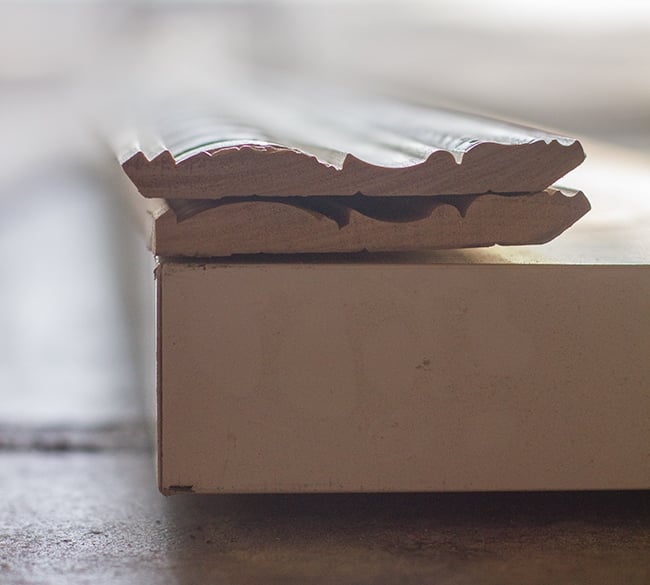
The fancy molding was actually crown, which meant the edges were angled and not straight (to avoid this, make sure to choose wall molding!) I wanted the trim to line up flush with the edge of the mirror, so I ripped it down with my table saw.
Here you can see the uncut molding on the top, and the ripped piece below it.
Once those pieces were all ripped, it was time to make my cuts. Simple stuff—45° for every cut.
The mirror already had a seam on each angle so it was easy to see where the molding should line up.
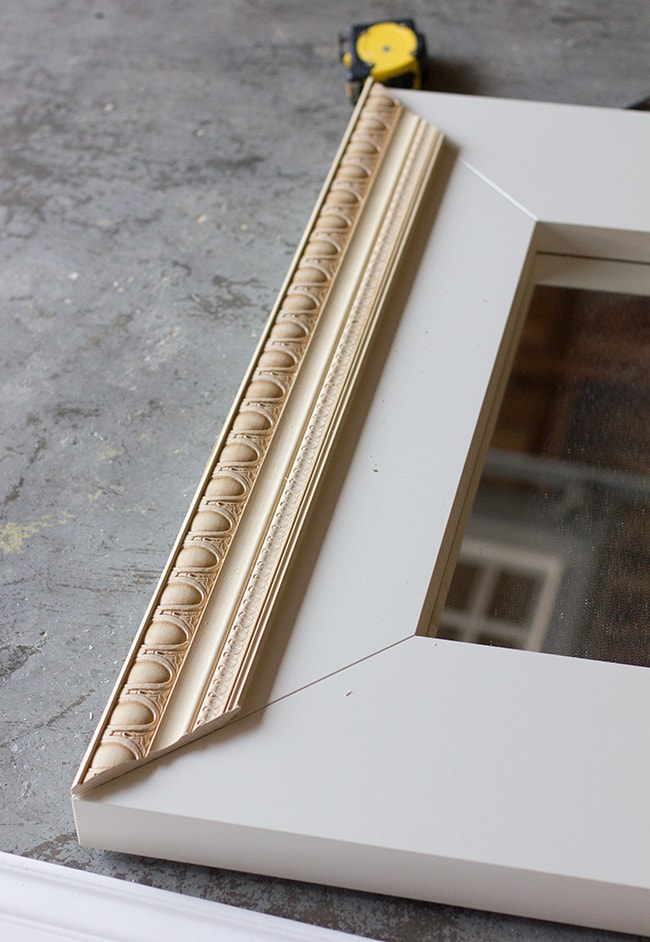
Attach outside molding to mirror with a nail gun
I worked my way around the mirror, piece by piece, and used my nail gun to secure them in place.
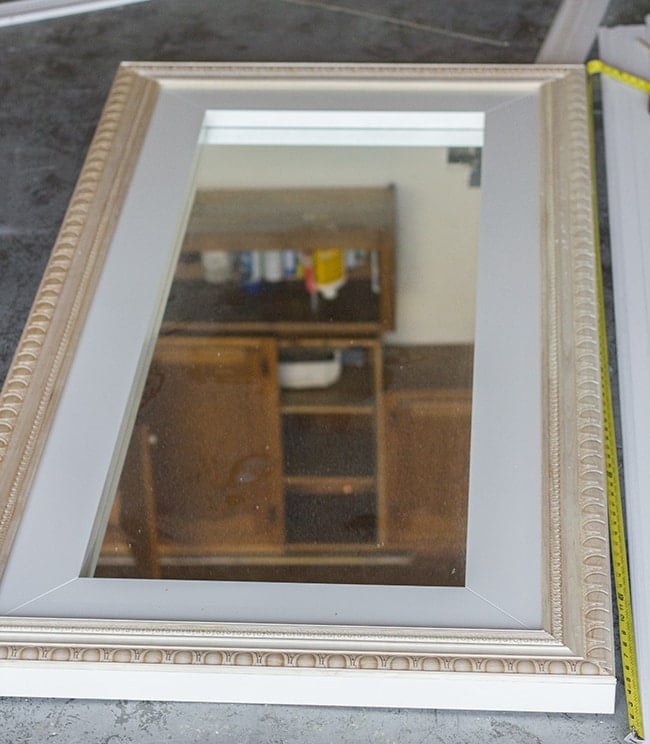
Repeat for the next row
Then it was time for the next row—the baseboards. In order to get the third row to fit without overlapping, the baseboards also had to be ripped down 3/8″ or so. After trimming those to size, I attached them to the mirror, the same way I attached the first section.
Repeat for the last row(s)
Finally, I finished off with the inside pieces.
Spackle and caulk
After everything was secure, it was time to fill the nail holes and caulk all of the seams.
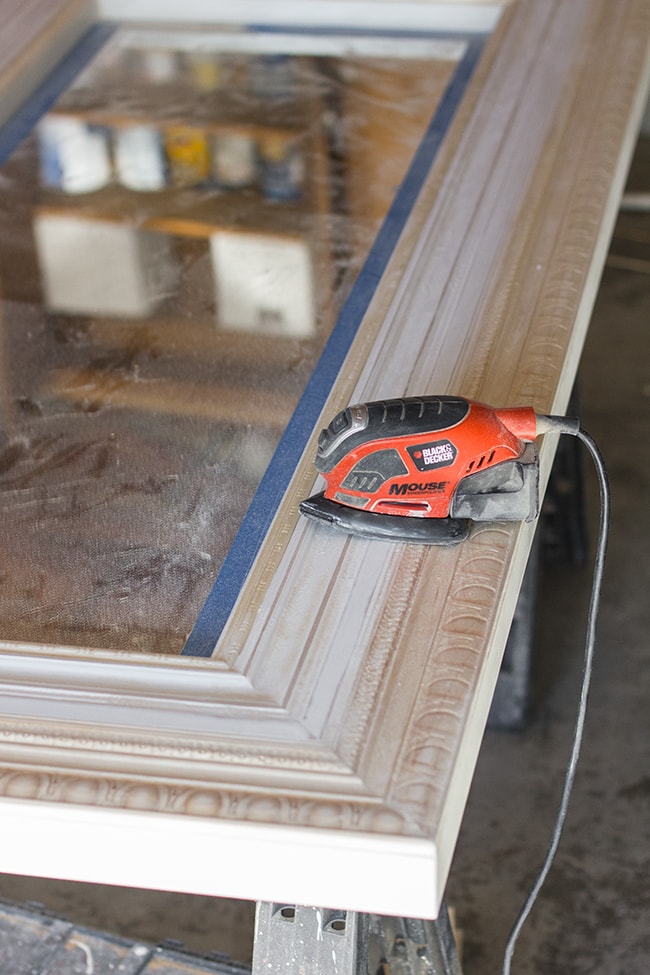
Sand + wipe clean
Once dry, I used my Mouse sander to get everything nice and smooth:
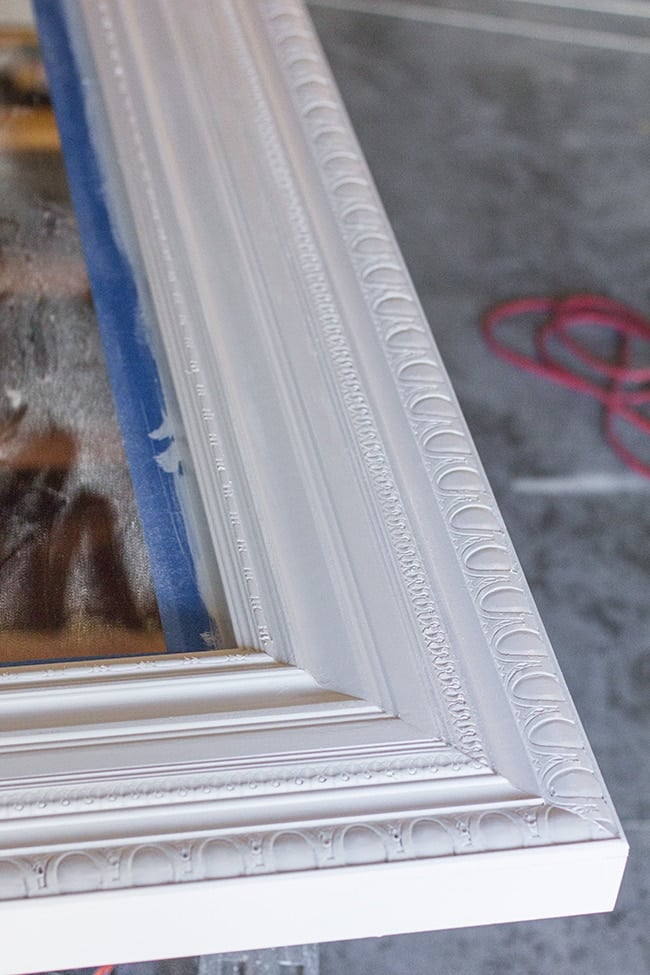
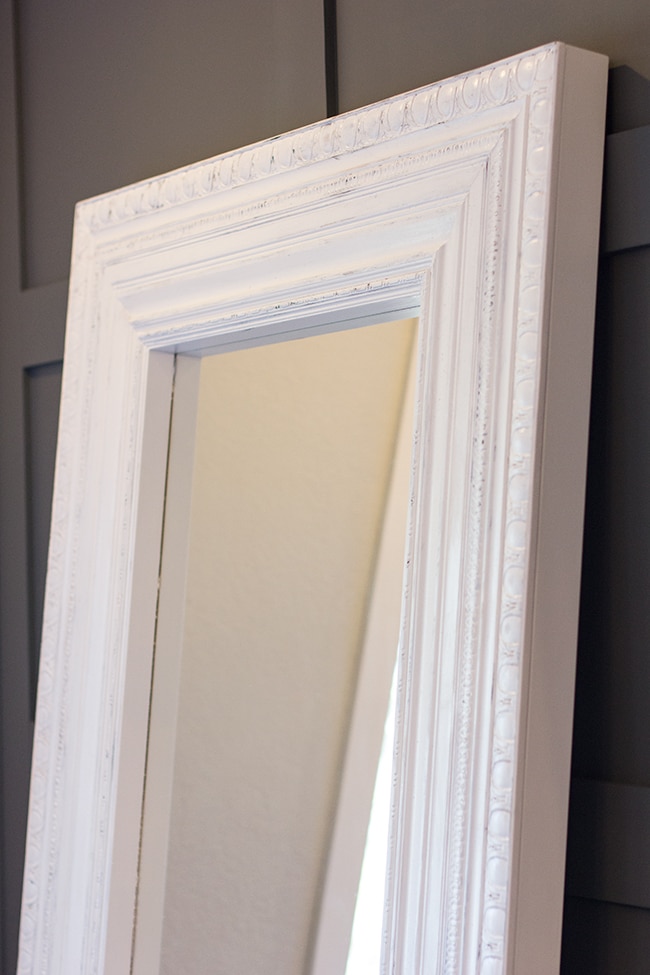
Paint
After vacuuming up all the dust, it was time to paint! I applied a couple coats of Kelly Moore’s Swiss Coffee in satin using my angled brush and let it dry:
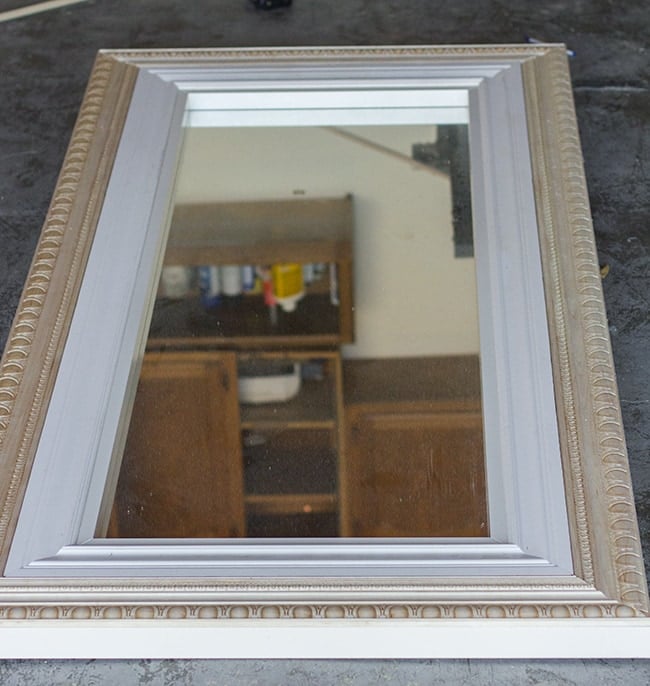
Apply a dark stain
To give the mirror more of an authentic vintage look, I had to distress it. I wanted little peeks of black showing through (like my detail inspiration photo earlier) but the wood underneath wasn’t black, so sanding it wouldn’t give me that result. So I grabbed a q-tip, a can of Minwax’s ebony stain, and dabbed it on randomly:
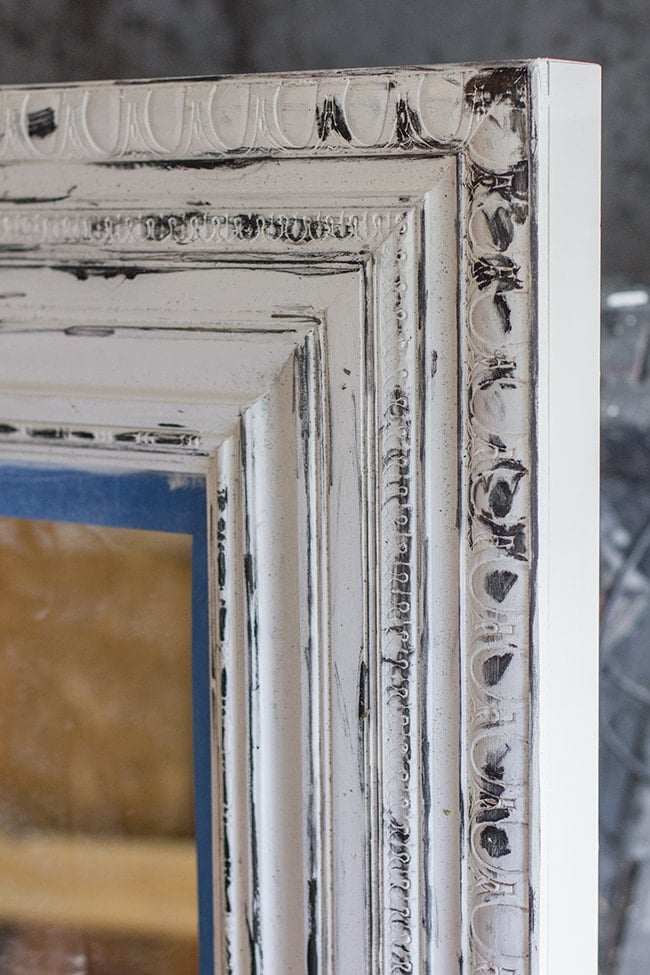
Even though it was applied on top of paint, it still stuck surprisingly well. Once dry, I went back over it with my brush, letting hints of the stain show through in certain areas.

I wanted the distressing to be subtle and this method worked quite well.
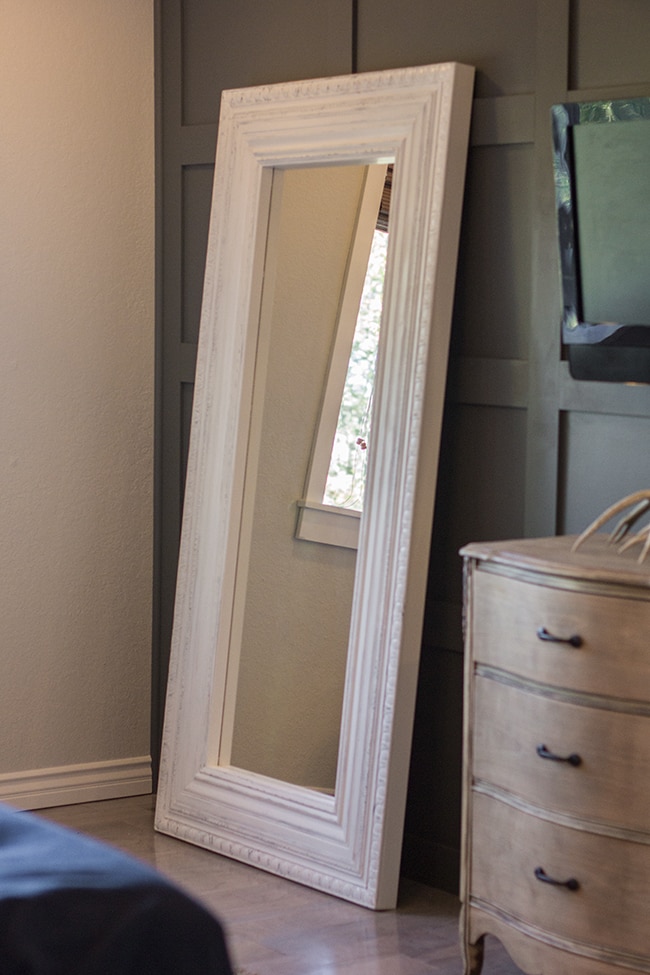
DIY Antique mirror dresser reveal

I don’t think $75 is a bad investment to get this type of detail… big floor mirrors in a similar style are sold for a whole lot more.
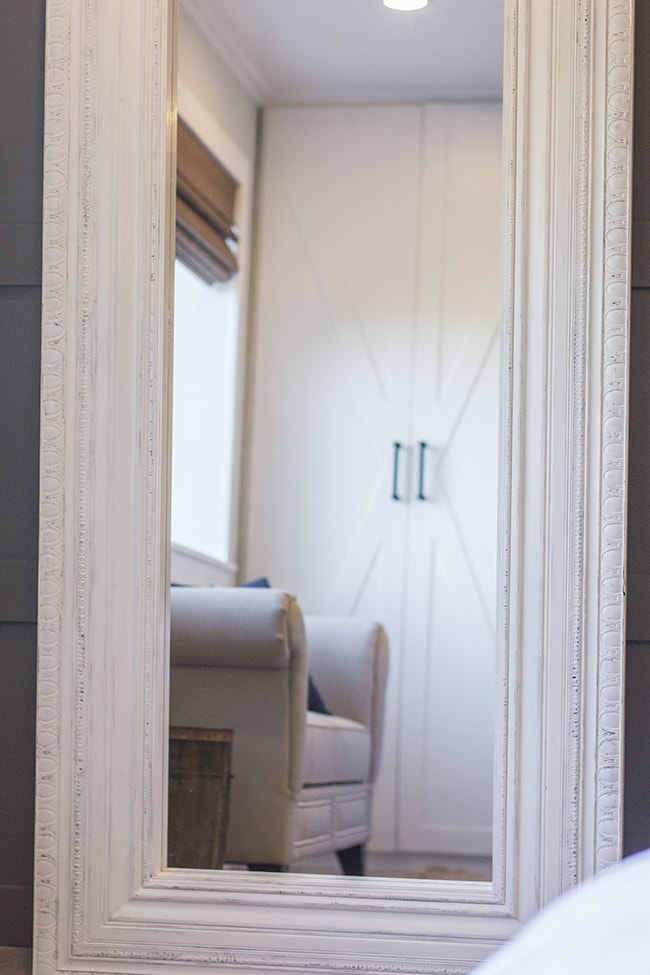
And it makes me happy. So that’s definitely worth it.


Erin Ziegenbein says
Just seeing your reworking of the IKEA mirror. I was wondering if sanding the outer edges of the mirror frame itself and staining the whole thing would work? I LOVE the idea of adding all the trim, but I’m for a more natural wood look. Thoughts?
jennasuedesign says
Hi Erin, the Ikea material isn’t wood (at least the white model) so sanding wouldn’t work so well. You could add wood trim around the edges too and then stain it all. Hope this helps!
Erica Meyer says
Such a great idea Jenna! Looks terrific. Love following along on your home transformation!