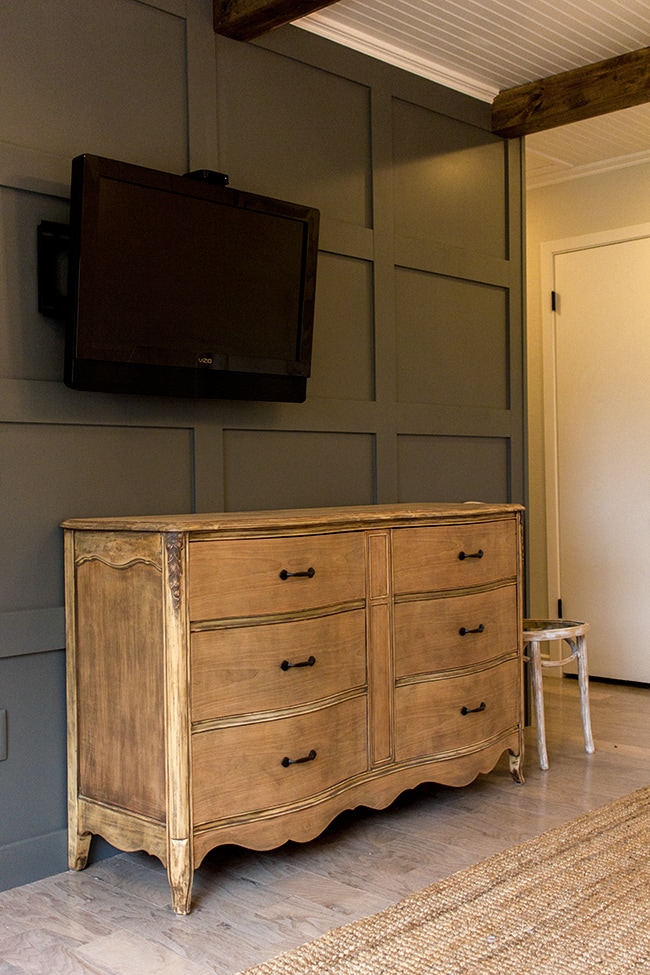
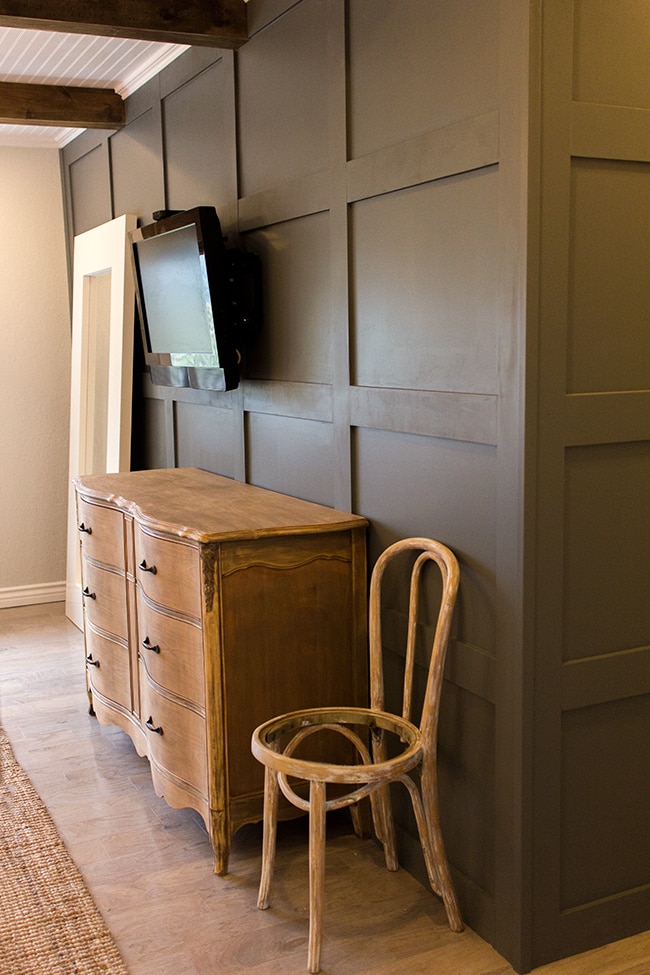
We’ve been quite busy in here the past few days! On Thursday I showed you our panel wall, and here’s how it looks after mounting the TV and bringing the dresser in…
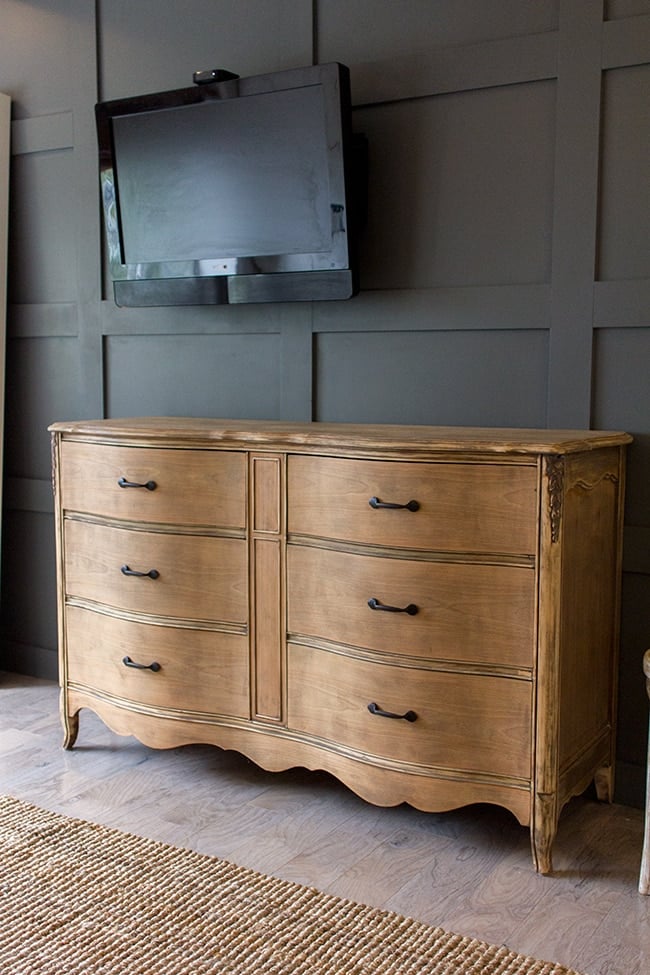
I ended up swapping out the original hardware with some $2 pulls from Lowe’s. I like the simplicity much better.
Saturday morning I scored some cheap finds at the local flea market…
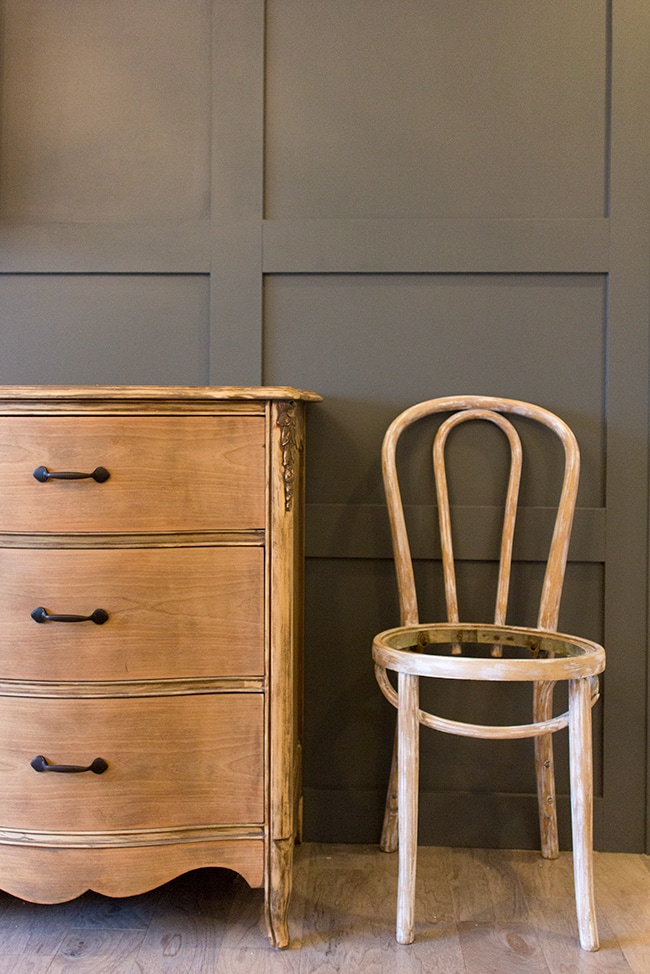
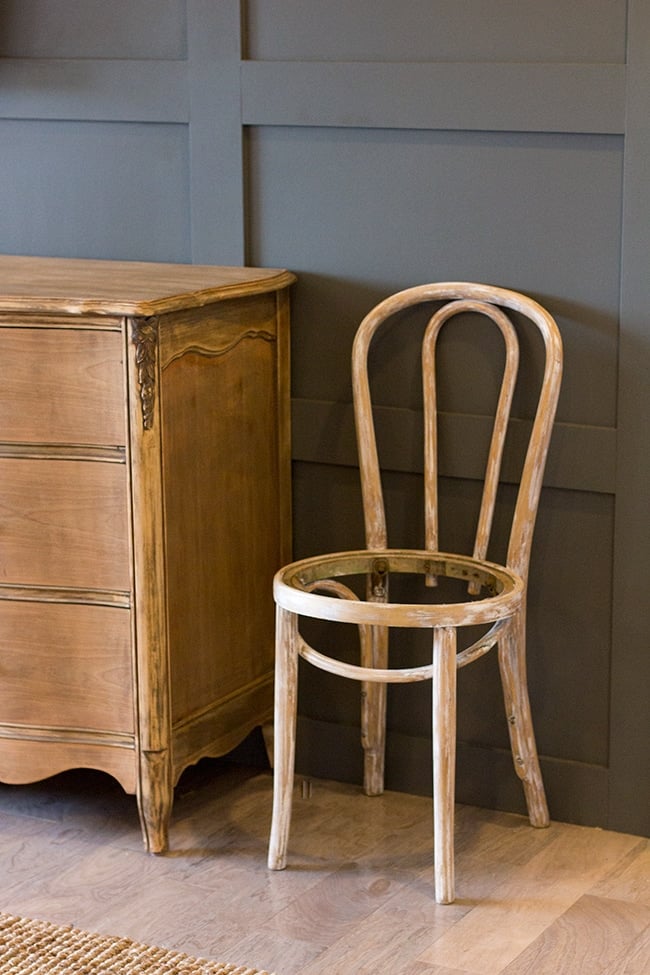
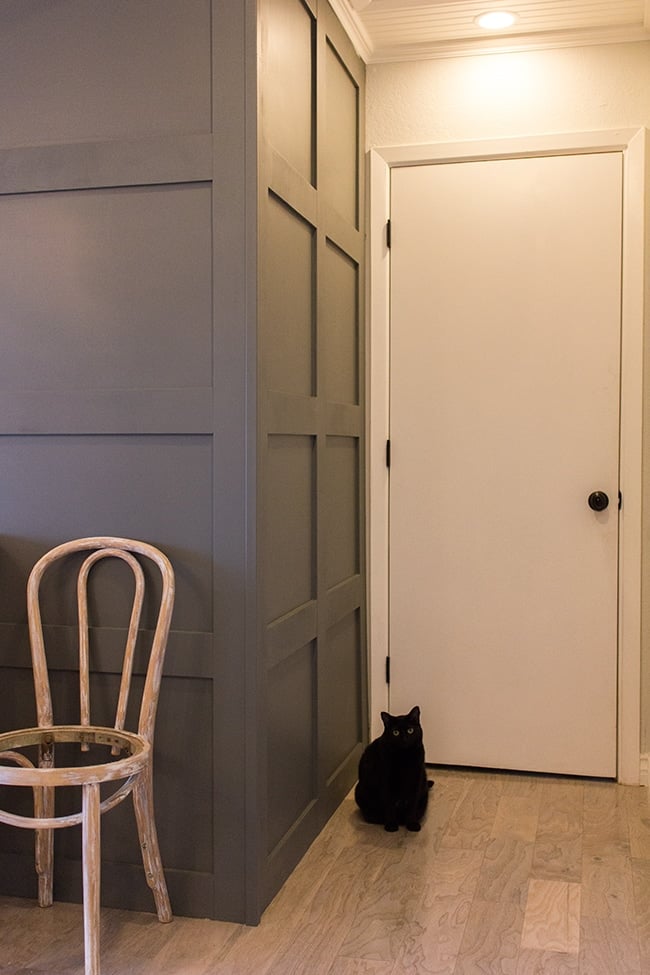
This antique chair was just $5 and fits perfect in the empty space beside the dresser. It doesn’t have a seat, but that’s an easy fix which I’ll get on ASAP.
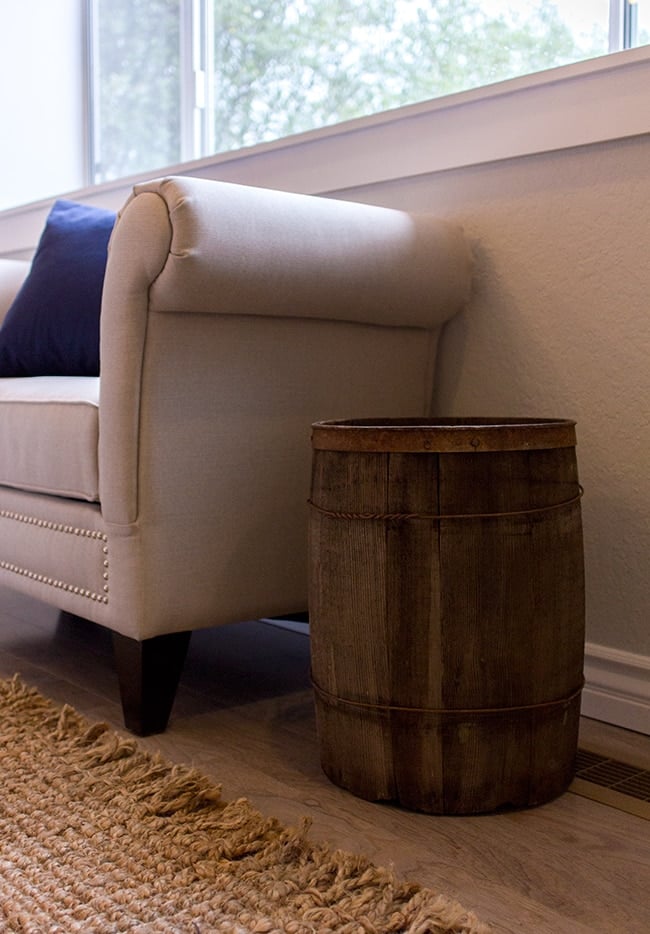
I also found the perfect side table next to the bench—an old wine barrel for $5.
Speaking of benches… I ended up choosing #3.
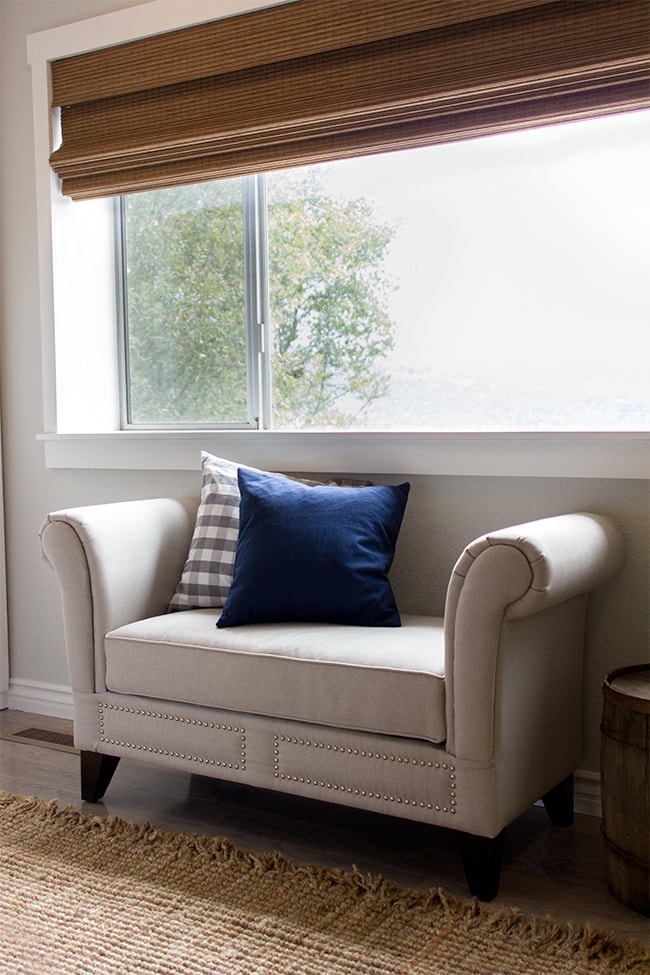
It was between that and number 2, and I’m really happy with my choice. In the end it just came down to color and fabric—I had my heart set on linen.
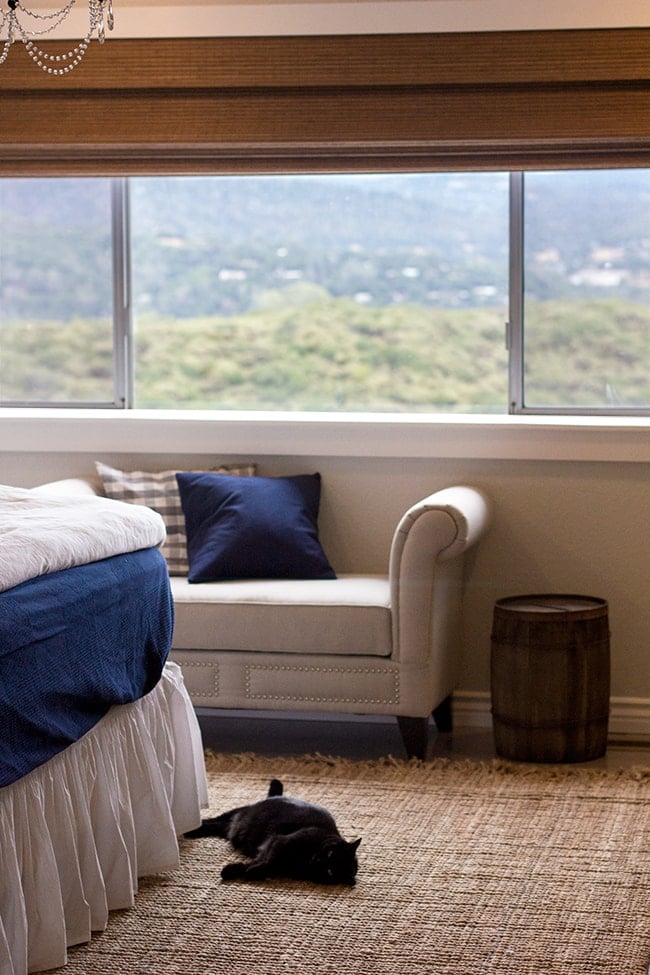
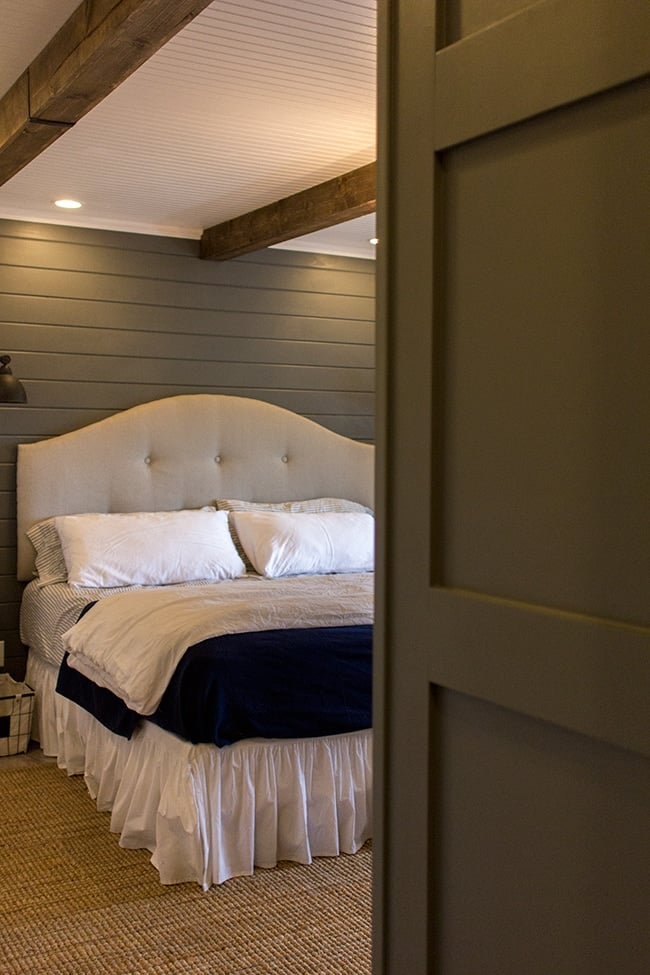
You may also notice the addition of a rug…
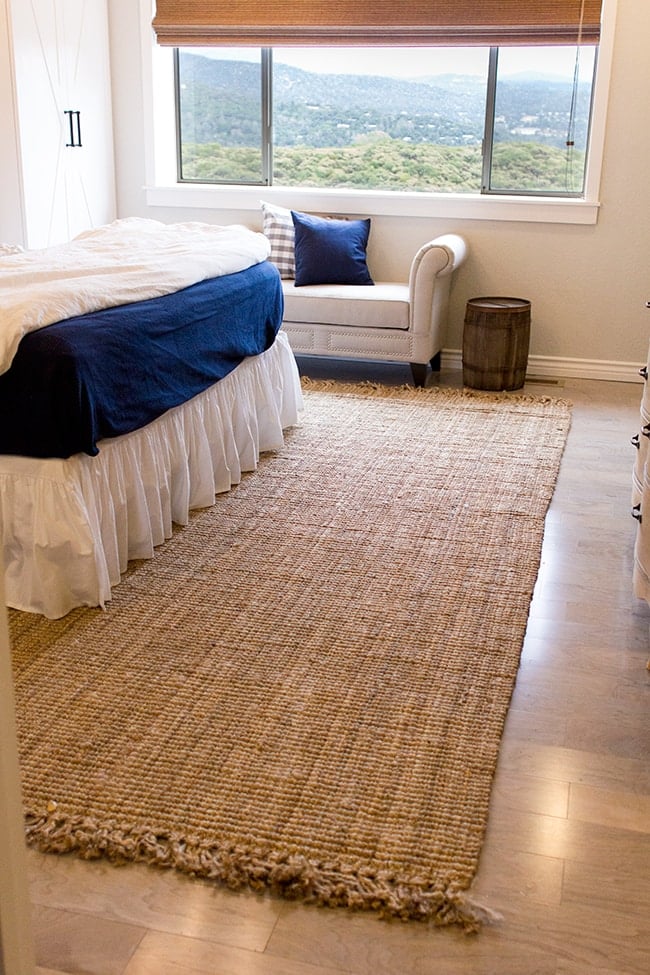
Rugs.com had their big summer sale so I snagged this big 8’6 x 11’6 jute rug for just $233 shipped—insanity. Yes, it’s the same one I have in the studio, dining room, and living room…. but it’s amazing and I can’t help myself.
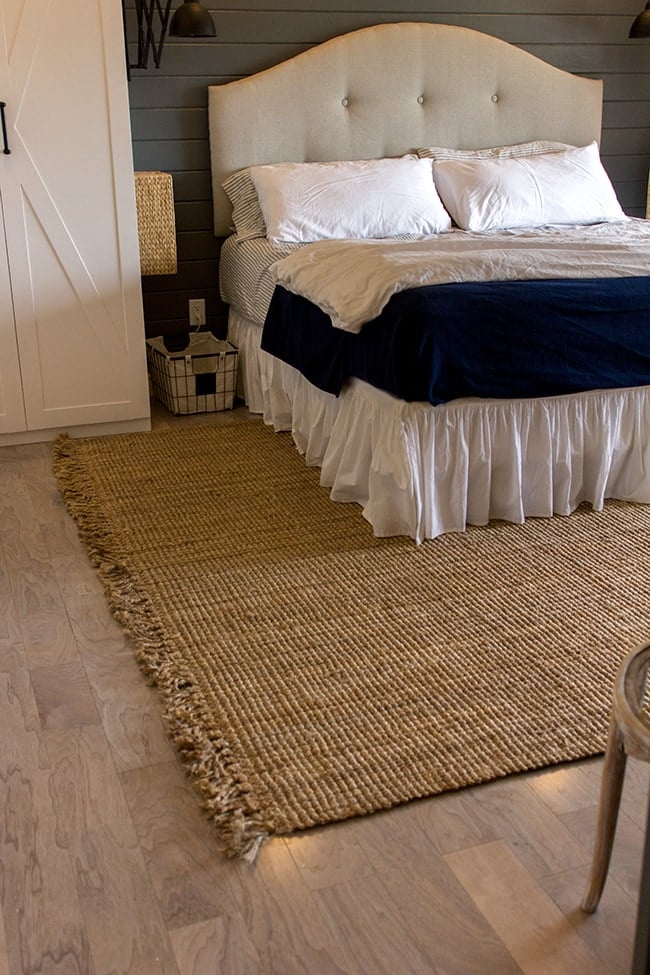
It seriously helps warm up the space.
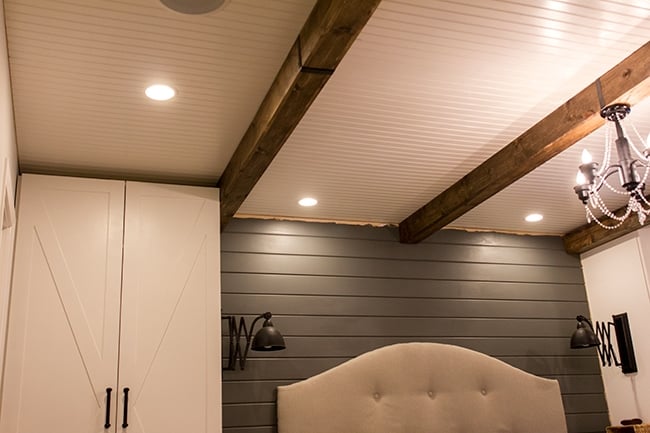
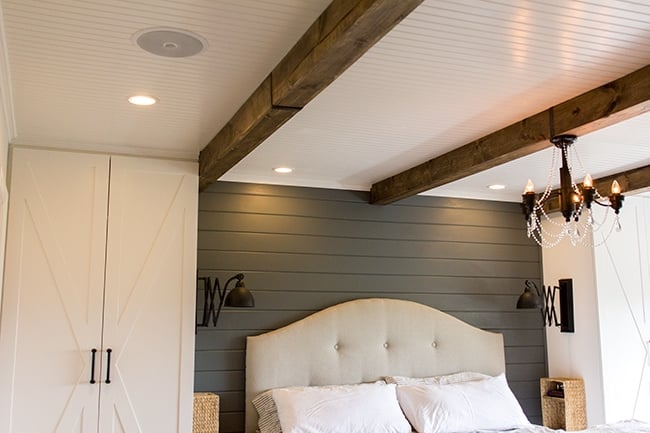
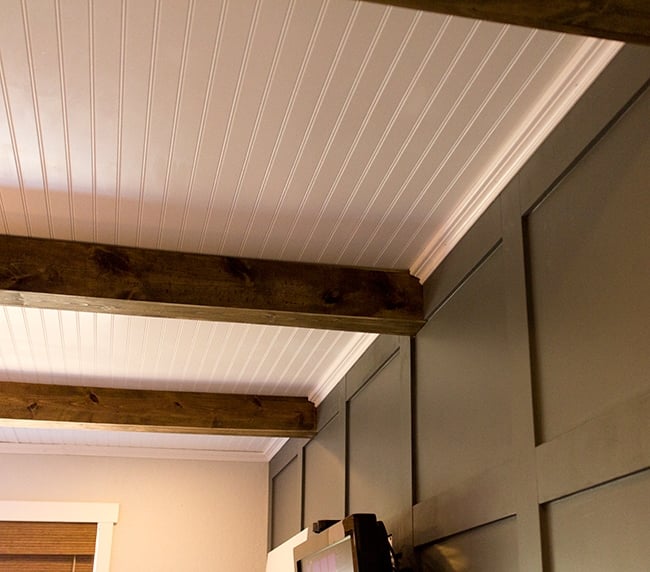
And now the major game changer… adding trim!
I bought almost $200 worth of crown, baseboard and quarter round to take care of all these unfinished edges that have been driving me crazy for weeks. We bought the easy crown with the built in corners so all you had to do was straight miter cuts—no confusing compound angles involved.
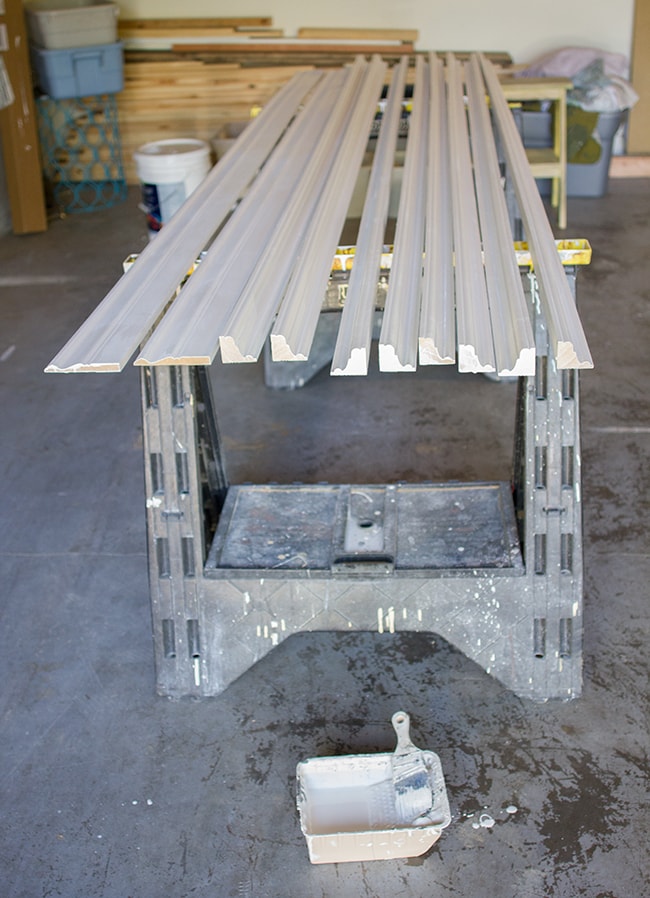
They were given a couple coats of the white used everywhere else in the room (Kelly Moore’s Swiss Coffee in semi gloss).
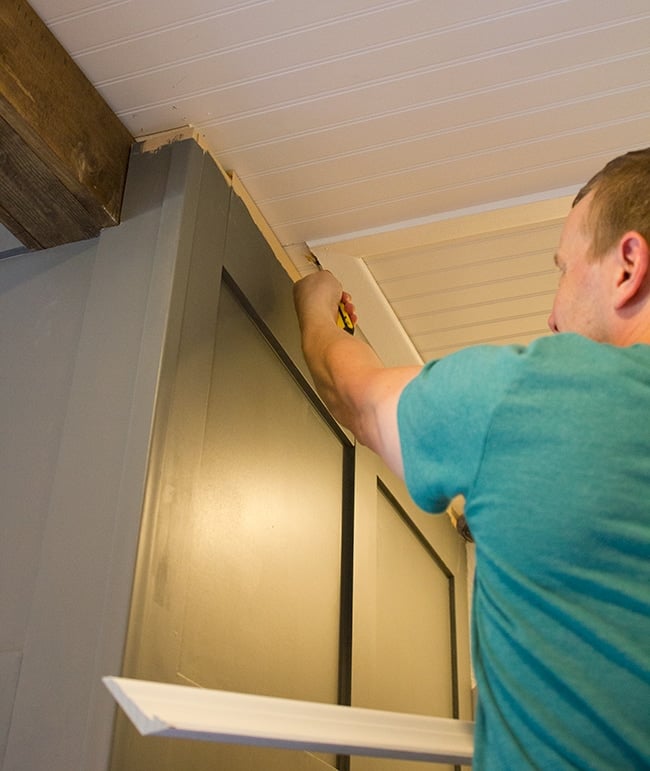
We made sure to miter the edges where they came together to help minimize the seams.
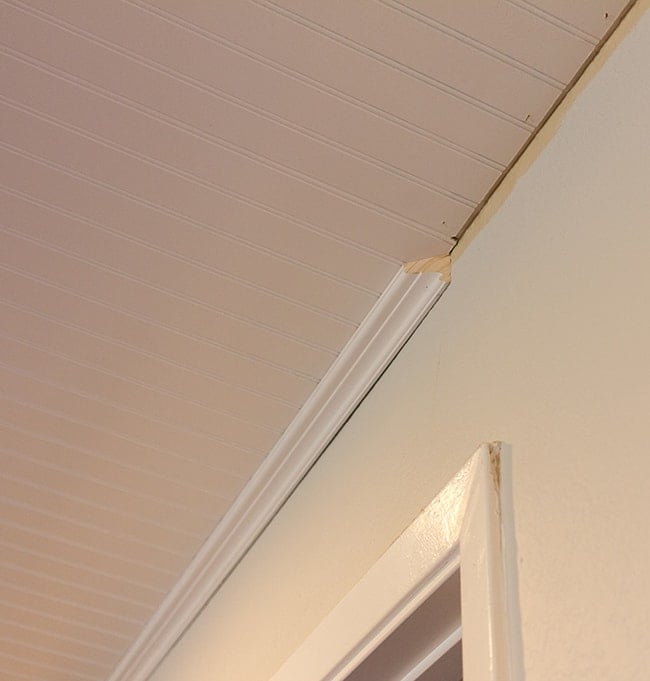
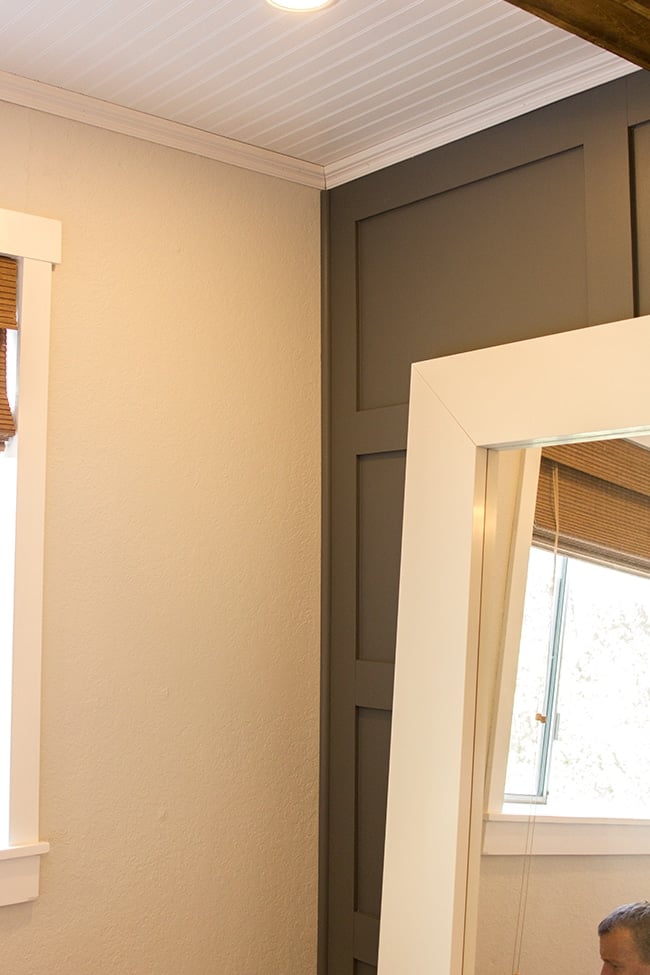
Some parts were tricky…
Over the wardrobes, the gap was too large for the crown so we added an extra piece as a base using scrap wood:
If you recall, here’s what we were working with before:
And now… ahhhhh.
The chunkier baseboards also made a difference. Before:
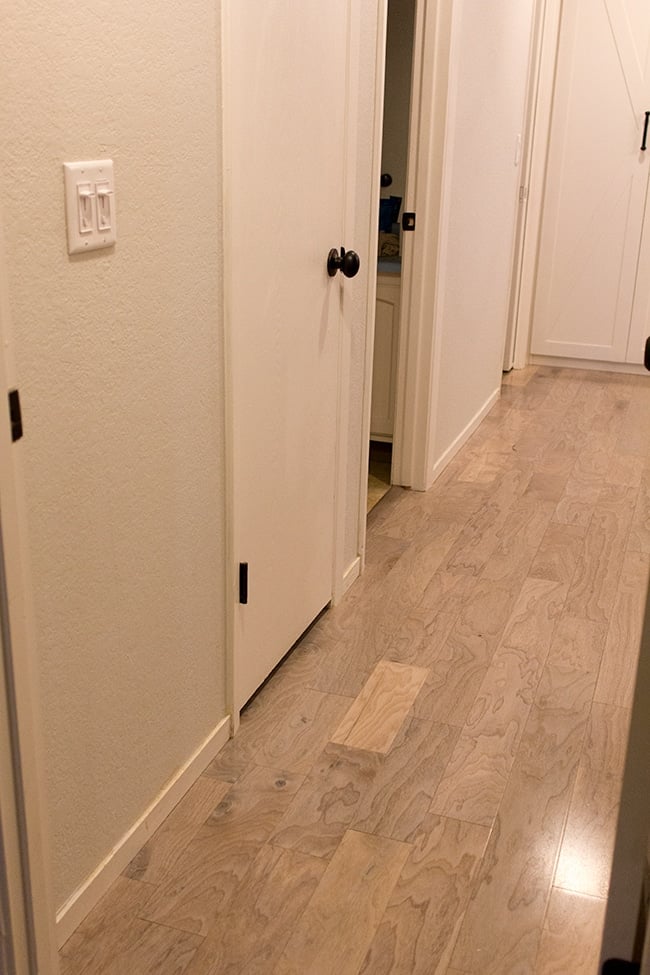
After:
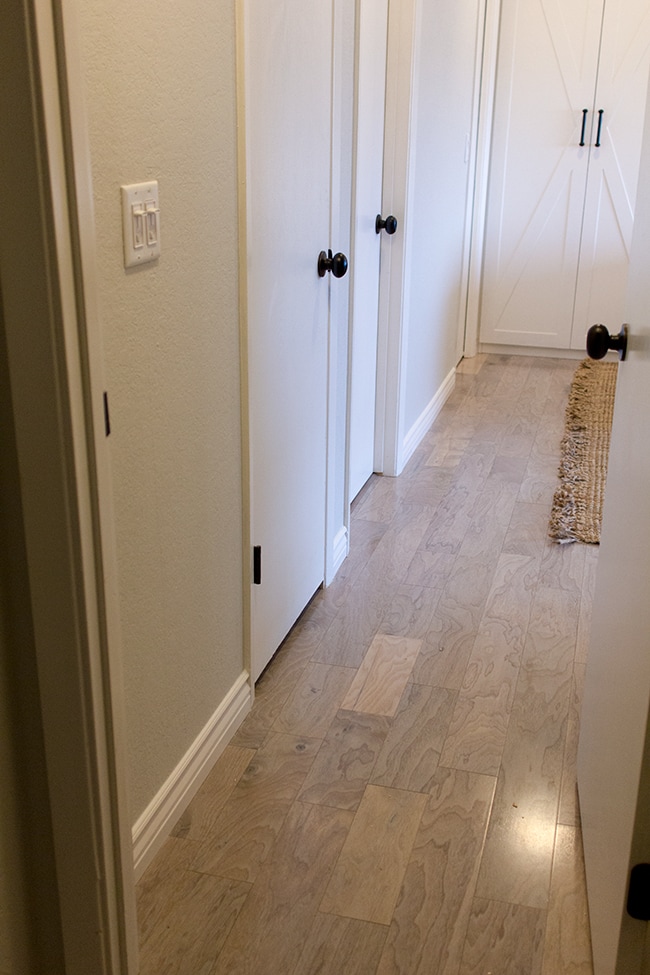
And the quarter round in the corners really finished things off nicely.
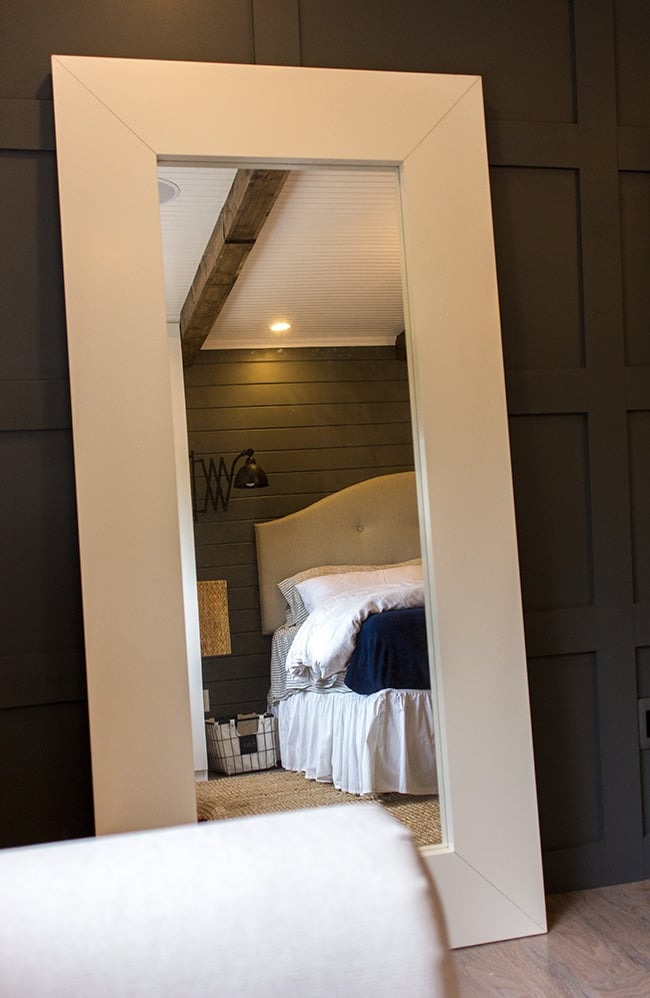
Now, if anyone remembers the
original plan for this room, you may be wondering why we haven’t added a fireplace where this mirror is.
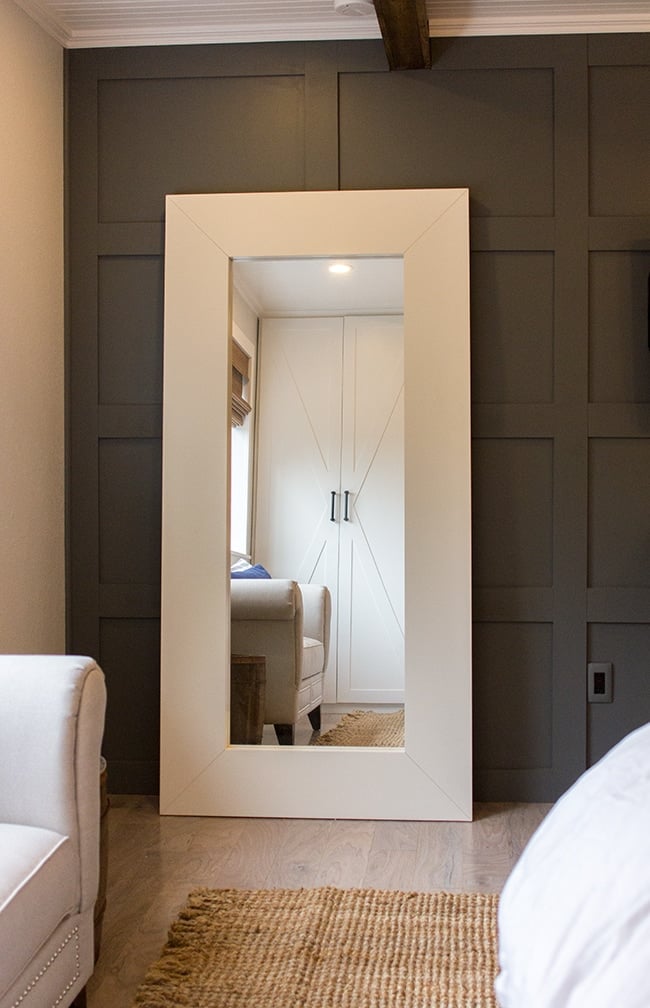
It’s something I’d still love in the future, but at this point I decided to hold off and focus on other areas (like our living room fireplace which is in desperate need of a facelift). Not sure when it will happen, but I’m enjoying the mirror here for now.
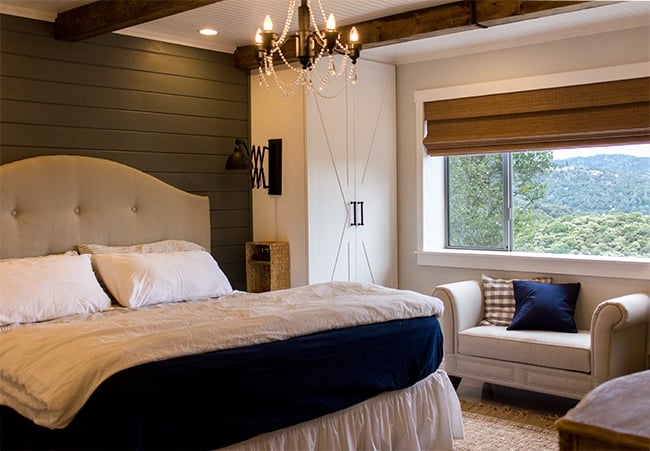
Someone asked to see the panel wall and plank wall together in the same shot—well, it’s a little tricky since they are on opposite sides of the room, so here’s the best I can do:
I’ll post a video for the reveal so you can see how everything works together.
I think they play quite well together.
This room is looking almost finished, right? Not so fast. Here’s what’s left on the to-do list:
3. This empty wall. I’m still making some decisions, but it will be brought to life soon.

4. This panel wall. I’m not going to clutter it up, but there is one project I want to hang on the right side of the TV. And of course the chair needs a seat.
5. The entry wall. I plan on hanging a couple hooks and, well, you’ll see…
6. The door. This is probably the biggest project left. I’ll be adding the same paneling as our foyer closet door, but it will be painted black.
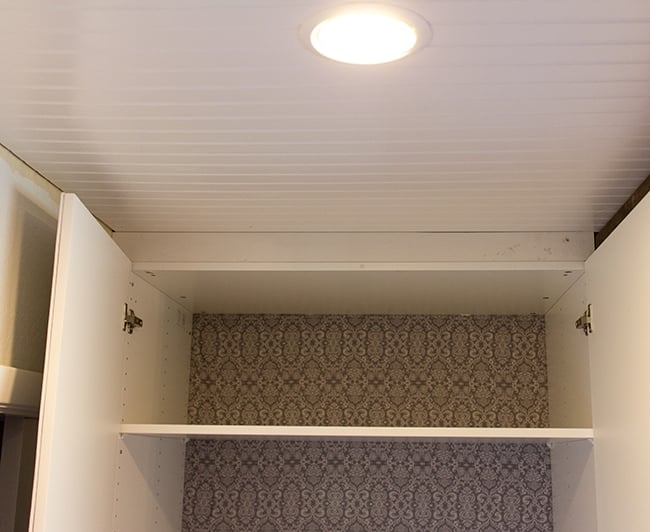
7. Organizing inside of my wardrobe/creating a vanity area. It’s going to be jewelry heaven up in there.
8. This mirror. It’s a little plain… I’m going to fix that starting today.
I also have a couple small decor surprises I’ll throw in before the big reveal (gotta save something for the end, right?) So as you can see, we still have a ways to go. Hopefully I can knock it all out within the next few weeks. Better get started on that mirror now—back to Lowe’s I go!


Jenna Sue says
Yes! Some more than others. It lessens over time. I just vacuum underneath periodically, doesn't really bother me as it's hidden!
carrie eastman says
I purchased this rug as well. Are you having problems with a bunch of sand underneath it?
Jenna Sue says
Yes, but if you can wait it will be up to 75 or 80% off eventually (it's always at least 55% off). 4th of July is their biggest sale but they will have more. I got my 8'6 x 11'6 for $233 shipped for reference.
Steph says
That's the Maui Chunky Loop in beige? They're running a 55% off sale now!
Jamie Lynn Cav says
I love everything you have done in the master bedroom (and the rest of the house, too)! It all works so well together and is so inspiring to make my own master bedroom more cozy. I started off my room by making a headboard using your tutorial – I love it!
skylinesweethearts says
Yeah, I'm thinking we have to get her a new scratching post or rug of her own… I'm just afraid she'll still scratch whatever, whenever – She's a cat! Lol Thanks for the advice. I really really really love and enjoy your blog. It's been an inspiration of me and my fiancé during our home renovation journey.