Happy May! Summer is just around the corner and we’ve been spending weekends (and some week nights) at the beach house, racing to get it up and running before Memorial Day. Even with our limited time, I saw an opportunity for a DIY project and couldn’t help myself…
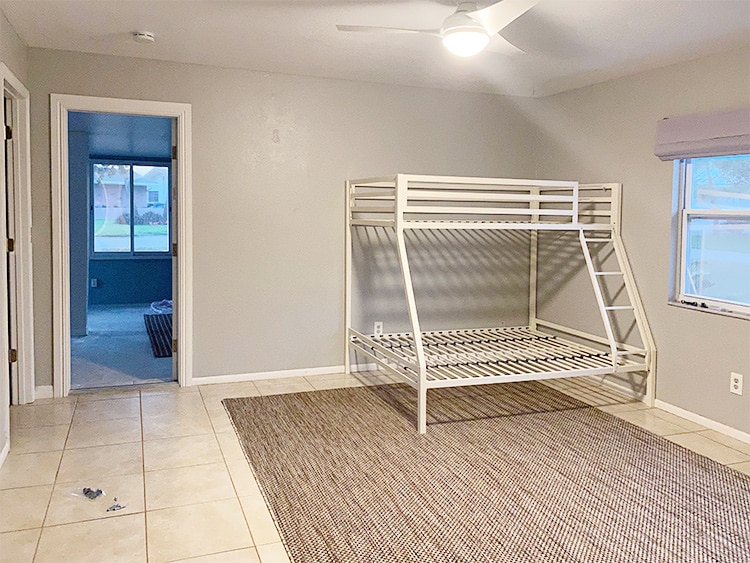
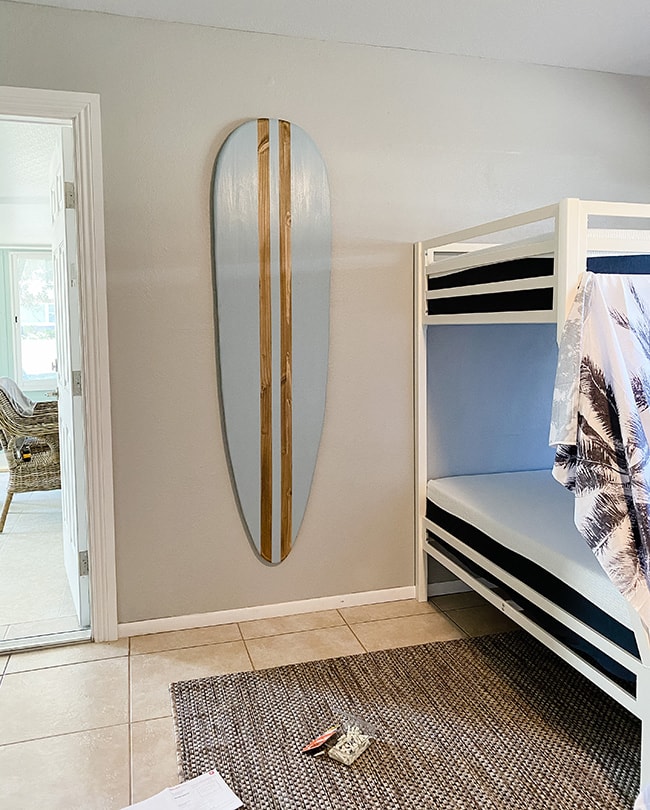
In the kids bedroom downstairs, there was an empty section of wall between the bed and the door to the sunroom. I love the idea of surfboard decor in a beach house and this spot happened to be the perfect size to hang on the wall.
My online searching resulted in a small selection of used real surfboards that didn’t have the look I wanted, or custom wood surfboards that just weren’t in the budget. There was only one solution: DIY it ?? If you follow me on Instagram, you may have caught my stories documenting this process!
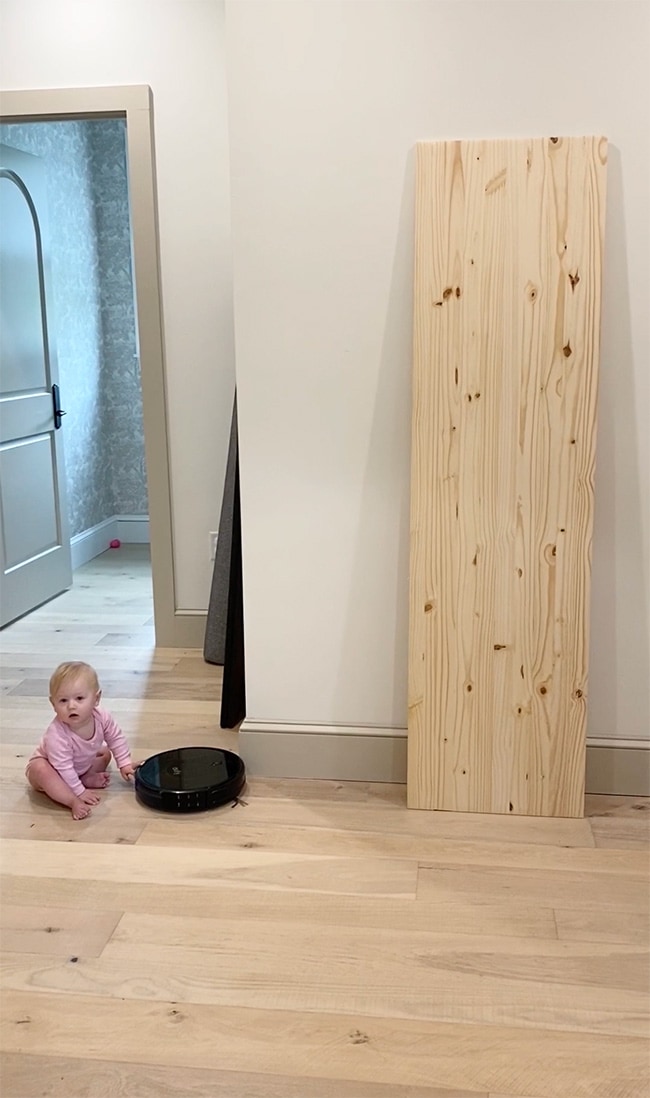
To get the width I wanted (1-2 feet) my first thought was to attach two 10′ boards together via Kreg jig, but then I found this $30 20″x6′ pine panel which was the perfect size and wouldn’t require any prep work (baby and vacuum not included):
This is the only material required for this project (assuming you already have paint/stain/tools) and it should take less than an afternoon (unless you have a baby—then it might take two days ?)
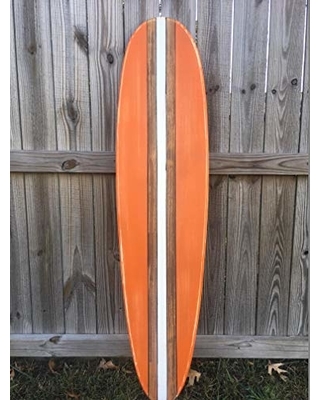
Before starting, I looked online for inspiration and found a surfboard design/shape to model mine after. I find it much easier to reference something vs trying to make it up as you go.
Jump to:
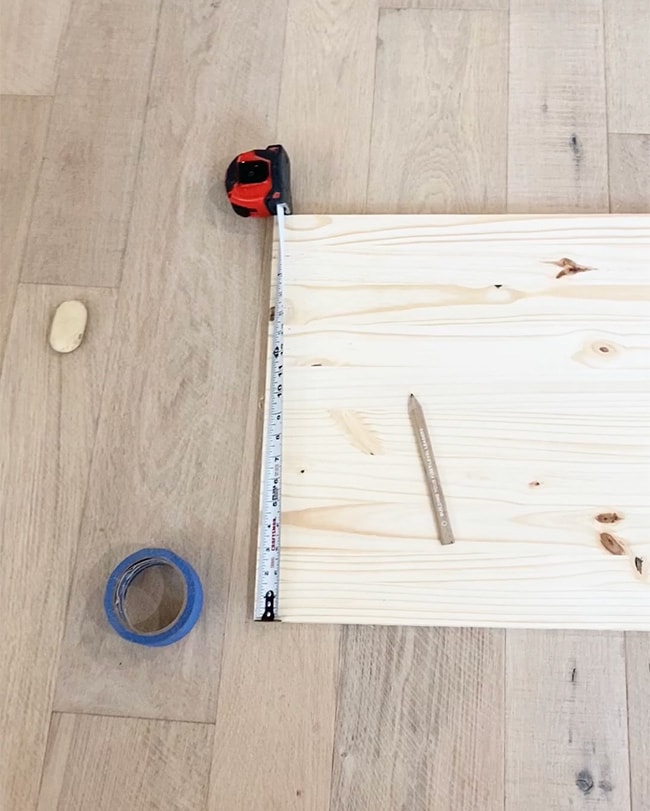
Step 1: Mark your center line
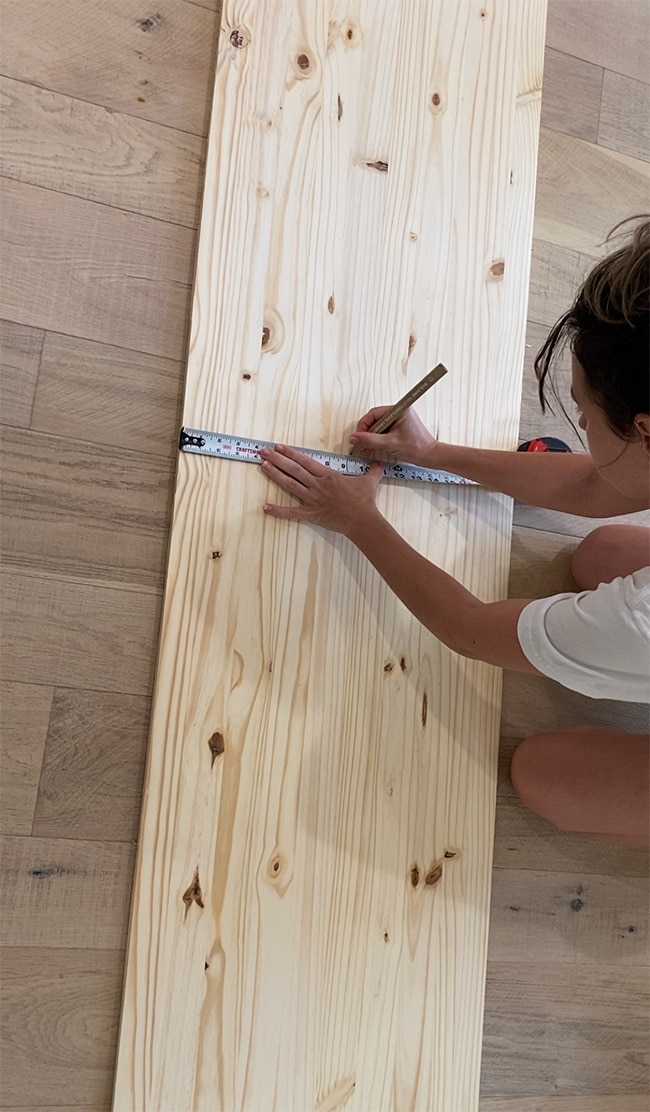
Measure and mark the center of your board at both ends (sorry about the fuzzy photos, most of these are screen shots of videos I took since I didn’t plan on writing a blog tutorial until afterwards!)
I also went ahead and drew two lines (equally spaced from the center) to use as my guide lines for the tape, which would later become the stripes. I didn’t make them dark enough and by the time I was ready to tape, I had to redo them—so either make them dark or you can skip this step and add them later.
Step 2: Trace your board outline
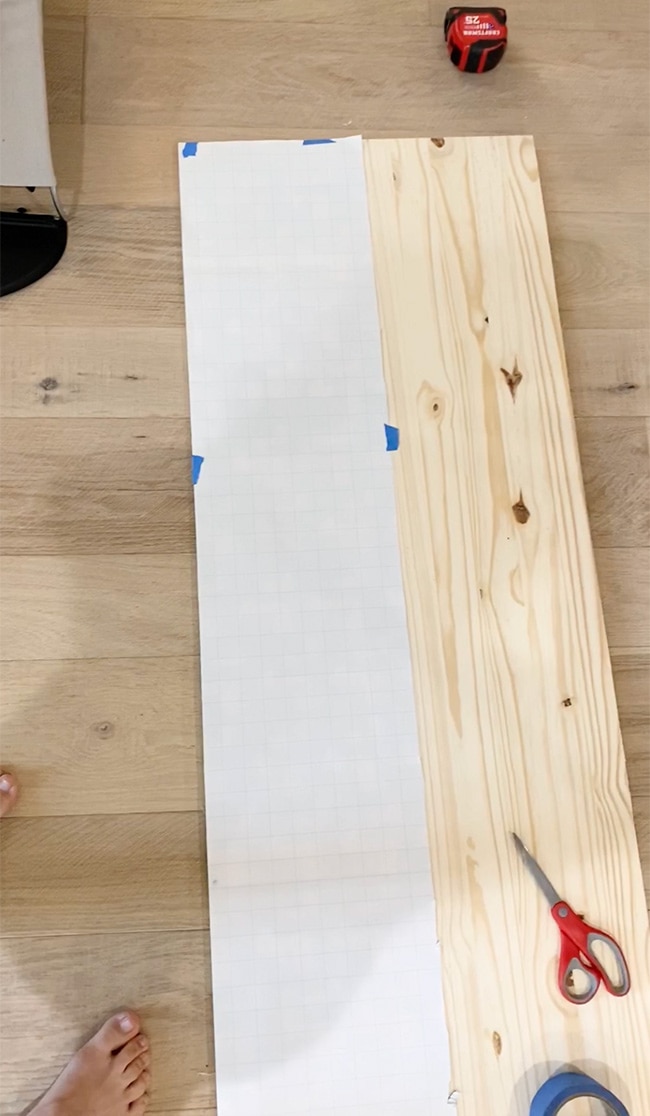
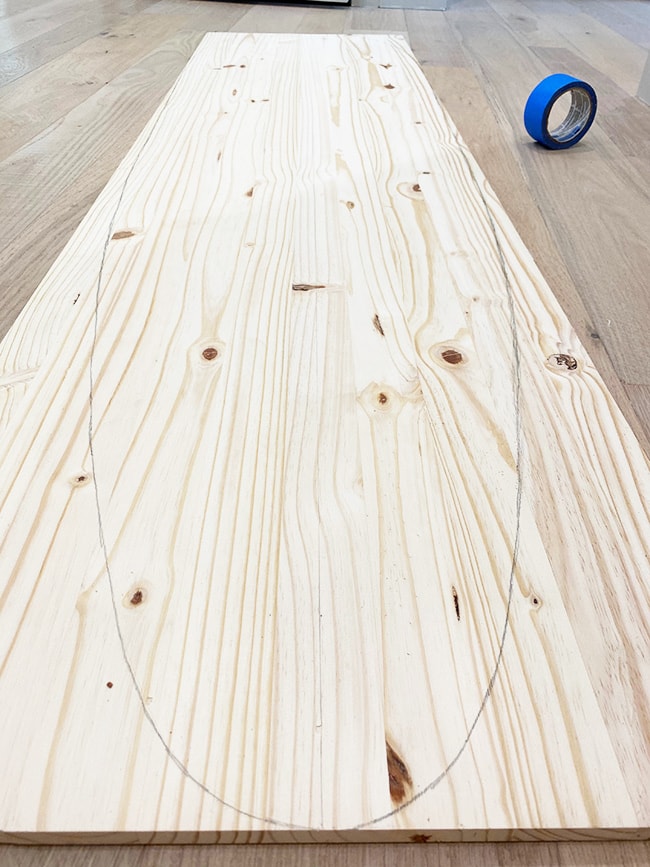
Cut a strip of wrapping paper and taped it to half of the board. Then using a pencil, freehand the outline of one side of the board. the Yes, there is a small amount of artistic skill required here, but you only need to draw half of the board and it’s not too difficult if you have a reference photo to copy.
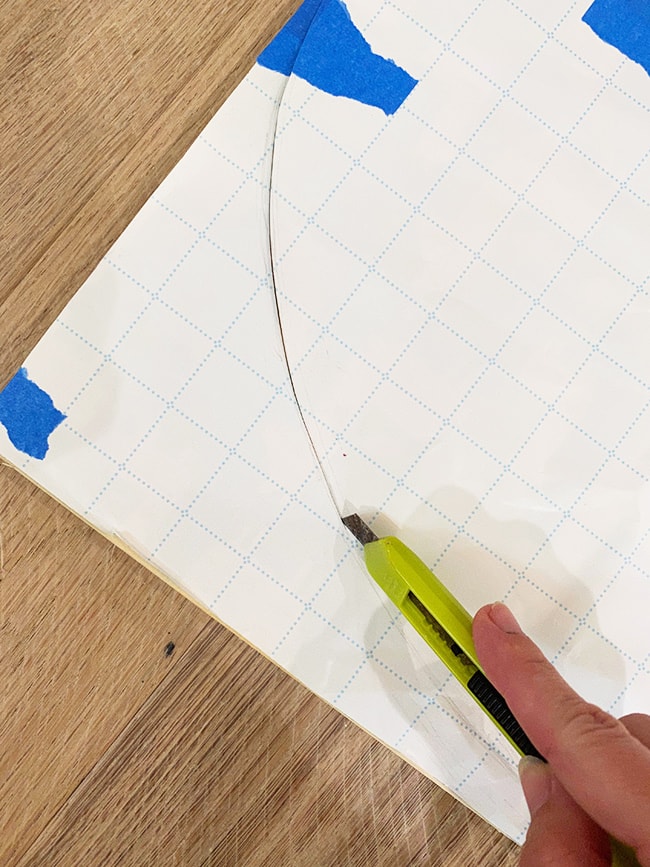
Once you’re happy with the shape of your outline, cut it out with a handheld razor.
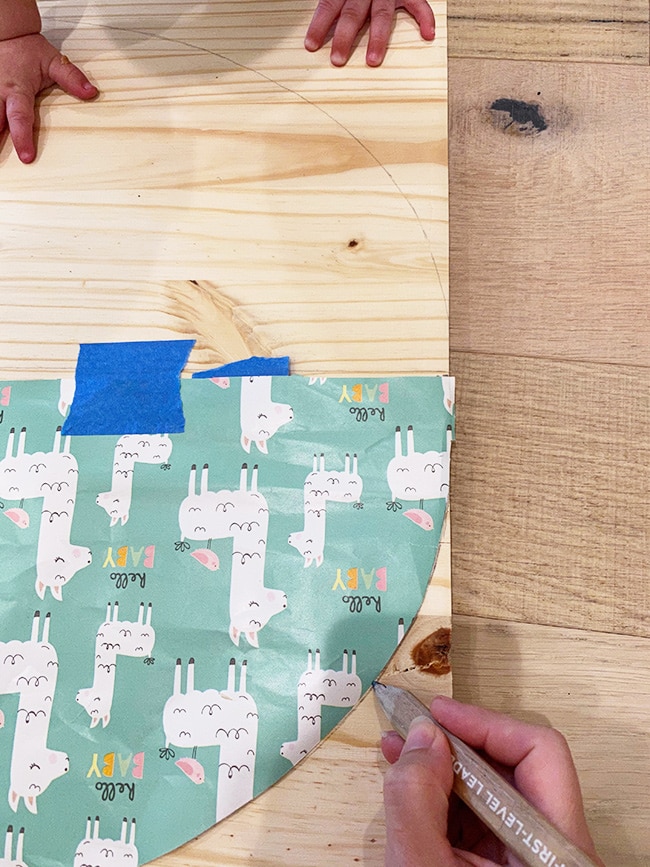
Now you can trace along your shape onto the board.
Once one side is done, flip your paper over to the other side and make sure the center points are aligned so the board will be symmetrical. Then trace once again while holding back your baby with your other hand as she tries to rip your paper.
And the hardest part is over!
Step 3: Cut the shape of your board
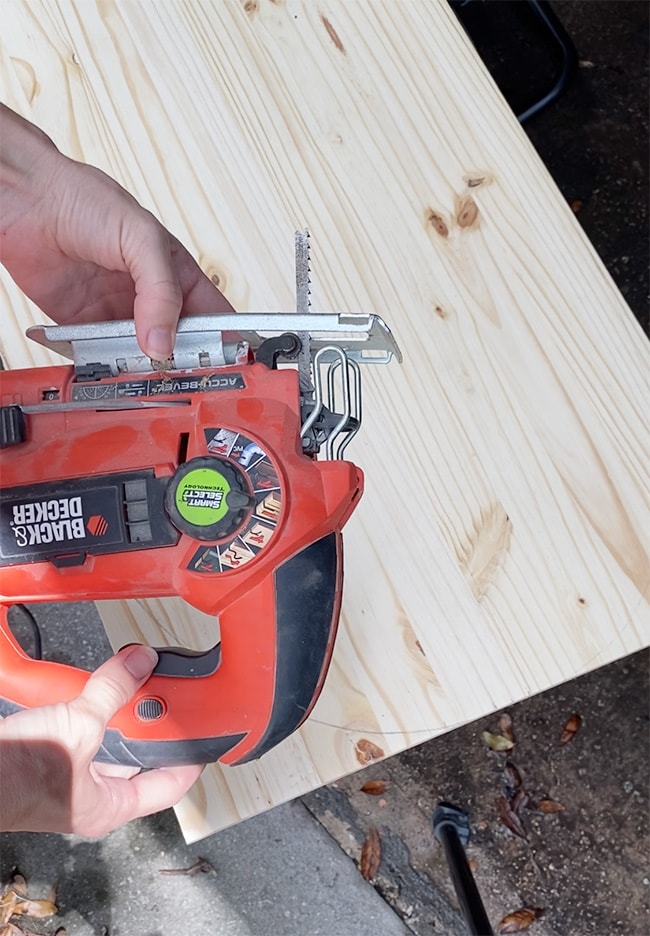
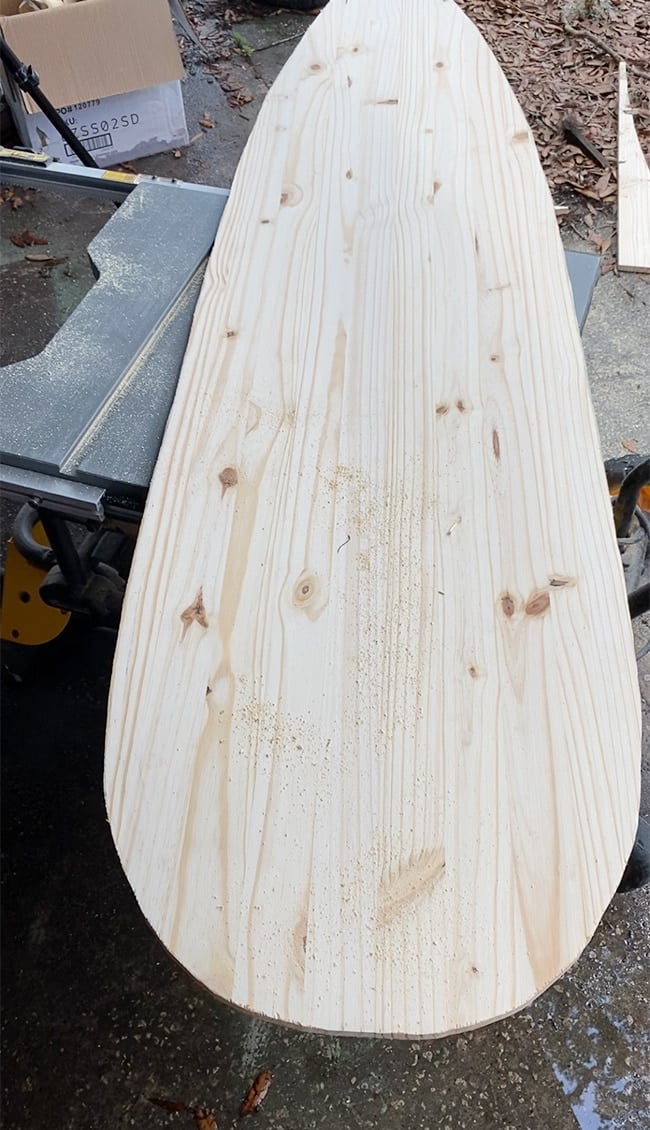
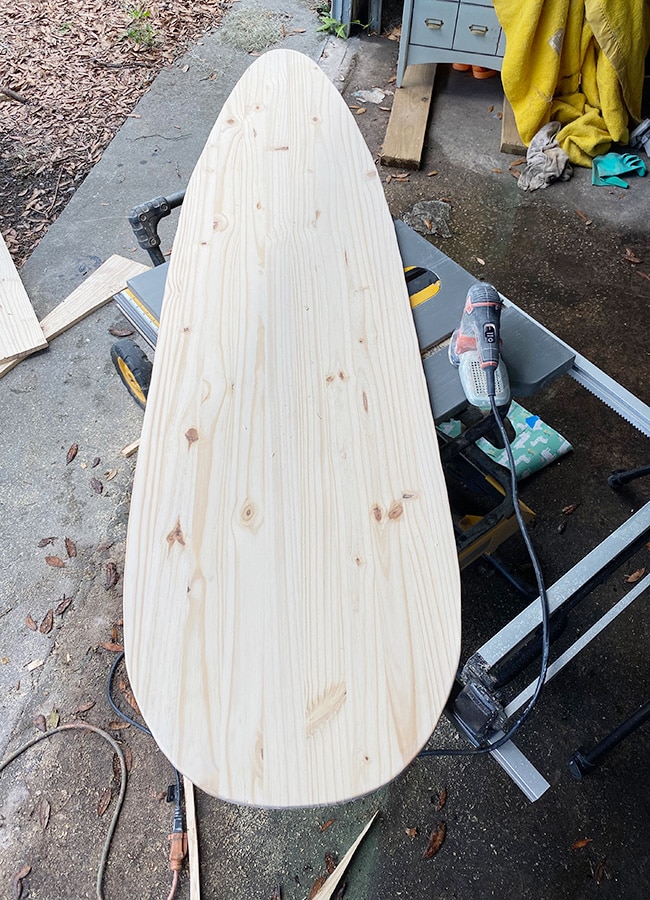
Using a jigsaw, cut along your outline. I’ve had this Black & Decker jigsaw for years and it’s one of the best beginner DIY tools. You’ll want to make all the things once you start using it!
I rushed through this step trying to finish before nap time was over, but it doesn’t have to be perfect. The sanding step will smooth out a lot of unevenness.
It’s also super easy to go back over with the jigsaw and refine areas that need some work.
Step 4: Sand the edges
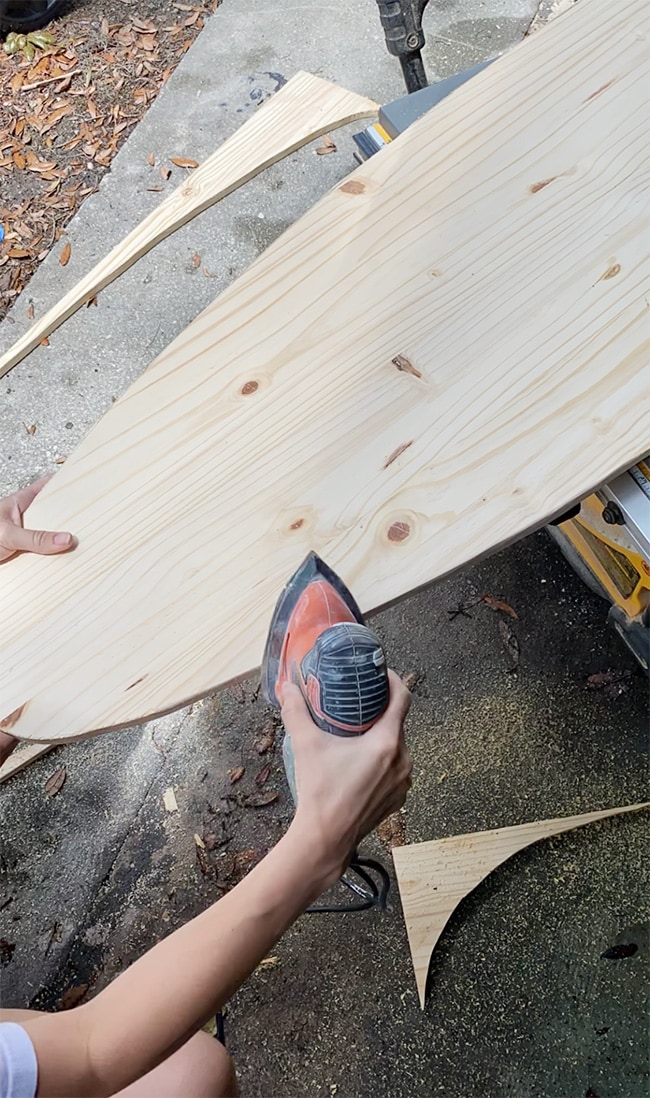
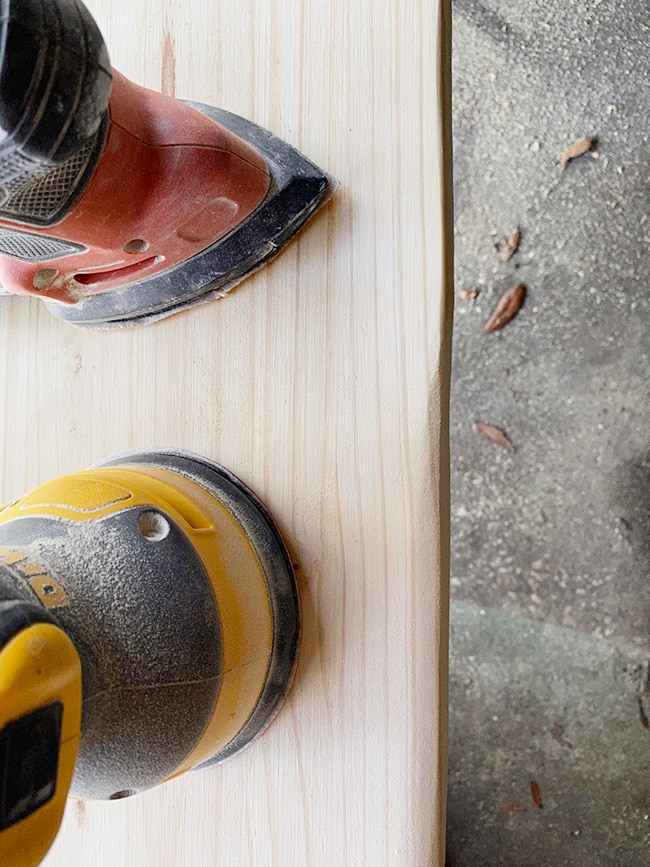
I started with my Mouse sander because my orbital sander was at the other house. It helped smooth the edges but it took forever and didn’t make a huge difference.
I did as much as I could with the Mouse, but it still needed more.
Eventually I found our orbital sander, and the difference was night and day! You can see in the photo below how the orbital sander (with 80 grit paper) really shapes the board and rounds the edges, compared to the Mouse.
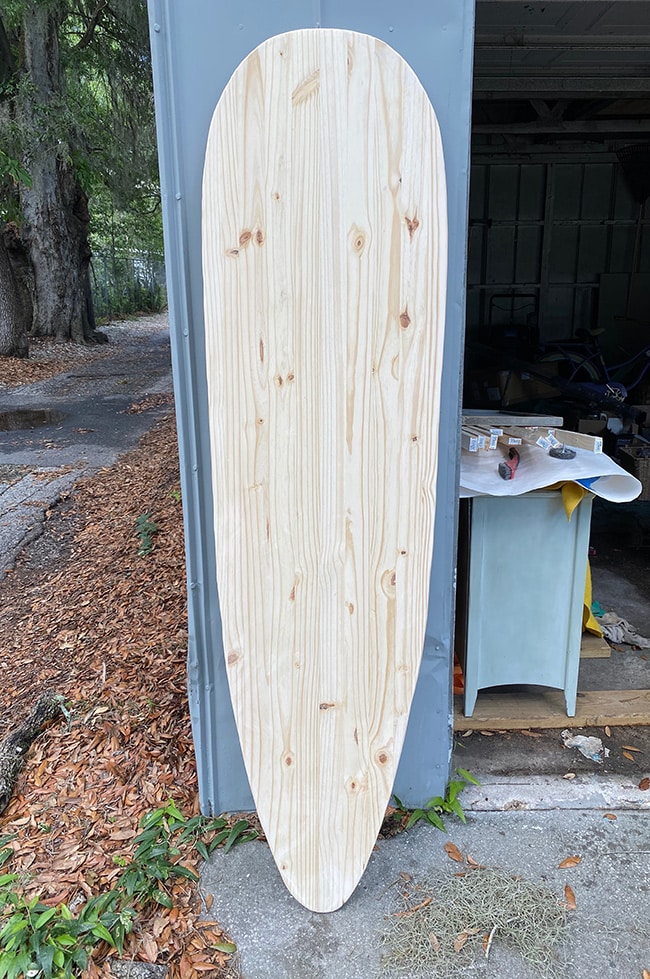
In no time, the sanding was done.
Step 5: Stain the wood
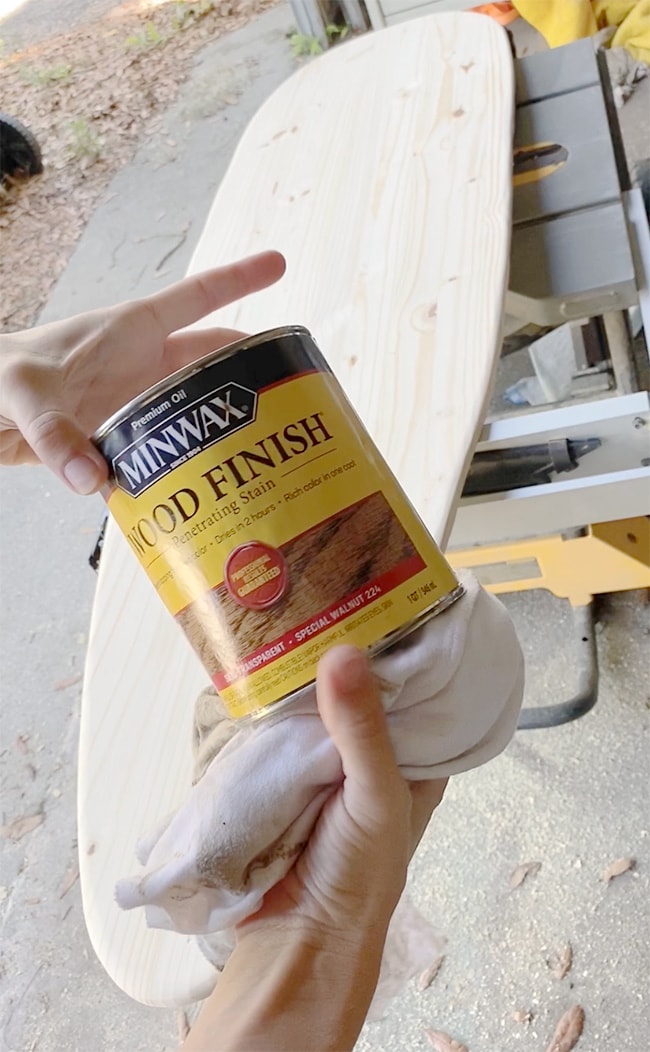
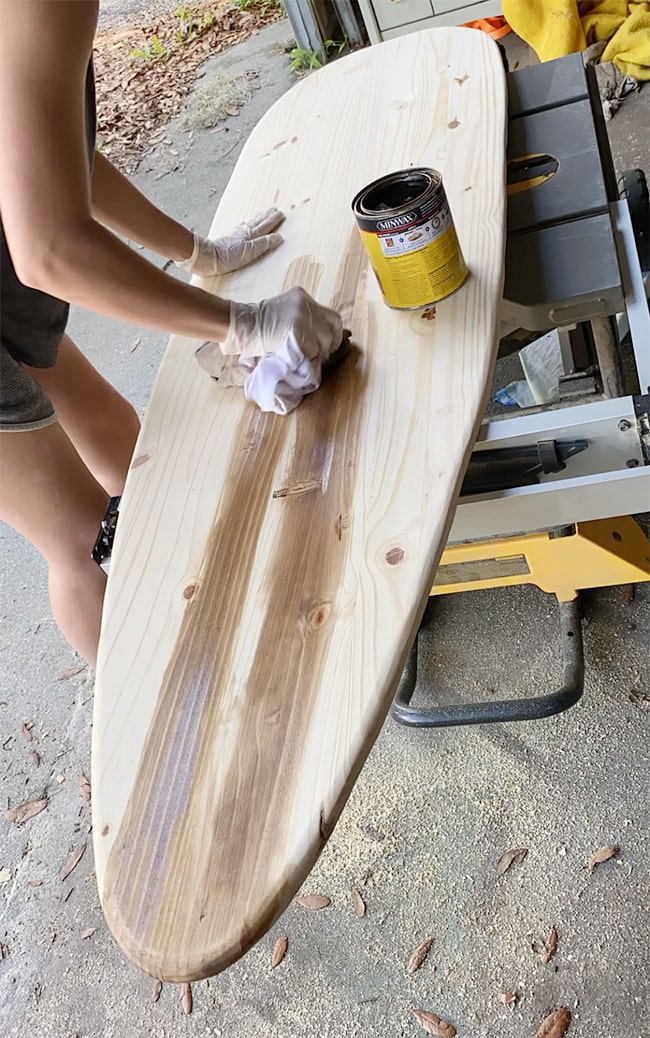
This step is optional, but I thought it would look more finished stained. My plan was to paint the board but have exposed wood for the stripes. I used Minwax Special Walnut, which is a nice medium neutral tone.
The stain was applied to the area where the stripes would go (no need to stain the whole board!) I used one light coat and let it dry for just 20-30 minutes before moving onto the next step.
Step 6: Make your stripes
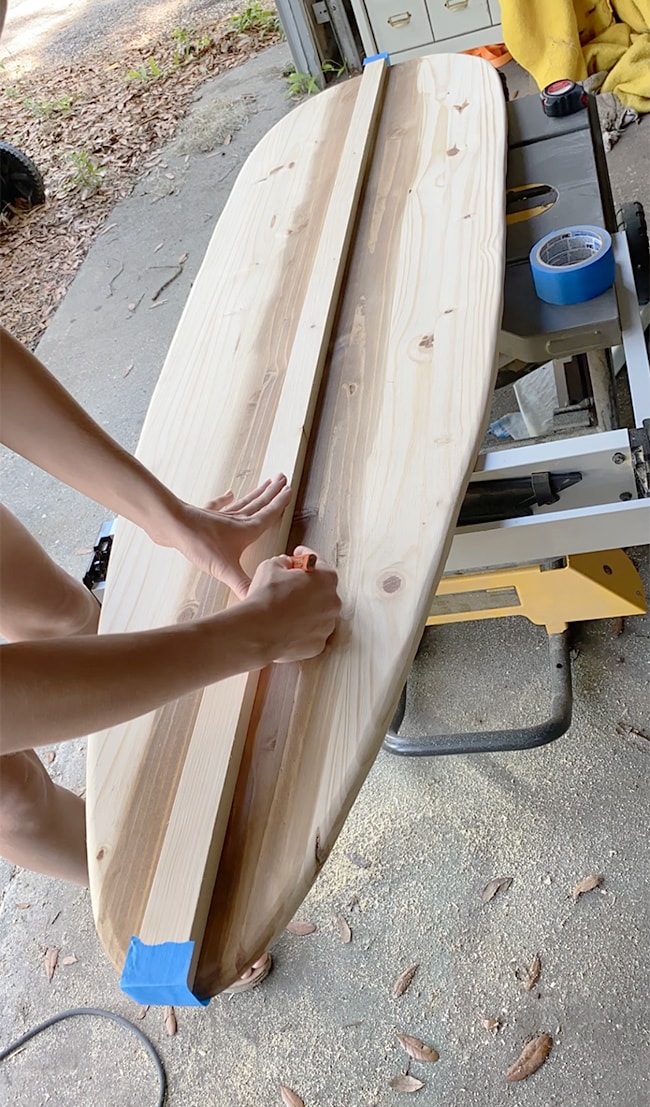
Depending on the design of your board, this part is also optional. After staining, I wasn’t able to make out the original pencil lines I drew for the stripes very well, so I decided to redraw them using a 1×2′ taped down to the center as my guide.
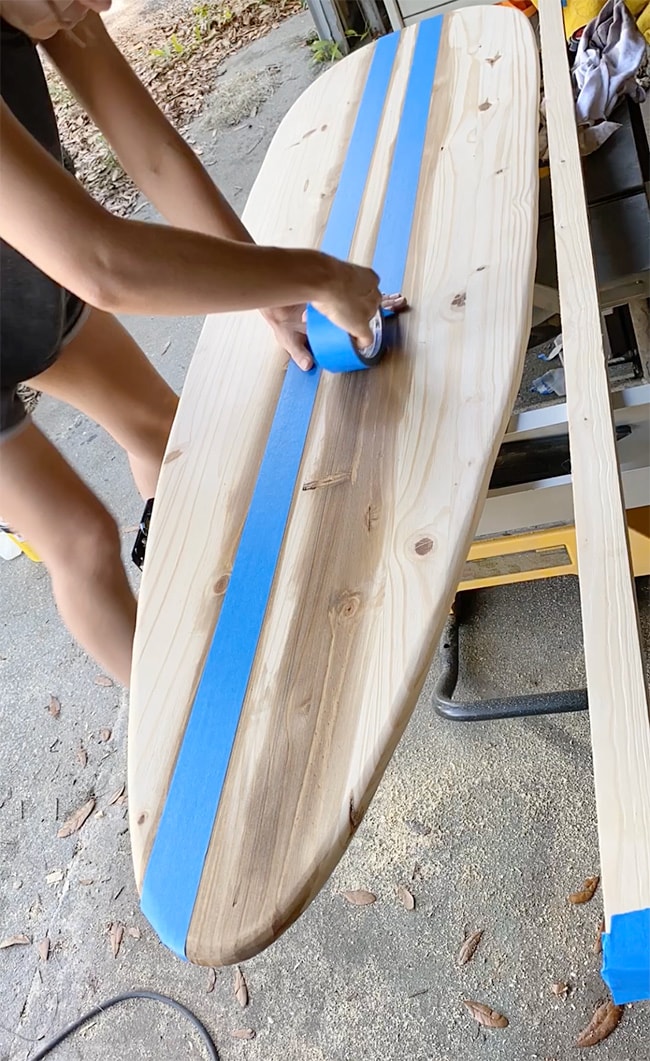
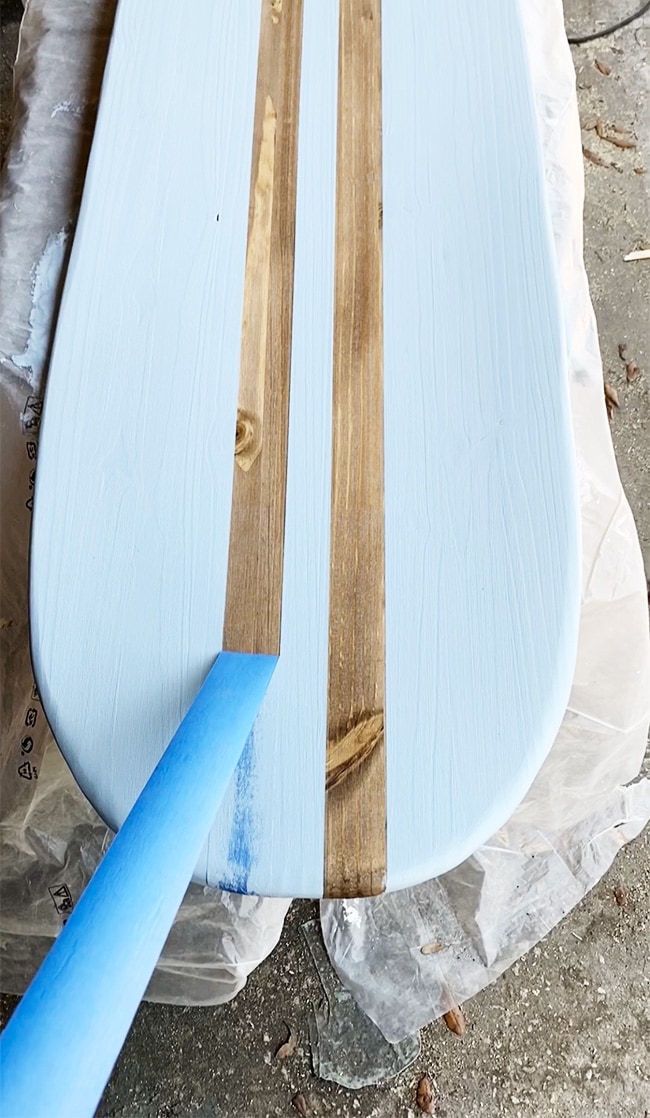
I found this method much quicker/easier than drawing them in the beginning, so if I had to do it all over again, this is what I’d do! Once the 1×2 is traced on both sides, simply tape along the lines. I used 2″ painters tape but you can use anything you’d like!
Step 7: Paint
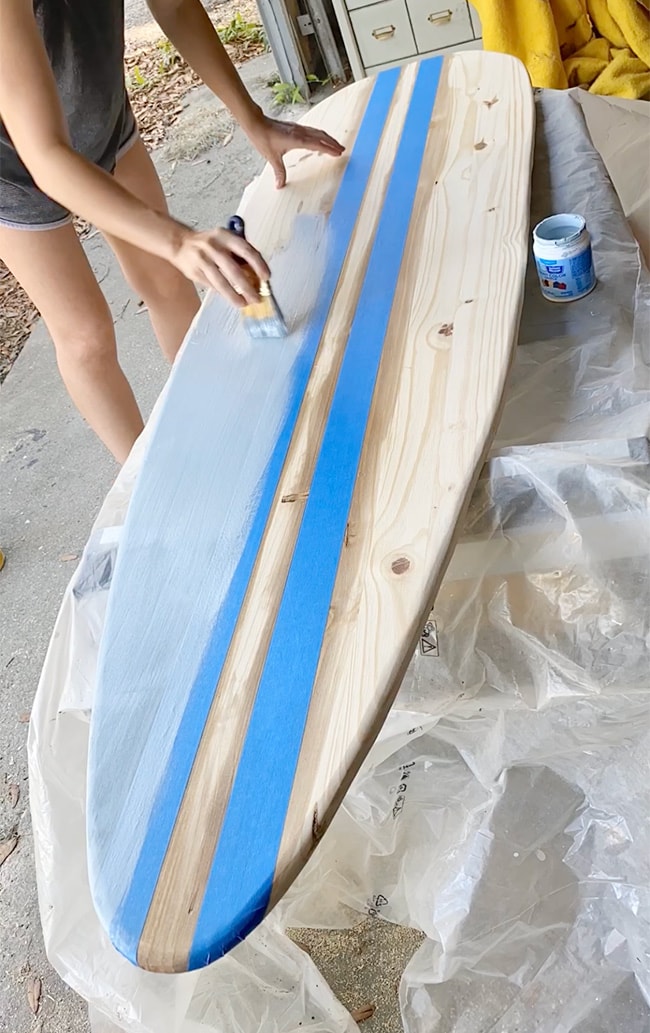
Now we’re getting to the fun part! Choose a color and paint your board. I rummaged through the paint samples in our garage and landed on SW Falkland Blue. I brushed it on to save time/cleanup, but you can use a roller too.
Then comes the most exciting/nerve wracking part… removing the tape! Luckily this tape worked like a champ and my lines were nice and crisp.
Step 8: Attach the hooks
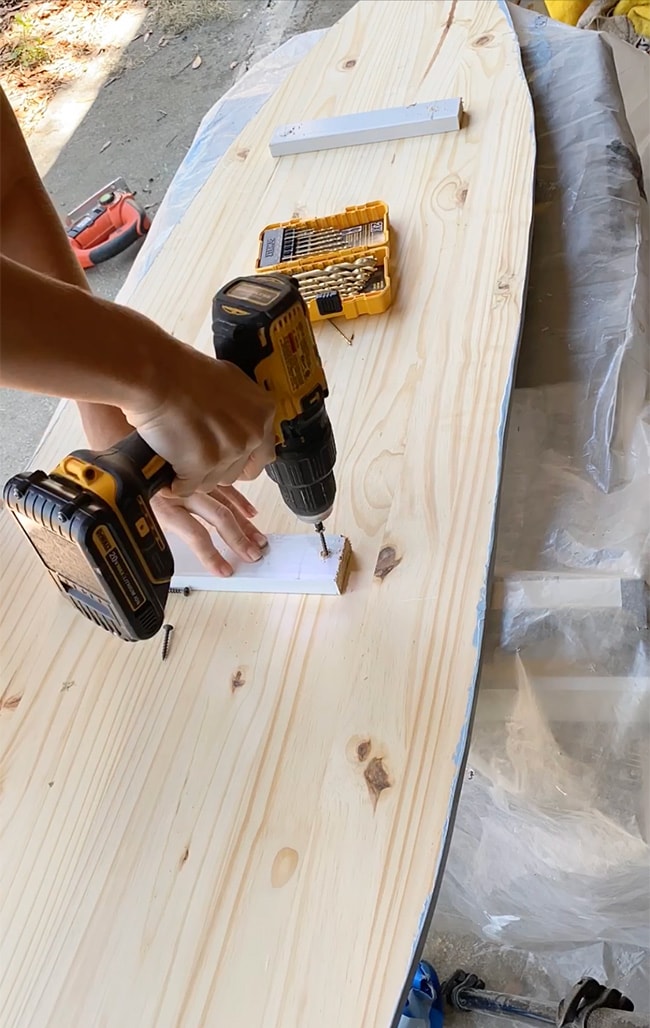
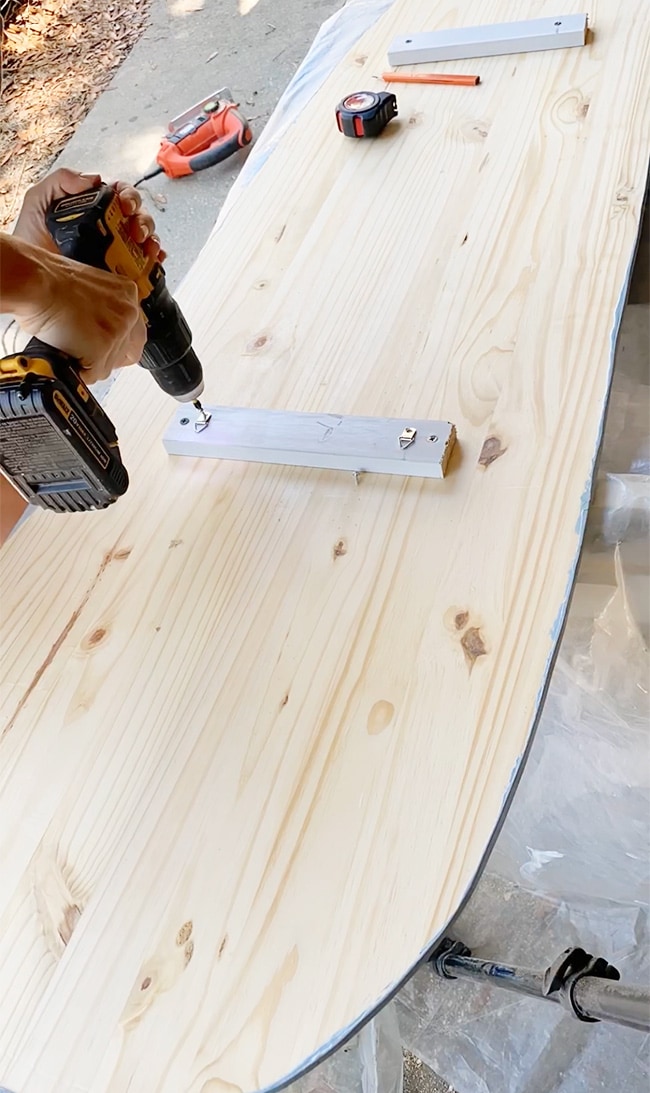
Once the paint is dry, flip your board over to the backside. I wanted my board to hang a little off the wall instead of directly up against it, so I cut a couple pieces of scrap wood to use as spacers and screwed them into the back.
Then I used two picture hooks and attached them to my top spacer (this photo shows the board upside down):
Step 9: Seal
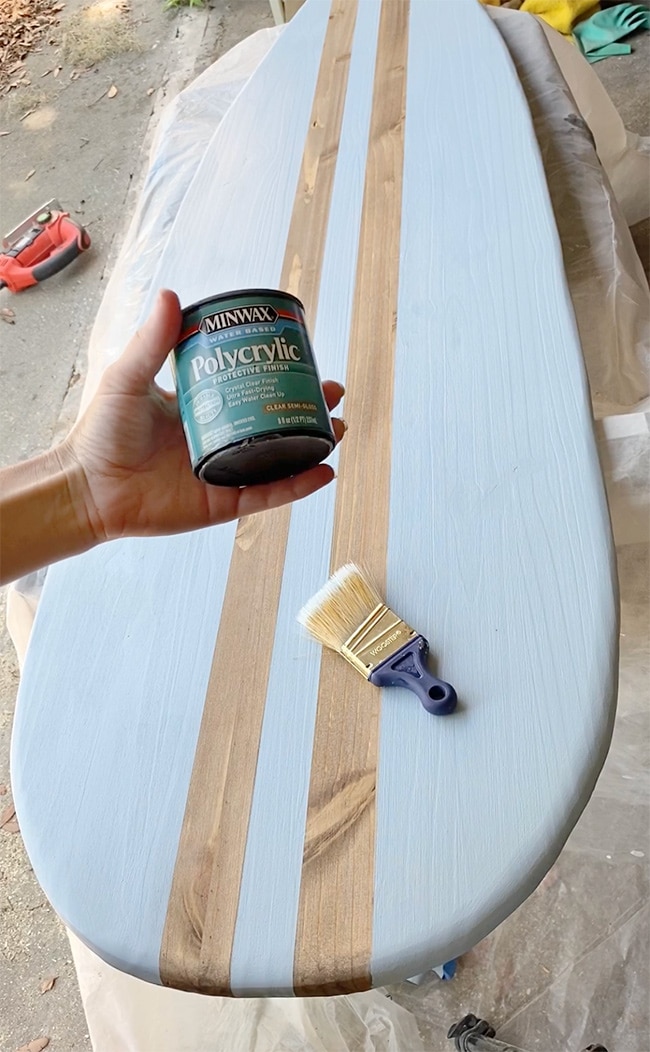
To protect the painted finish, you don’t want to skip this step! I used Minwax Polycrylic in a semi-gloss finish (any clear poly or varnish works just fine).
A couple coats is all you need (or more if you expect this to be used as a toy)…
Step 10: Hang on the wall
We’ve made it to the last step! Measure and mark where you want your board to hang, then insert drywall anchors (we love the self drilling kind) into the wall. Slide your hooks over the screws and voila!
A few of you told me the board looks better hung the other way so we might flip it around. What do you think?
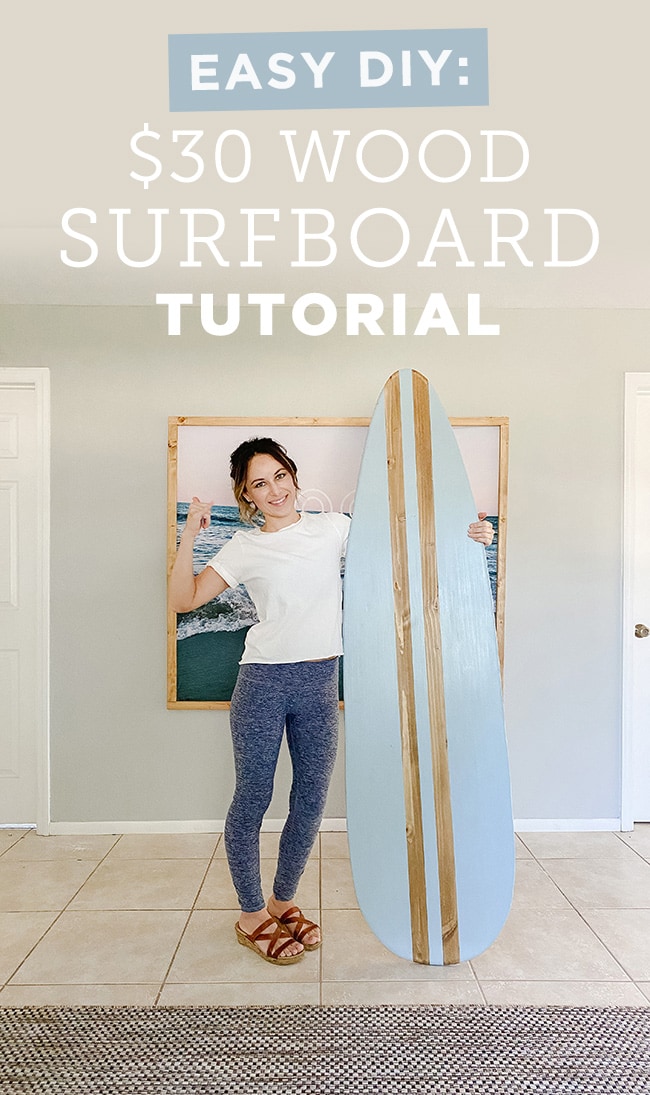
This was a fun little project and it adds the perfect laid-back surfer vibe to this kids bedroom (and for just $30!) I think it would be a great addition to any space with a coastal/beachy theme (without looking kitschy/over the top). The best part is that you can completely customize the size, shape, color and design to suit your style. If you’re planning to make one, be sure to watch a step-by-step video/timelapse of this project over on Instagram.
Oh, and see that wall art behind me? We managed to squeeze in another DIY project for the beach house last weekend, and I’m working on another tutorial for that next. Aiming to get it posted here for you guys tomorrow, so don’t go anywhere!







Joseph says
This is so nice, thanks for sharing the steps.
Andrea says
Yes turn it up the other way. The same way you are holding it in the last photo. Looks amazing though even with bubs’ help.
Jenna Sue says
Done and done! 😀
Darcy says
Definitely turn it around. It looks like an ironing board now, but a very nice ironing board! 😉
Jenna Sue says
Haha thanks, we flipped it over!
SW says
Yep! Flip it! I had that thought as soon as I saw it. : ) Nice touch!
Jenna Sue says
Just flipped it! 😉
Teri says
Yes, turn it the other way…well, done!
Jenna Sue says
We rehung it today! 😉