Today I’m sharing Part 1 of a different kind of project for us—we’re giving our friends guest bedroom a makeover!
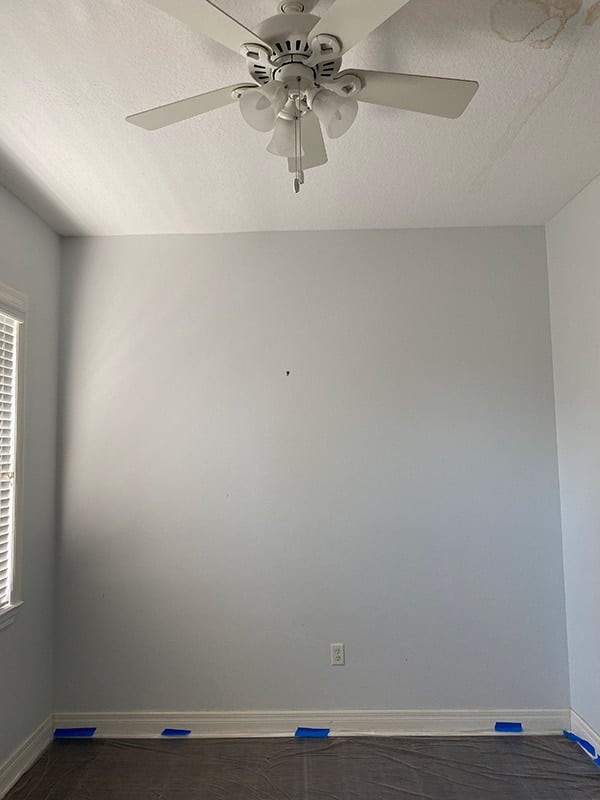
They just bought a new house and settled in, and we thought it would be fun to transform their guest bedroom. We had a blank slate to work with and full creative license, which meant a chance to try something new!

Our friends aren’t afraid to use color and bold design, and I’ve been dying to paint a ceiling black and try a wood slat wall, so this was the perfect opportunity.
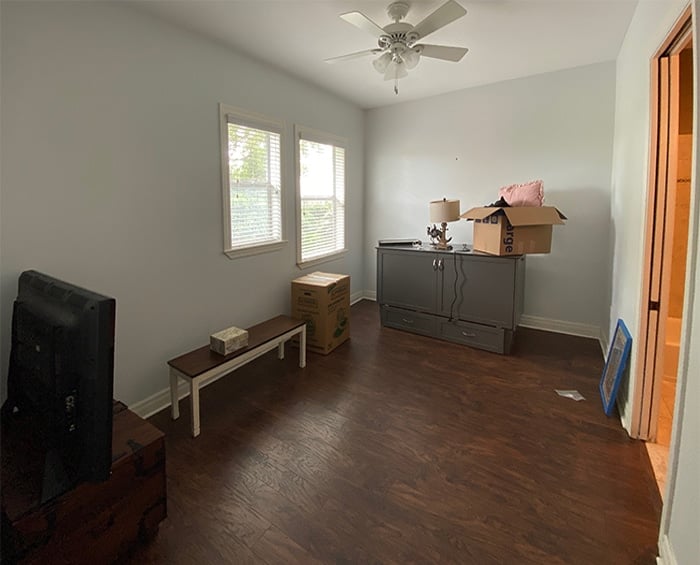
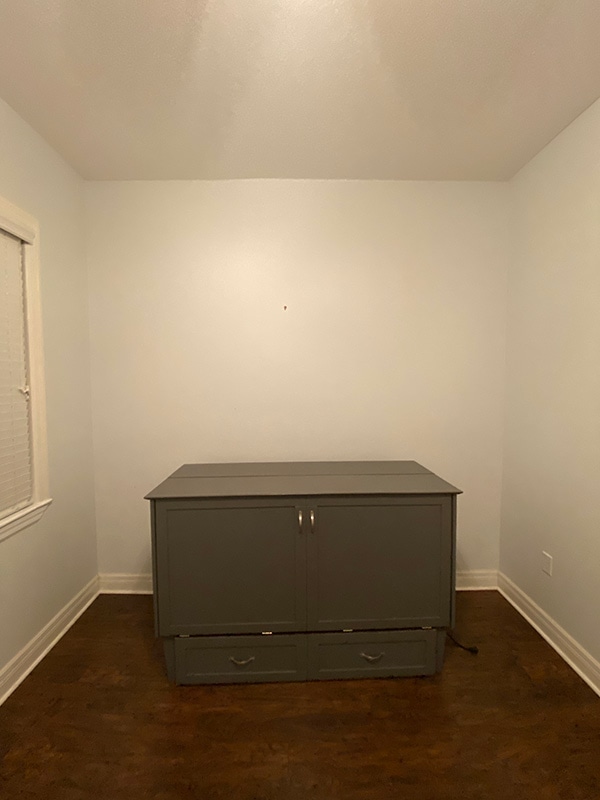
This is intended to be a quick and budget-friendly makeover (that means the windows are staying as is!) and their murphy bed is also staying:
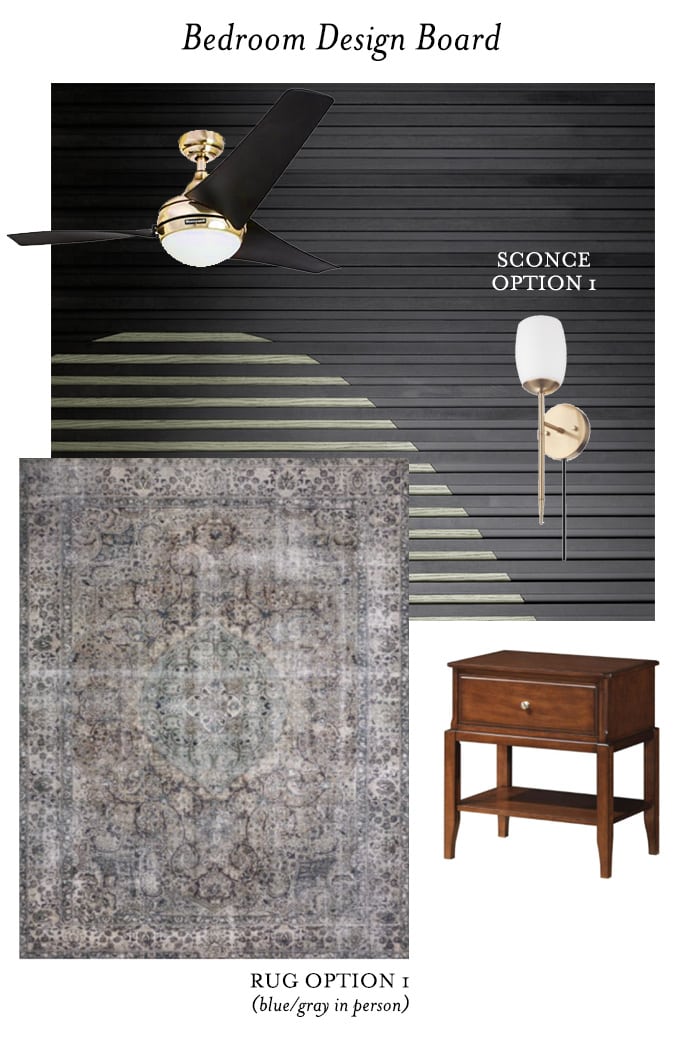
Here’s the design concept I came up with:
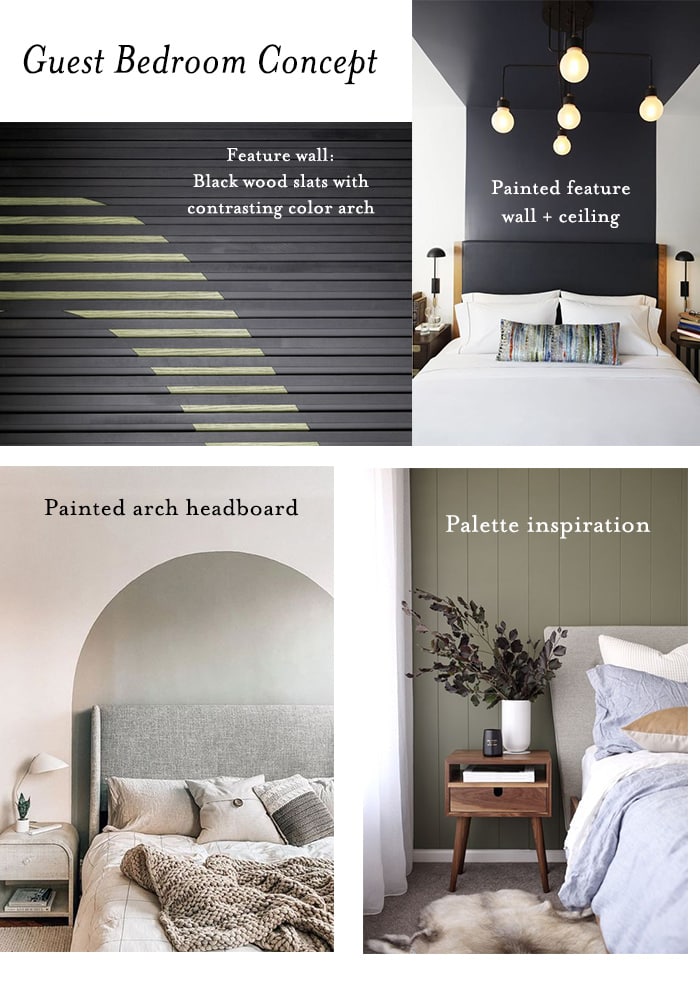
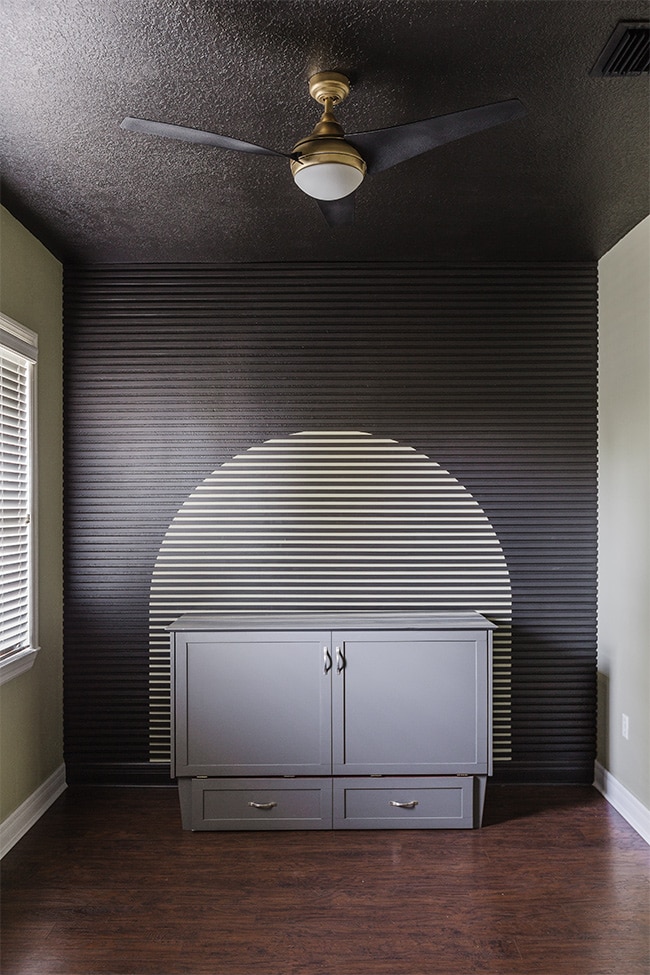
The focal point will be our feature wall with a black ceiling, black wood slats and a painted arch headboard underneath. I’ll incorporate soft olive/sage greens, blue/gray, whites and neutrals to balance it all out. I presented our friends with a few different mood board options, and this is the one they chose:
We’ll get to the design choices in Part 2, but today it’s all about paint and DIY!
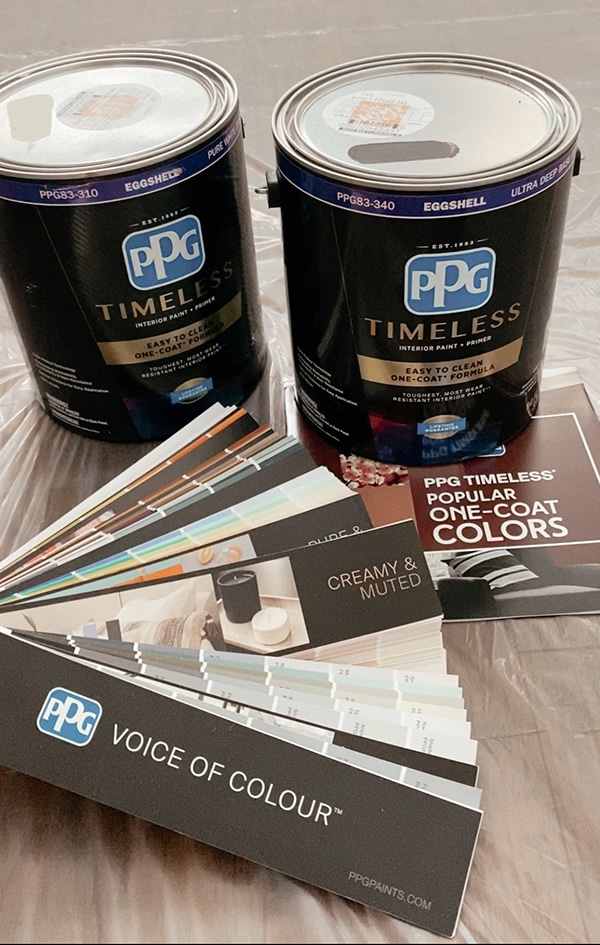
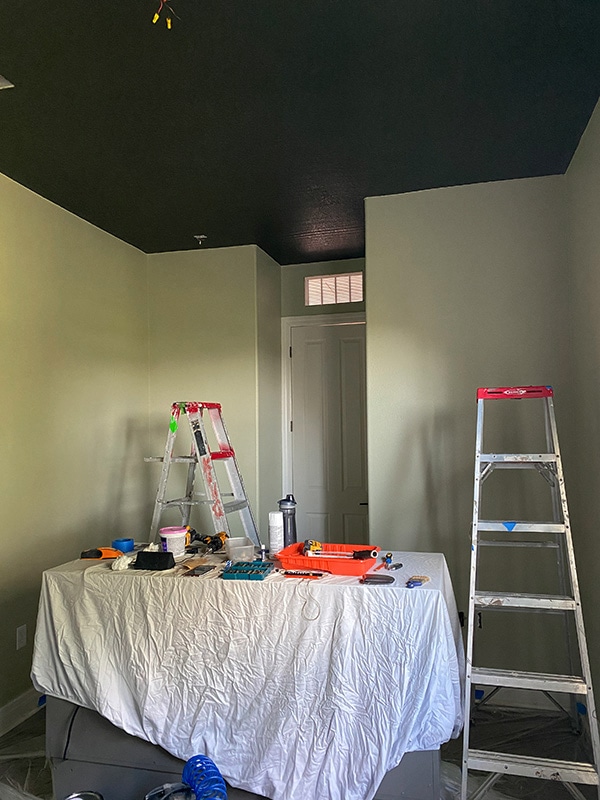
I partnered with PPG Paints for this project, trying out their new Timeless line. I chose Black Magic for the ceiling/accent wall, and Northern Landscape for the main wall color and arch, both in eggshell.
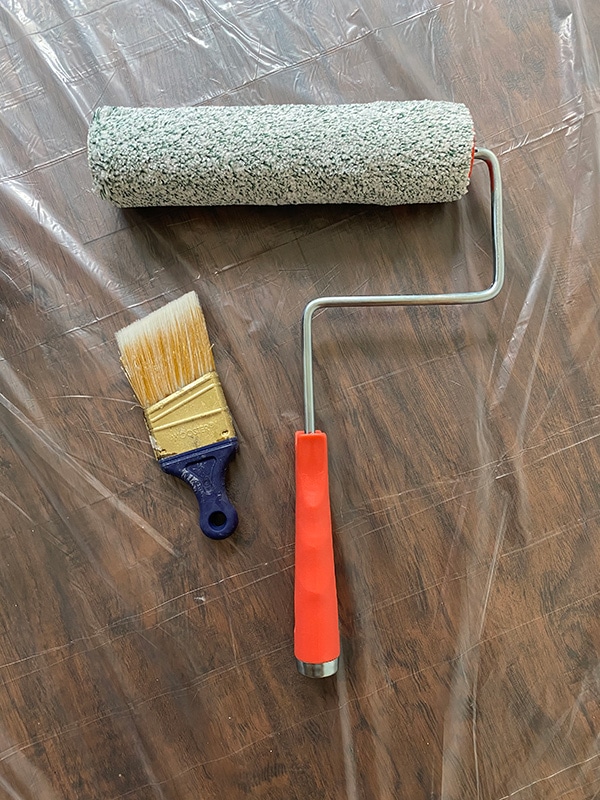
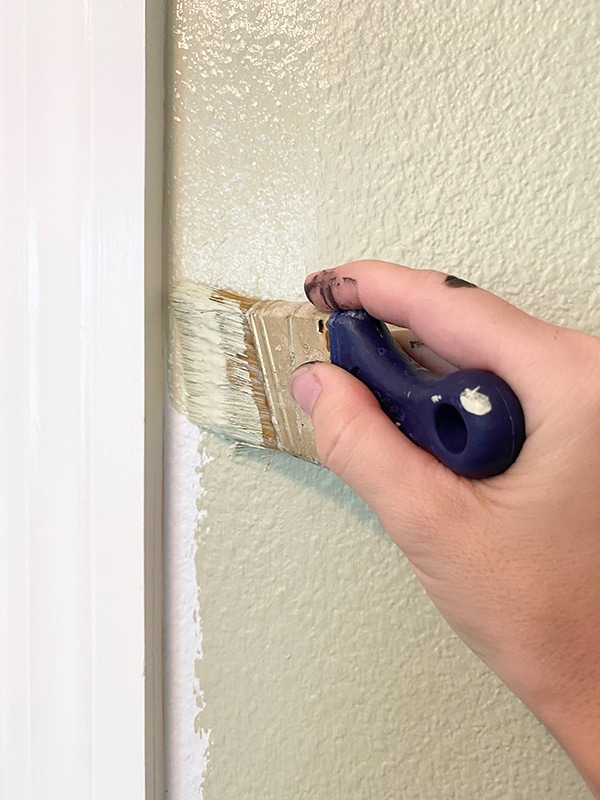
I’ve learned over time that using the right roller/brush for the job is critical! For textured walls like theirs, you want a quality long-nap roller (we love our Whizz roller) which will hold a lot of paint and cover the entire surface. And to cut in straight lines without tape, nothing beats this short angled brush.
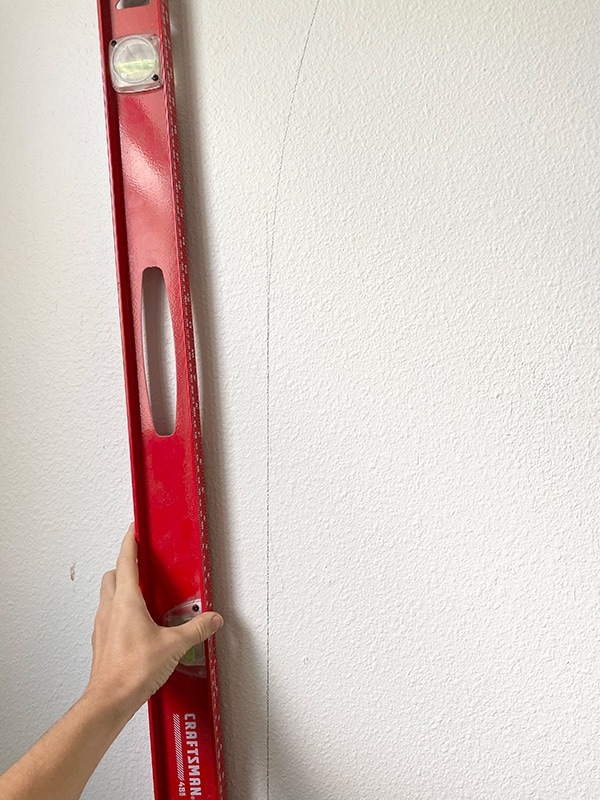
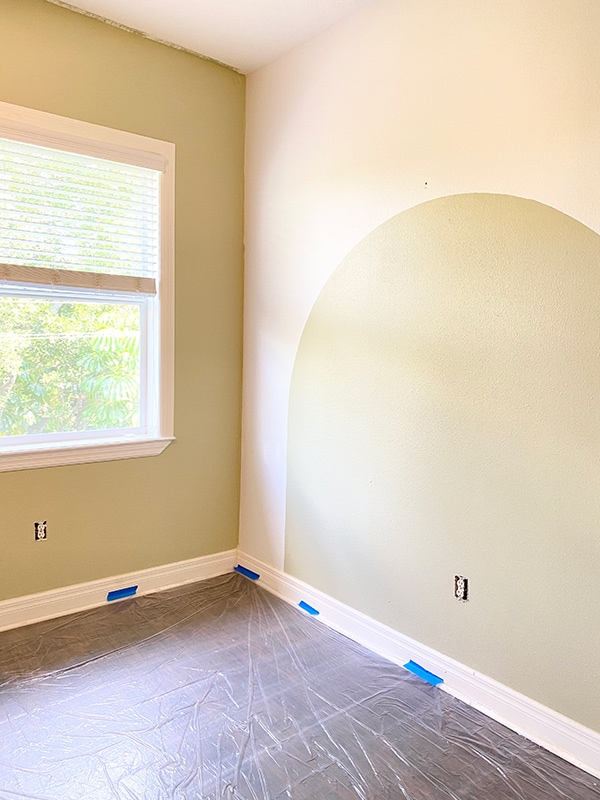
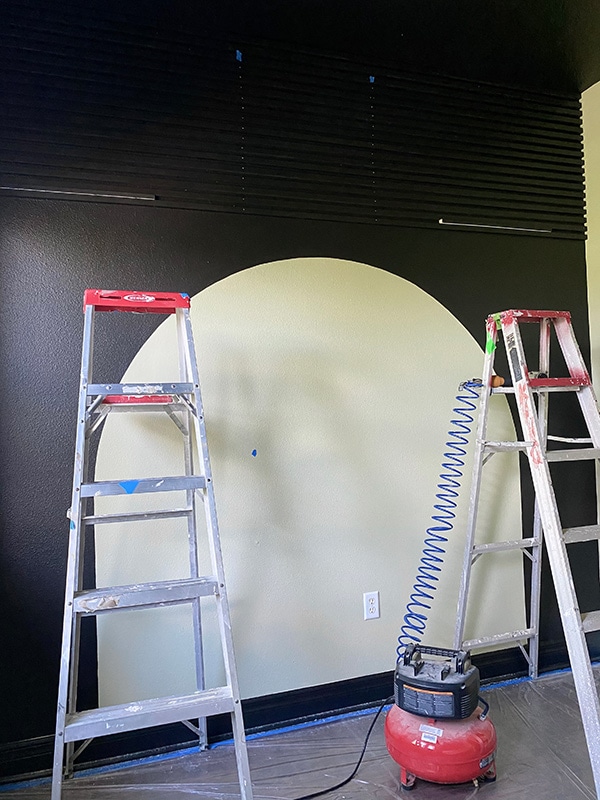
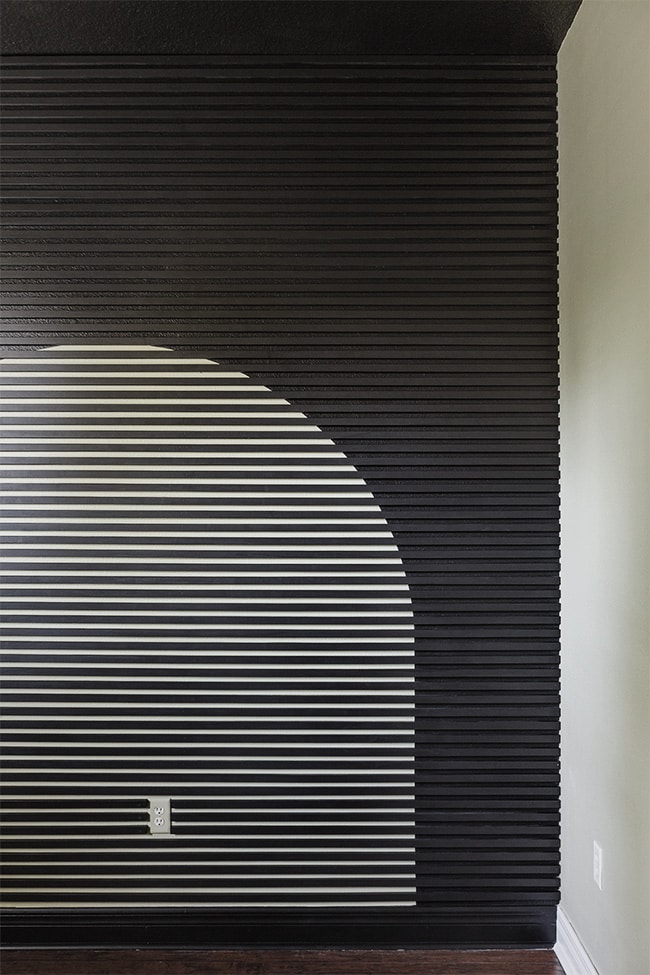
Before painting, we needed to draw our arch on the wall. I was worried this would be difficult to get perfect, but it was surprisingly easy and we got it on the first try. We simply placed a screw in the middle of the wall, determined how wide/tall we wanted our arch to be, then cut a string to that length. Then we tied the end of the string to a pencil.
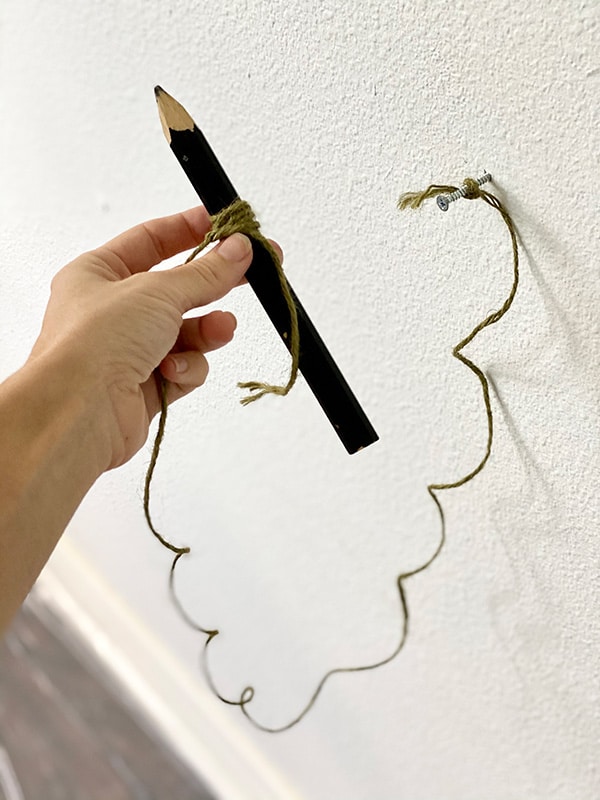
To drawa perfect radius, you have to pull the string taught and hold the pencil at a consistent angle. We only needed the top half of the circle as we’d be forming an arch.

Once the circle was formed, we used a level to finish the bottom with straight and even sides.
Can you see it?
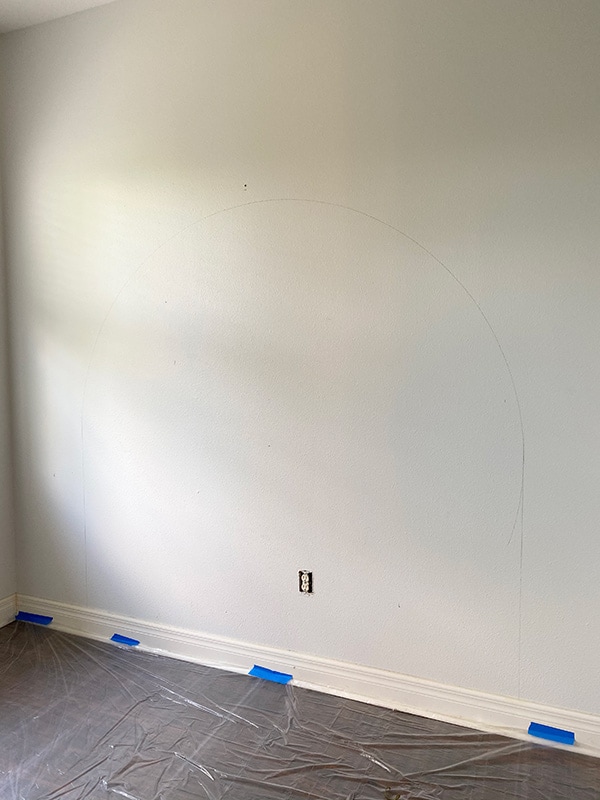
This arch will give the illusion of a taller headboard and help fill the large vertical space (their ceilings are 10′ tall). Next came the fun part… painting the arch!
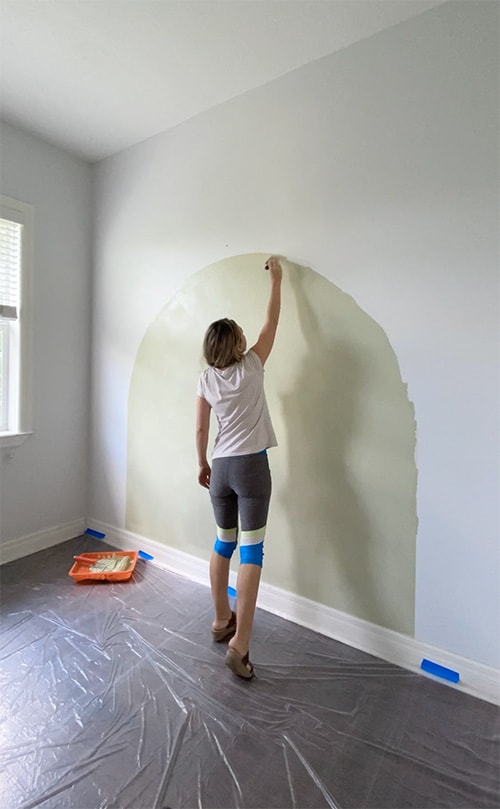
This was completely freehanded, using my roller for the center and trusty angle brush to cut in along the pencil line (it didn’t have to be perfect, since I’d be cutting in a second time with the black paint). Here it is before drying…
With the arch out of the way, it was time to paint the rest of the room! This only took us a couple hours, using the roller to cover the large areas quickly and the angle brush around the trim (no tape required at all).
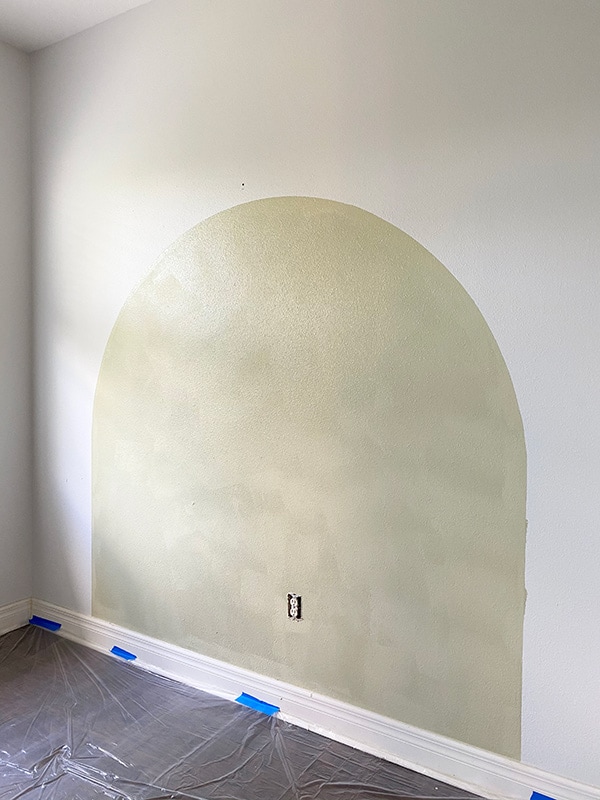
The paint covered in one coat, with just a few touchups where the roller didn’t have enough paint.
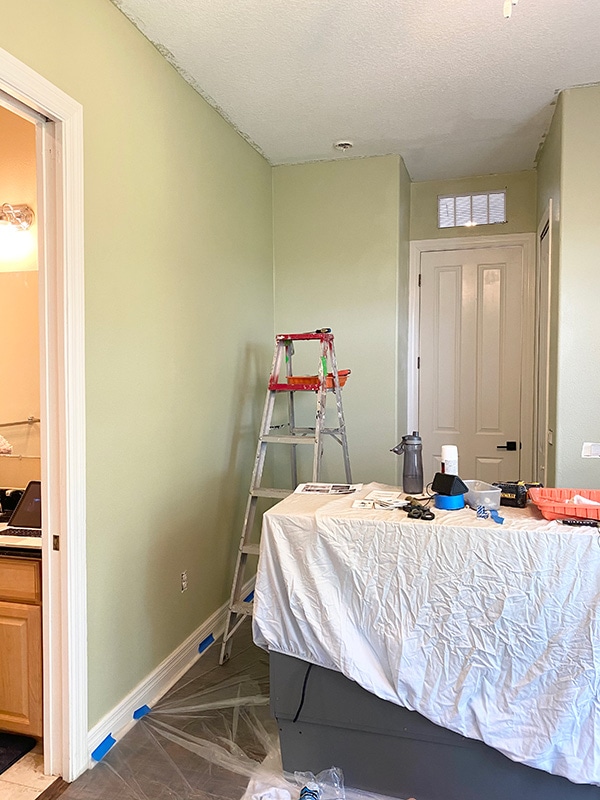
Northern Landscape varies from an olive green to a sage green, depending on the light and time of day. It’s a really pretty color.
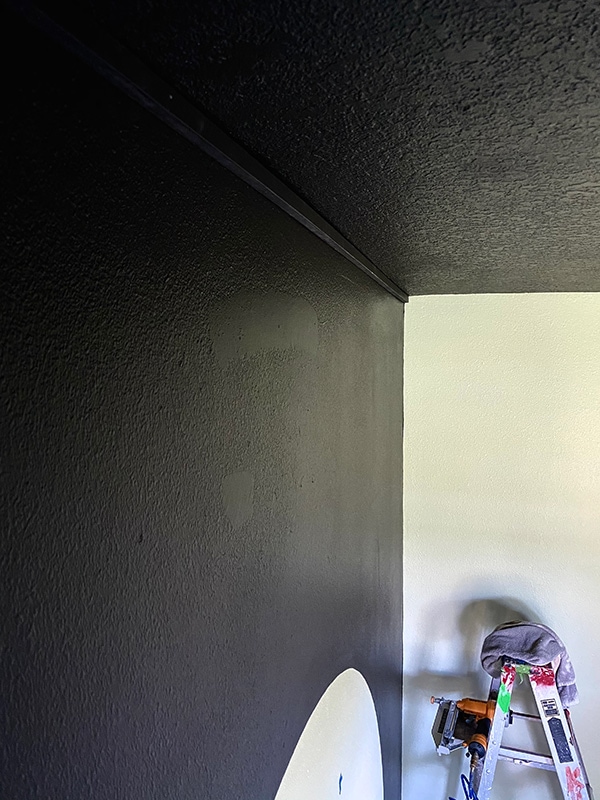
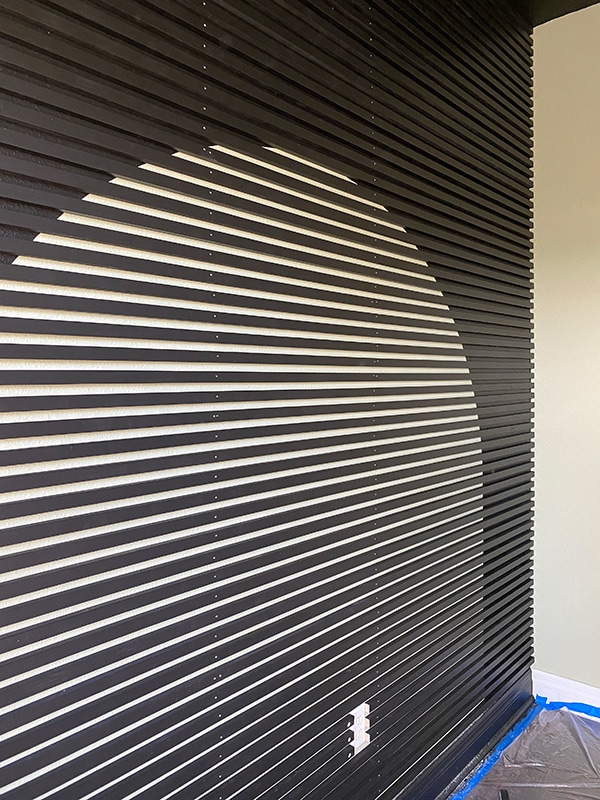
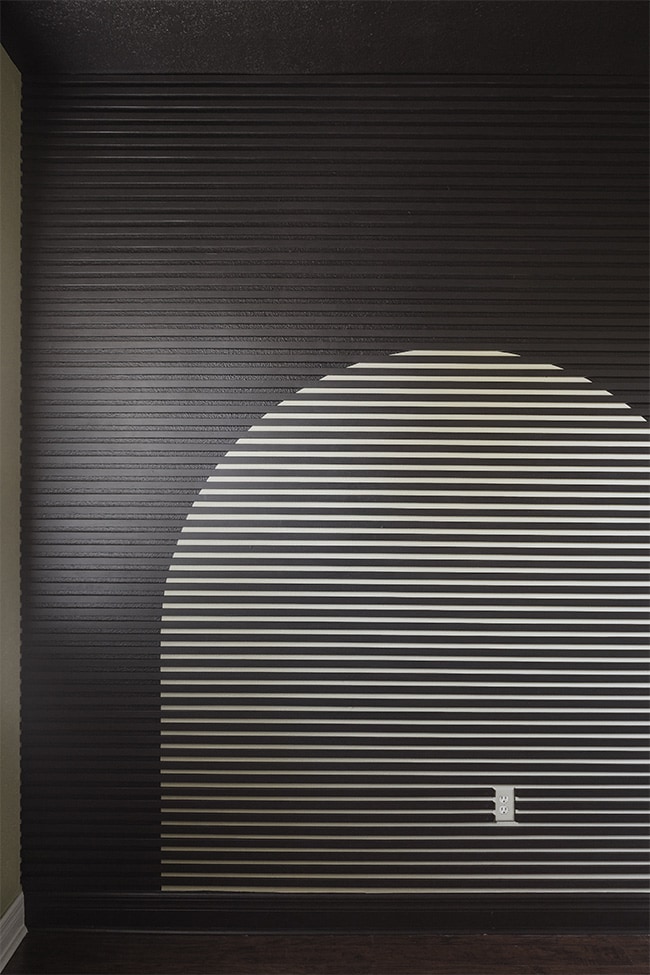
With the main room color complete, it was time to bring on the black! I started by freehanding the arch, slow and steady…
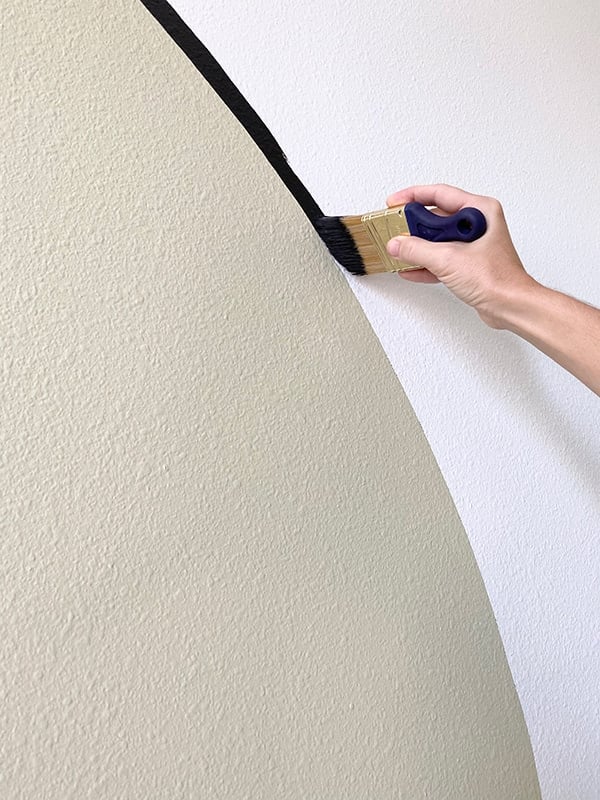
And the roller brush made quick work of the rest.

The drama!
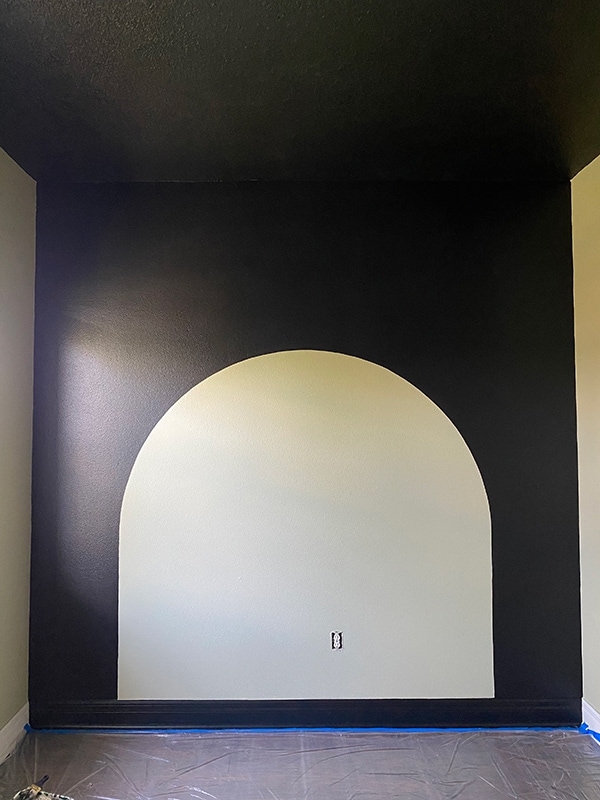
Instant room vibe changer.
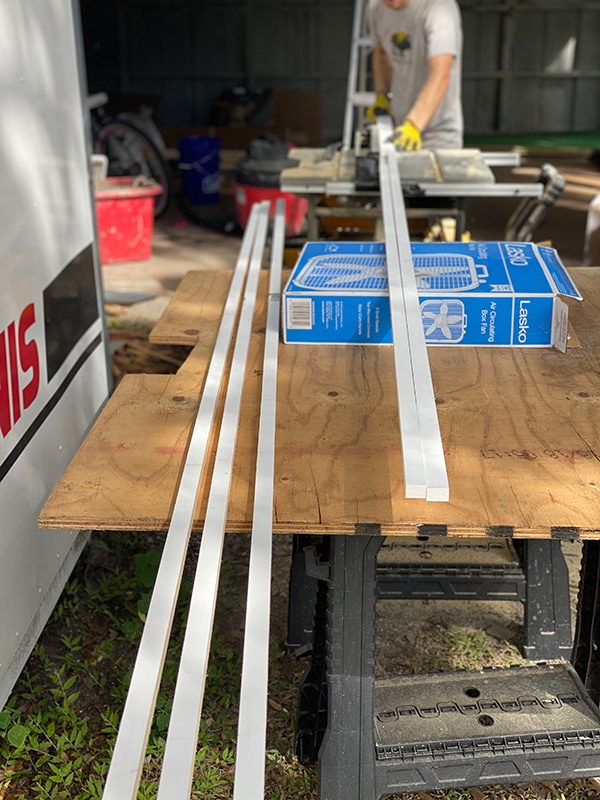
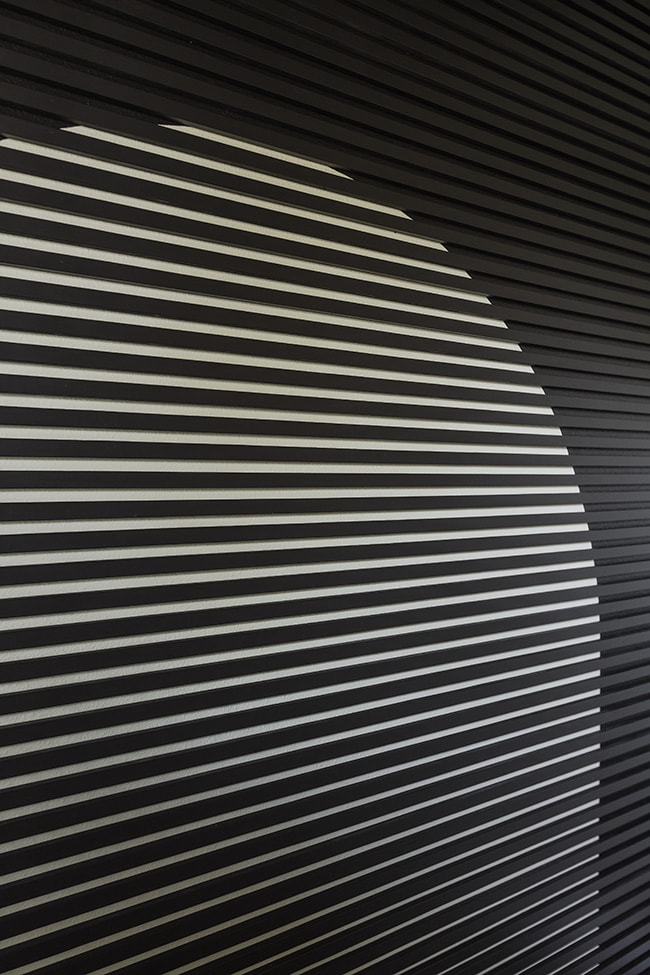
Finally, it was time to move onto the wood slats. We settled on these 1×6″ primed pine boards, as we could rip it down to get five 1″ strips per board with minimal waste. Our wall was 10′ wide, but 12′ long was the only option so we purchased 14 boards (total: $280).

You could alternatively use 1×6′ MDF boards and save a few bucks, it’s a personal choice! We set our table saw to 1″ and ripped down each board five times—ending up with 70 slats in total (this was done prior to starting the project).
Next, came the least fun task of sanding the edges of each board so they weren’t rough and splintery. This part was the most time consuming, even with our orbital sander, but it’s definitely worth the time to prep each board.
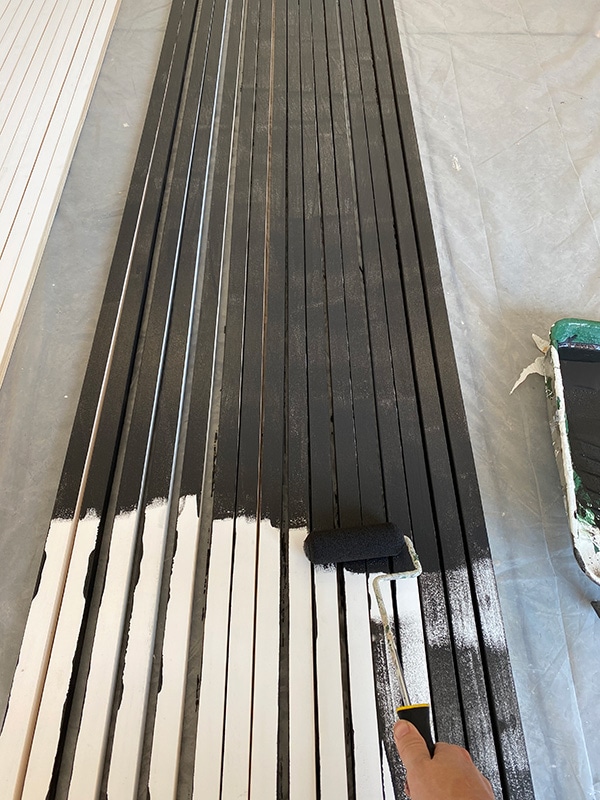
When it came time to paint, we didn’t have an area large enough to spread them all out and spray individually, so instead we took turns painting them by hand with a foam roller (our backs are still hurting ?)
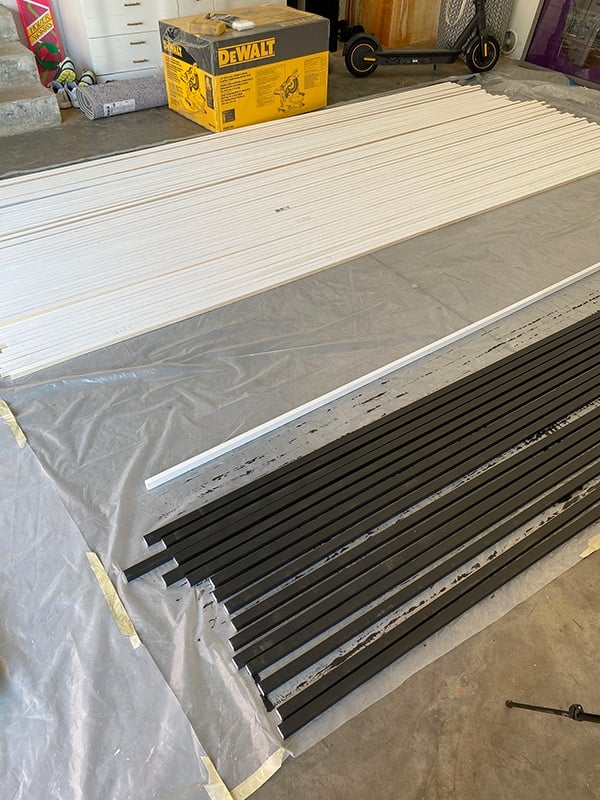
The quickest method I found to do this is to paint a section of them all at once, one side at a time. We had to paint three sides of each board, and the primed surfaces required two coats. You have to be very careful to avoid drips and runs!
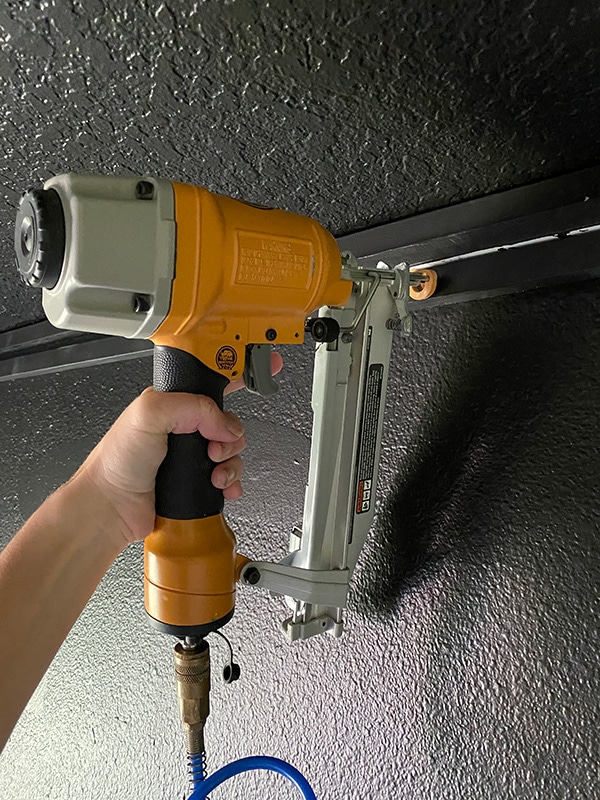
We let the paint dry overnight, then jumped right into it the next morning. Starting at the top (since it’s the most visible area), we used our laser measure to get a precise measurement for the length, and cut our first board to size (119 5/8″, if you’re curious).
There’s a header (wood) in the top corner so we didn’t have to worry about marking any studs for this one, but for the rest we used our stud finder to identify two different studs spaced somewhat evenly apart in the center. We’d be nailing the slat into each end as well (there’s always a stud in the corner of the walls) so that meant four nails per board.
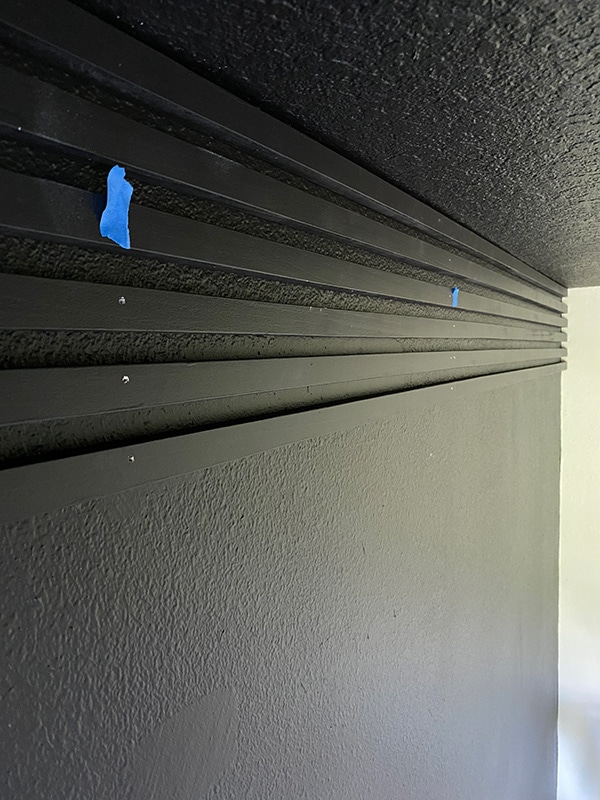
To ensure they were evenly spaced, we cut a couple pieces of scrap boards and used them as spacers, turning them so that each slat would be spaced 3/4″ apart.

With each of us on a ladder on either side of the wall, installation went surprisingly quick and seamless (you can watch a timelapse of it on my Instagram!)
What took the most time was carrying the wood three stories from the garage to the bedroom back and forth—whew! We sure got our workout in.
We had a nice rhythm going until we hit the outlet. There’s a stud on the right side of the outlet so we were able to secure those boards to the wall…
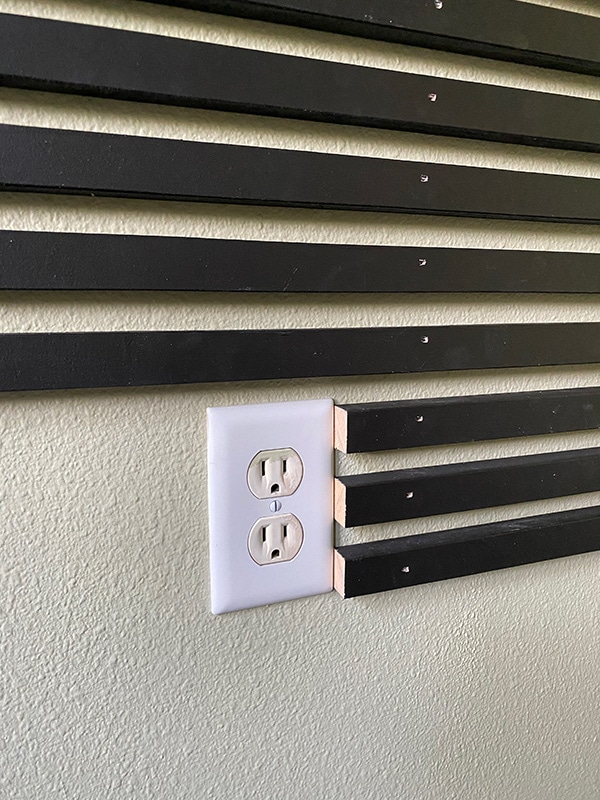
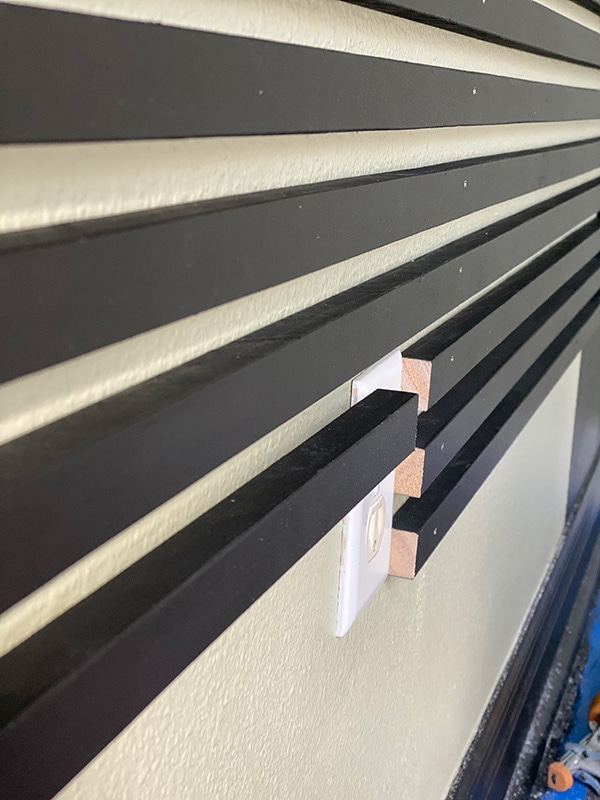
But there was no stud on the left side, which mattered because the wall was bowed, leaving quite a large gap behind the slats.
We needed a way to pull the slat to the wall, so our best option was drywall anchors (these are the only ones we use religiously and love!)
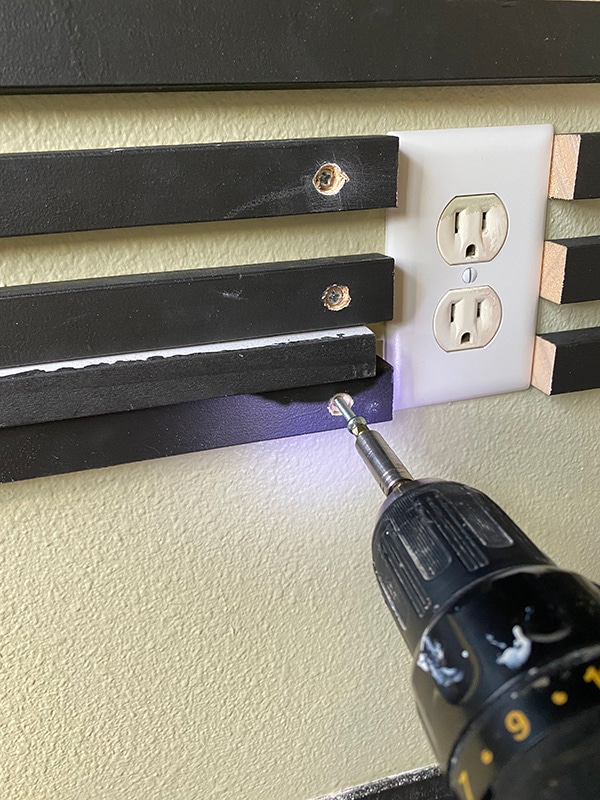
We would end up patching/sanding/touch-up painting the screw holes just like all the other nail holes, so no big deal! Plus, it will be hidden behind the bed. And with that small speedbump out of the way, our slat wall was done!
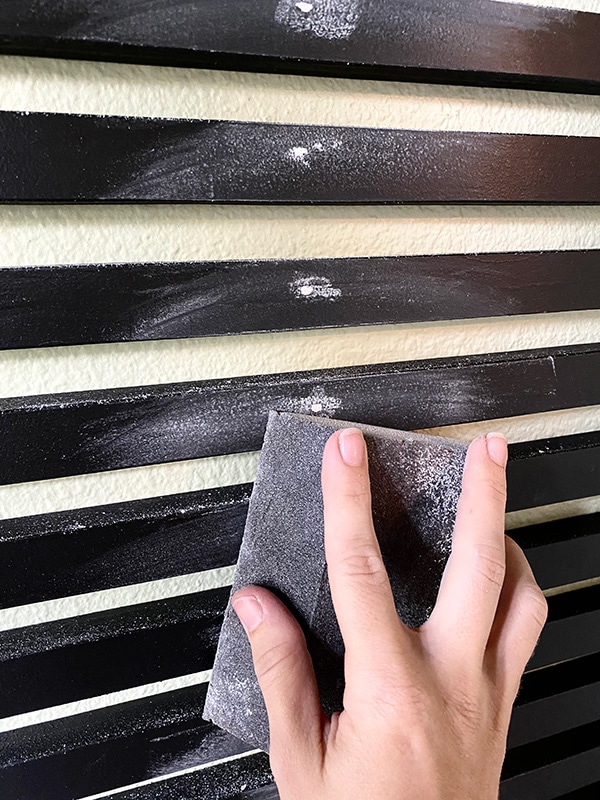
Well, technically, the easy part was done. We still had about 300 nail holes to patch, sand and touch-up paint…
I’ll spare you the monotonous details of this (you can reference my DIY panel wall tutorial if you want a novel about wood finishing techniques) but basically it involved a whole lot of putty…

And a whole lot of sanding.
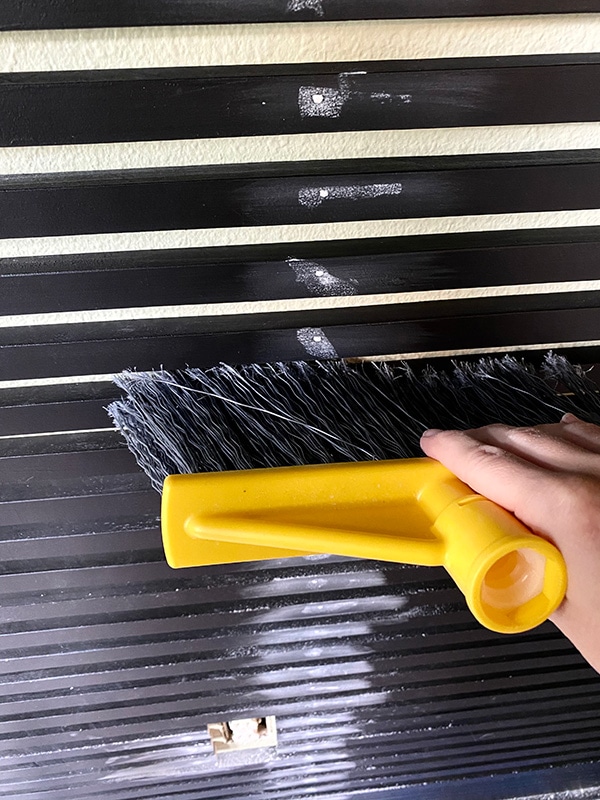
Which left a whole lot of dust, but it wiped away pretty easily with a broom head. A dry paint brush would work well here too for dust maintenance!
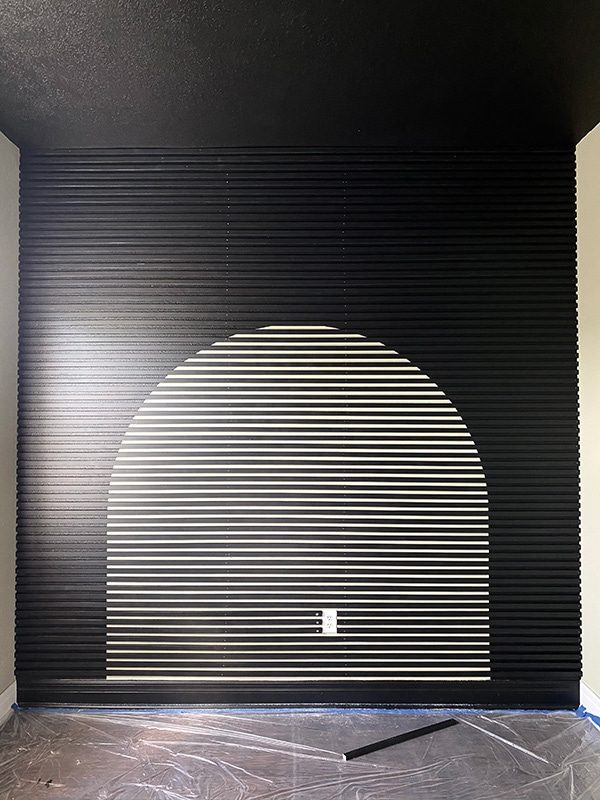
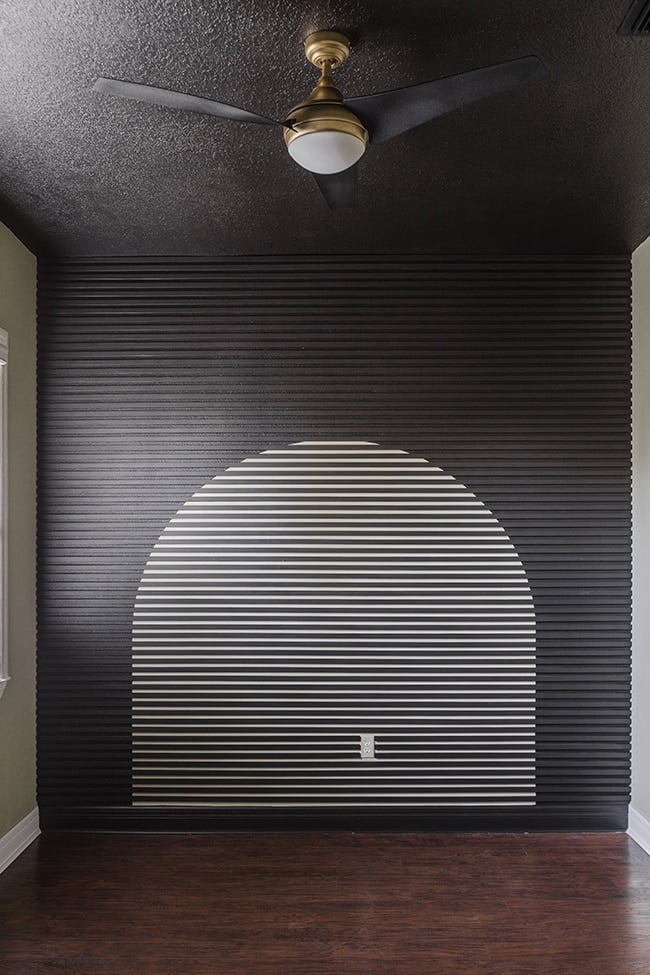
Once the dust had settled, I used a roller to go over the front of the slats one final time to ensure a smooth finish. And then… the wall was DONE!
We also installed a new ceiling fan (we painted the metal gold, I’ll share more about this soon in Part 2!)
I know this is bolder than something you’d see at our Heights House, but that’s why designing for friends is the best! I can try new styles and techniques and not worry about it fitting in with a specific aesthetic.
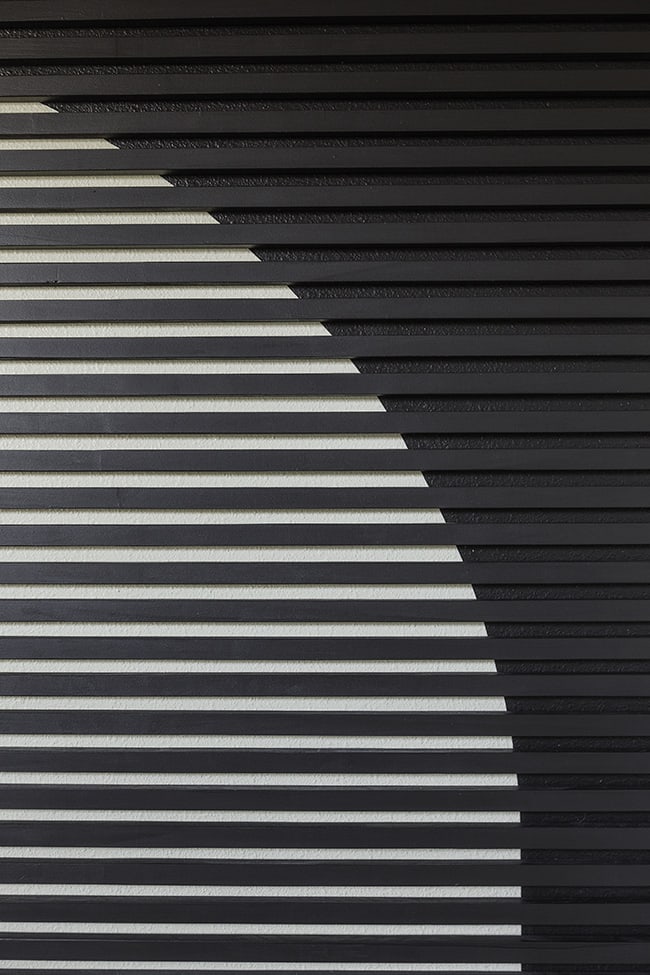
I’m getting sleek, trendy boutique hotel vibes from these slats… what about you? And the whole project (wood and paint) came in at $360—not bad to transform every wall + ceiling in a bedroom.
I love that our friends aren’t afraid to branch out and use color. Right now the room looks pretty stark since there’s no furnishings/decor in there, but once everything is layered in, it will feel much warmer and balanced.
We’re still waiting on a few items to be delivered so I’m not sure if the reveal will be next week or the week after—but it’s coming soon! Hold your judgment until then 😉

Would you want to try a slat wall? I’m such a fan of this look and can see myself trying it in another application at some point. Maybe stained wood? Vertical slats? On a piece of furniture? The possibilities are endless. More DIY coming next week!


Ivory says
OMG, I know I recently joined your site, but I am so thrilled, that I not only found your site, but I was smart enough to join your site. Your work, your creativity, your designs, are mine blown! I love everything you do. Wow, wow and wow!!! Thank you so much for sharing. Stay safe, you and your family, and happy holidays.
Manu says
Very nice !
I fell in love with your ceiling fan, where can i get one like this please ?
Thank you !
Anamaria C. says
I never write comments but had to compliment you to say: what an amazing job!
I am doing the wooden slats on one bedroom wall right now. But I already painted the whole wall with black paint and many coats too! I wish I would’ve seen this sooner because I think it would be challenging to paint the arch on top of black painted wall but it really makes a difference when you see that light color contrast. Maybe I should use primer to paint an arch on top of the black and then apply a contrasting color for the arch. Do you think that would work?
Good thing I didn’t start putting up the slats yet.
And the Black ceiling is perfect. I think Its a must and you’ve inspired me to go for it!
Thank you.
Jenna Sue says
Hey Anamaria, you can absolutely still paint the arch! Just use a good quality paint formula (like the one I used) and you shouldn’t need any more than a couple coats, depending on the sheen and color you use. It’s not a big deal at all to paint over it — I say go for it!
Marissa says
So great! Is the paint on the slats the exact same as the wall? Same finish?
Jenna Sue says
Thanks Marissa! Yes it is, you can find more info about the paint we used in Part 1: https://www.jennasuedesign.com/?s=slat+wall
Kayla says
I love the slats! You’re always so creative and daring Jenna
Jenna Sue says
Thanks Kayla! Gotta keep things interesting around here 😉
Karen says
We love this. Great job.!
Shauna says
I love the contemporary yet organic feel of this wall, and the illusion that there is a light source behind the slats. Great vision! And it does open up a ton of creative options…well done, you two.
Jenna Sue says
Thanks Shauna! I thought the arch was a fun addition. Excited to see it all come together!
Ami says
Hey Jenna!
I feel kind of lame here but I was checking out your stories and saw that you stained your butcher block. I can’t figure out how to ask a question in stories so I hopped over here. I have a table that looks exactly like your “before” that I’m in the process of refinishing and I really love the “after” that you achieved. Could you give me more information about the stain that you used? I only caught a glimpse in your post. Perhaps the info is somewhere else? Thank you.
Jenna Sue says
Hi Ami! Stay tuned, I’m working on a blog post for you with all the details this week!
Teddee Grace says
You guys! You are so clever and handy! When I spotted your post this morning, among the dozens of other design blogs to which I subscribe, I actually said out loud to myself, “Oh, good! They’ll have something fun.” And, boy, did you ever. This is spectacular. Can’t wait to see the finished room.
Jenna Sue says
Ahh thanks Teddee, that means a lot! So glad you like it and we’re excited to share the reveal soon!
Maria says
YES, I do that every time I see an update! You are amazing and I wish you could help me update my house!! Do you need friends in Washington state? We are here for you….
Jenna Sue says
Washington state is absolutely gorgeous! I’m so jealous of your weather right now…