Whew, we made it through through another wall treatment project! And this one might be my favorite yet.
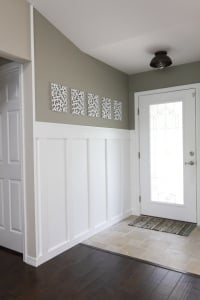
Rewind back to last weekend, when we began the project assuming it would be complete the next day (yeah right). This is where we were at on Sunday:

So yesterday we (well, more like just me) got back to work. The final two boards went in and it was time to patch all the holes and seams. This is normally the most annoying part because not everything fits together perfectly because the walls are never straight. So I took my time and did my best, using putty on all the hail holes and wood-to-wood seams, and caulk where the boards met the wall:


Then it was just hours of sanding and trying to make everything even and seamless.
After the sanding, while I was letting the caulk dry, it was time to paint.

I was forced to repaint the entire top half because there were some imperfections where the wall met the trim from the first time it was painted, and we ran out of the original paint color. So I picked up a quart of Valspar’s Magic Spell (the original paint was color matched to this) and crossed my fingers that the paint would be an exact match…

But alas, it was not. The real Magic Spell is the slightly lighter/greyer shade on the right. It didn’t take long, however, and pretty soon I was ready to paint the bottom.
After about 10 coats (seriously) of Behr’s paint + primer…

It was done!
Oh, and if you were wondering how we solved this PITA situation…


Let’s just say it took some sculpting skills, but I think I remedied the situation pretty well (for an amateur)


We still need to add the base shoe and grout the tile area so ignore the gnarliness at the bottom as it will be covered.
Anyway, back to the reveal!
Here’s the foyer freshly painted and ready to be re-accessorized:

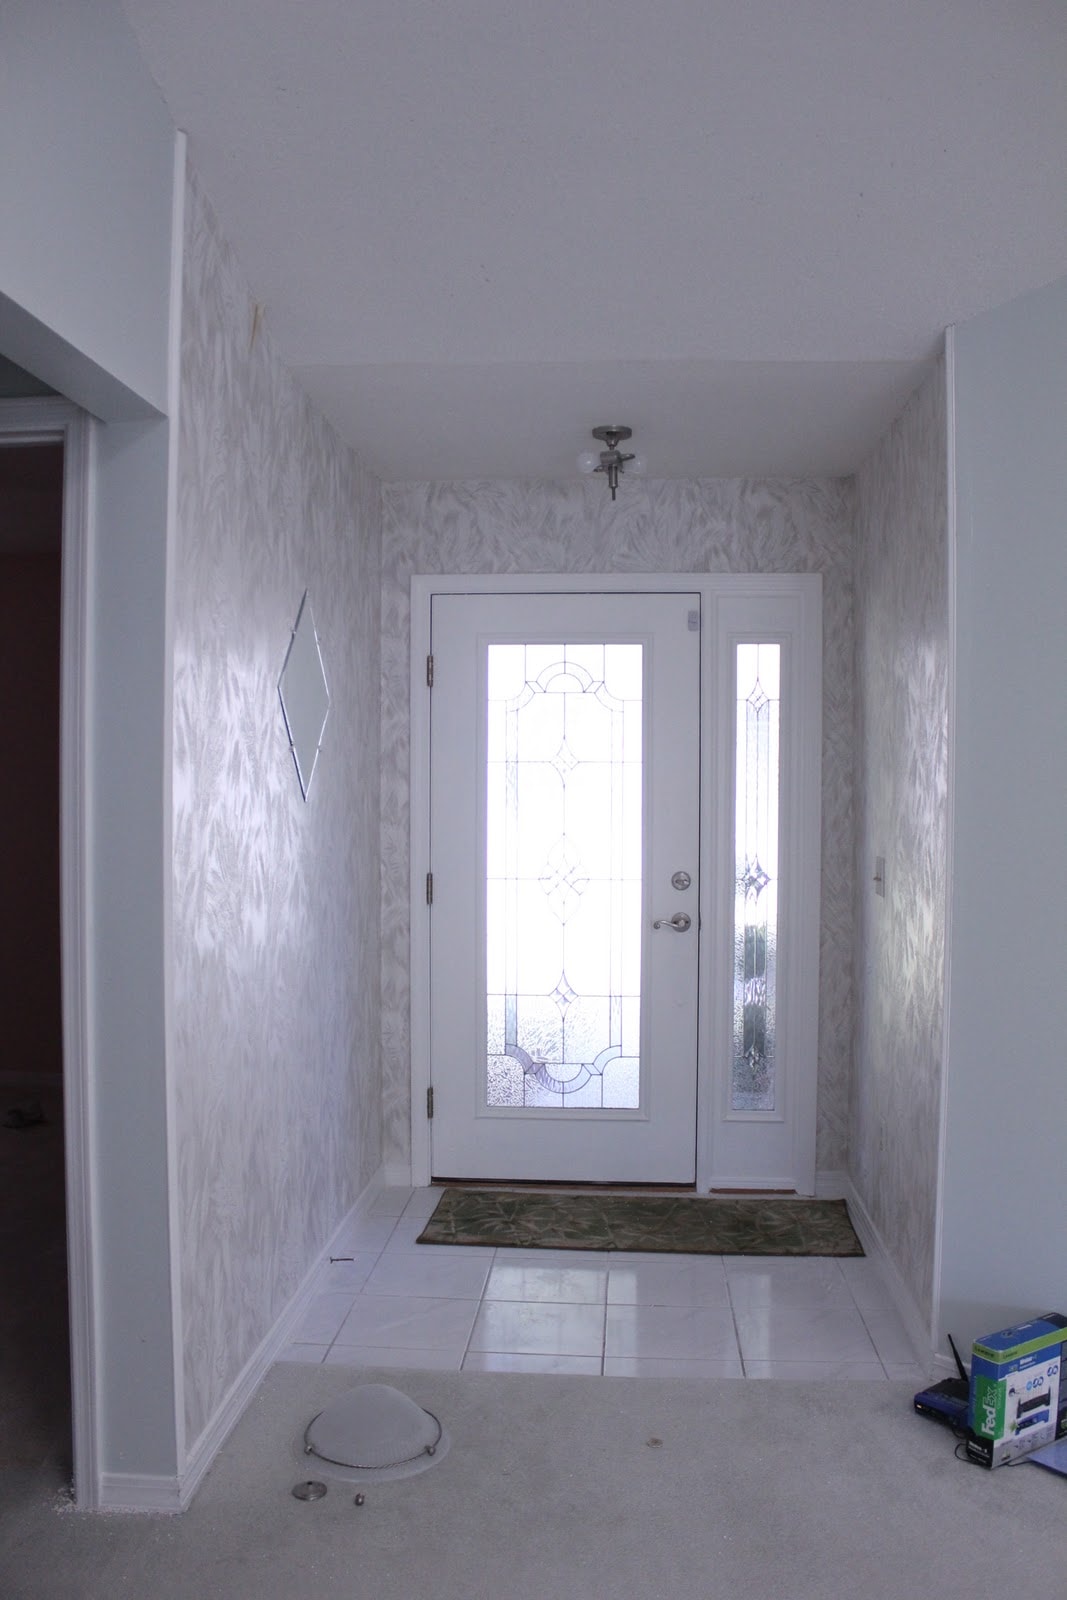
Before I show the final after… let’s take a quick trip down memory lane to the Original Before:
The interim:

And now, the After:
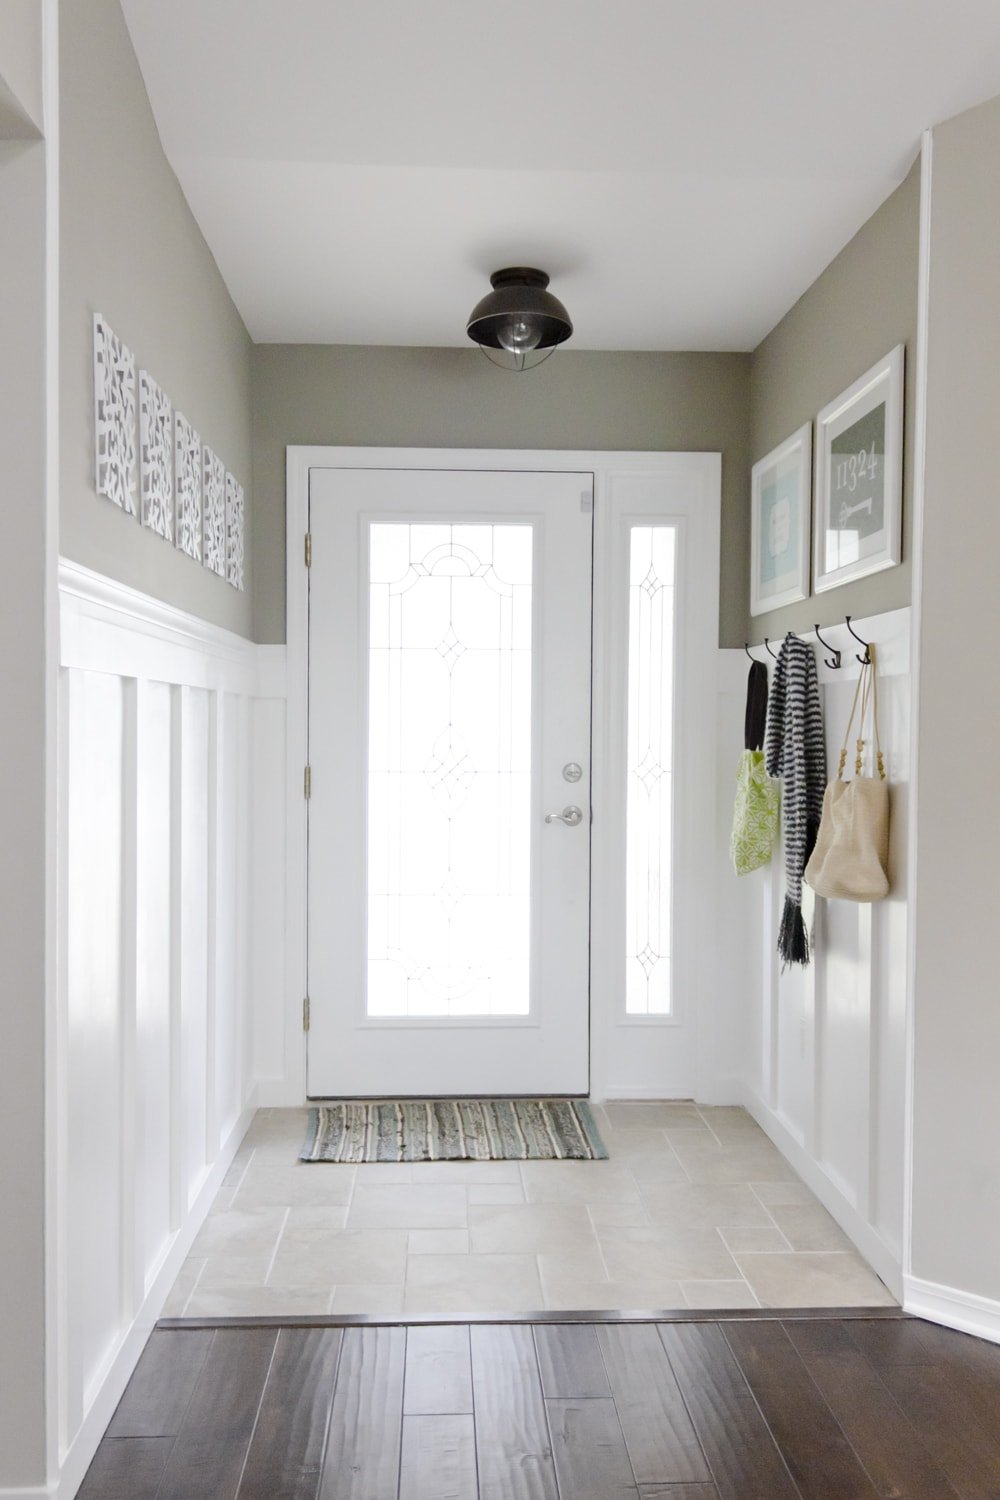
The wall tiles are from Amazon.
I purchased the light from Overstock, but it’s no longer available (see more on that here).


These are 12×16 prints inside Ikea’s $17 Virserum frames, found here. The prints can be customized and purchased in any size, here and here.

The hooks were purchased at either HD or Lowe’s (can’t remember which, sorry!)
A COMPLETE HOUSE SOURCE LIST (including paint colors) can be found here!
There will still be one more After in this foyer’s transformation, when we replace the glass with a solid frosted panel. Not sure when we’ll go ahead and pull the trigger on that, but it’s in the works.
And that does it for this weekend! I’m quite excited about next weekends project… it’s sitting in the garage right now:

Ahhh… it’s the pedastal table I’ve been dreaming about for months and months. We’ll finally be able to fill this empty hole in our dining area….

Get excited.


Jenna Sue says
Go for it, Emily! We actually got lucky in that department, all of our walls are smooth drywall. There is no texture difference. if you have a lot of texture, I'd probably add the boards to smooth it out (a la Centsational girl). Extra work but should be worth it in the end!
Emily says
Your entry is identical to ours. I am definitely going to go this route. Curious about your walls, though. Are they textured? Does this look funny with the smooth vertical & horizontal pieces? I wasn't sure if we could get away with painting the walls or if we'd need to install some smooth, thin sheets of wood. Thanks for the help!
Being a Mama says
Brilliant, really well done, love all your art! Just discovered your blog through YHL.
Jenna Sue says
Suzy — Ikea (Virserum). Melissa– they are from Amazon. I just added source links to the post for you guys!
Melissa says
Where did you get the six white sculptural items you have hung on the left? I love those and need some art for my hall!
designingmainstreet.com says
Wow! Your entry turned out great! We've been working on ours and wish we had the width to add hooks like you did. Love your nautical lighting choice too!
Ainhoa @ALittleBite says
It's beautiful! Although my OCD-self would've centered the doormat with the whole door (I don't know if that makes sense) at least for the picture.
I love the board & batten treatment you did!
Suzy says
Love it! Where did you find the frames for your prints?
Melissa says
Gorgeous! You guys did an amazing job
Katie DeKoster says
So pretty!! Just found you via YHL and your home is just lovely!
Sara says
Absolutely LOVE the entry way and those hooks is really practical! Love it all!
Robin @ our semi organic life says
LOVE your work! What an inspiration!
wherelovemeetslife says
Love that you were featured over at YHL.. cause I have been missing out not knowing about your blog!! 🙂 Great job, and I love that you showed a close up of the before and after of caulking, cause I totally was thinking of skipping that step.. lol not now!
amy_sue says
Where did you get the hooks? I have been looking for hooks for my own wainscoting and those are perfect!
Anonymous says
That's so adorable! I love the molding! I also think that a cute little bench with some baskets underneath would be perfect for the little extras or hide the shoes away 🙂