Moving right along on our work/playroom renovation with one more big project completed!
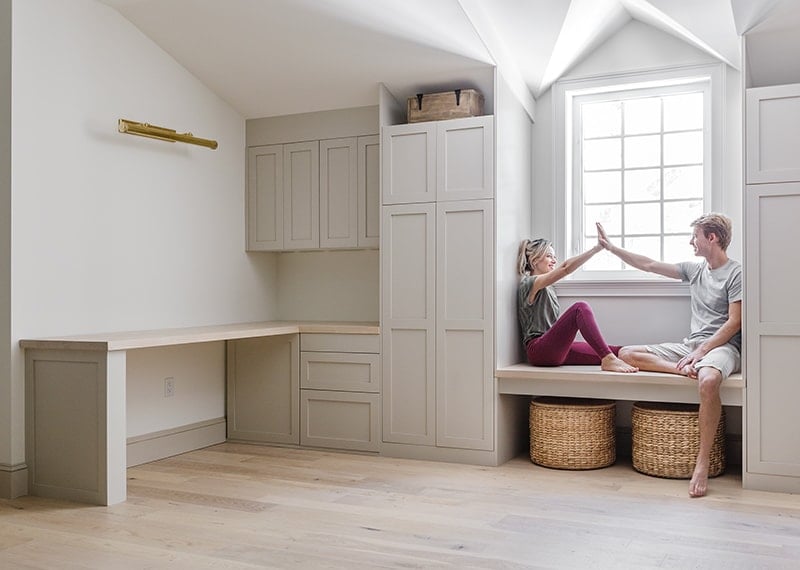
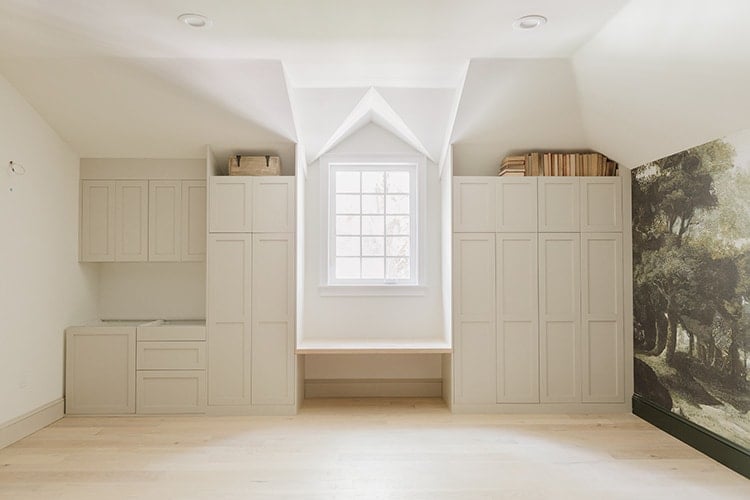
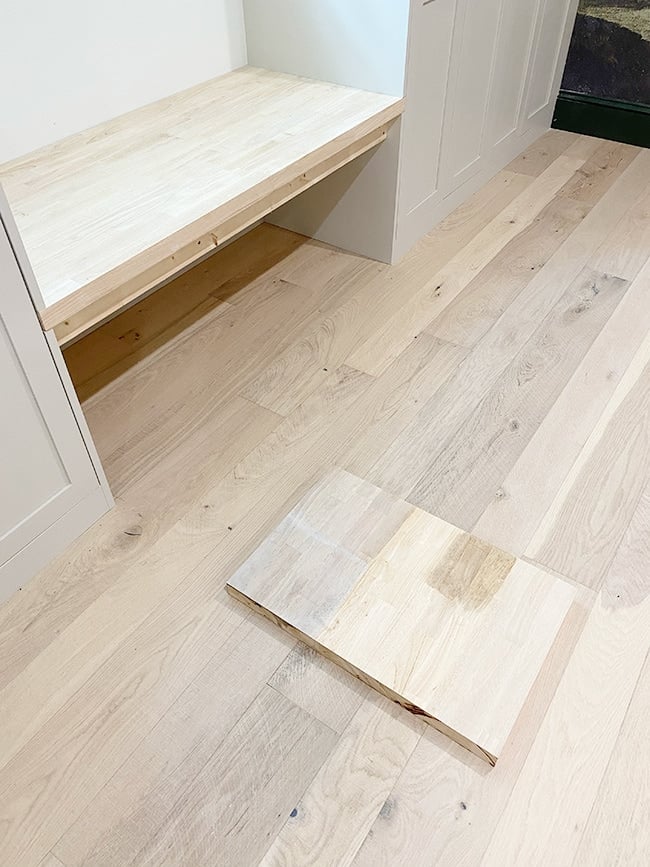
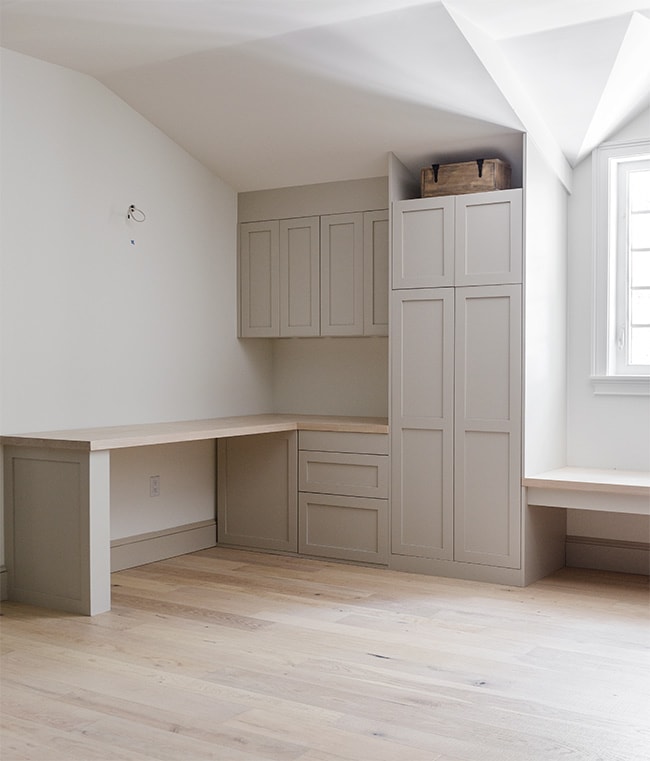
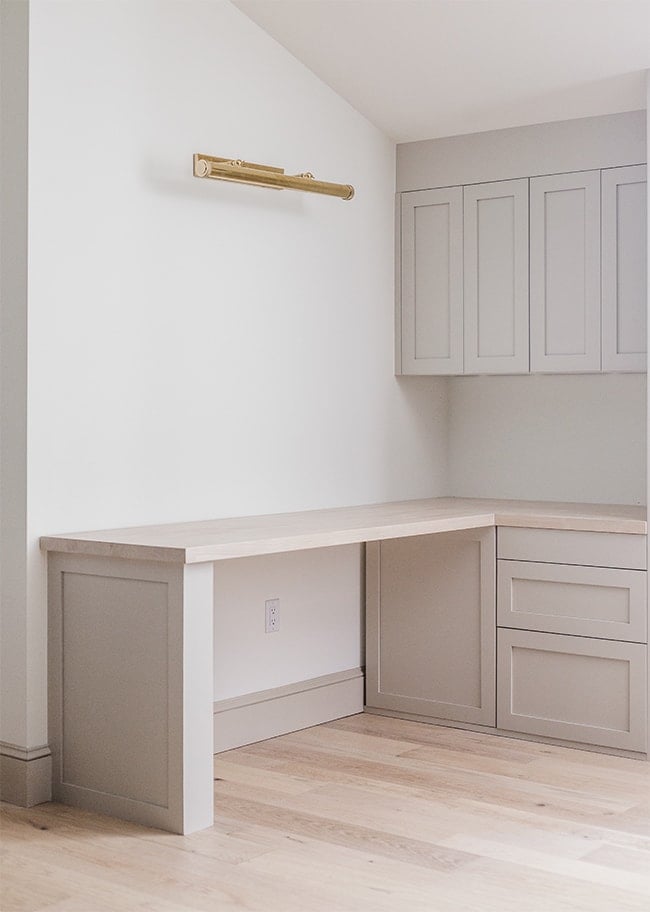
This past weekend I took you guys along for the ride in my IG stories as we installed/stained the butcher block and finished our desk and window bench seat. Here’s where we left off in the last update:
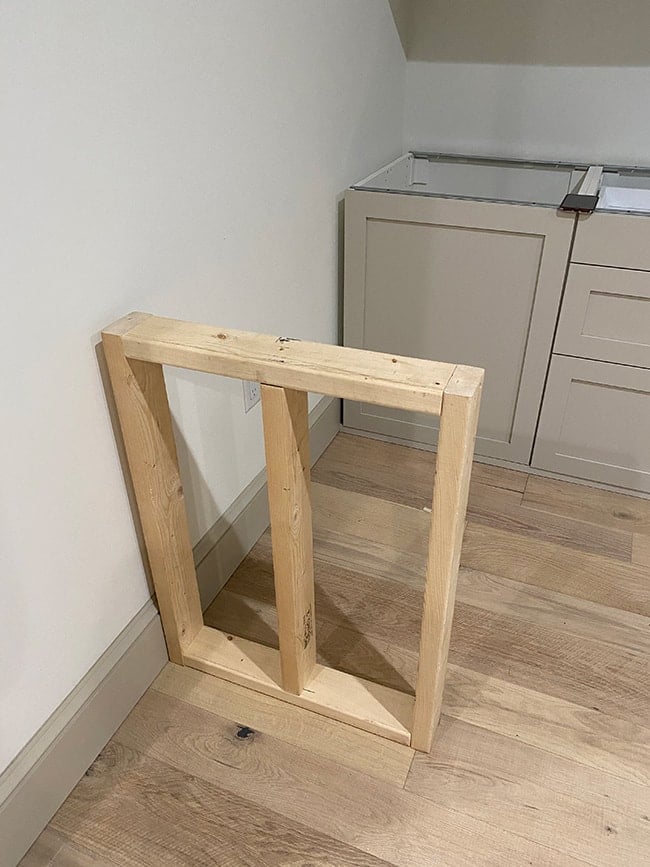
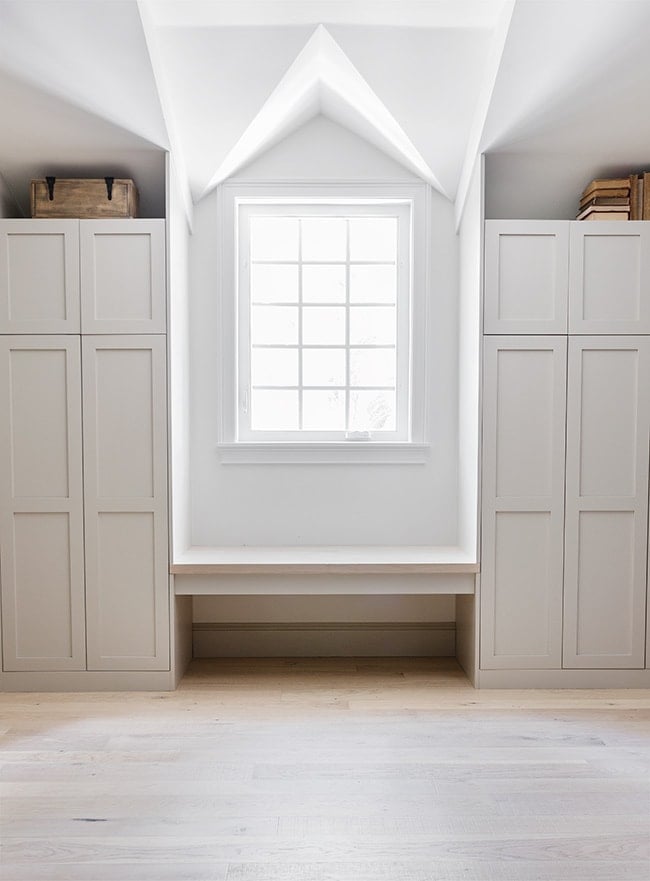
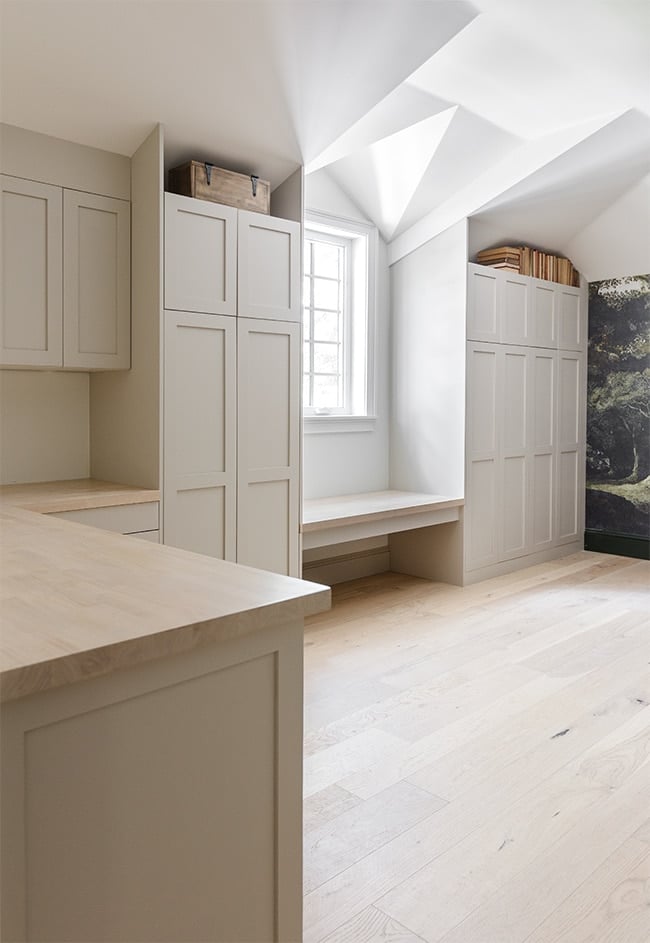
The window bench seat was added during the cabinet install, but it was only attached to the cabinet box/panels and we had to figure out a way to reinforce it. A couple of you suggested building a frame underneath with an apron front and I loved the idea (thanks, guys!). It was really simple to make—just 2×4’s cut down to size and screwed together with 3″ wood screws (pre-drilled, two screws per joint). A speed square will ensure each corner is 90º.
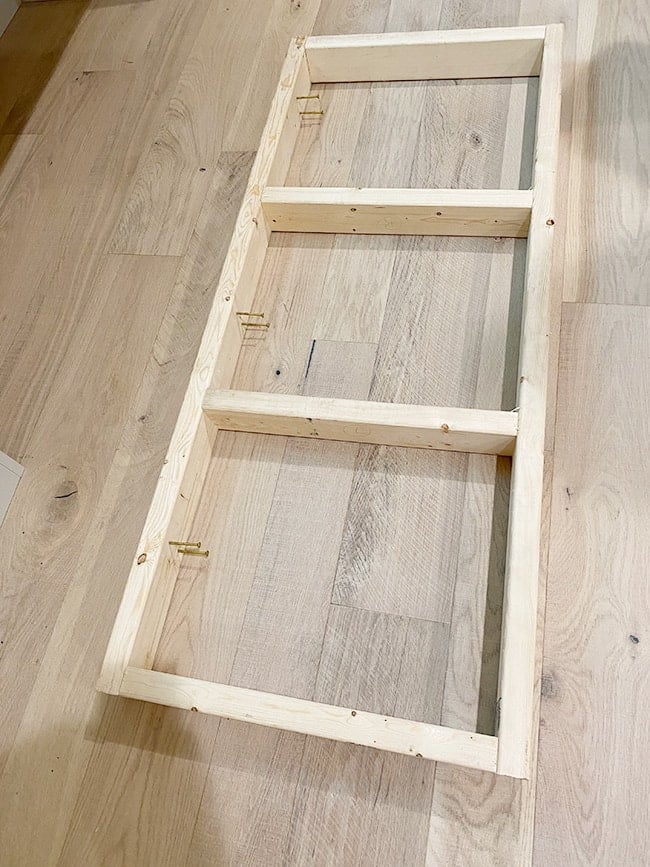
Before installing, we identified the location of each stud behind the wall (there were three) and started a couple screws on those marks in the frame to make the frame quick/easy to attach once in place.
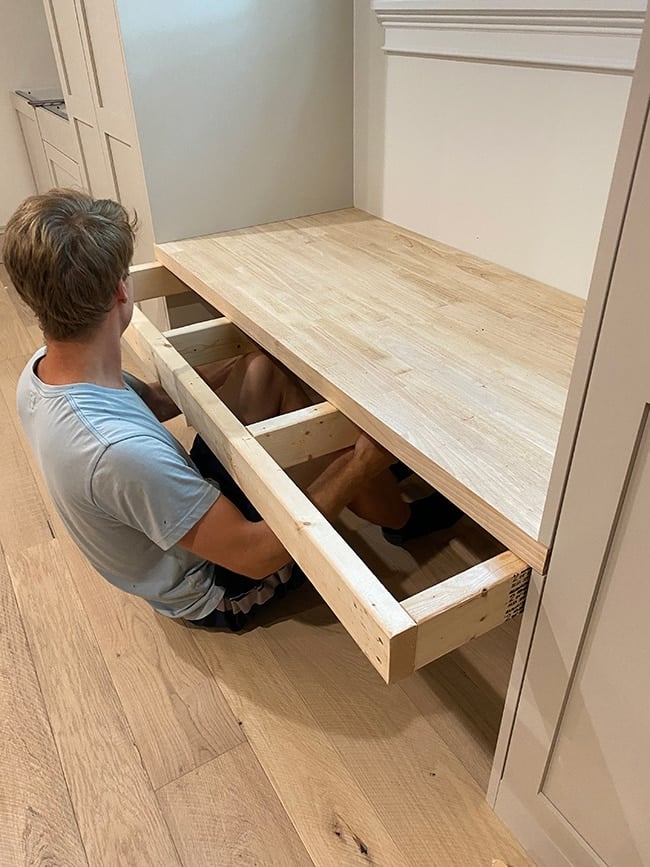
The frame depth was recessed a couple inches from the front of the butcher block, and we’d later attach a strip of 1/2″ mdf as our finished apron front.
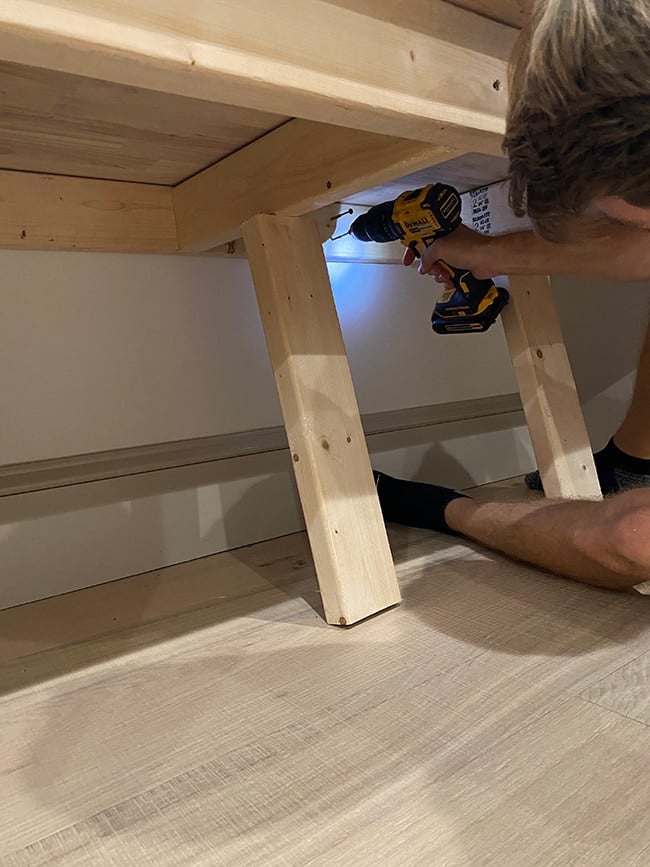
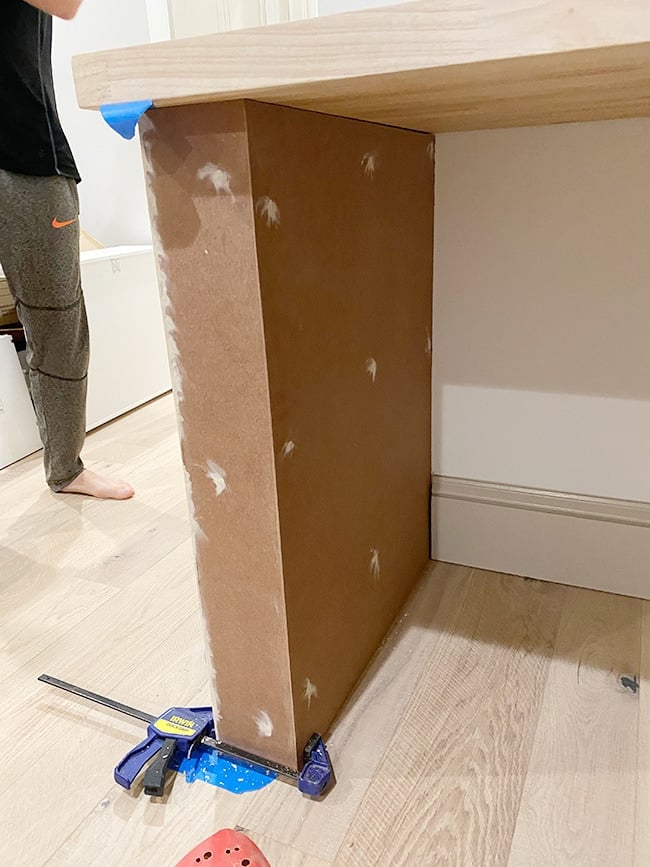
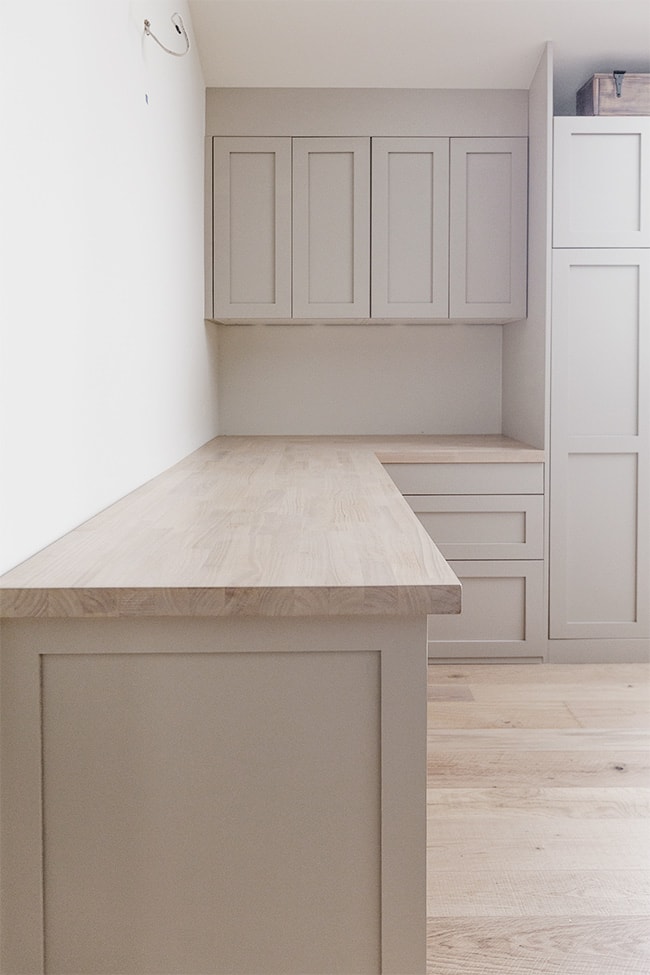
Once it was screwed into to the studs, the frame was then attached to the cabinets for extra security (using screws from the inside of the cabinet). Then it was onto the desk leg! This 2×4″ frame was made exactly the same way, and had to be the exact same height as our lower desk cabinet to ensure the counter was perfectly level.
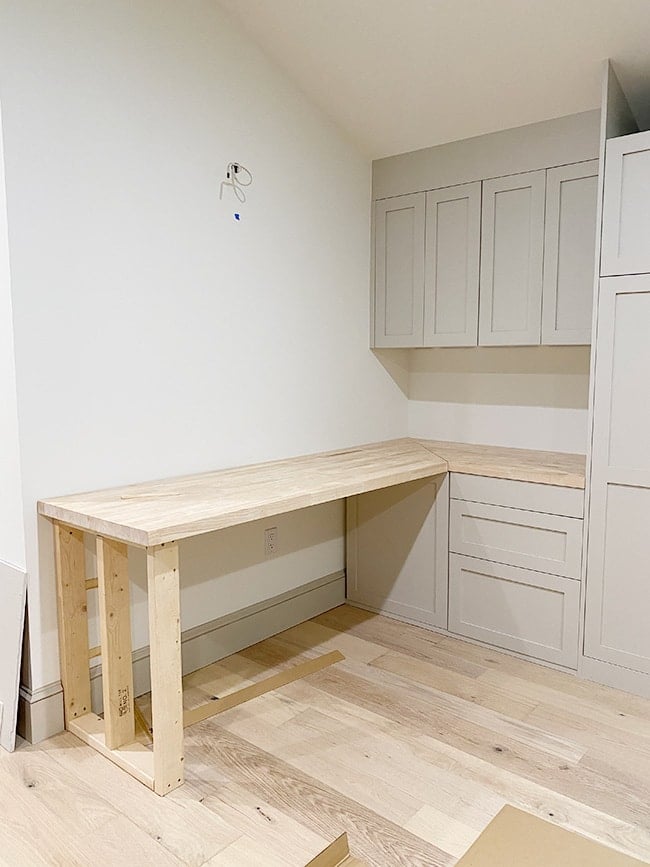
I wanted the desk to be as long as possible, so we positioned the leg close to the edge of the wall (accounting for 1.5″ countertop overhang) and used our dremel to cut out the baseboard to make it flush (this photo was taken right before that step!)
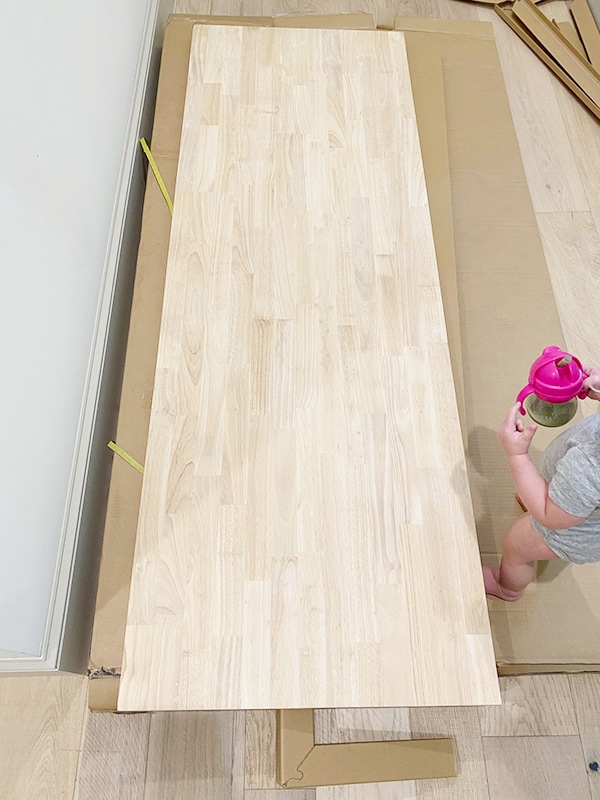
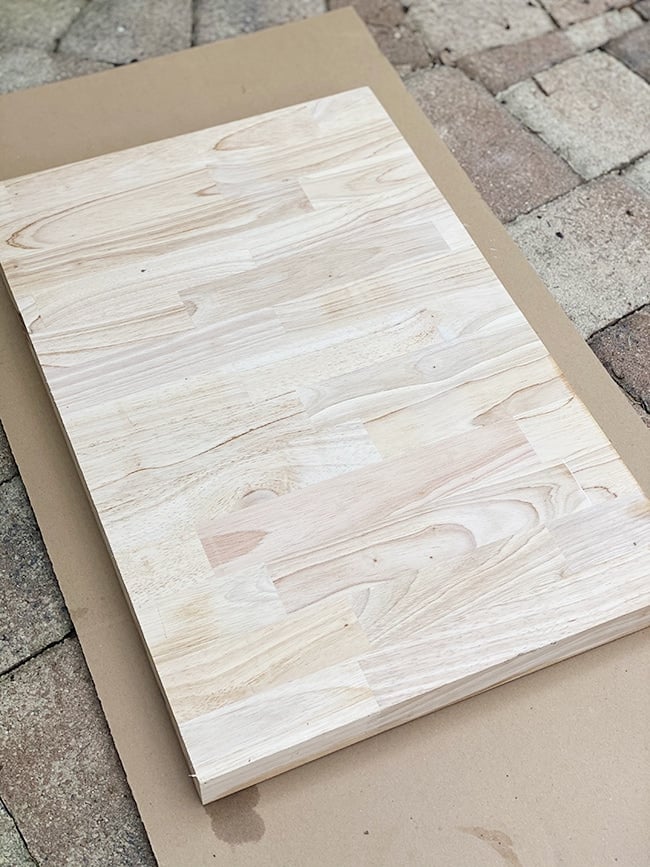
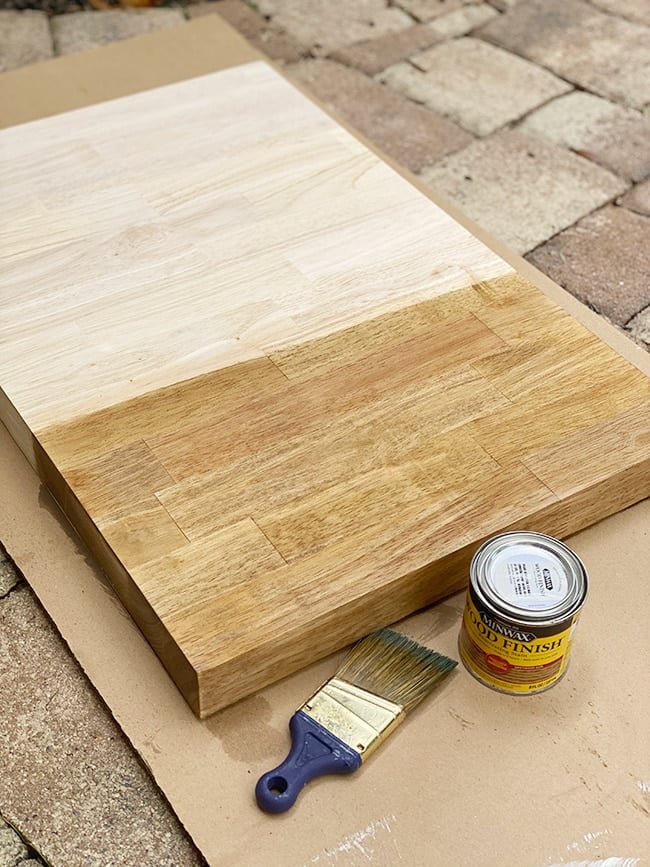
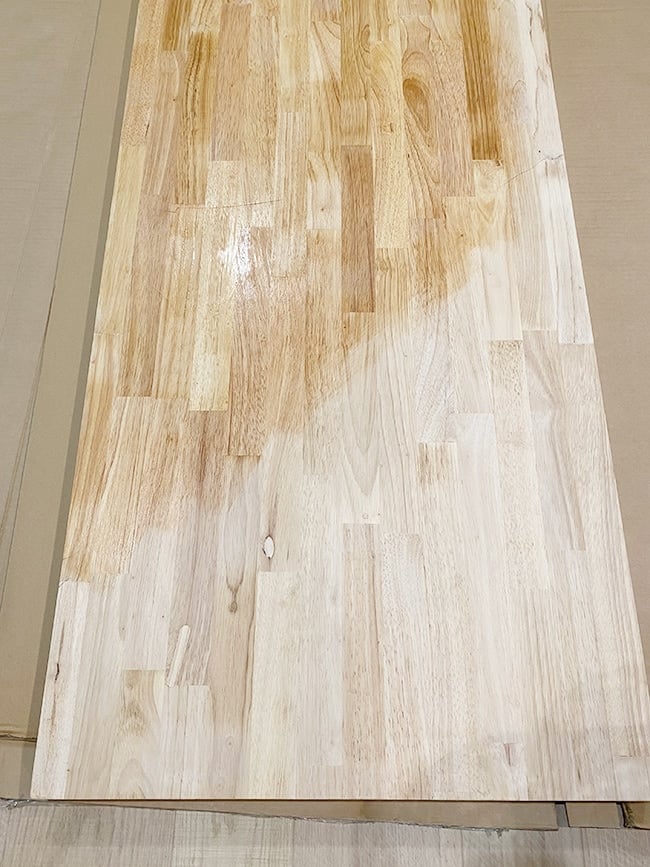
The desk leg was then screwed into the wall (through the stud along the floor). Then it was time to cut some butcher block! After an exhaustive search, I sourced this Rubberwood butcher block from Lowe’s and purchased one 8′ two 6′ slabs. This was the lightest and most uniform wood I could find, at the best price point (the photo online shows the color after it has been oiled, but the raw wood is much lighter):
My goal was to stain the butcher block to coordinate with our floors, so I set out on a mission to find the perfect whitewash technique…
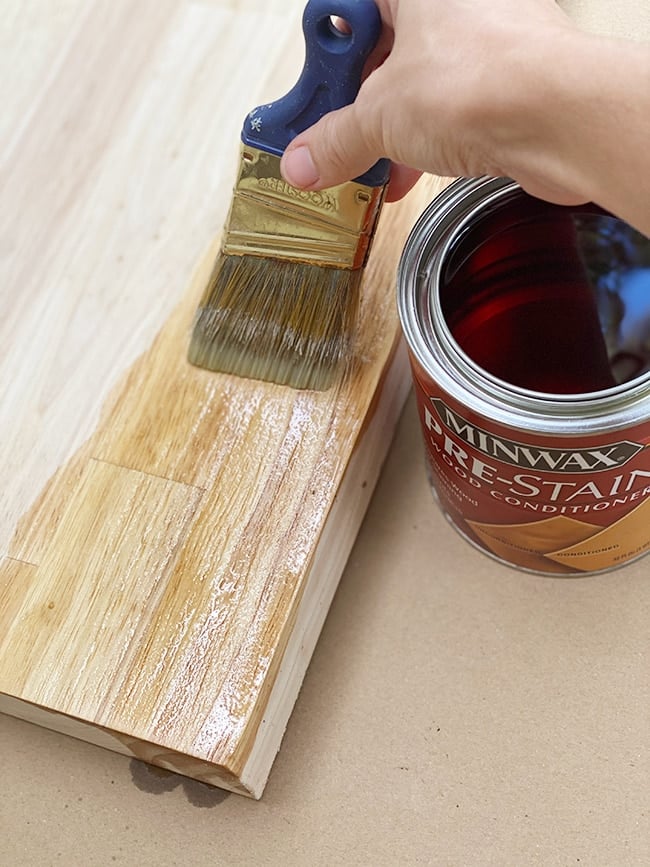
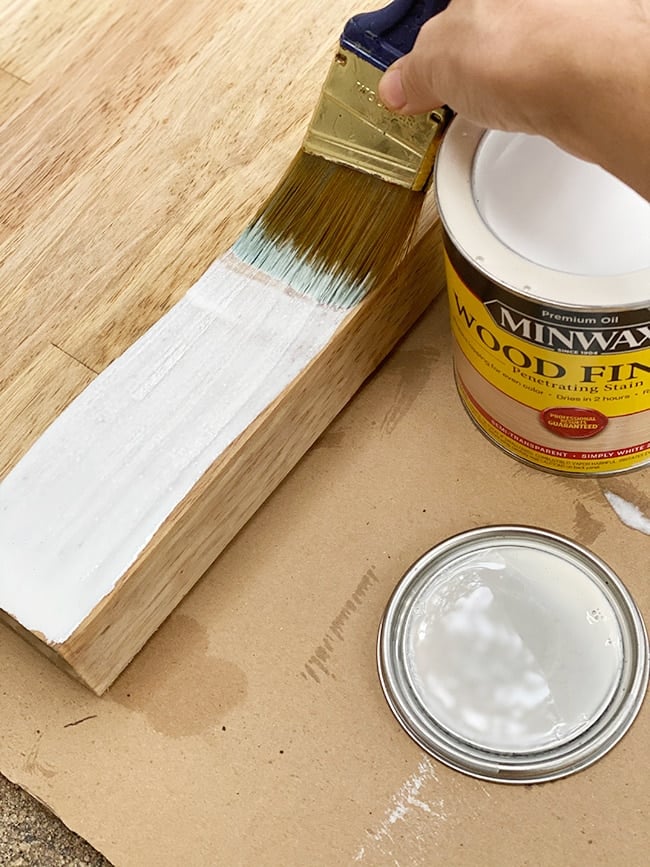
I used a scrap piece of wood to test my stains, and you can really see the variation in wood tones here.
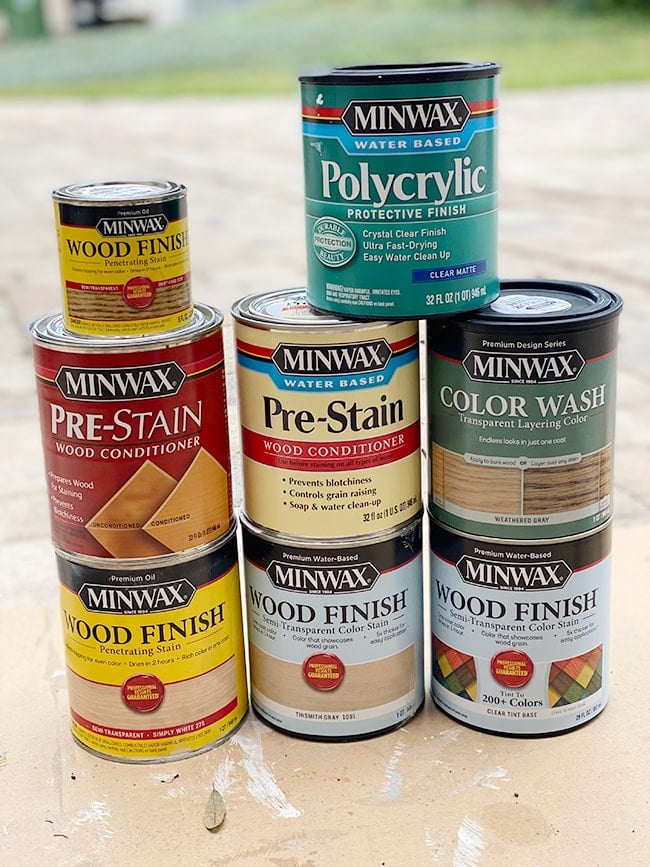
Chris Loves Julia recently refinished their desk and used a stain combination that appeared to be exactly what I wanted (at least online) so I tried their method first—starting with a layer of oil-based wood conditioner:
Followed by Minwax Driftwood:
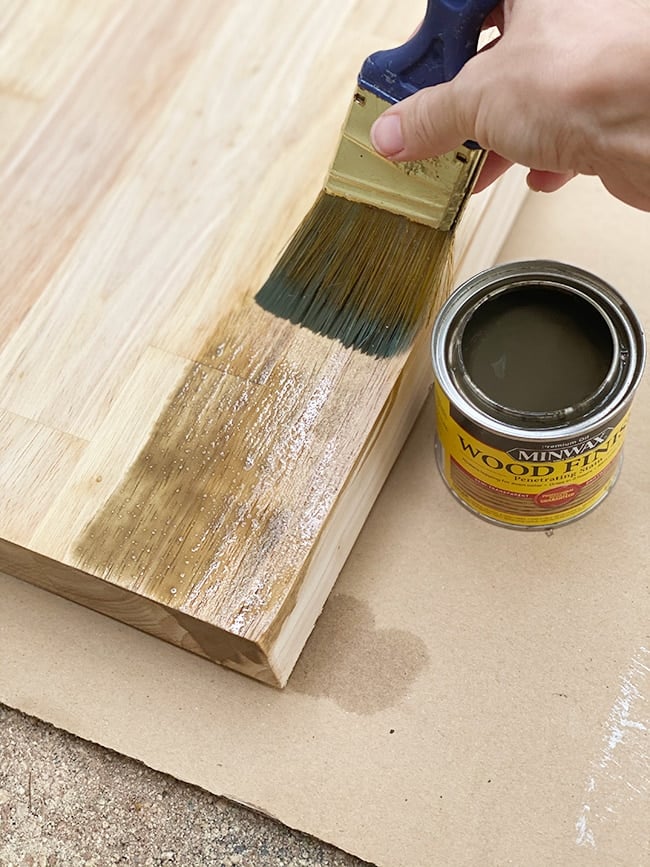
And after that was dry, Simply White:
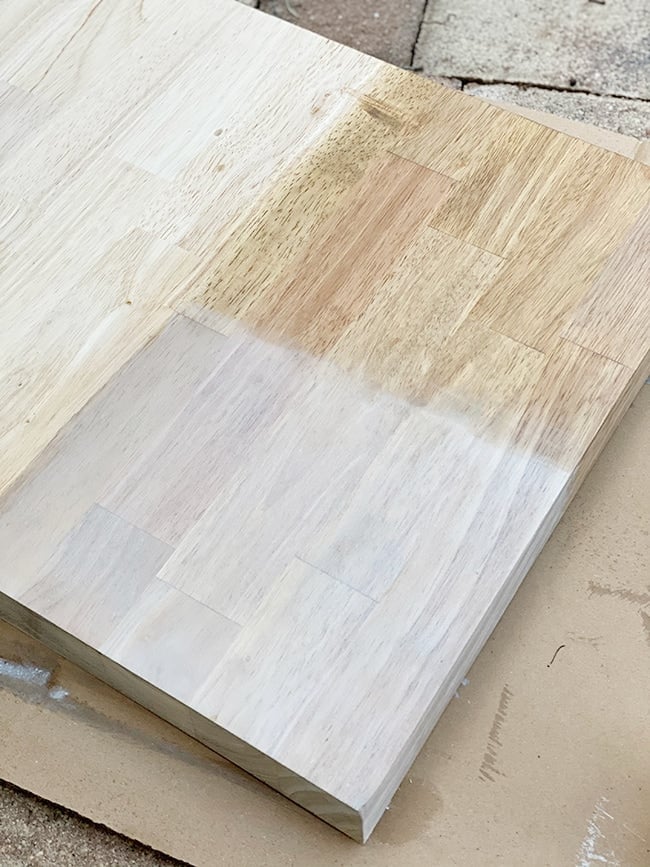
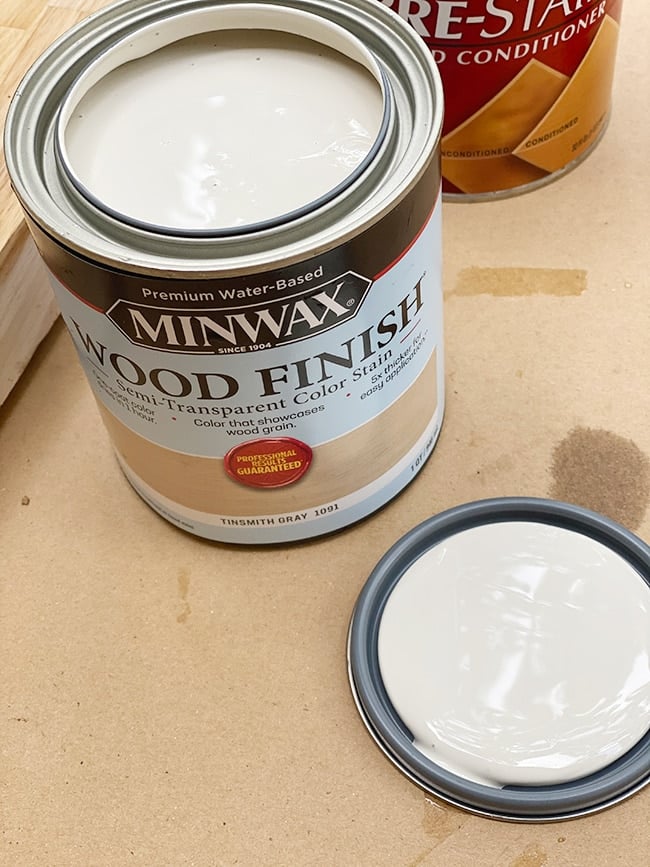
I also tested Minwax’s new water-based wood stain in Tinsmith Gray:
I’ve never used a water-based stain before, but this stuff goes on a lot like paint.
You have to wipe it off almost immediately though (unlike oil stains), otherwise it will stick and become gunky.
I also tried layering Tinsmith Gray over Driftwood, to compare that to Simply White. They turned out pretty much the same.
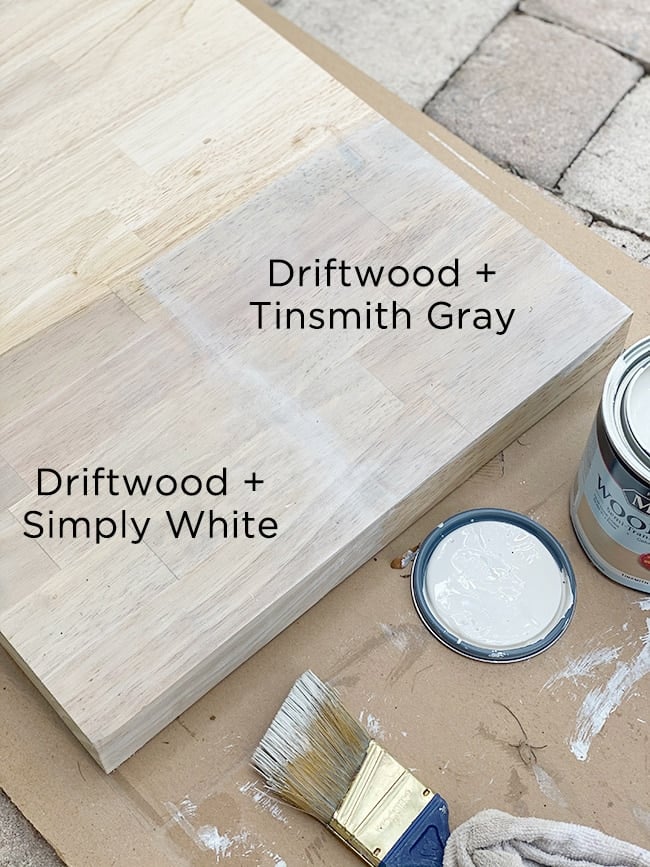
I honestly wasn’t so sure about any of these combinations, but the real test is how the sample looks inside the room. Turns out it looked pretty different than it did outside!
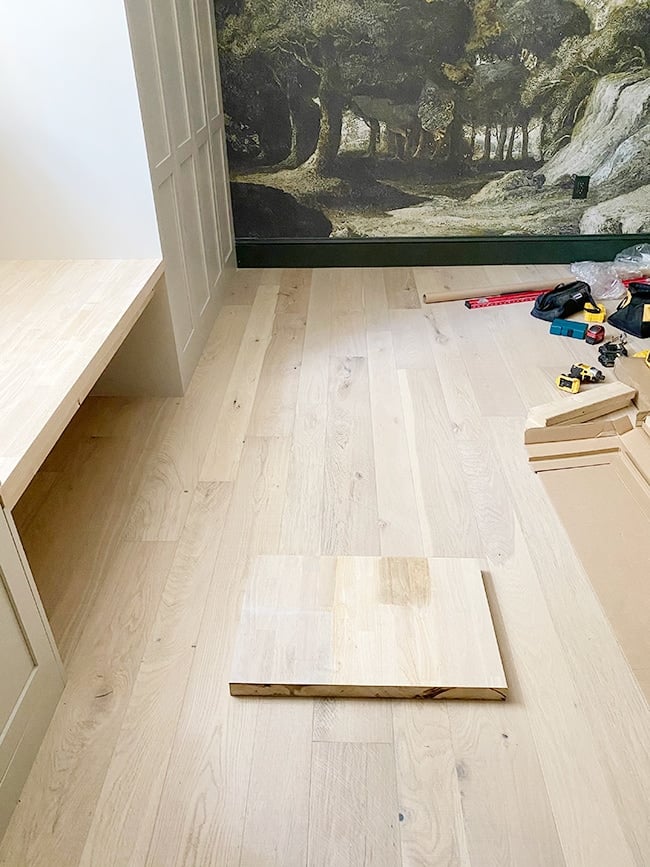
Our floors have quite a bit of color variation, so I had to choose one stain to match and I definitely wanted to go lighter.
Fortunately the butcher block was already fairly close in color to the floors—it just needed a subtle wash to tone down some of the yellow/red tones. Here’s a closer look at the stains next to the floor:
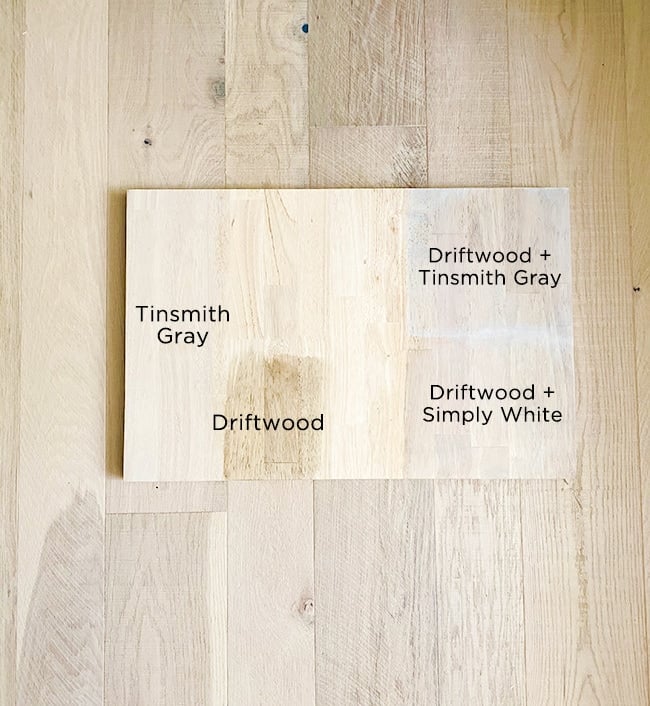
You can’t really capture the exact color and tone from all angles in a photo, but Tinsmith Gray was definitely the closest choice in person. I wanted to be 100% sure, so before settling I took a second trip to Lowe’s to see if there were any other colors I could try, and grabbed a can of Rustic Oak.

I also grabbed a can of Weathered Gray color wash, but neither of those two stains were the right match, so Tinsmith Gray it was! Note to Minwax and all other stain companies: can you please start offering sample pots of stains?! Stain colors are a lot harder to get right than paint colors, they’re not returnable once opened, and those cans add up! I had to spend over $50 in stains (plus two types of wood conditioner) to find what I needed, and I can only imagine how many people settle for the wrong stain because they don’t want to go back to the store and spend another $10-$15 to try another option. Fellow DIYers, can we start a petition for this? Okay, rant over.
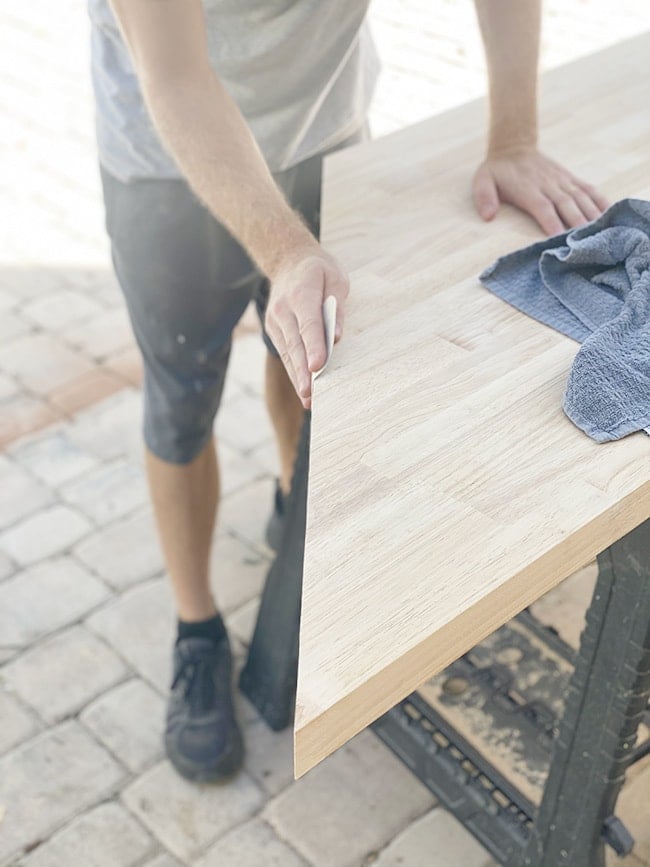
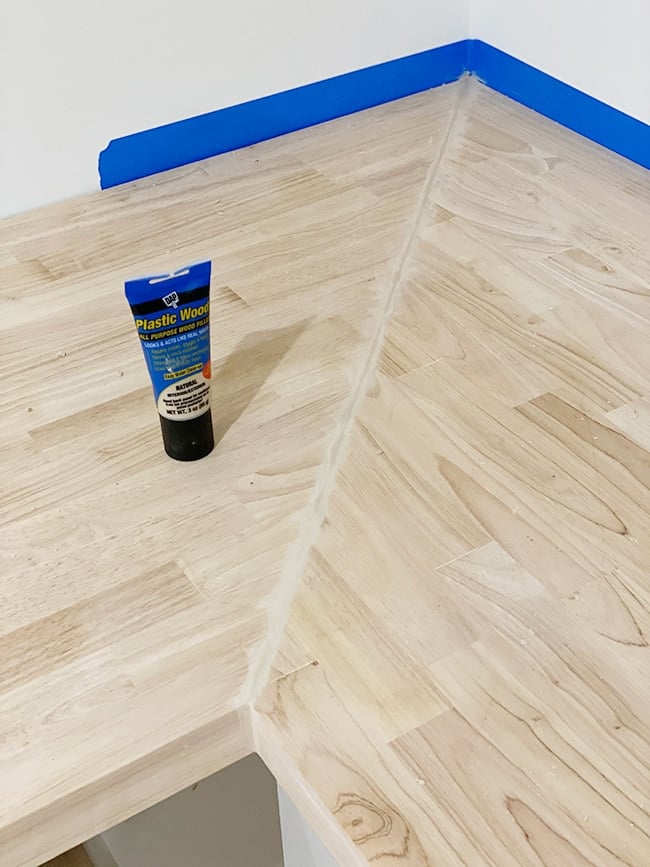
With the stain figured out, it was time to cut the wood! This required careful and precise measurements, and a 45º angle since we’d be mitering the edge at the corner of the desk (speed square to the rescue, once again):

For best results, you should always use a guide when cutting with a circular saw. We recently upgraded to a new Makita saw and Lucas made a few practice cuts…
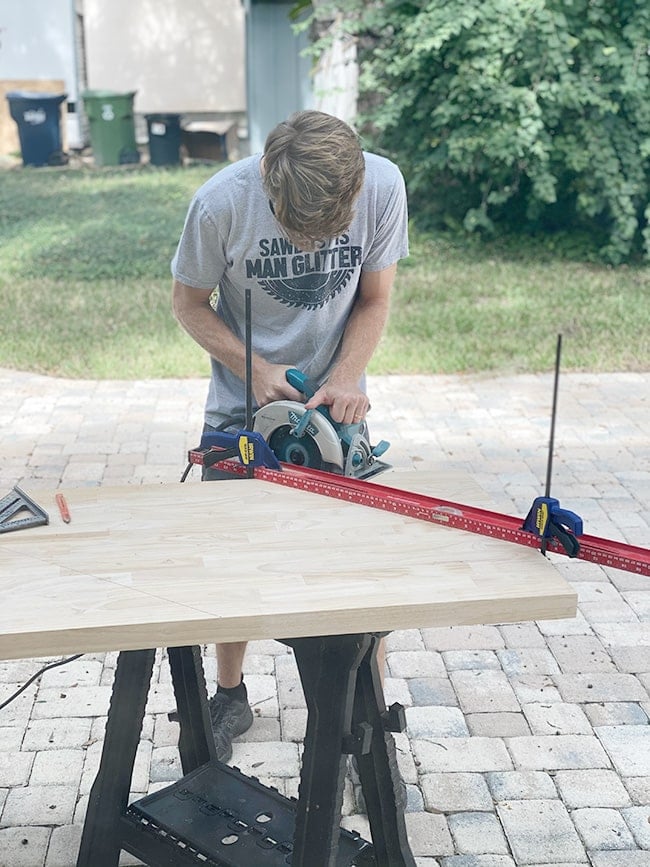
For some odd reason, the saw would not stay flush against the guide and kept curving the cut. We double checked the settings, spoke with Makita customer service, and I even bought a brand new blade and straight edge—all to no avail. Neither of us could keep the saw straight (I think it had something to do with the hardness/thickness of the wood making it difficult to control the blade) but our only option was to cut by hand. Needless to say, I was a nervous wreck—we only had one chance to get this right and couldn’t screw up!
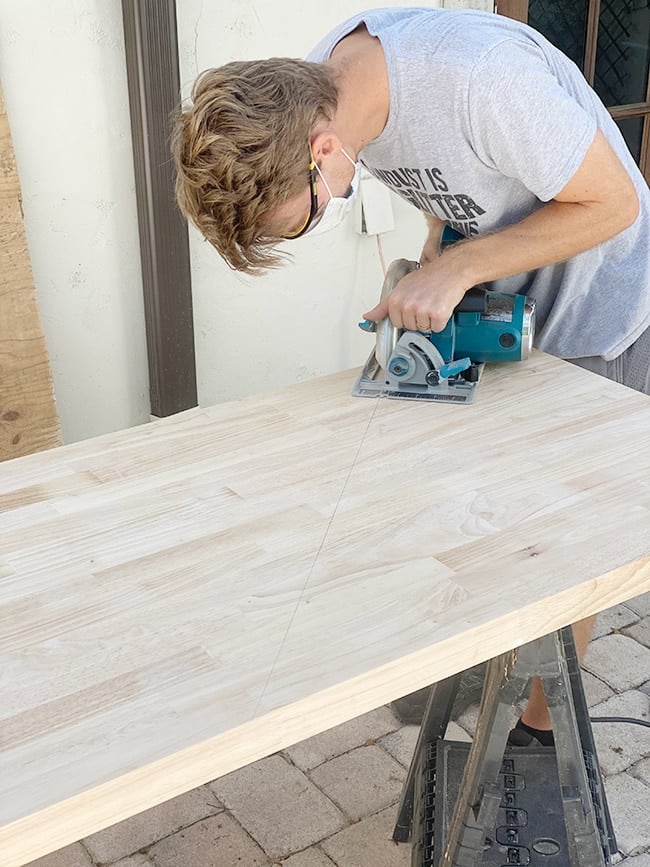
Fortunately, it seemed to go well…
And we breathed a small sigh of relief once the first piece was in place.
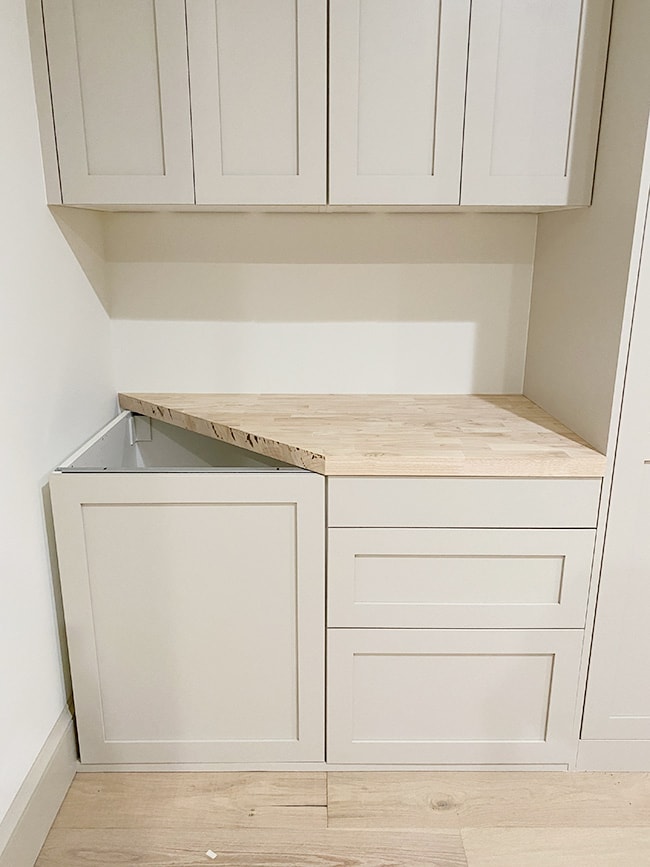
But the real challenge was how the two pieces fit together. And of course it was extra challenging, since our walls aren’t perfectly straight…
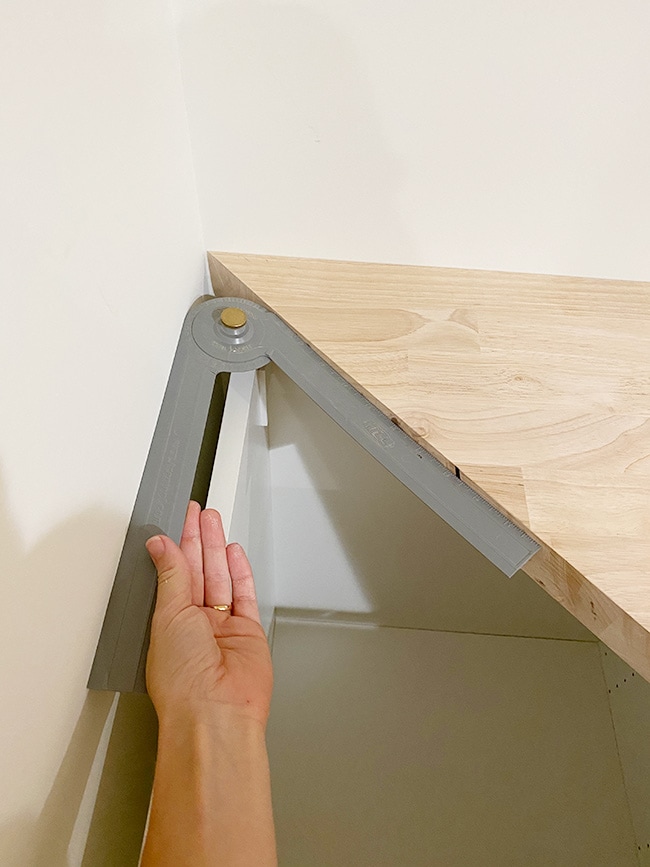
Another freehand 45º cut was made, and we carefully hoisted the giant slab up the stairwell (this countertop weighs more than I do!)
Moment of truth…
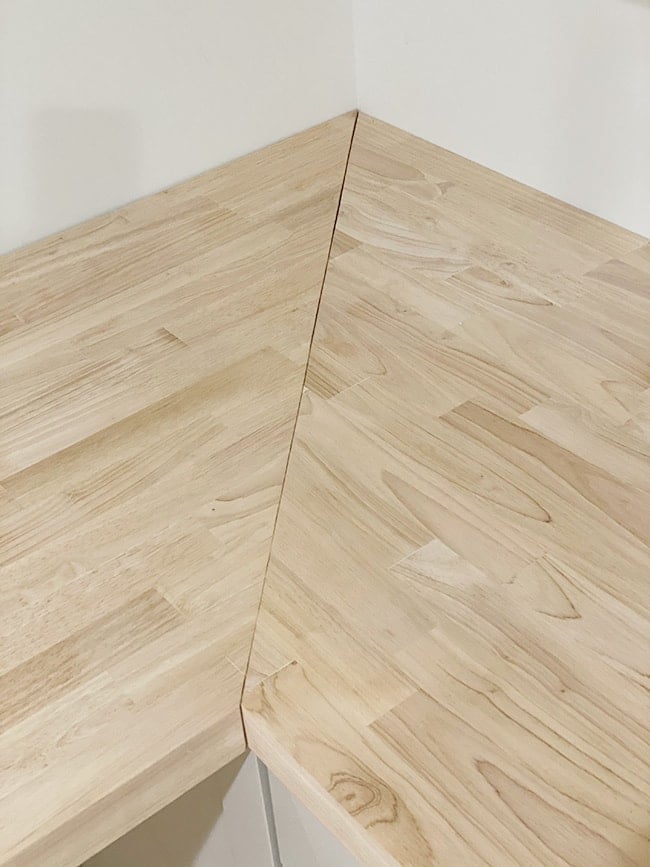
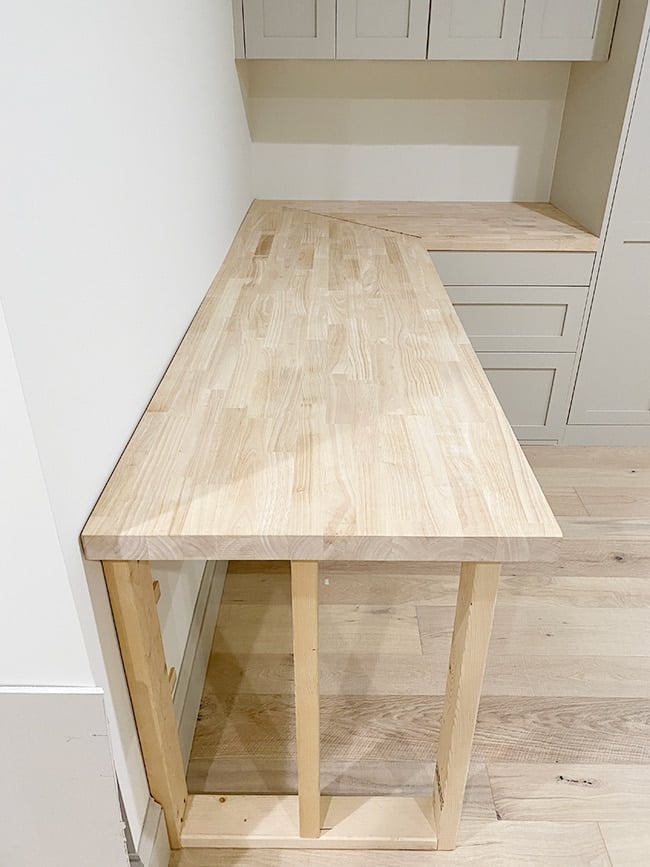
It wasn’t perfect… but it could have been worse. I’m still disappointed we couldn’t figure out our saw issue but we did the best we could. We did manage to get one thing right though…
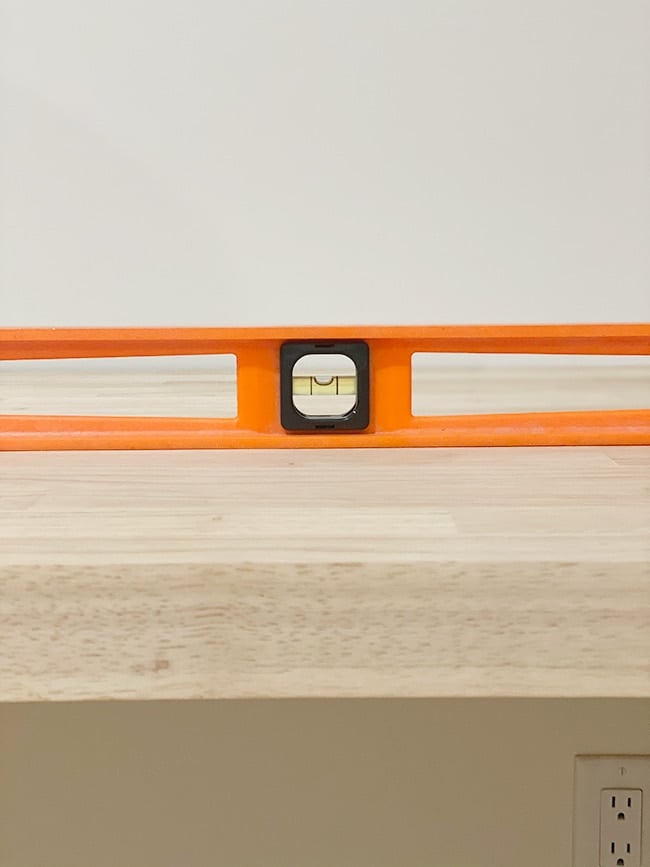
The desk was perfectly level, whew! And it didn’t look too bad from afar.
Along the top of the lower cabinets there are rails with holes where you attach the countertop, so the butcher block was screwed in through those. It was also attached through the top of the 2×4″ leg.
We had to use a few shims to make both pieces level, and then an orbital sander along the seam to make the transition perfectly smooth.

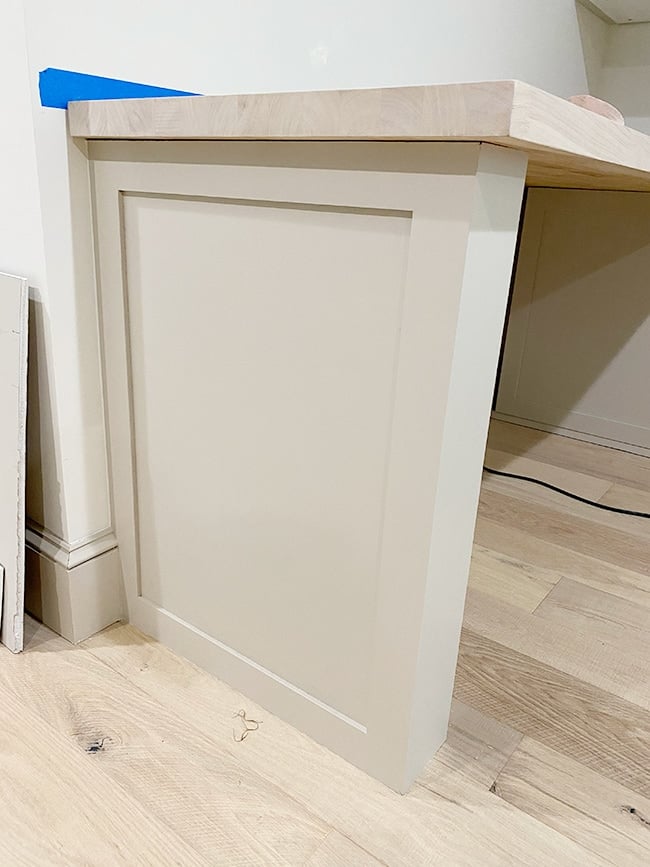
Next came the fun part—trimming out the desk leg! We bought a 1/2″ thick 4×8′ sheet of MDF to rip down our pieces, starting with three panels to wrap around each side:
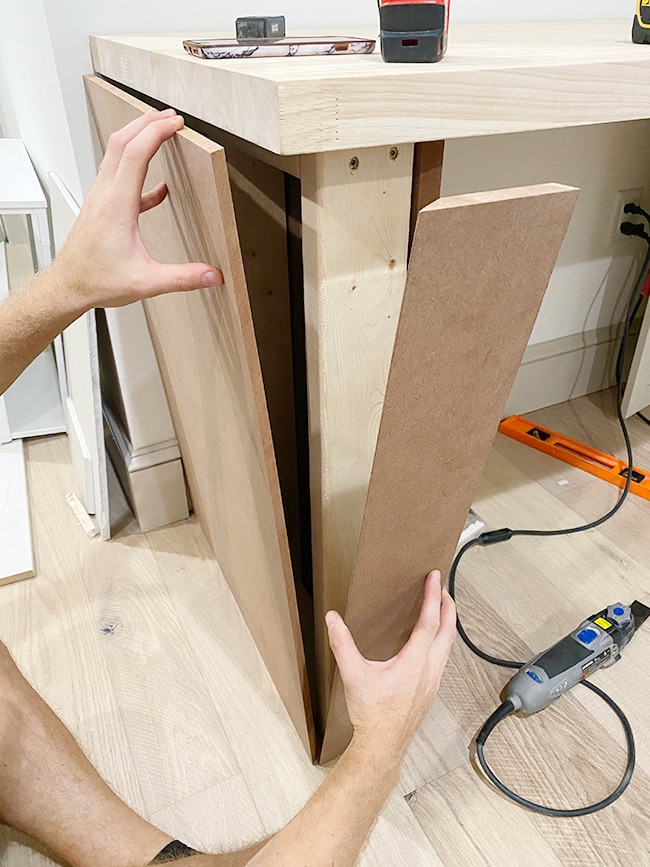
I wanted the outside panel to match our shaker style cabinet doors, so we cut four smaller pieces (ripped down to match the thickness of our door trim) to attach to the side:
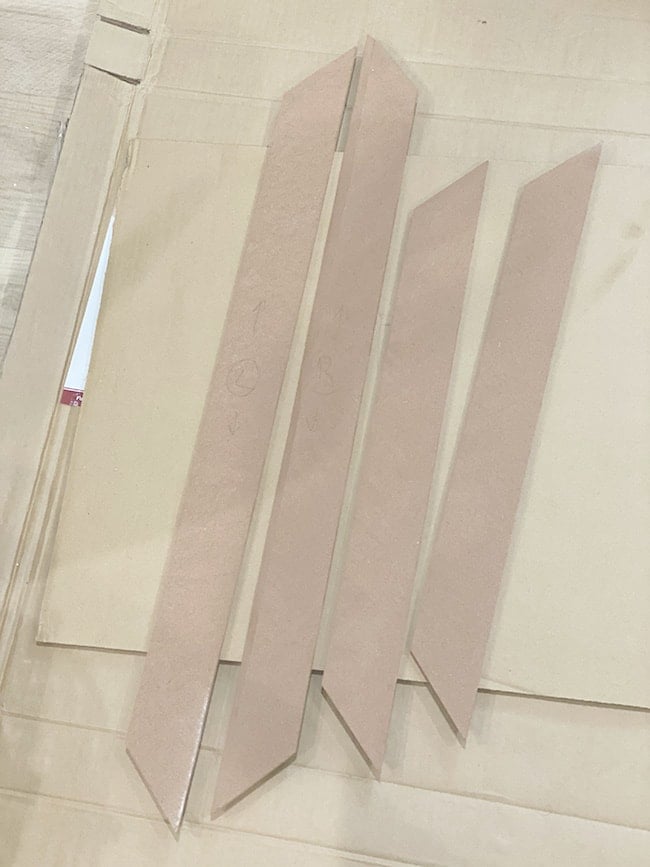
They fit together like so:
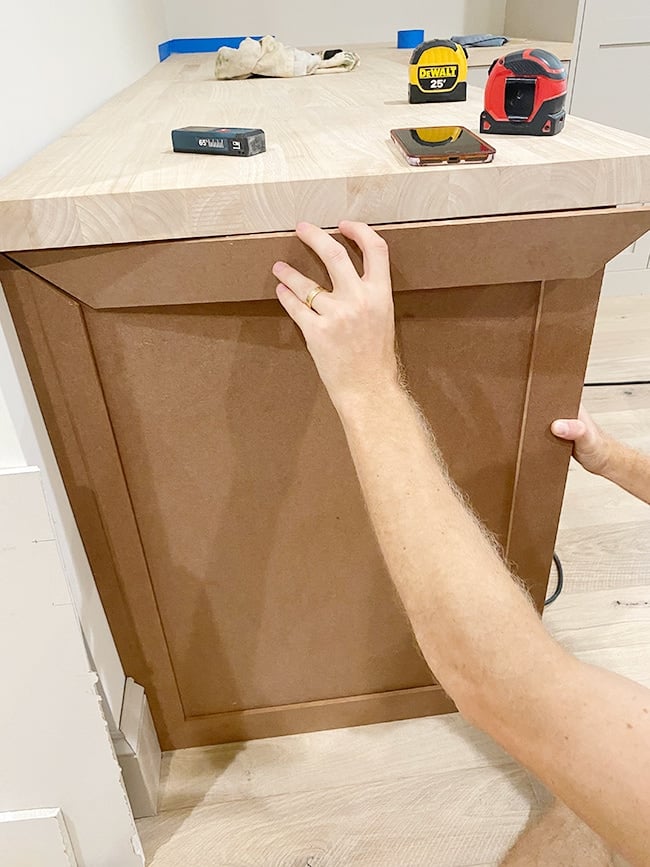
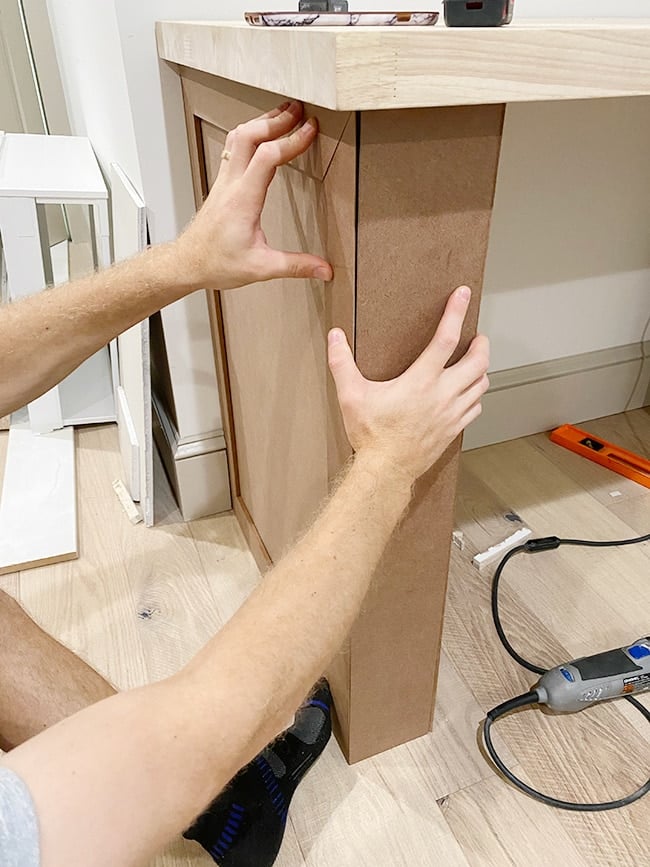
The pieces were glued together (using liquid nails) and secured with finish nails.
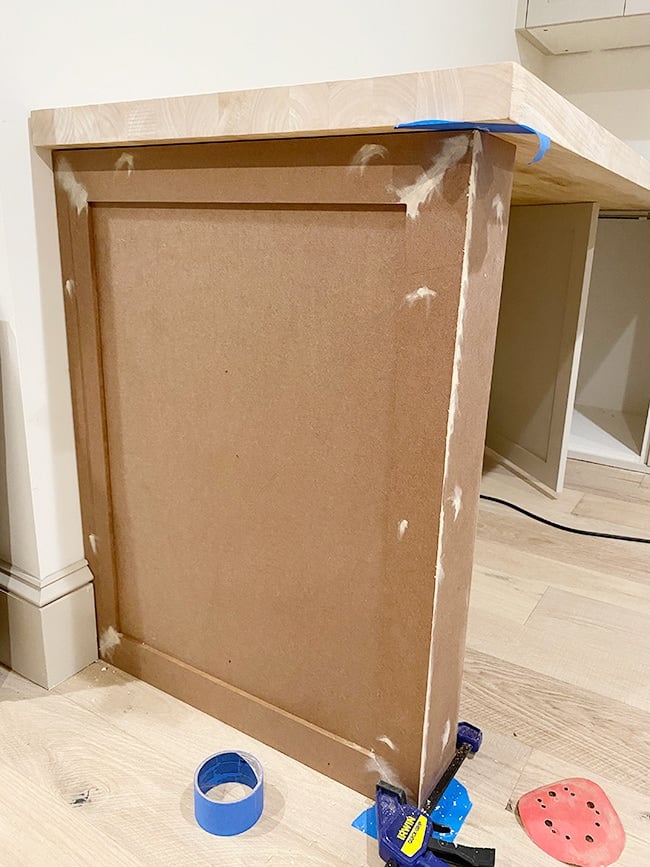
And finally, sanded and painted to match the cabinets (SW Accessible Beige).
While Lucas worked on the desk leg, I began filling the counter seam with wood filler in natural, which seemed to be a close color match to the butcher block (you can also use leftover sawdust mixed with wood glue for a stainable filler).
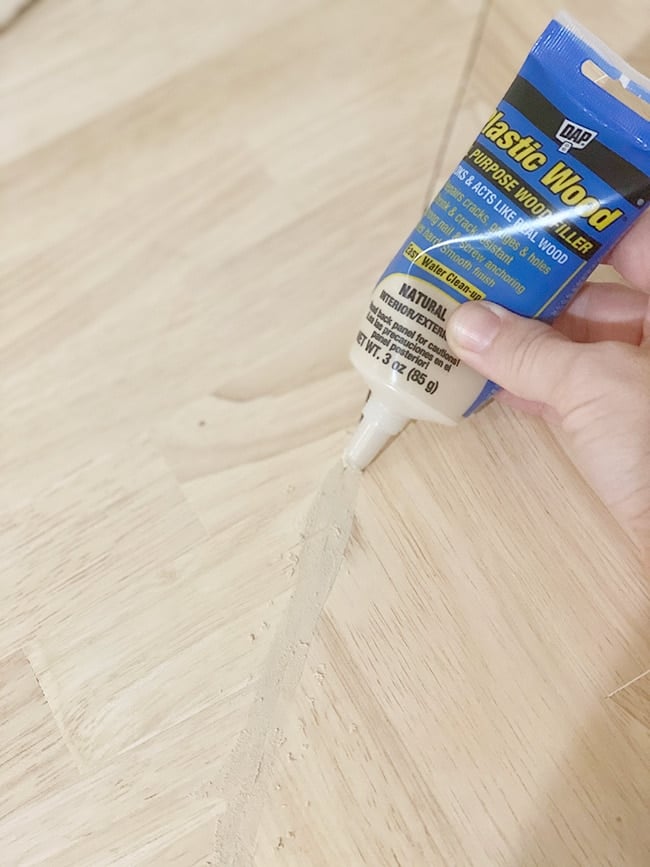
After letting it dry overnight, I sanded with fine paper to remove the excess filler.
The seam was quite a bit lighter than the wood at first, but after wiping it down with a damp cloth it evened out some.

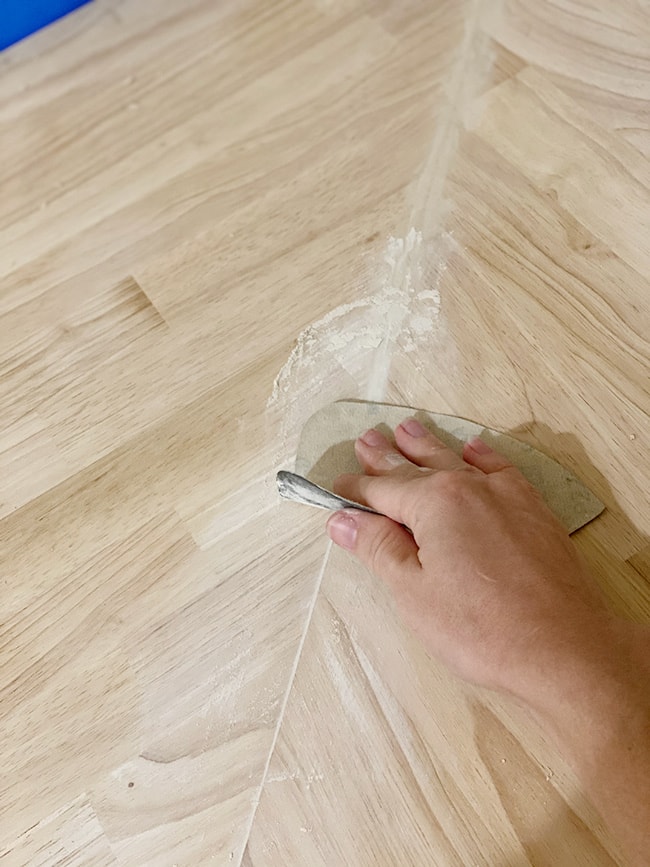
Before staining, there was one more thing I wanted to address. See this dark spot?
It was the only plank that color and it stood out to me, so I decided to give it an extra coat of stain to make it lighter/blend in with the rest. To do this, I isolated the area with painters tape and applied a light coat of Tinsmith Gray.
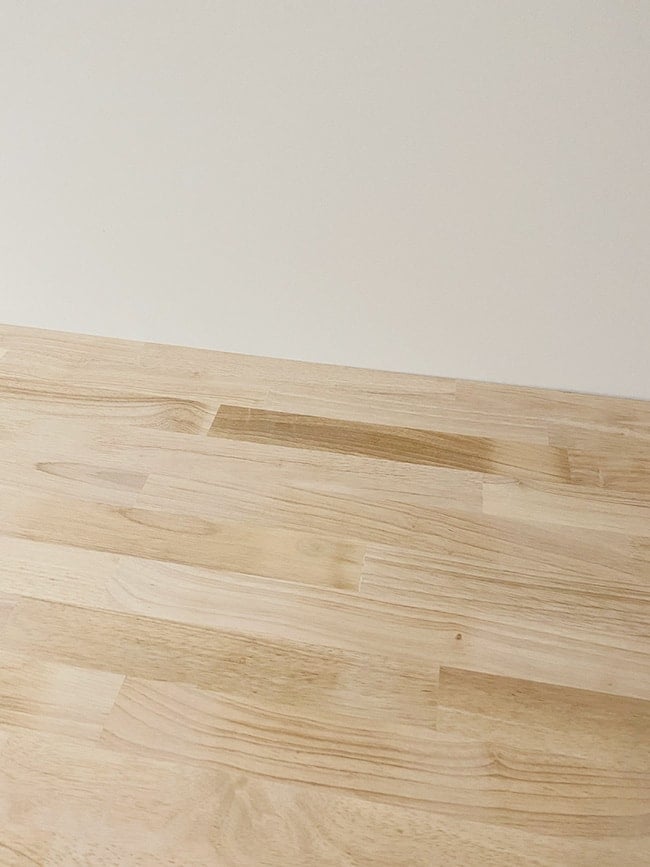
That seemed to do the trick! Finally, it was time to stain. I had purchased water-based wood conditioner specifically meant to be used with my water-based stain, but realized I hadn’t tested it out yet. I found another scrap piece and applied the conditioner to half, followed by Tinsmith Gray on both sides.
The verdict? No difference in color, but the conditioner did raise the grain of the wood which meant an extra step of sanding. Wood conditioner is definitely a good idea for darker stains and softer woods to make the finish apply evenly, but doesn’t seem to make much of a difference for a translucent white wash on butcher block. I could be wrong, but that was my observation.
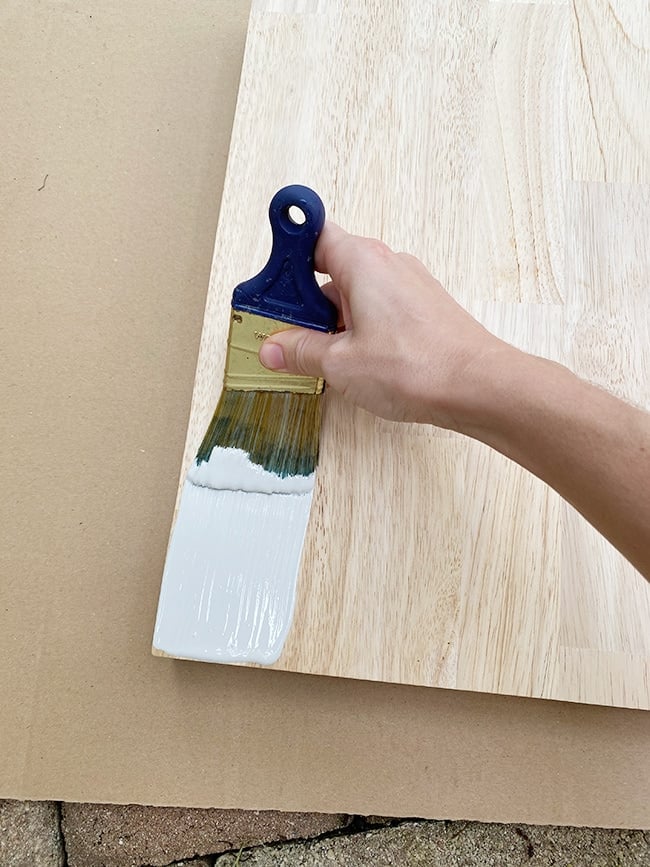
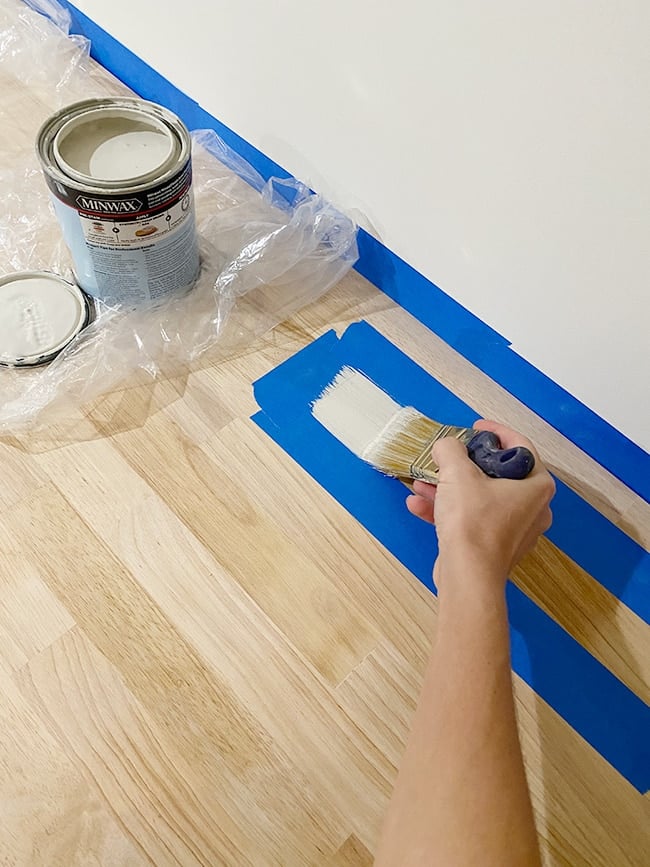
And with that, the bench seat was the first to be stained!
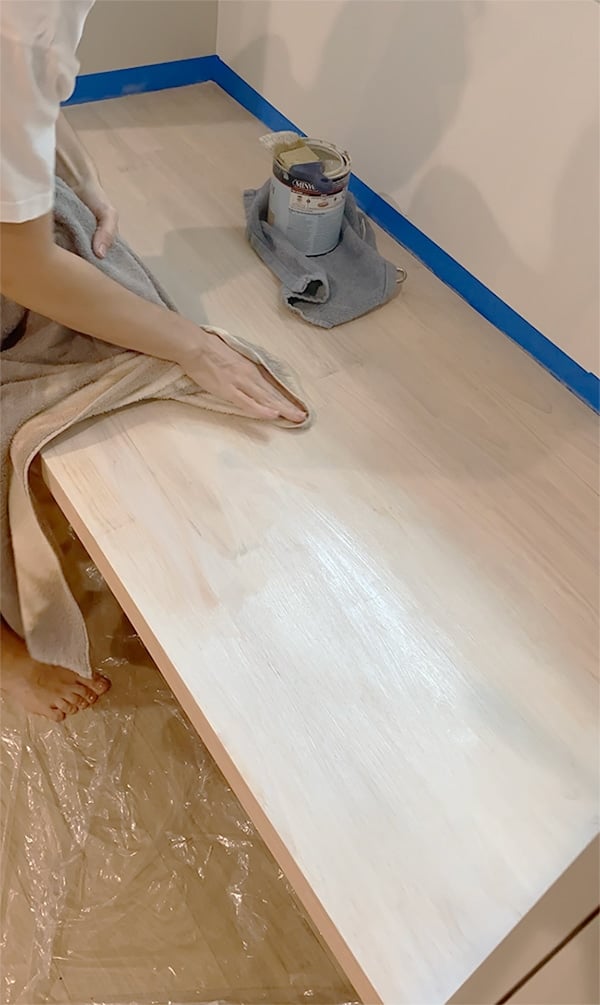
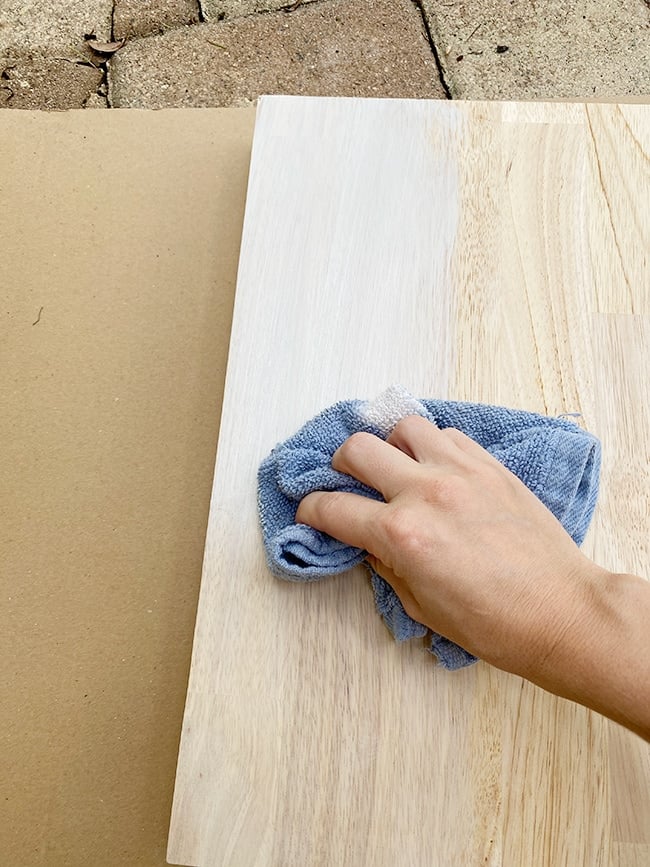
I had to work in small sections because of the fast drying time. The directions say to apply the stain with a brush and wipe off within two minutes, but I found that it started to dry in as soon as 15-20 seconds and had to be wiped off earlier. Not going to lie, it’s a bit tricky to apply this evenly without the stain overlapping.

The bench seat looked pretty good though, and I think the variation in the wood grain/tone definitely helps to hide any unevenness in the stain.
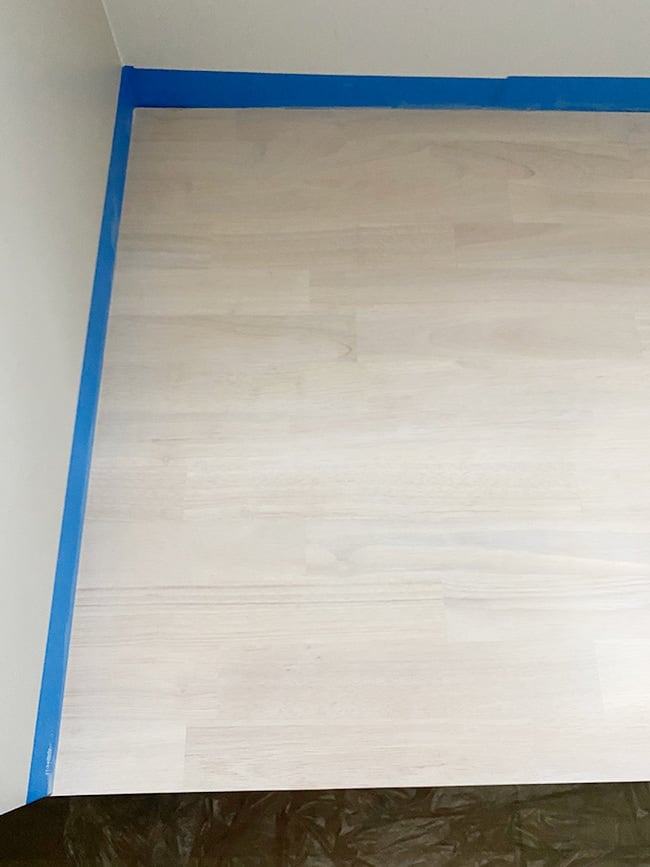
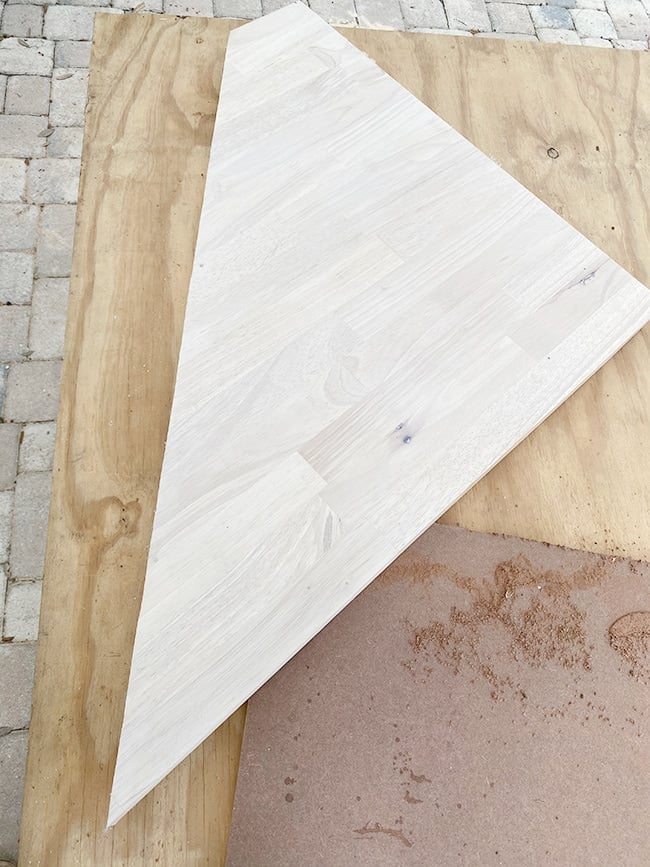
The desk proved to be a bit more challenging since it was such a large space to work with, and you have to be very careful about where you apply and leaving the stain on too long. Here it is before:
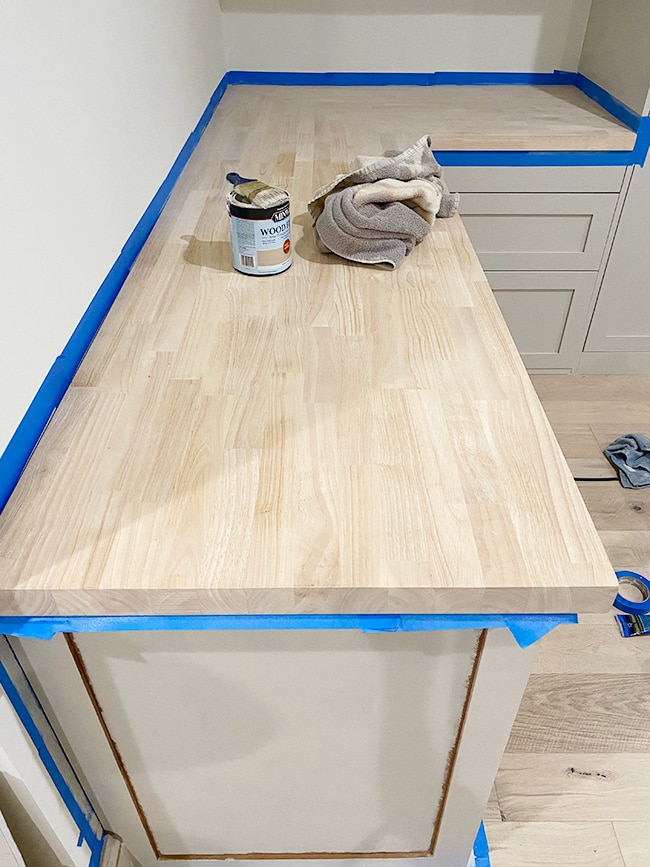
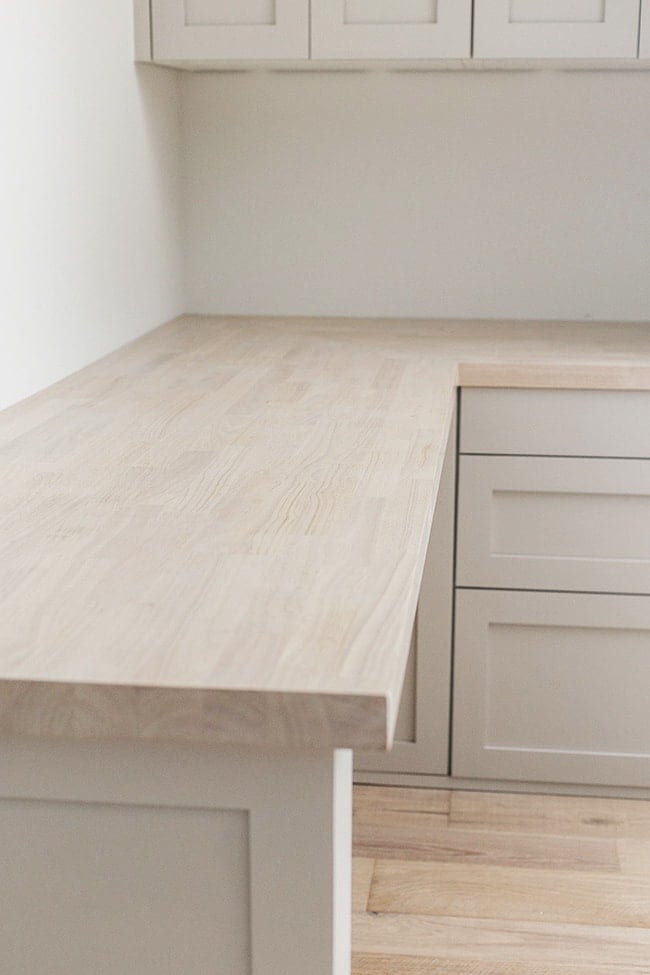
And after:
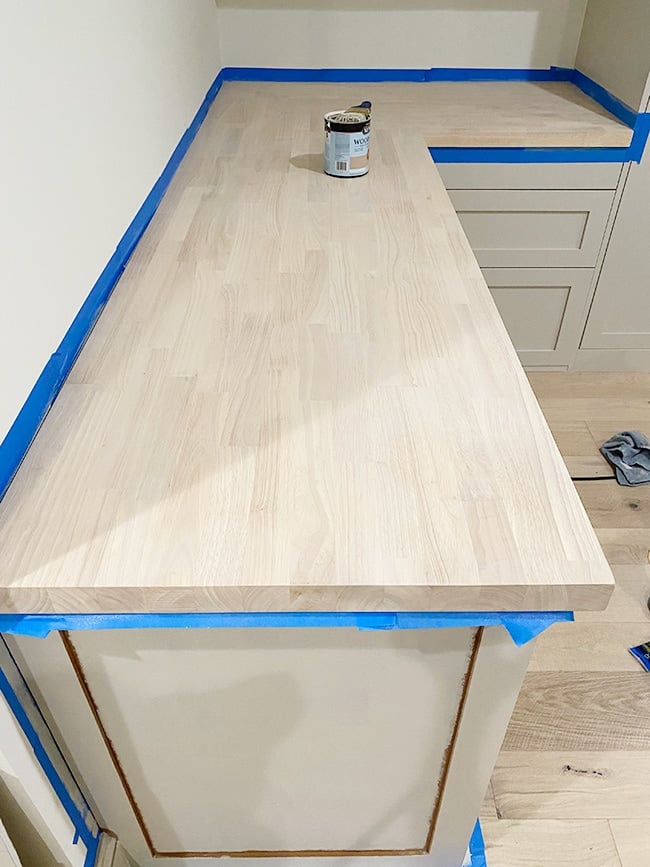
See the difference? It is pretty subtle (less subtle in person) but I wasn’t trying to completely change the color of the wood, just even out the wood and tone down the yellow/orange tones to get a whitewashed look that matches our floors.
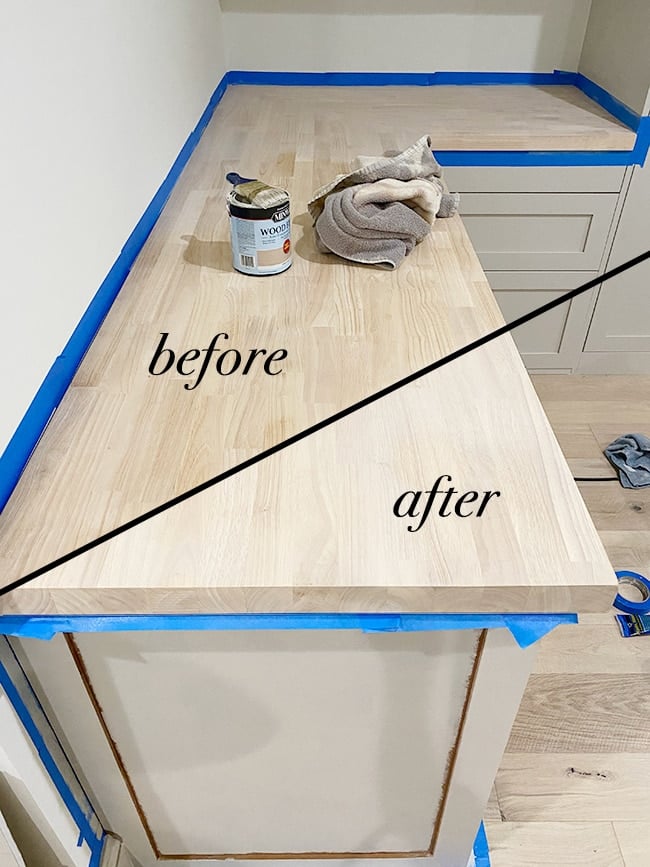
I think I accomplished that—and I didn’t have to use ten different products to achieve the look!
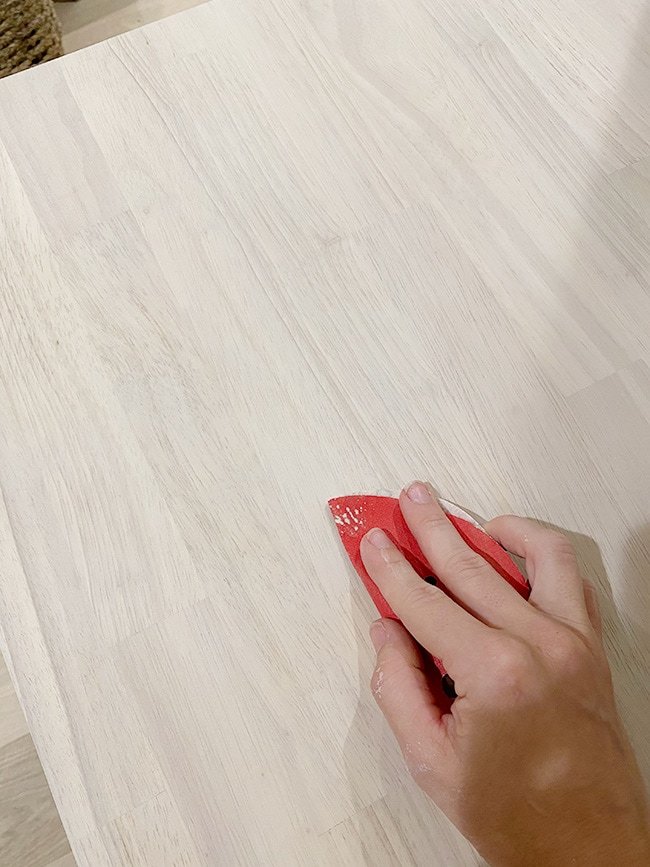
The next day it was time to seal the counters, but first I gave them a light sanding to get them completely smooth. I was able to identify some areas where the stain was a little heavier than I’d like, and knock some of it down with 180 grit sandpaper. I guess that’s one benefit of water-based stain, you can pretty easily remove it!
Once the finish was the way I wanted it, I applied three layers of matte Polycrylic (lightly sanding between each layer and letting them dry at least two hours in between).
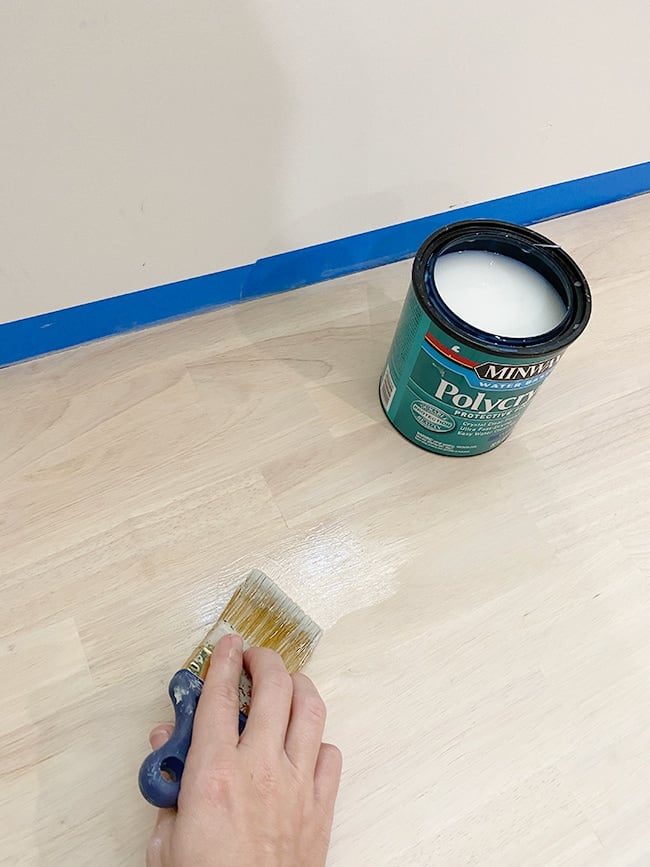
The poly darkened the wood ever so slightly, since the stain was not fully opaque and some of the natural wood showed through. Poly (or any varnish) will enhance the color natural/raw wood, as you can see below with the bottom side of the desk. It’s important to seal the surface of the butcher block completely (top, bottom and sides) to prevent bowing/warping from moisture absorption (I sealed the bottom before we installed them).
It’s also important to note that stain reacts very differently on different types of wood. You could follow this same tutorial on a different type of butcher block and get completely different results, so keep that in mind! There is no “one stain fits all” for every project (unlike paint—which makes things tricky!) so I always recommend experimenting with several colors to find the right match.
Whew, what a relief that this project is over and we didn’t ruin over $600 worth of butcher block, ha!
Have you tried this new water-based stain? Any application tips you can share?
Oil based is definitely more beginner-friendly, but I love that the water based provides more coverage and is more predictable. And of course it’s much easier to clean up afterwards.
In case you were wondering about this… I couldn’t wait any longer to install our picture light. Yes it’s a big beautiful beast, just the right size for the giant canvas that will be mounted underneath…
And with that, we are done with the most challenging parts of this room makeover! Can I get a Hallelujah?! The only other piece we have to figure out are the custom hinged doors we’re building above the cabinets (yep, I decided to close it off!)
We’ll be tackling that next week, along with one more project I’m the MOST excited about. Hint: it involves a bit of door customization (I shared a BIG hint a couple months ago in my IG stories, does anyone remember that?)
Keep an eye out in my IG stories next week to watch it go down—all the fun things are about to happen in this room!


Rosie says
Hi Jenna…beautiful work…did ü stick to just the Tinsmith Gray?? or mixed it with white??…Im doing a butcher block and would love to keep the color as my floor…thank ü
Jenna Sue says
Hi Rosie, thanks! I just used the Tinsmith gray.
Shannon says
Excellent, beautiful room! I absolutely LOVE the wood tones. Thank you for sharing the details of this project. I do have one question….did you apply the the minwax pre wood conditioner oil first, then apply the water-based wood stain in Tinsmith Gray? We are making a desk from a birch butcher block and I like the natural wood color. I would love not to put anything on it so the color doesn’t change, but I am sure we need some type of protective top coat to prevent water rings, marks from writing, scratches etc. Thanks!
Jenna Sue says
Hi Shannon! I ended up skipping the wood conditioner altogether. Just the stain and sealer!
Kaylie says
Hello!
I just stumbled upon your blog after researching how to give wood a very light white wash. I’m also trying to remove the orange tones and not completely change the color of the wood. I agree, it’s SO hard to follow any one formula w/stains being what they are and each type/piece of wood having it’s own unique properties. The struggle is real!!
However, I live in a very northern/midwest town and we have the home improvement store called Menards. They do sell Minwax in 1/2 pints, I think that is what you’re looking for to solve your sample size frustration?!?! Not sure if this pasted link will work…if not, it’s http://www.menards.com:
https://www.menards.com/main/paint/interior-paint-stain/interior-stain/oil-based-stain/minwax-reg-wood-finish-trade-interior-oil-base-wood-stain-1-2-pt/22350/p-1444440467414-c-7972.htm?tid=1947545556305372158&ipos=4
I realize it’s not as convenient to order on line…but they are out there; maybe Lowes and Home Depot will start to carry them soon!
Thank you for the great information you’ve provided on your blog!
Jenna Sue says
Thanks Kaylie! They carry those at Lowe’s too, just not in the type of stain I used for this project 🙂
Kelly says
Hi Jenna,
This is beautiful! What did you use to make the angled cuts on the MDF front panel of the desk leg?
Christina says
Seriously beautiful and impressive. Super inspiring and informative, too. I am also really glad you are closing off the uppers…with hinge doors (assuming they open upward- that is the picture I had in mind). Honestly, you make it all look so easy but when I go to try it, it just doesn’t quite look the same. You two are amazing.
Jenna Sue says
Thank you for the kind words Christina! I try not to make it look too easy, we definitely have our struggles but the projects seem to get a bit easier with repetition 🙂
Heidi says
Looks amazing! Did you list the cabinet paint color? Always look forward to your projects! ?
Jenna Sue says
Thanks Heidi! Its SW Accessible Beige, and you can find more photos/info in the previous cabinet post linked in the beginning of the post!
Bobbie T says
Never cease to be amazed at the work y’all do. I wonder if when cutting the butcher block you might could have sawed it at about a half inch in depth and continued cutting it a little deeper until you had cut through. The density of the wood probably caused the saw blade to get in a bind and bow. Does this make sense? Look forward to your next project.
Jenna Sue says
Thanks Bobbie! A few other people mentioned that, but the saw also wouldn’t stay straight with 1/2″ MDF. Such a mystery!
Janice says
Hallelujah! Looks lovely ! Q. Is the paint finish on cabinets? Eggshell? Really impressed with the butcherblock!!♡
Jenna Sue says
Thanks Janice! The cabinet paint finish is satin.
Sara Le says
I soooooo AGREE with the stain sample idea. I find myself buying 10 different stains to try out and they get so pricey. This project turned out so beautiful!!! I love the cabinet color with the light wood tone. So serene!
Jenna Sue says
No kidding! It’s mind boggling to me that there isn’t a better system. We can’t be the only people with these frustrations?
Nadine says
I am going to continue your rant about stain samples. We have been trying to match our old dark staircase threads with our new light oak floors. Bought at least 8 different stains to try to match. We had to sample directly on the stair threads after we stripped, bleached, and sanded. On our third attempt after watching your Instagram story, we did a combo of weathered oak and Tinsmith gray. Those two were the winner. The Tinsmith gray was so thick that I just dabbed a little with my fingers and quickly wiped off. There should definitely be stain samples for sale or better yet, the manufacturers making these light oak flooring should sell the stains they used on those flooring.
Jenna Sue says
Oh awesome, I’m so glad you found a winning combination! It’s so tricky to find the right one with endless options, and you never know how it will look until you test them on your wood. It would be nice if stain companies could sell kits with several different colors in one pack to try out. I can’t believe no one has done that yet!
Ami says
Jenna! Thank you so much for telling me earlier this week to hold on and wait for this post regarding the stain color you chose. You put yourself through a lot of time and trouble (and expense) but you sure helped out your readers! Your posts have been a huge help to me on several projects and I want you to know how much I appreciate all the effort you put into your blog. I saw your dresser a few months back and recognized it immediately because I have the same one though mine has nine drawers. When I first scored it off Craigslist(forty bucks), I followed all the masses who were putting chalk paint on everything. It never made me happy and looked really blah. I actually hid it away. Then I saw your refinished dresser and fell in love with how it turned out. So with paint stripper and palm sander in hand, I removed that yucky paint and oh my, my. What a beauty she is now. Thank you, thank you, thank you for the inspiration. Now I am ready to tackle my butcher block project and I’m full of confidence. And, I’m waiting in anticipation to see what you have in store for those cabinet doors???
Jenna Sue says
Oh yay, I’m so glad your dresser story had a happy ending! Getting down to the bare wood is a lot of work but it can definitely pay off with the right piece. I’m sure you’ll hang onto that piece forever now like I will with mine. And I cannot WAIT to start on these doors… hang tight 😉
Janice says
You are both very talented, looks wonderful!
Jenna Sue says
Thanks so much Janice!
Emily says
I look forward to your posts so much every week. I carve out a little chunk of time to eat lunch while reading your newest update and I always ALWAYS enjoy it. Just wanted to say thank you!
Jenna Sue says
That really means a lot, thanks Emily!
Cheryl says
Looks great!!
Jenna Sue says
Thanks Cheryl, so glad you like it!
Eleanor says
Here’s a HALLELUJAH for all your hard work & vision!
Jenna Sue says
Thank you Eleanor! <3