On Monday I left off with a recap of how we installed our subway tile…
A few hours after that post, we started on the grout. Here’s what we used:
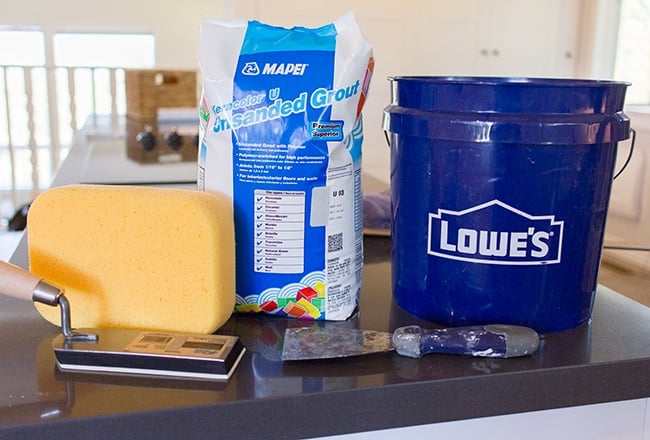
I went with an unsanded grout to be safe (Mapei’s Warm Gray), because some of the seams were less than a 1/8″ (you’d normally use sanded grout on 1/8″ or larger seams, unless the tile is easily scratched like glass). I’m sure I would have been fine either way though.
I mixed the grout by eye, making sure it was peanut butter consistency…
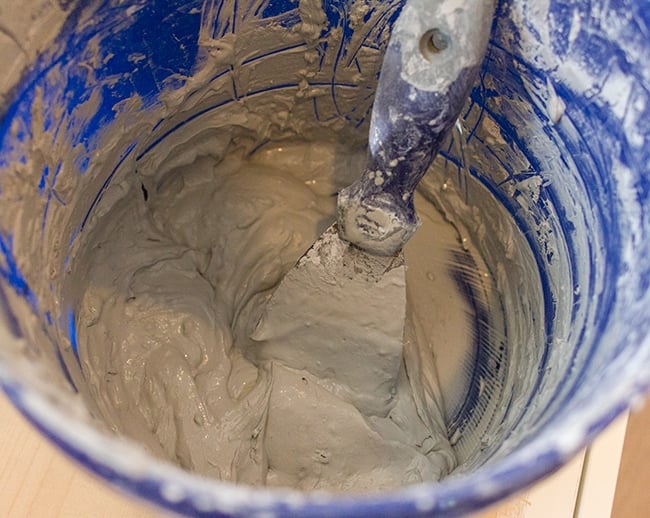
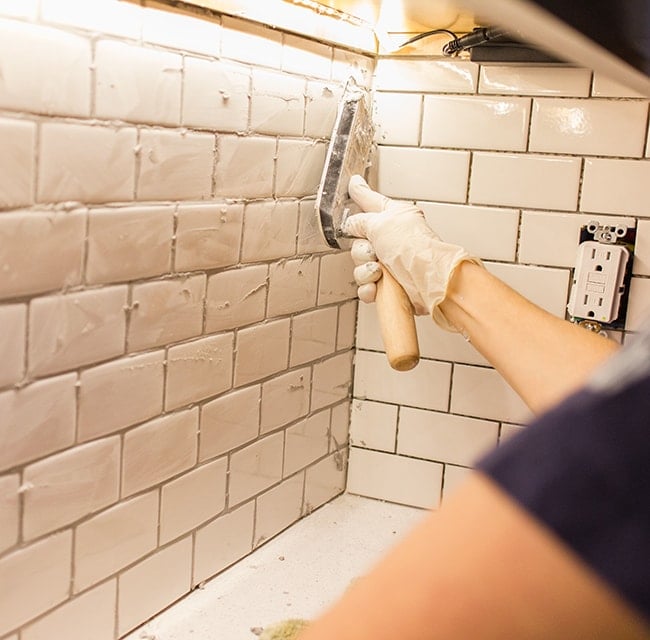
It’s said to have a “working time” of around 25-30 minutes, so I mixed it in small batches. Then we just plopped it on and spreaded it into the seams, moving at different angles to make sure it was in there good.
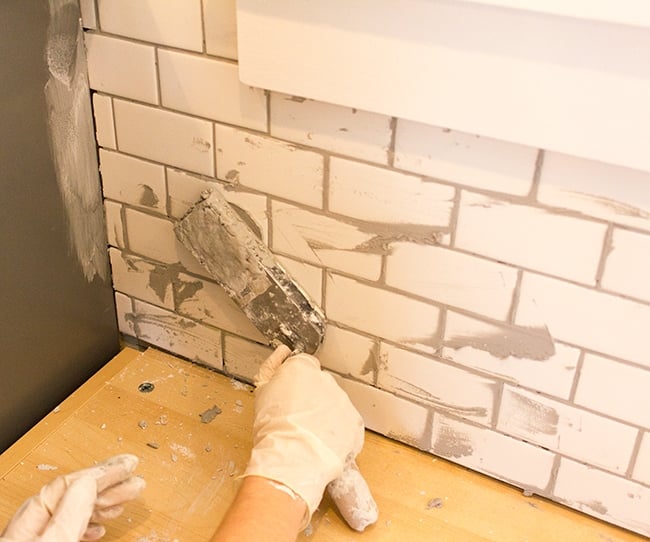
Sidenote: grout floats with handles like these suck. Horrible design. Get the kind with the handles on the center.
It actually would have been somewhat enjoyable if my arm didn’t start to ache after a while. I like activities that involve small details.
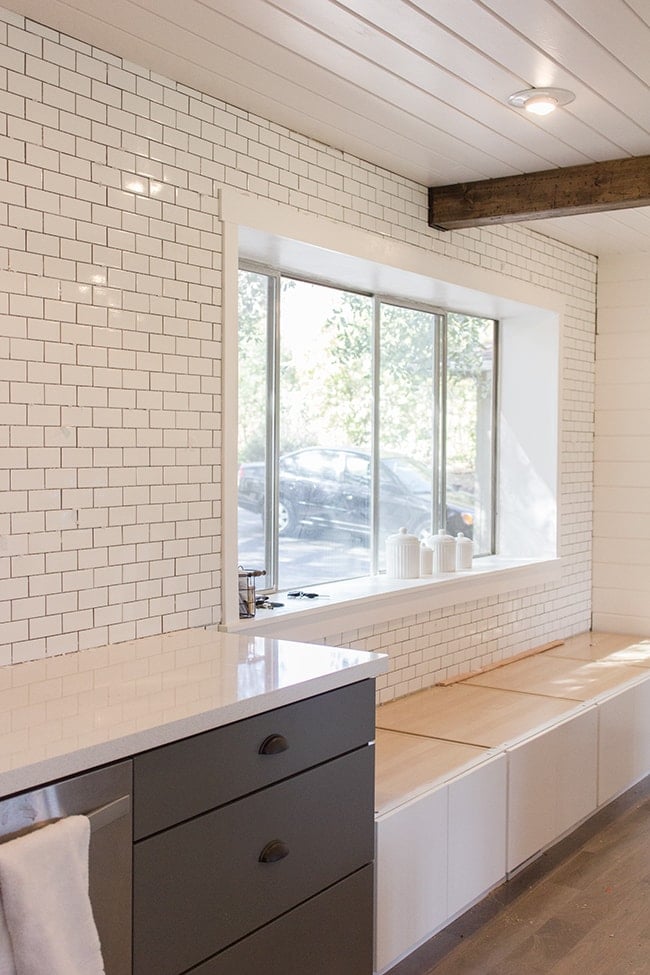
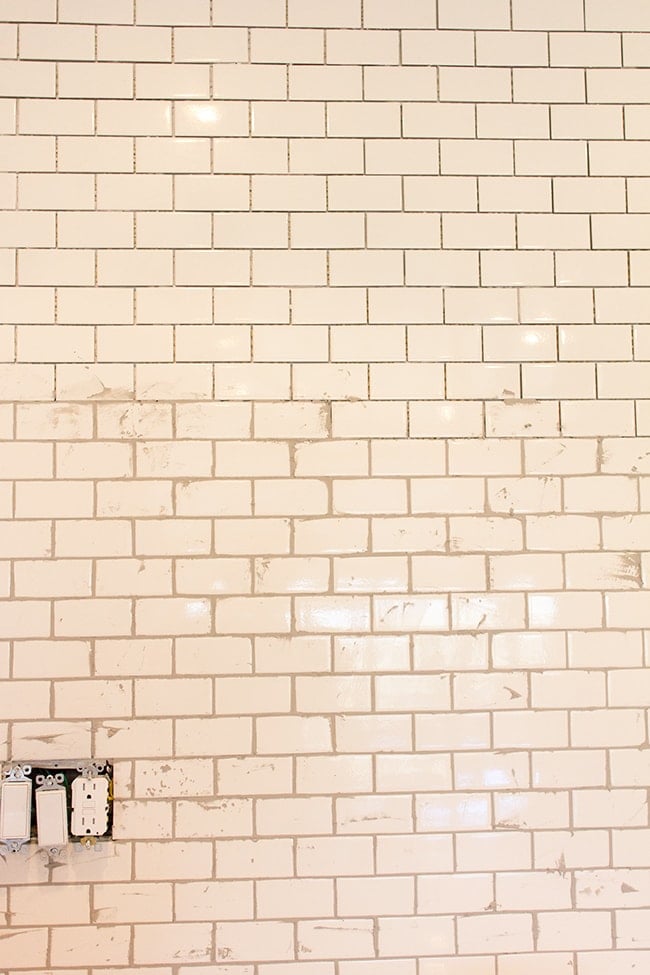
Here’s the big wall, you can see the difference between the ungrouted tiles (top) and the grouted tiles below.
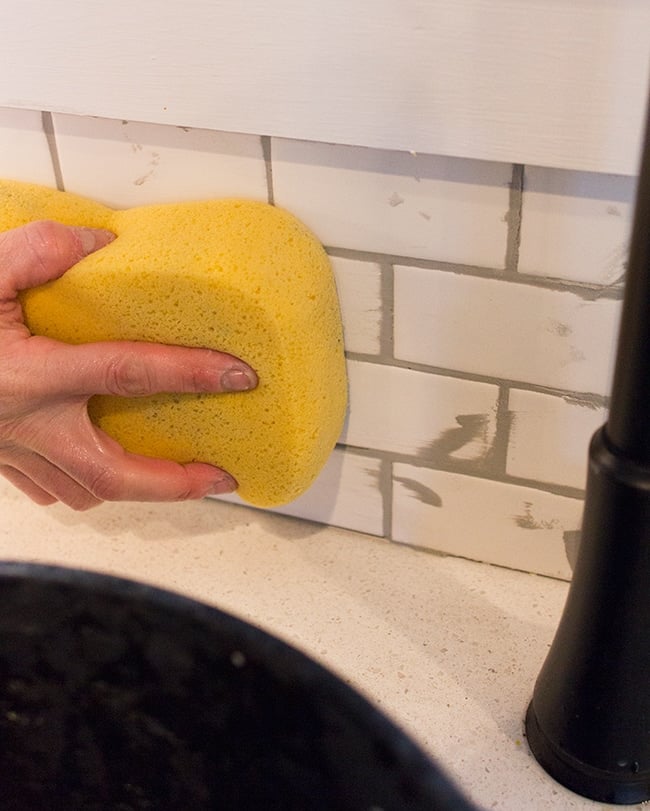
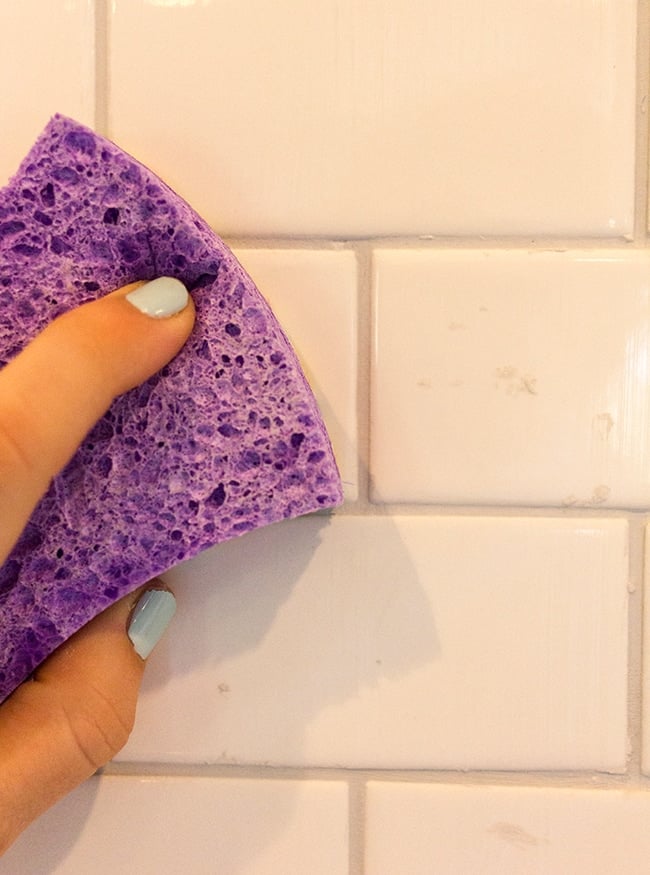
Brad followed behind me with a damp sponge (after letting the grout set for about 10 minutes) to scrub any excess off.
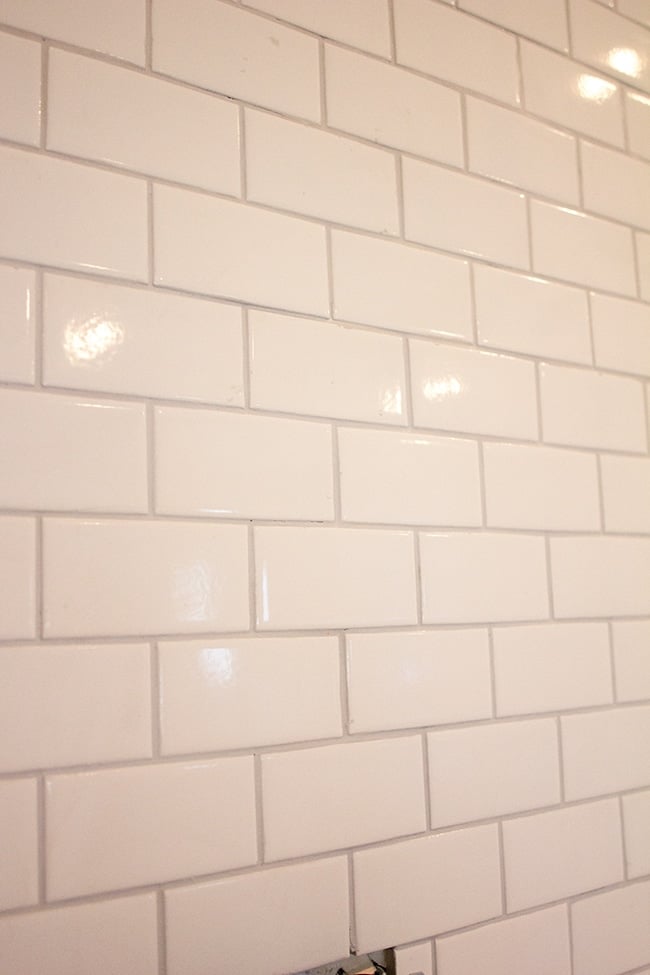
Here’s the same wall after the grout has been wiped down at the bottom:

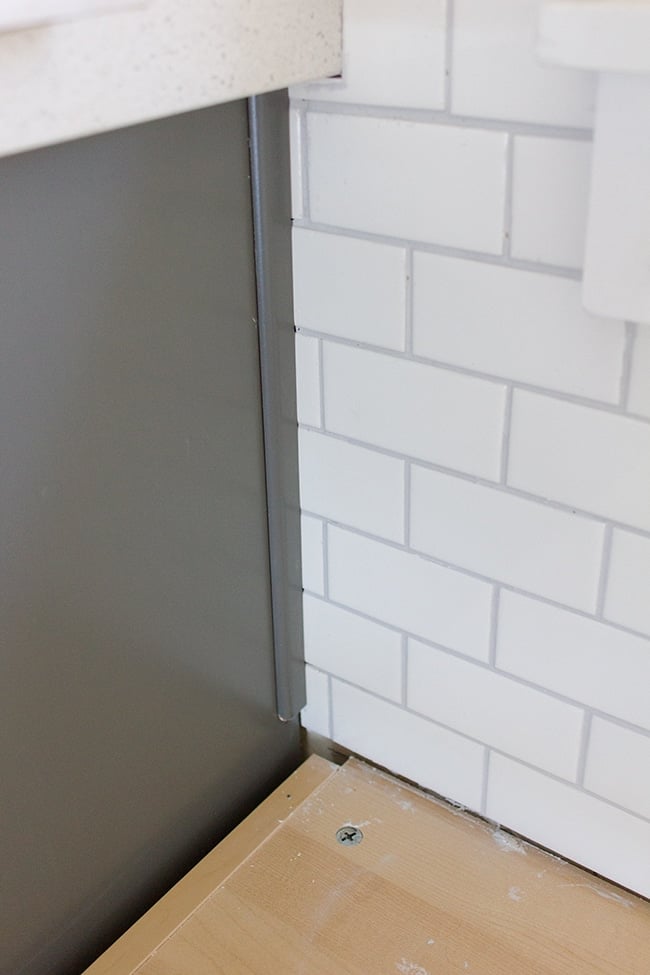
We made sure not to grout where the tiles met the counter, in the corner, window sills, etc because I’ll be using color matched caulk for that.

The whole process took more than a couple hours (for ~65 sq ft for reference). It requires more time than you would think!
But again, worth it when you see the results of your hard work.
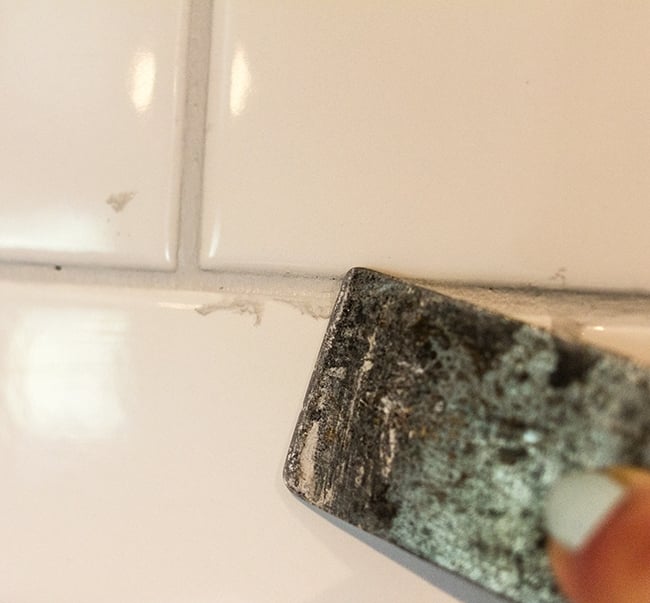
The one issue we had that I didn’t read about anyone else having was lots of “gunk” left behind after grouting…
I’m pretty sure it’s mastic residue that wasn’t wiped up, and the grout made it more visible. We tried to wipe it off as best as we could, but man… it’s hard to get all of it when your hands and everything around you is covered in it!
So I spent another couple hours just scrubbing with a damp brillo pad. Sometimes I had to scrape it off with a putty knife.
My forearm hurts just thinking about it.
Anyway, we’re now ready to seal the grout. As of today it has been 72 hours (the recommended waiting time) so we can get started tonight. I had read about people mixing a sealer additive in their grout (in place of water) to save the extra step of sealing afterwards, but I passed when I saw that it was $40 for a container… and now I’m totally regretting that decision. I’m ready to just be done with this tile already!
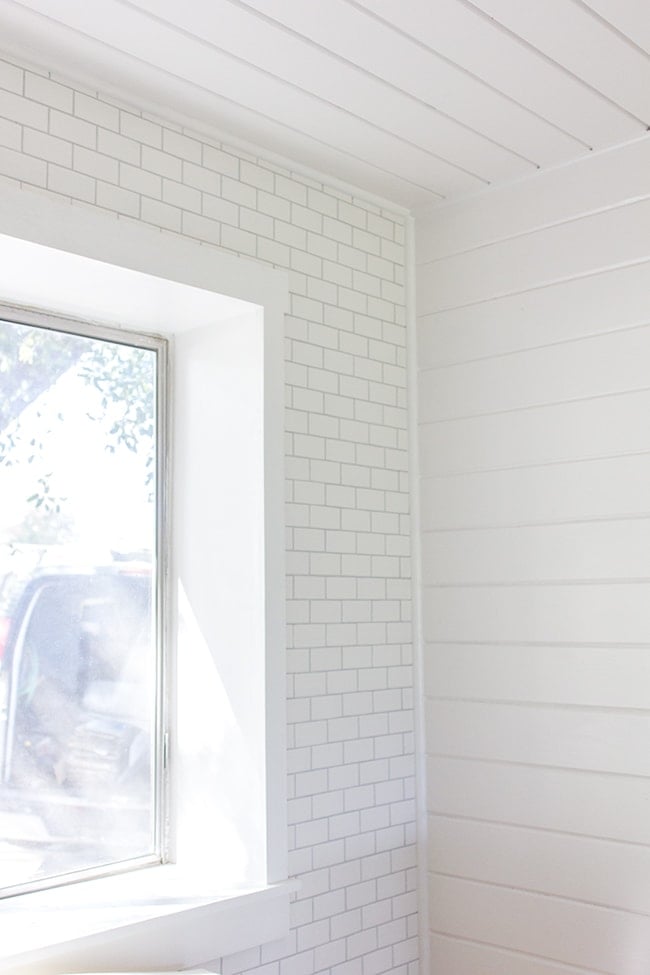
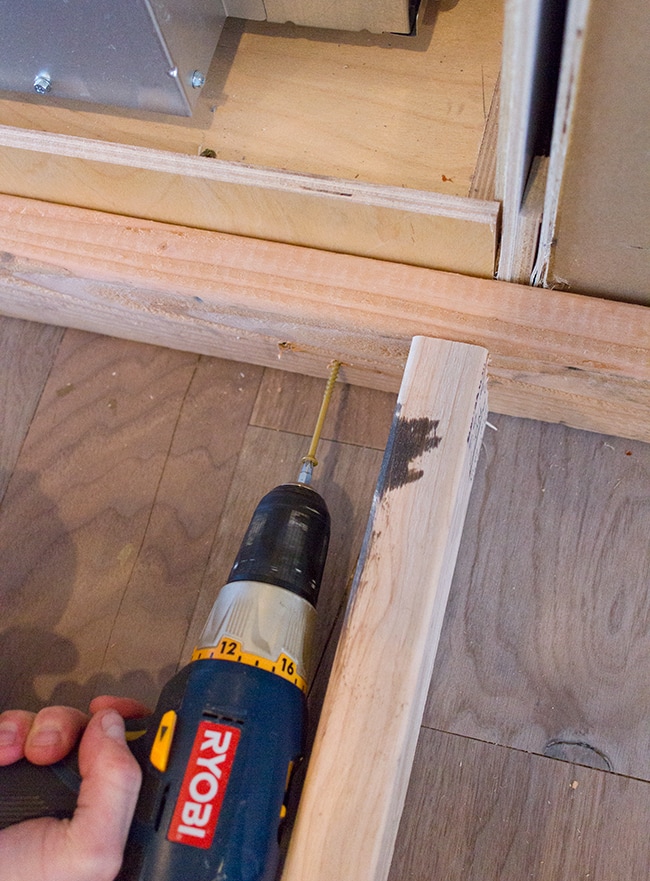
Here’s a shot of the quarter round installation:
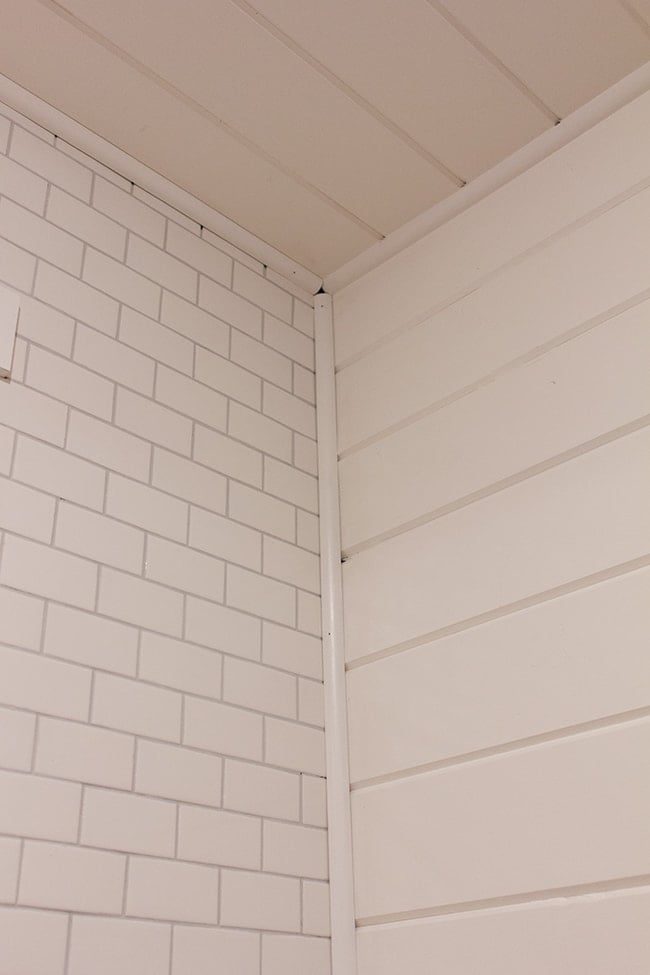
All along the ceiling, too…
I used some leftover cabinet trim for the sides of the cabinets:
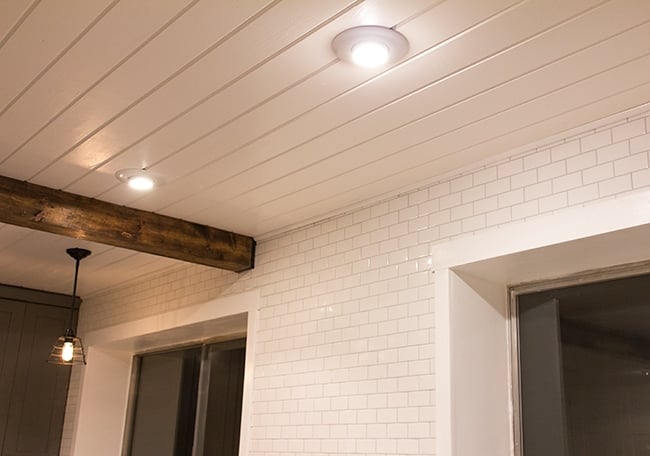
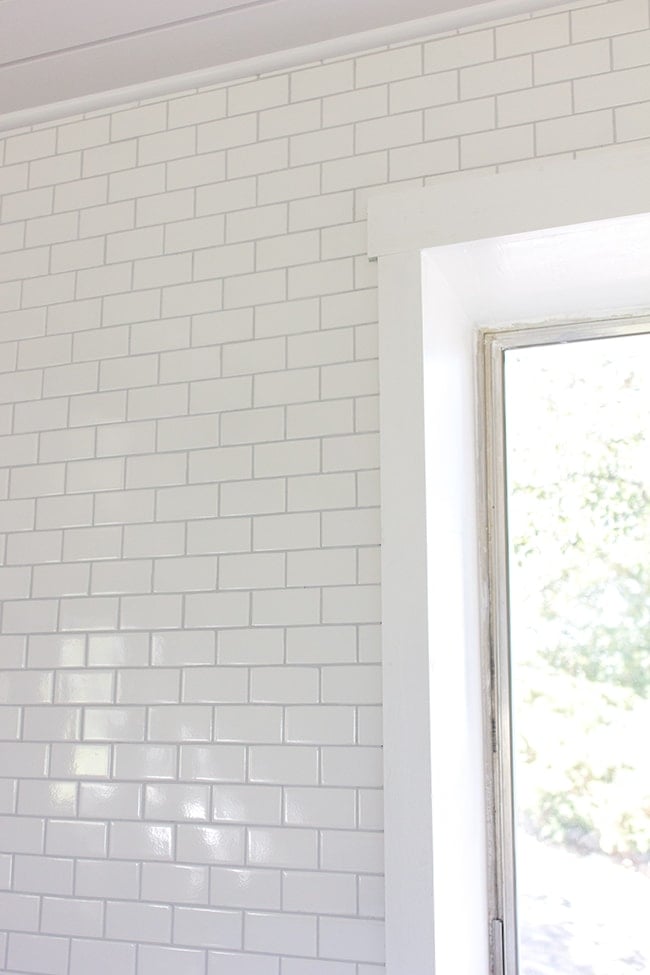
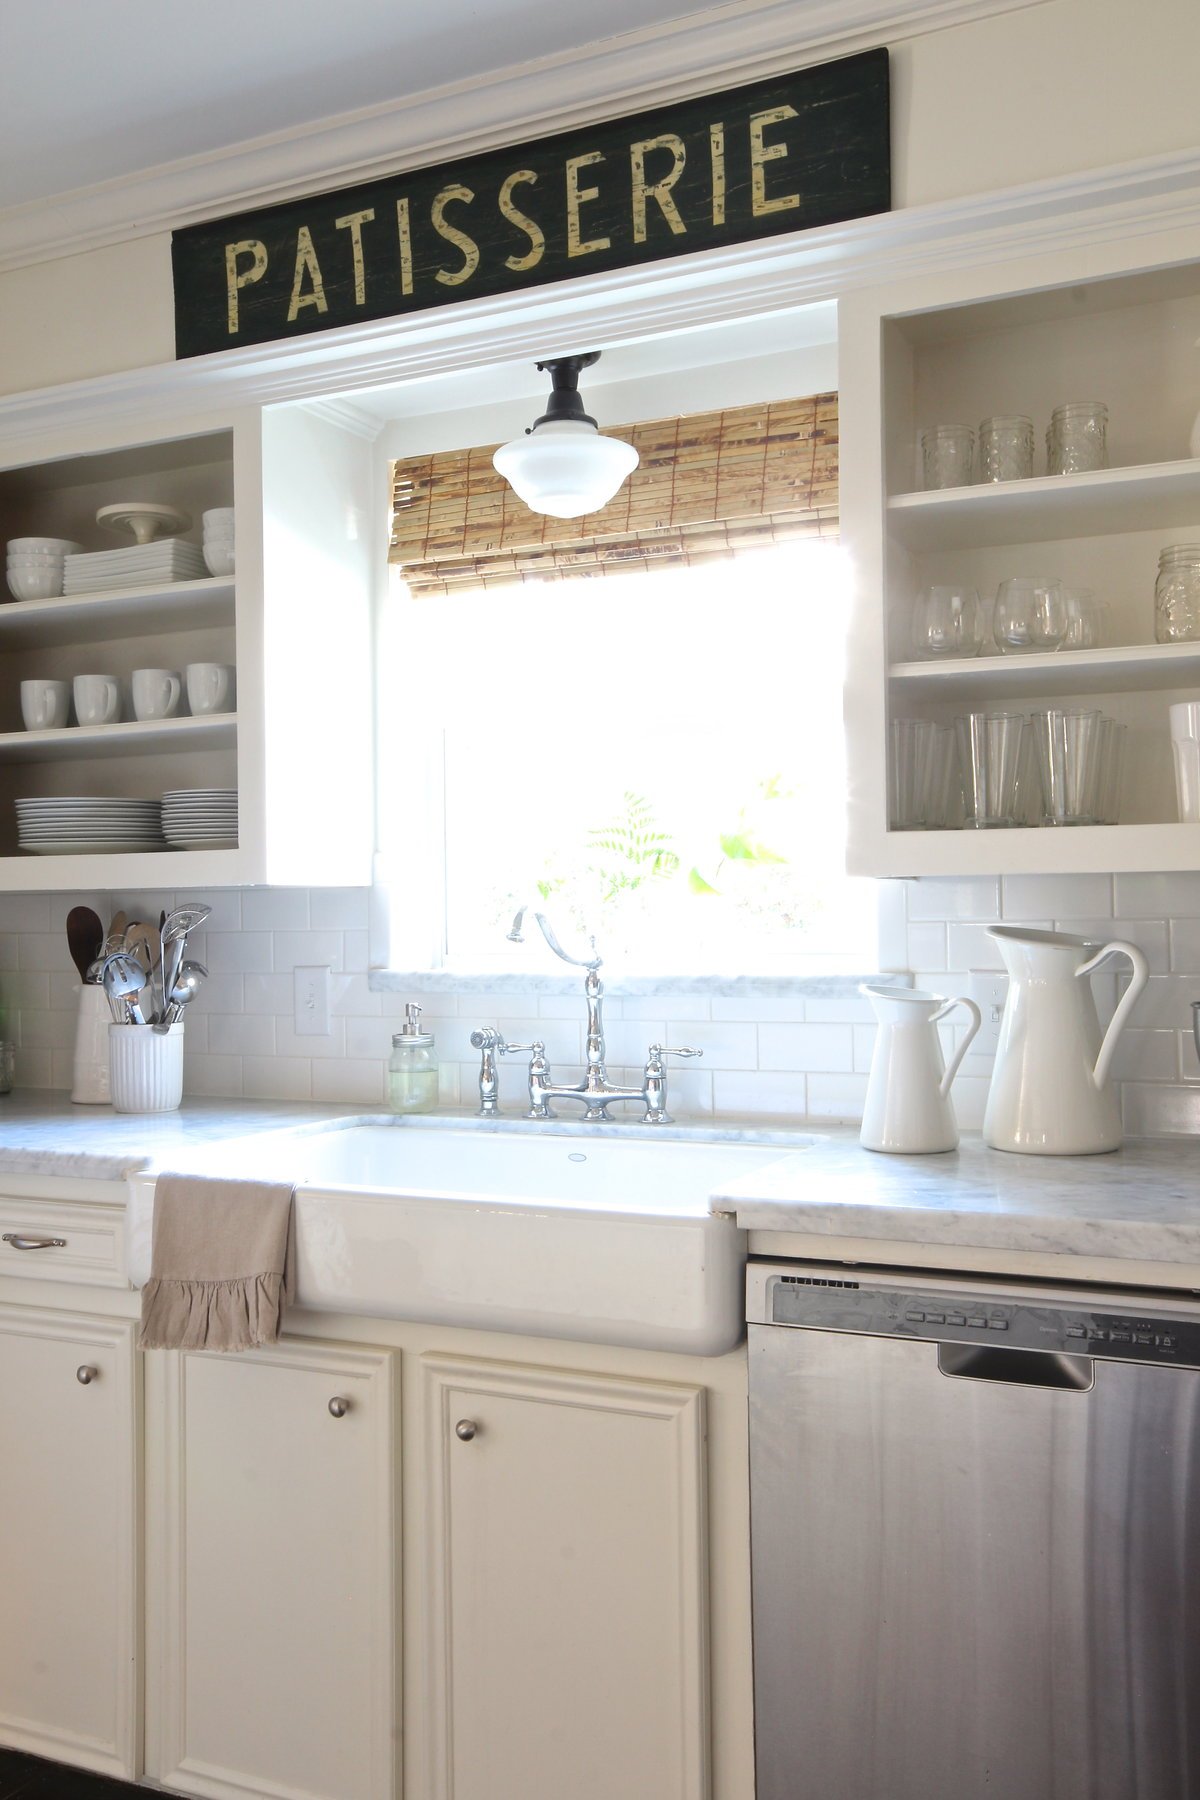
Yesterday I got everything caulked and painted, and this is where we’re at now:

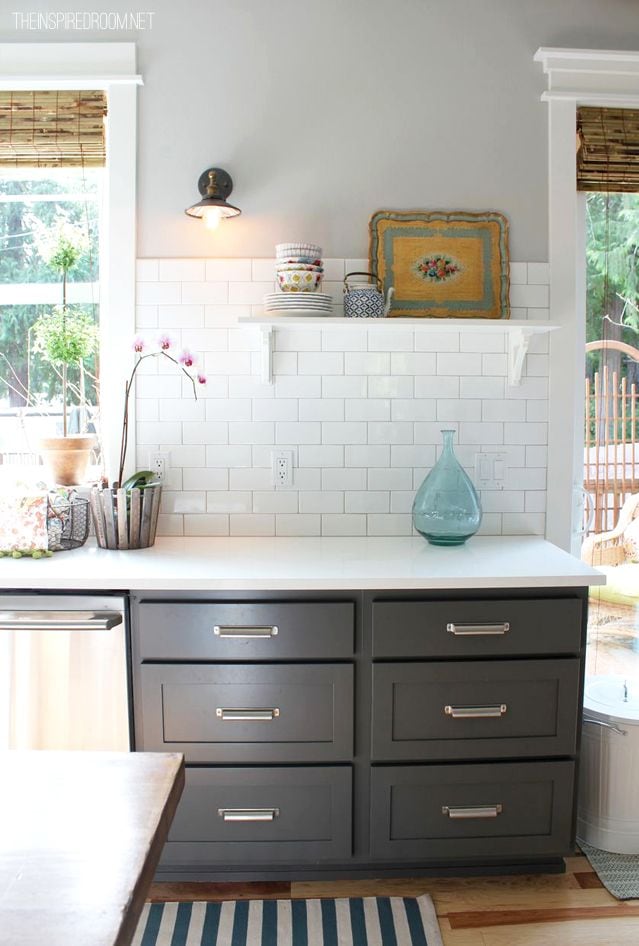
Wowza, that’s
a lot of white.
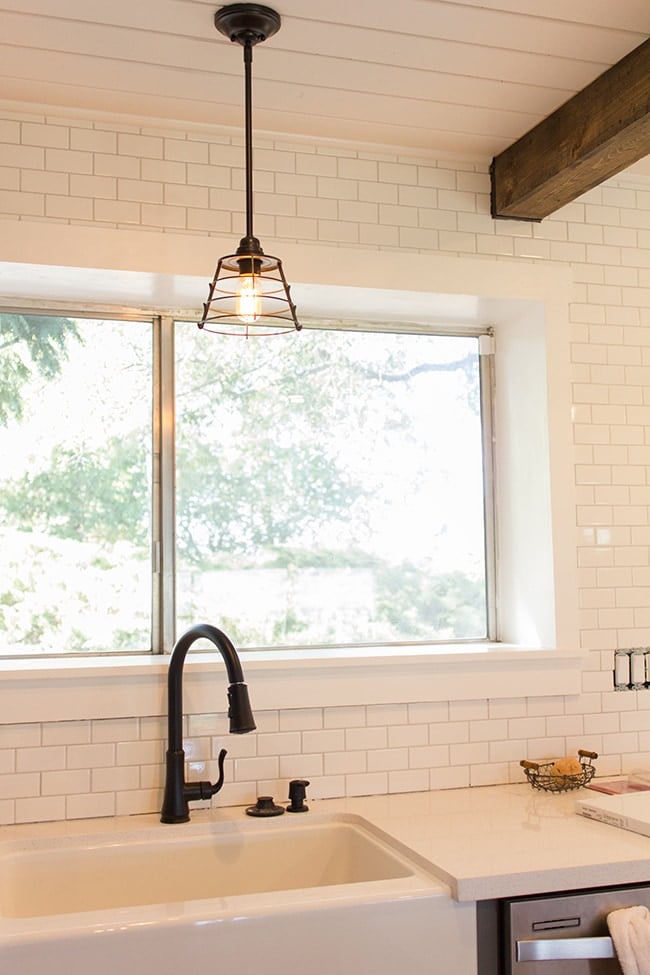
After some caulk & sealing, this project will finally be over!
Meanwhile, we have a couple other things going down.
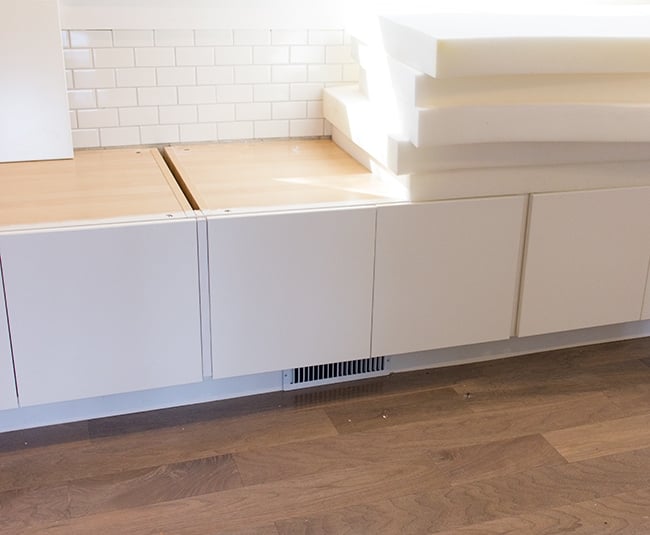
Our hinges finally arrived from Ikea, and now our bench seat has all its doors!
Yes, that’s foam you see sitting on top. A cushion DIY post will be in the near future.
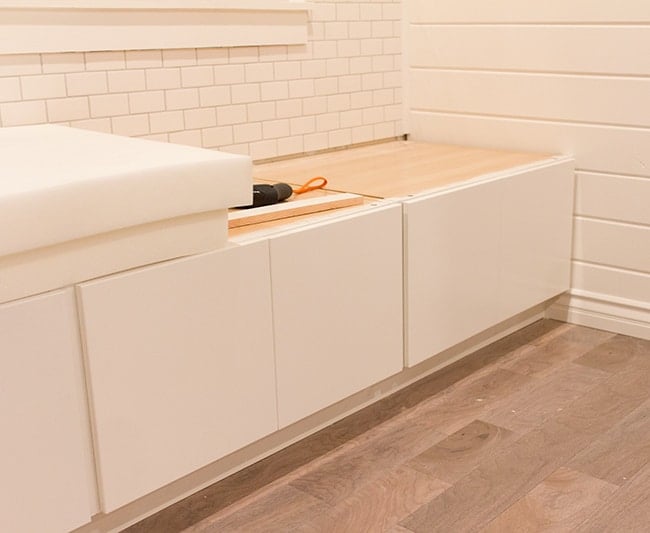
I have to say, the gaps between the doors didn’t bother me quite as much after they were all on. But I still wanted to test it out. I cut a scrap piece of wood and taped it up there to get a rough visual:
What do you think? I think I like it slightly better than the empty gap, so I’m going to pick up some wood at Lowe’s tonight to fill them in (and probably a test pot of paint color matched to the doors).
In other bench news, we started on the back of the island seating!
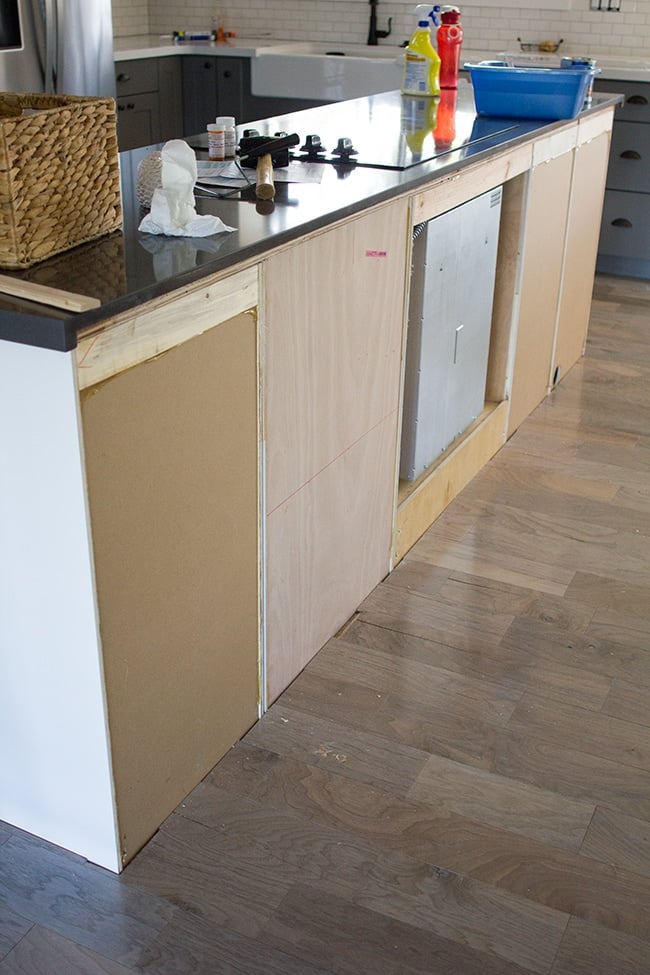
We’re building this one the exact same way—except with 3 36″ cabinets instead of 4 30″ cabinets.
First I had to build the base.
I measured and cut my 2×4’s and laid them out…
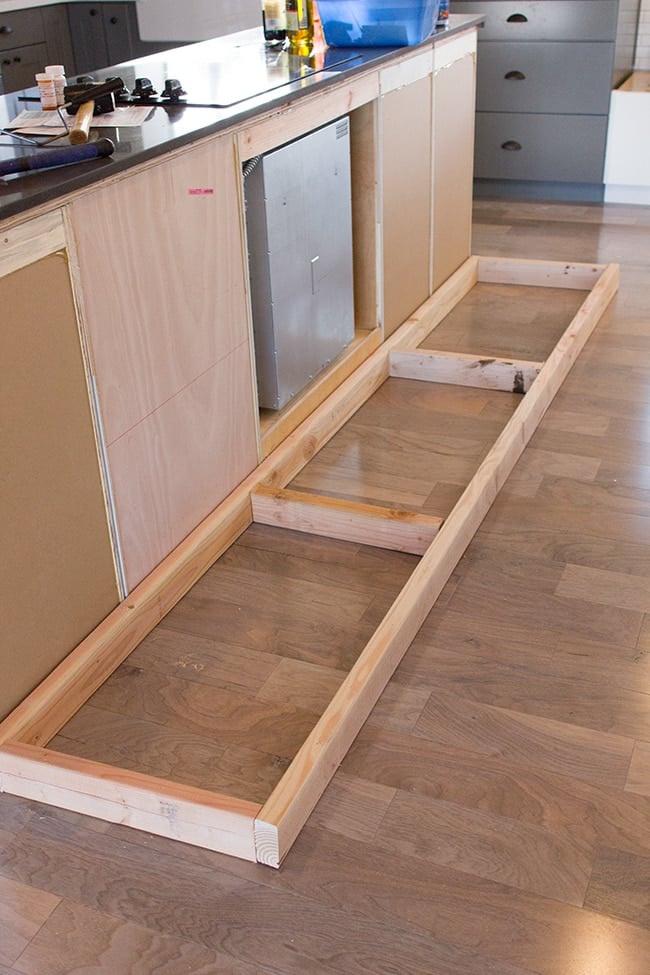
Then screwed the pieces together…

Then we secured it to the back of the island.
Now I just need to finish painting the cabinets and set them on top. I primed them yesterday, but ran out of foam rollers so I couldn’t paint them.

We plan on getting these installed this weekend, along with tiling our bar wall (!) so I should have some pretty fun stuff coming up next week.
I also have a very important decision to make. I ordered swatches from justblinds.com for the kitchen, dining room and studio windows. I’d like them all to be the same since the rooms are open to each other.
I’ve narrowed it down to these 3…

I posed the question to instagram this morning and Tibet Oak seems to be the favorite so far.
At first I was set on Antigua Natural, after seeing similar styles in kitchens…
 |
| Source |
 |
| Source |
But I’m really drawn to the Tibet Oak. I think it would look lovely in the living room and contrast with the dark wood across from it in the kitchen.
But then I wonder if it’s too dark and heavy for the kitchen, with the dark beams and bar counter there already, and I wonder if something like Singapore Oak would work better? The medium brown shades will tie in with the jute rug that will be in there soon.
I have no idea! I’m trying to order these today so I’m counting on you guys to help me figure this out. WWYD?
Update: I just snapped this photo for a better visualization. After reading some comments in favor of the Singapore Oak, I’m leaning that way. It’s a very close match to the jute rug I’ll be using (which will take up most of the dining area)

Thoughts?


Anonymous says
Tibet Oak as it will tie in with the beams
Anonymous says
Tibey Oak will tie in with the beams !
Anonymous says
Tibet oak, it shouldn't darken the place. because there is so much white. Too much, you need a little contrast, the gray cabinets, beams and the blinds!
Emily says
Tibet Oak! Love the dark with all that white and your dark beams. The lighter shades look cheaper, more plastic-y to me. You have great taste, though. I'm sure anything you go with is going to look amazing. Can't wait to see it all come together!
Amanda Comeau says
Personally, I'm a fan of the antigua natural blinds – I feel like you need some sort of a contrast to break things up a bit.
Inês Figueiredo says
My immediate choice was the Tibet Oak but maybe you are right and it will be too dark. Maybe Singapore will be more better. That kitchen of yours looks awesome. I'm so jealous over here. Great job!!
Cindy @Made2Style says
Can I vote twice? Haha I still say Singapore lol I just think the Tibet is too dark. The tile looks amazing! My backsplash post is going up tomorrow but there was no manual labor done on my part although I am dying to do a tiling project!
Jenna Sue says
From what I understand, the sanded grout has more texture so it's harder for it to get inside and fill the narrower seams. You're also supposed to use unsanded regardless of the seam size on surfaces that can scratch easily (like glass). Apparently sanded grout is a bit easier to work with though. Hope this helps!
flirtingwithdiy says
I love the Tibet Oak, but Singapore Oak will give the right touch of variation in shades. Also, you work really fast! I did have a question: what's the difference between unsanded and sanded grout, and how it affects the seam size?
Nicole says
Tibet Oak!
Anonymous says
Singapore Oak. I'm normally a dark wood lover but the wood on that Tibet swatch seems a little rough (not as finished and nice looking).
Anonymous says
I love the color of the Singapore Oak, but not the weave. It seems to stand out and be a lot heavier than the other two. But the color definitely works! LOVE everything you've done/are doing!
Anonymous says
I love reading your updates, things are looking great! Can't wait for next weeks update!
My vote would have to be for Singapore Oak.
Jen M says
Ugh! Now I'm leaning towards Tibet Oak. Honestly, I would totally trust your gut and go with what you like, I mean look at the rest of your house, you have fantastic taste 🙂
Deb says
I actually kinda like the way the Tibet oak contrasts with the white and it does seem to go with the beams really well. Whatever you decide, it'll look great and you guys have done an amazing job!