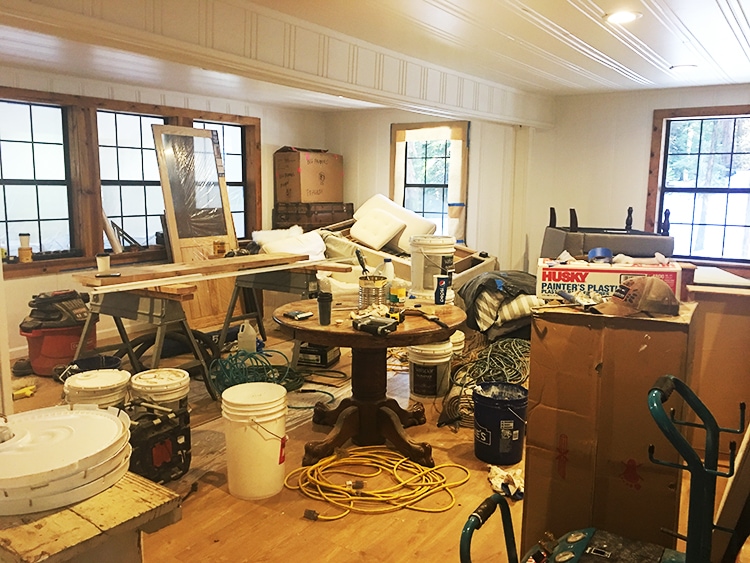
After hitting rock bottom last week, I was desperate for a nice, calm, disaster-free weekend where I could focus on the fun stuff, like painting and moving furniture around. When you show up to a construction site that looks like the set of Hoarders every week, you start to lose hope that it will ever get done… Watch today’s episode to see what happened:
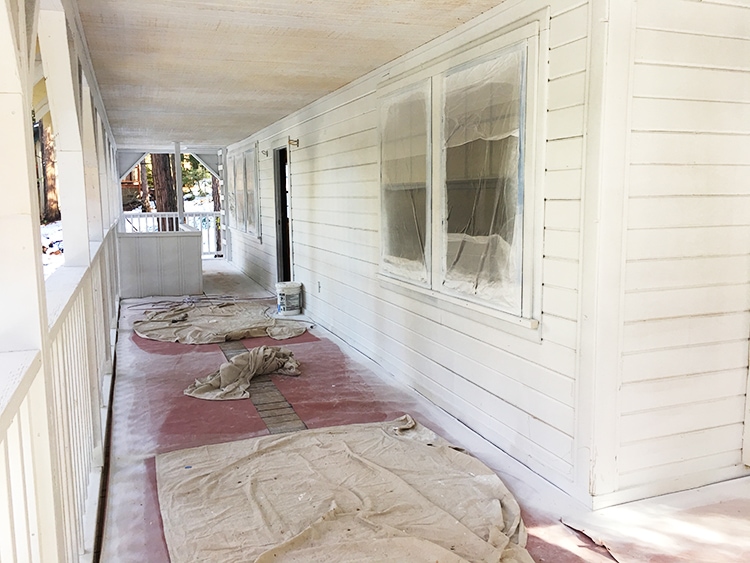
So the situation on Friday afternoon looked much like the previous Friday, except with a lot more paint.
I was thrilled to see the painters prepping after weeks of rain and snow. We had a 5 day break between storms, and knowing this was our one and only opportunity to get it done, my team jumped right into action.
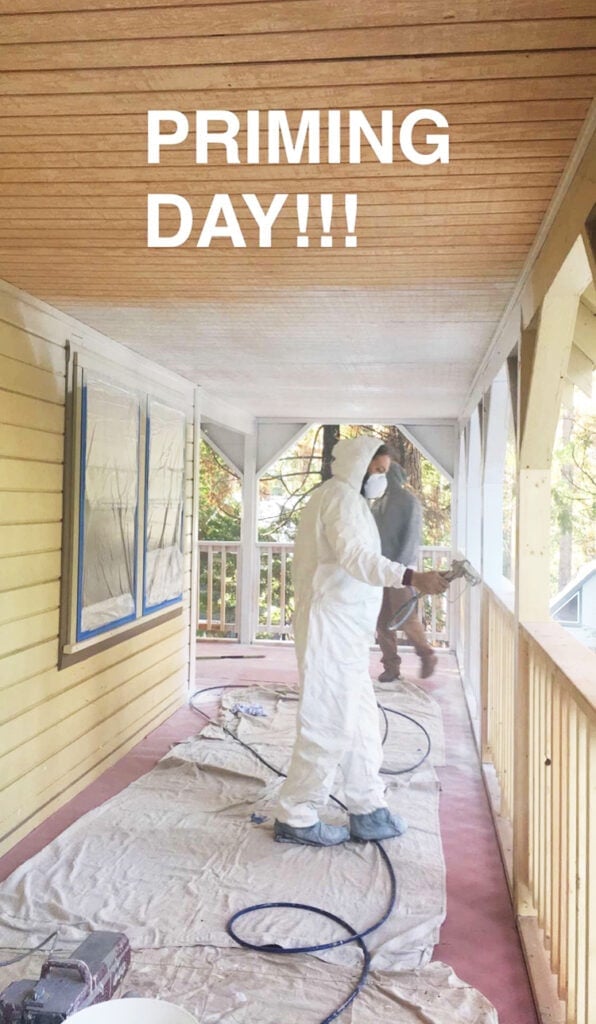
Goodbye yellow house!

Here are the final exterior color selections:
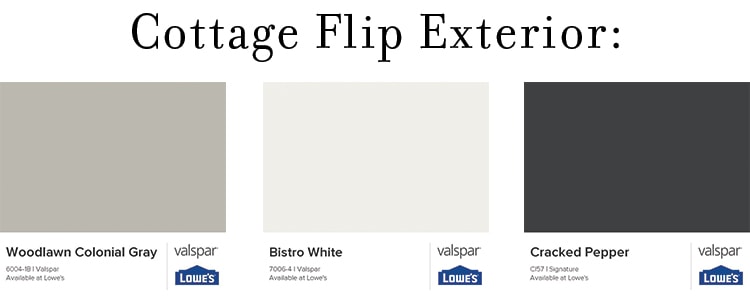
The siding/body will be Woodlawn Colonial gray, the trim & railing will be Bistro White, and the accents will be Cracked Pepper. I’ll add black shutters on the two lower windows, and the window frames themselves are all black, along with black lanterns and adirondack chairs on the front porch. Sidenote: The white is a pure bright white, and the black is a rich black even though they appear muted in the photo. These are the same colors as I used throughout the interior on the walls, doors and trim (except the interior is all eggshell and the exterior has its own exterior formula).
The original porch had drywall on the ceiling (who does that?) which fell off last week with all of the rain/moisture, so they replaced it with wood siding. I absolutely LOVE it.
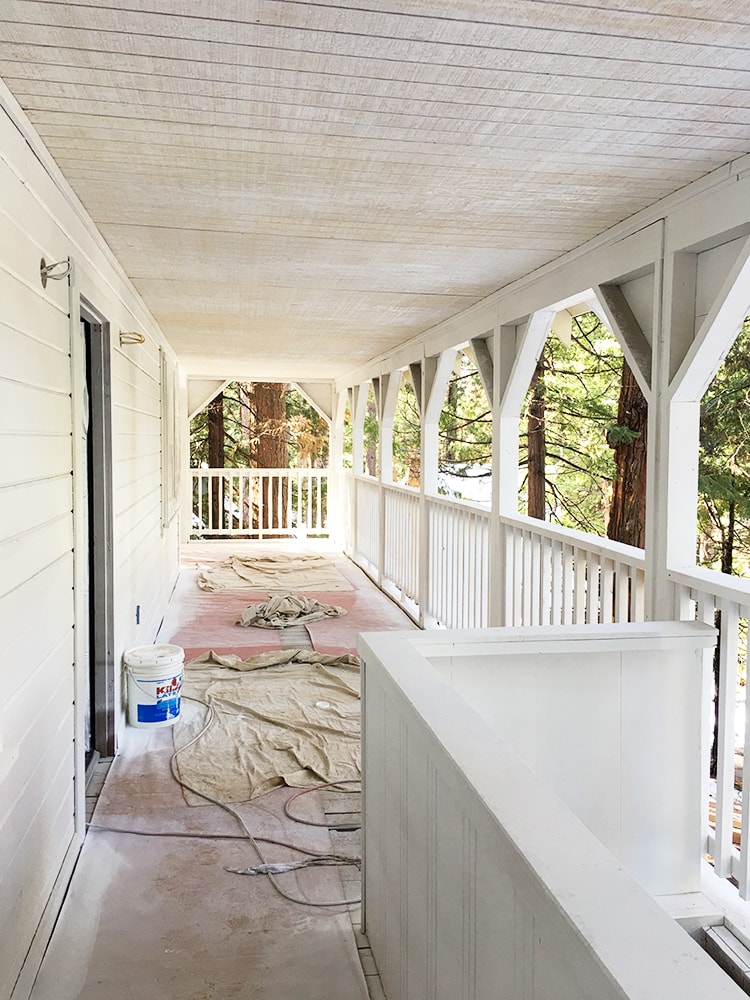
And the flooring is all original wood planks which will be refinished and sealed.
The porch is an L shape, and wraps around to the side behind the kitchen:
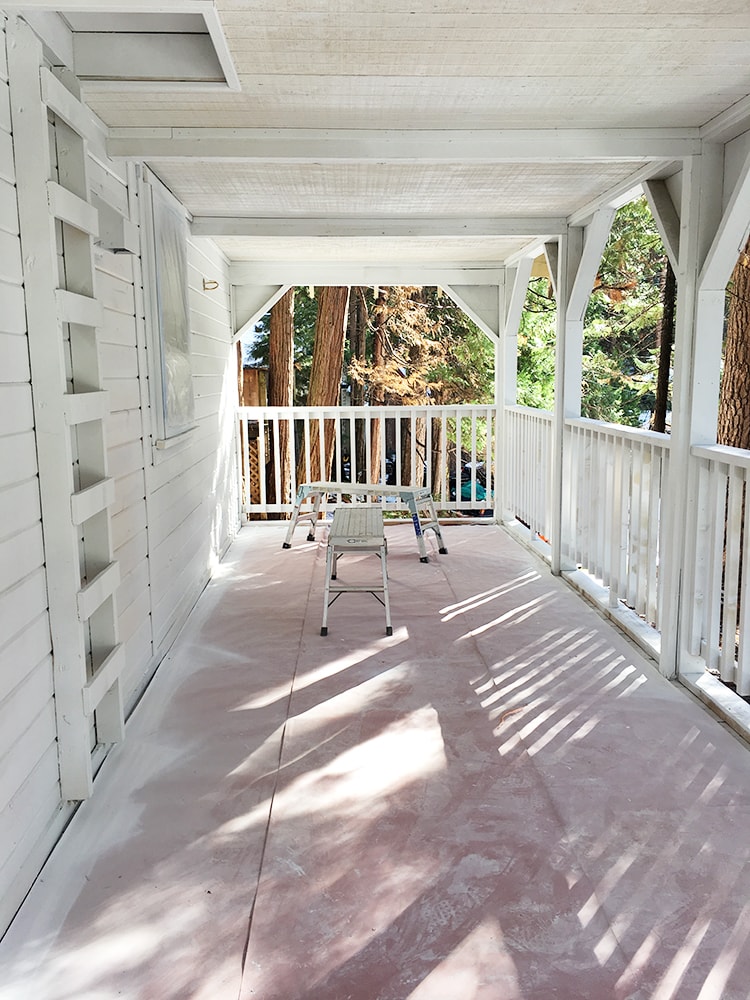
Can you just imagine this spot on a warm summer day, surrounded by trees… ahhh…

I’m just a little jealous of whoever gets to wake up to this view every day.

As I type this on Tuesday afternoon, the house is still being painted but is scheduled to be done before the next storm on Wednesday. I don’t have any update photos which is driving me a little crazy, but here’s how it looks mid-primed:

So white! Glad I didn’t opt for all white—it’s a bit too stark. Especially in winter.
Alright, moving along! As always, I’ll be jumping around all over the place. First, the kitchen.
Due to lack of time, I decided to have my contractor (Brandon) handle the staining/sealing of the countertops. I mentioned my plans in the last post but hadn’t fully committed to a sealer, and when I showed up on Friday, Brandon had began testing some stains/sealers on a scrap piece. He was using Howard butcher block conditioner, which is the same stuff the counter manufacturer had recommended to me (and it’s food grade!)
He had experimented with a gray stain which ended up being too gray for me, then I we tested the Minwax Weathered Oak and it was the closest match to the floors. Once the conditioner dried, it ended up being a bit of a darker/richer shade than the natural butcher block, which I am happy with.
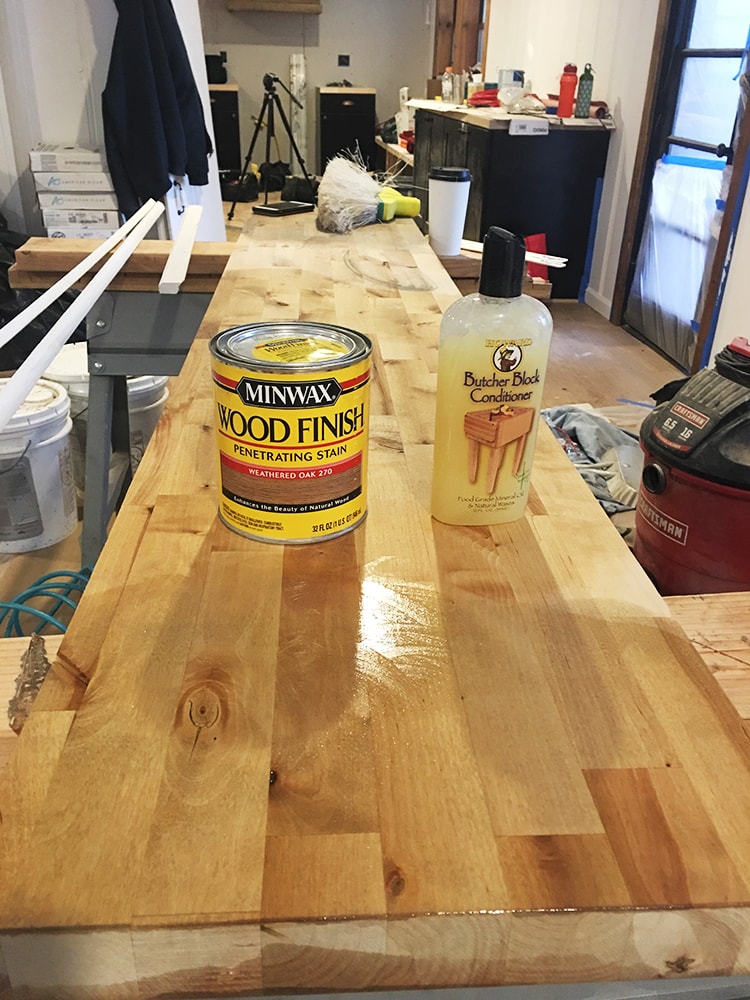
So the plan is to layer on wood conditioner (this is absolutely necessary for an even stain, trust me!), two coats of Minwax Weathered Oak, and a couple coats of the butcher block conditioner. This is all supposed to happen within the next few days so I should have photos of the finished results in the next post.
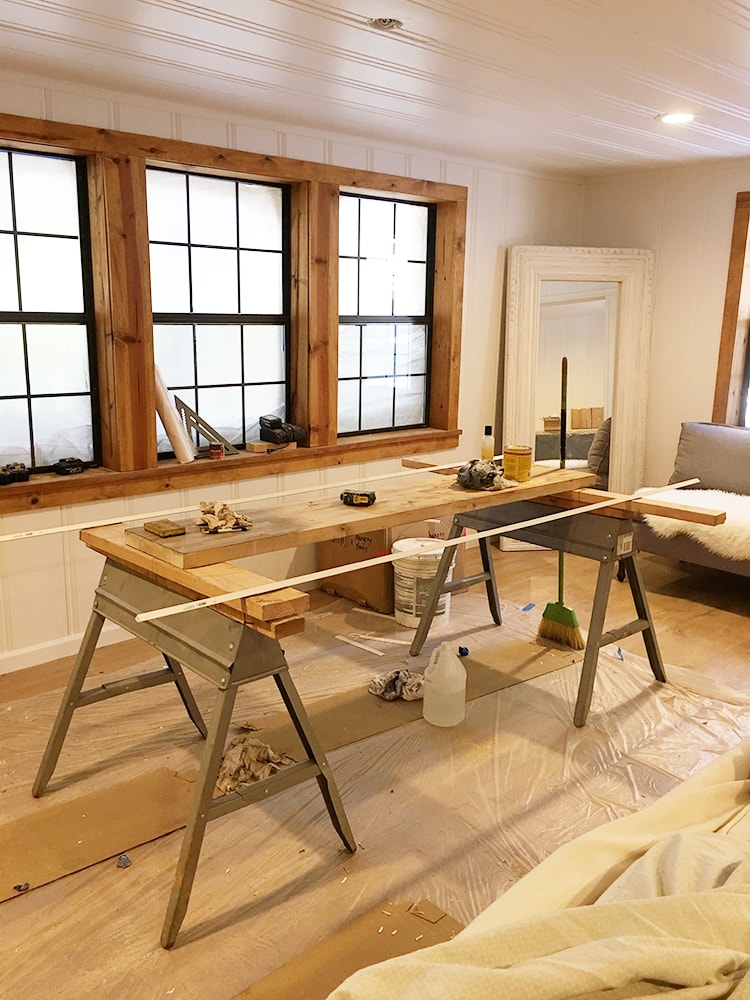
Now that the window seat bench is built, I dragged my table over to test the layout:
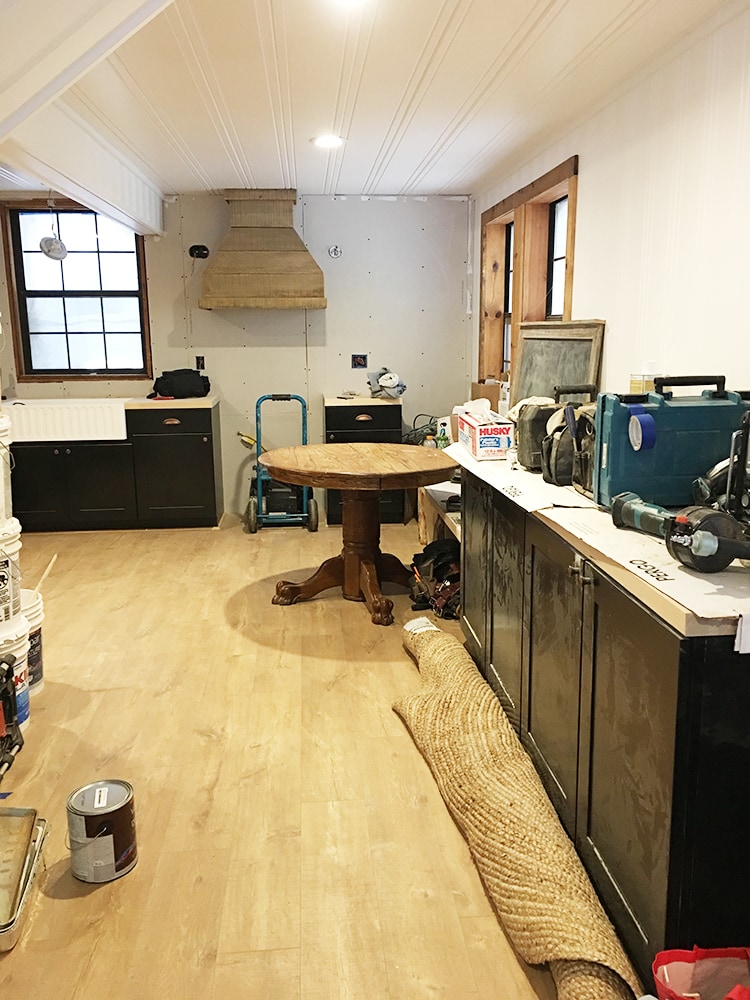
The purpose of the table is to provide a casual eat in/dining space as an alternative to the more formal dining table, and also extra work space. I have a few stools to set around which won’t take up too much space visually. The jury is still out on whether or not I’ll keep it there… it doesn’t feel too crowded right now but I’ll have to see once it all comes together. The beauty of this all is that it doesn’t actually have to be functional since it’s just for staging. Whoever buys the house can do whatever works best for them 🙂
In the last post you got to see as the floating shelves went in… and here they are:
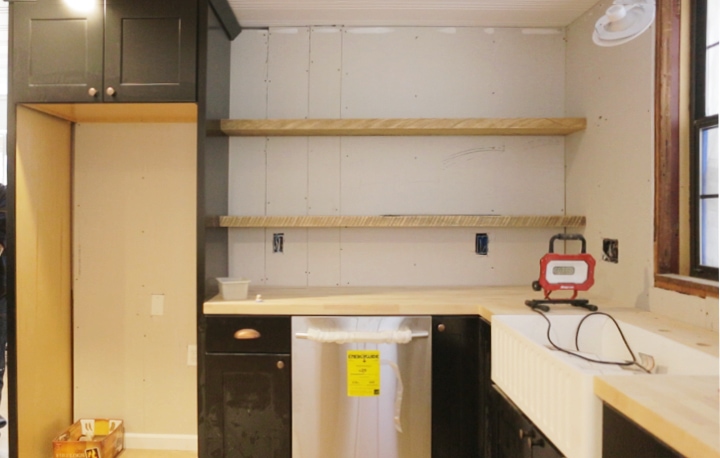
Love love love. Thank you Silicate Studio for making this so easy! Can’t wait to break open my box of kitchen supplies and start decorating!
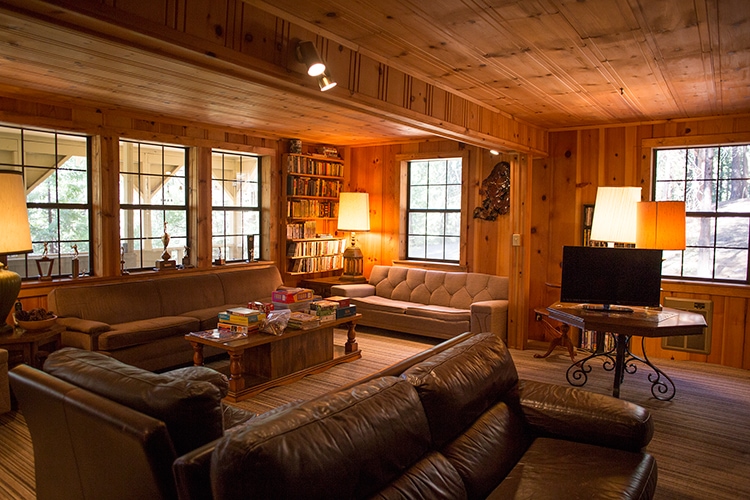
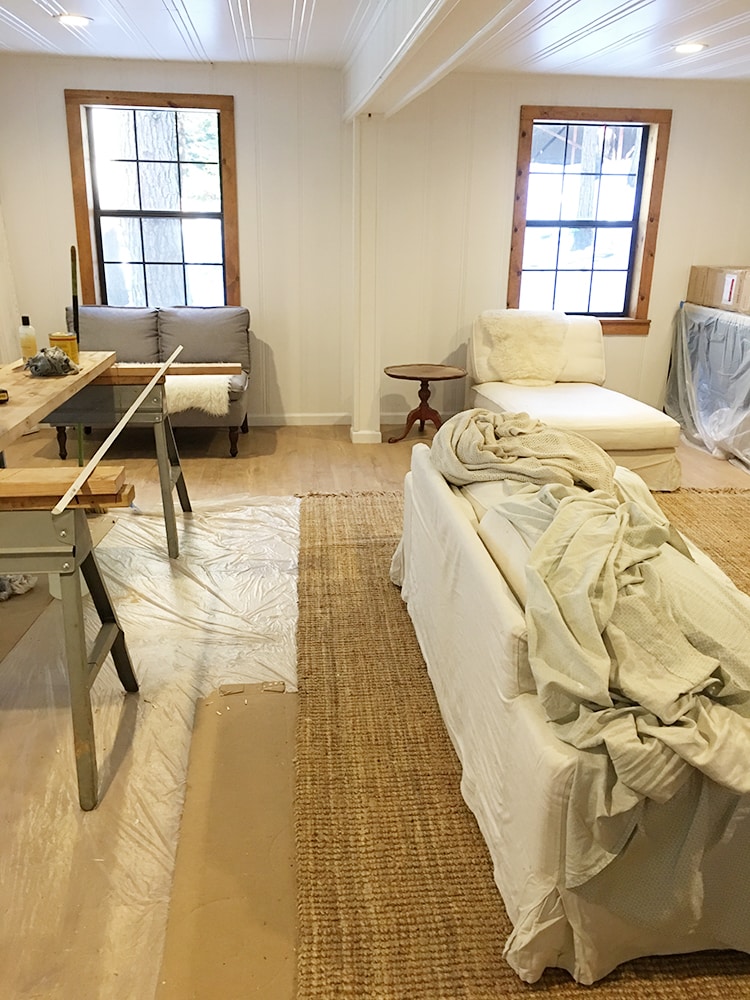
Now for the living/dining area. When I first bought the house, this was set up as a living space with randomly placed furniture:
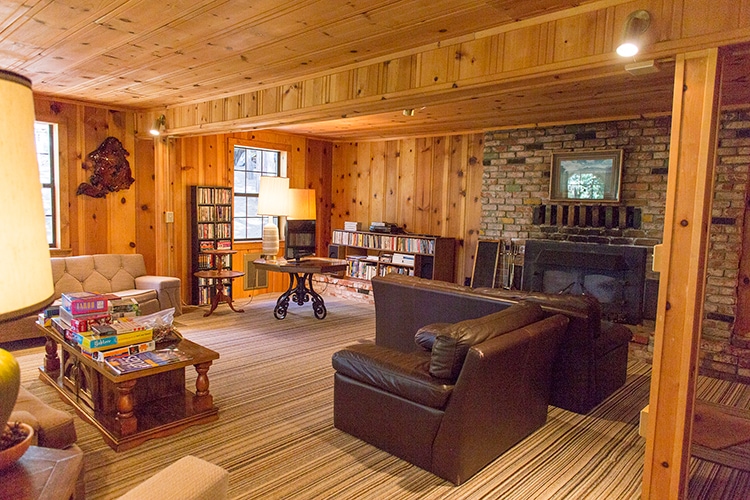
I think a large gathering table is essential for a family style vacation home like this, so I split the room in two and designated one area for dining.
I haven’t built the table yet (plan to do this with reclaimed lumber & Ikea trestle legs), but these saw horses were the perfect stand-in:
And Oh My… this Kichler chandelier from Lowe’s has exceeded all of my expectations:
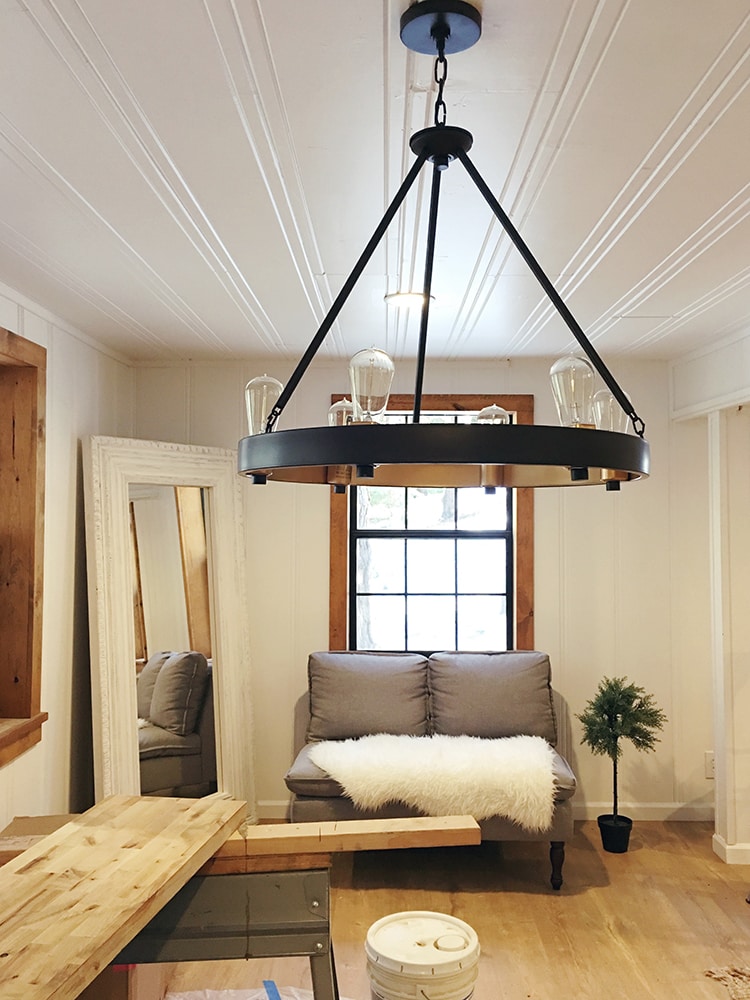
I’m in love with every bit of it… the round shape to break up all the hard lines, the fun vintage style bulbs, and my favorite part…
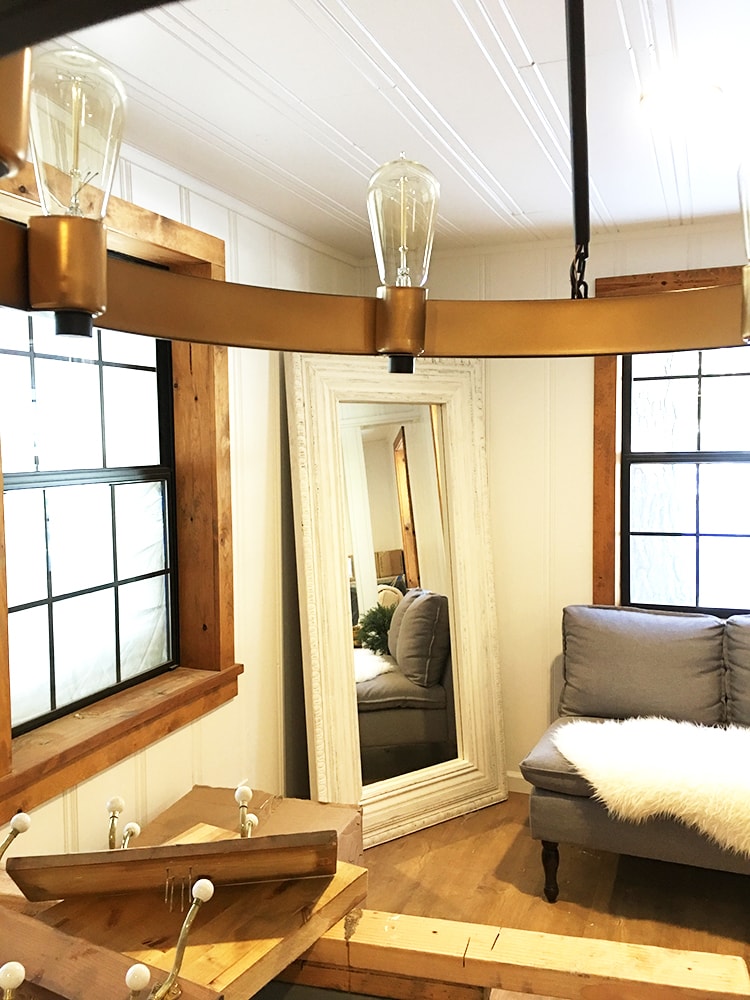
It’s gold on the inside! It’s absolutely perfect for this space. I almost went with this wood/black model instead but I am so glad I stuck with this one (it’s $80 cheaper too… score!) No joke, this chandelier was the highlight of my weekend.
I spent Saturday morning moving all of the boxes/furniture into the bedrooms and working on living room arrangements. FINALLY SOMETHING FUN AND STRESS FREE!
It was like a big puzzle, trying to come up with the best configuration with the pieces I had, but I think we’ve finally got it…
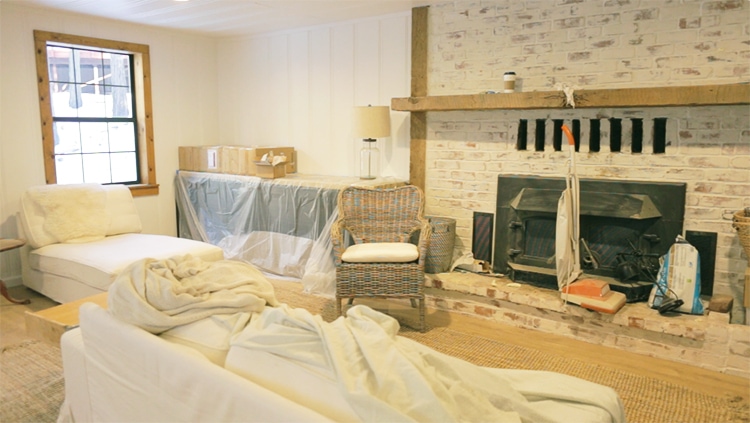
The couch will face the fireplace, and opposite that will be two wicker chairs (Ikea Byholma) flanking the fireplace (the second will be where the ladder is below)
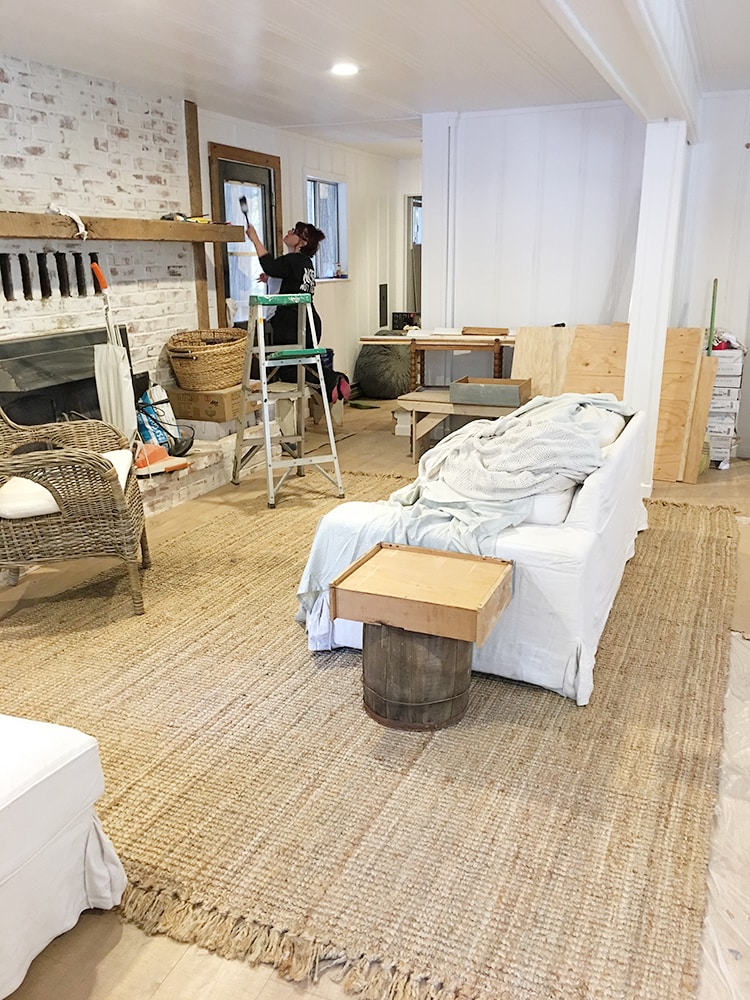

The Ikea chaise will be facing them, under the window next to the cabinets…
And the gray settee will sit on the dining room side, under the window as it’s own separate reading/lounge nook:
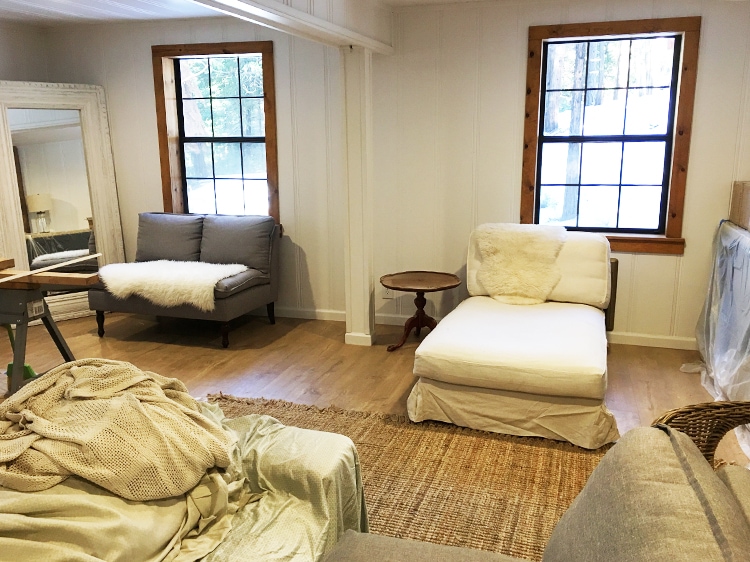
If any of this doesn’t make sense to you, please reserve your judgment until the end because there’s a lot left to do in here. We’re talking curtains, lamps, tables, furniture makeovers, wall decor, accessories, etc etc. It will look completely different than it does now.
After coming up with a plan for the living room, a huge weight was lifted off my shoulders but I couldn’t relax too much, because there’s still this bathroom downstairs…

We certainly have the most work to do in here. Slightly nervous about this one.
My electrician was at least able to get the lighting started…
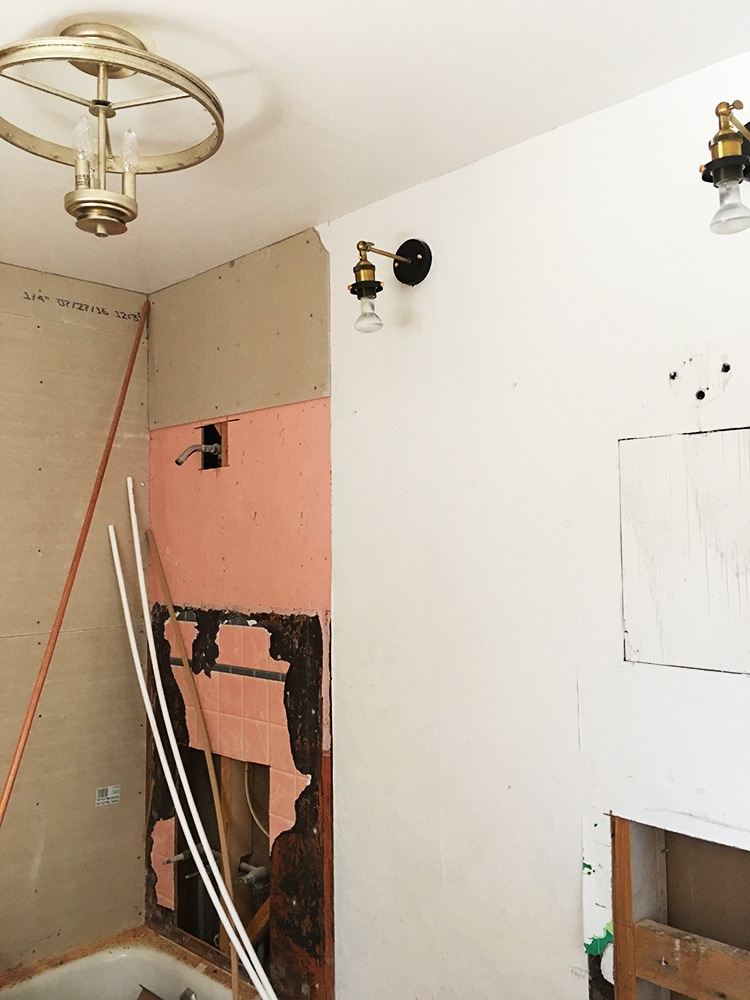
We’ve got a pretty crystal chandelier and two sconces which will hang above an extra wide mirror. Shower tile is supposed to begin (and hopefully finish!) this week… I have a feeling this will be one of those rooms where the paint is barely dry on Open House day.
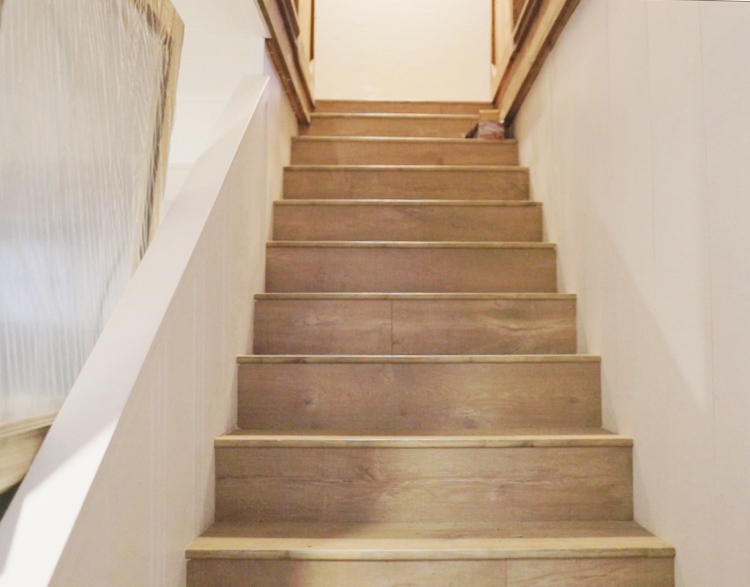
Now let’s head upstairs. Wood floors, finally!
Lucas drove up to help and we spent the weekend playing musical beds, shuffling them around from room to room trying to figure out the best setup. Now, bedrooms may seem like least amount of work but when it comes time to decorate/stage, there’s a lot that goes into it. We’re talking rugs, bed frames, head boards, box spring/mattresses, bed skirts, sheets, pillowcases, pillows, comforters, quilts, night stands, lighting, window treatments and decor for SIX different bedrooms, and seven beds total. That amounts to a ton of line items to plan out and coordinate. It’s a process.
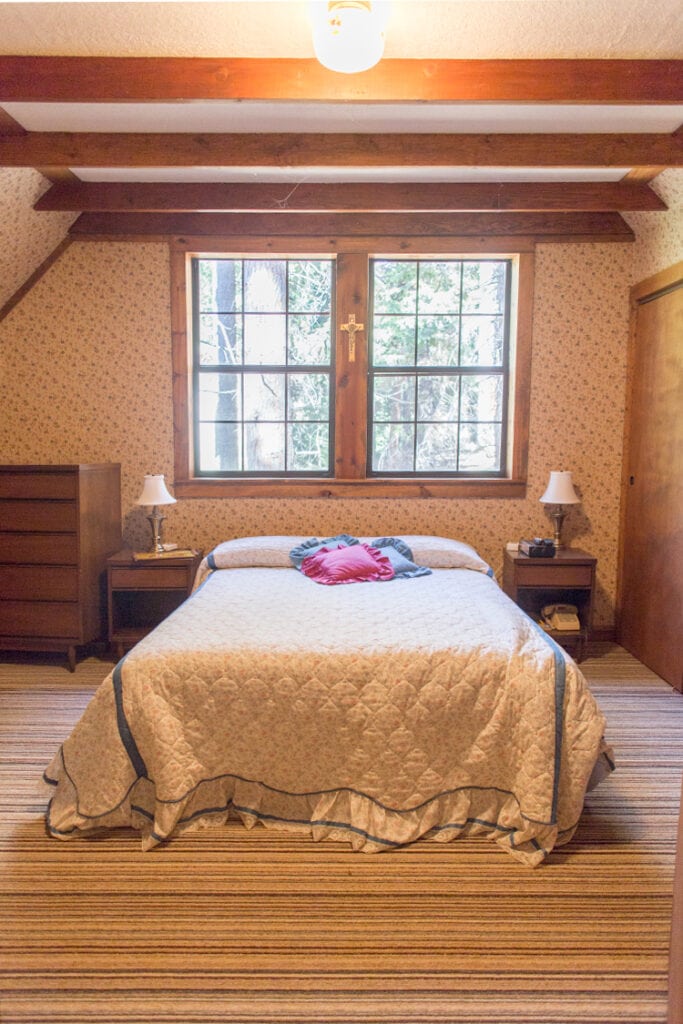
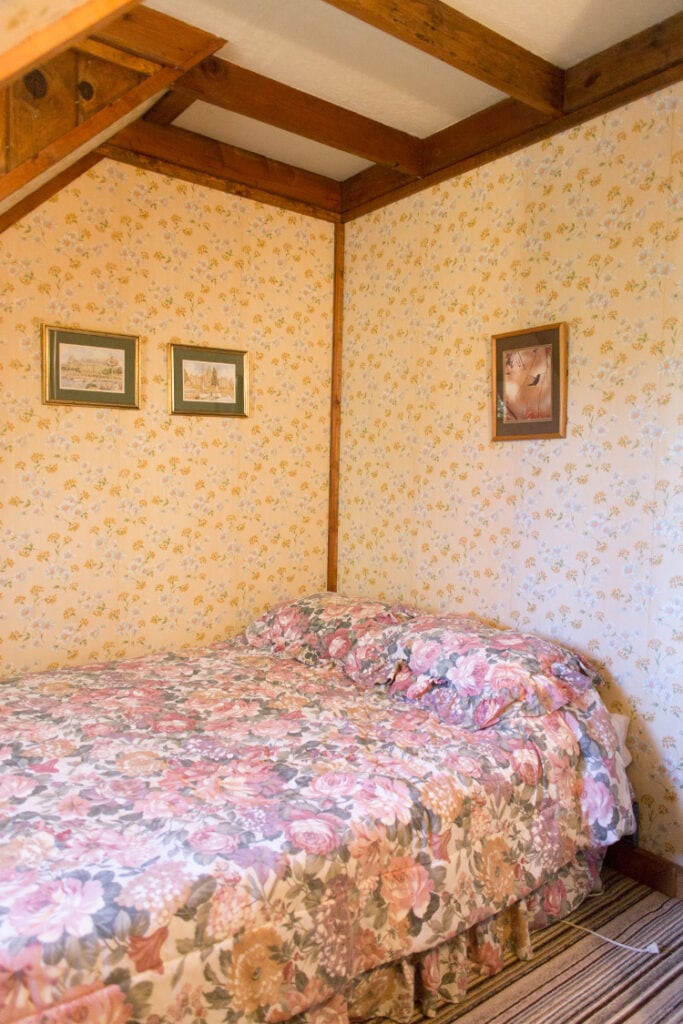
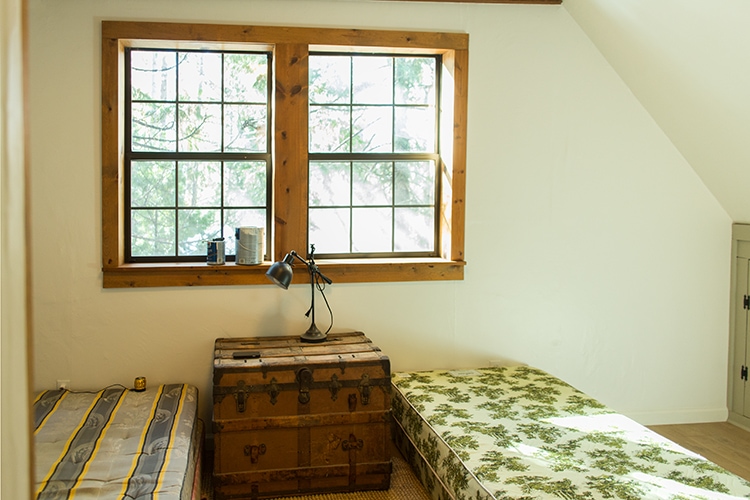
Let’s start with Bedroom #1, and a Before photo just for fun.
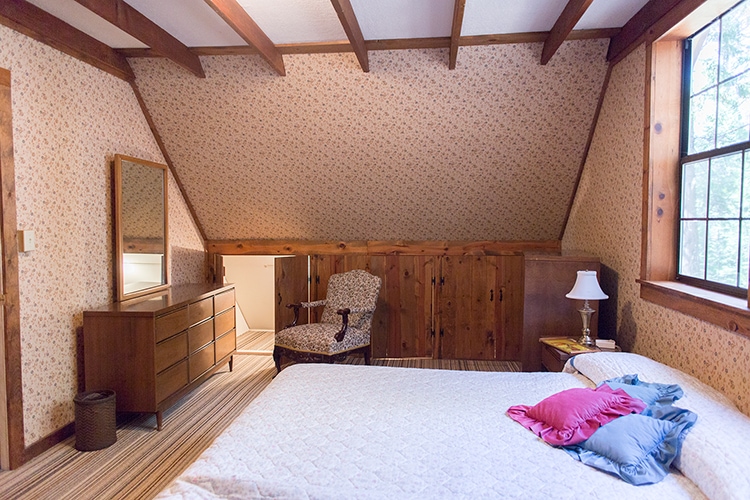
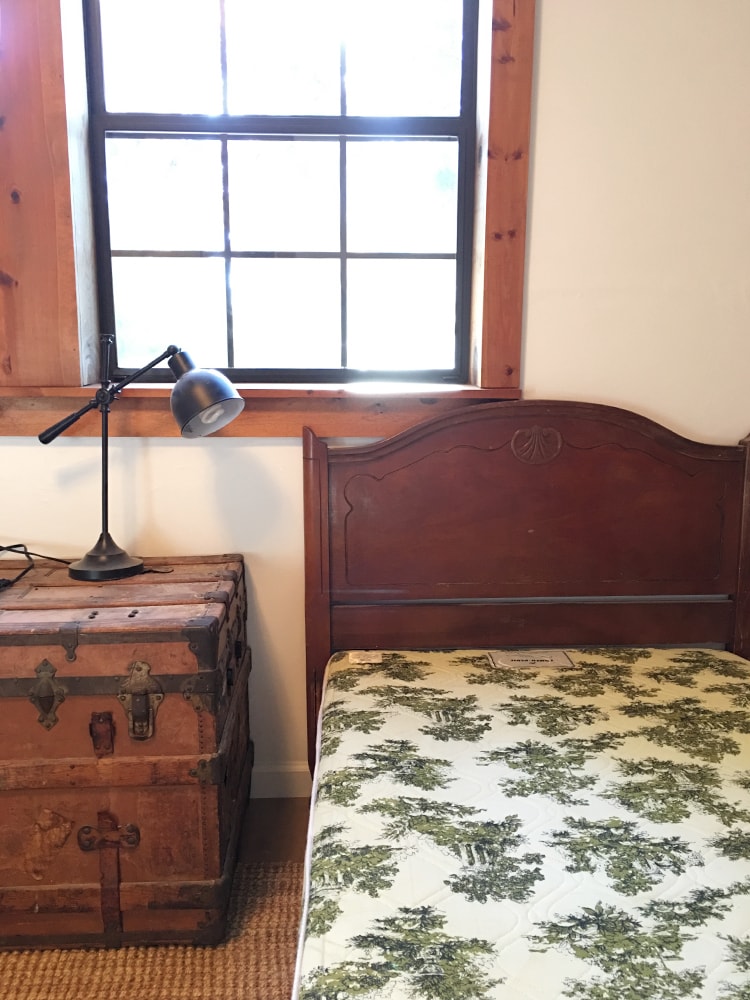
I reused the bed and gave the night stands a quick makeover, and here we are now:
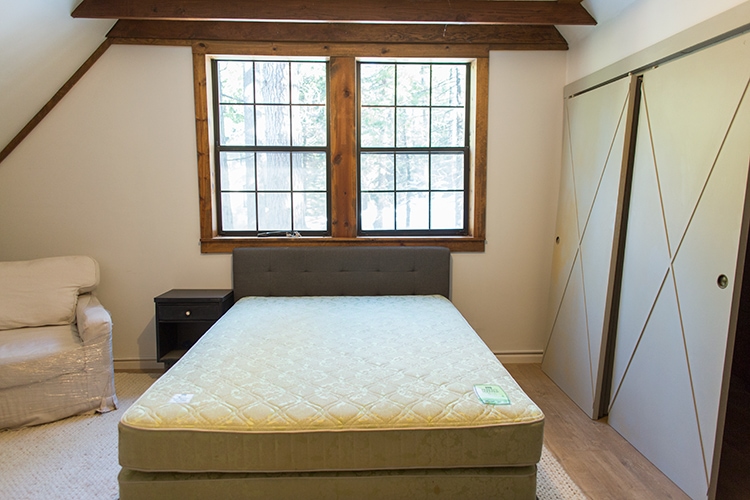
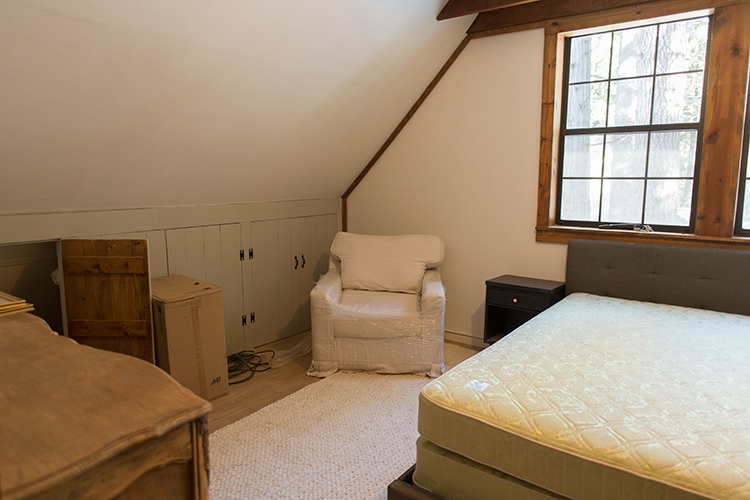
Still have to do the bedding, add curtains, fix the closet doors, potentially switch out the rug, install the chandelier, lamps, accessories, etc. But so far this is the closest room to being finished.
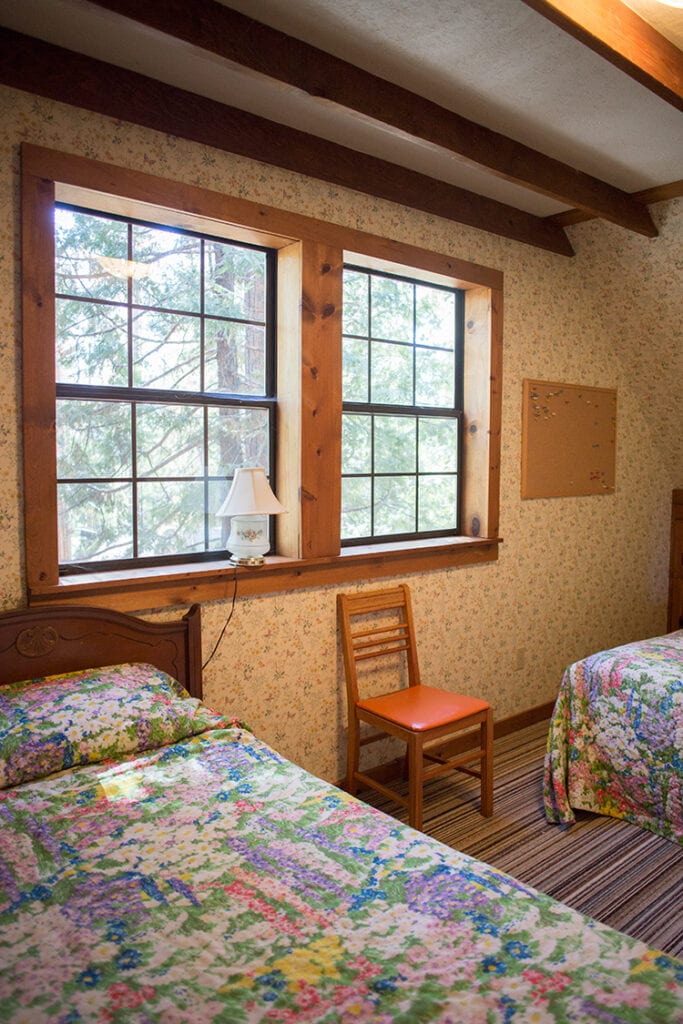
Next up, Bedroom #2:

And how it looks now…
I added the shiplap wall, painted the trim gray and put the bed back in. Still have to add bedding and decor/accessories—this one shouldn’t take too long.
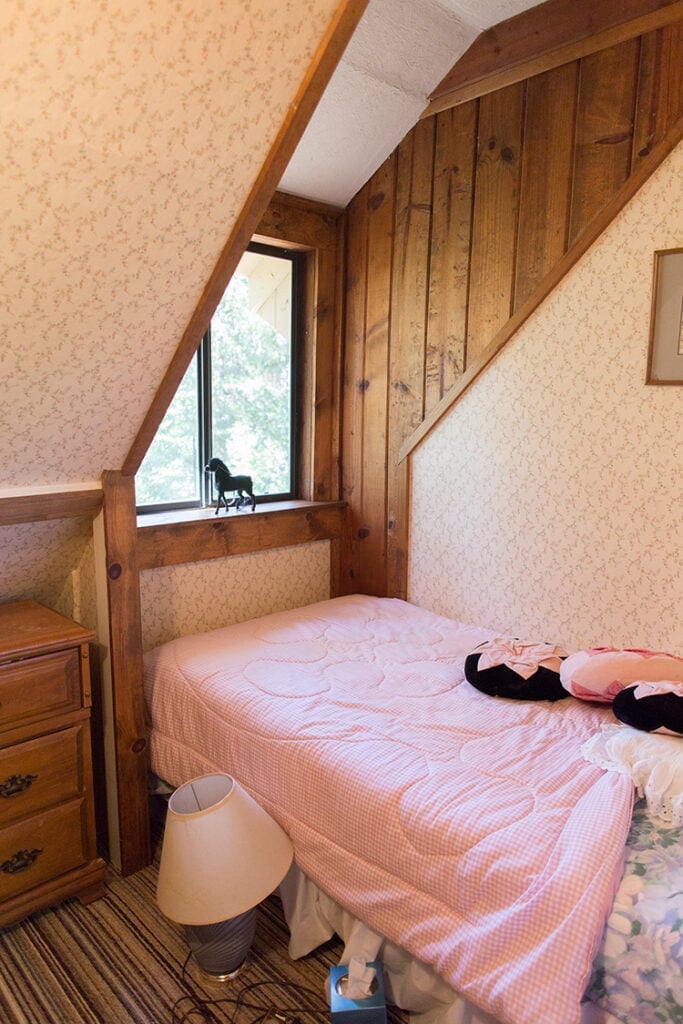
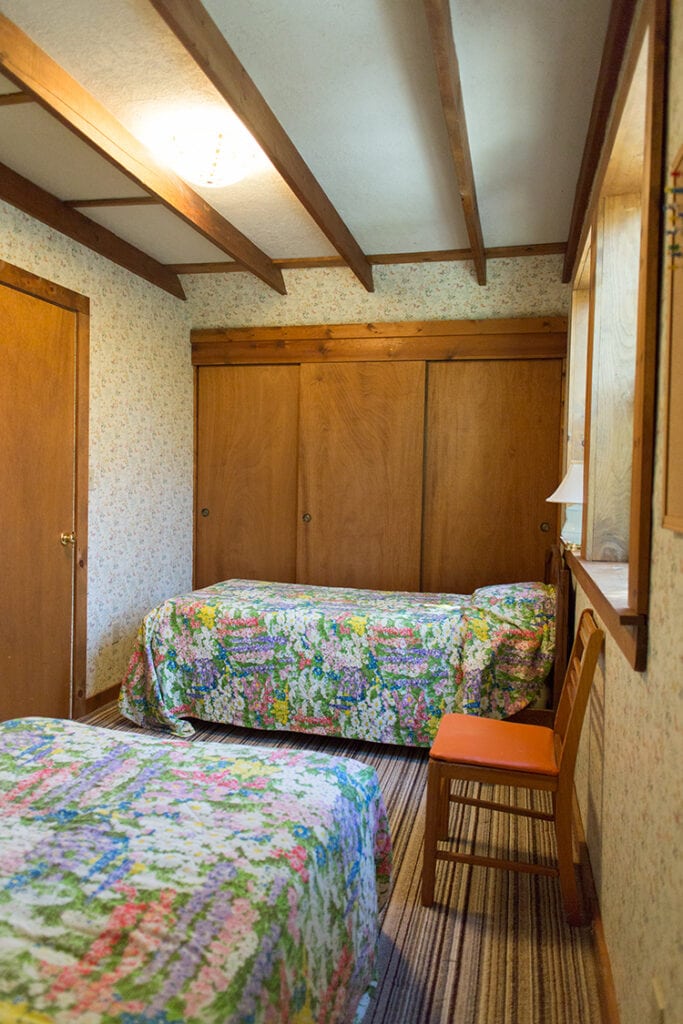
Bedroom #3:
This is my stenciled room. I ditched the queen bed and plan to put a smaller daybed in here to open up the space.
And apparently I neglected to take any actual photos (there’s video in today’s episode) so this is old, but the trim pieces in the corner have been painted white along with new white baseboards:

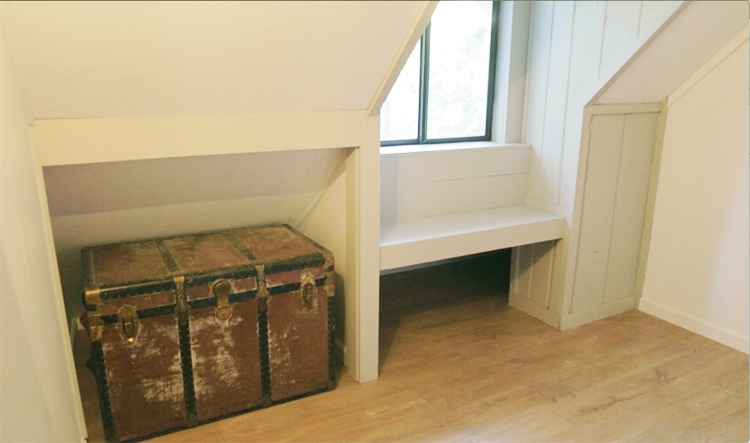
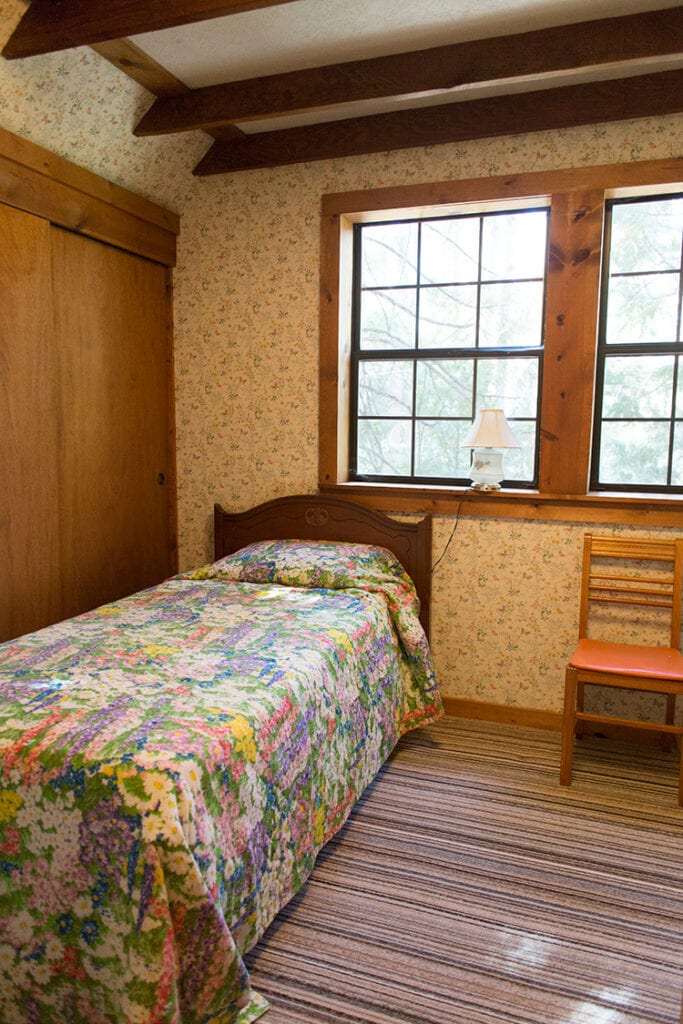
Now for the littlest of them all, Bedroom #4:
I’m really excited about the bedding and color palette I have planned for this one:

And Bedroom #5:
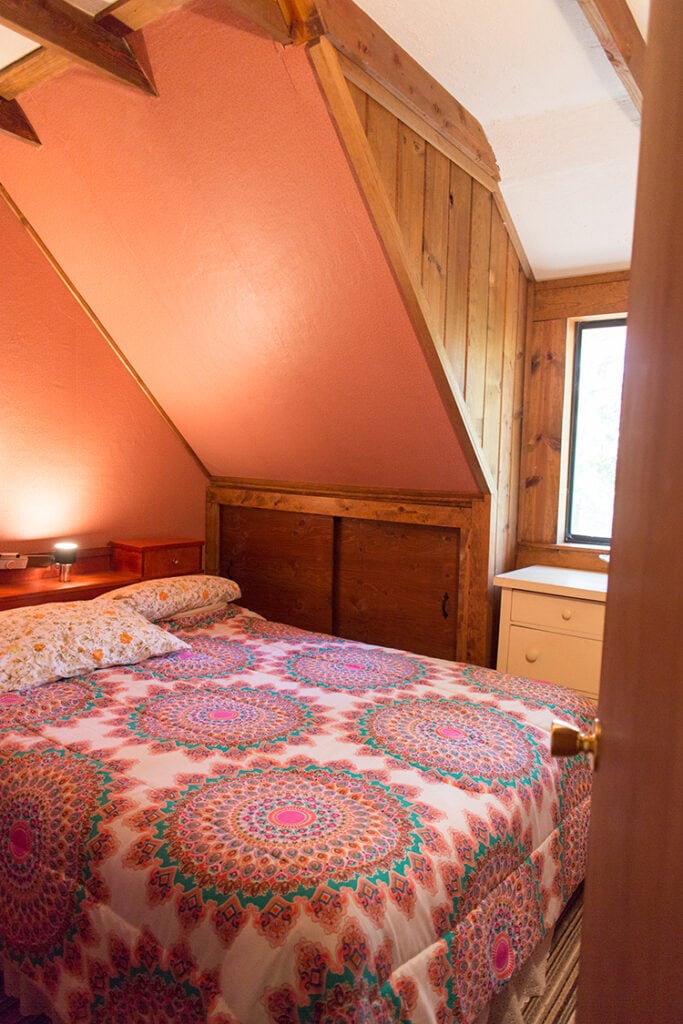
Lucas assembled the queen bed (from Wayfair) so next up is a dresser makeover, plus bedding/decor/touch up paint/lighting (you can see much more of this room in the video!)
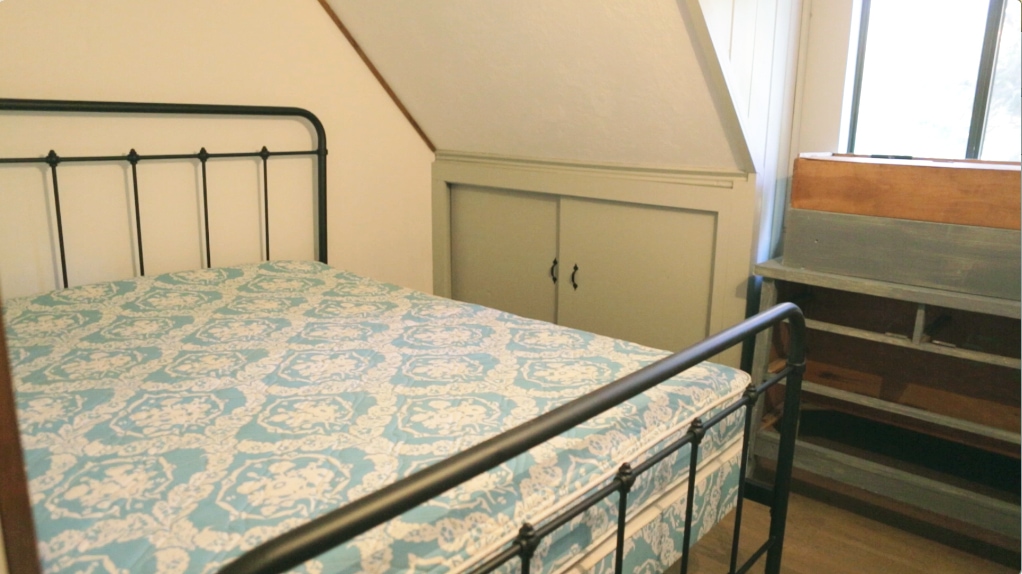
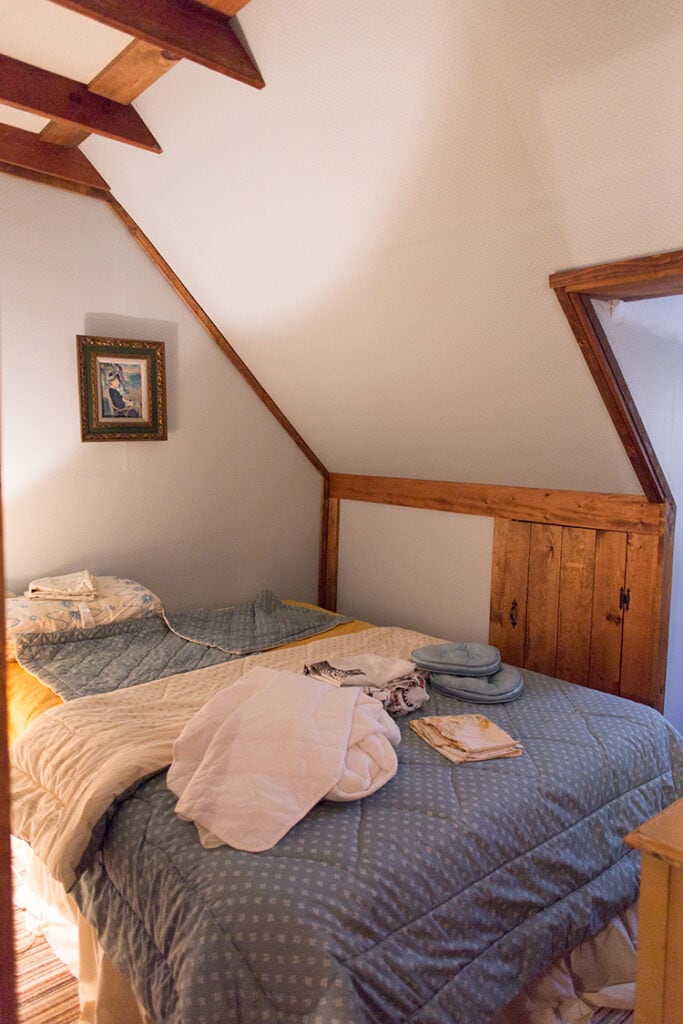
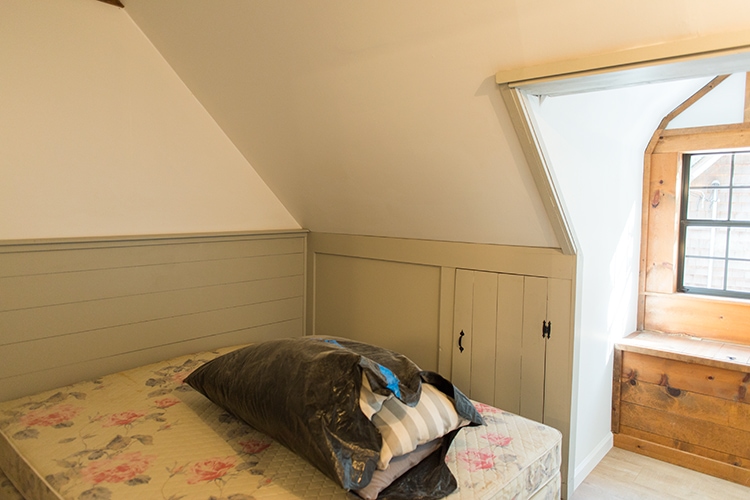
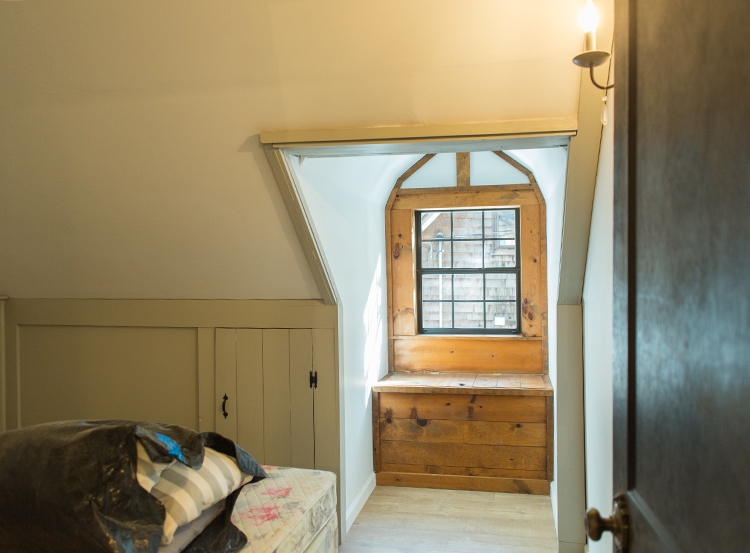
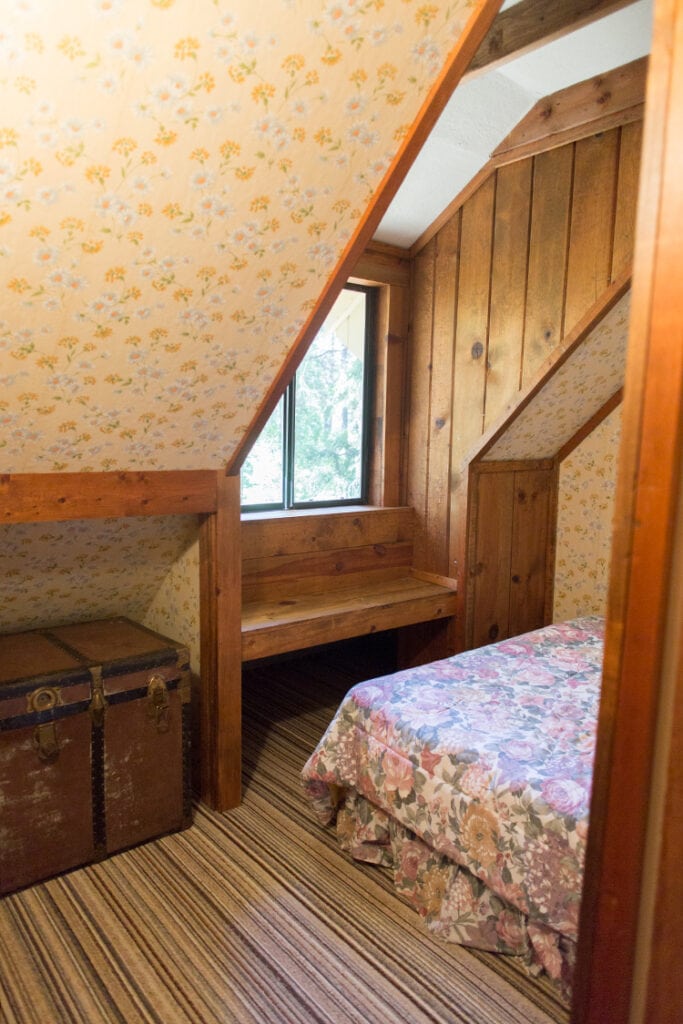
And finally, Bedroom #6:
This is where my saddest moment of the weekend took place.
I inherited those two twin beds, and you can’t see it in the original photos but they were the cutest things with matching footboards and all. I reversed the door swing so that I could change up the layout and place them next to each other, like so:
I sketched it all out, ordered matching bedding and planned to give the beds a painted makeover. Unfortunately, when I went to gather the pieces, this happened…
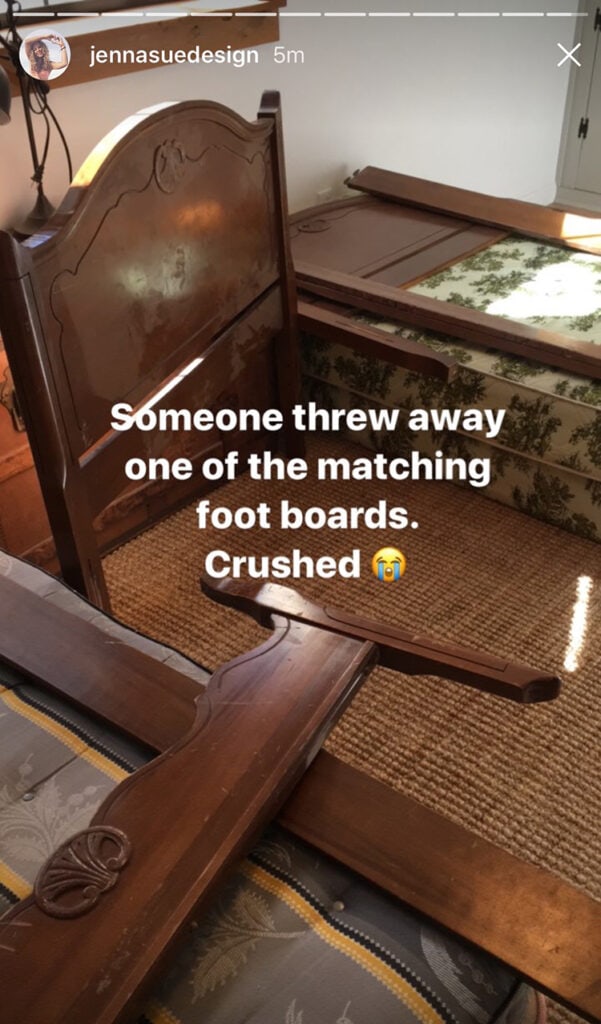
Honestly I’m surprised more things haven’t gone missing given the constant state of disorganization number of people coming through the house, but I was so looking forward to this bedroom setup and after an hour of searching underneath the house through the remaining piles of rubble and debris, I had to give up and find another alternative. Which is much harder to do on a very limited timeline and budget.
The new plan is to use only the headboards (they’ll just be propped against the wall).
It also means that now I have to buy two twin bed frames and bedskirts (since the old beds eliminated the need for that). Oh well, the flip goes on.
On to some happier news… my favorite room in the house is nearing the finish line!
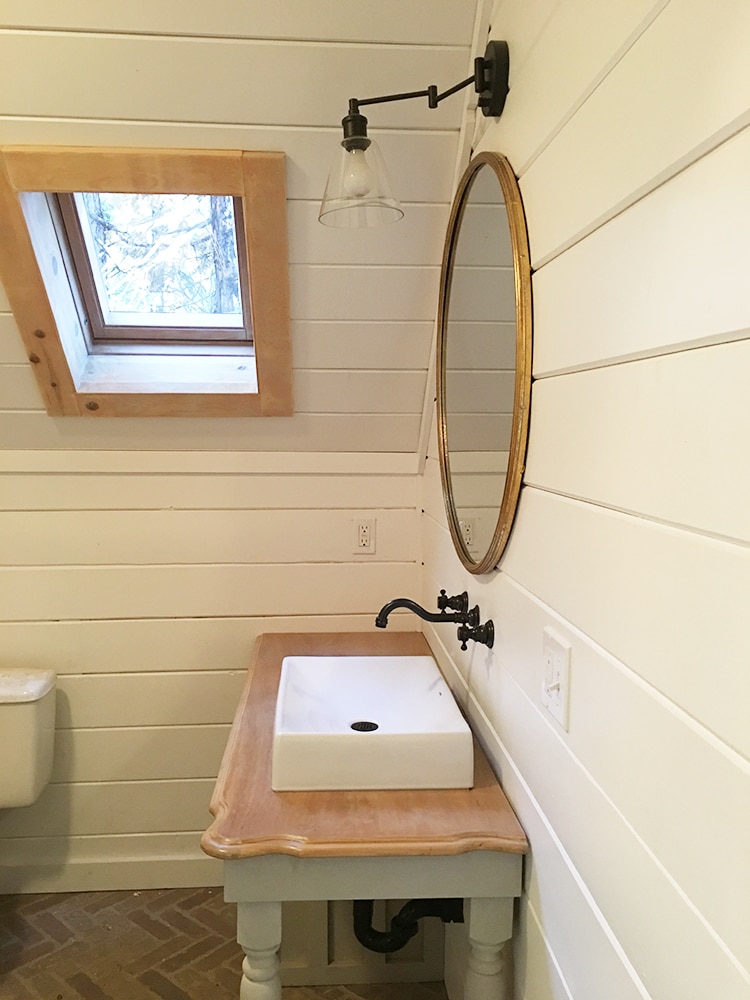
We finally hung this gold beauty (perfect fit, right? Whew! Only $140 and going out of stock fast, btw):
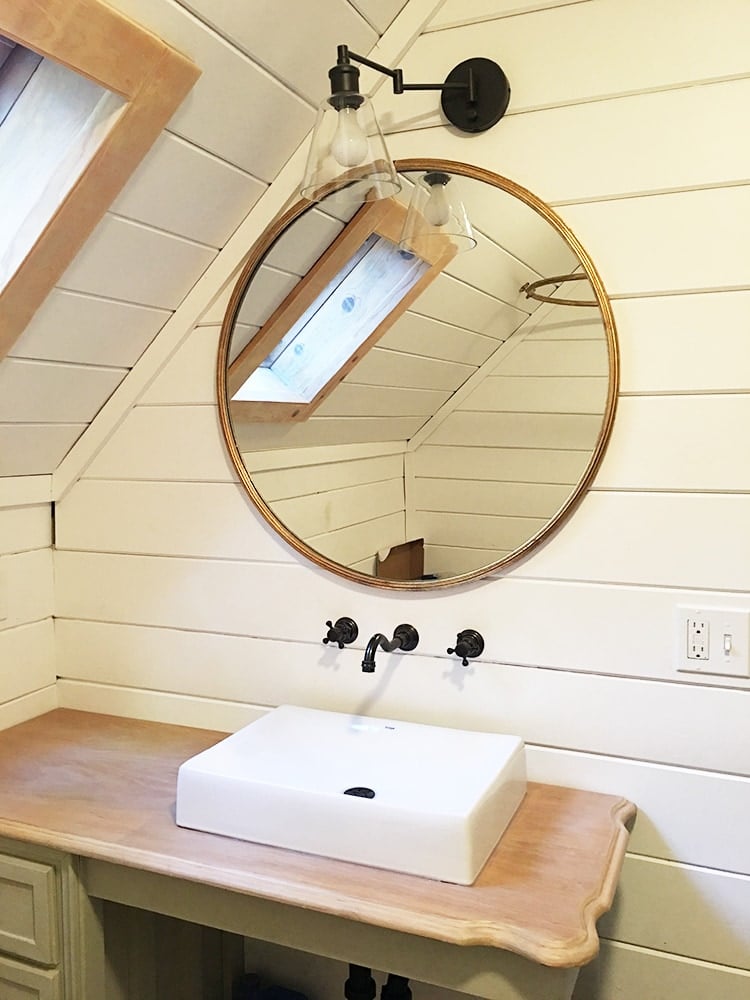
And I hung this mirror I scored at Restore (and refinished) above the tub…
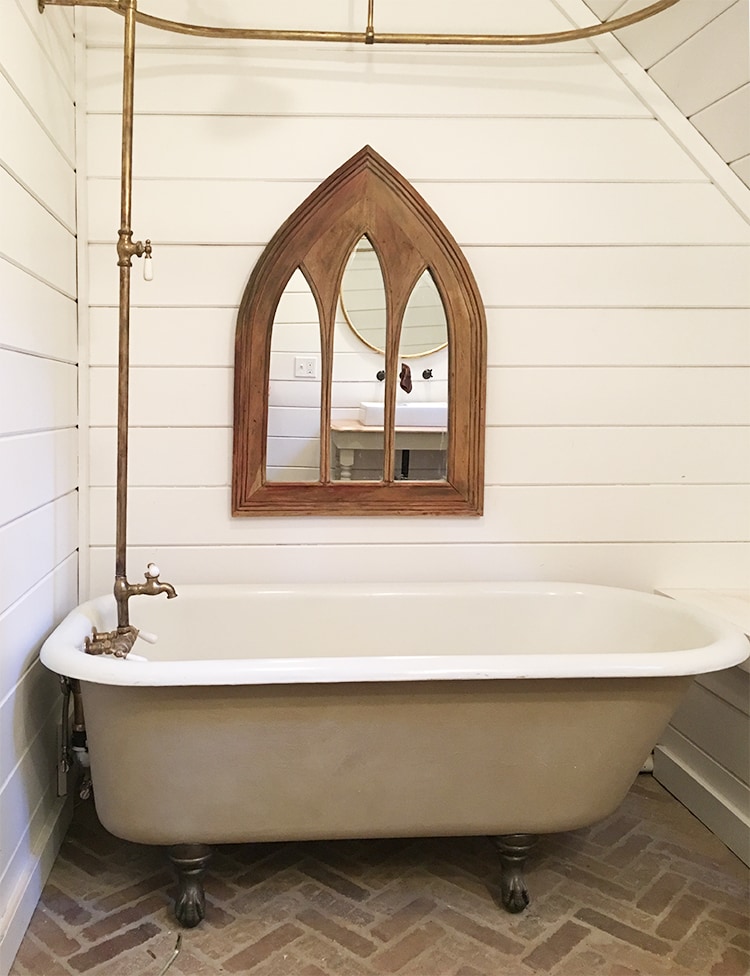
Picture soft white gauze curtains, a little wooden footstool with soap and a fringed turkish towel draped over the tub… can you see why this is my favorite room?
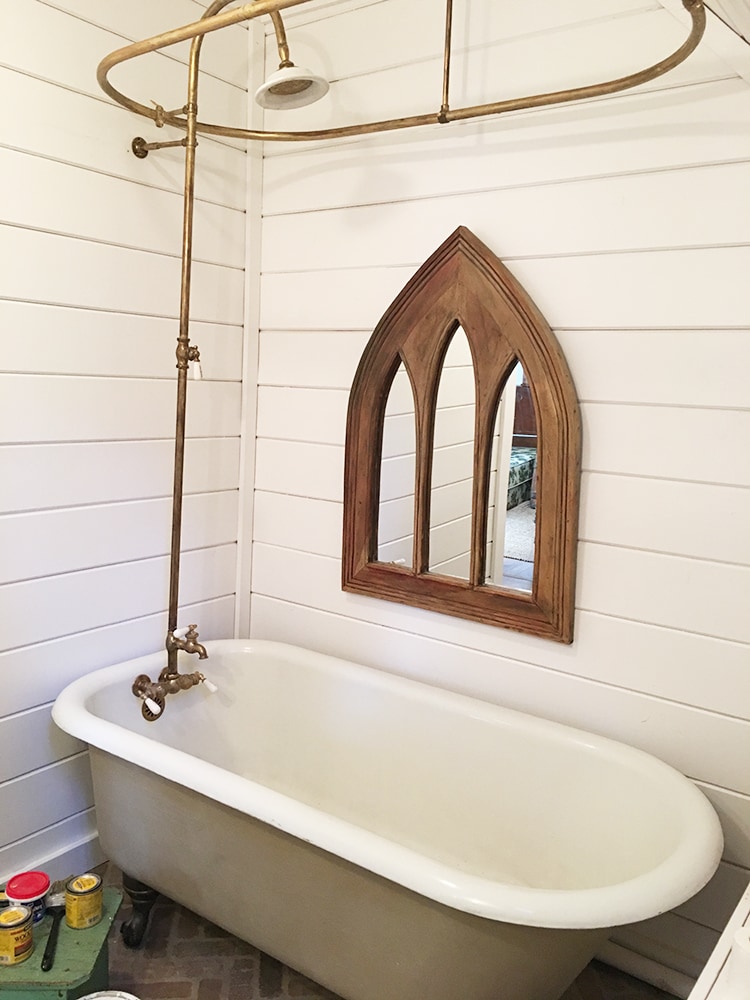
All that’s left to do in here is one last piece of trim, a white toilet seat and accessorizing. Is it weird that I get goosebumps just visualizing the end result? If that’s wrong, I don’t wanna be right.
Well friends… that brings us to the big announcement. This is something that was not known or planned beforehand, it came up just a couple months ago and has added a whole new element to this project.
In less than three weeks, Country Living magazine is coming to shoot the house for their May issue!

Suddenly this is much more than just a flip… the budget has been pretty much thrown out the window and I’ve got to make sure every detail is well thought out and at magazine design standards. The editor has placed faith in me, without seeing the house or even knowing my plans, to pull off the renovation & design of an entire home worthy of a full spread in a few months. No pressure.
But I love a good challenge—and while the weather and luck may not always be on my side, I will find a way to make it all work. I’ve got this 😉
More progress & projects on the way, including several furniture makeovers next weekend (if we can get through this snowstorm!). Find me on instagram, snapchat and facebook where I’ll be updating as frequently as possible, and asking for your input to pull this all together in time! Lots more on the way…
Disclosure: Some of the products listed were provided via sponsorship—all of which I selected and fully approve of.


AlisonG says
You’ve got this! It will all come together. Congrats on the feature.
Sharon says
Just Fabulous! Can you tell us about that wonderful carpet in the Living Room?
jennasuedesign says
Thank you! It’s the chunky maui loop from Rugs USA.
Michelle says
Way to go, such a fantastic getaway cottage! I live in the East Bay and tell you, I’d consider purchasing this for family weekends 🙂
I can’t help but think there must be someplace to put the lonely footboard. It has some great character to it. Perhaps as an addition atop a cabinet or mirror?
Congratulations on a job well done, and the notoriety too, well deserved!
jennasuedesign says
Thank you Michelle — you should come to the open house! 🙂 I was actually trying to find a way to use the footboard as a headboard for a different twin bed, and normally I’d jump all over that DIY but at this point there’s really no time for extra projects so I’m not sure what I’ll do with it, if anything.
Lyla says
Looking great! What kind of backsplash are you planning for the kitchen and up the wall of the floating shelves?
jennasuedesign says
Going with a white subway tile to the ceiling, with a brick accent over the stove! 🙂
Tonya J says
Seriously can’t wait to see the finished product! Congratulations on the magazine feature!
Vanessa Bailey says
I was wondering how the budget was holding up AND why you needed to stage every room; with the magazine coming I guess that is why. And yes, it is awful about the foot board of the matching twin. Keep going Jenna, the end is in sight!
kat says
Cottage Living, HELL YEAH!!
lilly says
three thumbs up!!! so happy and proud of your accomplishments, but mostly your attitude and determination. it’s looking very, very good! can’t wait to see the final reveal and the open space of the living room and kitchen 😀
Rose says
Love the post and all the new details! What great news about Country Living – can’t wait to see it all in gorgeous magazine photos in the Spring. I can’t imagine decorating that many bedrooms at once! Good luck – your talents are really going to shine with this flip.
jennasuedesign says
Thank you Rose! xo
Nicole says
You’ve got this! I cannot wait to see the finished product. I am loving following along with your flip!
jennasuedesign says
Thanks Nicole, glad you are enjoying the process!
Francis says
Can’t wait to see the end results, I’m sure you will get this done beautifully in time!
jennasuedesign says
Thank you Francis — fingers crossed!
Gabby says
Crazy proud of you! Your work and talent are amazing. Thank you for sharing both and your life with us.
jennasuedesign says
You are so sweet to say that, I appreciate the love Gabby!
Amy says
This is going to be so gorgeous when you are done! So sorry about the twin bed! I’m not a very sentimental person, but I think I would shed a few tears over that one!
jennasuedesign says
Thank you Amy! I definitely sulked for a good hour :\
Stacy G. says
It’s really coming together! Congratulations on the Country Living feature. I love the magazine, and the flip will be a perfect addition to the May issue. 🙂
Stacy G. says
So sorry about the double comment. My computer went nuts for a few minutes, and I thought my comment didn’t post. Feel free to delete one of these.
Stacy G. says
It is really coming together! Congrats on the Country Living feature. It’s a great magazine, and this flip will be a great addition to the issue. 🙂
jennasuedesign says
Thanks so much Stacy, I can’t wait! 😀