You guys.
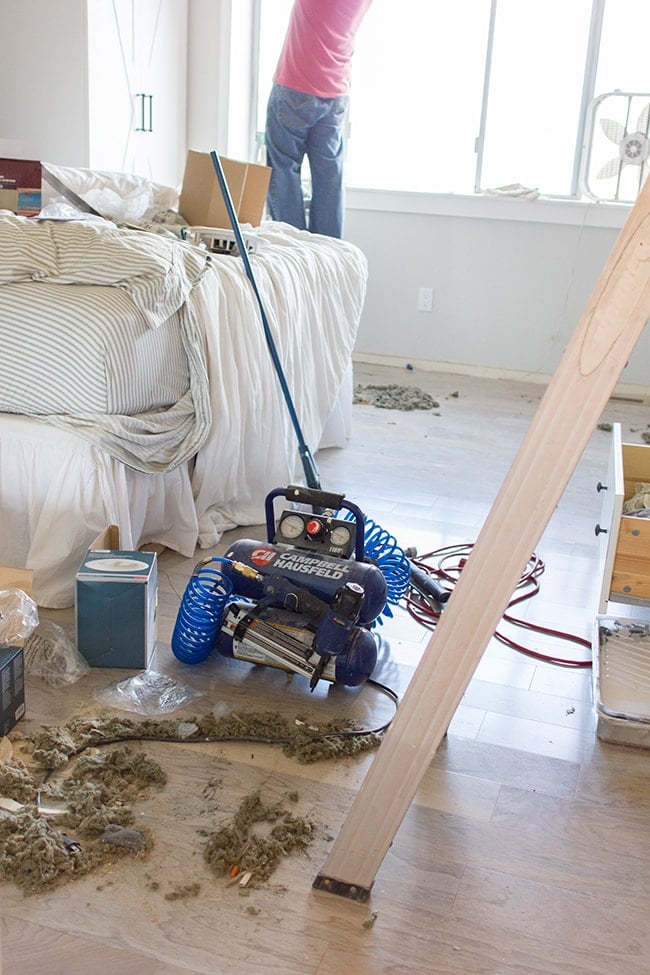
We just experienced the most challenging and physically exhausting DIY project of our lives. Our bedroom needs a deep cleaning after this one.
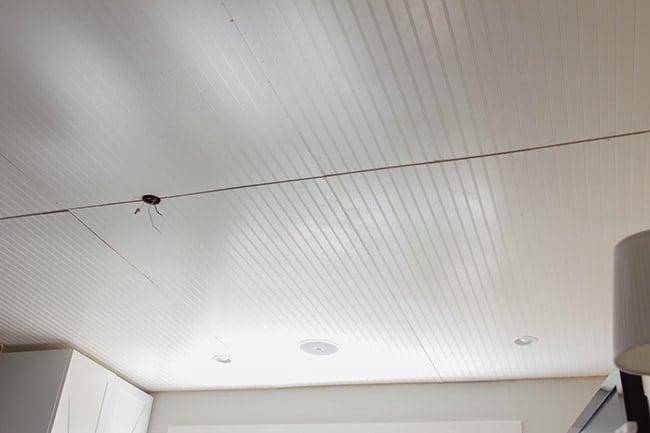
It all started Thursday when I discovered an accident after we had cut our holes for the recessed lights…
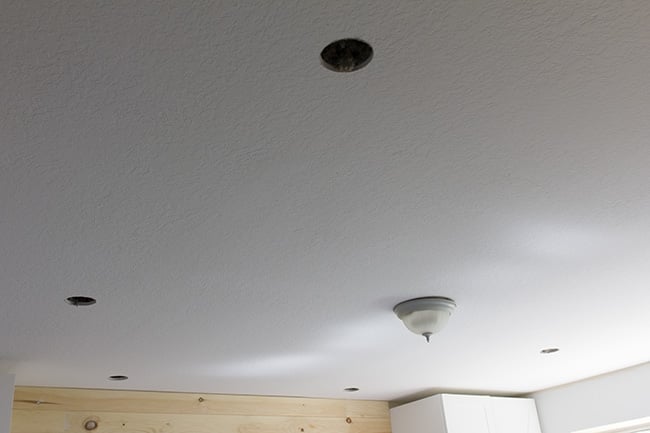
Four of them were in the way of where I planned to run the beams. Oops. Totally my fault…
Since the ceiling is textured, we couldn’t easily patch over it, so that meant we’d have to either forego the beams or cover the ceiling and start over. I had actually hoped to install some sort of beadboard or paneling initially, but decided it’d just be too much work with everything else we have going on. But now we didn’t really have a choice, so off to Lowe’s I went on Friday.
Fortunately, the size and shape of our room worked out perfectly to have six panels placed right next to each other. I’d use a seventh to fill the area in between the wardrobes, and the little walkway going into the room. I drew up this plan (to scale) to lay it all out before we began:

The black rectangles are the wardrobes, the brown lines are where the beams will go, and each color is one single panel. So we didn’t have to make any cuts at all in the center, just for the green areas. Should have been easy then, right….?
Before attempting to secure the first panel, we made sure to use lots of liquid nails. About 3/4 tube per sheet.
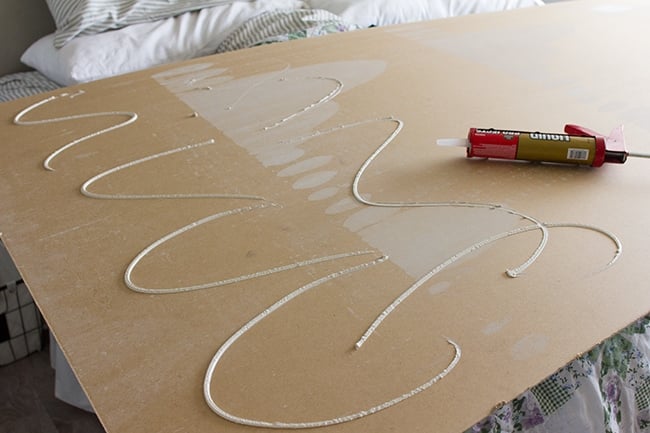
Then we hoisted it over our heads and quickly realized what a challenge this would be. Between Brad’s bad back and my 100lb self, trying to keep it from falling with our heads, align it perfectly with one hand and pass each other the nail gun across the room with the other, it was a nightmare.
On top of that, our nail gun started acting crazy—it was sparking and shooting nails across the room. We tried adjusting the pressure level to every setting we could and it would either drive the nails in halfway, or shoot them so hard that they would go into the ceiling and fly back out 3 feet away. It was insanity. By the end, these were all over the room (and in our bed)…
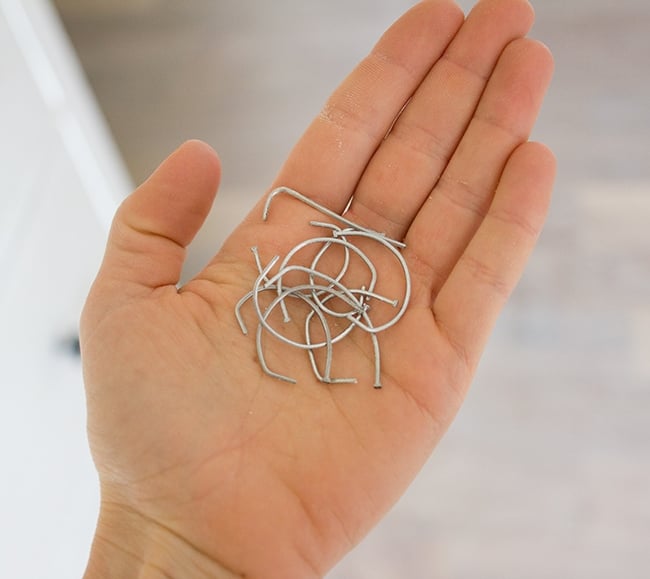
Anyway, after shooting about 500 nails into the first panel (many of them still sticking halfway out), piece #1 was done.
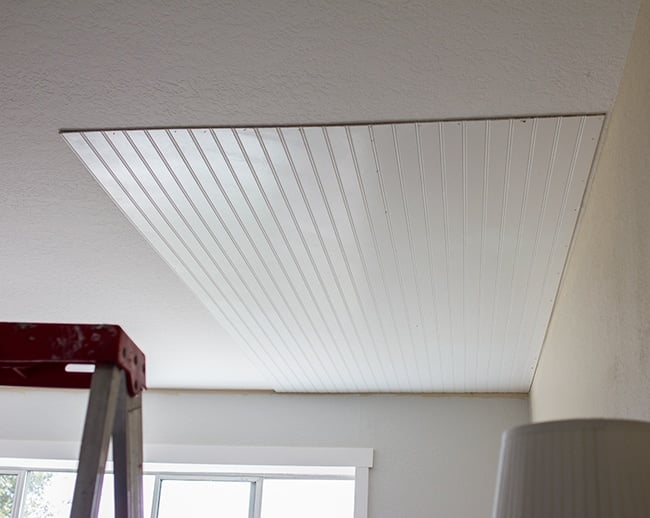
You can’t tell from the photo but I have some serious nail hole filling to do.
At this point, we debating even continuing. How were we going to get through six more episodes of this? I tried calling my dad to come lend a hand but he didn’t answer. We were on our own. Somehow we found the willpower to forge on…
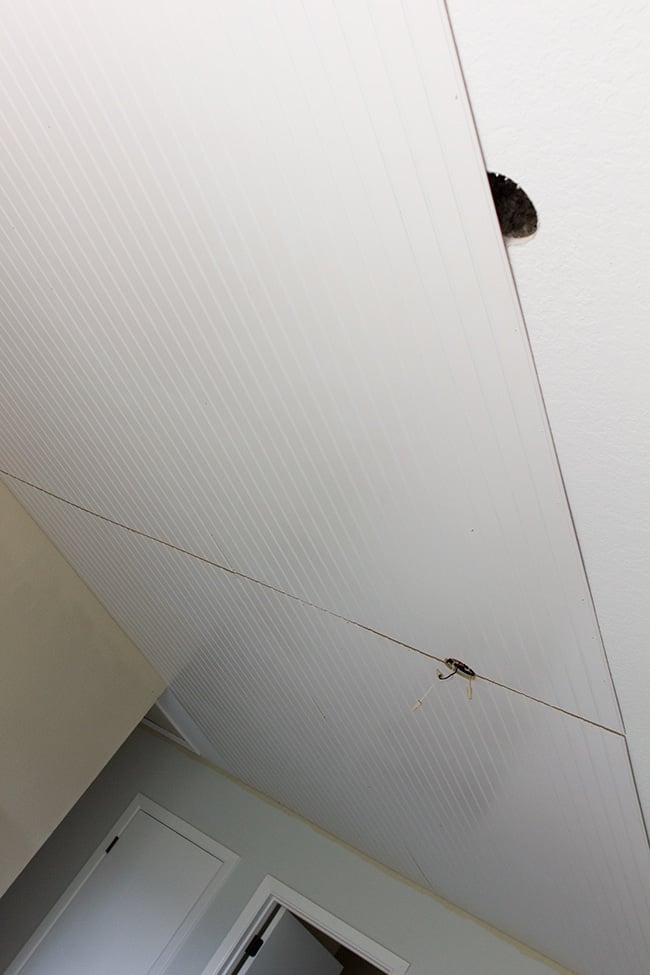
There’s a small gap in the center because the boards didn’t quite meet all the way, but there’s going to be a 5″ beam there so it doesn’t matter at all.
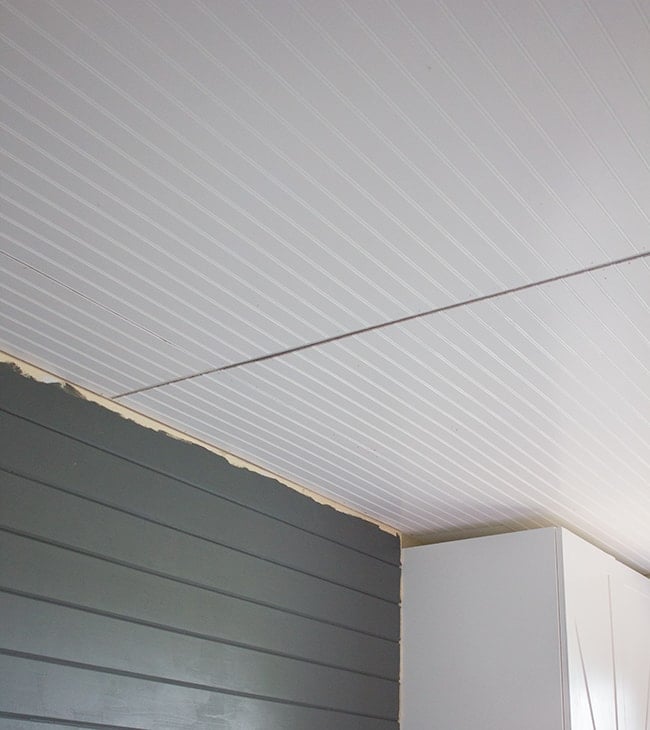
It took us hours, but we eventually made it to the back wall. Installing the smaller pieces that we cut for in between the wardrobes was a piece of cake compared to the entire panels.
Planking our ceiling was so much easier than this, if you were wondering (more time consuming, but at least 2 people could easily do it).
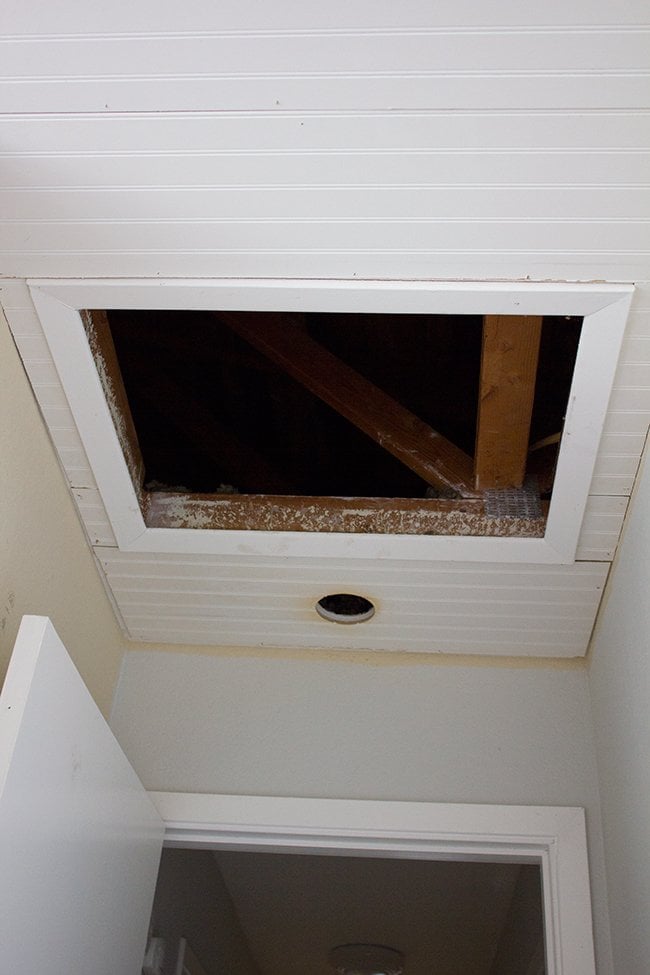
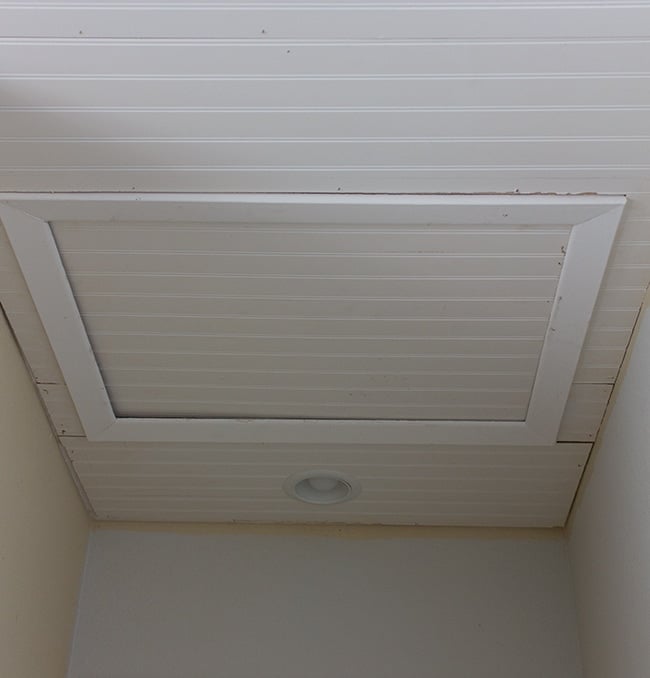
The next challenge was the entrance area:
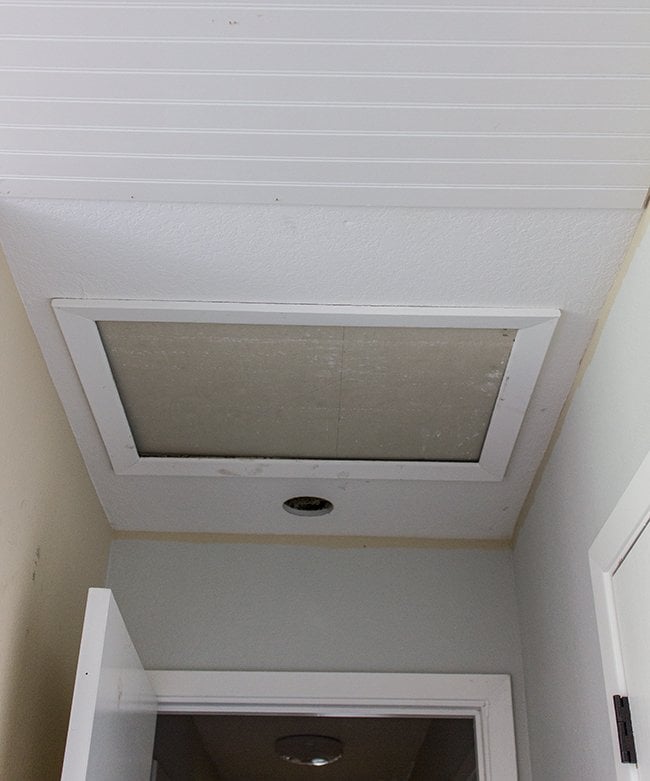
It actually wasn’t a challenge at all compared to what we had been through. I just measured and cut four pieces to go around the attic access box. We’ll be putting crown molding here which will cover almost all of the sides, so it didn’t mater if the beading lined up or there were gaps (there were).
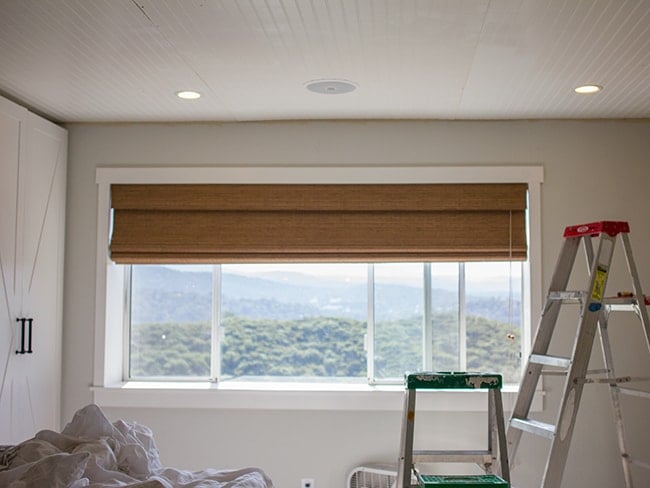
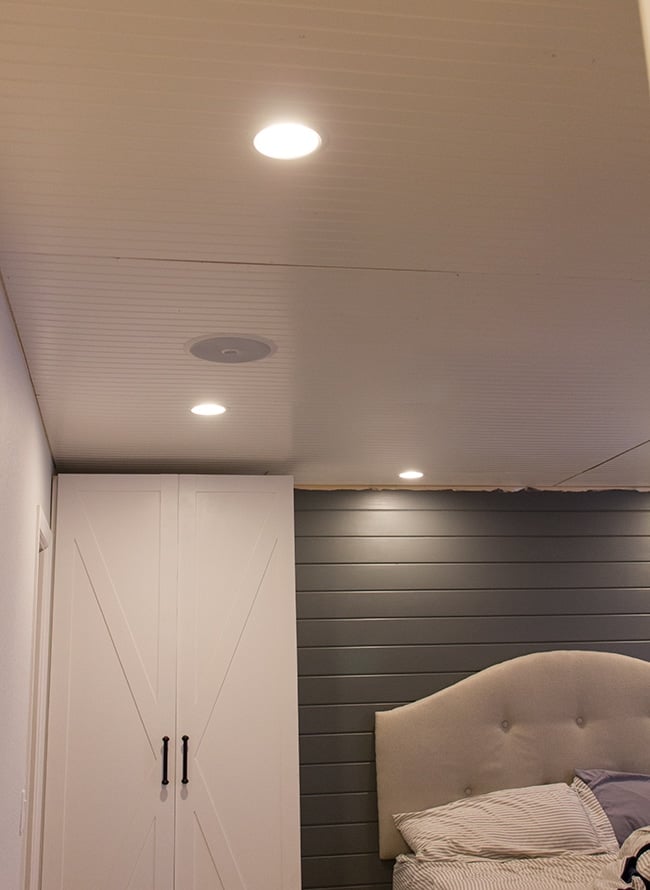
After the entire ceiling was covered, Brad drilled new holes for the lights with his hole saw.
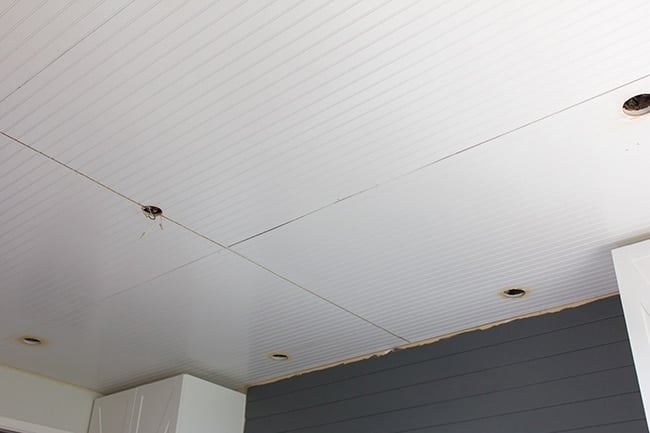
We decided on two in the back over the bed, two on each side of the room, and one by the door for a total of 7. We also have a chandelier going in the center.
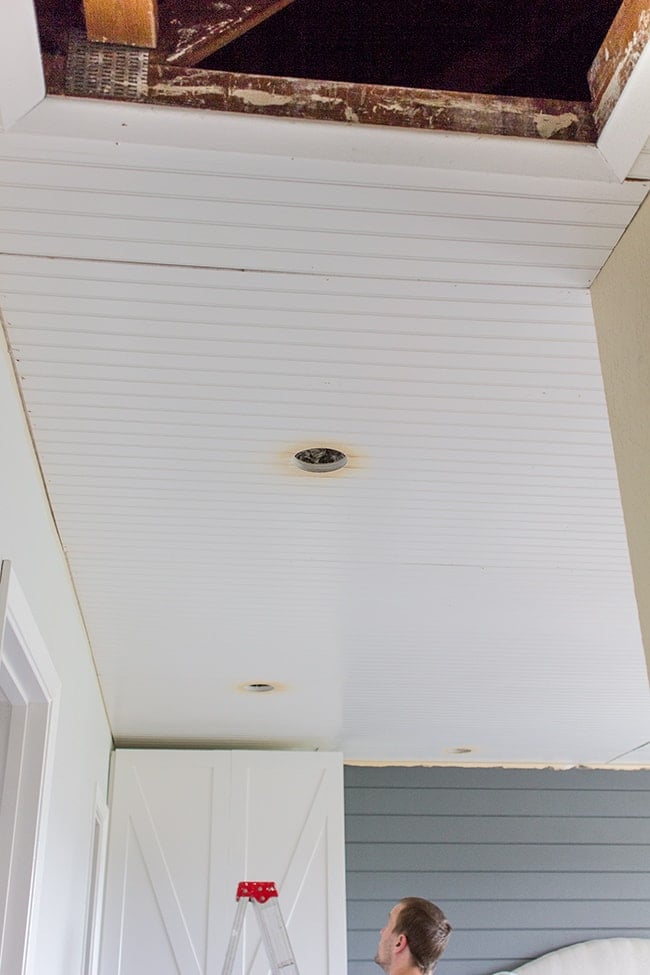
Then he cut holes for the speakers using a jigsaw.

He spent the rest of Saturday wiring everything up. Poor guy, all of this in one day.
We also had our electrician come by earlier in the week to add a second switch so we could have our recessed lights on one circuit and our chandelier on another.
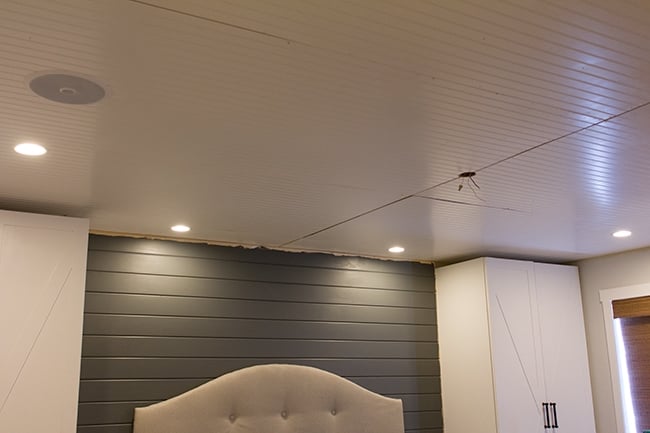
Some of the horizontal seams are really noticeable right now but it’s nothing some caulk can’t fix. You won’t be able to tell once it’s done (and remember there’s a beam going in the center).
We also finally got around to putting our new bamboo shades in. These ones are blackout because the sun rises directly in front of our window and has been waking us up by 6am every day.
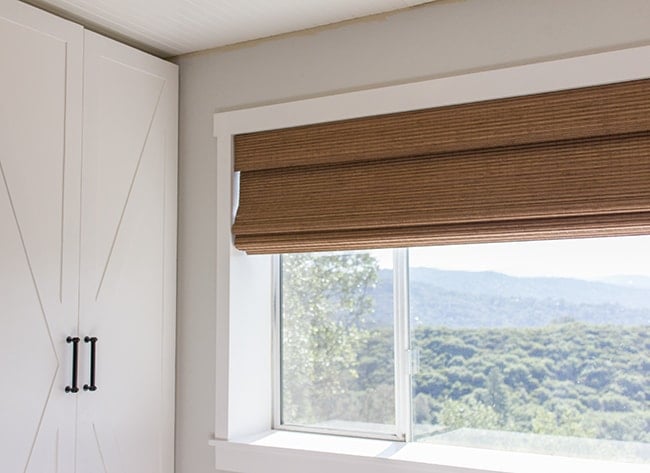
These are the Tibet Oak color from justblinds.com (the same place I got all of our other shades from—love them!)
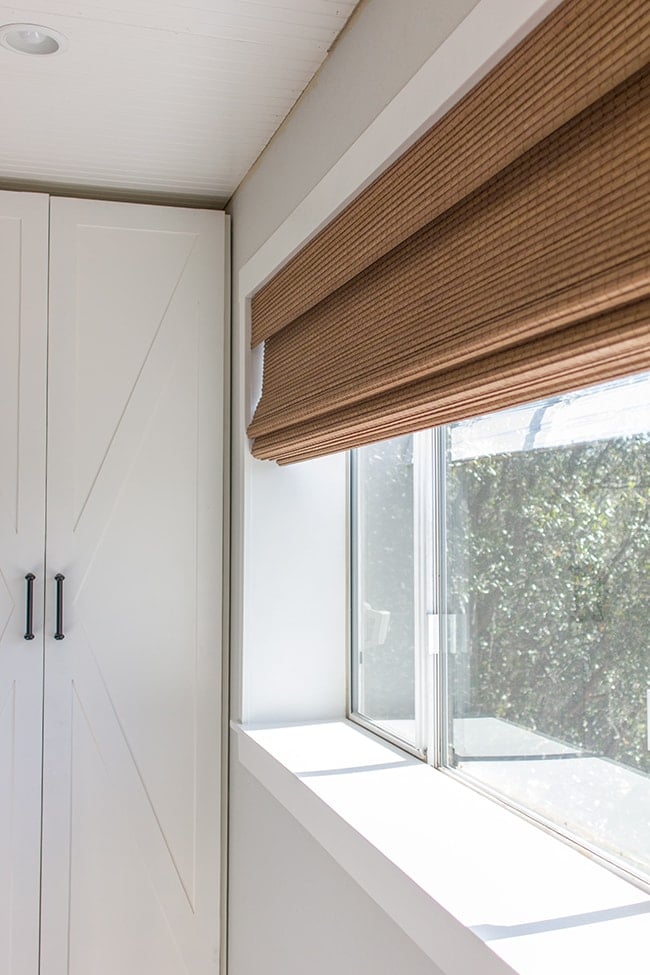
I’ll also be adding curtains in the near future so the window doesn’t look as naked.

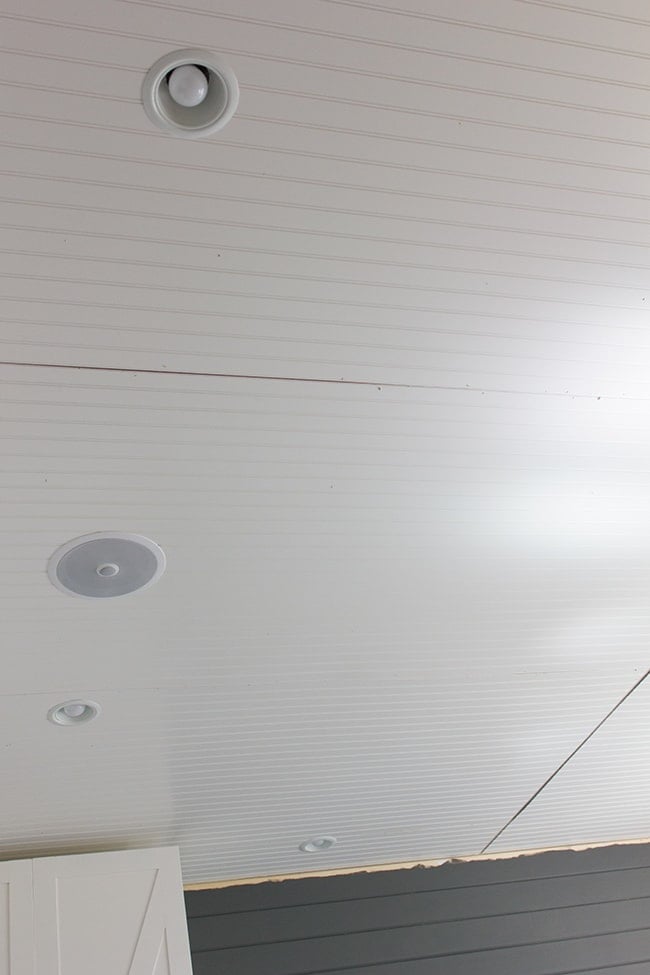
My favorite part of this whole project is the lighting though. It completely changes the mood of the room. It’s so nice to have an actual dimmable light source after living with the crappy underpowered fluorescent-yellow center light.
Oh, and the speakers can be connected to the TV so the audio experience is pretty awesome now too.
And that’s about it for this weekend. My little sister is visiting from Florida so I’m not going to spend a lot of time on projects this week (my body is still in pain from Saturday so I can’t overdo it).
The goal is to get everything patched, caulked, sanded and painted by Sunday night, so there won’t be any second post this week (sorry!). Family first 🙂
Hope you all enjoy your first week of summer, see you in a week!


Brad Sue says
Leila, Pyle PDIC80 on Amazon. Best value of any speaker I've ever installed. They work out to be just over 25 bucks a piece. You can do your whole house for really cheap.
Jenna Sue says
Thank you! I got the Economy line 🙂
T Bomb says
Hi! Love your style! So glad to see you have an etsy page too, I love those prints. Quick question concerning your woven blinds. At the Justblinds website they have different types budget, economy, deluxe and woven. Which ones did you purchase for room darkening? Thank you so much and cannot wait to see what you do next!
Leila says
Thank you, Brad!! Did you get these speakers from ebay also?
Ginger says
Thanks! We have 8 ft ceilings too and I really like your beams in the kitchen, but wasn't sure if it would work with the height, but yay! I love your style..the colors, texture and simplicity.
Brad Sue says
When we move we never take the speakers with us, or else you leave holes. When I relocated the cable for the Comcast receiver from the side wall, I also ran Network Cable (Cat5e), and RCA Cables. I connected the RCA cables from the comcast receiver to the central audio closet in the house where the speakers are switched on and off and that's how we have TV audio anywhere in the house.
Leila says
Omg, that is so much work, I bet your arms are so sore right now. I have a question about the speakers, are you using the same ones are the Florida house? Did you buy new ones ? How did you integrate these speakers with the tv plus your stereo or they are independent ?
Shel says
I am laughing only because my husband and I just put up the same panels in our covered patio. All I know is I had major bruises on my legs from leaning into the ladder while holding the panel up with my head and arms while my husband used the nail gun. We had no idea just how hard those things would be. I haven't even gone back to caulk and fill holes because I was so tired of that project.
Jenna Sue says
Thanks Ginger! It's 8ft in the kitchen and a couple inches shorter in the bedroom (for some strange reason).
Ginger says
I love all your renovations! What is the ceiling height in your bedroom and kitchen?
Lauren says
Such a cool idea to put that paneling on the ceiling, even if it was because of an accident! And omg the nail gun! I always have a fear that something like that will happen and I'll get shot with it! Glad it all worked out, the room is coming along beautifully!
Lauren | https://www.livelovelauren.com
kelly says
Looks wonderful! I love that you don't gloss over the tough parts of home reno, sometimes it just sucks!
Enjoy the time with your sister, family should always come first 🙂
Shauna Roux says
Looking goooood! I love your projects, follow assiduously, but I'm so glad you're putting your family first. Get well, while you're at it!
Lelia Wendel says
Everything looks amazing! We're adding bead-board to our sun-room and it's been a huge pain the butt! Can't wait to see what you end up with!
Brianna Jenkins says
Your bedroom is coming along really well! Can't wait to see everything come together!