Today I’m sharing a few quick and easy projects I completed this weekend while wrapping up the final details in our master makeover.
Project #1: Hanging Map Chart.
I’ve always loved these vintage school charts and thought it would be fun to recreate one…
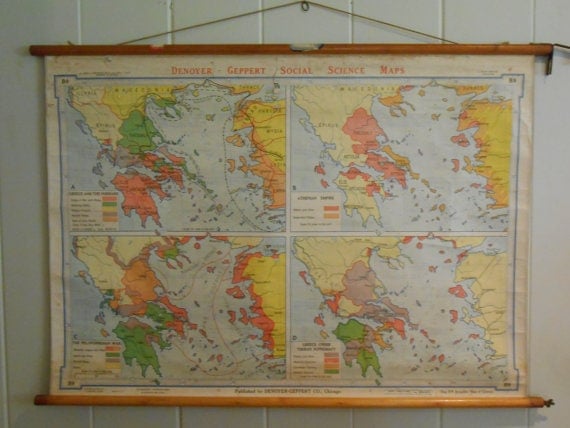 |
| Source |
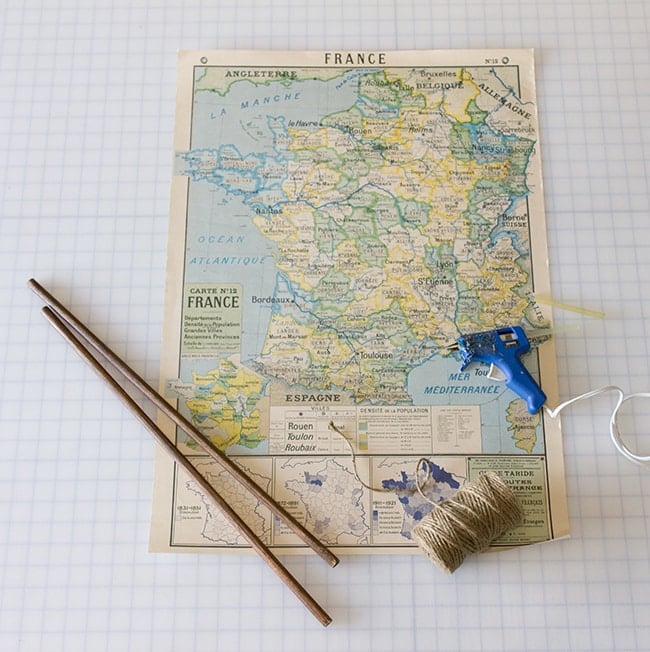
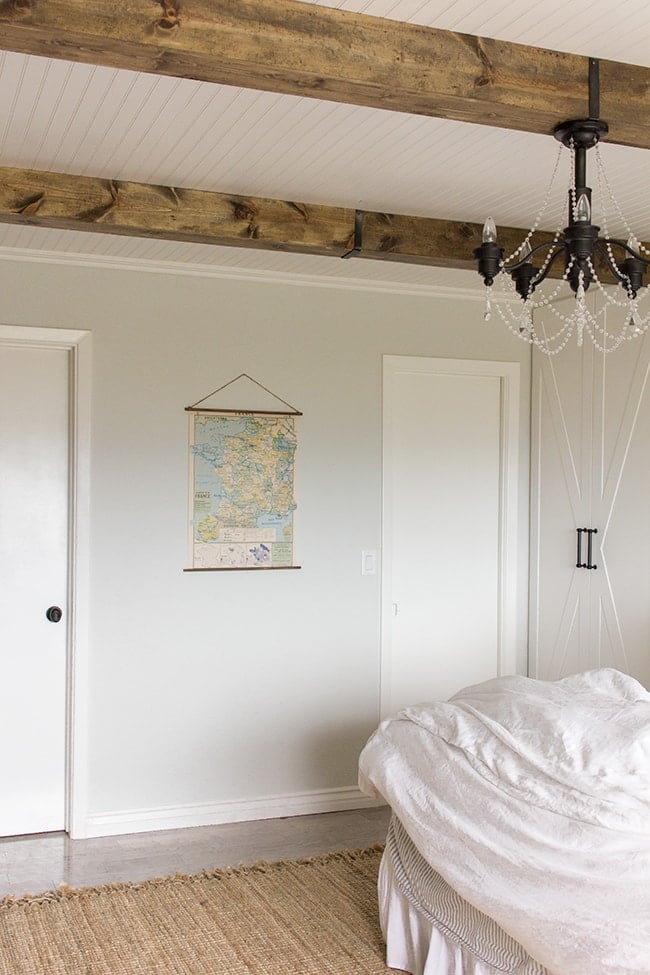
During a trip to NYC last year, I found this amazing letterpress/stationery shop selling beautiful old posters and picked up a vintage reproduction map of France for less than $8(!). I wasn’t sure where I’d put it until the master bedroom started coming together, and thought it’d be perfect on this narrow wall between the bathroom and closet doors:

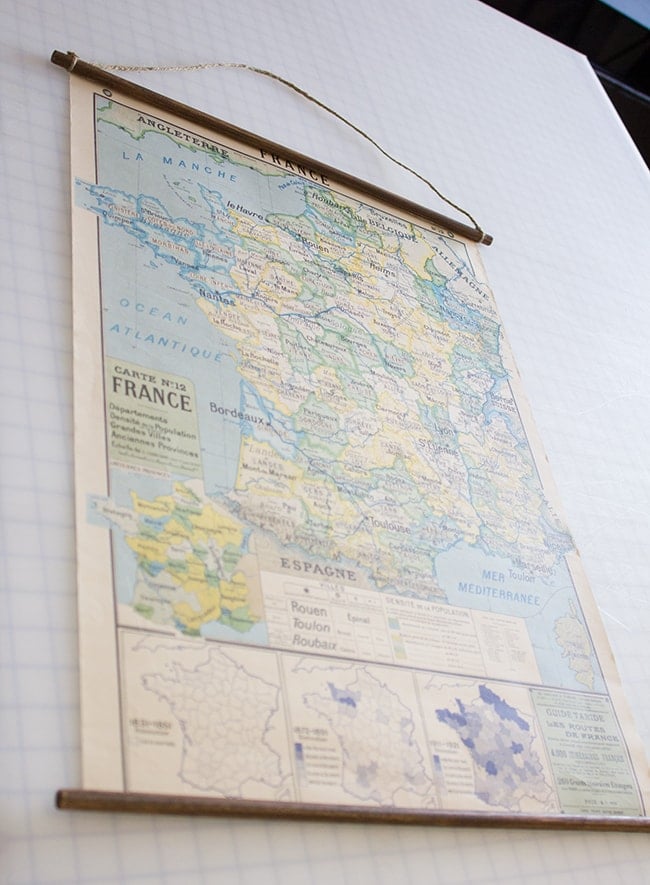
So I gathered my supplies, which included two wood dowels from Joann’s for around 80 cents each (which I cut to 20″ and stained dark walnut), some twine and hot glue (any strong glue will work).
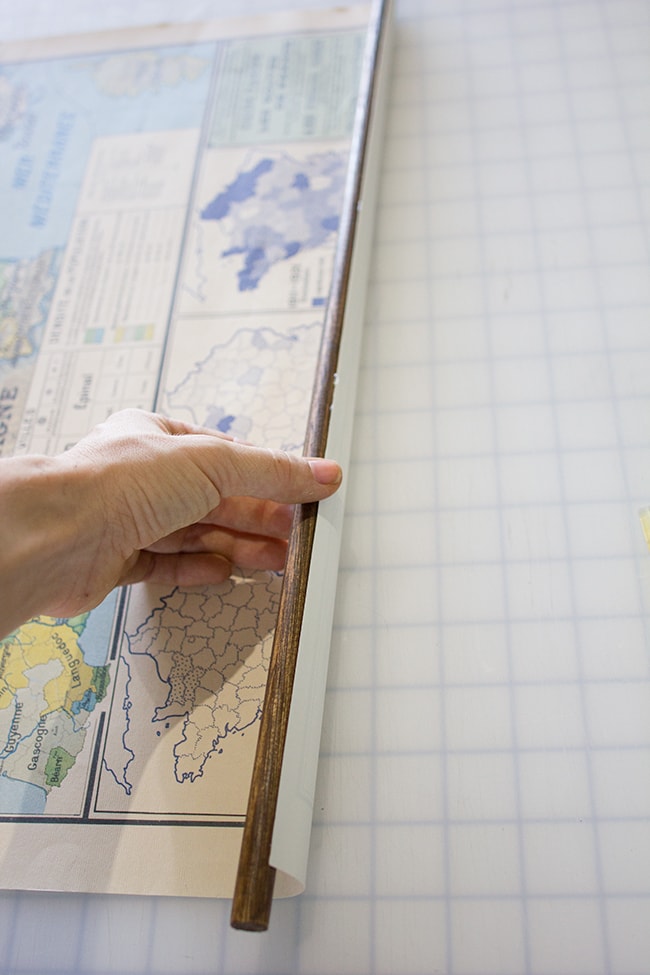
I centered the dowel along the bottom, ran a bead of glue on the paper, and pressed them together firmly:
For the top, I tied my twine on either end and trimmed the excess…

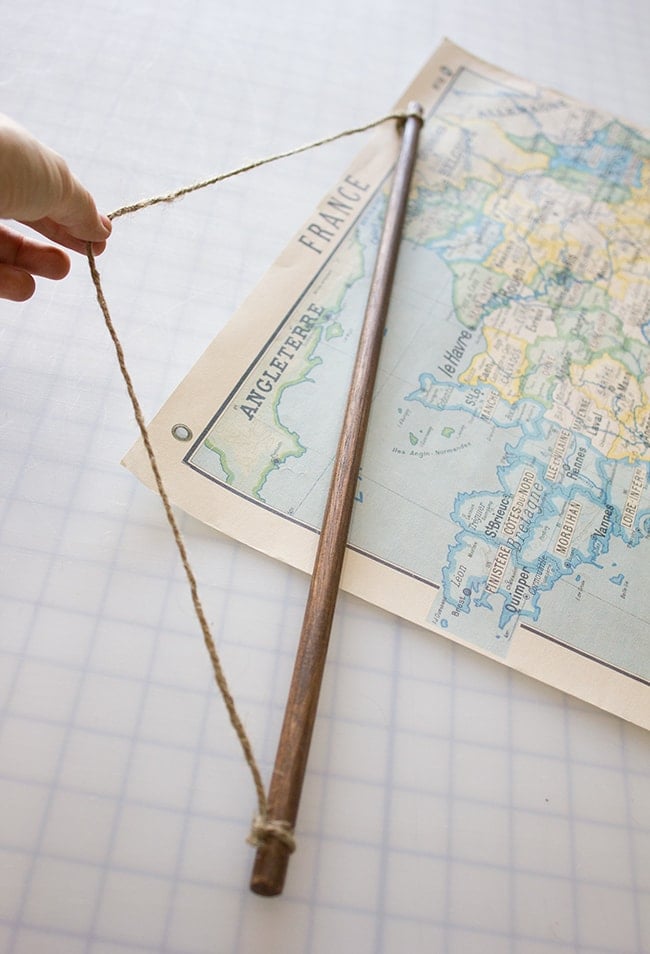
Then glued it to the top. Took all of 3 minutes.
And I think it looks pretty authentic.
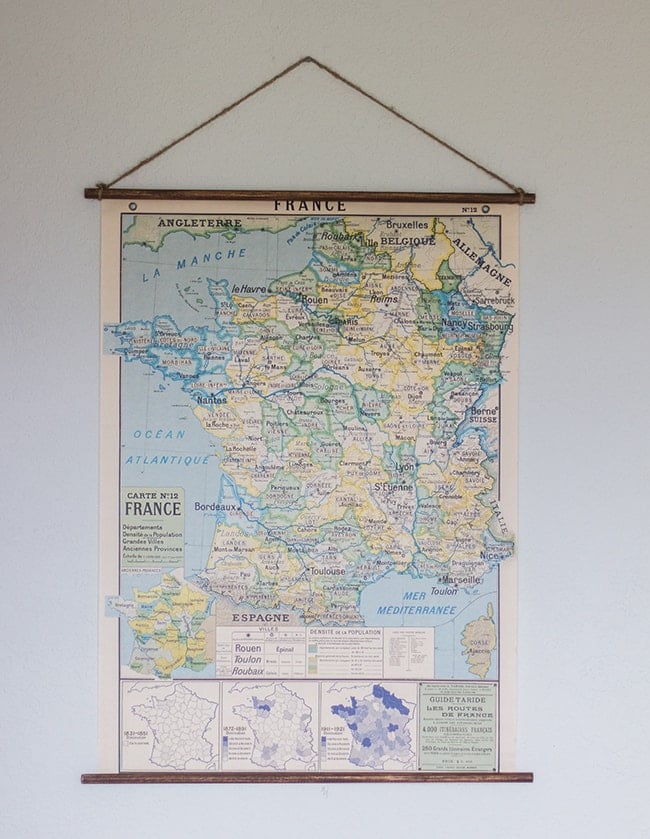
It just adds a little something to break up that plain wall of doors and no color.
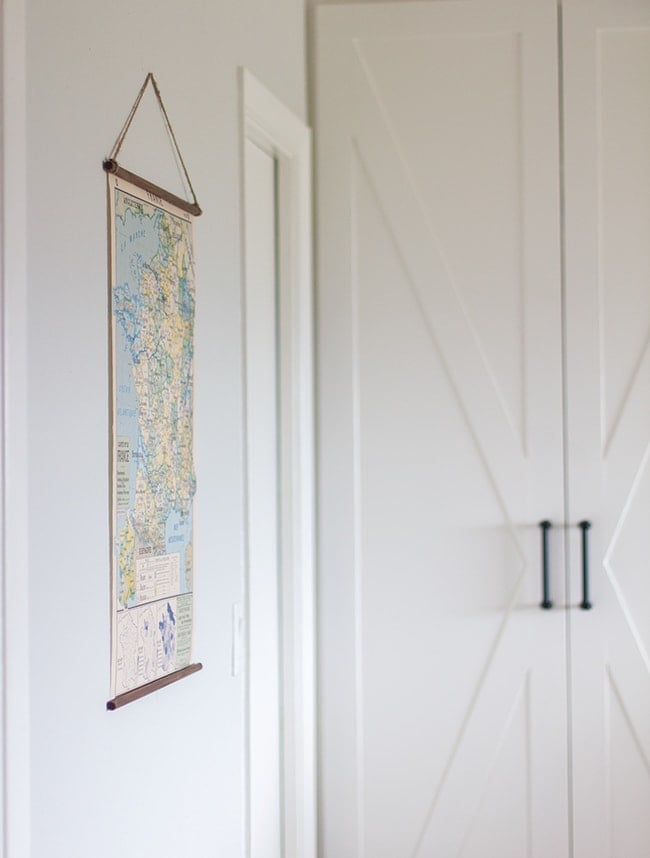
When we remodel the bathroom, the doors and that whole wall will be reconfigured, but for now I am enjoying the simplicity of it.
Total project cost: $10
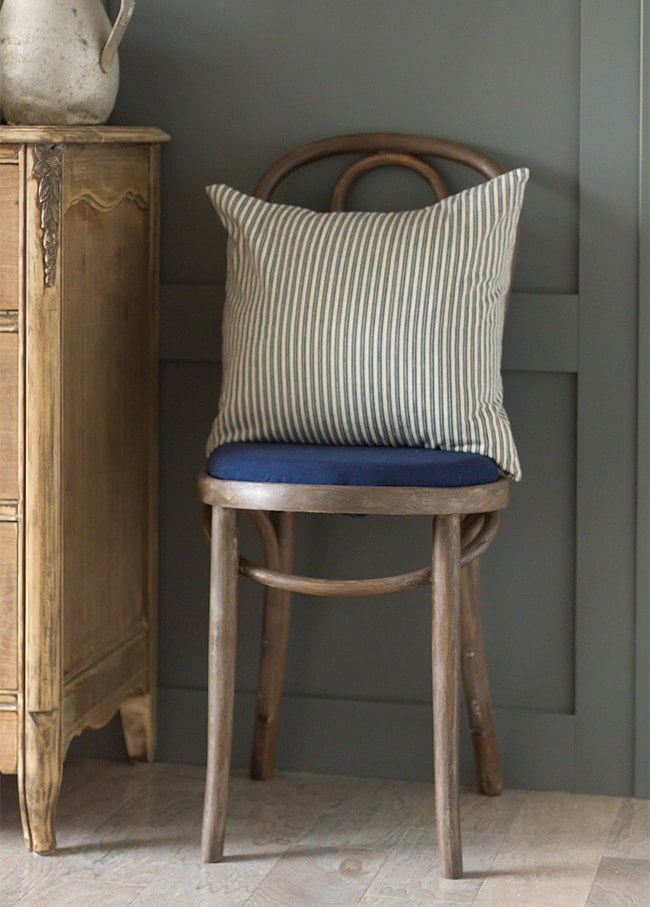
Alright… project 2: Chair reupholstery.
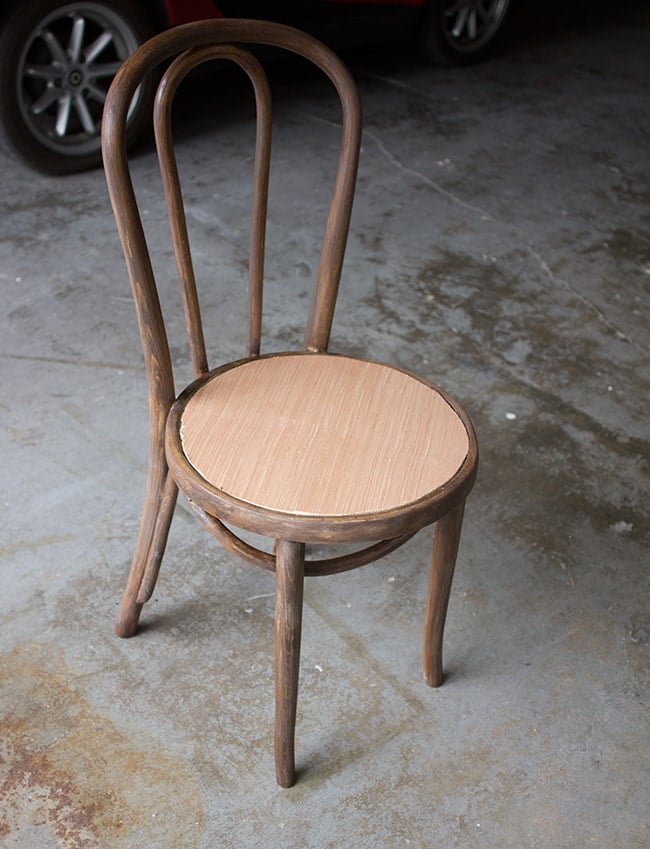
If you can remember back to a couple weeks ago, I picked up this antique chair at our local flea market for $5:
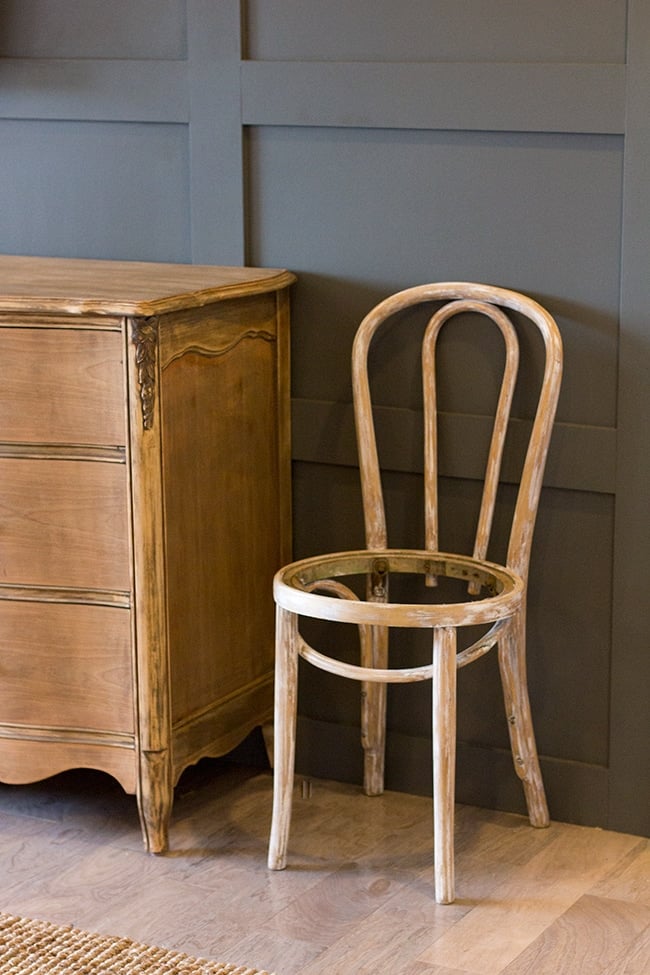
It makes for a sweet little accent next to the dresser. But it needed a seat, of course.
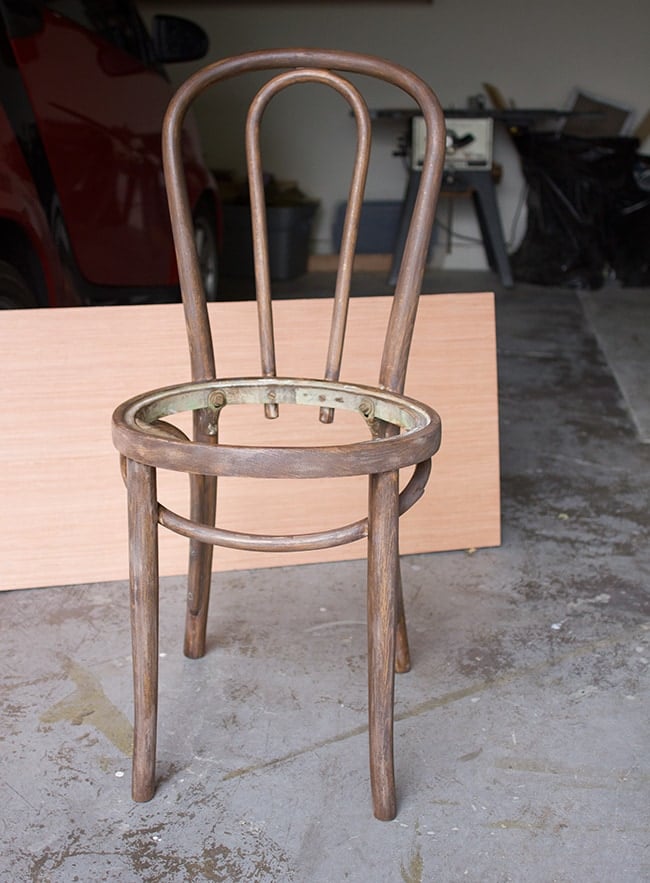
First I sanded it down a bit and applied a dark walnut stain (mixed with a hint of gray):
To make the template, I flipped the chair upside down on a piece of poster paper and traced along the inside as best as I could:
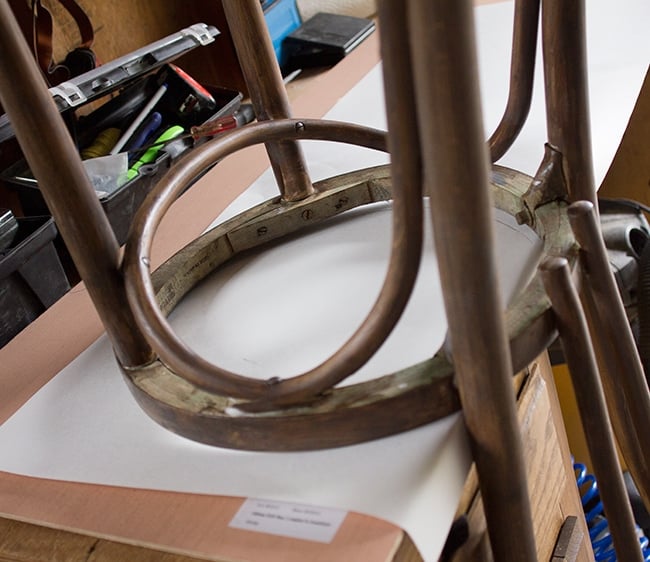
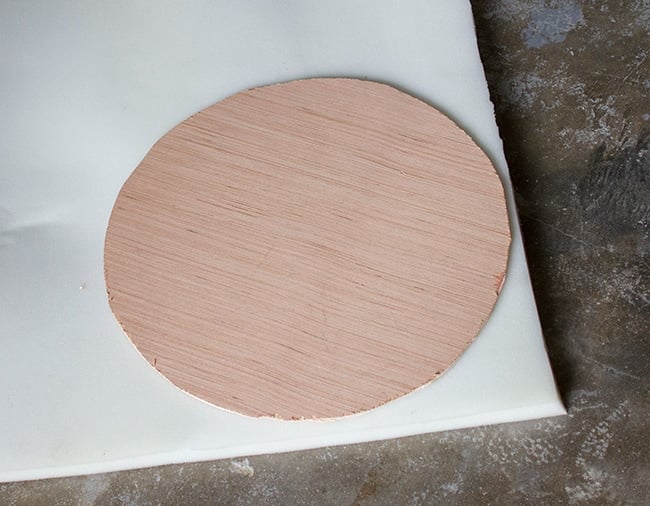
There’s a decent sized lip on the inside, so I drew around the circle around 1/2″ or so, and cut it out. Then I traced that circle onto a piece of plywood.
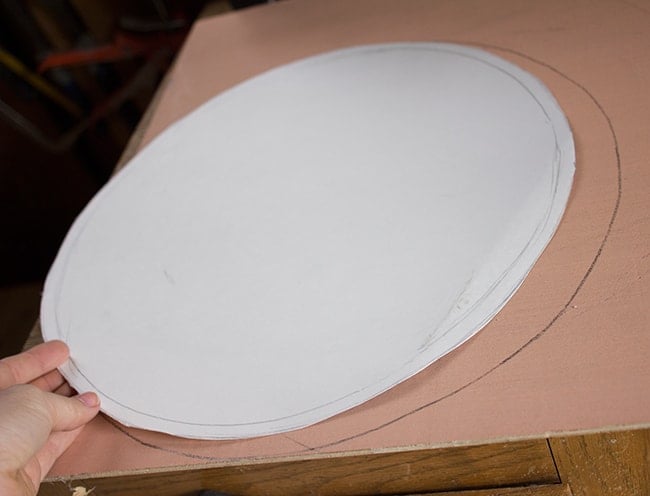
I cut the plywood with a jigsaw and set it down for a test fit…
Good enough. It would be covered with foam, batting and fabric so it didn’t matter that it wasn’t 100% perfect.
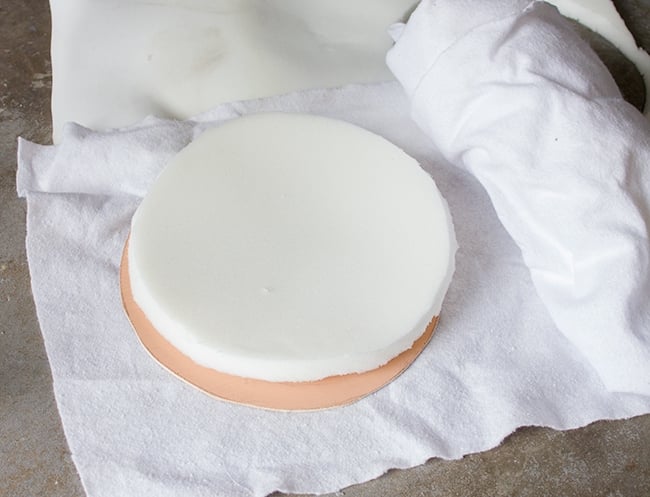
I have a bunch of leftover foam and batting from our kitchen bench seats, so I used that along with a steak knife to trim it to size:
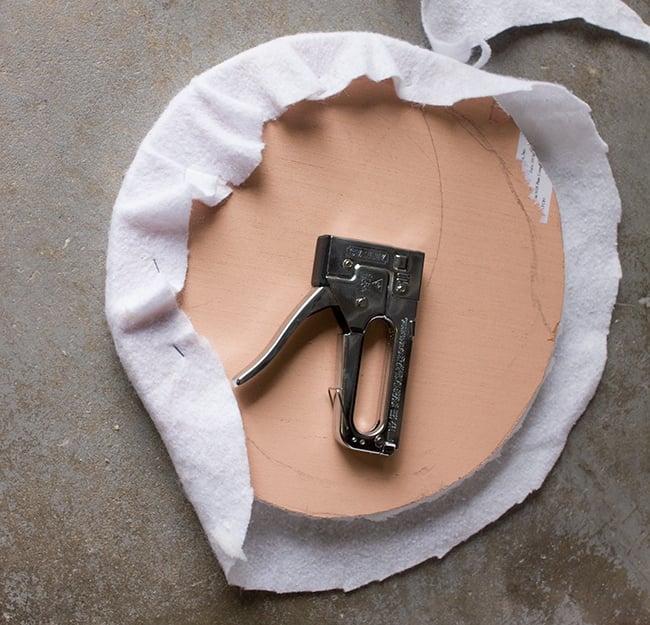
Then I flipped it over and stapled the batting onto the back.
I picked up a 1/2 yard of solid navy fabric at Joann’s for a couple bucks…
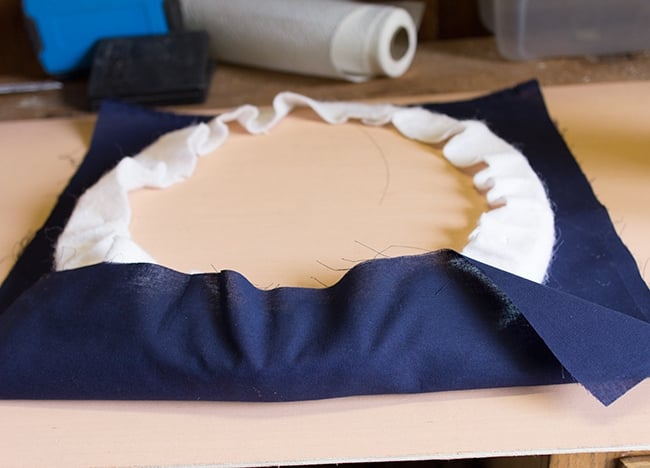
This part proved difficult since it was a round surface and pretty much impossible to avoid visible folds. I just did the best I could and used a ton of staples to try and flatten it out.
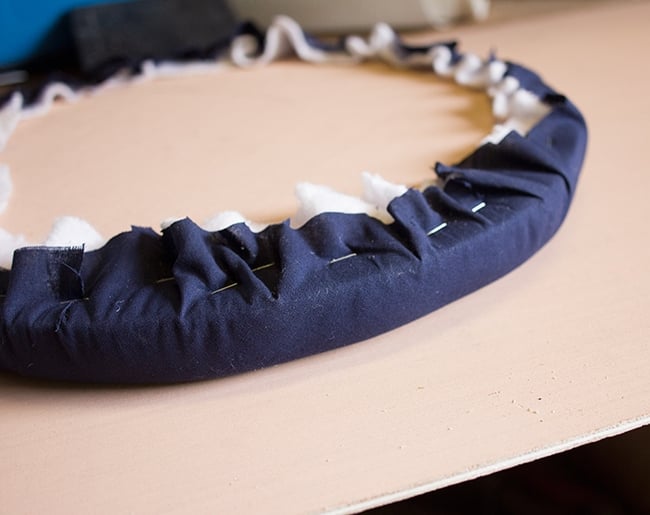
It just adds more character, right?
To attach it to the chair, I flipped them both over and drove a couple screws through from underneath.
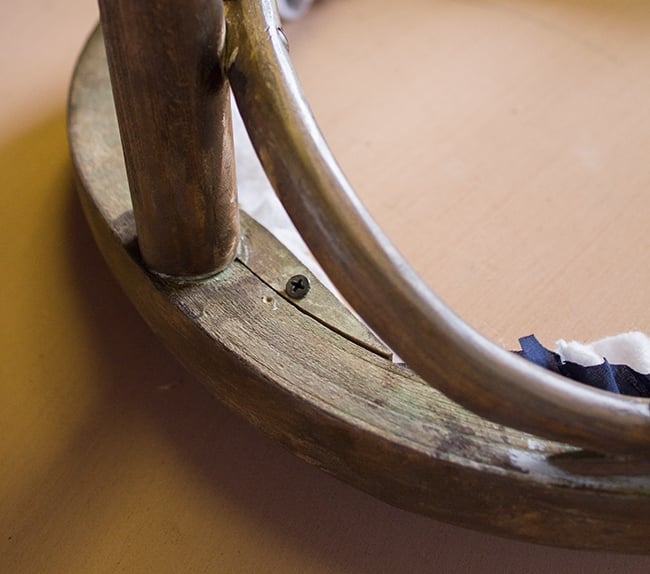
Ta-da. Susie gives it the seal of approval.
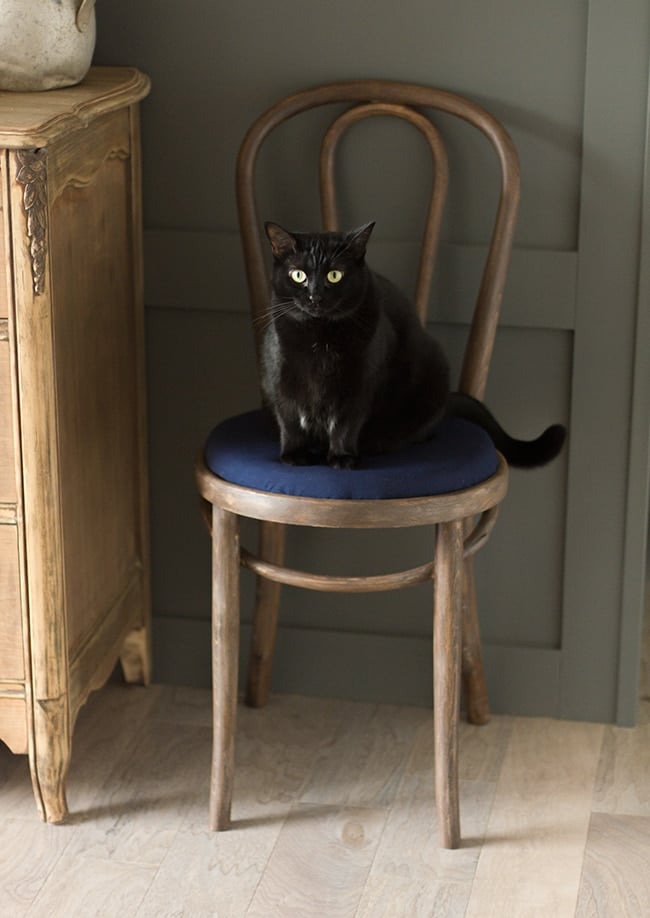
I think this navy ticking stripe pillow works quite well with it.
Total project cost: $7.
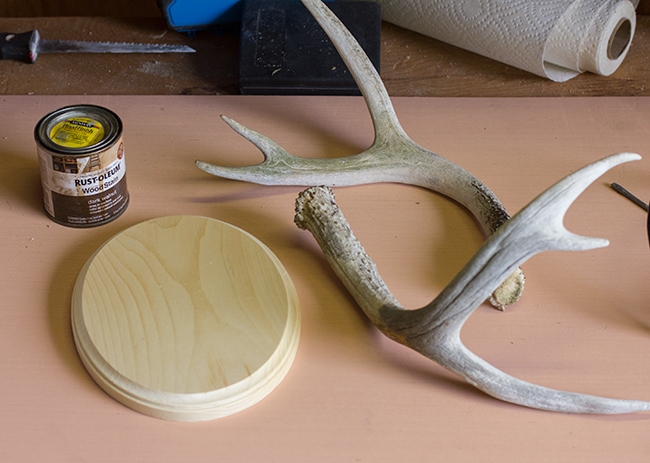
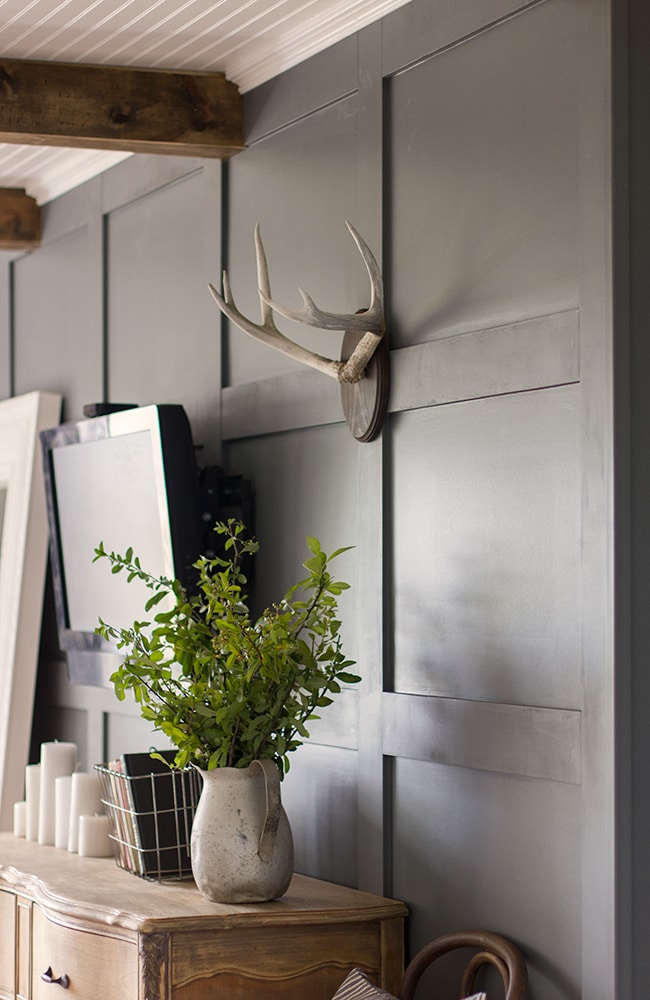
Okay… project 3: DIY Antler Plaque.
I scored a few old antlers at the flea market earlier this year in hopes of mounting two of them on a plaque (I think they were just a few dollars each—our flea market is the bomb).
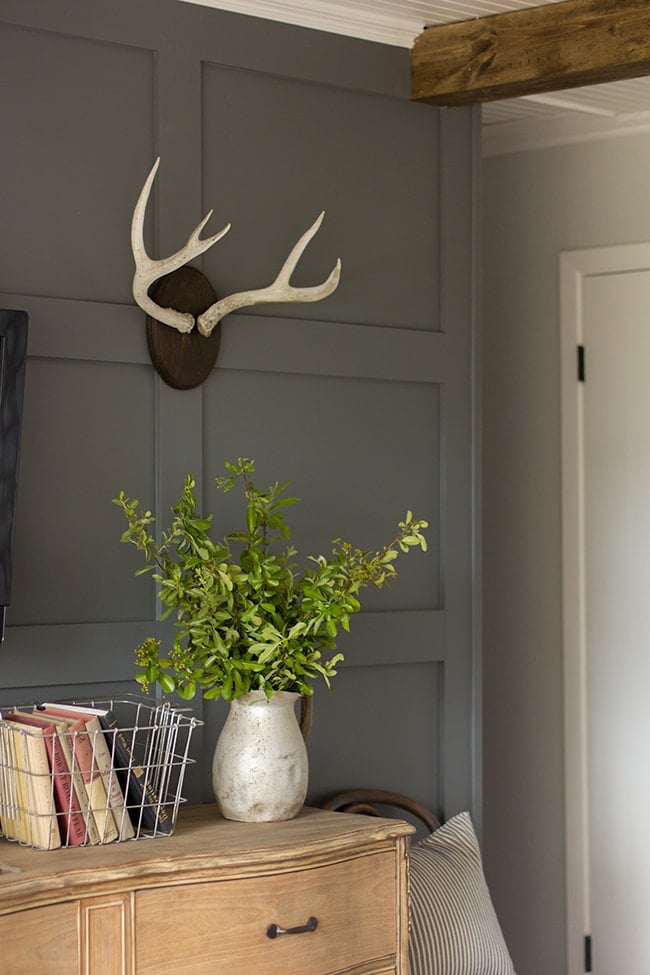
I thought our paneled wall needed something to take some of the focus off the TV and liked the idea of adding another rustic element, so antlers it is.
A $2 wood plaque from Joann’s, stain and a couple screws were all that was needed for this…
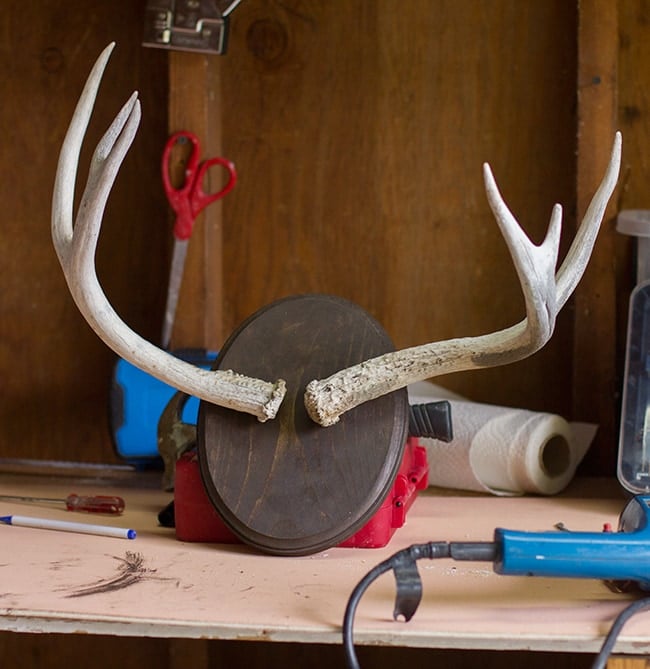
After staining the plaque dark walnut, I placed one antler in the approximate position I wanted it to be mounted and made a small mark underneath where the screw would be inserted.
Then I found a couple screws that were the right size, grabbed the appropriate sized drill bit, and made my hole:
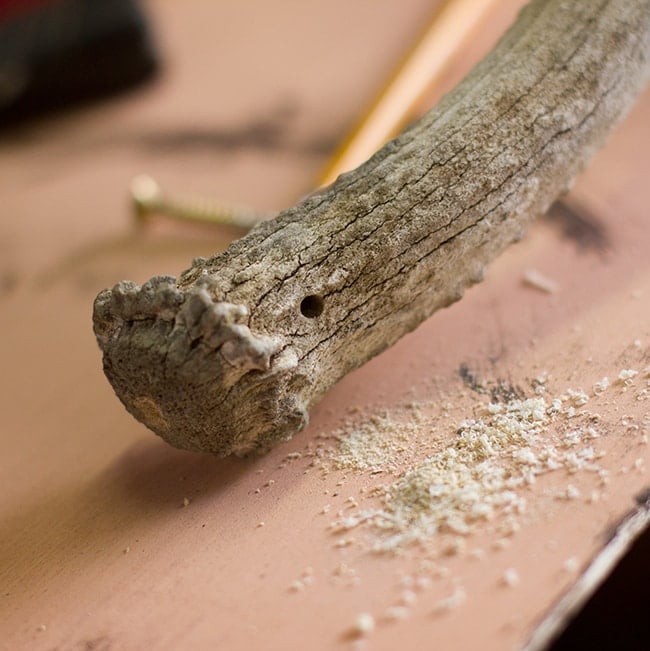
I thought the bone would be really hard to drill into but surprisingly it went right through. Maybe because these antlers are older and less dense?
After drilling into both antlers, I did the same on the plaque:
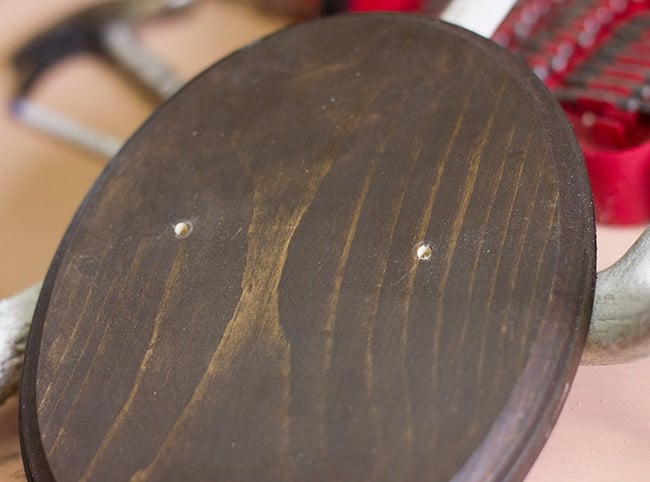
Then from the back I inserted the screw partially, placed the antler on it and finished driving the screw in until it pulled it tight:
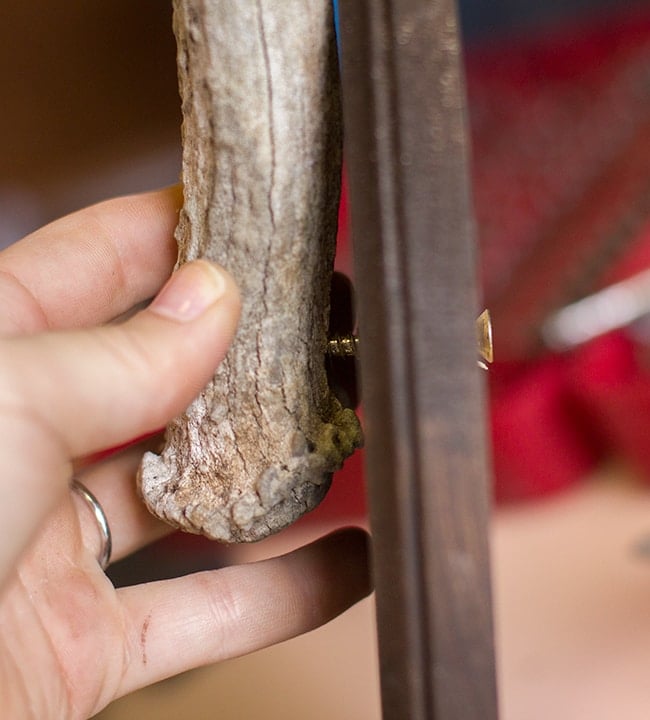
Easier than I thought!
Finally, I added a sawtooth hanger on the back to mount it.
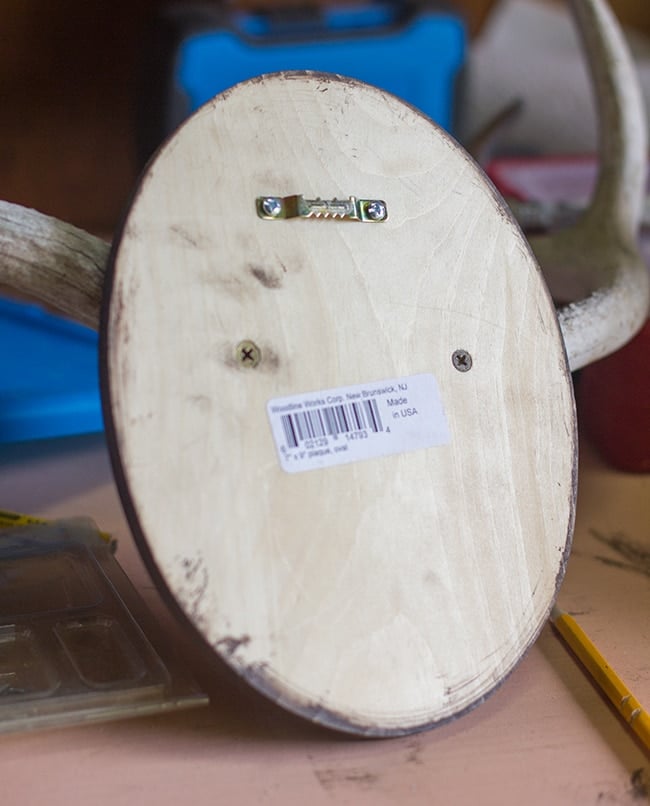
And here it is.

Total project cost: $8.
And there you have it… 3 projects for a total of $25. Gotta love bargain shopping + DIY’ing.
And that’s all you get until the reveal 😉
Over the next few days I’ll be working on organizing the inside of my wardrobe/vanity area, which of course I’m super excited about. Check back Thursday for the details!


William says
Wow! It’s really great idea to make this beautiful map holder at our home. I love all the projects that you have shared with us. Thanks for sharing such creativity.
BlueClearSky Elizabeth says
They look great and oh my your walls and ceiling are gorgeous!
Jenna Sue says
Hi Jenny, it's Valspar's Ocean Storm.
Jenny Park says
Can I ask what is the name of the wall color you have here? I would love to paint a dresser this color…jenpark003@hotmail.com
Ashley @ Life on the Parsons Farm says
It looks so good! I have found some great deals on antlers in my neck of the woods too and I just love them! Can't wait to see the whole room!
atparsons.blogspot.com
Sherri says
It's fun seeing these smaller projects that add to the flavor of the space. Love the rustic touches! I also am smitten with that dresser and how it turned out, after the frustrating process you endured. All's well that ends well ! Joss and Main recently featured some pieces like this for some pretty steep prices. Keep up the good work. I always look forward to the days you post a reveal.
Jackie says
So jealous of all your flea market bargains! I really like how the chair turned out. I have an old school map just waiting for inspiration to strike as far as where to hang it goes, so maybe I'll look a little harder after this.
Brandi says
I enjoy your blog so much. You projects look amazing. Thanks so much for sharing the map art tutorial. I've had my eye on a few from Etsy. So glad to know I can achieve the look for a lot less.
Jenna Sue says
Thanks Allison! It's Valspar's Ocean Storm.
Lisa Marie Wells says
I am so in love with this space…. So inspired!! I am on pins and needles in excitement waiting for the full reveal!!!
Maria says
I love all of them, but the map art is my favorite. I still can't get over your dresser. Swoon! Hope to score a curvy one on Craigslist soon.
Allison @ The Golden Sycamore says
I love all of these projects! And that second to last picture is absolutely beautiful! Can you tell me the name of the dark gray paint color? It's such a pretty contrast to the light colors!
Midsommarflicka E.G. says
Oh, I LOVE the map! I planned something like your DIY as well (because the original ones are much too expensive…), but I haven't found a great print of an old map yet… But one day I will have a map on my walls 😉