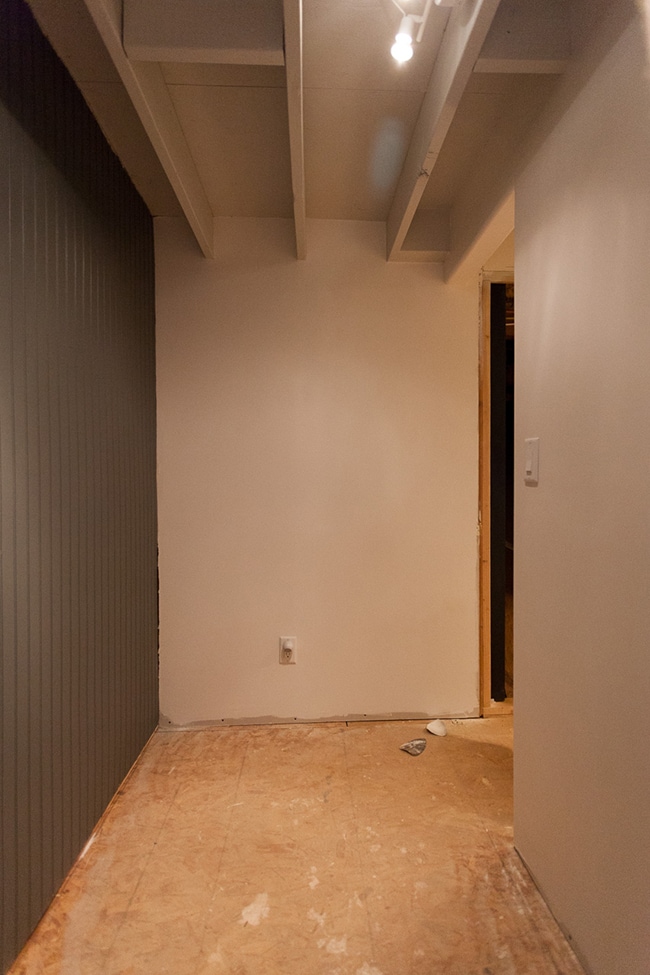
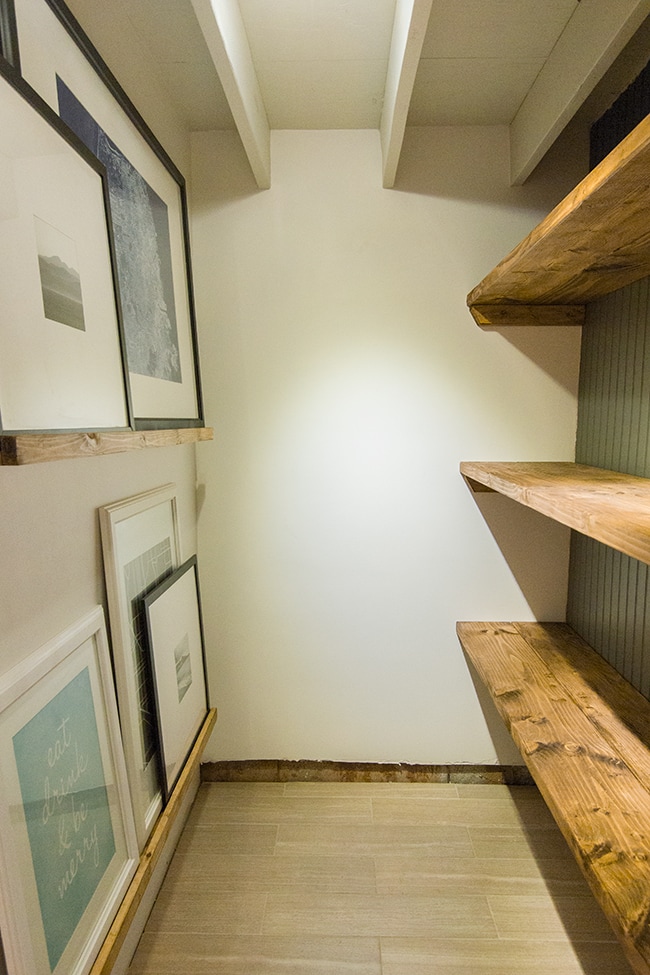
A few days ago you saw how we built rustic DIY shelves in the storage room to hold all of our home decor items, but I also needed to find a way to store our largest picture frames that wouldn’t fit on the shelves. What’s the best way to do that without taking up a ton of space? Picture ledges!
I’m sure you’ve seen these all over the internet by now. I’m fond of this one from Chris loves Julia:
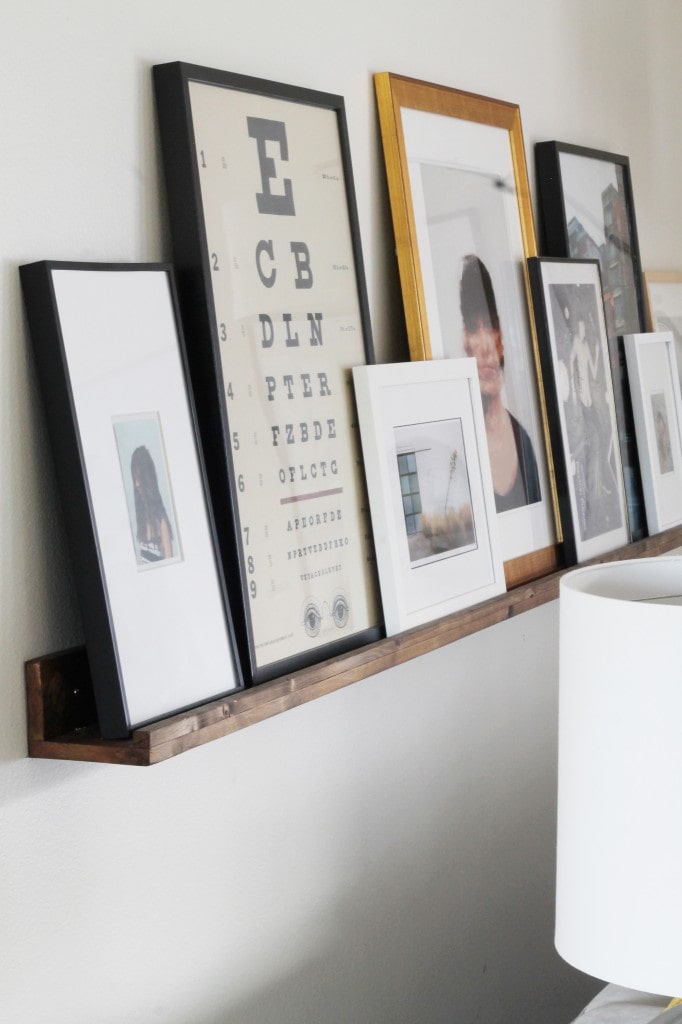
These are pretty much the easiest DIY in the history of ever, and the cheapest too! If you’re a novice in the wood building DIY category, this is an excellent project to start with. It was also the perfect way to utilize this empty wall across from the shelves (these photos are a couple weeks old):

Here’s another angle from the back of the room:
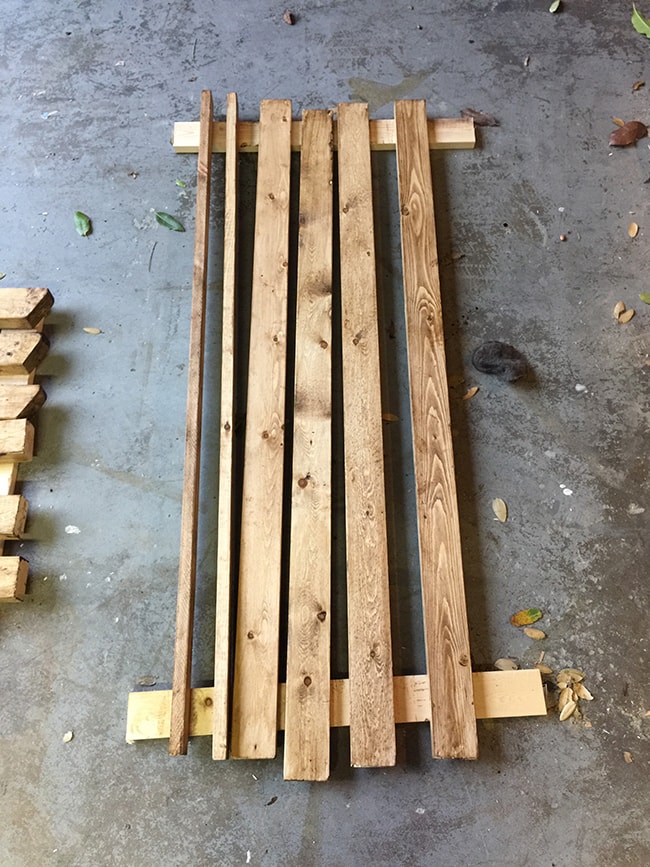
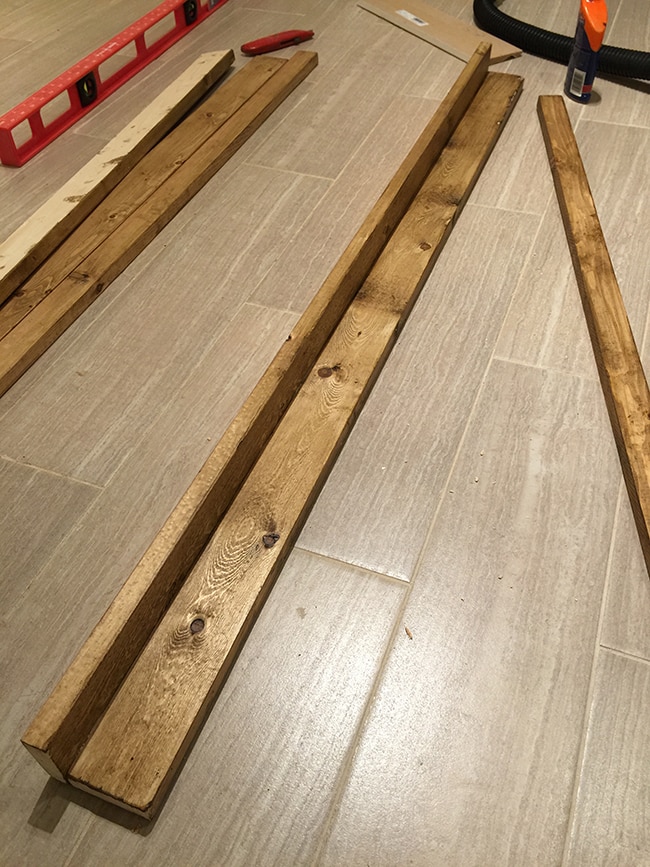
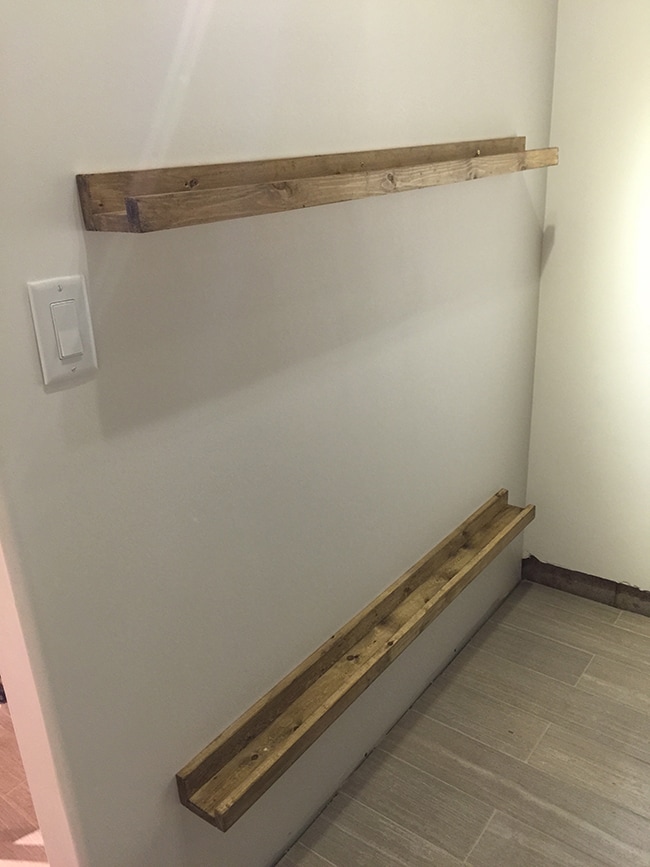
I decided on two picture ledges, one above the other. Most folks use 1×4’s so their shelf can be deep enough to layer frames but since we were working with such a narrow area, I wanted to keep my ledges low profile so I went with two 1x3x4’s (the wall is just over 5′ long so these fill the space perfectly) and 1x2x4’s for the fronts.
Here are all the peices, pre-stain—I think it was around $15 for everything. What a deal.

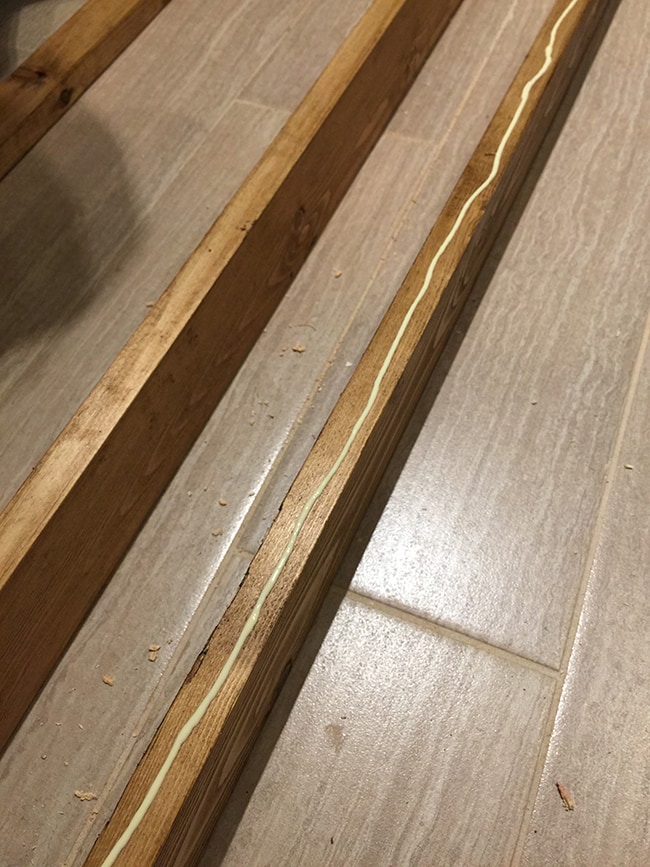
After lightly sanding the edges, they were given a coat of Cabot’s Stain + Sealer wood finish in aged leather (same as the shelves). Since this wood is paler than the 2×8’s, the stain does take on a bit of a different color. I like it.
Once dry, we brought them inside and first ran a bead of wood glue along the edge of the 1×3:
Then we placed the second 1×3 on top to form an L and pre-drilled our holes so the wood wouldn’t split—4 holes spaced evenly down the length of the board seemed sufficient.
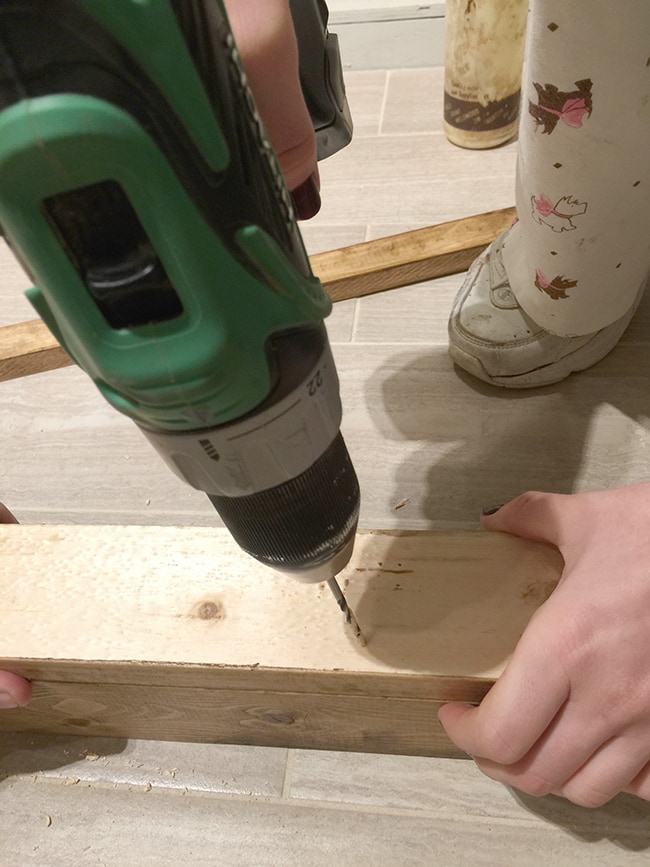
Keeping the boards steady, I finished them off by using 2.5″ (I believe) deck screws, but any flat head screw should do the job.
Almost done!
Before attaching the front piece, we decided to mount them to the wall. After measuring and deciding on a location, Brad centered our big level on the wall and drew a line to mark the spot.
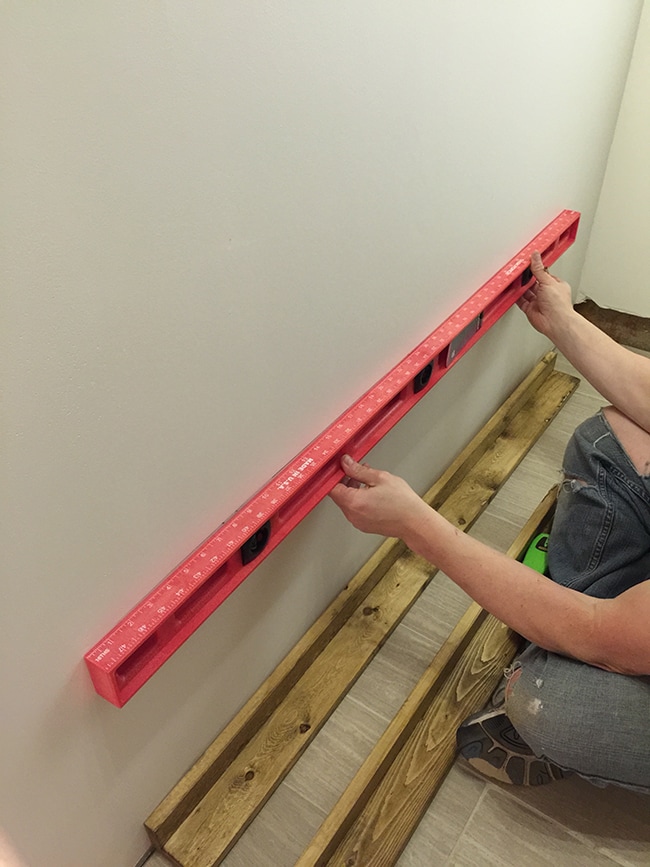
Then we used a stud finder to mark the studs. Fortunately there were three spaced pretty evenly across the ledge so we didn’t have to mess with drywall anchors.
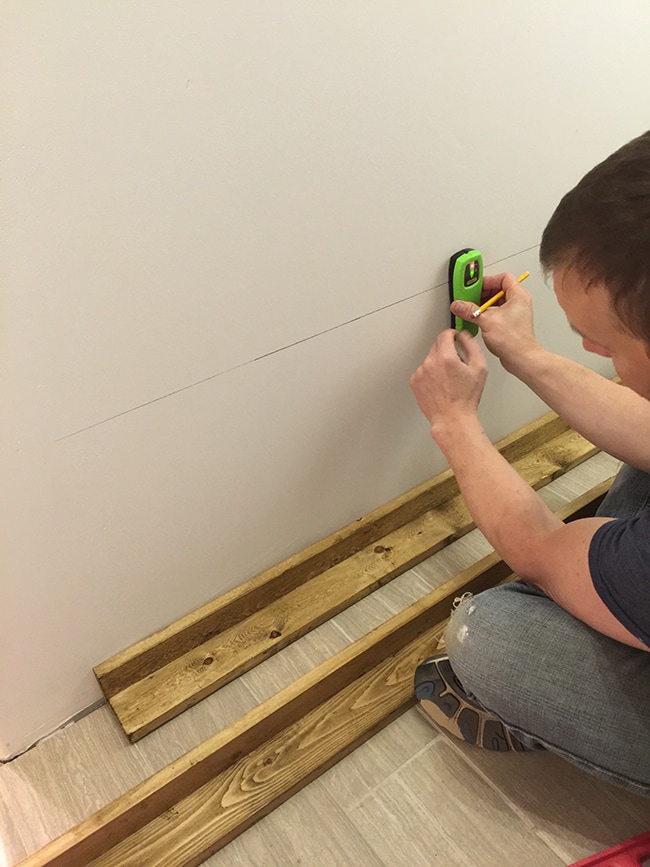
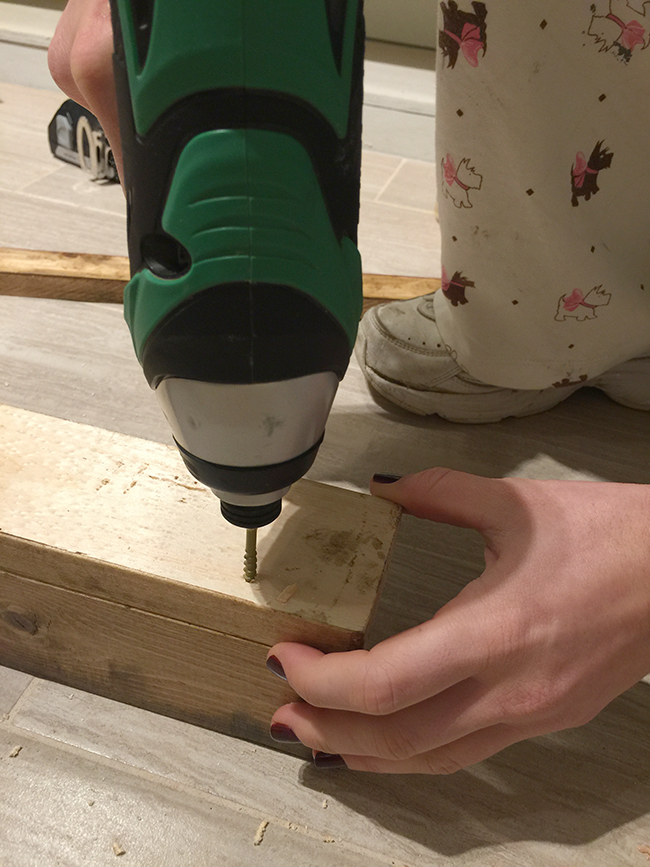
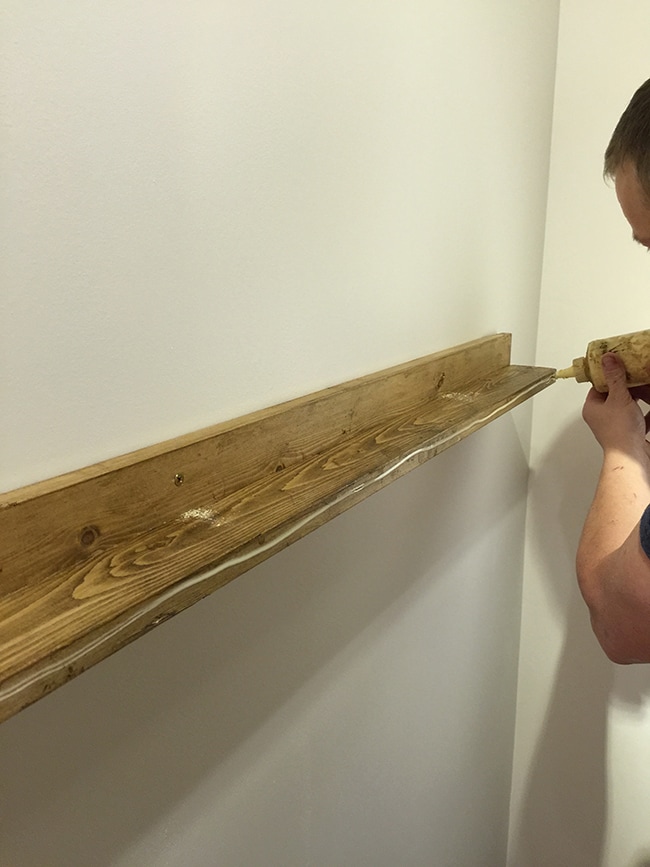
Then we held it back up, predrilled our holes where the studs were and inserted the screws, making sure it was still level. Piece of cake! Finally, we ran some more glue along the front edge…
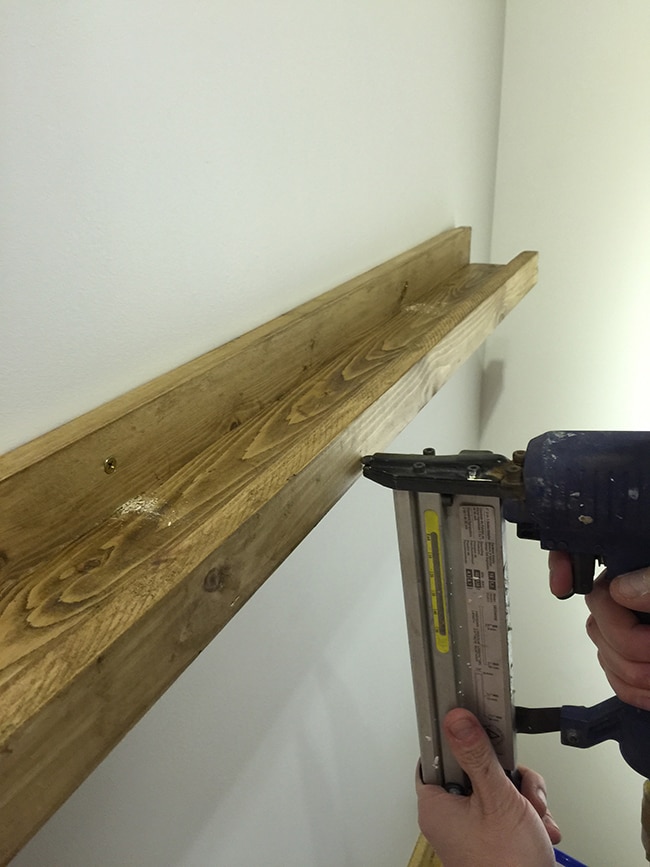
Then used a brad nailer to attach the 1×2.
Boom, instant picture ledges.
I even loaded them up to demonstrate:
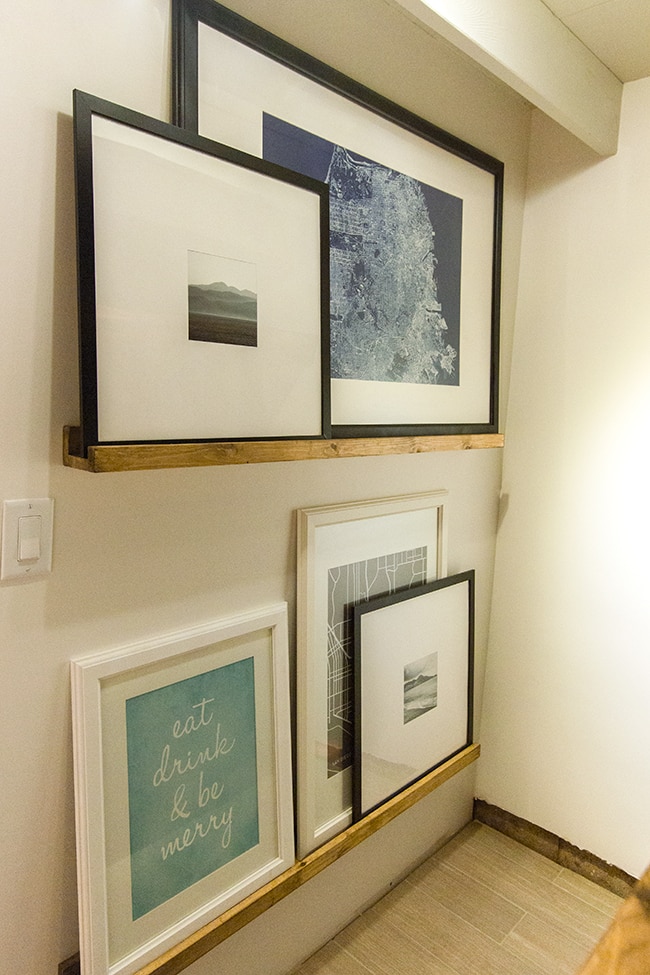
I have about 1.2 million more frames but fortunately they’re all just barely small enough to be tucked underneath the bottom shelf. The picture ledges are perfect to hold the largest ones. And they look pretty awesome next to the wood shelves if I do say so myself.
I’ll definitely be looking for other places in the house to add them—no empty wall is safe! This has to be the easiest tutorial ever, right? Ask away if you have any questions and I’ll do my best to answer! In the meantime… look what arrived in the mail yesterday:
Gold star if you can guess what it is! Anyone else have a romantic V-day weekend of DIY planned?