My favorite part of this process so far happened yesterday—a freshly painted ceiling! Before I get into that, let’s talk about what else we’ve done in the past few days.
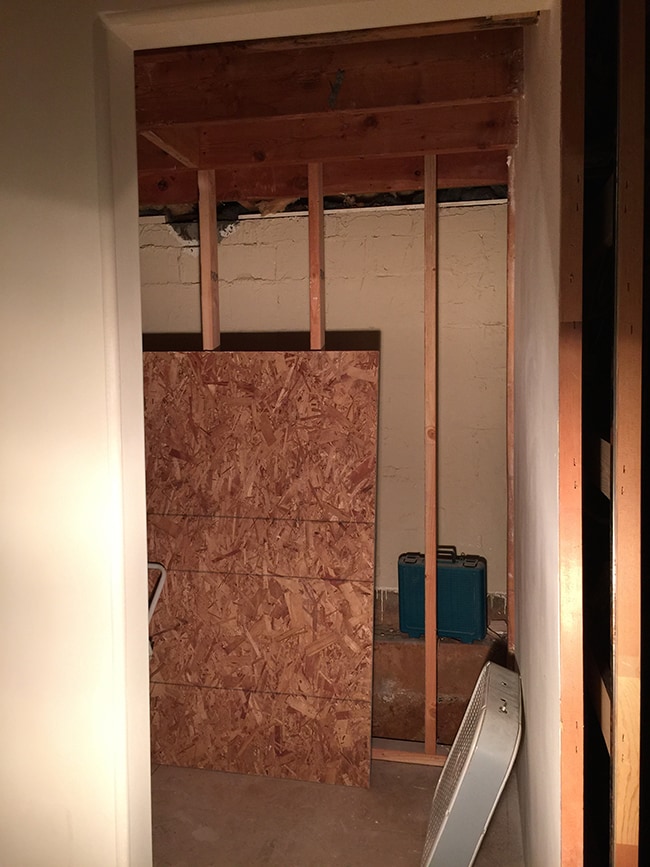
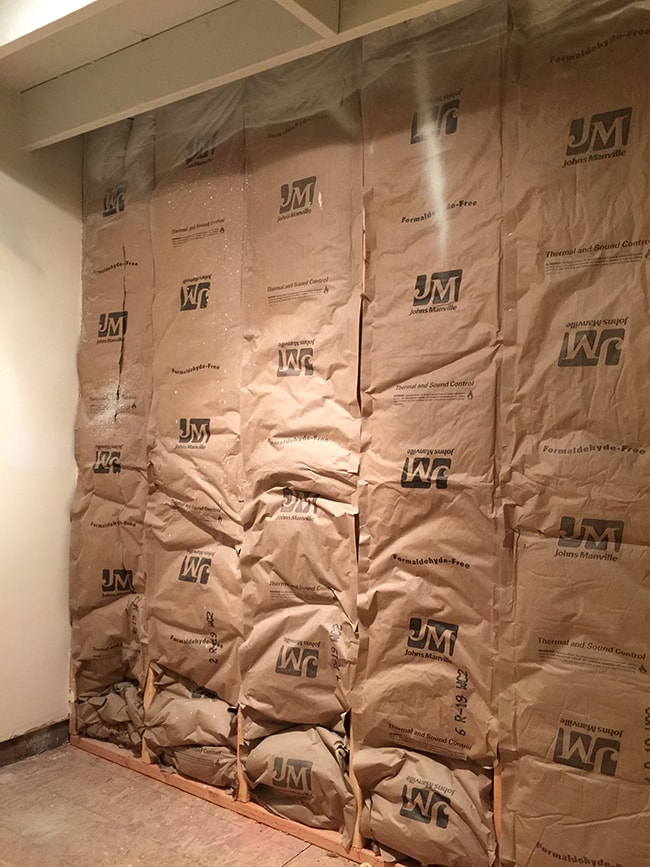
We still have this back wall of 2×4’s in the storage room:
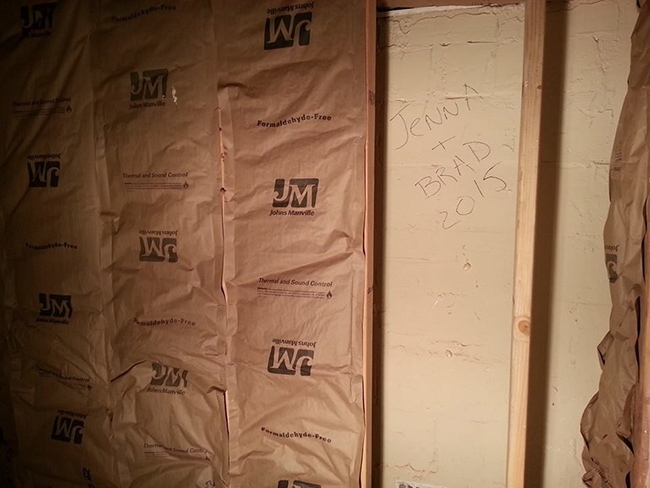
It needed to be insulated first, so Brad got to work on that Saturday morning (and left a nice little time capsule for someone to discover in 100 years):
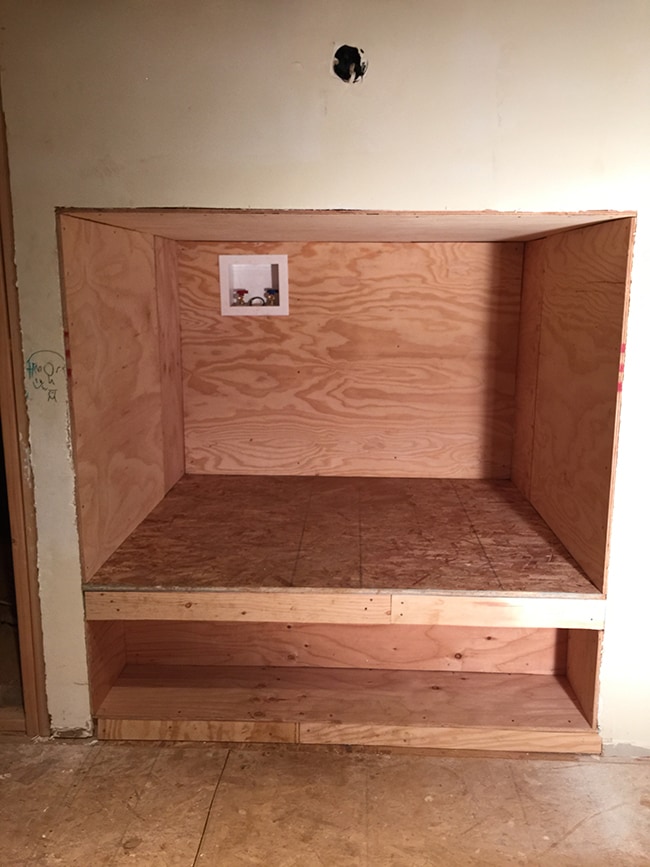
Our plumber also came by to make sure the plumbing was ready to go and close up the washer/dryer box:
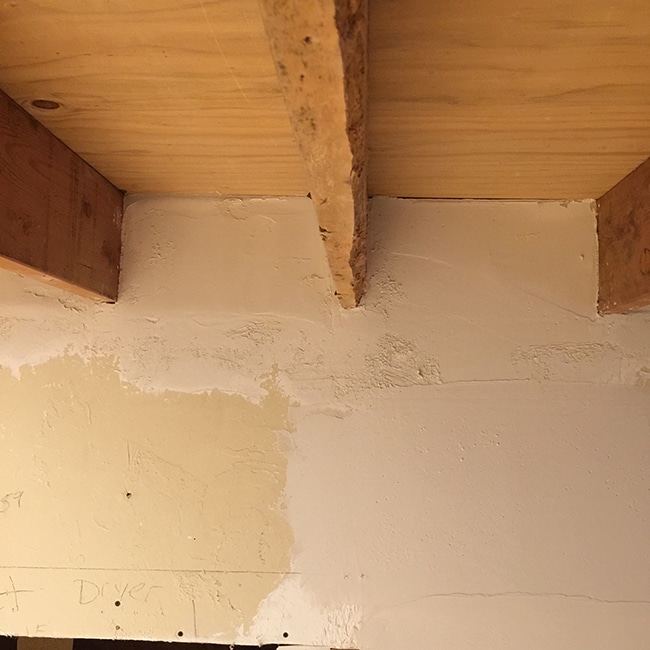
Then it was the (not) fun part… prepping the ceiling for paint. Now, we have no choice but to go for the rustic look here (which I love) but there were some major flaws in this wood. The goal was simply to patch and smooth out the areas that really needed attention (i.e. the 1″ holes in the joists where old pipes were ran and the boards that were completely shredded…
This took quite a bit longer than I had expected (doesn’t it always?)… I spent a few hours Friday night patching:
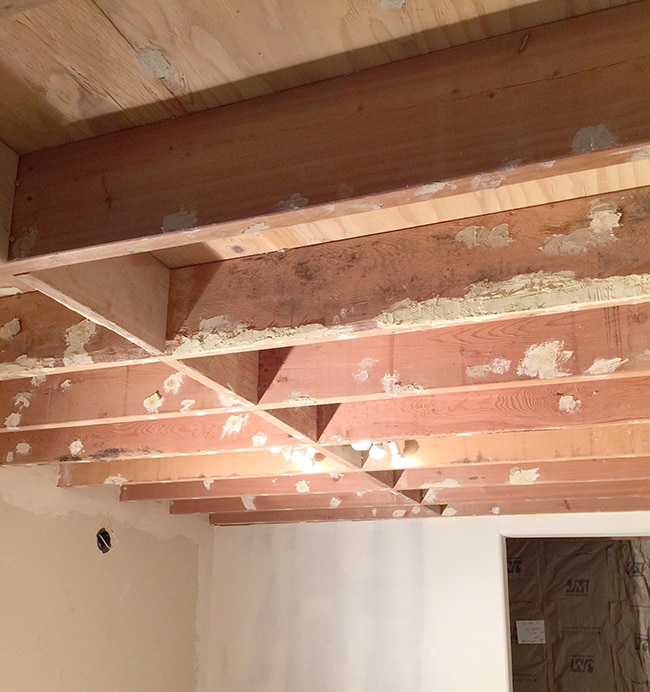
Then a few more on Saturday, including caulking everywhere the boards met the ceiling. Sanding was the biggest pain. Wood filler is much more stubborn than spackle, let me tell you!
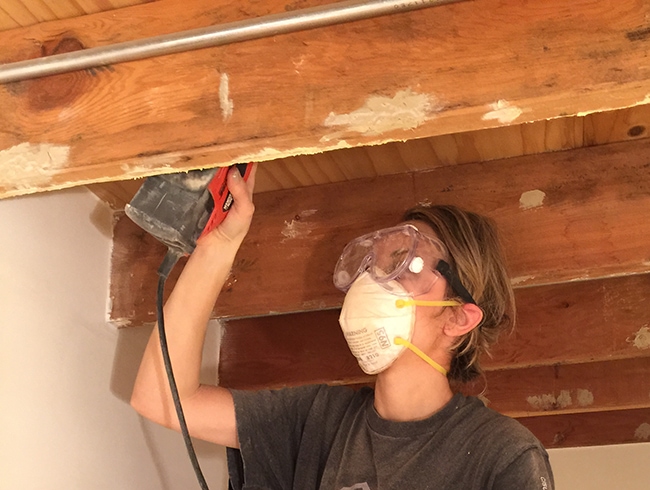
I spackled/caulked/sanded for about 5 hours on Saturday before calling it quits. Sunday morning I made a few final touchups before our painter arrived. We hired this one out because it needed to be sprayed—we don’t own a spray gun but we have a great painter that is extremely reasonable so it was worth every penny.
Oh, and staining the joists rather than painting crossed my mind for about 0.02 seconds but I decided against it because a) the whole goal was to make the ceiling appear taller, and all that dark wood would visually weigh it down, and b) there were so many imperfections that had to be filled that you would see it through the stain. Painting was the clear choice.
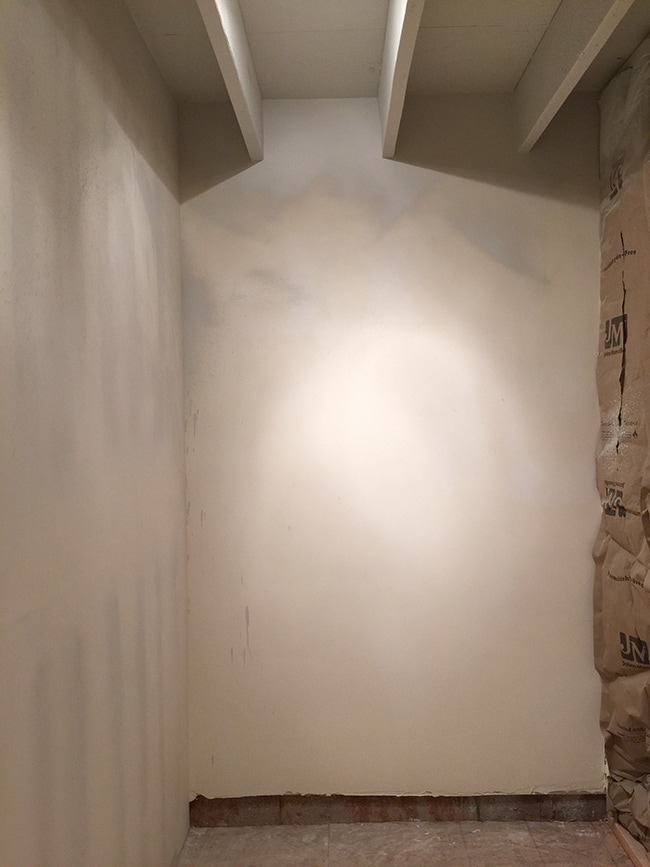
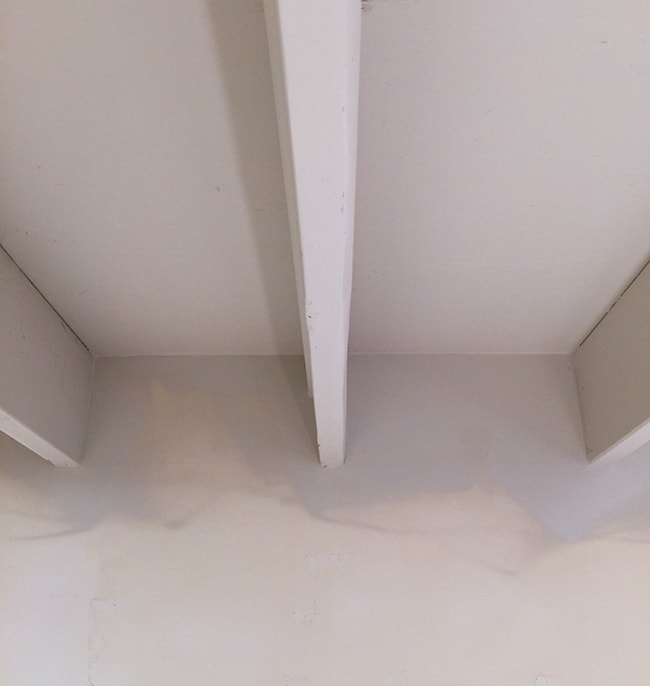
I wanted to keep it soft and light but instead of pure white, I decided to make things interesting and use the same barely-there gray on the walls in the rest of our house (Valspar’s Montpelier Madison White—here’s an old photo after it was painted for a good reference):
And we’re both loving the way it turned out…
Please ignore the rest of the ugly/distracting space right now… it’s all about the vision 🙂
We had our painter spray the inside of the laundry box while he was at it. The inside shouldn’t really be visible but you might catch a glimpse of it around the edges so it was done just to be safe.

I know the ceiling looks pretty white in these photos, but it’s up against beige-ish walls so I think after I paint the walls white it will pop more.
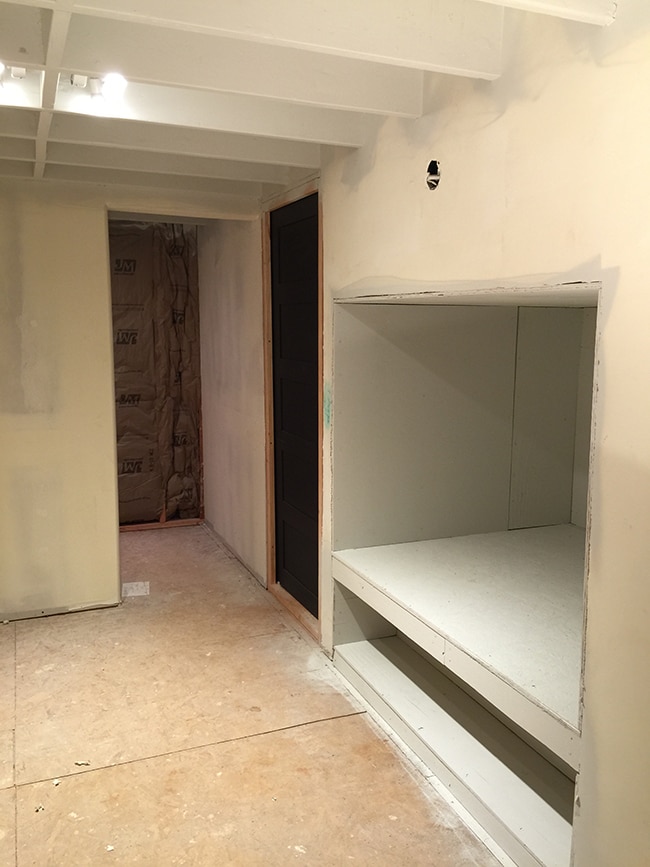
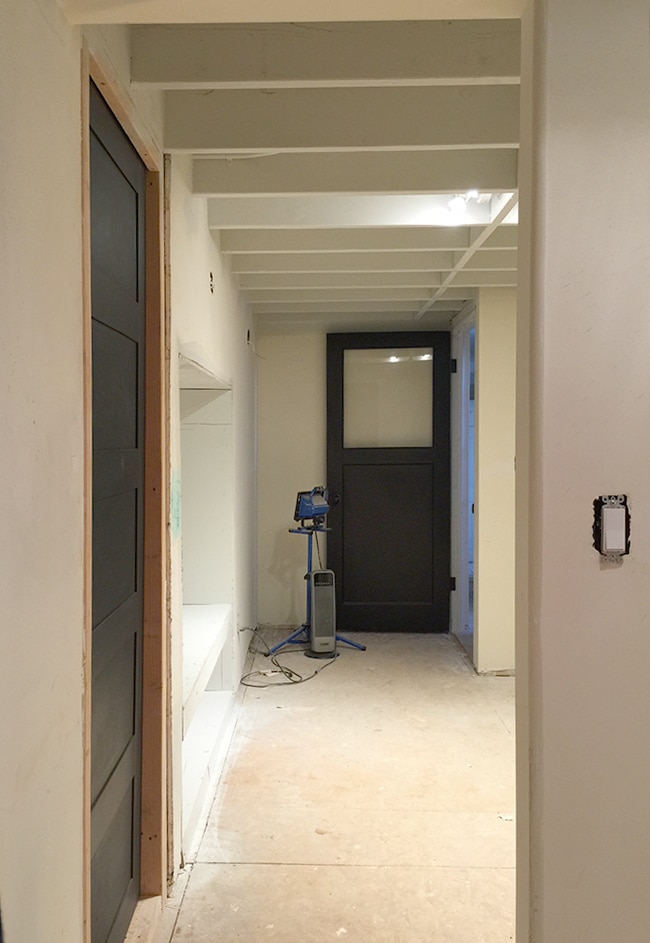
Here’s the view from inside of the storage room—and finally a nicely lit shot of both hard-to-photograph doors (with my iphone, no less):
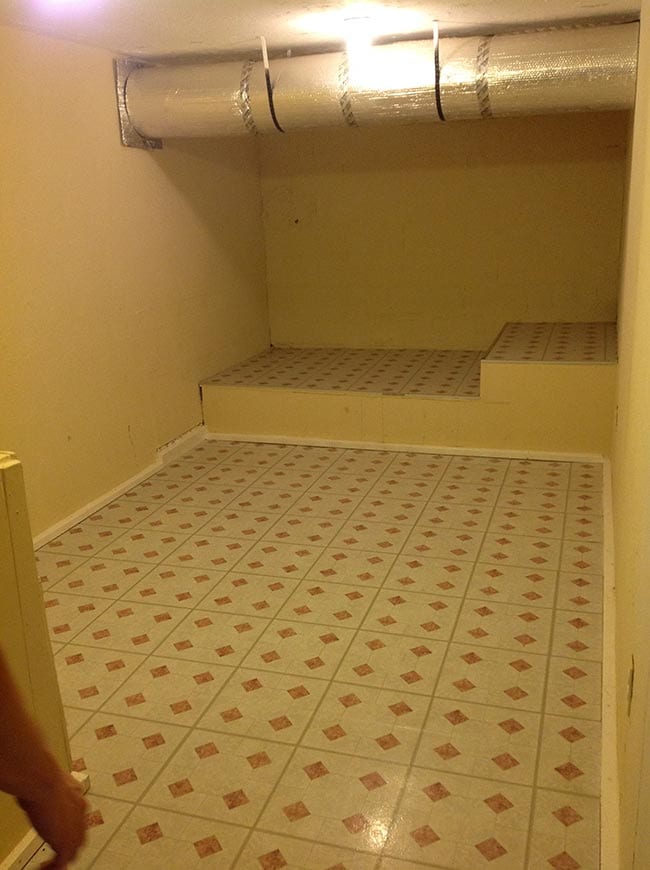
And here’s that storage room, insulated and ready for beadboard:
And the back wall to give you an idea of the size—it’s small but I have some organization ideas, I’ll make it work:
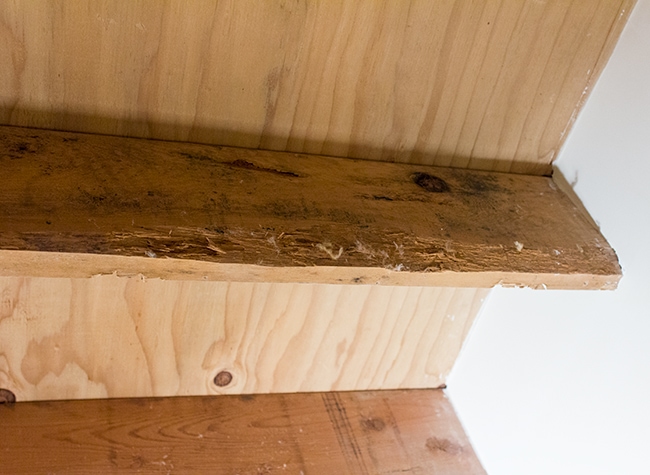
Usually paint will highlight all the imperfections on a surface which is why I spent so much time trying to patch everything up, but surprisingly, everything looks cleaner and less rustic than when it was just bare wood. Here’s a direct before/after of a pretty bad peice:
Bam. How do you like those putty sculpting skills? I think it worked so well partly because the paint sheen is flat, it’s a light color, and the lighting is sh
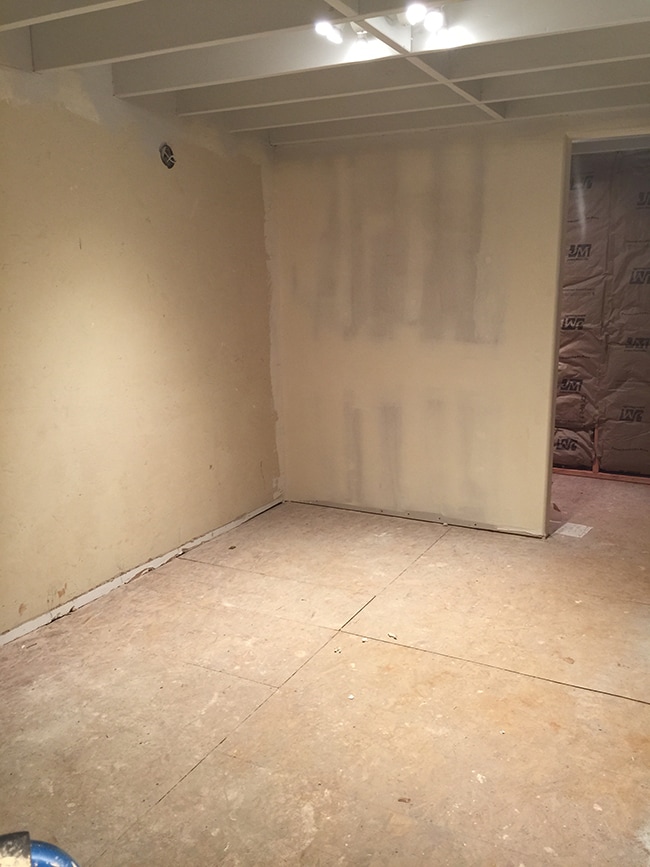
ining below it rather than directly on it. And wow, the room feels like it almost doubled in size from the very beginning, even after we split it into two rooms… don’t you think?
Same angle:
I know once we get the wall of cabinets in and washer/dryer installed it won’t feel as spacious, but I’m loving how this project is shaping up. Let’s hope we can keep this momentum going!
Now is also a good time to review our cabinet choices. Here’s the mockup from Lowe’s:
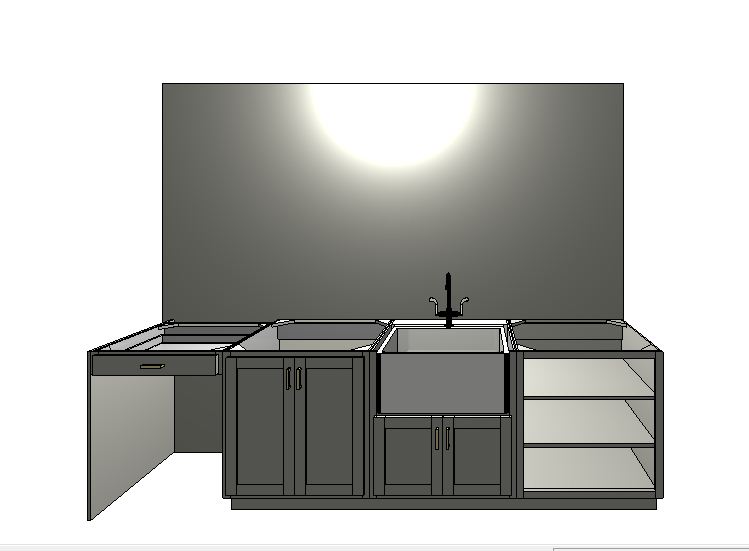
The sink will be different and there will only be one shelf centered on the right cabinet, but we’ve got the framework laid out and the cabinets should be ready in 3-4 weeks.
I chose this cabinet style—Diamond brand’s “Hanson” style door:
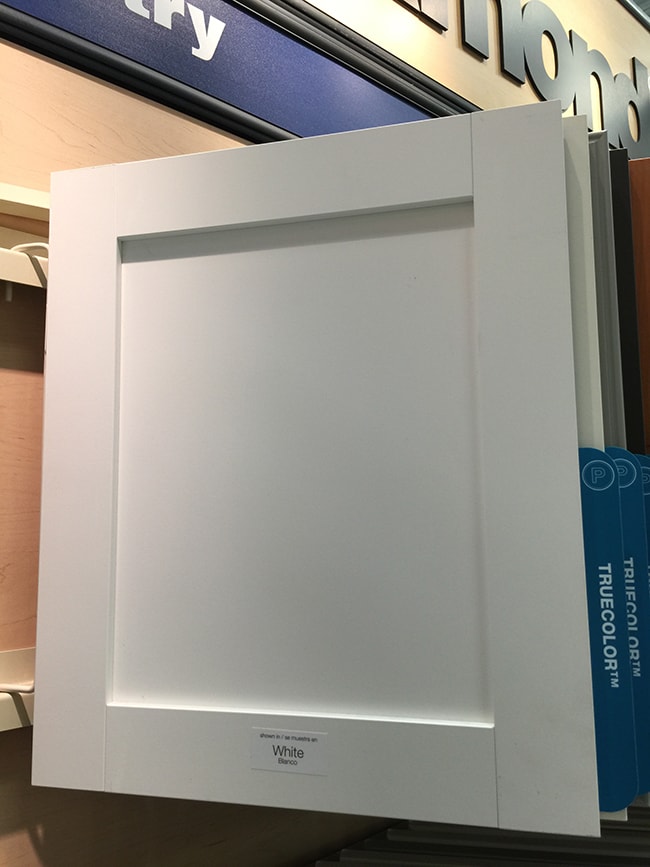
In this color (Cloud):
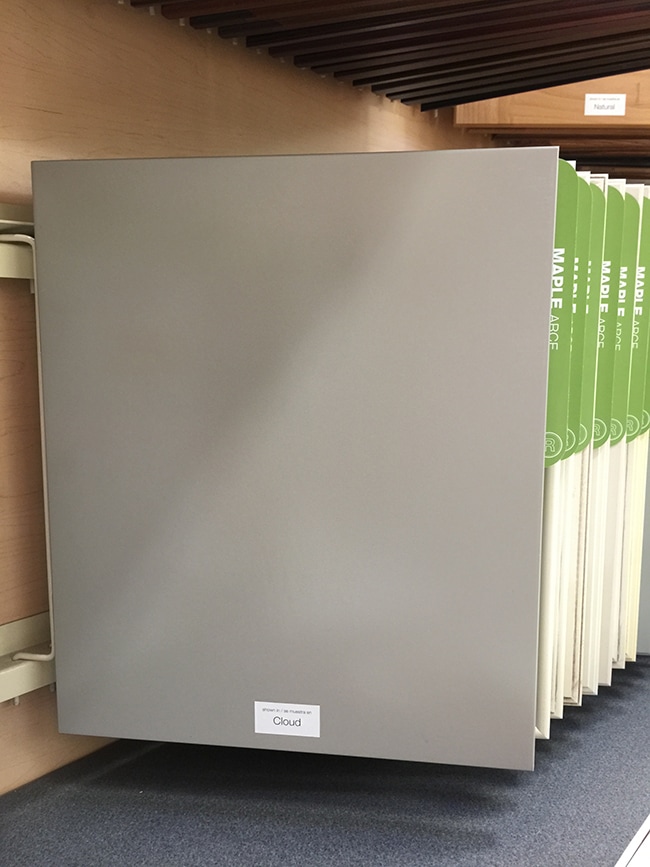
It’s a very pretty soft/warm gray and I can’t wait to see how it looks with the lighting in that room.
On this week’s agenda is installing beadboard on the back storage wall, painting it (in a dark gray) and painting all of the drywall white. That starts tonight! Hopefully by Friday it will be ready to share. Week 3—here we go!


ruislip handyman says
You did a fantastic job. Insulation is very important. Most of the people don`t appreciate it. I love your blog and your DIY projects. I am going to renovate my kitchen too. I find your blog very interesting. Best regards!
Chalize says
Thanks so much for this post! There is some really great advice here. I can't wait to get started with my painting project tomorrow!