Can we pause for a moment to take in the current state of our home?
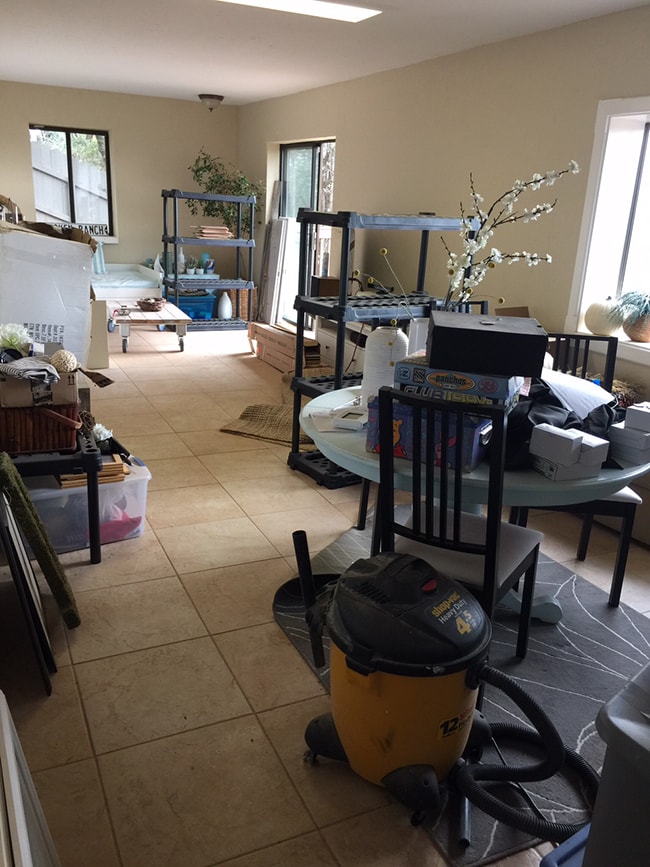
We’ve been living in this dust for over two weeks—layers of dirt have been accumulating everywhere and any attempt to clean is futile as it is constantly being dragged through the house by the rotation of workers.
And our downstairs… well, we’ve pretty much quarantined it.
And all of this just for a laundry/storage room. We are so looking forward to this one to be over!
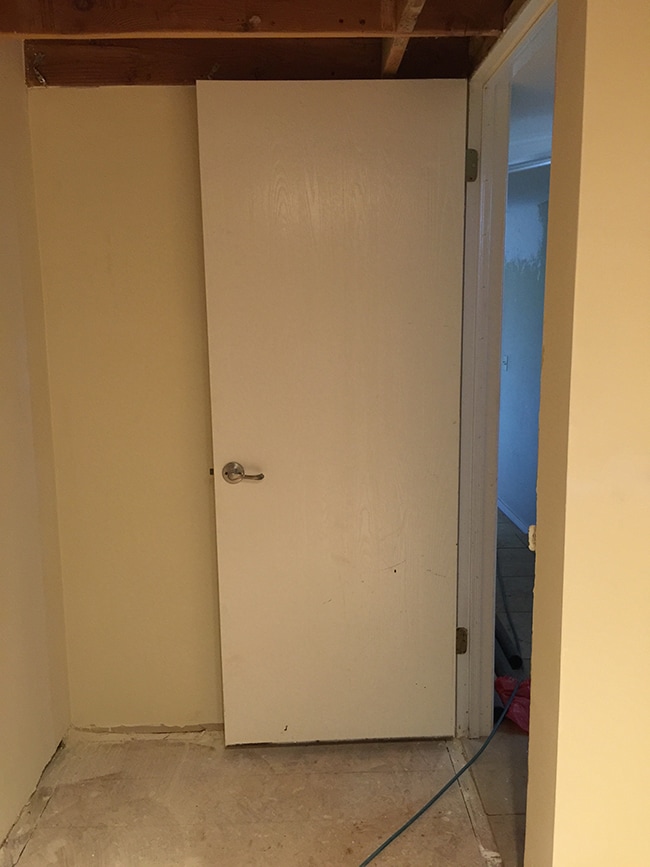
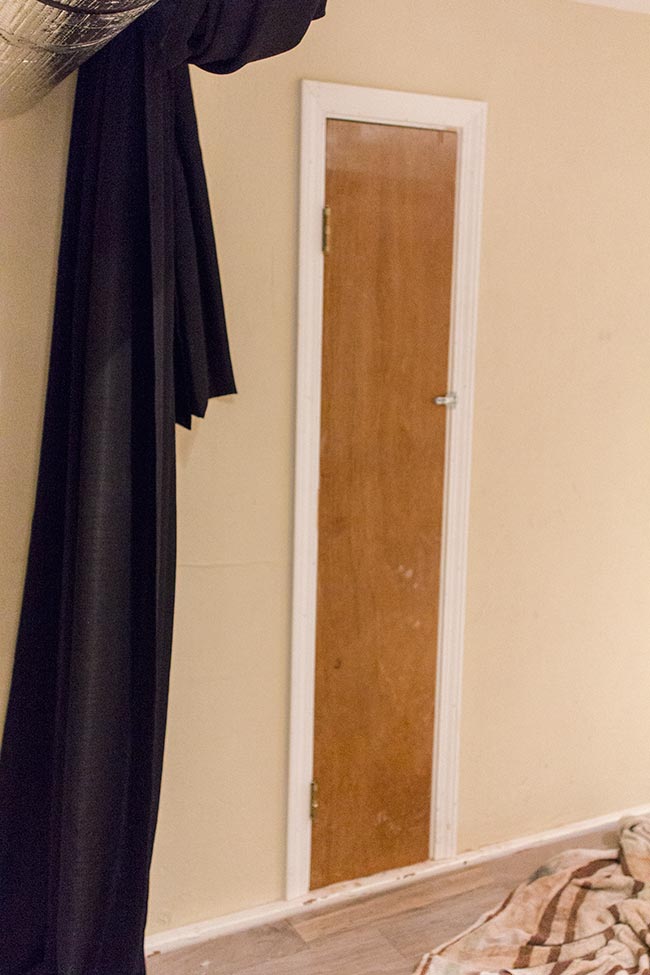
At least I managed to finish two of my DIY projects—the entrance and pocket doors. First, let’s start with the entrance. Here’s the original door:
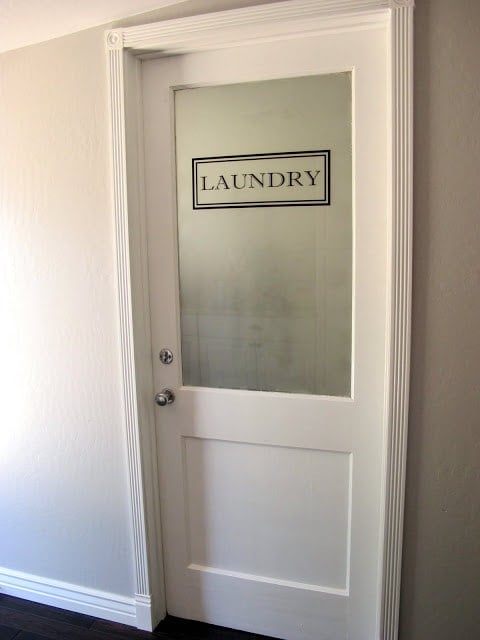
Just your average hollow core flat panel. I had my heart set on something like this the moment I saw it on Pinterest:
 |
| Source |
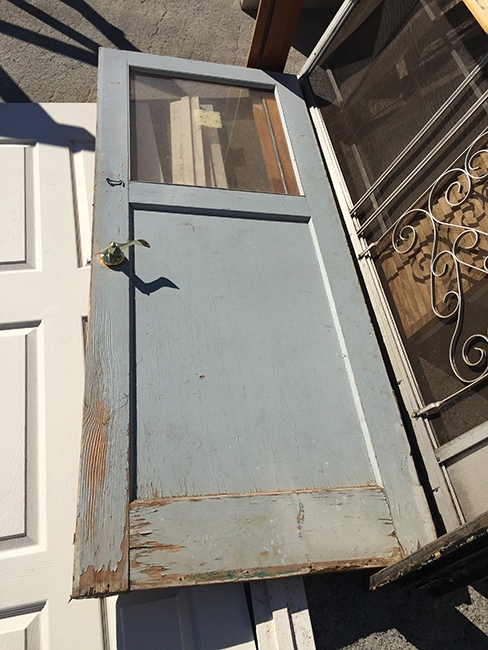
Only, it would have to be black to match our other doors. After no luck on Craigslist and our local Facebook buy & sell, I made a trip to Habitat for Humanity Re-store and found the one...
It clearly wasn’t in mint condition, but I like that old door character. And it was only $10—sold!
After bringing it home I realized it’s the exact same door we have in our kitchen…
 |
| Sidenote — this was taken while our kitchen was still under construction! |
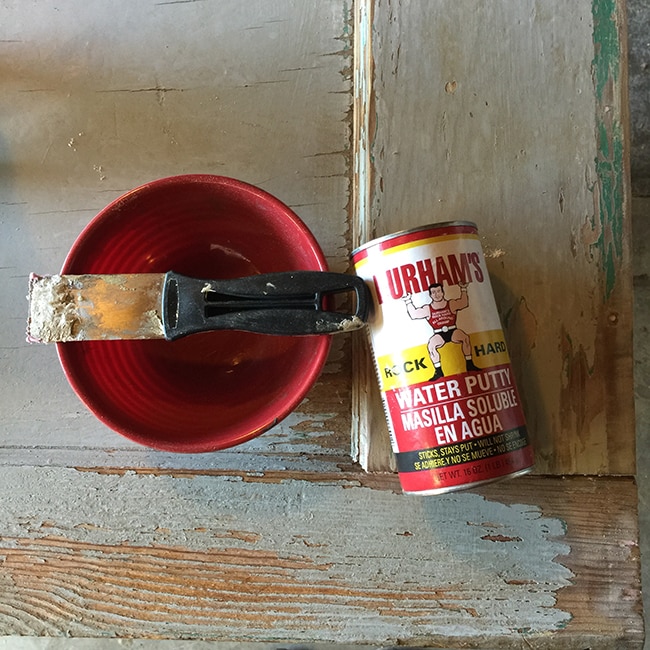
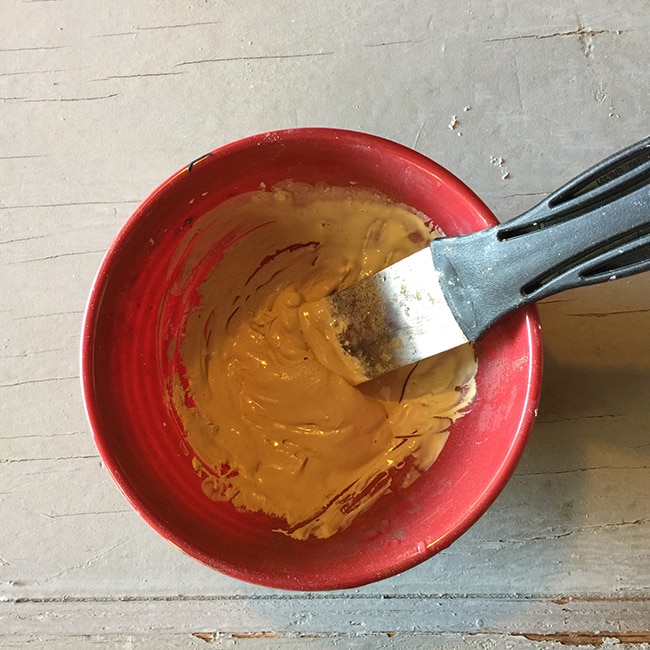
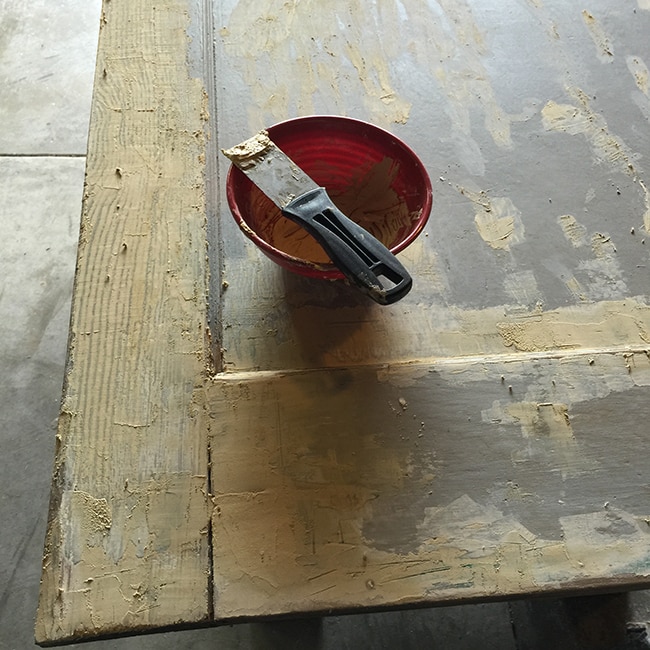
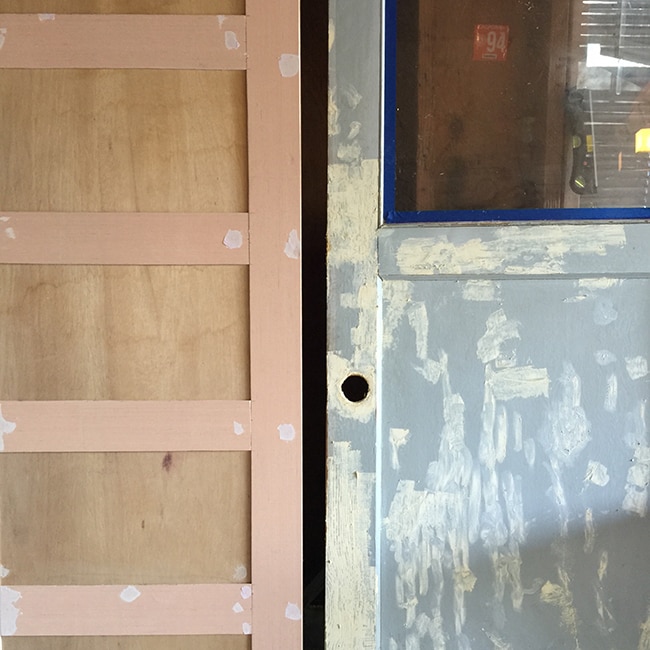
I’ve never had much luck with traditional wood putty (it always dries out and is cumbersome to work with) but this stuff you can mix with water to your desired consistency and it goes on smoothly (and it’s inexpensive!)
The goal here wasn’t a factory smooth finish (if that’s what you want, save yourself the headache and buy a new door) but rather less obvious wear and tear.
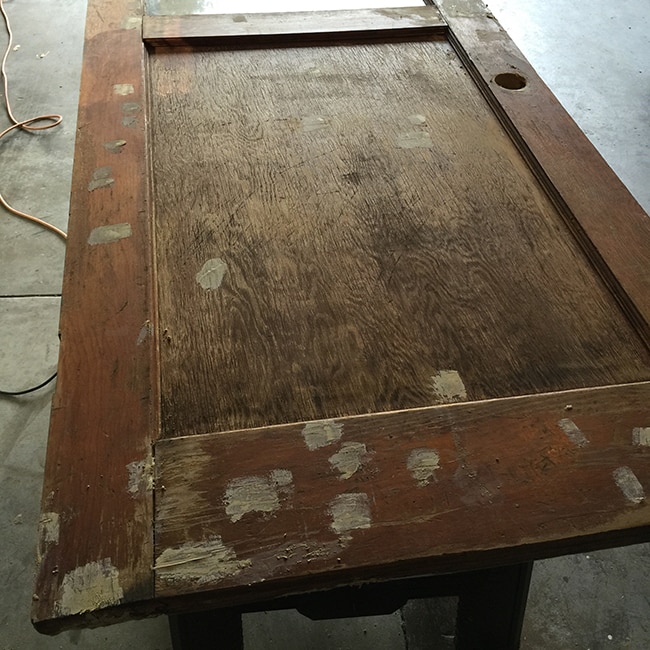
There weren’t quite as many problem areas on the back.
After letting it sit overnight, I sanded it smooth and applied a few coats of my go-to paint, Valspar Signature in Dark Kettle Black. This time I used satin (I used flat on the two interior doors I’ve painted so far but it leaves wipe marks behind when you try to clean it, so I figured satin would be more durable).
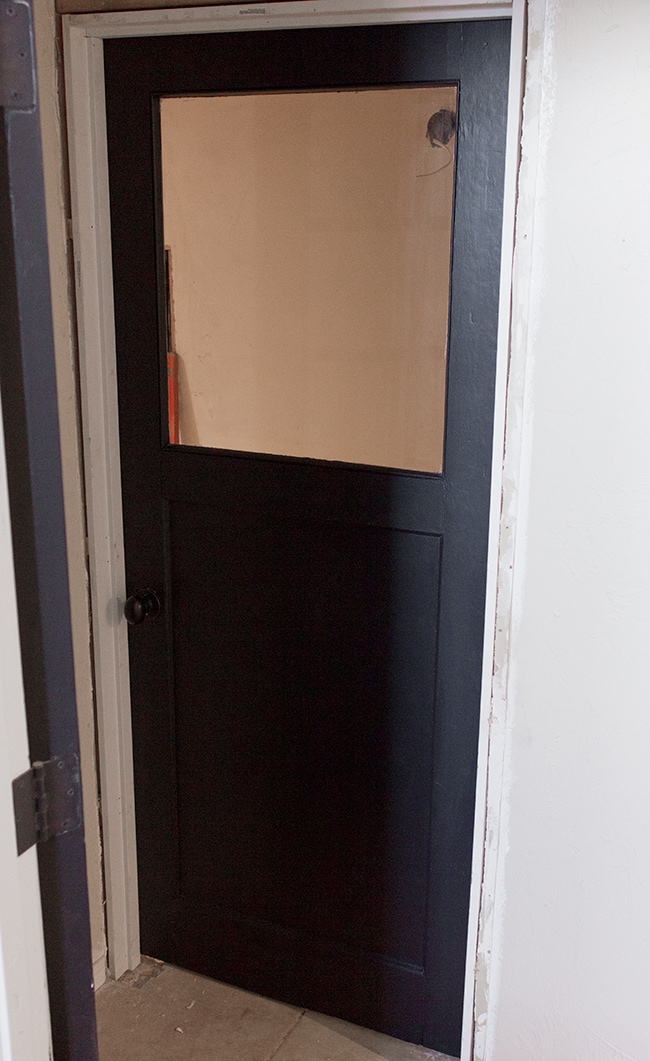
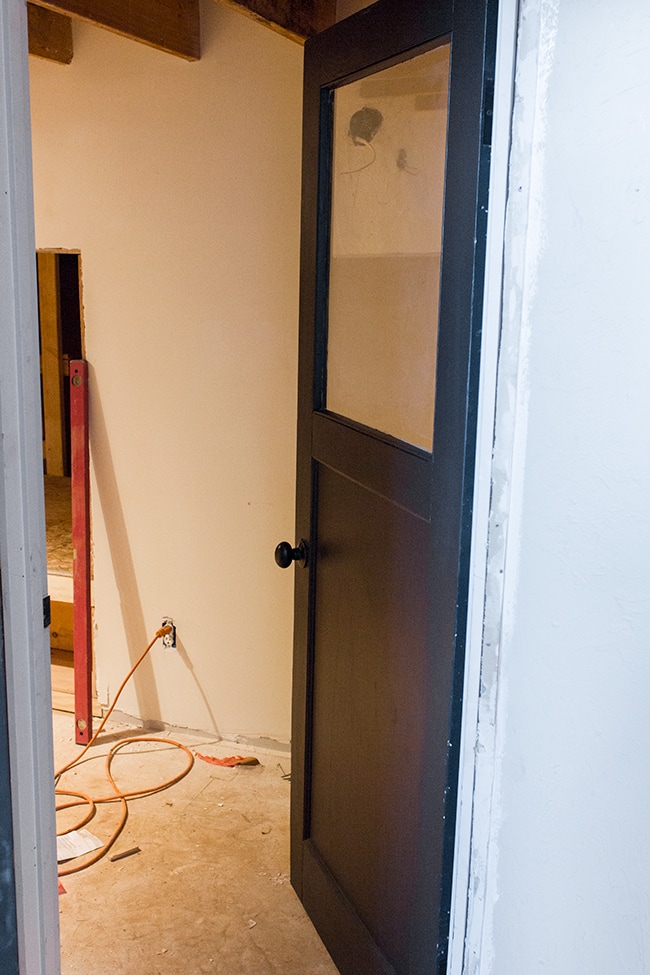
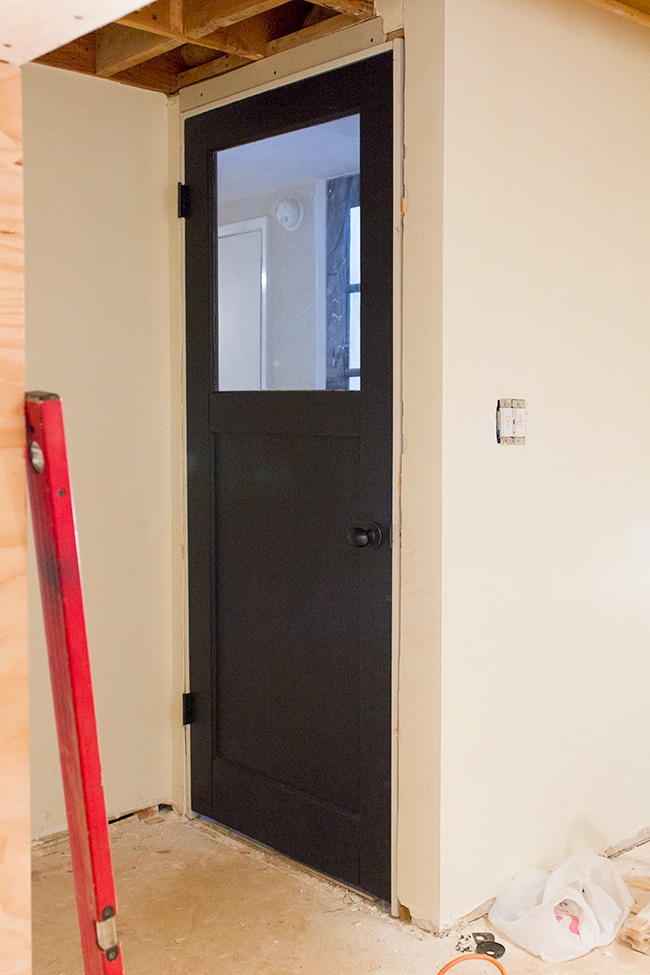
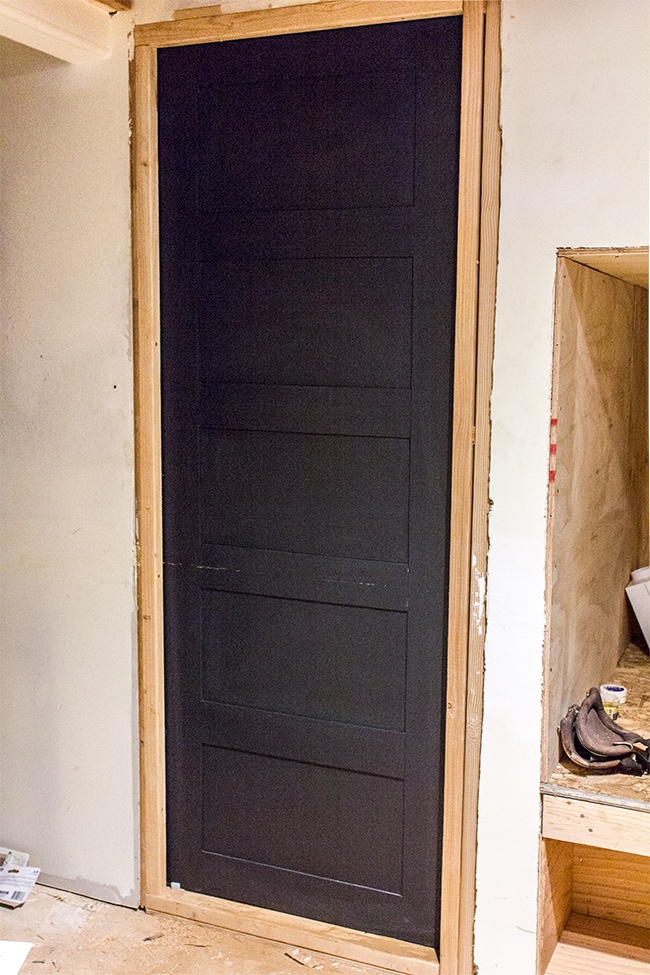
This door was a couple inches larger than the old one, so our contractor Dave had to reframe it. Here’s how things are looking now:
Sorry for the dark pic—it’s really hard to photograph black doors!
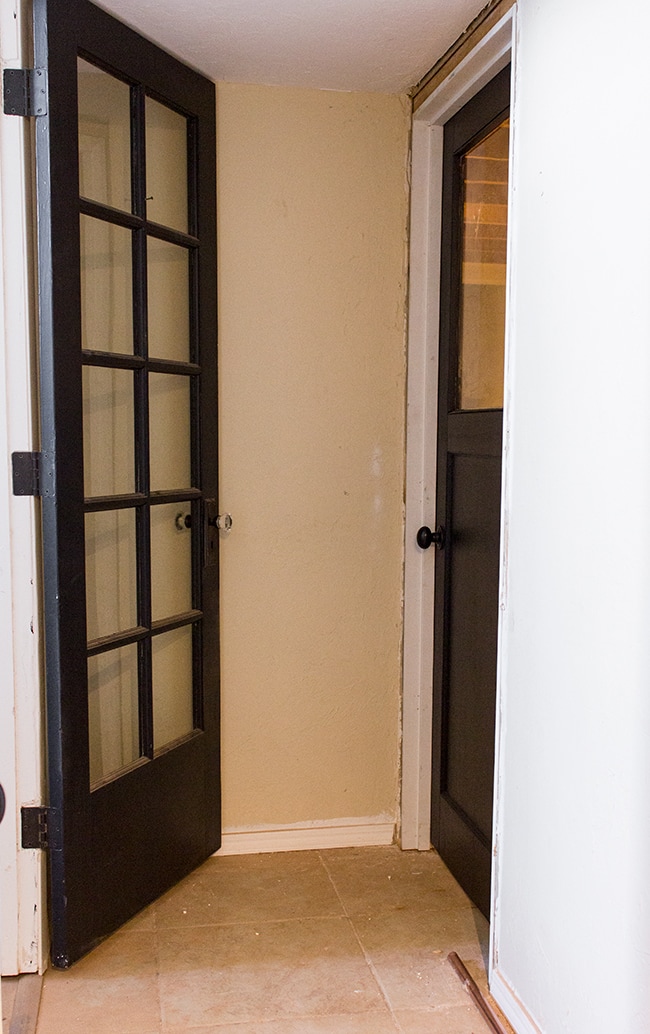
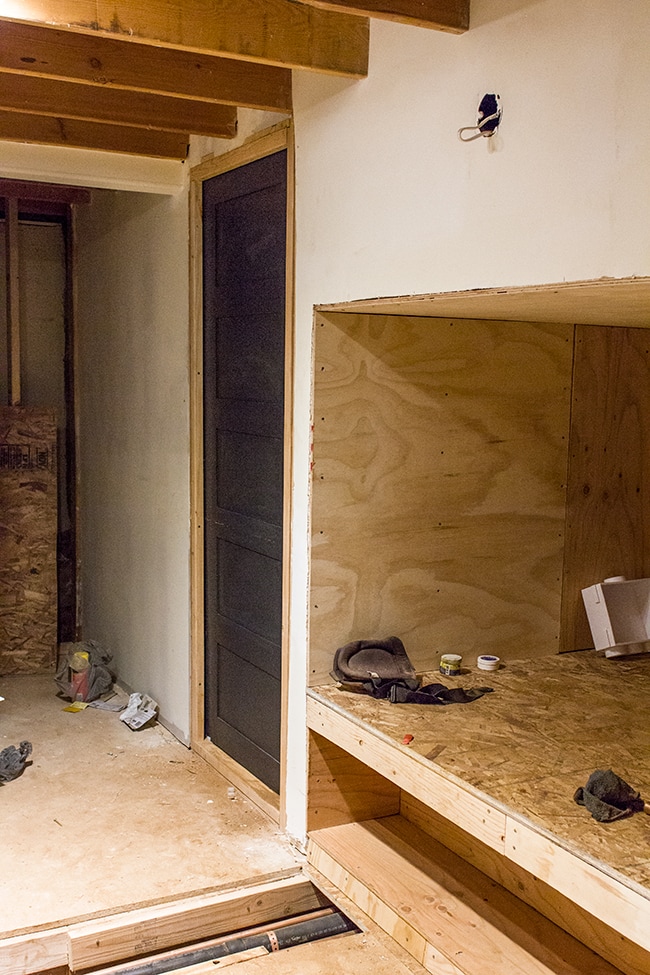
Here it is in relation to the living room french door.
The last step is to frost the glass and add a Laundry decal. I’ll be trying out spray frosting and the decal should be here in a few days.
One last shot from inside the room… I haven’t decided yet if I’ll keep the existing knob or replace it with the same “vintage” glass knob set I used on the french door.
Now—on to the pocket door!
This door leads underneath the house and will be rarely used—most likely only to gain access to the back of the washer and dryer if needed, so I wanted to keep the footprint small but make it aesthetically pleasing. My favorite way to do that?
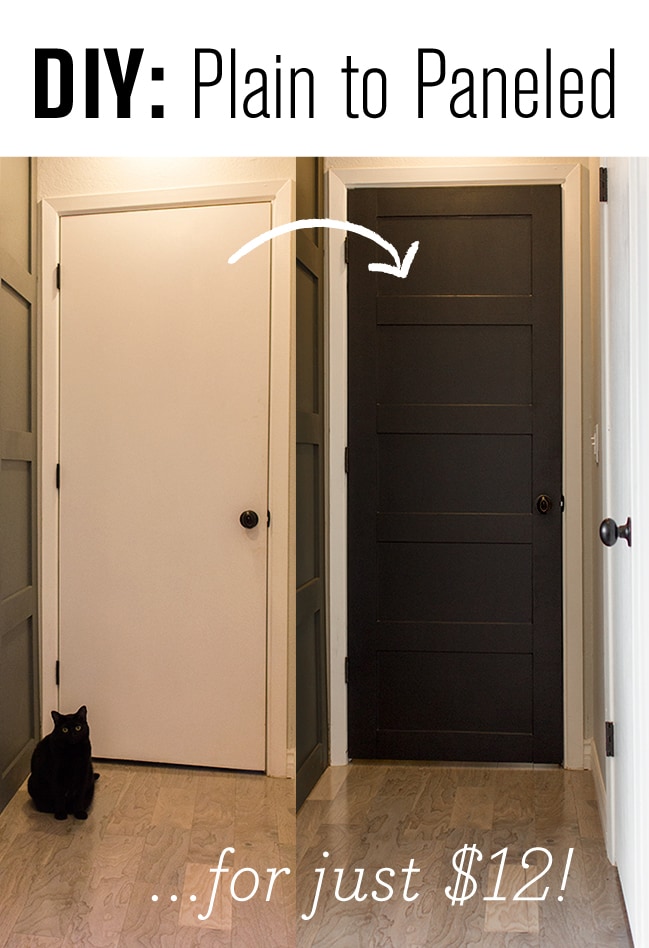
Plywood panels, of course!
First I needed a door. The slice of wood we had before wasn’t going to cut it…
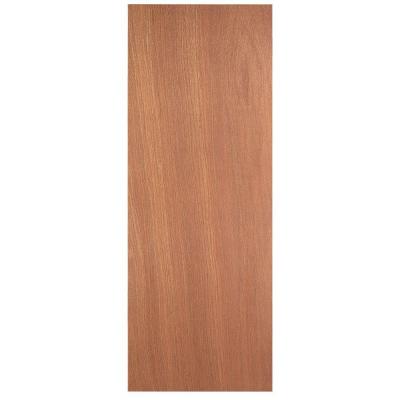
Re-Store to the rescue again! I grabbed a 28″ hollow core door that was part of a closet—forgot to take a before photo, but it looks just like this…
I was about to head to Lowe’s to buy a pocket door frame, when out of the corner of my eye I spied one that they had just brought out. It was in good condition and only $20 (compared to $70 at Lowe’s). Score.
So all that was left was my sheet of plywood, which I brought home and cut into strips with my table saw (refer to my original post for a step by step tutorial!)
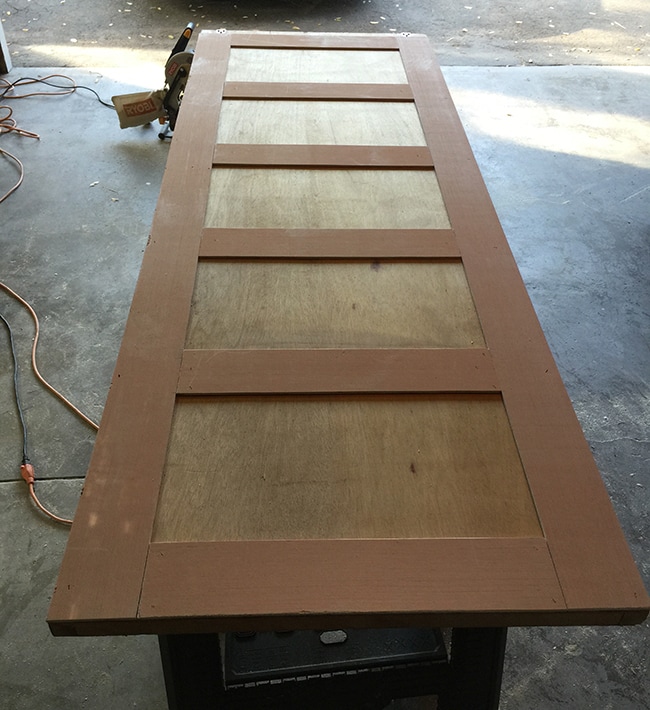
Since the back will never be seen, I only had to add paneling to the front of the door. I also used wood glue this time and clamps so I got away with less finish nails.
Here’s my instagram photo with both doors ready for sanding & paint…
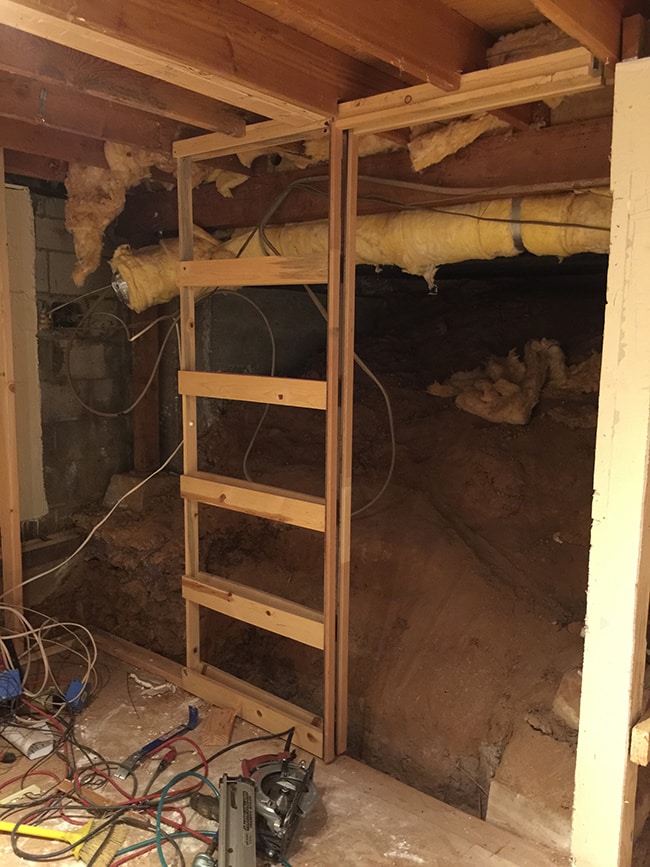
I posted the pocket door frame last week, but here it is again as a reminder:
We later learned that it was designed for a 30″ pocket door but Dave was up for the challenge. He simply added trim around the sides to close in the gap and we were good to go.
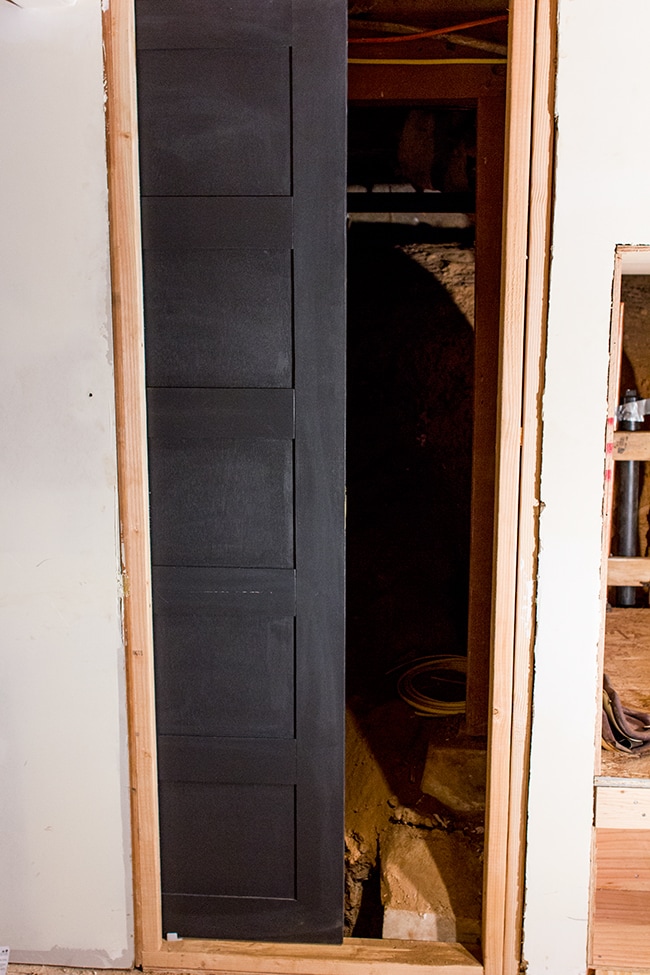
We installed a pull on the edge (you can barely see a sliver of it in this photo) but you can just as easily slide it with the edge of the trim, so I think I’ll leave it as is since we plan to open it almost never. A quick paint touchup needs to be made in the center where it was scratched but other than that it’s a done deal.
It looks more like a chalkboard finish in these photos because I had to edit the brightness since it’s hard to see the detail—but it’s very much black in person. Although I’m still having a bit of an issue with residue left behind when I wipe it down. Can anyone recommend any good solution + cleaning material that doesn’t leave streaks?
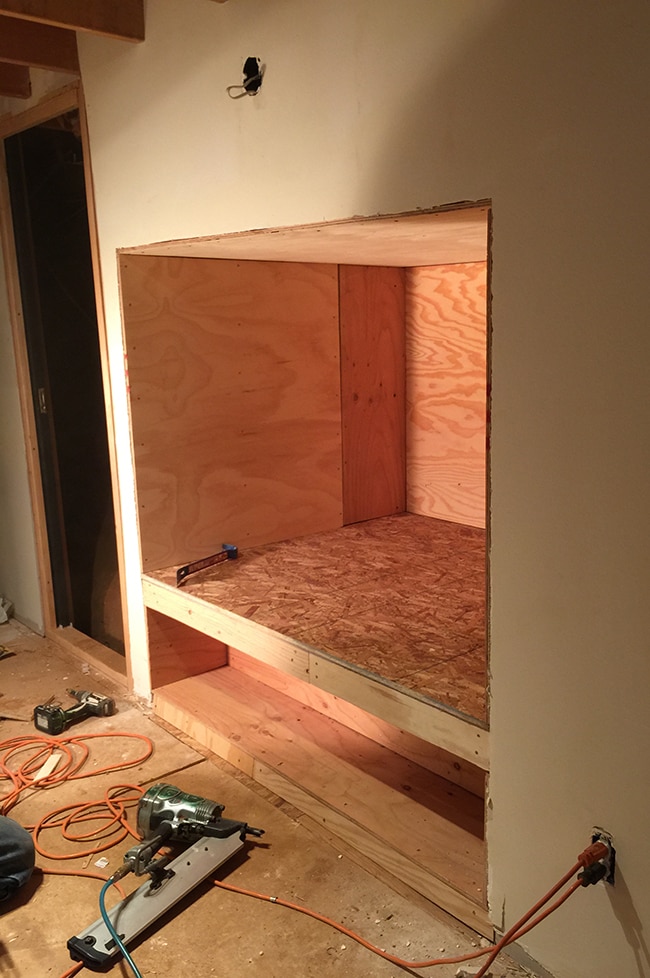
You’ll also notice something new on the right—our washer and dryer box is built! No more giant hole underneath the house!
We plan to add a drain underneath the washer, tile the bottom, seal the edges, paint and trim it out. The empty box below will be my first attempt at a DIY drawer (for laundry soap storage).
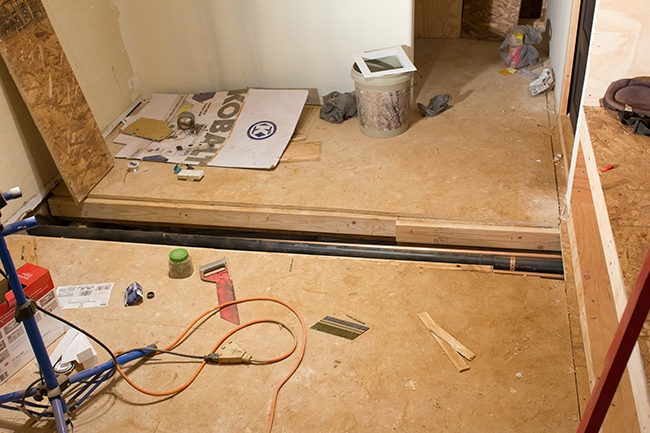
Our plumber has spent the past few days tapping into the kitchen lines and running hot/cold and drain lines for our sink on the other side of the room, seen below underneath the hole in the floor:
Today the new plumbing system will be tested and checked for leaks. Once the washer, dryer and sink are installed, our plumber will come back to get everything buttoned up.
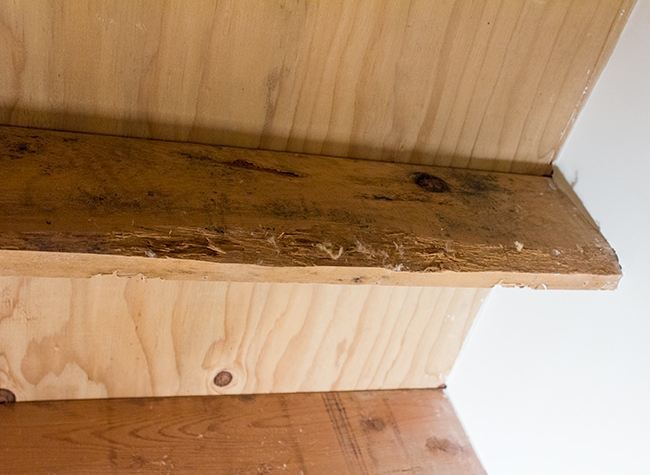
And that’s where we are at today! Still no pretty pictures, I know, bear with me here. Tonight I begin the exciting process of removing all of the nails/screws/stray pieces of metal from the ceiling, patching up all of the knots and holes and trying to sand it all down as best as I can. It will still be rustic looking, that’s for sure…
But I’m excited to see how this never-before-attempted ceiling look works out. Brand new territory here, people!
We have painters coming Sunday to spray the ceiling so I should have some finished photos on Monday or Tuesday of that. Though I’ll probably be too excited to wait and end up sharing on Instagram, so follow me there to make sure you don’t miss a minute of this riveting renovation! 🙂
And one more thing… some big changes are happening around here. January is the season of clean slates and new beginnings, and I’ve been inspired to do something I’ve been thinking about for a while—a website rebranding and redesign!
This includes the blog, too. A new and improved version will soon be hosted at jennasuedesign.com instead of blogspot. I’ll share more in the coming week (it’s all coming together behind the scenes right now and should be ready to launch in another week or so). Looking forward to a fresh start this new year!
Happy Weekend!



Jenna Sue says
Alright, after all of your warnings and that blog post I'm convinced—no spray frosting! Time to figure out a plan B 🙂
Allison Blackford says
I used Windex and a razor blade to clean up the glass, and I just left it clear. I've heard about frosted window film which I would like to try. But since you already have the spray, you might as well try it out (maybe in the garage due to overspray). Seriously, it wipes right off with Windex, so you're only losing time if it's a disaster. Here's a review that had similar results to mine- https://www.chrislovesjulia.com/2014/10/frosted-window-spray-vs-etched-window-film.html
Linda S. says
Jenna Sue, I'm sure you are aware that glass shops will do this kind of work for you. From reading the comments, it sounds like you may be getting into a mess. I would think the glass specialists could even integrate your custom-made decal if you took that in along with the glass panel. I know $ is $, but it sounds like professionals might be worth a check/see. Your glass doesn't appear to be huge, so how expensive can it be??? HA! Famous last words. I know you'll figure it out.
Jenna Sue says
That's great to hear—I can't wait to see how ours turns out!
Anonymous says
Am looking at your rafters and smiling. Was trying to create a studio area in our house/restoration and the room had a hideous dropped ceiling; just nasty. We had the option of drywall which made for a low ceiling or leaving it open. We chose the open option and painted everything white: rafters, pipes, etc. Wasn't initially crazy about the idea, but didn't want to be working in a “cave”. Am really happy we left it open. It looks great and has a kind of industrial edge to it. After a while you don't even notice it.
Jenna Sue says
I had it custom made from this Etsy shop: https://www.etsy.com/shop/LundtLetteringDesign Just got it in the mail today and it looks great!
Jenna Sue says
Hmm… well now I'm nervous about it! Maybe I'll test it on a piece of glass beforehand. What did you end up using instead?
Nancy says
We are doing nearly the exact same thing for our laundry with nearly the exact same inspiration pic. Our laundry door will be a pocket door though. We also found a salvage door. Wondering if you could please share where you found the laundry decal? Thanks so much!
Allison Blackford says
I am excited to see this room continue to take shape! I'm glad you found that door at the Restore- I dream of doing the same thing, so it's nice to see how well yours turned out.
Beware the spray frosting. It'll make a cloud and leave residue on everything in the room. I was disappointed with the final result when I used it. It was splotchy and showed scratch marks. The good news is, Windex takes it right off if you need a clean slate.
Jenna Sue says
*give it another coat 🙂
Jenna Sue says
Oops… too late for that! I'll just have to give it coat, but I'll wait until it's less dusty in there. Thanks for the tip!