Before we get into today’s post, we have a long overdue vlog update! Watch below to see what we’ve been up to since moving into the Heights House:
And now for the details on our first completed nursery project…
Last weekend I shared live updates in my Instagram stories of our progress, and my DM was flooded with hundreds of messages, so I figured I’d break down the details for you in a separate post.
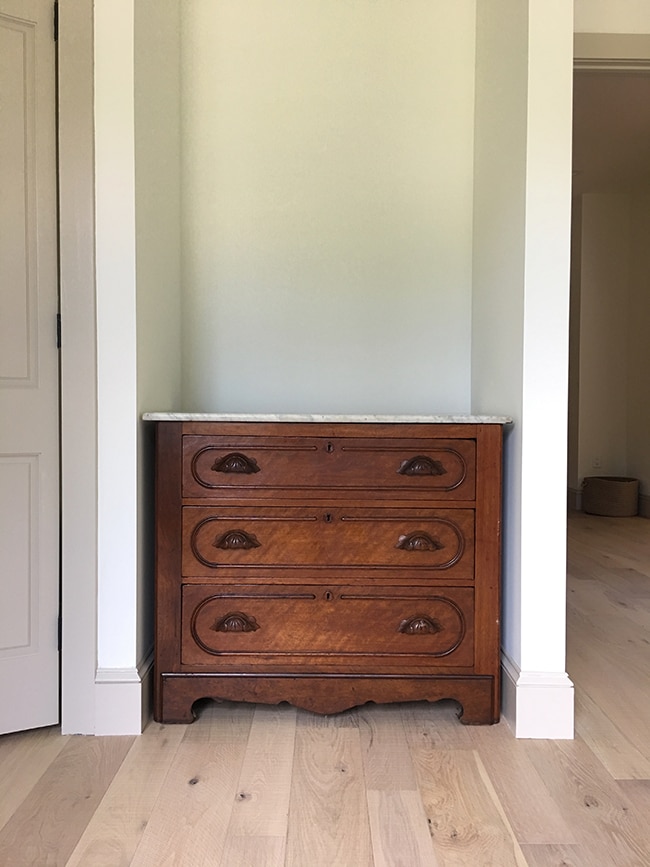
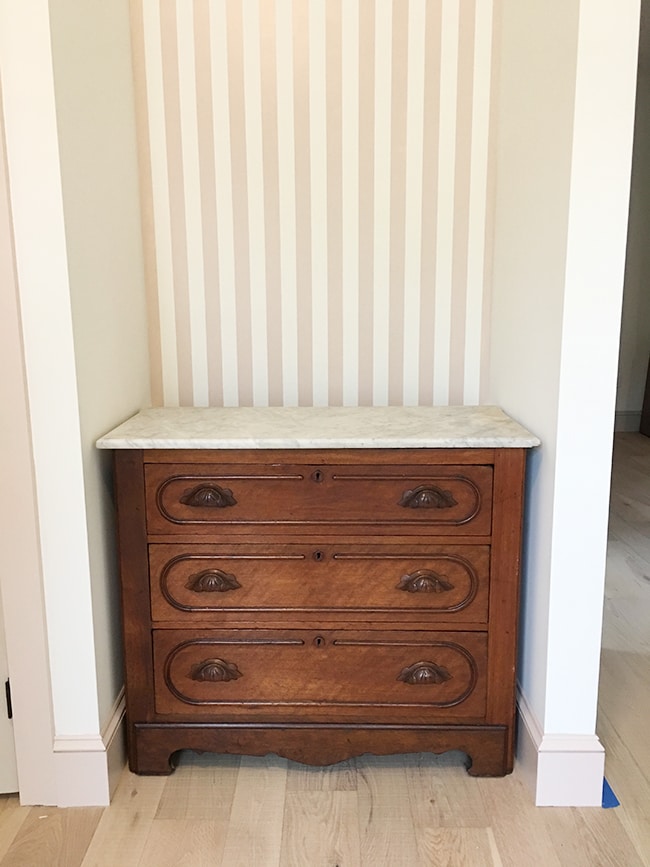
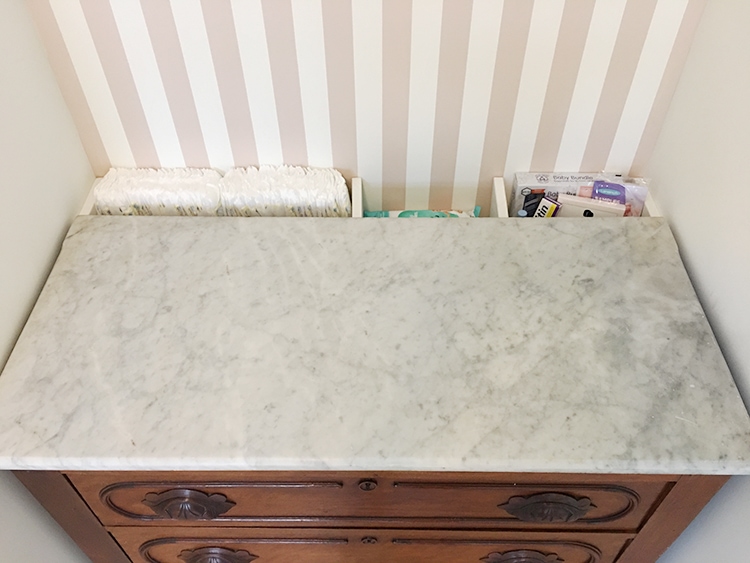
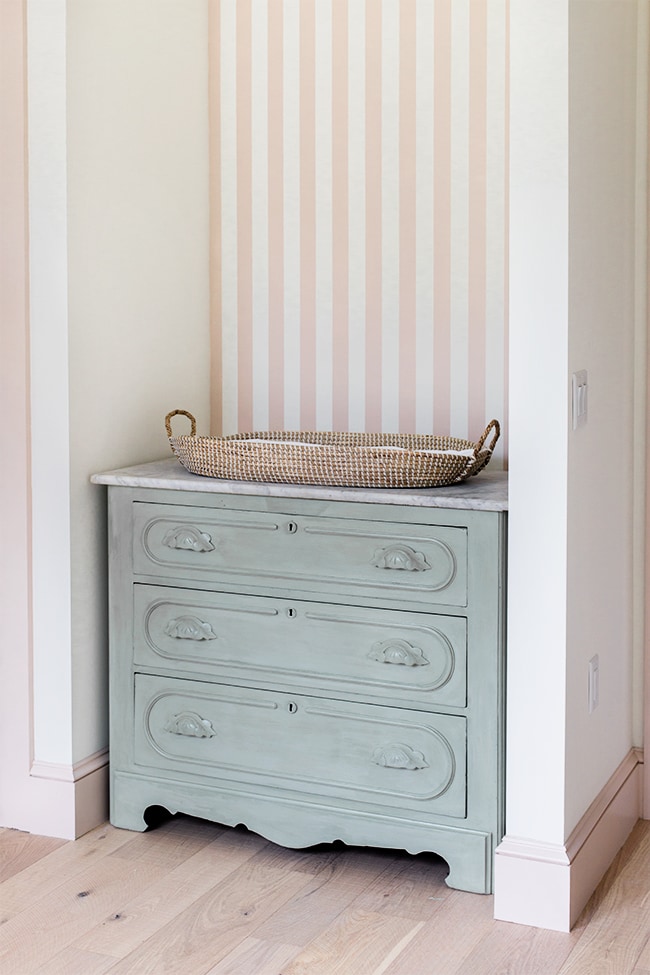
We had this nook built with the intention of using it as a changing station for baby, and last month I found the perfect vintage dresser:
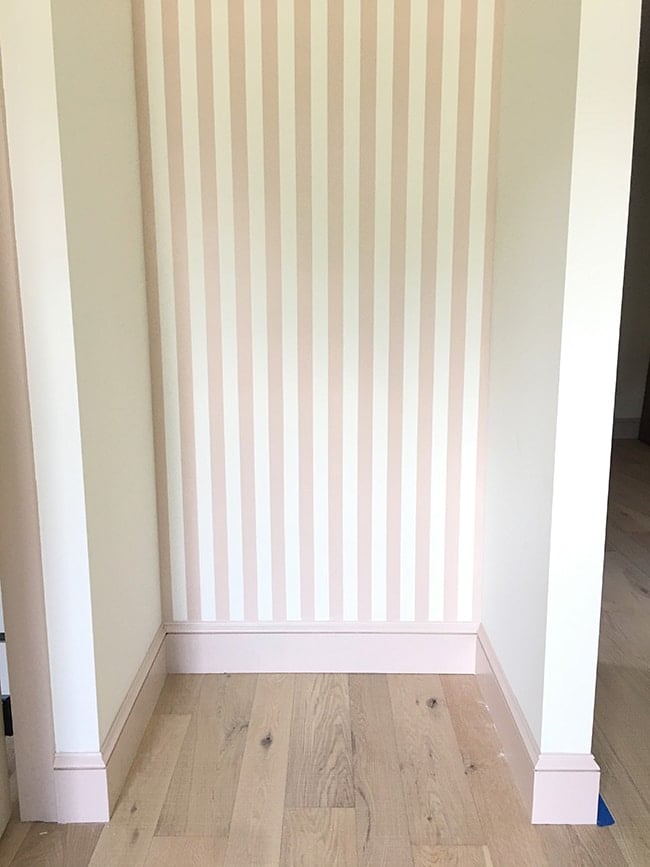
A couple weekends ago we painted the trim and stripes (using SW Malted Milk)—I’ll share the simple method we used to get clean stripes in the next post this week:
Although the dresser was a perfect fit, it didn’t offer a ton of surface area and I didn’t want to build shelves above it to put everything on display, or have to open the drawer to grab something every time. Somehow we came up with the idea to move the dresser forward and build a hidden cubby behind it—lightbulb moment!
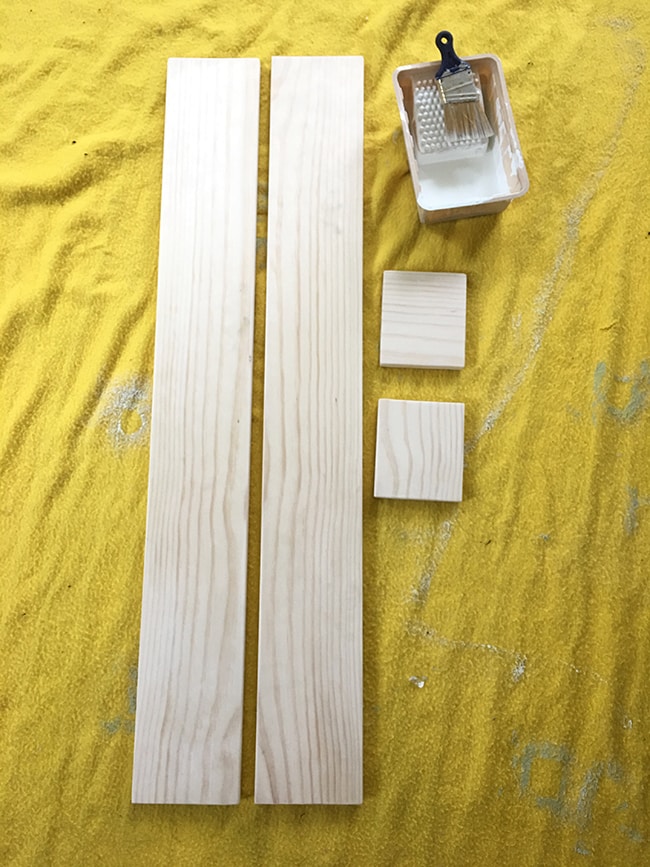
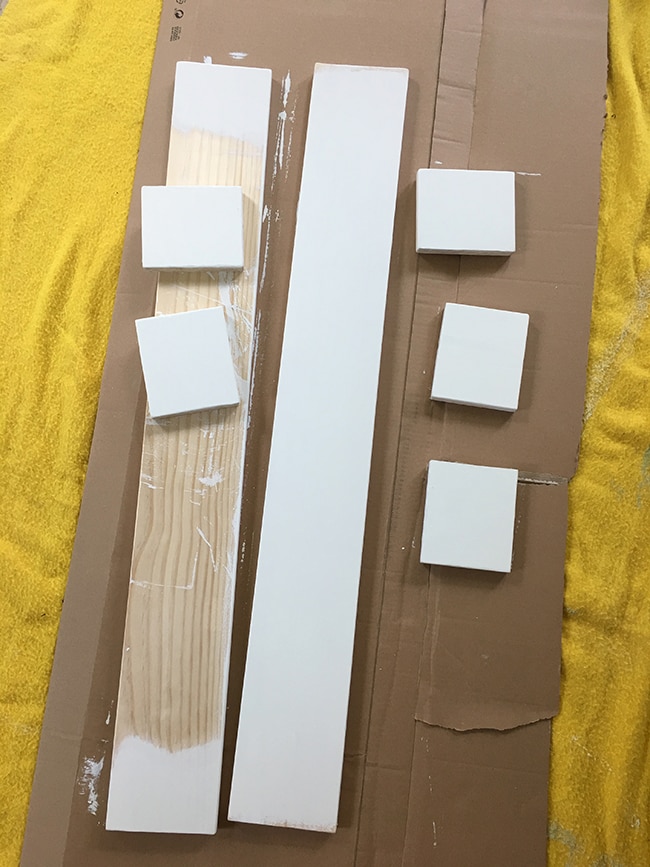
Our materials list was simple—a 1x6x8′ pine board from Lowe’s and a couple brackets. We measured the width of our nook and cut two long boards for the bottom and side, and two short pieces for the ends.
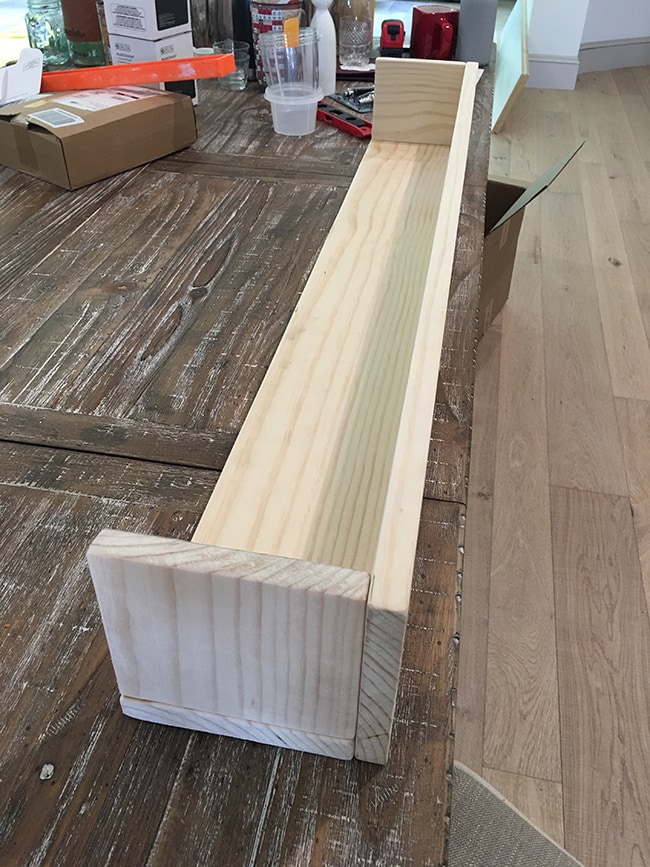
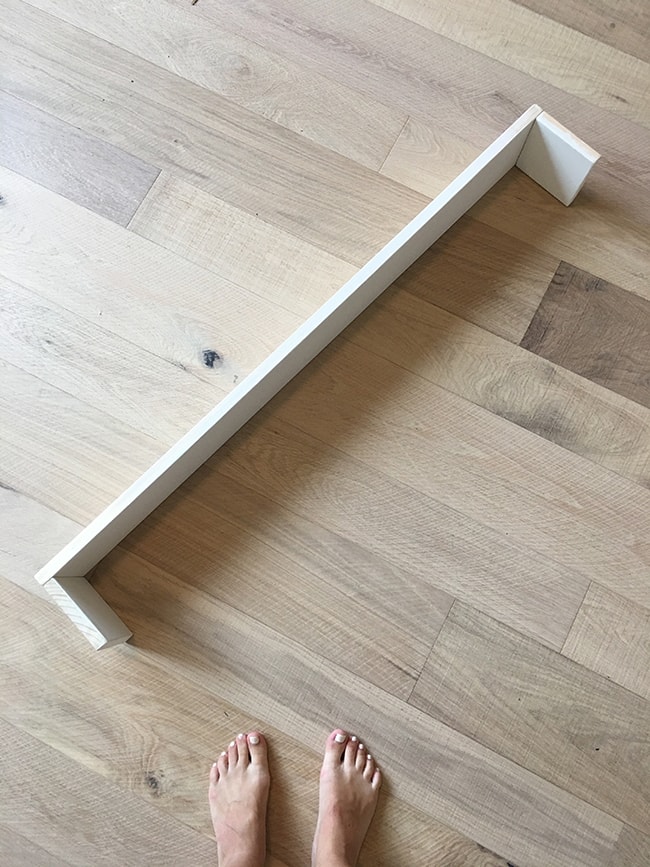
The plan was to assemble them together like this, with the open end against the wall:
Since the top and sides would be visible, I went ahead and painted those areas (using the wall color, SW Alabaster). We also cut a few extra blocks to make dividers:
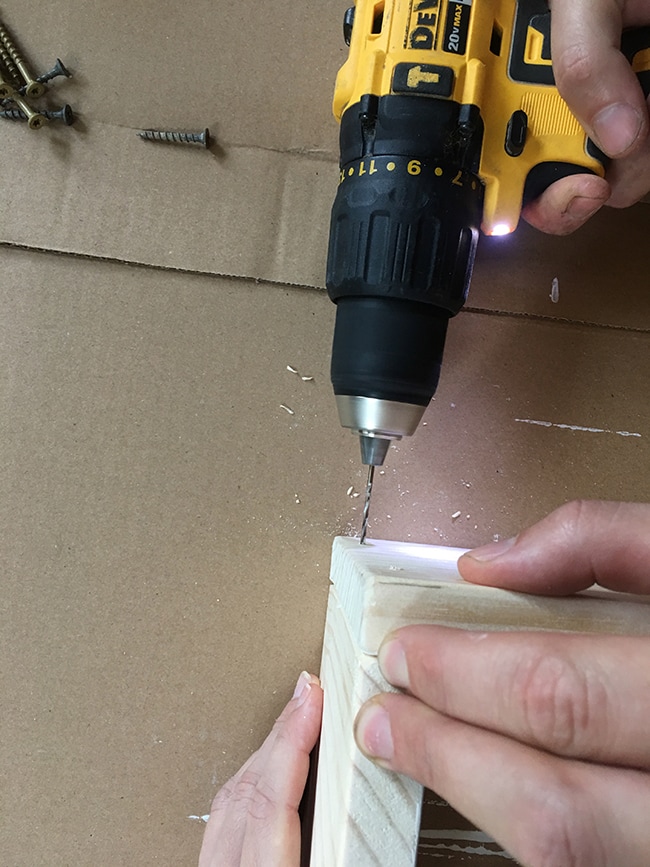
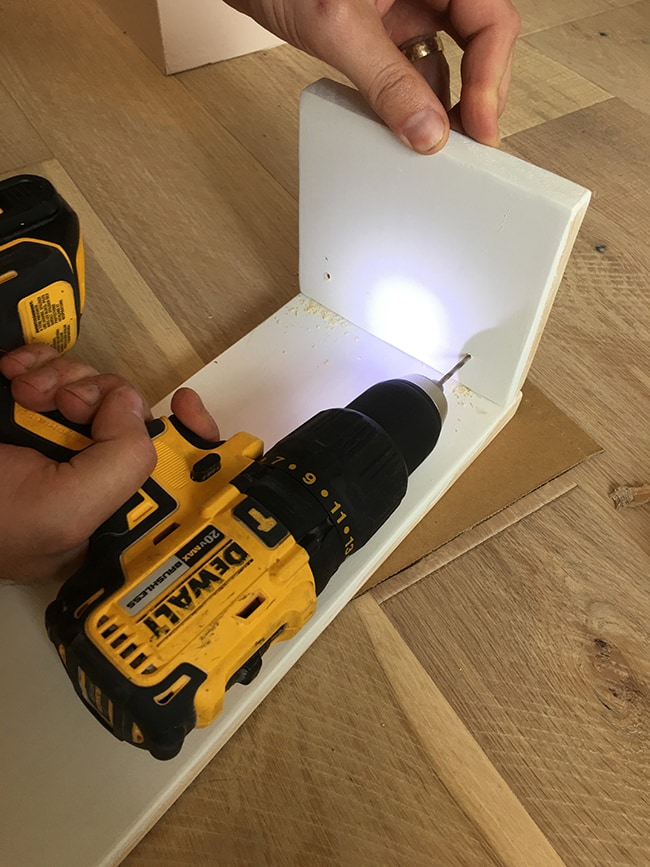
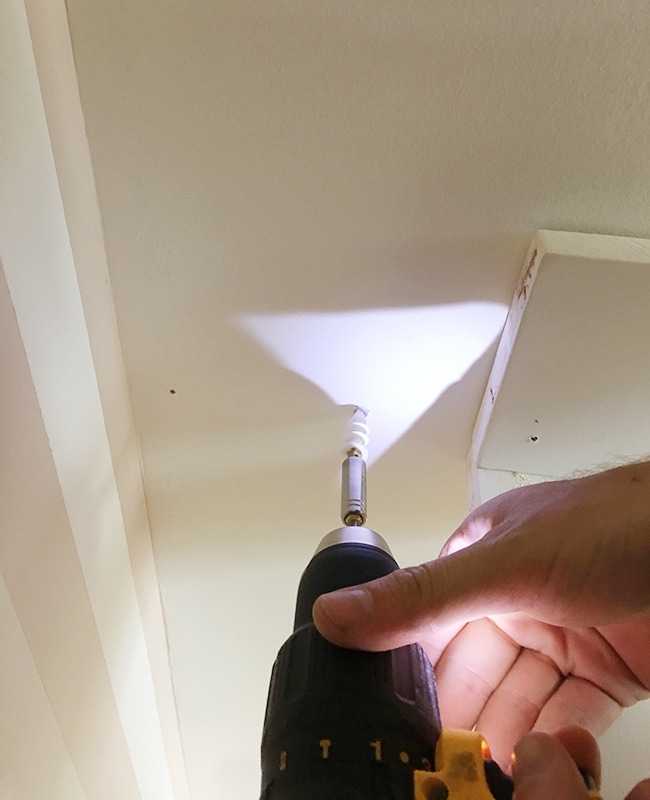
After the paint had dried, it was time for assembly. First we needed to attach the bottom to the sides. Holding the two pieces in place at 90º, we predrilled two holes:
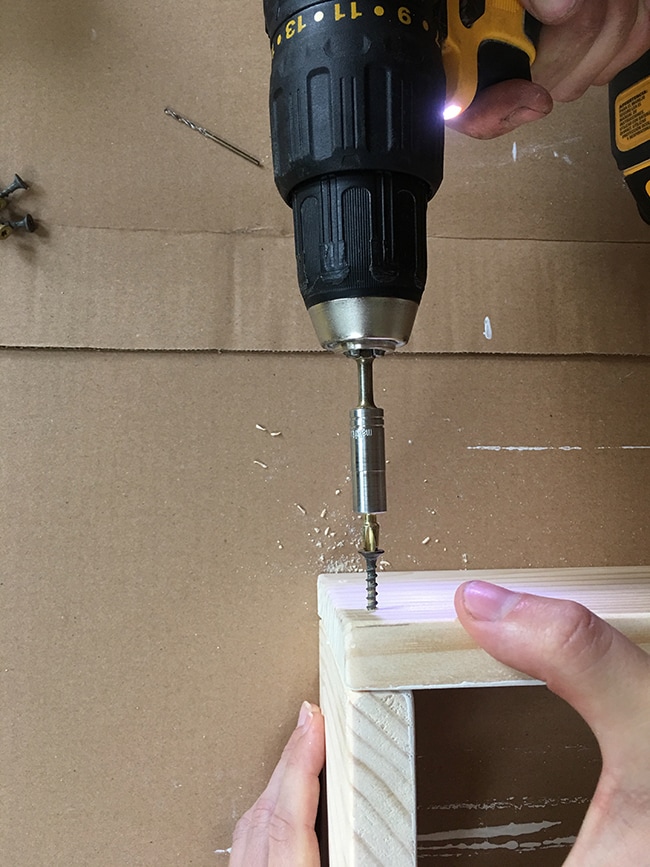
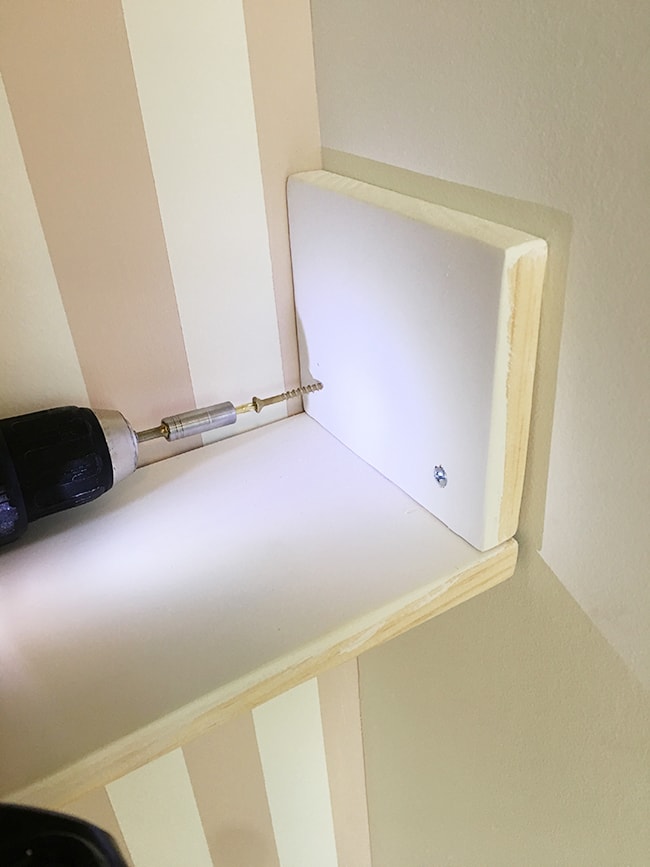
Then inserted our screws:
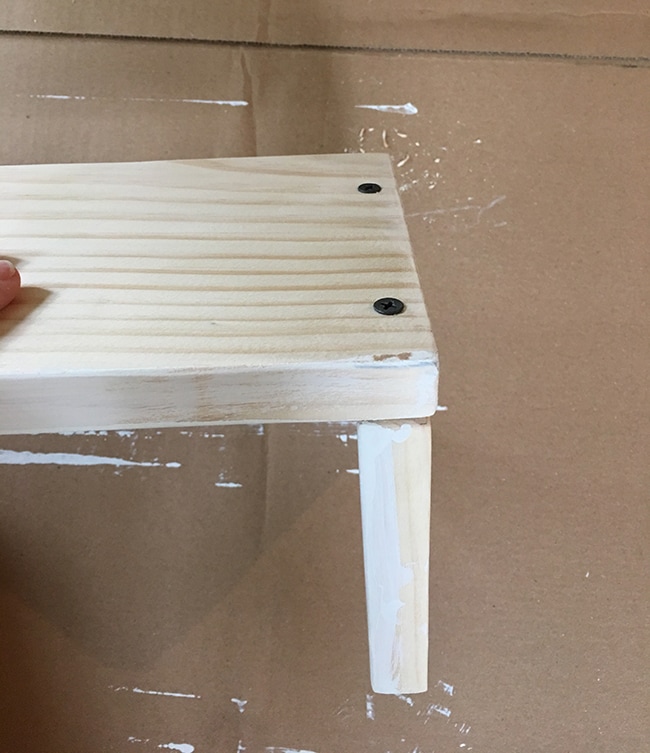
Ta-da!
Repeat on the other side, and we were ready to roll:
Before getting it into place, we predrilled two more holes for the screws that would attach to the wall.
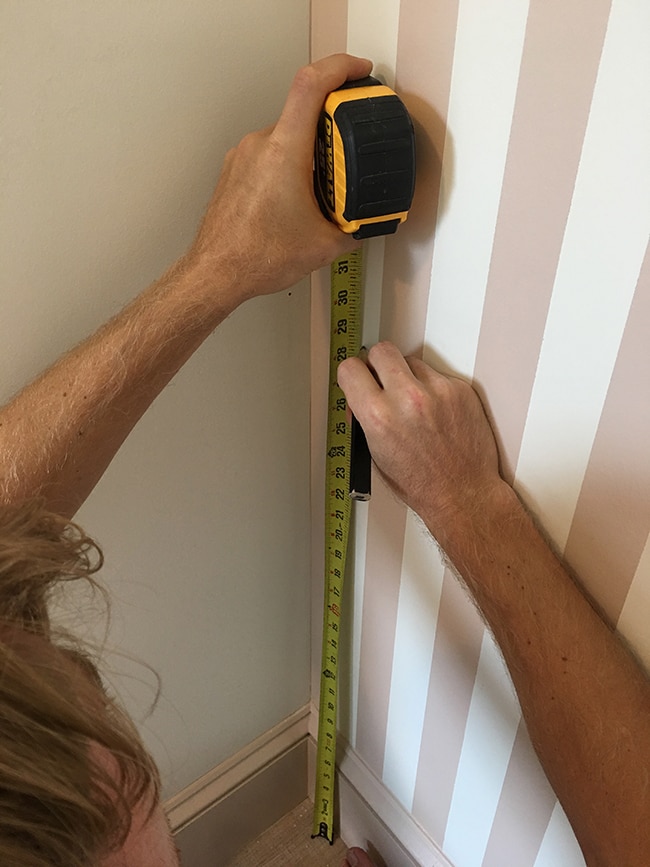
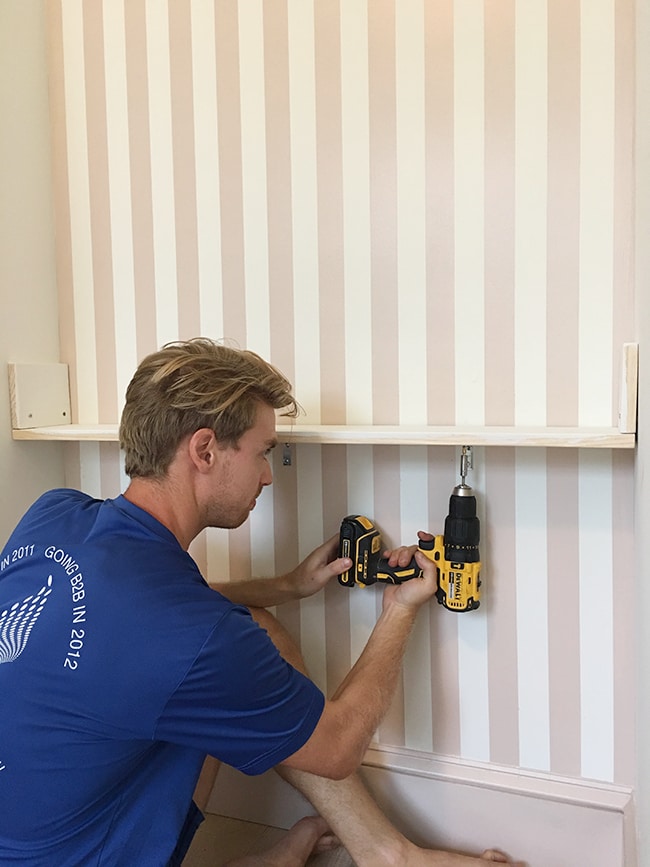
After measuring the dresser to determine our desired wall height, we marked our measurement along the wall…
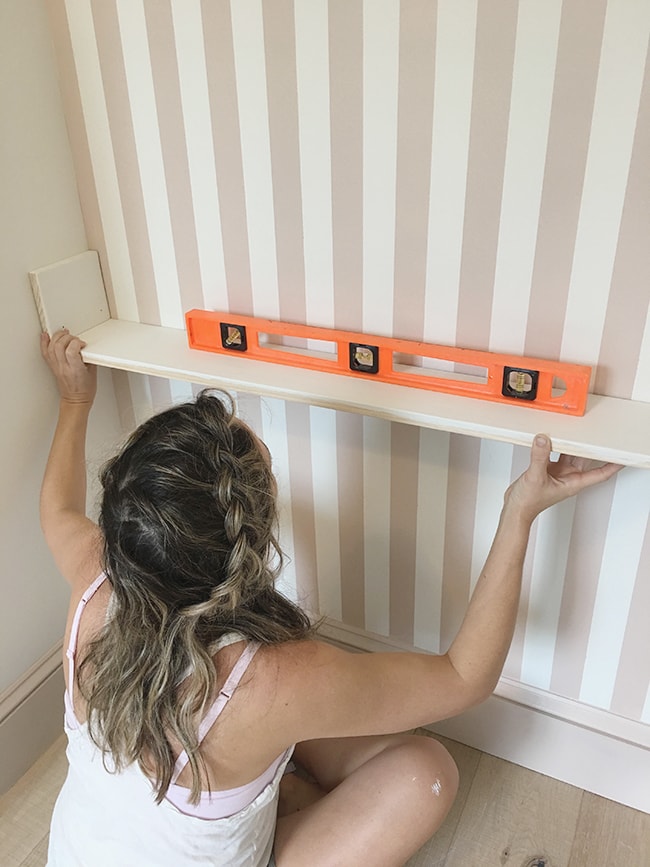
Then held the shelf up along those marks, checking for level.
Once in place, we drilled through the last four holes we made to mark the locations on the wall and removed the shelf. The screws closest to the wall would end up in a stud, but we needed to use drywall anchors for the other two (btw, never using anything other than these self drilling anchors again!)
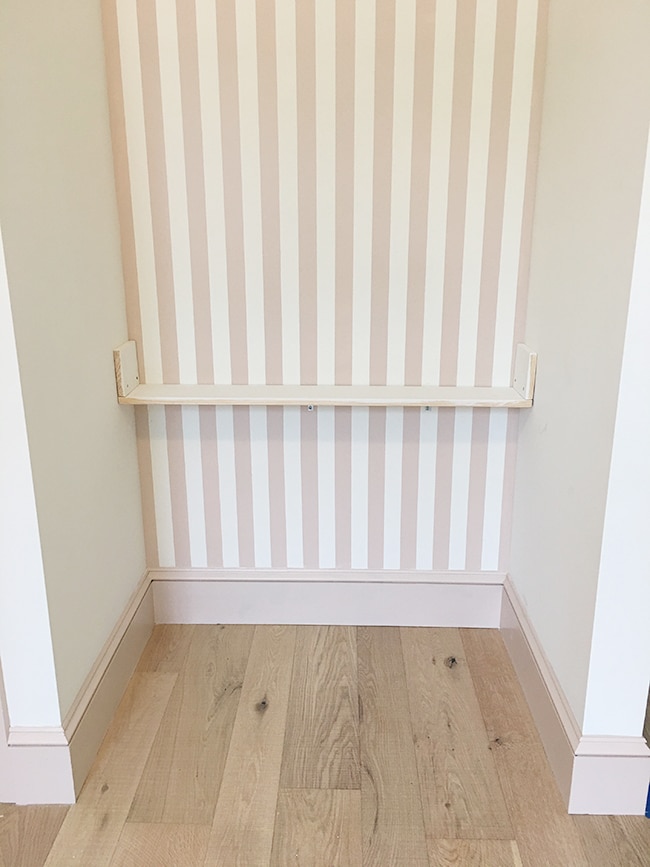
Once the drywall anchors were in, we lined our shelf back up and inserted the screws (one into the anchor, one into the stud).
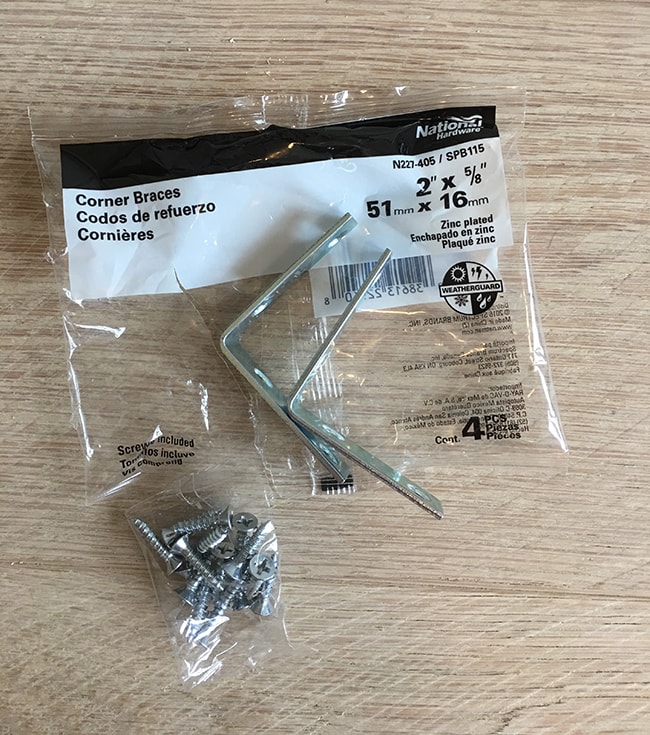
For extra support, we decided to use a couple of these metal brackets along the bottom:
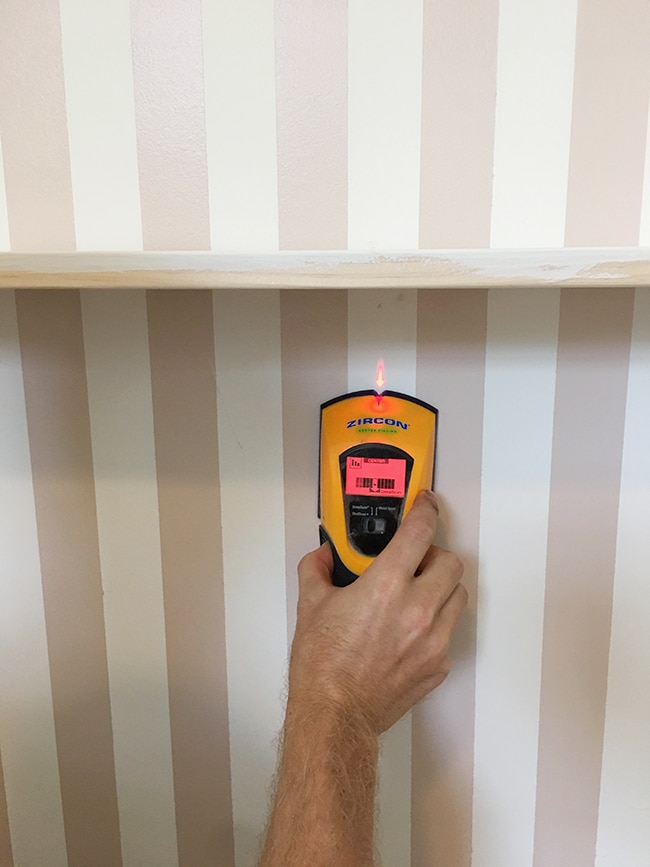
First step, find and mark the stud locations:
Then attach the braces into the wall and shelf (for the wall we used longer screws than what was provided in order to reach the studs):
And we’re in!
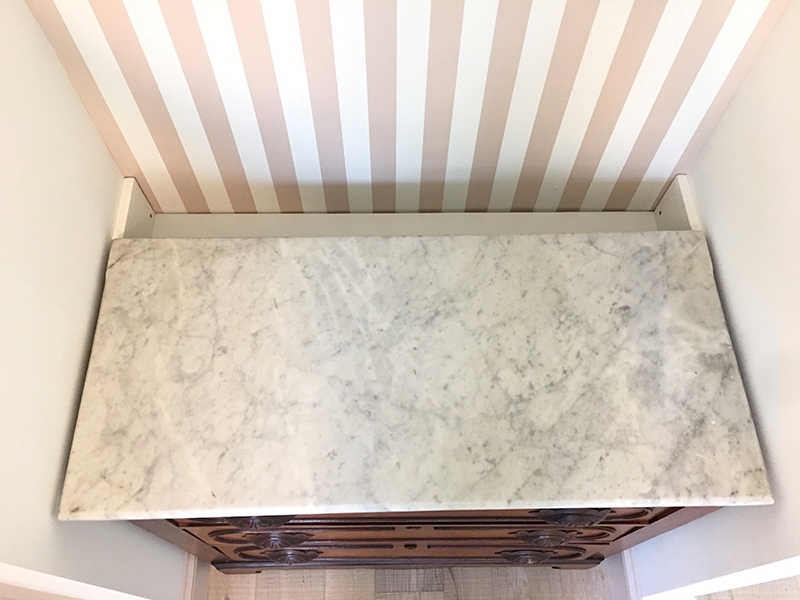
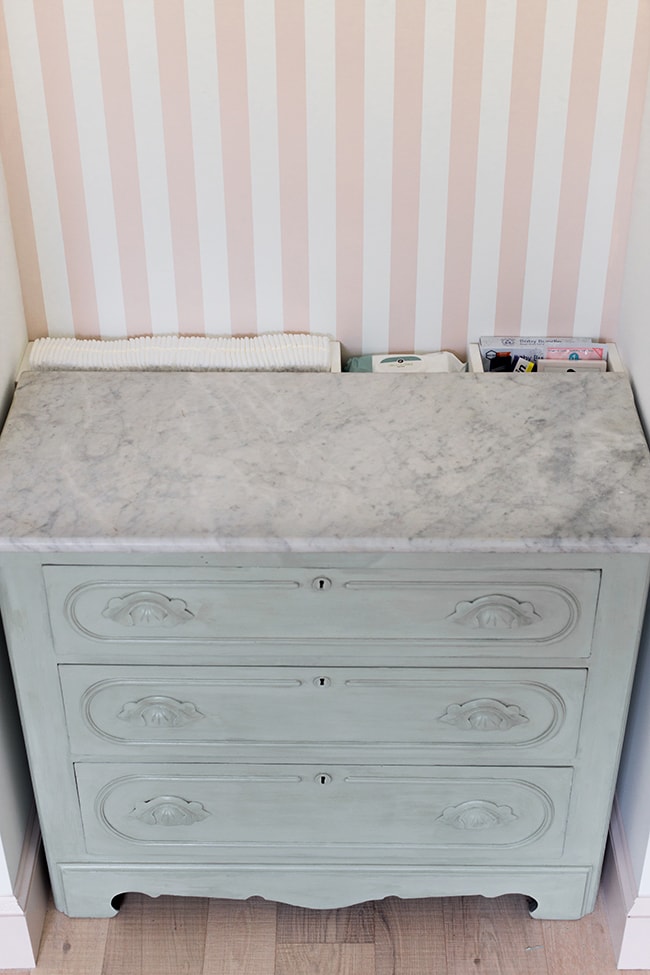
At this point we decided there was no need for an additional piece of wood in the back, since the back of the dresser would serve the same purpose. Here it is in place… you’d never know something was behind it!
Until you peek around back…
Obviously I couldn’t wait a single minute before organizing it. We have yet to buy most of our changing supplies so this isn’t the finished setup (do we need anything other than diapers, wipes, rash cream and lotion?)
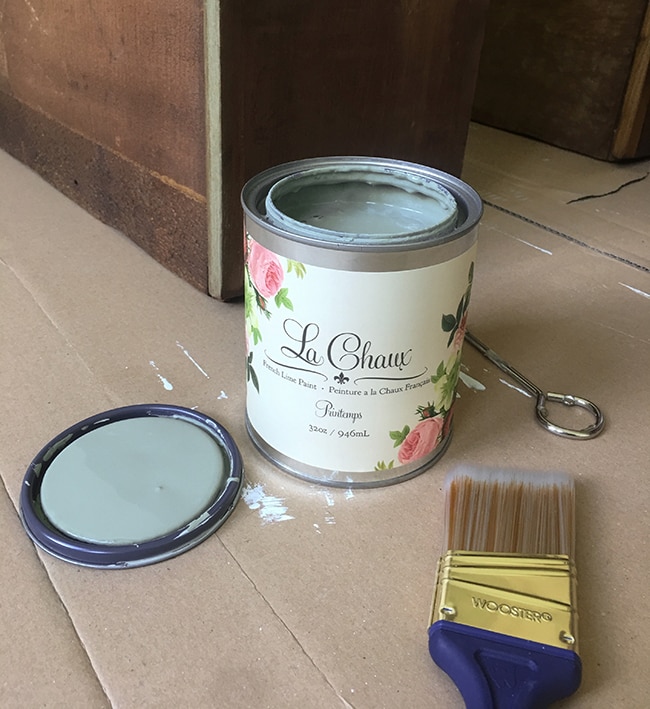
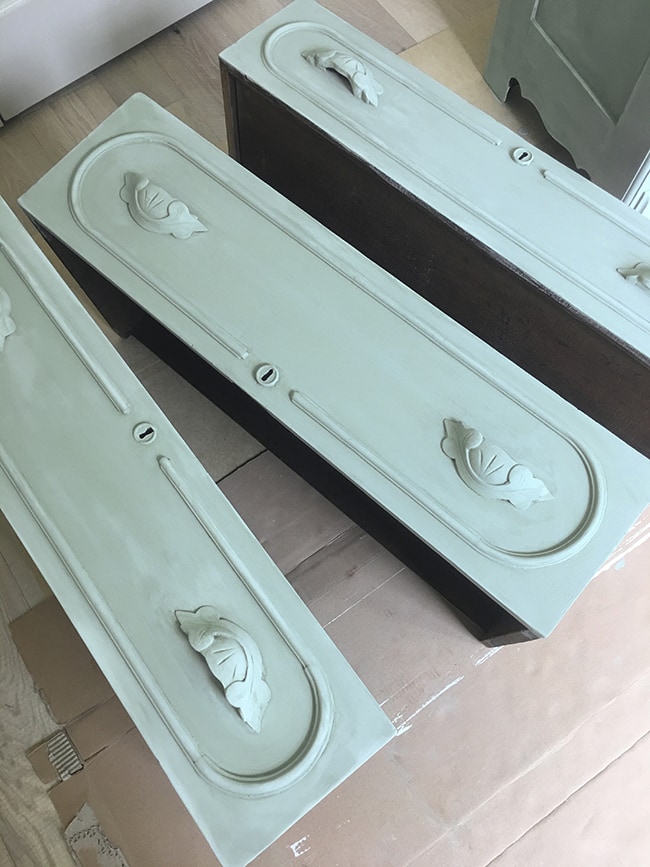
The next day it was time for a dresser makeover! I decided on Maison Blanche’s french lime paint, in the color Printemps (which is a pale sagey green):
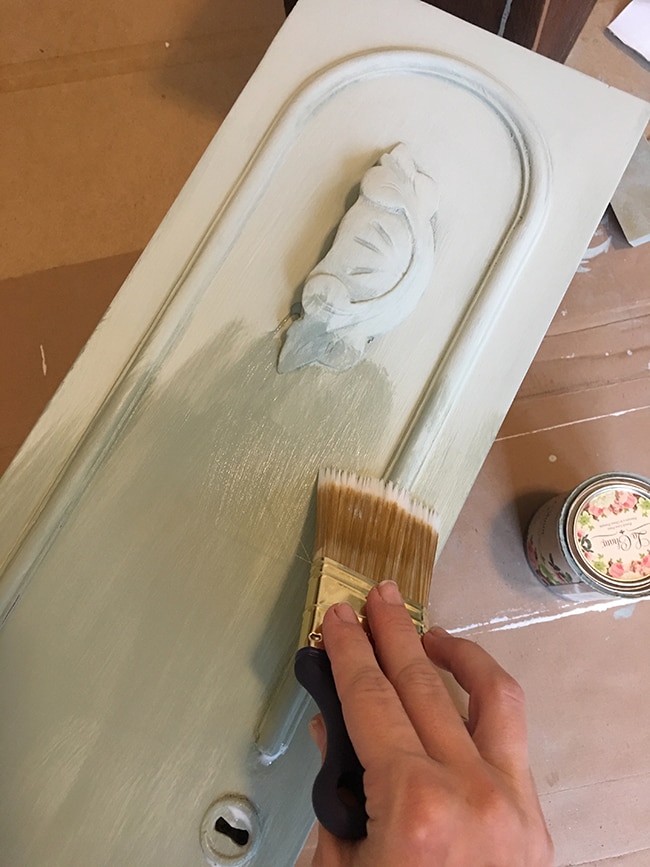
I also made sure to use a brand new brush (my favorite $5 brush) and applied the first coat:
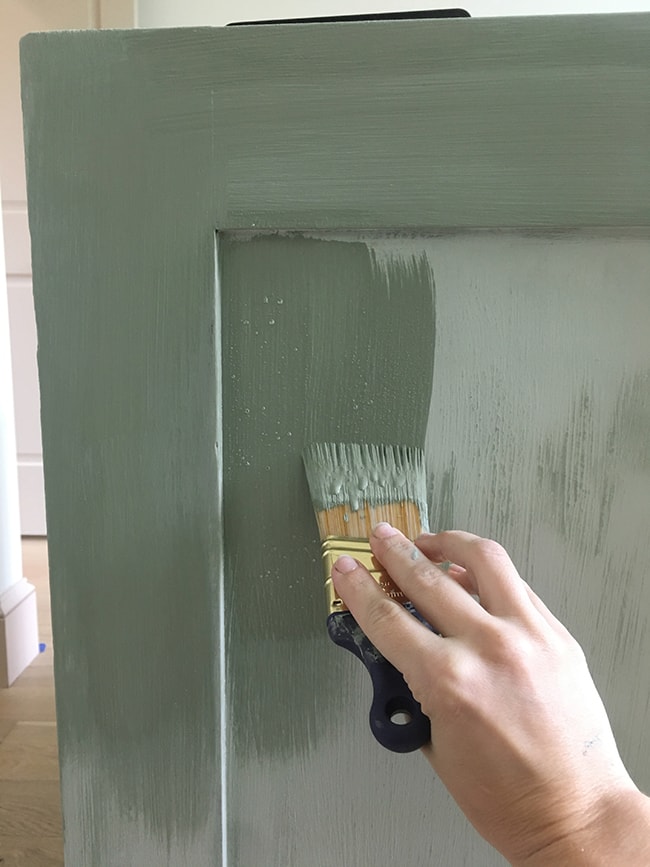
This paint is not like regular latex paint at all—it’s has a powdery finish that you layer on and end up with visible texture and depth for an aged look. It can get really thick, and I found that it’s best to water it down for a smoother finish.
I applied 3-4 coats, lightly sanding with a 320 grit block in between.
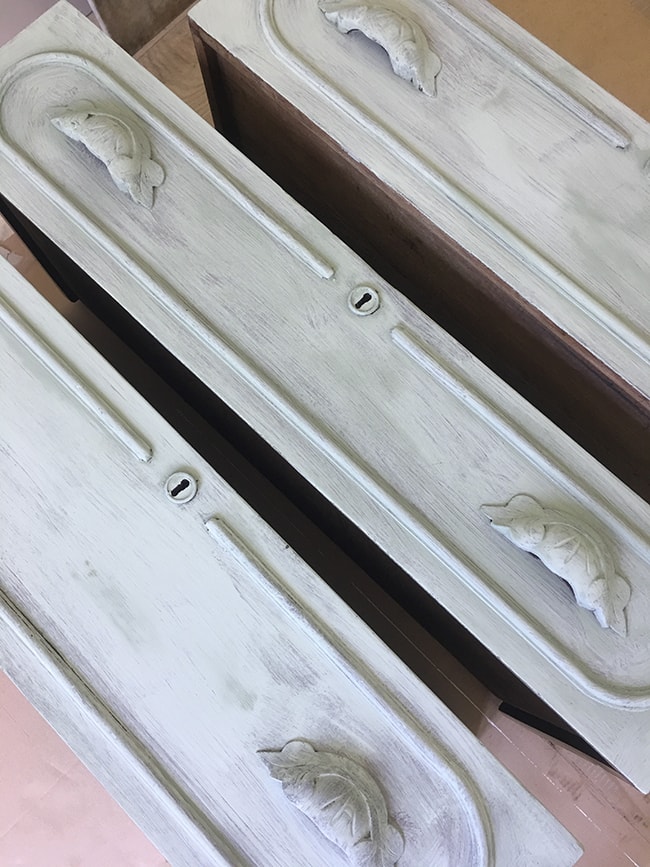
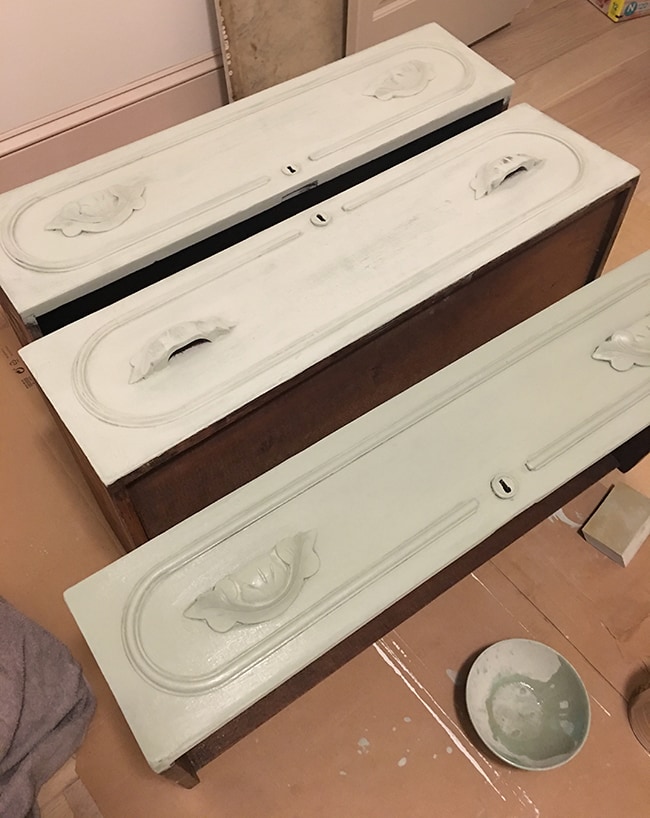
You can see how much lighter it gets when it dries (the bottom drawer is still wet in the photo below):
Finally, I sealed the dresser with three coats of Minwax polycrylic in matte:
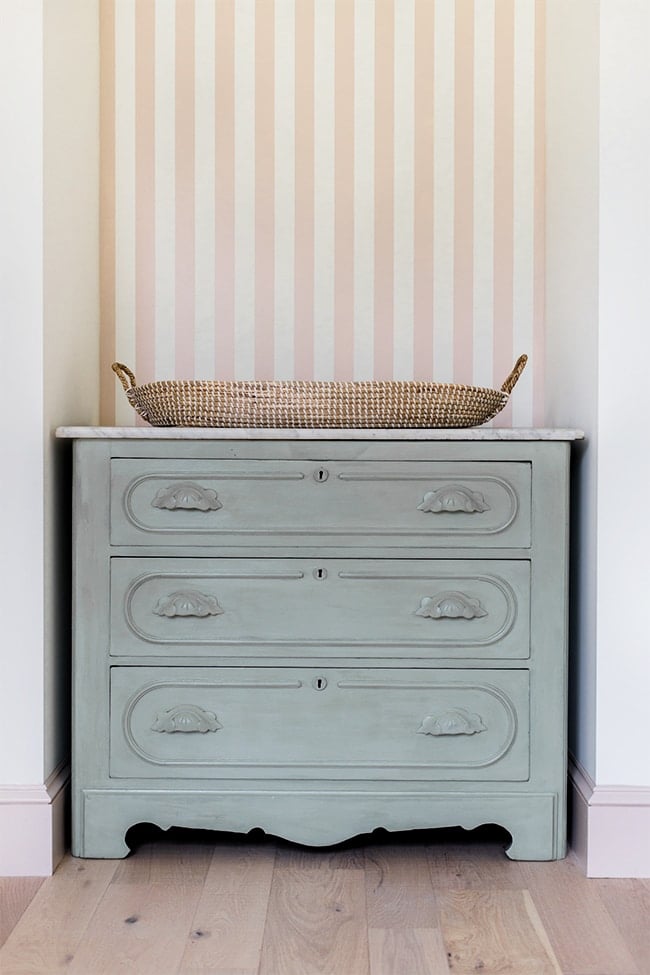
It’s hard to capture the true color in photos, but it’s so soft and delicate, and I think it will be gorgeous with the forest mural…
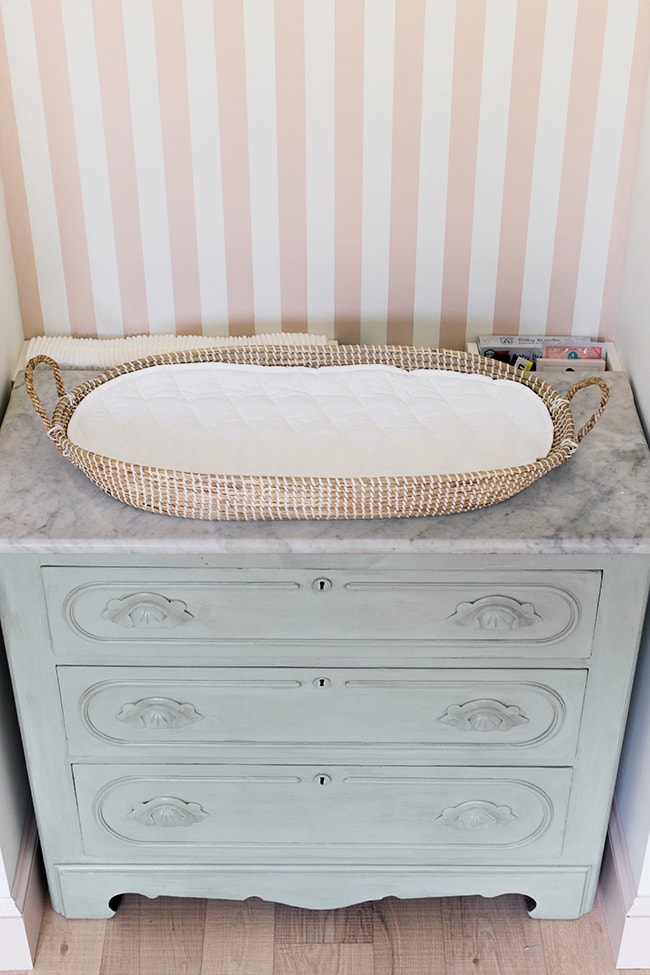
And I love the way it looks next to the natural texture of the seagrass changing basket.
One more time for the overhead view…
I’m tempted to put our cat in the basket for a practice diaper change 😉 Daydreaming is fun…
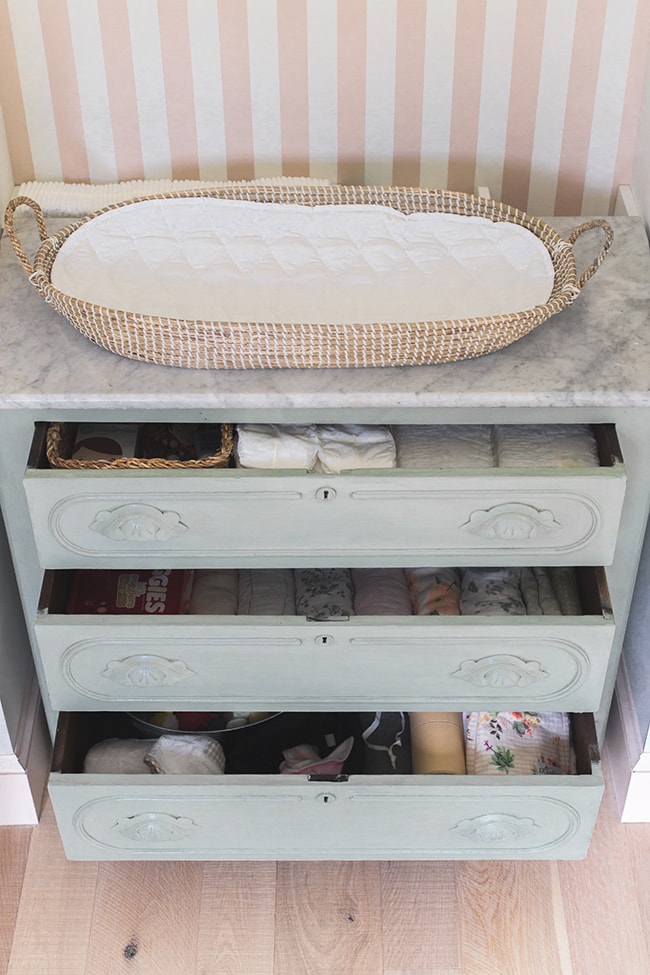
I also didn’t waste any time organizing these drawers! The nursery is now 95% organized (even though the room is only 10% complete…)
Next up I’m spilling all the details on her closet makeover. My nesting has been in serious overdrive lately (making up for lost time) and nothing makes me happier than staring at all her little clothes and accessories neatly stored away. Can’t wait to share that with you in a couple days—stay tuned for more nursery fun my friends!




Shannon M Toupin says
Just had my baby a few months ago and keeping his clothes he wears most often in the drawers under the changing table is the most useful.. that way you don’t have to leave them unattended when they need an unexpected outfit change!
ichbindiegute says
Just use a normal trash bin with lid for the wet diapers. The ‘full’ diapers go straight to the ouside bin. No need to wrap them in additional plastic. If I would be pregnant now I would try washable diapers. Seriously. Here in Germany we have some fancy options and you go through a LOT of trash with disposable diapers.
And for the wipes: I used washclothes which I sprayed with some water-oil mixture. Means I had a stash of washclothes and a spray bottle with water and a little almond-oil in it. I sprayed a washcloth wet before using it. The washclothes went in a separate bin with lid and would get washed regularly.
For the changing pad I had a stash of terry cloth towels. I would wrap the changing pad in them and in case of an accident could quickly exchange the towel. And accidents do happen. Regularly. 😉
Your changing station looks wonderful, as always. <3
Tia Laws says
So beautiful! What a dreamy space! I found with my kids that ‘Budreaux’s Butt Paste’ is the best diaper rash cream to use. Also, it is a good idea to have diapers and wipes hidden in the main area of the house, because it isn’t always convenient to get them to the changing station to change their diaper.
Jenna Sue says
Good to know, thanks for the tip Tia!
Katie says
Beautiful! We tried 2 different diaper pails-one kind with each child and both times ended up just bagging them and tossing in the regular trash can. I bought cheap dog poop bags off of Amazon and used those. Not all babies poop all over so fingers crossed for a poop-free changing basket ?
You also may want to put extra diapers in the closet and keep onesies in the top drawer. We went through many during newborn stages with pee leaking from diapers.
Jenna Sue says
Another vote against a trash bin, interesting! I guess we’ll have to see what makes the most sense for us once she’s here 🙂
Kristen Eff says
I LOVE that the changing table is contained on three sides and your body will block the front. Great idea!!! And kudos on the storage trick. I’m really loving this nursery. It’s so peaceful and well thought through. If your parenting is half as considered and thoughtful as this room, you are going to be great parents!! 🙂
Yet more unsolicited advice: I hung a huge scarf as art above our changing table and baby would grab at it, just something to think about with the future mirror height placement.
An idea: Regarding the white rocker and spills/baby leakage, we draped a pretty throw over our rocker back and seat, and can quickly and easily throw it in the wash. You could remove it for photos.
Jenna Sue says
Thank you Kristen! I’m sure we’ll end up with a throw or swaddle over the chair too — those will probably be all over the house for protection 😉
jane says
it’s beautiful & you guys are so creative… but please be careful…babies start rolling over before you know it, and often without warning. since you have no security strap and the “lip” of the basket is pliable, you will really need to hold the baby in with your hand or body at all times, which can be difficult with poopy explosions. also, is there a way to secure the basket to the dresser? and/or maybe put a shaggy rug in front of the dresser at least, for a softer landing (just in case)? sorry, i know it’s obvious “not to leave baby unattended,” but there are times you don’t think of until you’ve been through it, like when you reach down to pick up a dropped diaper or whatever when the baby’s back is covered with poop & your other hand has poop on it & you take your eyes off for 1 second.
Jenna Sue says
We’re going to look into ways to secure the basket onto the dresser (or at least make it so it doesn’t easily slide) and we’ll go from there! If it becomes unsafe, it’s an easy fix to swap it out with something else 🙂
Shauna says
Adorable changing station.
Glad you could sell the bungalow, you guys are power workers but as you mentioned, there will be even busier times ahead so it seems like a wise choice to sell.
Don’t overdo things during this final phase, Jenna, and have at least one date with that great husband en tête-à-tête. Might be the last one for a while!
Thanks for sharing.
Jenna Sue says
Thank you for the reminder, Shauna! Most of our time together has been spent working, so we definitely need to carve out a date night or two before baby 🙂
Marcia says
SO beautiful and soothing. Did you sand the dresser before applying the paint?
Jenna Sue says
Thanks Marcia, and there’s no sanding required with this paint! That’s the best part about it <3
Sojourner says
We kept a very little basin to fill with warm water (with one hand) on the way to the
changing table. Then we always washed baby with plain water and castile soap,
(like Dr. Bronner’s) and a baby washcloth. We only used wipes when we were out
visiting or in a public place. We think because we avoided the drying effect of the
wipes on his delicate skin, he never got diaper rash at all. I had all these lovely
natural baby lotions and creams, and never even got to use them!
Also once she gets a little bigger, you might find you are doing a lot of your diaper changing on the floor. I’m sure you will find an aesthetically beautiful way to adapt to any and all developments. So happy for you!
Jenna Sue says
Thank you for sharing your experience, that’s great to hear he never got diaper rash! We’ll definitely have to experiment and see what works best 🙂
Lauren says
It’s really coming along, how exciting :).
I second the hand sanitizer; Honest carries a really pretty grapefruit scent I keep at my changing station. I also have blanket rolled up on the changing pad so my daughter’s head is elevated and she doesn’t spit up while I change her diaper. You may want to keep a pacifier and/or toy to occupy your baby while you change her (this comes in handy as they get a little older).
Jenna Sue says
Hand sanitizer and blanket — check! And I’ve already stocked the drawer below with pacis/toys 😉
Jan says
Beautiful changing table/antique dresser.. I own that similar dresser from my Granny.. 1940ish.. But you and hubby did a splendid job ..Be proud of your creative team work. As a 30 yrs Neonatal RN ;baby girls can stream pee or explode poop into that gorgeous wicker basket.. think about how your going to clean that out .. especially when you all are tired.. blessings ahead and an easy delivery. Thanks for sharing your wonderful talents?
Jenna Sue says
Thank you, Jan! I’m hoping a water sprayer and some soap will do the trick when that happens 🙂
Paige.Rose says
Superrr cute cozy french countryside look!! Love it!! Great piece of furniture & the paint♡♡♡♡
Paige.Rose
From
http://Www.thequaintsanctuary.com