This post is part of a paid collaboration with Lowe’s Home Improvement. All opinions are my own.
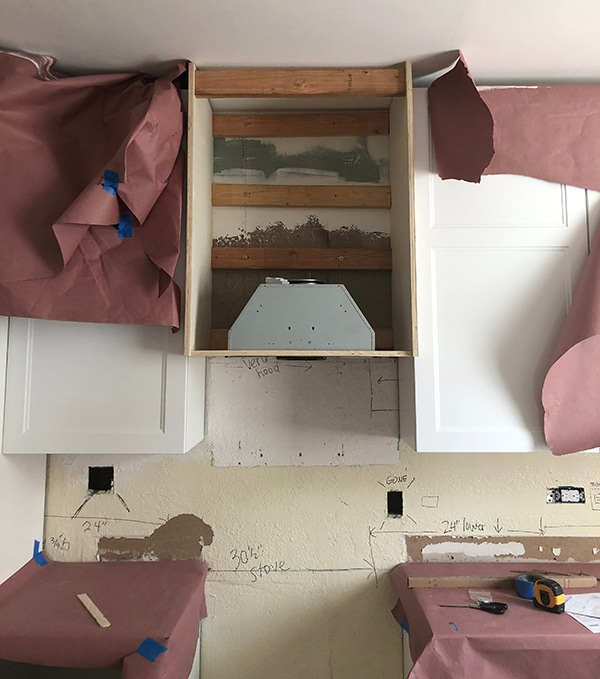
Popping in for a quick update on the Riverside Retreat kitchen, now that we’ve transitioned into the fun part where there’s visible progress! In my last blog update, we had chosen the paint color and began the installation of our custom range hood.
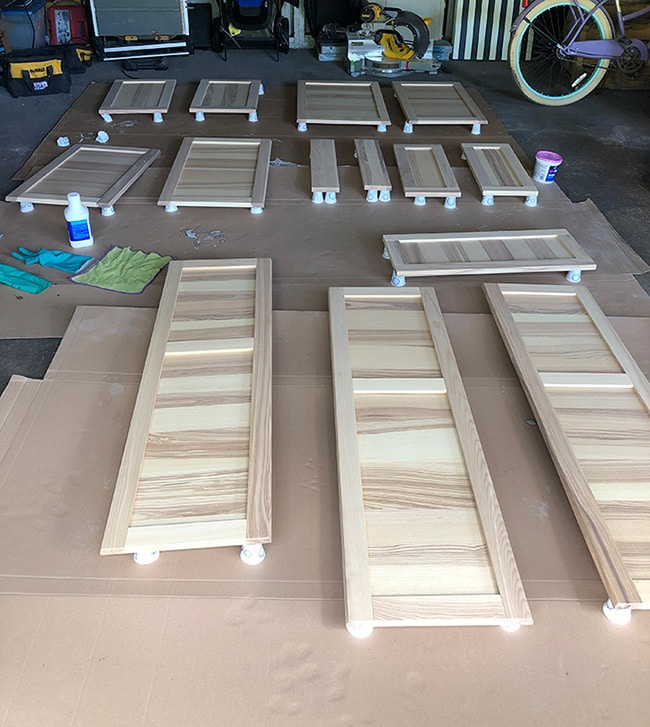
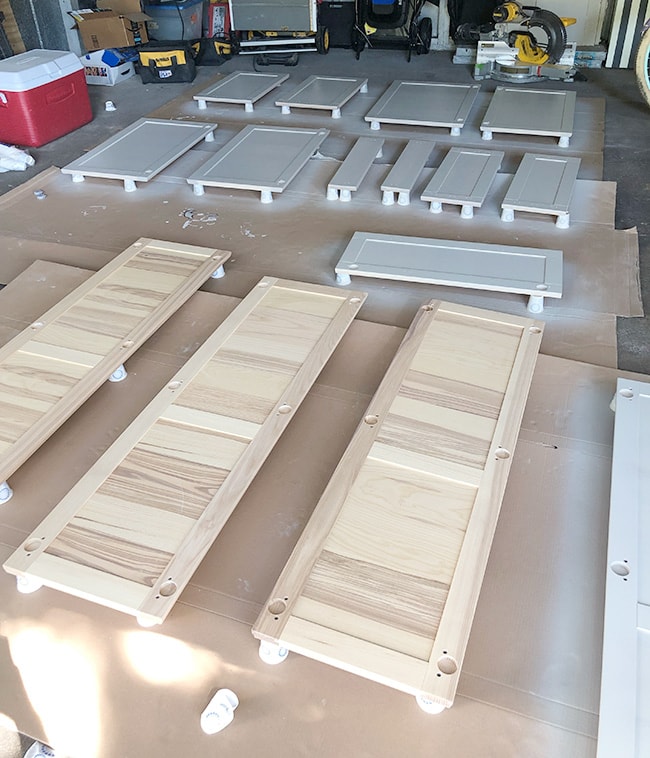
A couple weeks ago we cleaned out our garage and brought the cabinet doors inside to paint them (details on the cabinets we chose in this kitchen plans post).
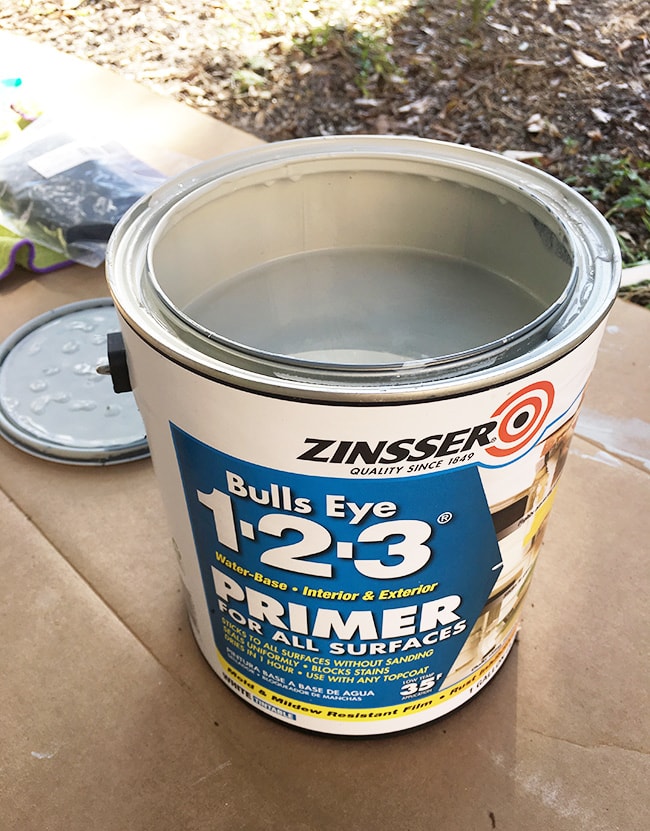
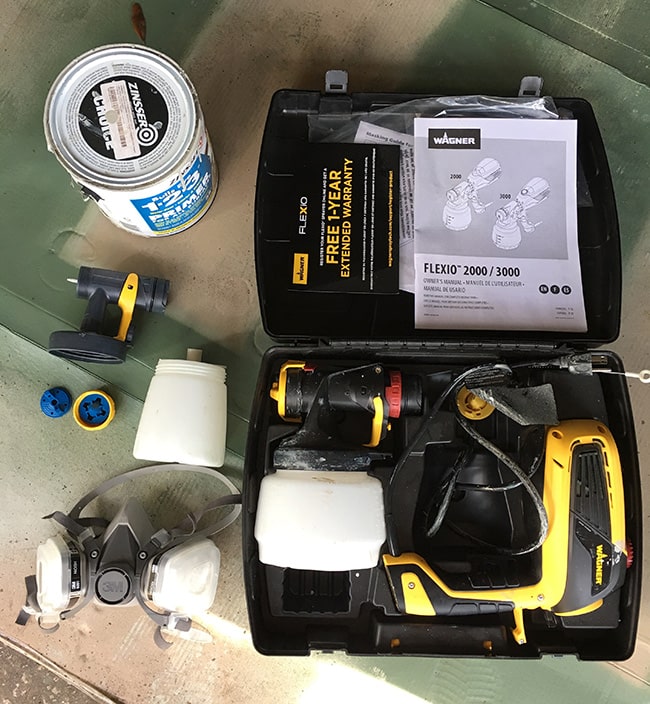
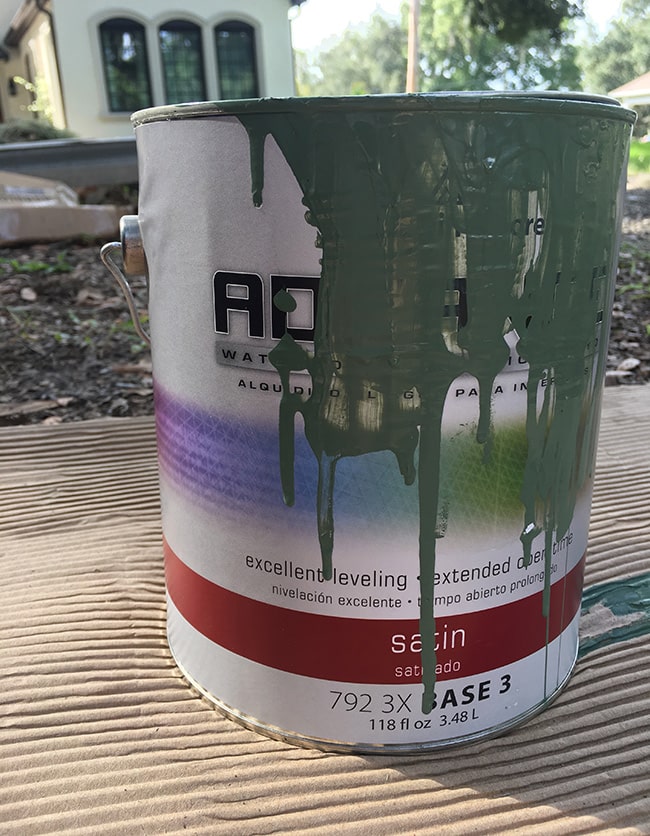
Rather than sanding down the wood, we used a liquid deglosser to prep the surface, and I bought a gallon of my go-to water based primer. It has been a while since I’ve painted/refinished cabinets so I spent some time researching the best products and process, and this primer kept popping up as a popular option (this was also what I used when painting my Ikea laminate cabinets 5 years ago).
Since our cabinet paint is a darker color, I had the Lowe’s associate tint the primer to help with coverage. He said this was as dark as he could make it since there wasn’t much room in the can to add pigment, but your experience may vary!
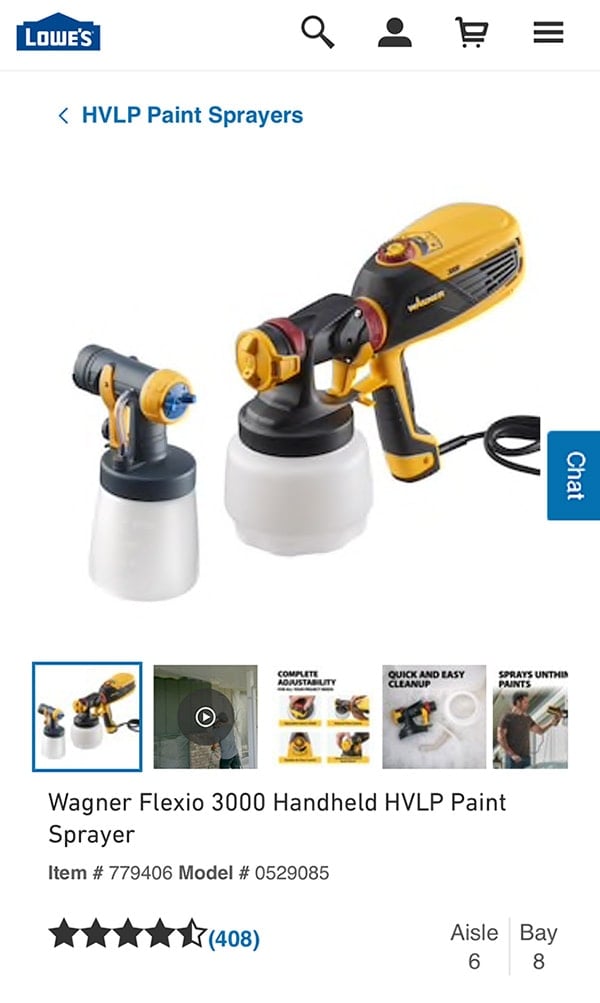
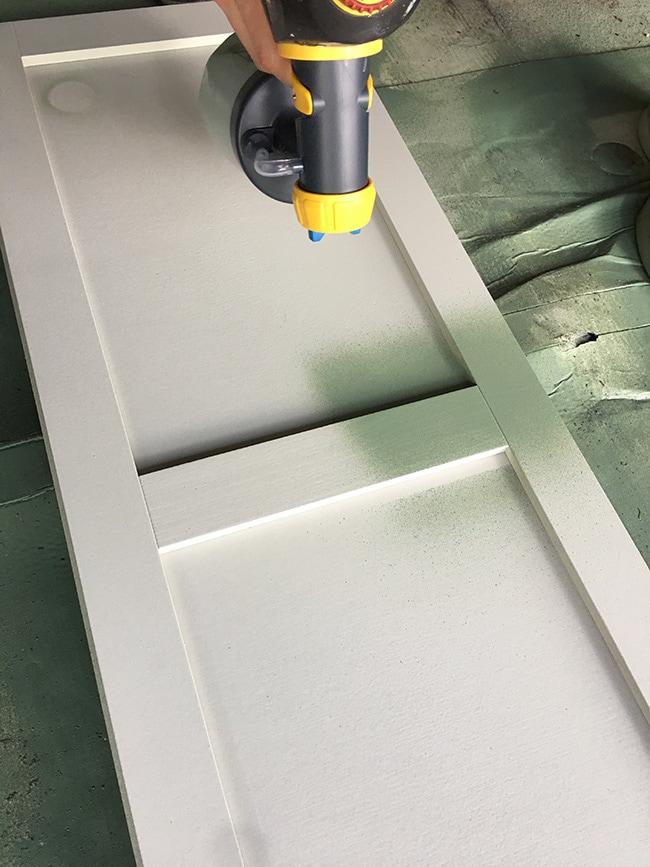
We also spent hours researching the best paint sprayer to use, and landed on the Wagner Flexio 3000:
We needed something affordable, beginner-friendly, and compatible with latex primer and paint designed for cabinets. This one met all our criteria and came with great reviews, so we pulled the trigger and hoped for the best.
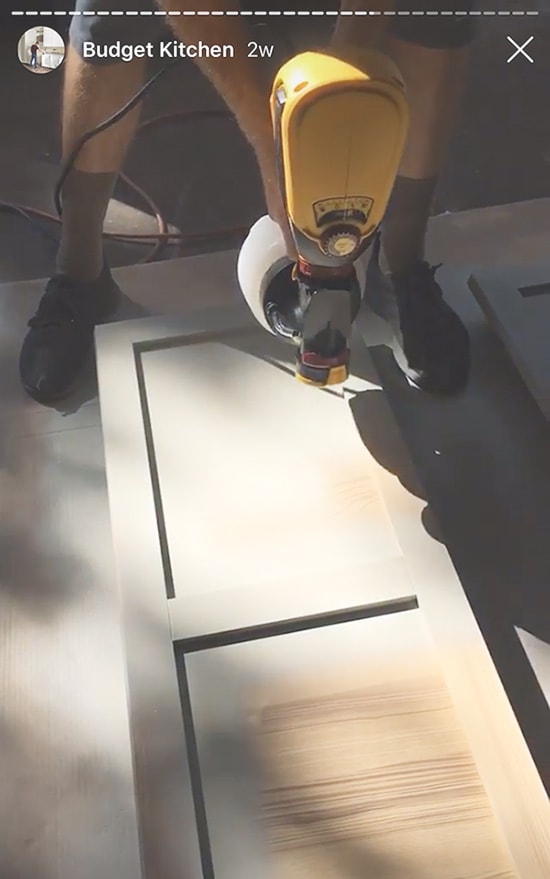
There are two nozzles for different applications, and Lucas used the larger (iSpray) nozzle to apply the primer. It didn’t take long to figure out the ideal setting and he was on a roll (or a spray, I should say?) Pardon the poor lighting/quality, this was pulled from a video I shared in my Instagram stories:
It took two coats of primer on each side to fully cover, with a light sanding after each coat to smooth out any dust/debris and imperfections.
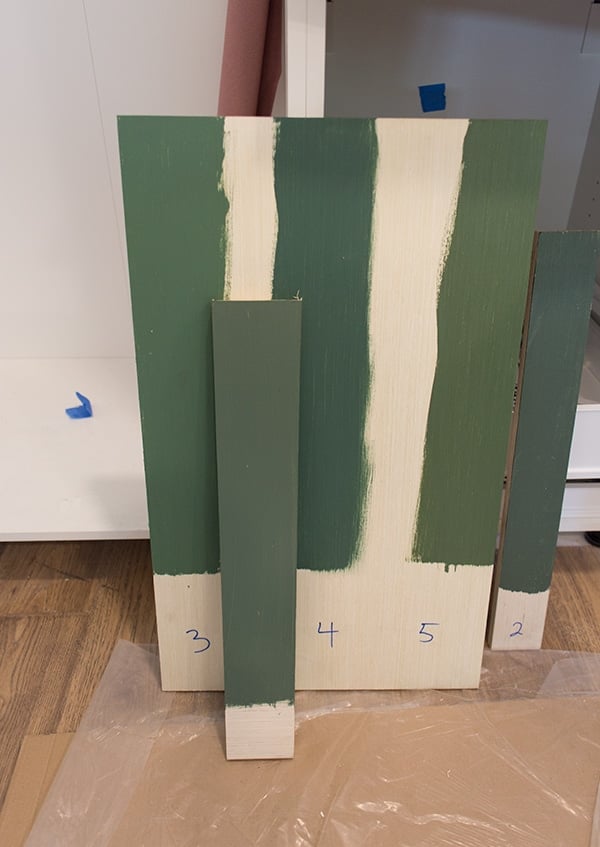
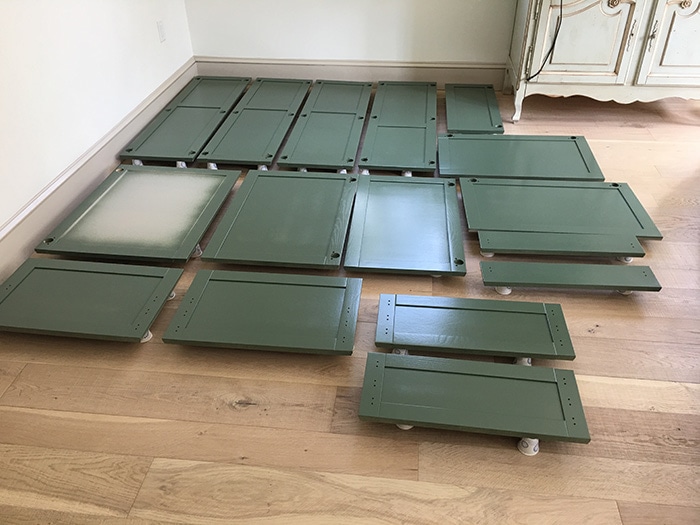
The following weekend, it was time to paint! I chose Benjamin Moore’s Peale Greene in their Advance line, which is another popular choice for cabinets. I originally wanted to try Valspar’s new cabinet enamel after hearing great things (it’s also less than half the cost), but it’s only available in a semi-gloss finish and I’m a satin cabinet kinda girl.
For the paint application, we switched over to the detail nozzle on our Wagner (level 4, for those wondering) and it went on just as easy—no thinning required for either the primer or the paint. With all the years I’ve spent rolling on paint trying to get a perfect finish, I regret not buying a sprayer sooner!
Fall hasn’t kicked in yet in Florida and it’s still as hot and humid as ever, so after a week of sitting in the garage, the primer still felt tacky to the touch. We had to bring the doors inside to dry out overnight between each coat of paint, which fortunately worked!
Currently the doors are curing upstairs (keeping any paint fumes away from baby) waiting for their second and (hopefully) final coat, which should happen in the next week. This renovation is a slowww process for us with Lucas back to work full time and a newborn attached to me all day. We aren’t exactly DIYing machines like we used to be!
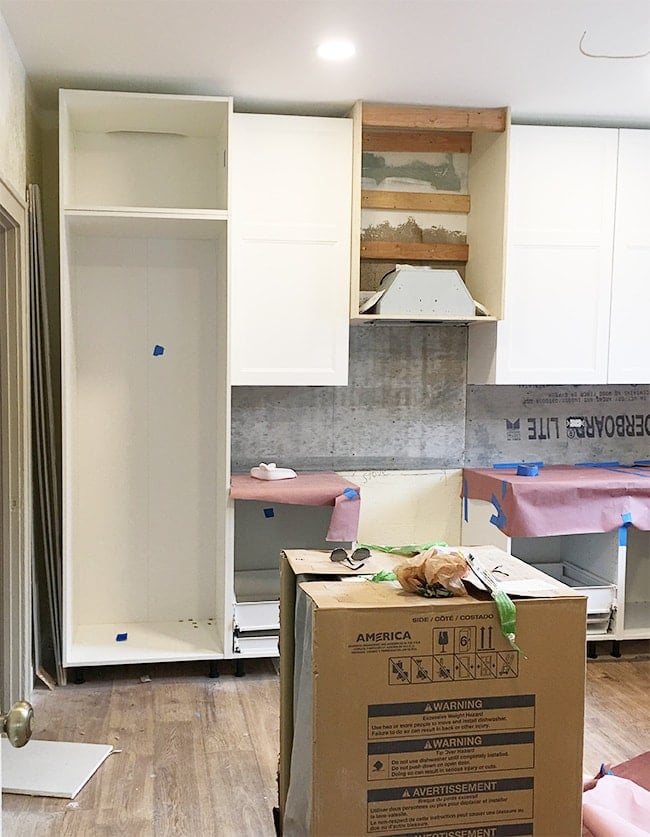
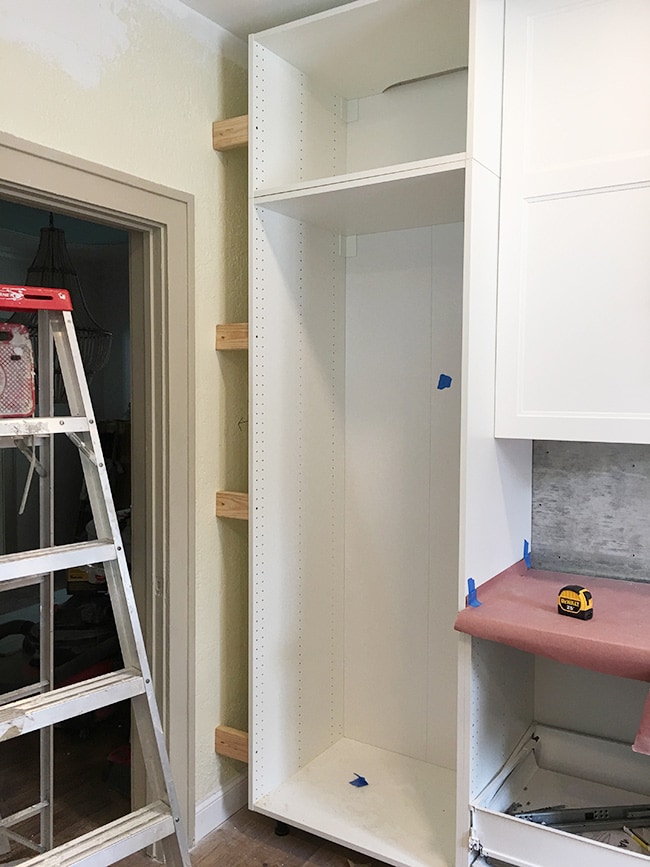
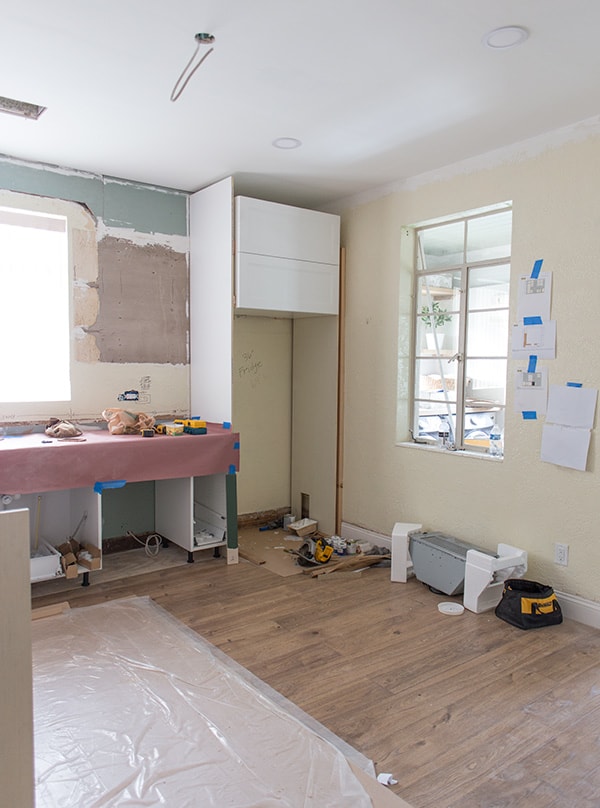
While the first coat of paint was drying, we were back in the kitchen starting on the trim. We’re giving these off-the-shelf cabinets a custom built-in look, which requires some problem solving—like this empty corner to the left of the tall pantry cabinet:
I had grand ideas of building a secret door for broom storage, but was talked out of it for the sake of time and simplicity. This is an investment property so time is money! On to plan B—filling it in with a 1×6 board (ripped down to size). We attached 2×4’s for braces with pocket holes screwed into a stud along the wall.
The 1×6 needs to be painted first so it isn’t attached just yet—you’ll have to wait until the reveal to see how it turns out (or follow my Instagram stories!)
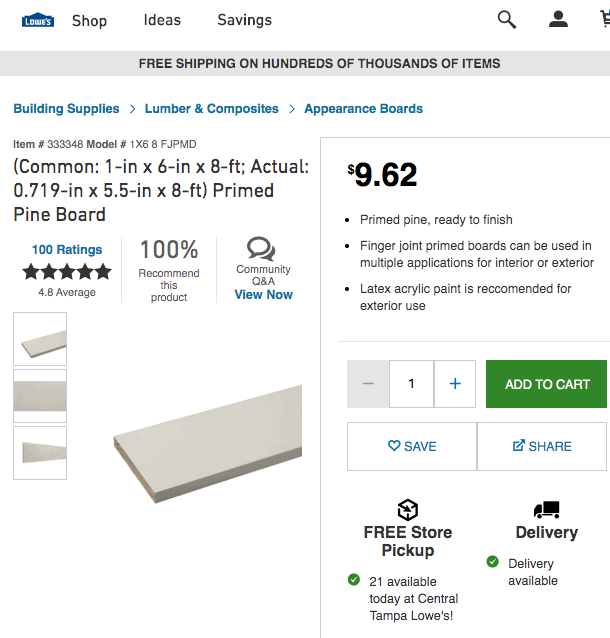
Along the top of the cabinets we’re using the same process (2×4 blocks) to attach crown molding, and for the lower cabinets we’re installing custom baseboard molding using affordable primed pine (rather than the standard Ikea toe kick panels).
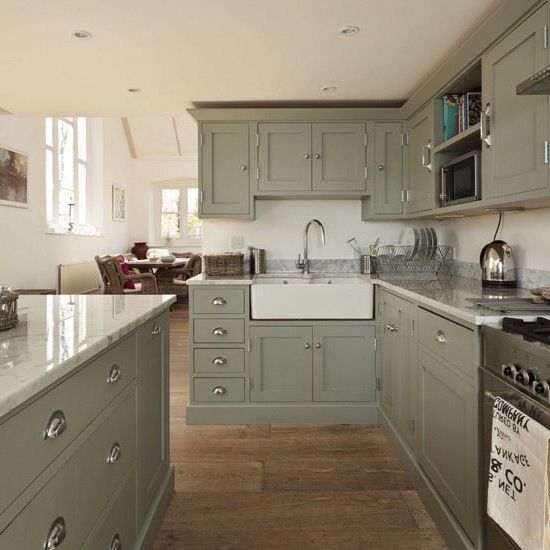
I almost went for this look in our Heights House kitchen, and love how it gives the cabinets more of a classic furniture look:
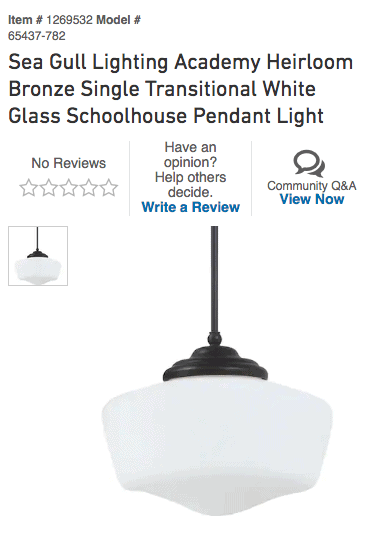
Lots of progress on the cabinets coming soon, and meanwhile the rest of the kitchen accessories have been delivered! A few are still in boxes, like this schoolhouse pendant light for above the sink:
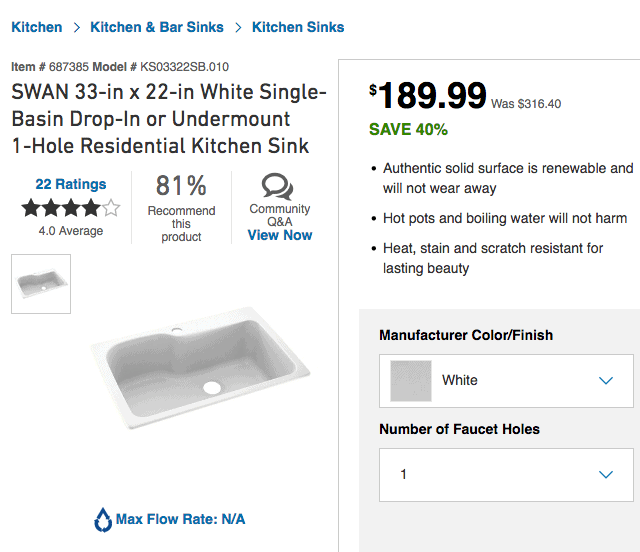
And the 33″ drop-in sink, with a 10″ basin that allows plenty of room for pots and pans. The price dropped 40% since I first bookmarked it (woohoo!) and it should be an easy DIY install thanks to the lip.
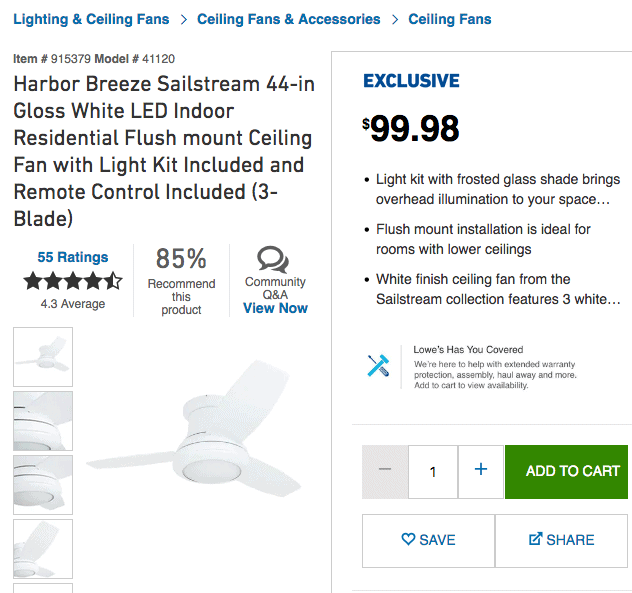
I also found this simple white ceiling fan with great reviews at an even better price. Normally I wouldn’t choose to put a fan in a kitchen, but this is an older house with original single pane windows, so fans are necessary (and generally expected in a FL vacation rental home). The west facing window above the sink gets direct afternoon sun, and combined with the heat from the stove, this 10×10′ kitchen can get quite stuffy! Hopefully this fan will keep the room comfortable.
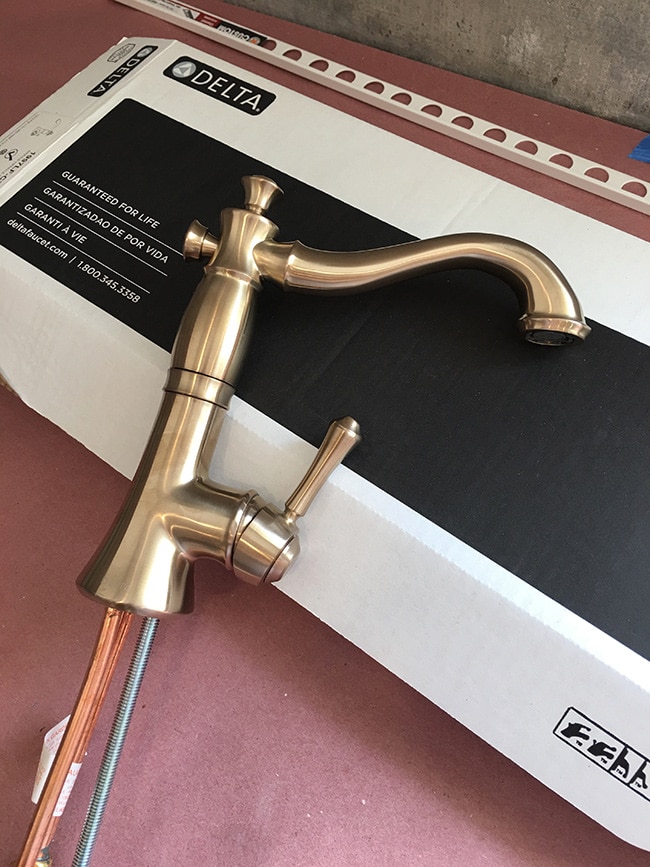
Our Delta faucet also arrived, the champagne bronze looking snazzy as always:
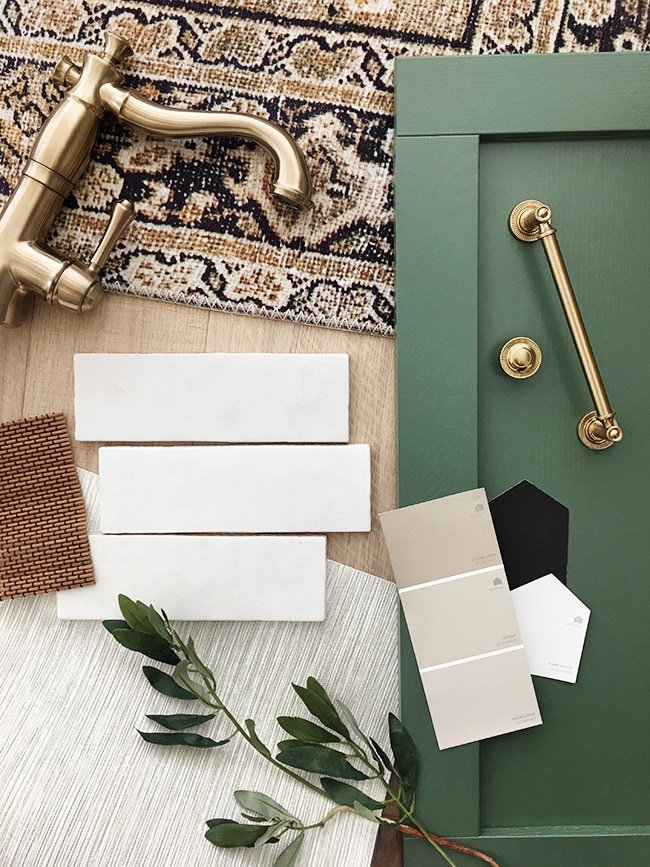
The cabinet handles and knobs arrived as well, looking just like the photos online. I’ve wanted to use these for so long and this is the perfect kitchen for them!
I ordered a mix of 4″, 5″ and 6″ pulls for the drawers and coordinating knobs for the doors. $141 total for all of the kitchen hardware, what a steal! (For some reason the product link says Currently Unavailable, but it’s not true, you can still order them for store pickup or home delivery).
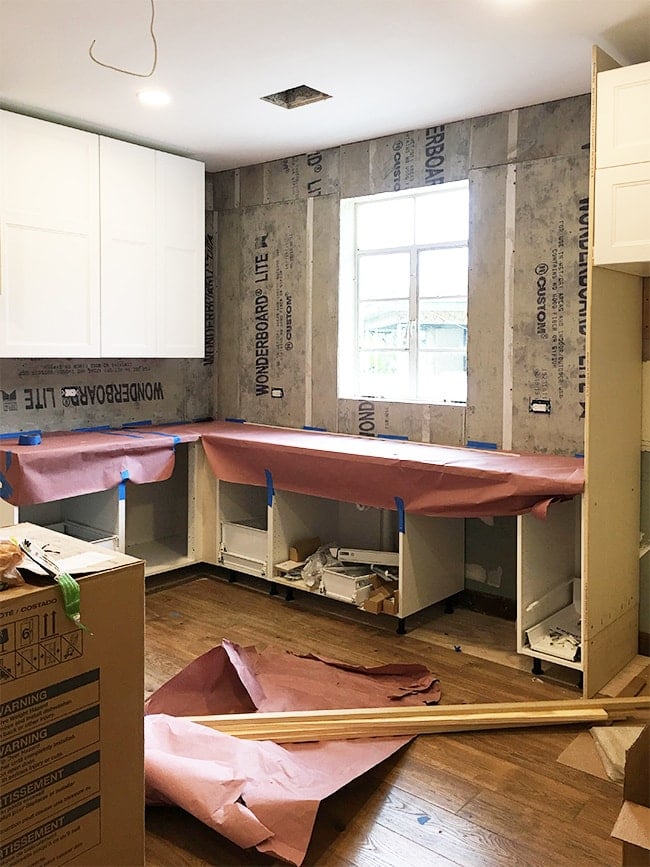
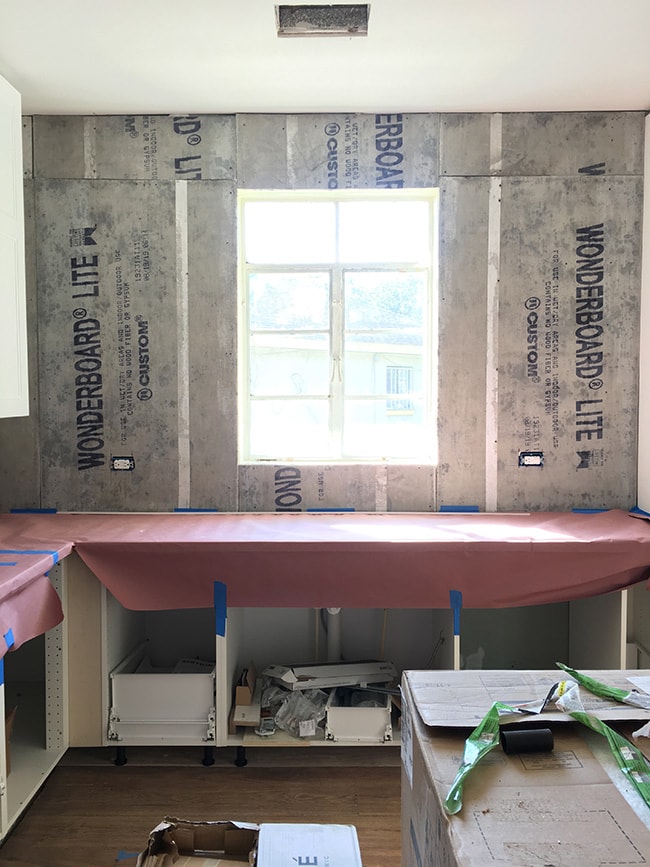
Last week the cement board went up, always an exciting part of the process…
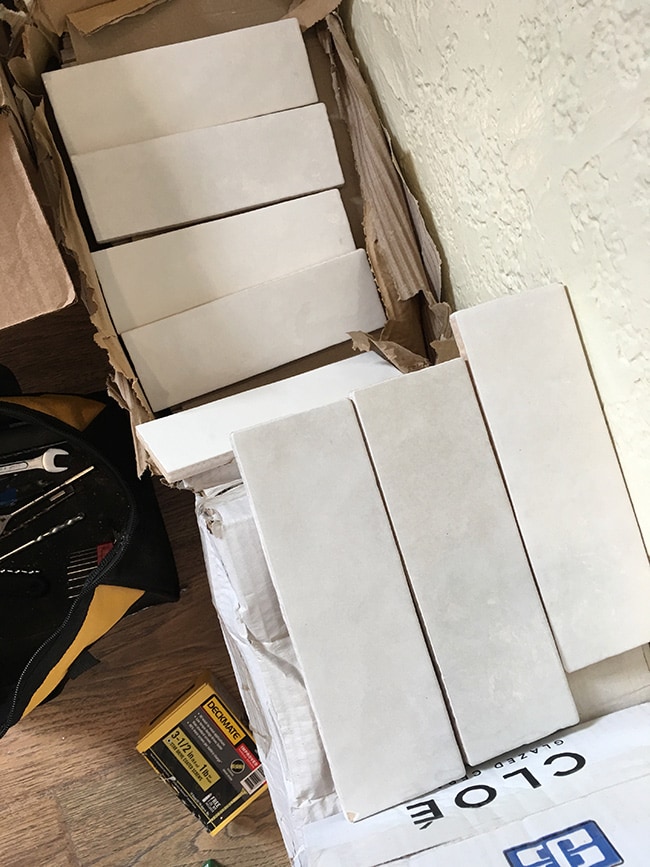
And our gorgeous Cloe White tile arrived…
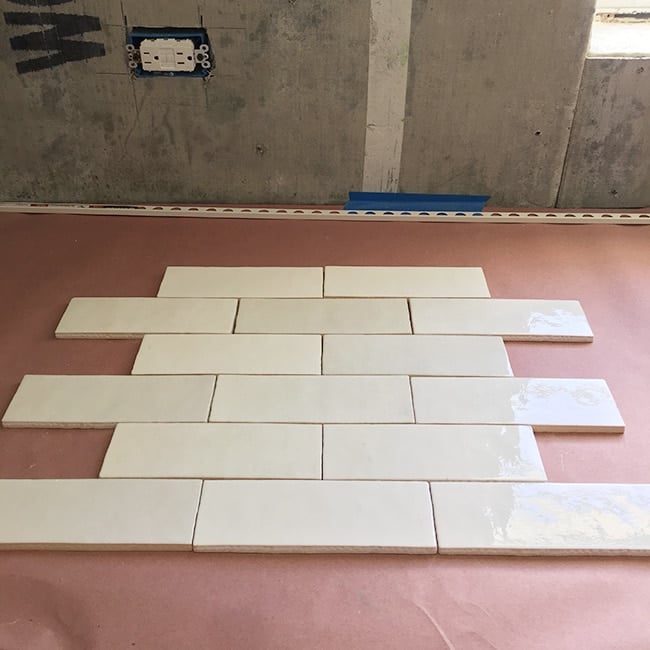
I settled on a classic subway style arrangement rather than stacked, just because it’s a little more timeless. I think either way would have looked great though. Tiling is scheduled to finish by this weekend!
The custom shelves for the window wall are on the way and I’ll share when they arrive. Now the question is—paint the window frame black, or SW Loggia to match the doors/trim in the room?
Here’s a photo of the other window I’d paint to match:
I’m leaning towards black as of now, but this will likely have to be a last minute decision. The kitchen walls will be painted white, and the laundry door/baseboards will be Loggia.
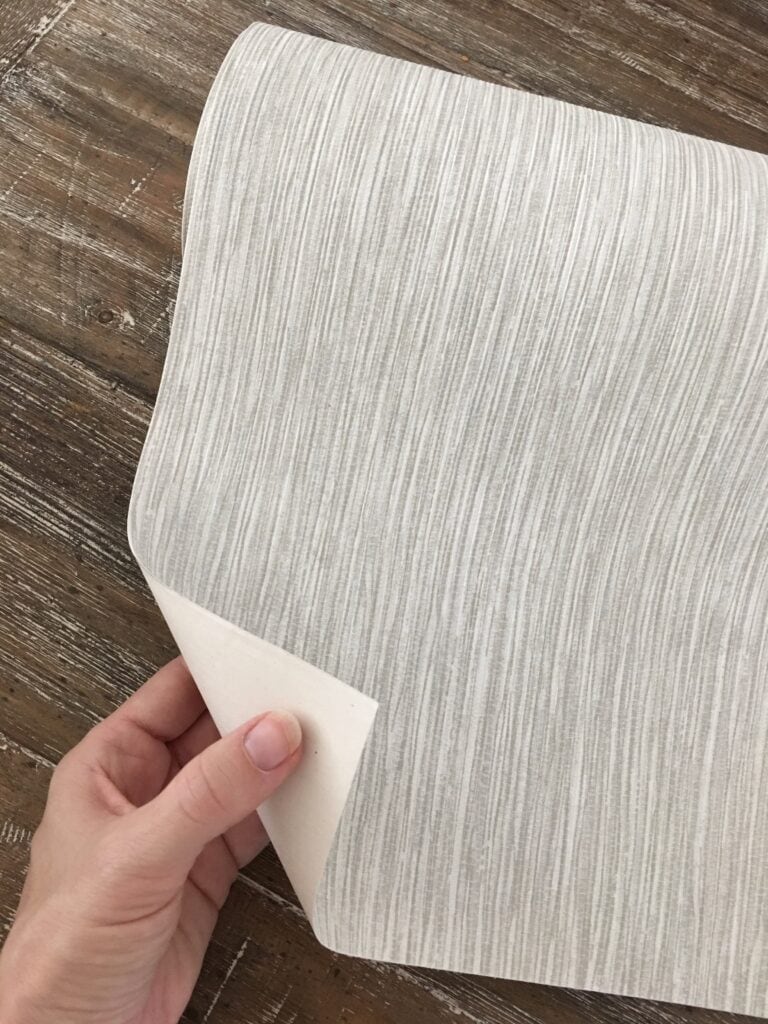
One fun design detail that I’m equally excited/nervous about… we’re going to wallpaper our range hood! I was trying to come up with something unique, and eventually this idea popped into my head.
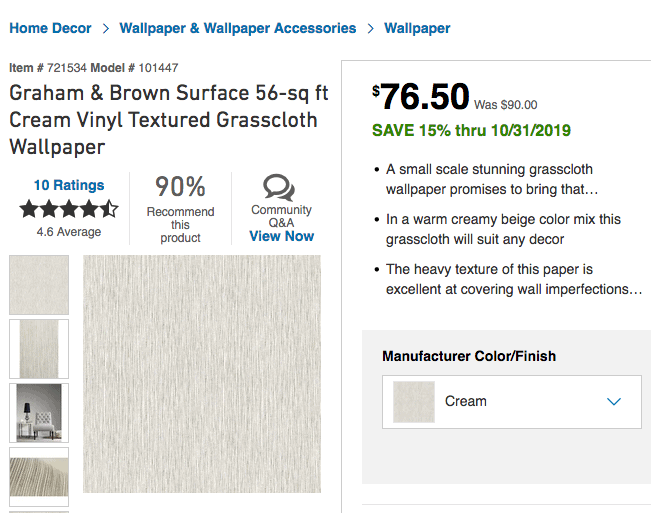
I found this textured grasscloth wallpaper and thought it would be an interesting feature— unexpected but subtle, and a nice complement to the warm and earthy design elements. I’ve never seen wallpaper used on a hood so maybe there’s a reason for that and it might be a complete fail, but I’m willing to try! This is thick, quality paper (I looked for a long time before landing on this one) and bonus: it’s on sale right now.
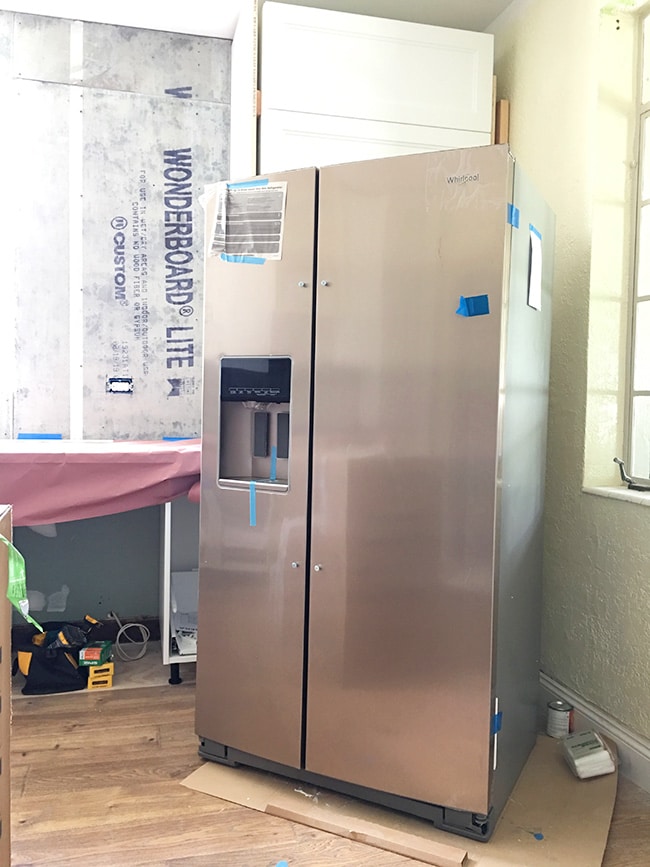
Last but not least, the Whirlpool Sunset Bronze fridge and stove have arrived!
They still need to be fully unboxed/unpackaged but I’m looking forward to seeing how the finish looks once everything is in place and the dust settles.
It still feels like we’re barely crawling along with this room, but there’s so many details that go into creating a new kitchen from scratch and they all have to work together (design-wise, functionality and timing). This has been an especially challenging project for me between pregnancy brain, navigating the postpartum waters and now preoccupied with a newborn. Just in the past week I feel like I’m finally starting to clear my head and can switch my brain back over to the design/DIY mindset. I think part of that is motivation from watching things progress and sensing a light at the end of the tunnel.
The “in between” stage of the Before and After can be rough, especially when you feel stuck or things don’t go as planned (if you’ve ever been through a major remodel, I’m sure you can relate!) But during those times, I always find it helpful to remind yourself of where you started.
Day by day we’ll keep chipping away, and eventually this stage will be a distant memory as we’re on to the next project. And I’ll be sharing as much of it as I can on my Instagram stories—you can get caught up on the progress from Day 1 in my Budget Kitchen story highlights:
Solidarity to all my fellow DIYers and Weekend Warriors—we’ve got this! ?
Next up, the design details for our Heights House living room…






Katy says
Is there a budget or price breakdown for this anywhere? I know you had one for a recent “budget reno” of a bathroom- I was just hoping to get an idea of cost! Thanks!
Jenna Sue says
I haven’t shared the reveal yet, but when I do there will be links to all of the products used!
Jen says
Where did you purchase the black/gold rug that’s in the photo with the green door, gold knobs and paint swatches?
Jenna Sue says
That’s our living room rug, linked in this post! https://www.jennasuedesign.com/2019/11/heights-house-living-room-design/
Mira says
For some reason your blog has not been coming through to me. I’ve tried to subscribe once again, so let’s hope this time it will work. 🙂
Jenna Sue says
Oh no, I hope you can get it to work this time!
Vanessa says
I think that based on the fact that it’s going to be a short-term rental unit, most people won’t be cooking that much. I think you have a chance with the wall paper on the hood. Tell us how it goes in a year?
Jacqueline says
Jenna,
I’d love to see the window frames painted black. If the wallpaper on the hood doesn’t work out, how about painting the hood the green cabinet color, and then stenciling in white (about the same color as the back splash tiles):
“Heights House
Est. 2019”
(Or 2020 depending upon whether you want to start when you rent it out, or when you lived in it, etc.) Your Airbnb renters will be snapping photos in front of it and posting them to FB or IG!
In any case, I have confidence it will look fabulous, because you’re a designer extraordinaire. Jackie
MKW says
Yikes. I have a stainless steel hood, seldom fry, and yet find myself wiping it down very often. It just pulls some sort of gunk. I love your out-of-the-Box thinking. But, I think that wallpaper could end up troublesome.
Jenna Sue says
The vent at our house is painted white drywall and we’ve had no visible grease after cooking on it almost every day! It’s the same height from the stove top as this hood, so grease isn’t a concern, just the paper sticking in the heat/humidity.
Kathleen (#a_new_leaf_designs) says
Jenna, I take risks, too, when choosing things for design projects. I think the wallpaper on the range hood is brilliant! It’s vinyl, after all! I can’t wait to see it!
Natalie says
Can’t wait to see how the wallpaper turns out, you always come up with the most incredible snd creative ideas…especially with mom brain that is impressive!! Thanks for the baseboard molding idea with IKEA cabinets. We’re doing our 3rd set, basement “built ins” this time, but that will look so polished!
Jenna Sue says
Yes, I’m really excited to try the baseboards out!
Kristin says
Hi, Jenna! Love everything you guys do. 🙂 I was wondering where the rug you show in the picture is from. Thanks!
Jenna Sue says
Thanks Kristin! It’s the Loloi rug for my living room — I’m using the same one in this kitchen! https://amzn.to/34m4tm8
Carolyn says
You said you used the ISpray for the primer. Any specific setting? And what grit sandpaper for in between coats? Trying to get courage to tackle this, thanks.
Carolyn says
They look great so far!
Bobbie T says
How about a beautiful wood applique on the range hood? I know wall paper would not work for me and my cooking. Hard enough to keep stainless steel clean. I know the kitchen is going to be beautiful with all that pretty hardware. Looking forward to seeing the finished project.
Jenna Sue says
I normally love wood hoods but the countertops are wood (butcher block) and the floor is wood (laminate) — it’s a lot of wood for me in one room! Gotta break it up 🙂
Jenni says
I am sure you are ready to be done with this project, but have you considered a free-standing island in this kitchen as well, maybe built out of wood with an open-shelving look? It just seems like you have the space for it and it might add to the functionality/coziness factor. It all looks really beautiful!
Jenna Sue says
Yes! I’ve been on the hunt for a perfectly sized antique piece with no luck so far. I think we may end up DIYing our own once the rest of the kitchen is done!
BettyAnn says
I’m loving your plans and the progress you’ve made in the kitchen. I have the same knobs and drawer pulls in my kitchen. Love them! I think the window frame will look great in black. Can’t wait to see the reveal.
Jenna Sue says
Thanks BettyAnn! Glad to know you have the same hardware and like it. It’s such a steal!
Nicole says
I wouldn’t wallpaper the rangehood. Or if you do, maybe seal it with a Matte polyurethane? The steam from cooking will lift it. Not to mention the steam from a hot summer day. Cute idea, but not practical for an area where food is involved. Also, grease from cooking and wiping down. These are things to think about it. In regards to the window trim, why not white? Let the cabinets be the show.
Jenna Sue says
We plan to add wood trim at the bottom to shield it from any vapors, and wallpaper wipes up easily if anything were to land all the way up there! I’ve heard of wallpaper used as a backsplash directly behind stoves and lasting years — this paper won’t be close to the heat but I think the paper type and glue will be critical here. If it doesn’t work, we can easily remove and just paint the wood or add trim!