Today I can breathe a big fat sigh of relief because this stenciling project is over!
I started Wednesday night, and continued to work on it daily until I applied the finishing touches yesterday (just hours before guests arrived to our labor day pool party). Thankfully I was able to get it all done in time, but it was not a fun task, let me tell you.
The stencils arrived in good shape (although curled from the shipping tube), but not wanting to waste any time, I immediately got to work.
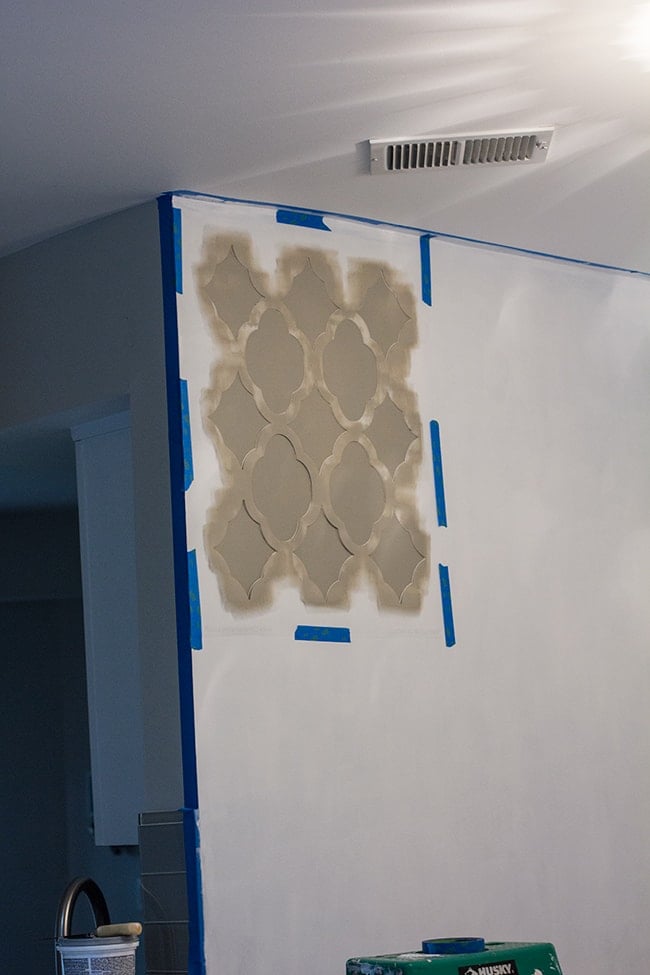
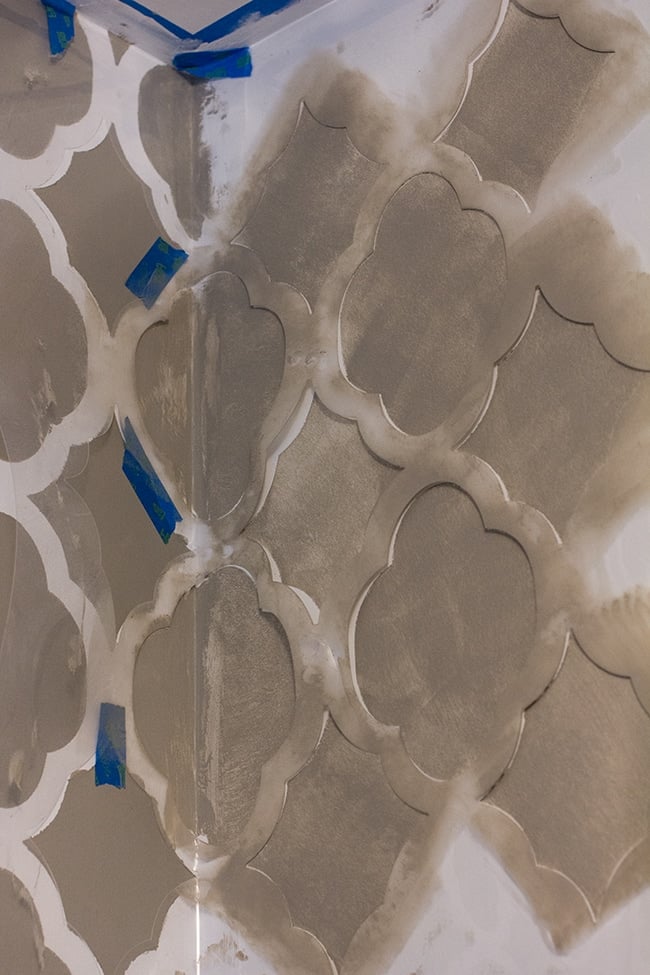
Before proceeding, I made sure to read through the instructions at least 3x and watch every instructional video on their website. The corner seemed like a nice level place to start, so I carefully taped it up and began.
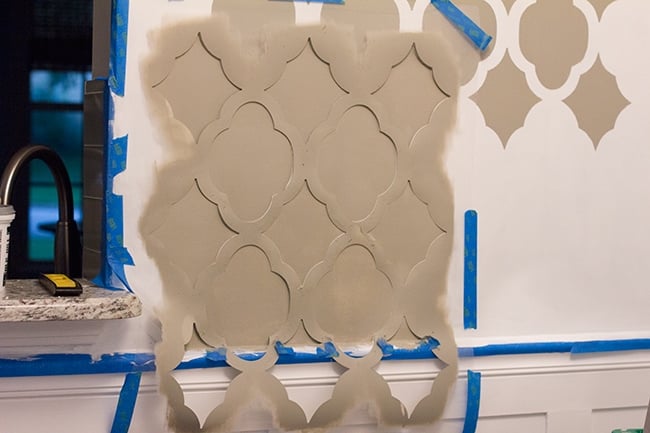
The stencil was not completely flat on the wall which worried me. I was tempted to use spray adhesive but the directions insisted that this was not necessary at all, so I cautiously proceeded as normal.
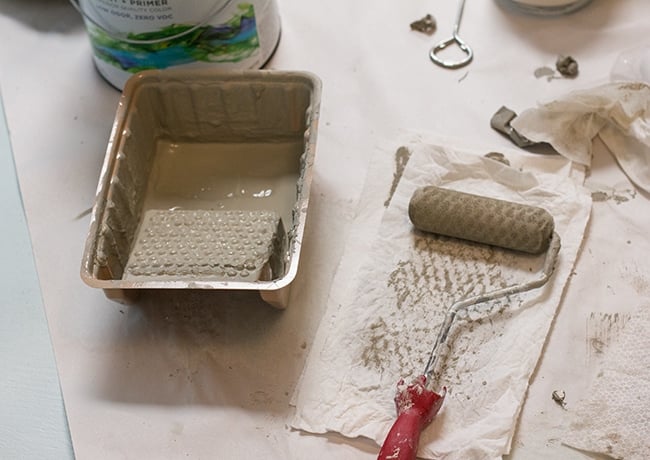
The technique I used (as instructed) said to saturate a foam roller with paint, evenly roll it out, and then make a few light passes over a paper towel to wipe off the excess.
BTW, the color I used was the color that was previously on the walls and is also in my foyer—Valspar’s Magic Spell.
Once the roller had the appropriate paint saturation level, I used light to medium pressure to apply my first coat.
Since one coat wasn’t enough to fully cover, I had to wait ~5 minutes for it to dry, apply another coat, wait another ~5 to dry, apply a final coat, and then wait for that to dry. About a hundred times.
After my first stencil area was complete, I nervously peeled it back to inspect the results…
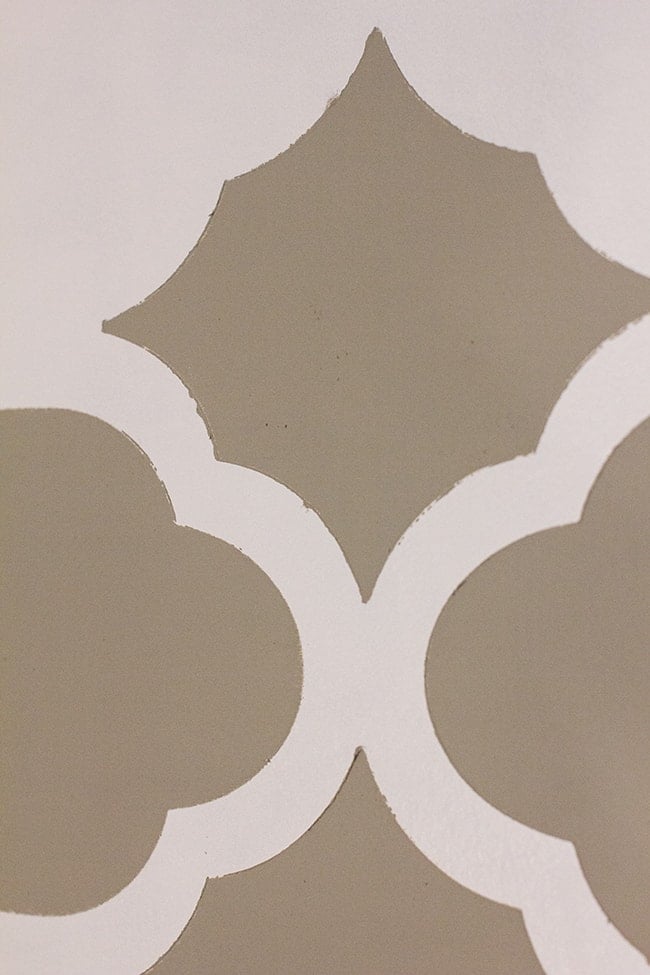
I wasn’t thrilled. I guess I was expecting a clean smooth line, but there was just no way that it was going to happen. With the next pass, I applied spray adhesive to the back hoping it would do the trick, but there was absolutely no difference. Then I tried a slightly different roll-on approach to prevent the line seepage, but the outcome was the same every time.
Sigh.
The stencil manual did warn that this would be a “hand painted” look, and it was not going to look like wallpaper. About halfway through the third day I wondered if wallpaper would have been a better route to take.
Sometimes my roller was a bit too saturated, and this happened:
Oh, crap.
It ended up happening a lot more towards the end, so I started keeping wet wipes on hand to quickly fix any snafus. (take notes, those of you who are about to tackle a stenciling project!)
The open wall areas where I could spread the full stencil out (no corners or edges in the way) were quite easy and went relatively fast.
But there were a lot of tricky parts, too…
I just had to be extra careful and take my time. It did get messy though. And not everything lined up perfectly from one spot to the next, so sometimes I just had to fudge it.
Here’s another tip: I noticed the edges were becoming less sharp as time went on. Layers of paint had been building up on the stencil, and I tried my best to continuously peel it off but it was a losing battle. I’m pretty certain this was the biggest contributing factor to the fuzzyness. So you can either wash the stencil off every once in a while (it’s kind of a pain if you are mid-project) or deal with the fuzzy edges.
About halfway through, I used up my quart of paint and had to open up a new gallon. Earlier that week I had gone to Lowe’s and picked up a gallon of Magic Spell, asking the paint guy to make sure it matched the older quart I had purchased several months earlier.
I started painting…
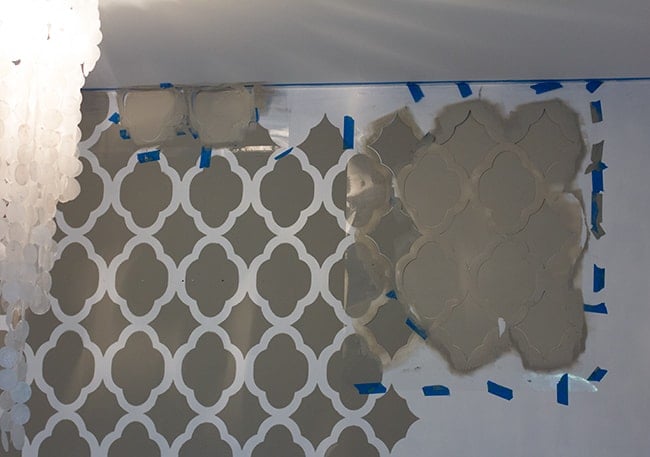
and then I was on my fourth stencil move, when I noticed the paint wasn’t drying as dark as it should have been.
See the lighter color at the top?
I grabbed both paint cans to compare… and the formula numbers were completely different. Yeah, WTF. I was not a happy camper.
Annoyed, I drove all the way back to Lowe’s and explained the issue. The lady said that Valspar had just recently changed its formula to add more primer (great…) and she would see what she could do. Before I left the store, I practically made her swear on her life that this new paint would be an exact match, and she assured me it would.
Luckily, she came through on her word and it was like it had never even happened (minus the 2 hours out of my day).
I spent the rest of Saturday finishing my stenciling, and Sunday morning on touch-ups.
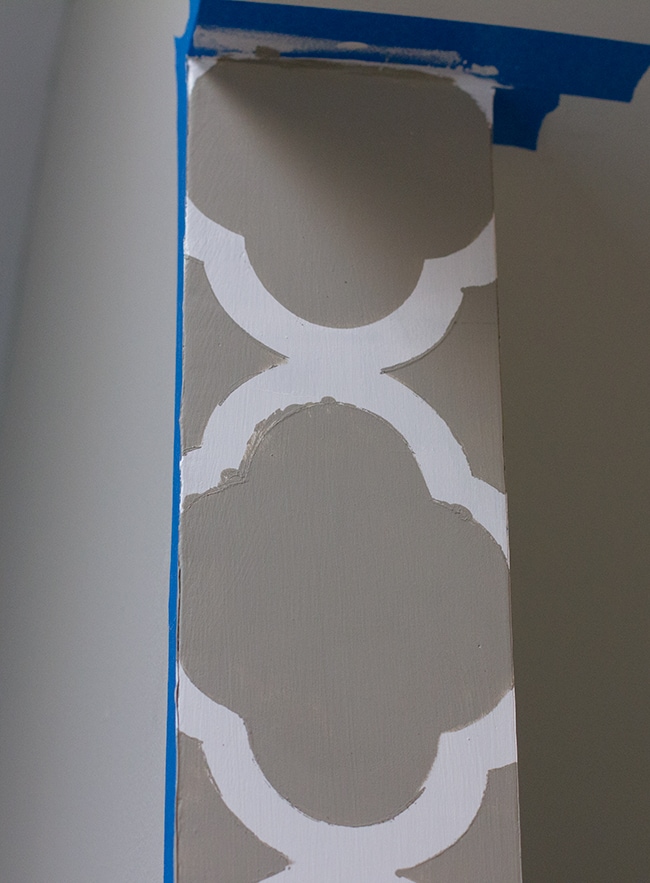
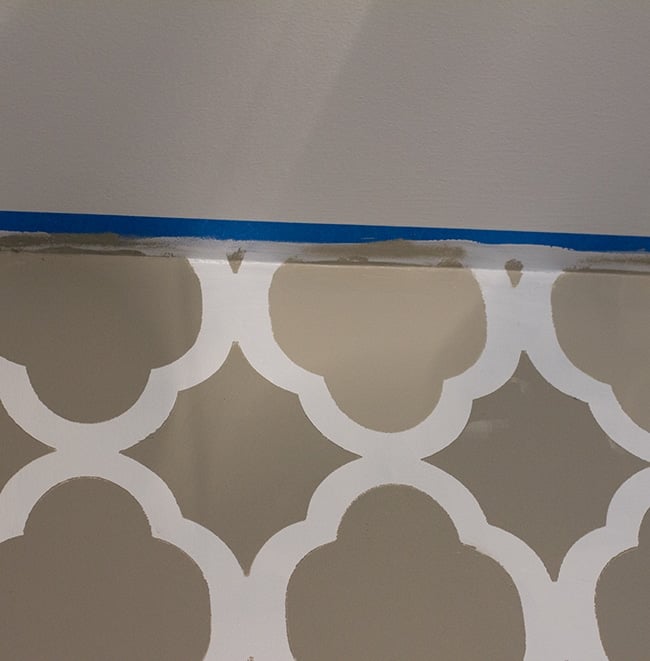
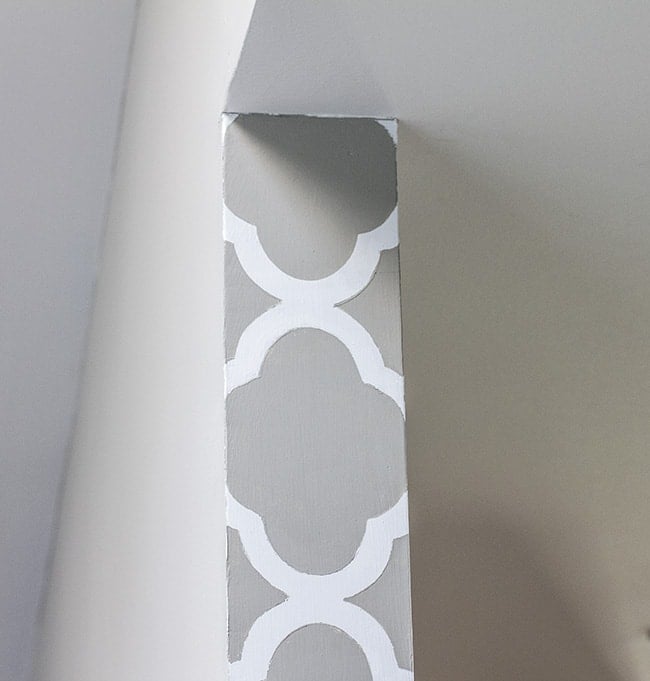
Touch-ups consisted of white paint, a small brush and a steady hand. It went surprisingly well, and I was able to smooth out all of the more noticable imperfections.
Like this really bad one…
After:
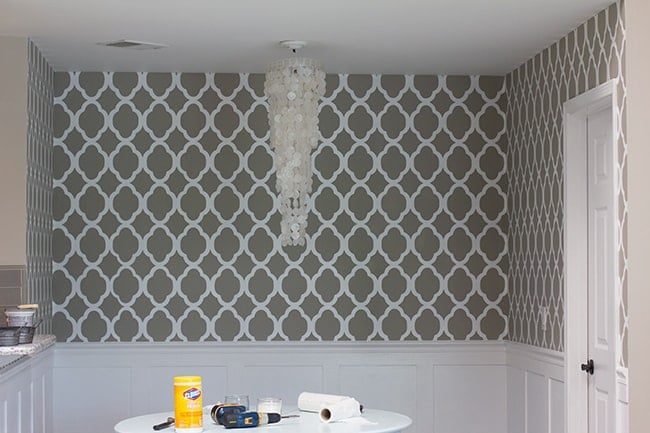
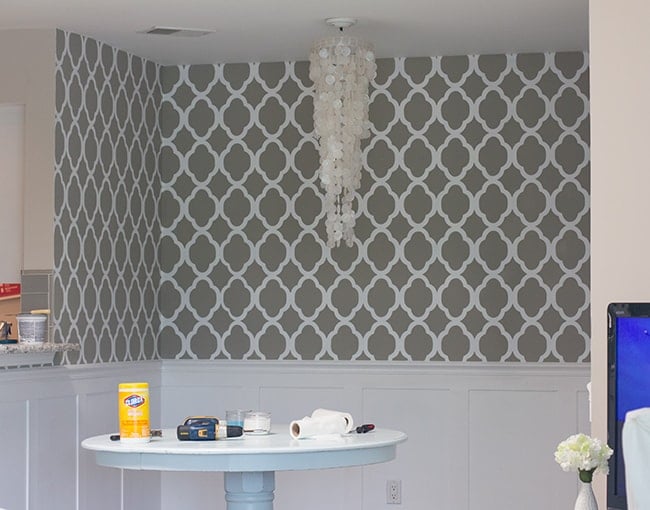
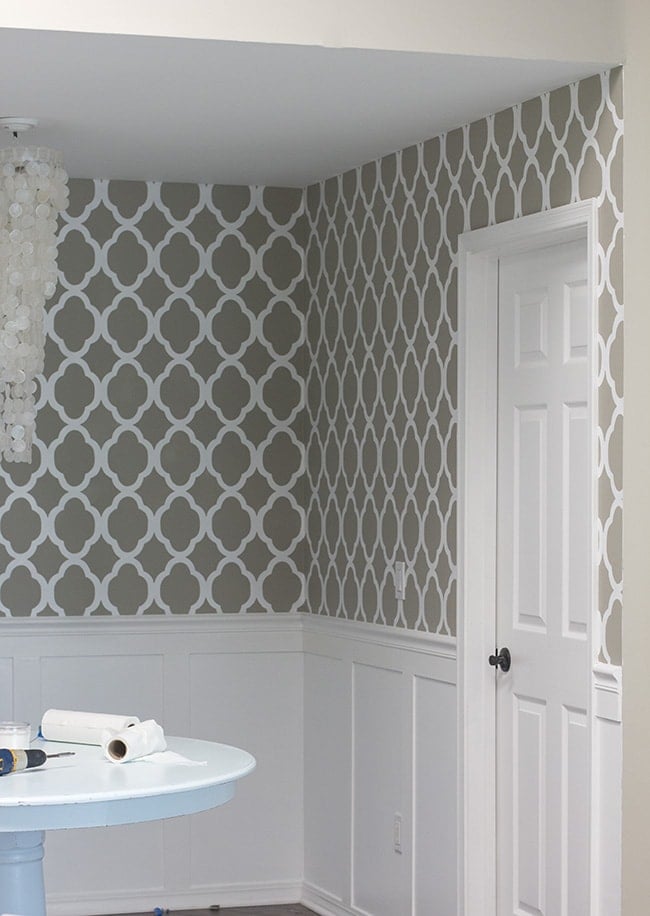
But even with the fuzzy edges, it really looks qui
te nice if you take a few steps back.
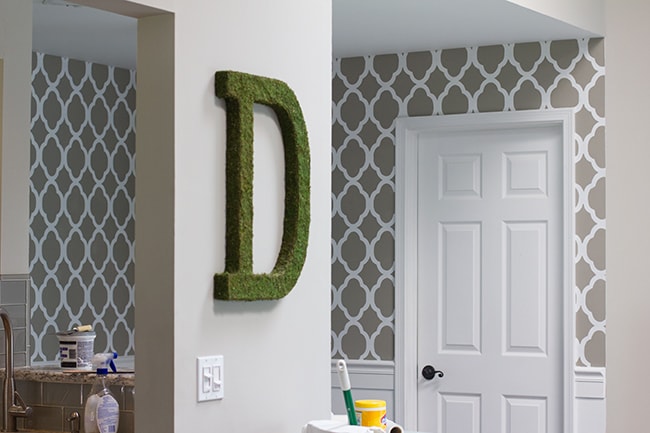
I had just enough time yesterday to rehang my mirror/art/sconces before the party was underway, but I still have one more project to finish. That, along with the finally completed dining room, will come next week.
What do you think? Have I convinced anyone to take the stenciling leap, or has this made you decide that wallpaper is a better option? I definitely don’t regret it now that it’s done… but next time, I think I’ll just try wallpaper 🙂



Karla Hope: says
Any idea where I can get this print but in a wall paper? I love this look but am not patient enough nor have an eye to detail like you!! I love it!!
Thx
Karla
Jennifer @ Delightfully Noted says
Wow, it looks great but I am glad that I am not the only one who experienced all the headaches with stenciling. I just did a closet a few weeks ago and despite watching the video (probably from the same company)I still had mishaps all over the place!!! I got so frustrated that I haven't even taken the time yet to go back and do touch ups!! Luckily once I put everything back in the closet it covered the bad spots anyway…shh no one else has to know…LOL
Jenna Sue says
Funny because I was *this* close to ordering from them instead. I figured they were all pretty much the same though! I'm not opposed to stenciling again (once the memory of this project disappears) so I might just try them instead next time 🙂 Glad yours was easy, thanks for sharing!
Jenna Sue says
Yep 🙂
Karen K-H says
Hi Lyn, I just read your comment and I also posted one down below myself. I've recently stenciled my own kitchen and it was way easier than this. I think simply because of the different stencil I ordered. I got my at Royal Design Studio instead. I told Jenna all about it below if you want to see that comment (rather than retyping it all out here) 🙂
I can send you a photo of my wall if you want. Just comment back and I will try to figure out a way to share it without publishing our emails to the world! 🙂
Karen K-H says
Hi Jenna! I've followed you for quite a while and I love how your wall turned out! I started stenciling a wall in my dining room too. However, I ordered my stencil from a different company and I think mine ended up being waaaaaay easier than yours was. I kept looking between 2 diff companies and finally end up ordering mine from Royal Design Studios. Two main reasons were 1. The stencil itself looked thicker and sturdier, so I was hoping it wouldn't stretch out after peeling it off the wall. 2. It let you paint just the border (white part), not the inside color.
I didn't have to use any spray adhesive and I didn't even need to use a top or corner stencil. I'm sorry it took you so long to do this. It didn't look very fun. But, the ned product looks great! Next time you stencil a wall you should definitely try ordering it from this other place. I think it will be a lot more user friendly! 🙂
One more thing…. Again, I did a lot of research because I'm super cheap. I found that the Royal place was more expensive. But, I “liked” them on Facebook so I could get discount codes. And literally the next day, the pattern that I wanted had a 50% off 1-day sale!!!
Good luck and thank you for you blog posts. I just love them! 🙂
Anonymous says
It looks amazing! You did a really great job. I need to find some time to do this!