One month of sunroom renovation has come and gone and now we’re in the final 5-day stretch.
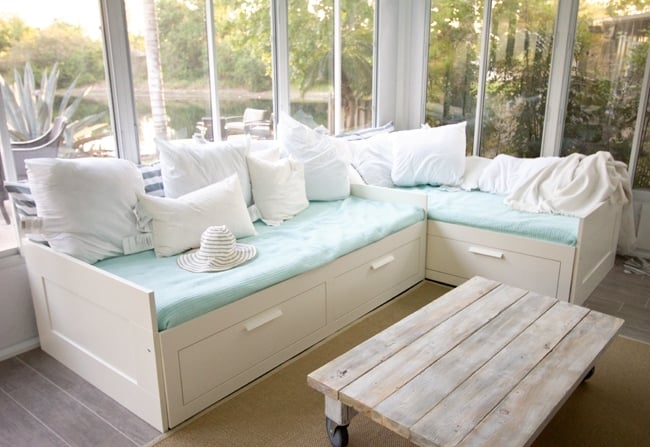
Last week left off with built beds and a new DIY coffee table:
The main goal for this week was to take care of the two walls on the side of the sliding glass door entry from the living room.
The plan was to hang art on both sides—two frames stacked above one another.
Last week I had relocated these ocean prints from my bedroom to one of the walls:
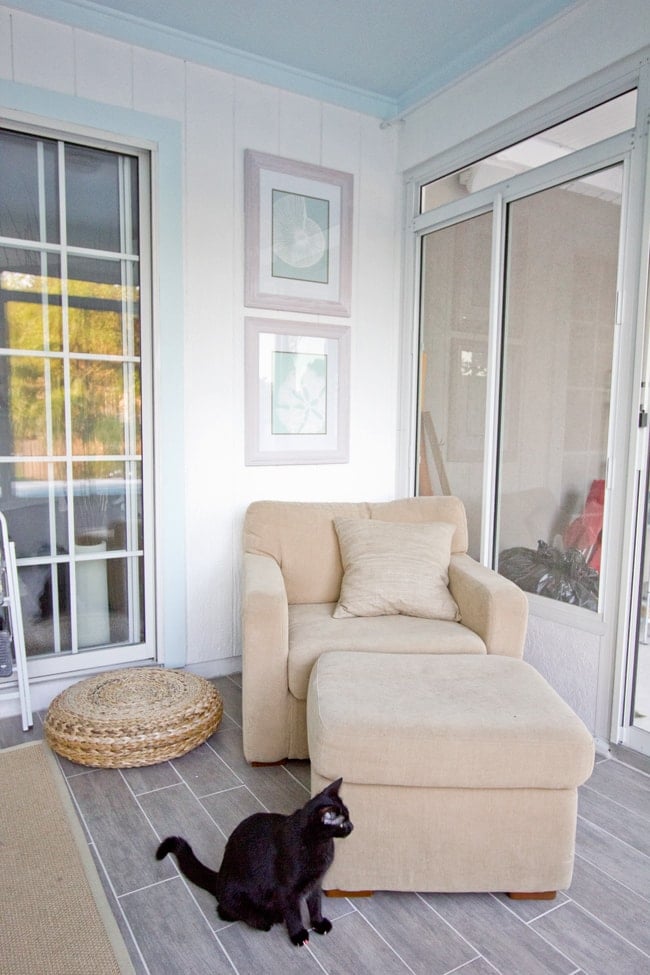
Then this week I focused my attention on the second wall and decided I’d build a very basic console table and hang my other two prints above it.
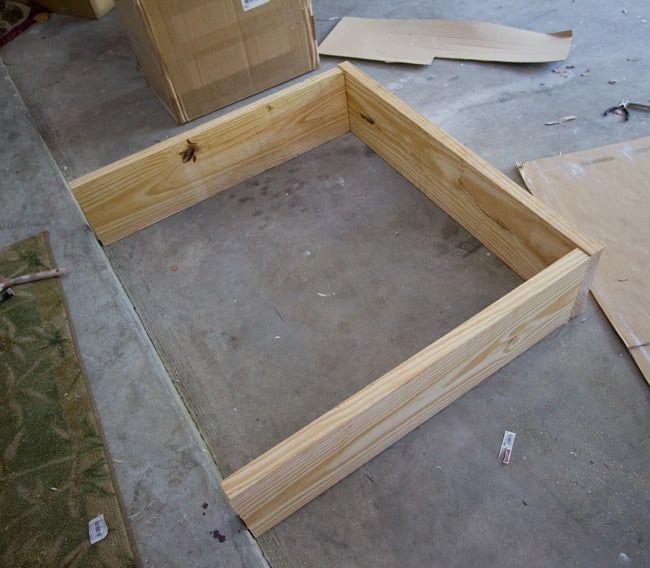
I ran to Lowe’s and grabbed some 2×10″ boards and had them cut to size (for super cheap… like 10 bucks). The legs were 3′ and the width was 42″.
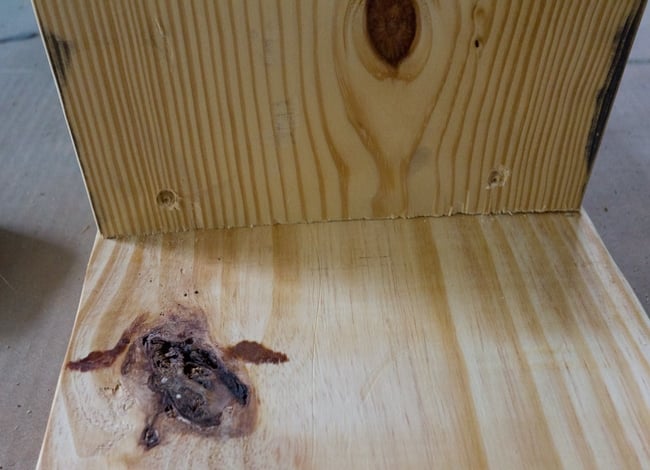
Once home, I laid everything out and prepared to attach the top to the legs:
I used a couple screws on each side to secure them together:
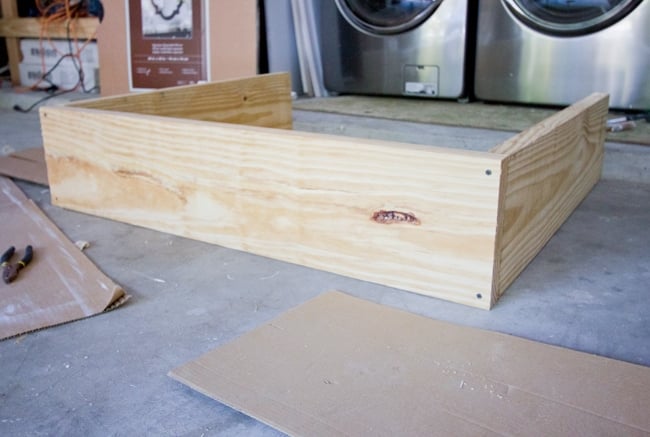
I decided not to countersink them and fill the holes with putty because you would still be able to see the putty circles after I was done since I wasn’t sanding/painting over it. I wanted to let the wood grain show through to give it a simlar look to the weathered coffee table. I’ve actually seen nails/screws showing on other rustic pieces and I’m down with the look, so it wasn’t a big deal to me at all.
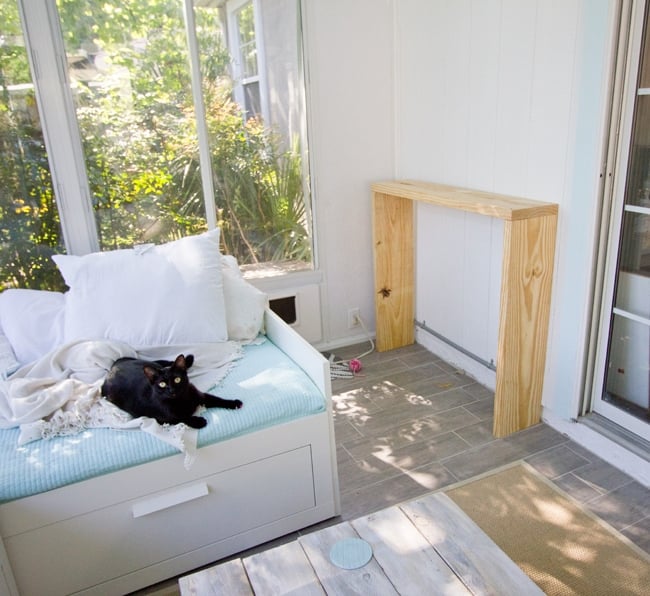
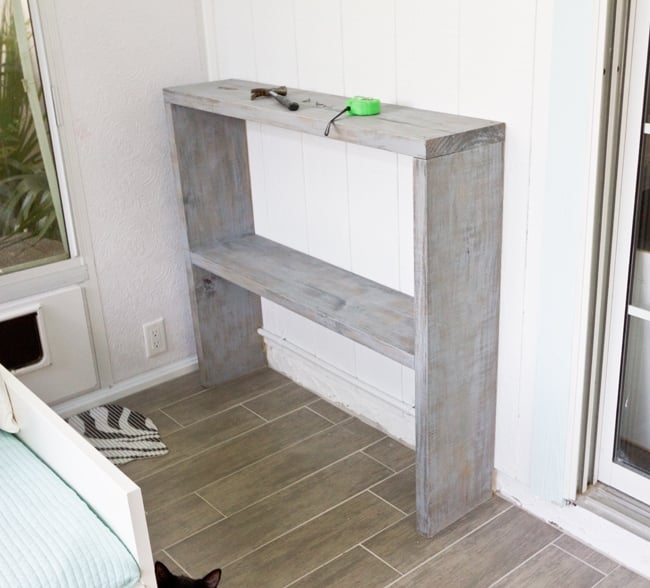
Once the table was put together, I hauled it inside to see how things were looking…
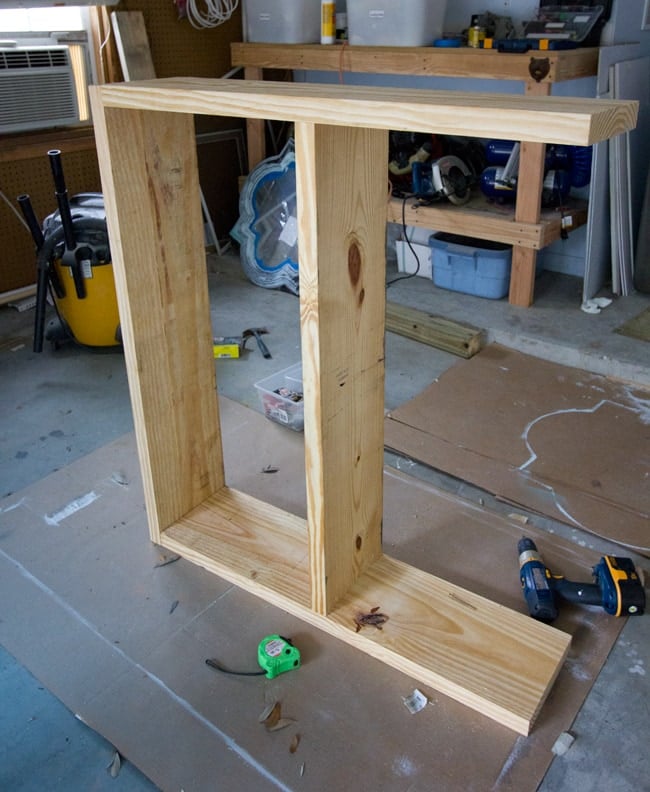
I felt like it was missing something, so I ran back to Lowe’s and picked up one more board to build a shelf.
Once everything was measured and lined up, it was time to screw the shelf in. Instead of screwing them directly in the sides which would mean the screws would be visible on the legs too (a little too much for me), I decided to drill in through the underside of it.
Normally this would require a tool such as a Kreg Jig, but I’m not fancy enough to own one yet, so I made counter sink holes using a drill bit. I also took a skinny drill bit and made a pilot hole to help aid the screw in straight through both pieces.
It didn’t work exactly as I had planned… for some reason the screws didn’t want to go in all the way, but no one will ever see the underside so no big deal. After flipping it over and repeating on the other side, my shelf was in.
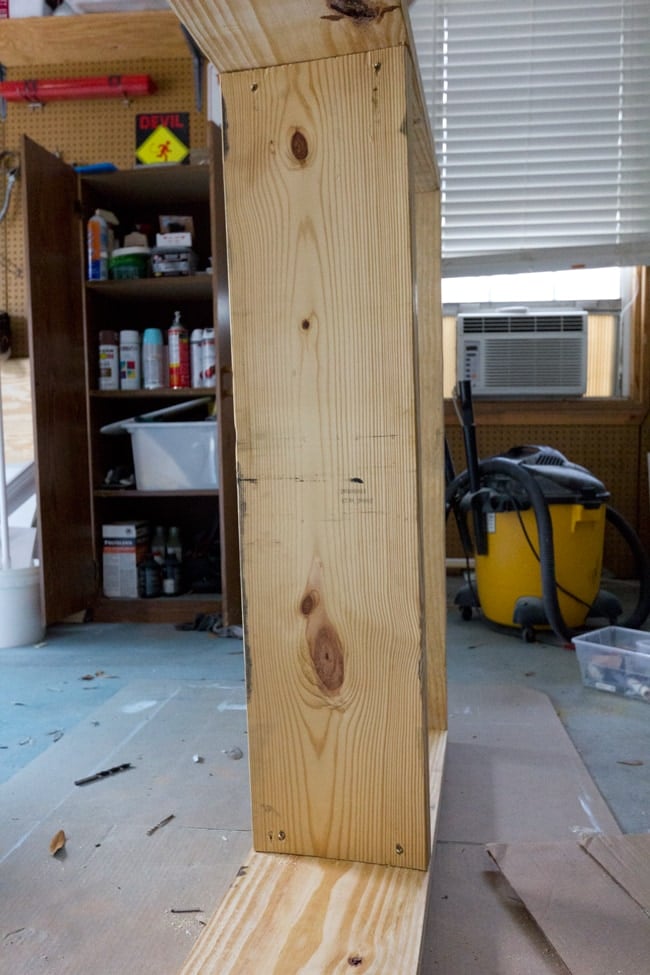
Heres a side view:
It’s worth mentioning that these boards are not all created equal. The widths are not all identical, and some of the boards bow a bit in the middle too which made it pretty difficult for me to try to hold the board in place with one hand and drill it in with the other while keeping everything aligned and straight.
But hey, it was my first attempt at a console table (with nothing but a screwdriver and some screws) so… I’m learning.
Once it was built, the next step was to apply some darker stain to try and neutralize the natural yellow-ness of the wood (unfortunately, the beautiful white/grey wood used on my coffee table was only available in widths up to 6″ wide, so I had no choice on the 2×10″. Boo.)
Before stain:

After stain:

To give it more of a grey-look, I tried something different this time: grey paint. I picked up a quart of Valspar’s Drizzling Mist, which is a nice medium gray.

I dry brushed the paint over the entire surface, and went back and hand sanded everything to blend it in.
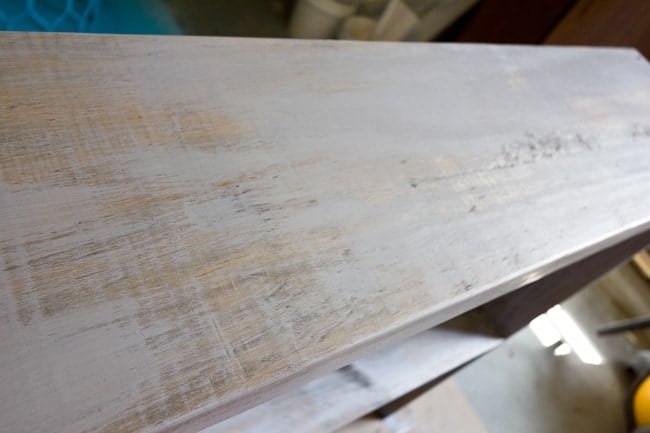

There was still a lot of the orange wood hue showing through, so I had to keep painting/sanding until I had something I was happy with.
Back inside, there was one obstacle that had to be taken care of…

A 1″ gray pipe in the way. I painted it white to blend in a bit better, then notched out a hole with a 1″ spade bit and a metal file so it could sit flush up ag
ainst the wall.
And it worked!
Next it was time to hang the art.
When I measured for it though, I realized there wasn’t enough vertical space to stack my prints. Whoops.
Plan B: A fun mirror from Lowe’s:

It’s the allen + roth 30×30″ quatrefoil mirror for around $65. I loved the shape and thought it would be a perfect accent to the room, so I went for it.
Of course, it wasn’t going to stay black…
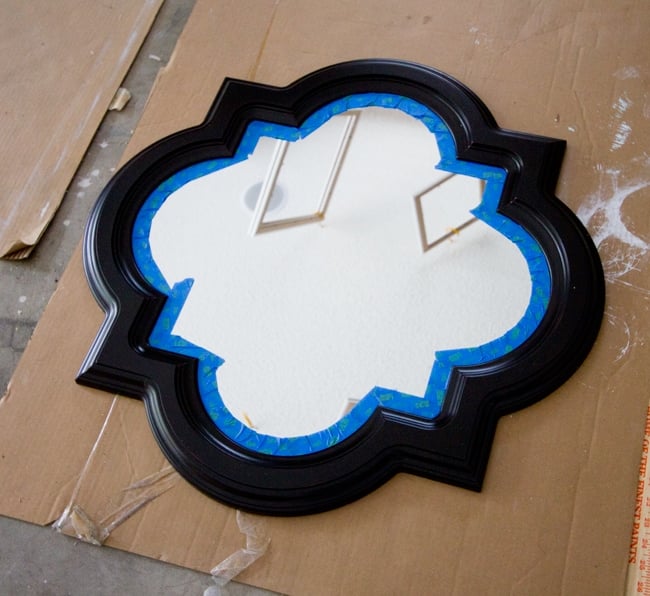
So I painted it the same gray that I used on my shelf:
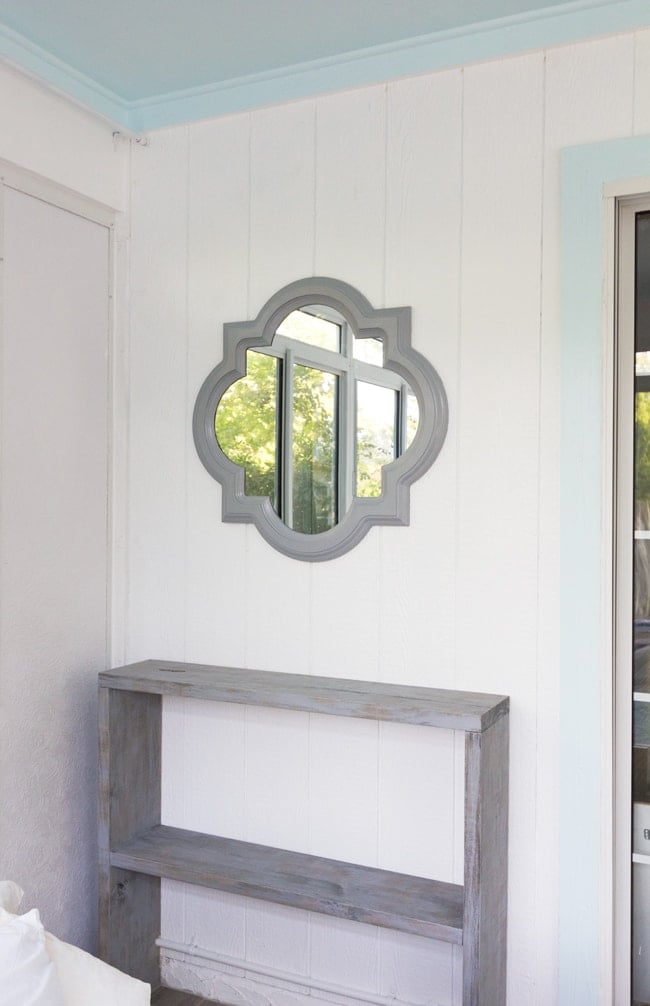
I couldn’t wait to start accessorizing… so I threw a few things up there for fun. It’s not done yet, but here is a preliminary setup…
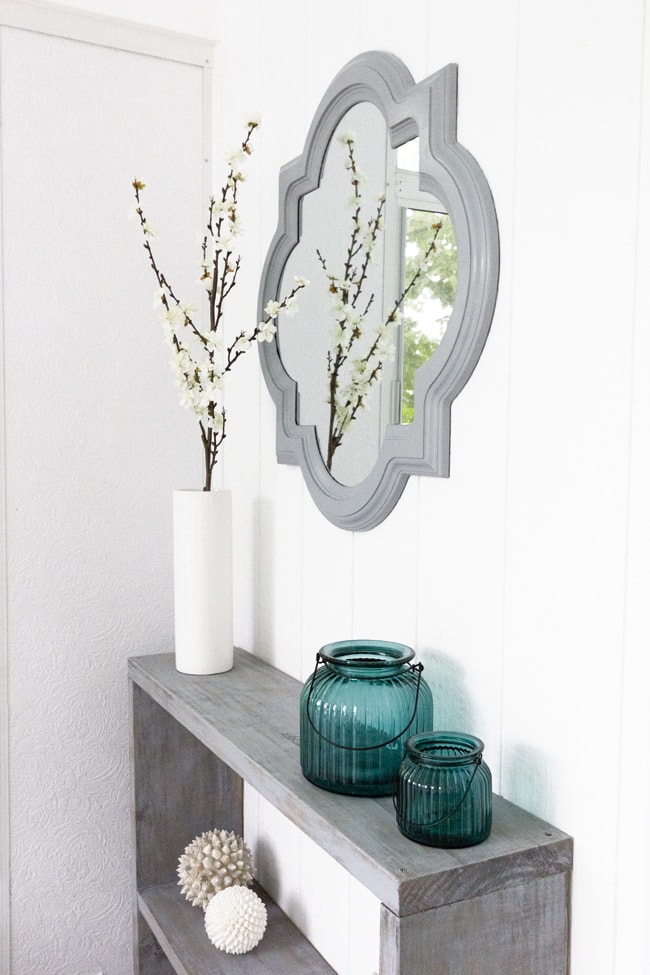
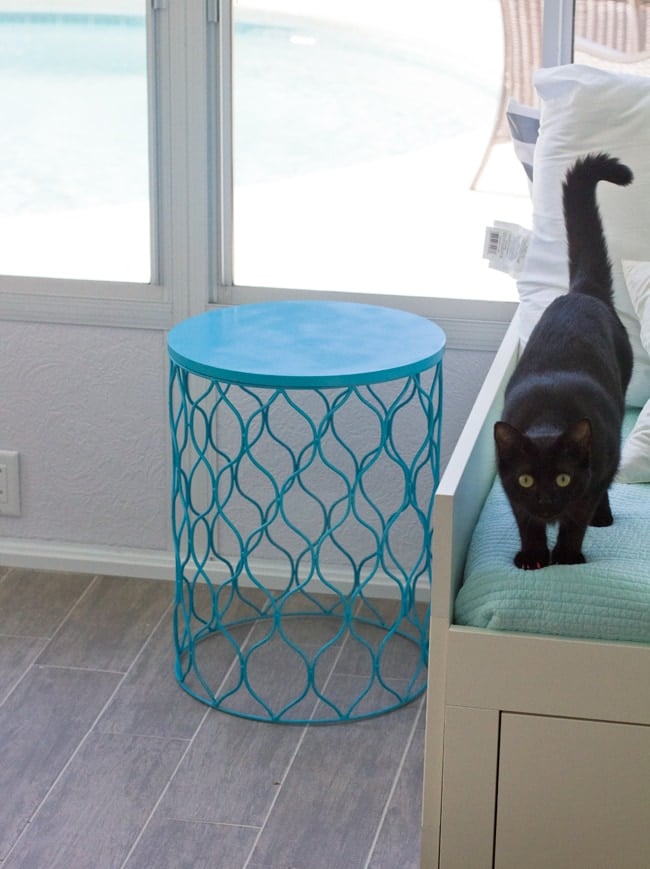
Speaking of accessories—my side table is finally out of the spray chamber:
And now to address the art issue…
I decided to remove the ocean prints I had hung last week, because I really wanted to use these new prints in my Ikea frames.
But I was disappointed when I started to hang them…
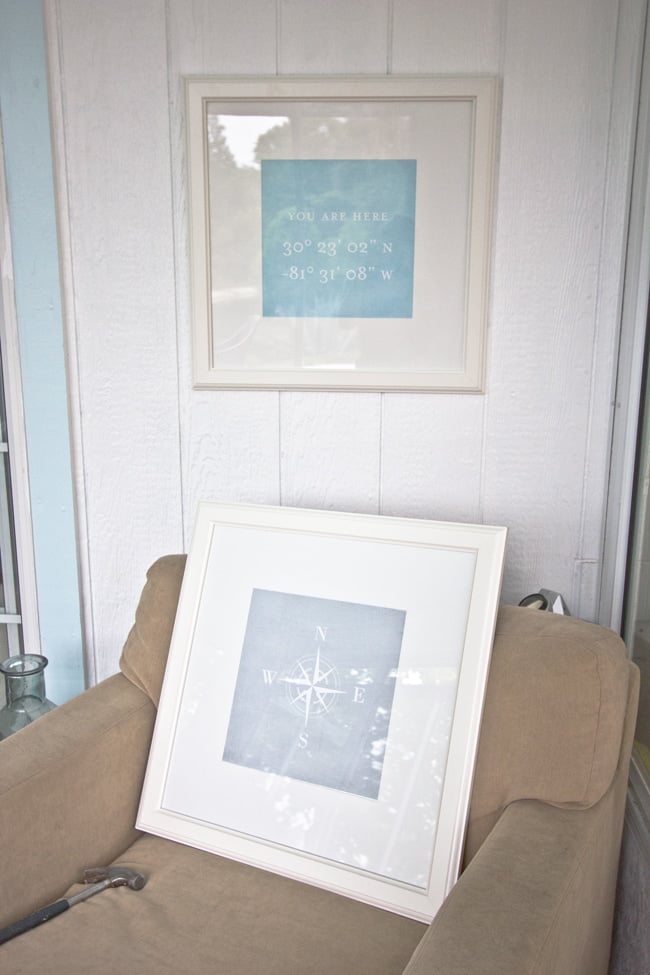
Ugh, Ikea. Why is it so hard for you to create something that is true white and not your crappy cream/beige/offwhite shade? The frames look a lot worse in person than this picture shows. They might as well be yellow against white walls.
So with those prints out, I decided to keep my original frames and remake the prints to fit:
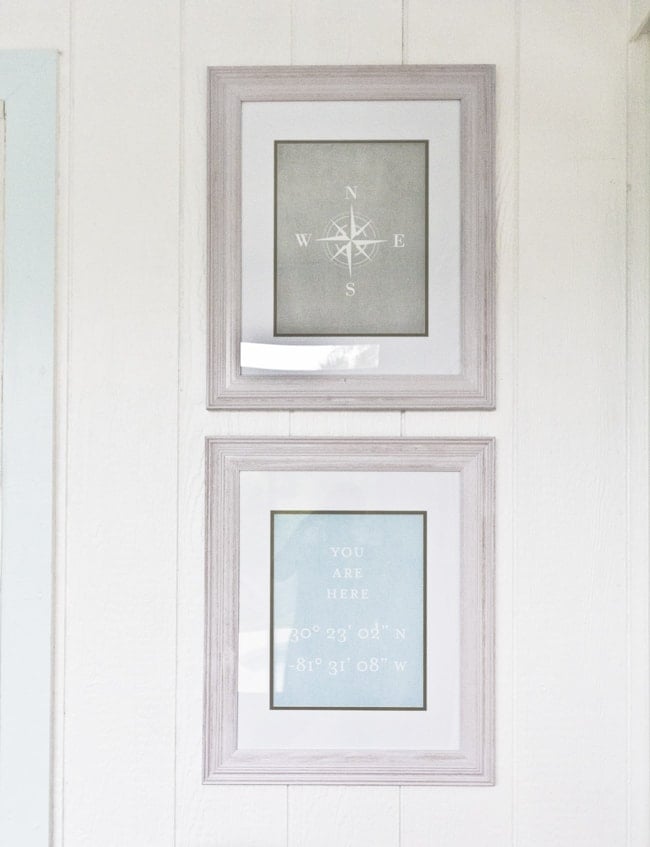
It’s hard to get a good look at these with the window reflection that is impossible to avoid in these pictures, but these are the prints:


FYI… the old prints are all available now on my Sale page if anyone’s interested in picking them up at a nice discount.
And that is the current condition of the sunroom with less than 5 days to go! Let’s hope I can pull everything else off by Saturday!
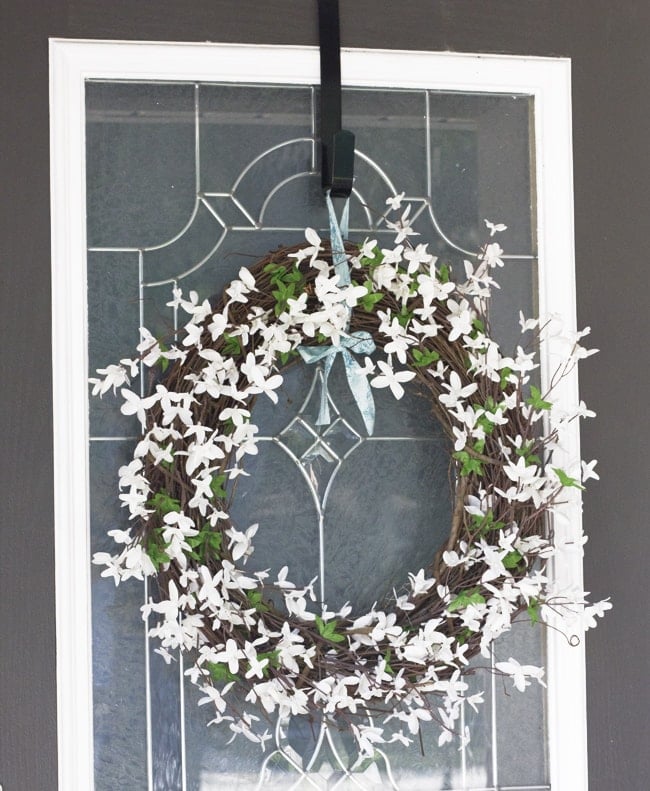
Now for a quick update on our front door… it was long overdue to retire the winter wreath:

So I picked up some on sale seasonal flowers and a $5 wreath base from Michaels and got to work…
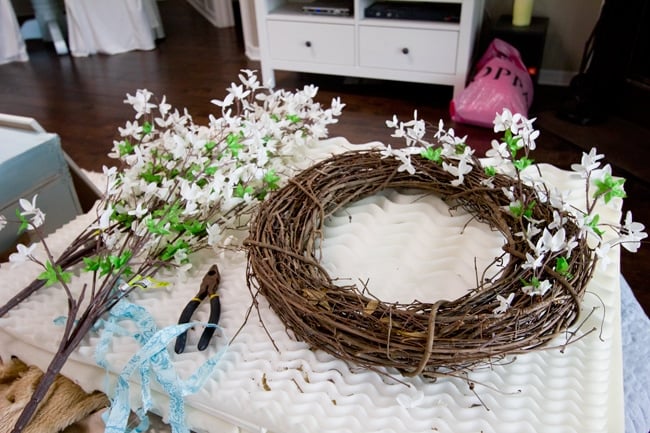
I used some leftover strips of fabric from my no-sew napkin project and to hang it with… and our front door is now perfectly in season to welcome guests:
And that about sums up last week.
Oh… except for one last thing.
When I was in line at Lowe’s buying wood for the console table… I looked down and spotted this:

Crazy, right?! Seeing my font in in Seventeen and Cosmo was cool enough…. but my favorite store ever? They are using it on their website too. And they have no idea how much I heart them.
Alright… it’s crunch time now. Be back with the final Sunroom Reveal!


Jenna Sue says
We like it! It's held up well so far. The material is a little rough and easy for cats to claw, but it's only the “grey” I believe that comes in that material.
Christina says
I LOVE your style! it is SOOO me! 🙂
Pinning your wreath – going to be on my list to make very soon! 🙂
Christina
thefrugalhomemaker.com
Lisa says
This room is looking amazing!! Great choices on accessories! You'll never want to leave 🙂
simplyvonne says
i simply love everything you did!!!! i now want a mirror like that!!!!
Monika says
Beautiful job Jenna. Kind of an unrelated question, how do you like the Kivik sectional that you had purchased for your living room? Would you recommend it?
John @ Our Home from Scratch says
Love that shelf, especially the finish!
DIY Show Off says
Great job, Jenna Sue! Everything is looking so pretty! You'll never want to go inside!
Branda says
Love how everything is coming together. Totally impressed by your ability to build furniture!
Jenna Sue says
We'd rather leave it as is because the beds may not stay in that configuration forever… plus we'd have one jaggedy sharp edge that would probably be even more dangerous!
Jenna Sue says
Ooh… thanks for sharing! I love that cover!
In The Night Sky says
Thought you might like to know that I think your font is on another magazine cover here in Australia – the latest edition of Home Beautiful (https://www.facebook.com/photo.php?fbid=306641612737675&set=a.140623496006155.27398.140623366006168&type=1&theater) Hope that link works for you 🙂
Your sunroom is really looking great, I LOVE your freshly painted mirror and I couldn't agree more about Ikea and their whites!
Kristi Lynn says
Wow! I need a console table for my mud room but it needs to be very specific measurements. I guess I never realized I can just screw some boards together and paint! I really love it! Also I wanted to use your font in one of my computer graphics classes but we can't download stuff 🙁 But I do sure love that font!
Sonya says
It all looks great, I am super jealous. I downloaded your font for fun use a few weeks back and have decided to use it as my signature font on all my committee reports and minutes that I submit at work. A touch of prettiness was needed in my reports and minutes.
The White City Project says
Great job on the console table. And I really love how your side table came out!
Dawn F says
Your sunroom is lovely! LOVE the table you put together. Great work! Would you be able to cut down the end of the daybed that sticks up between the two cushions? Might be less dangerous! ;o)