Before painting our kitchen cabinets by hand, I went on a mission to find the very best paint rollers to get the smoothest, most professional finish. Today I’m excited to share the results of my experiment!
I did the research, analyzed the reviews, and polled my audience to narrow down the Top 5 Paint Rollers for a head-to-head showdown. Here are the contenders:
Five different types of rollers, with tons of recommendations and raving reviews.
Jump to:
The best paint for cabinets
Before we see how they each performed, I must emphasize the importance of choosing the right paint. The paint you choose will ultimately determine the quality and longevity of your finish. I used Benjamin Moore Advance, specifically designed for cabinets and used by professionals (you can see more in my guide to painting cabinets like a pro).
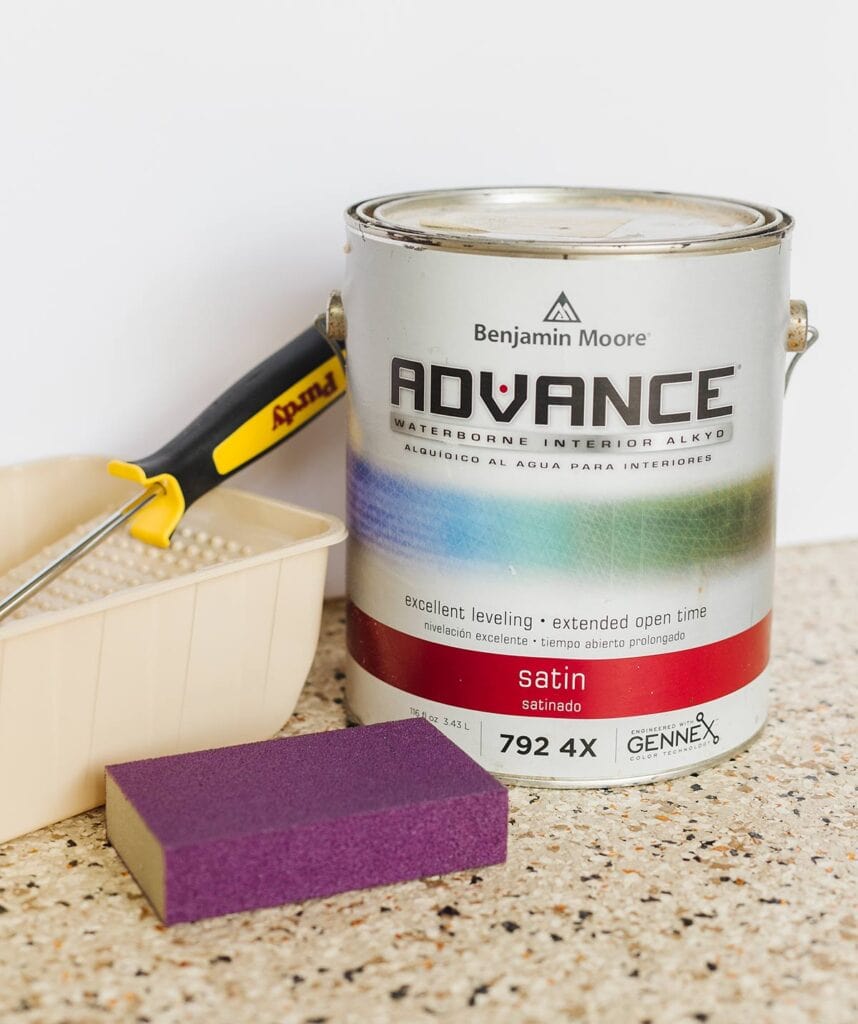
The Advance paint is self-leveling, so it evens out as it dries, resulting in a smoother finish. I knew from experience that the paint roller also makes a difference though, and was eager to find a winner!
Painting cabinet doors by hand
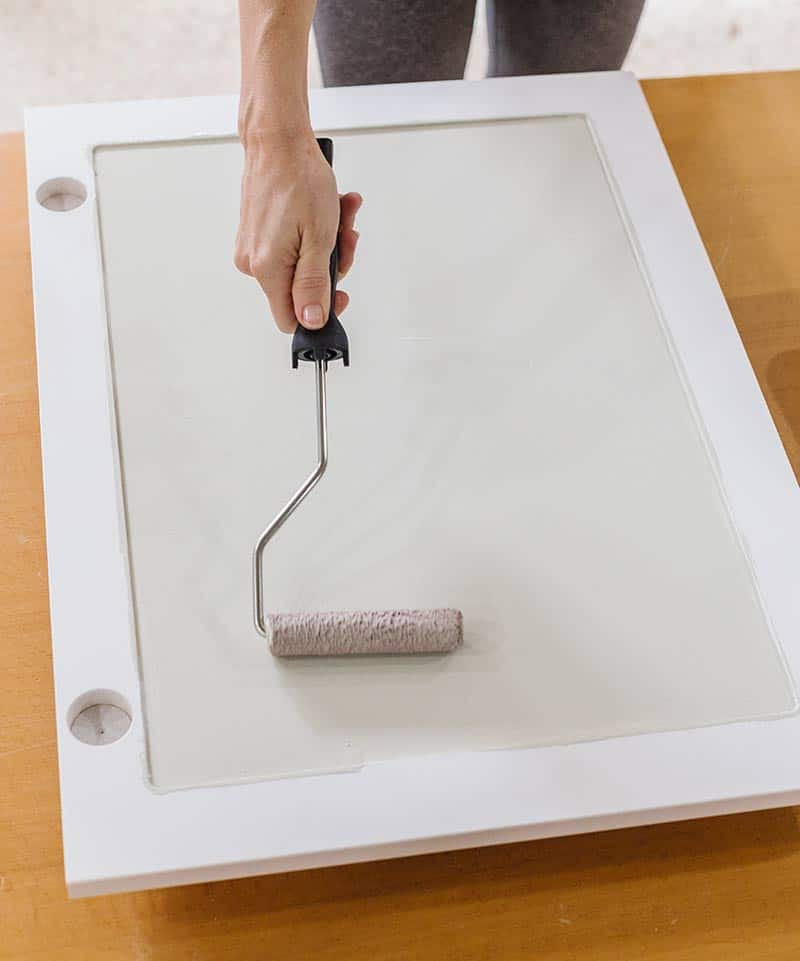
While a high quality sprayer will give you the smoothest finish in the shortest amount of time, not everyone can or wants to go that route. It is still possible to get great results painting by hand! Here are the steps to follow:
How to paint cabinet doors by hand:
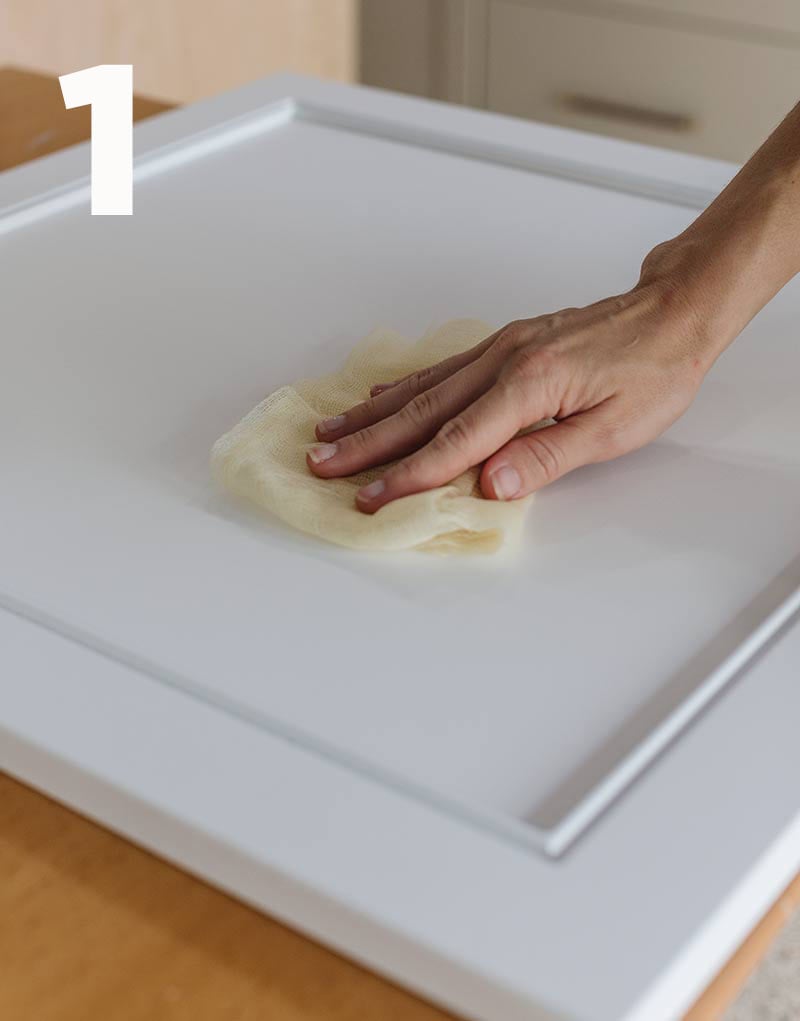
- Clean doors
Use compressed air and/or a tack cloth to thoroughly remove all dust.
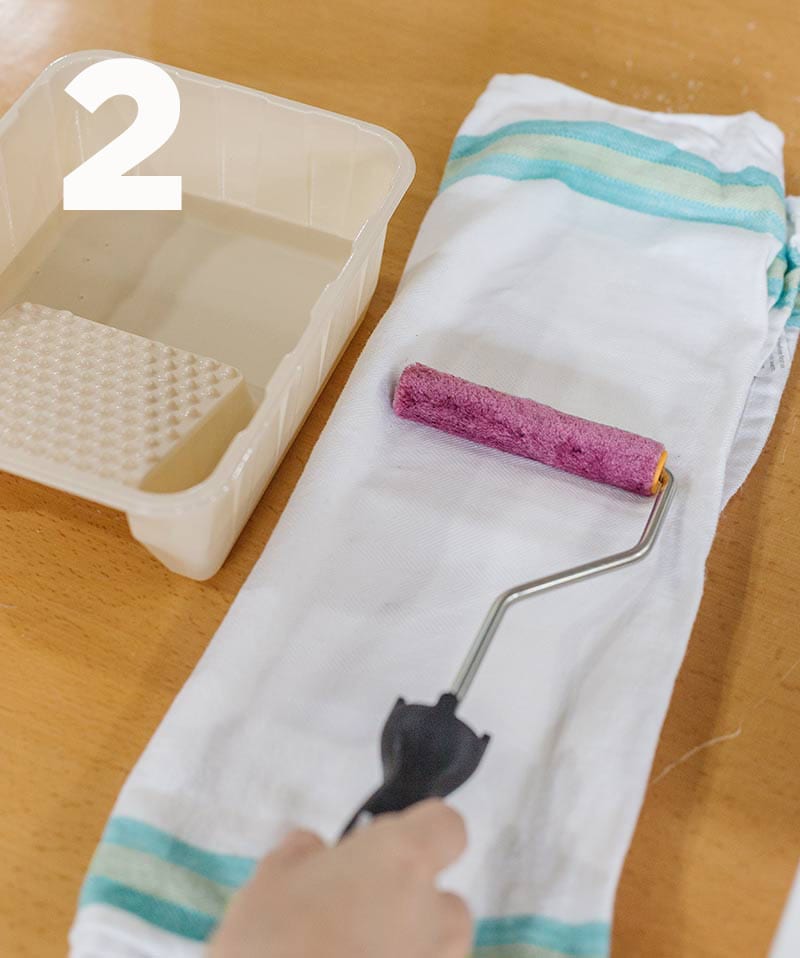
- Pre-wet your roller
This step is optional, but pre-wetting can ‘prime’ your roller, allowing it to soak up and apply the paint more evenly. Make sure it is only slightly damp (not wet!)
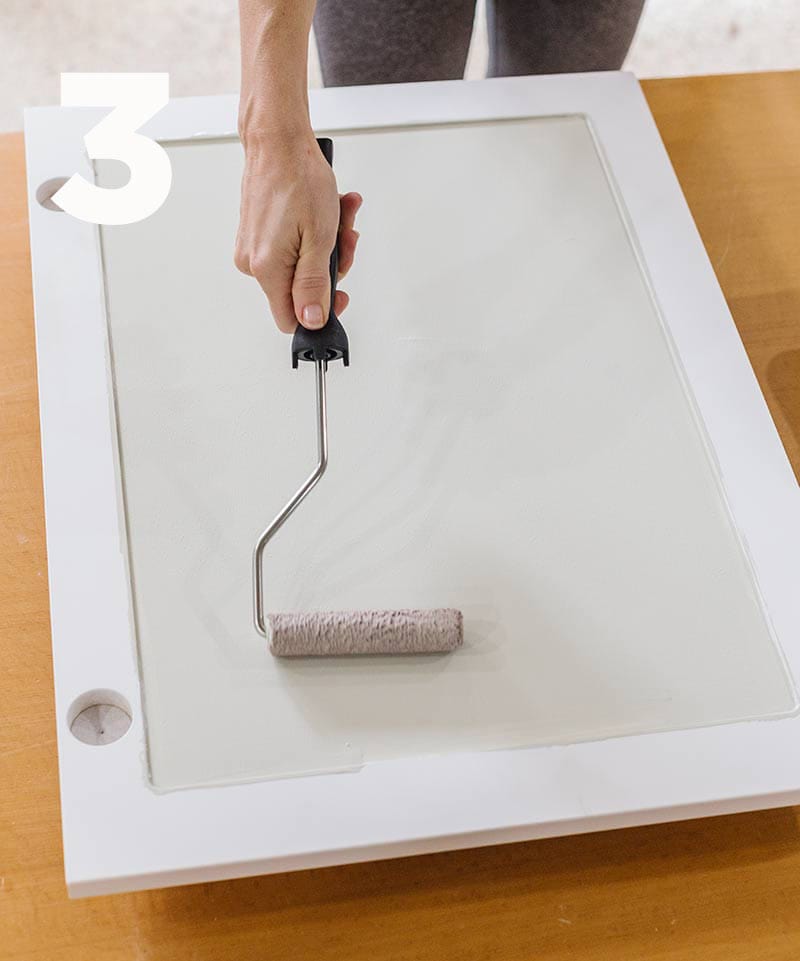
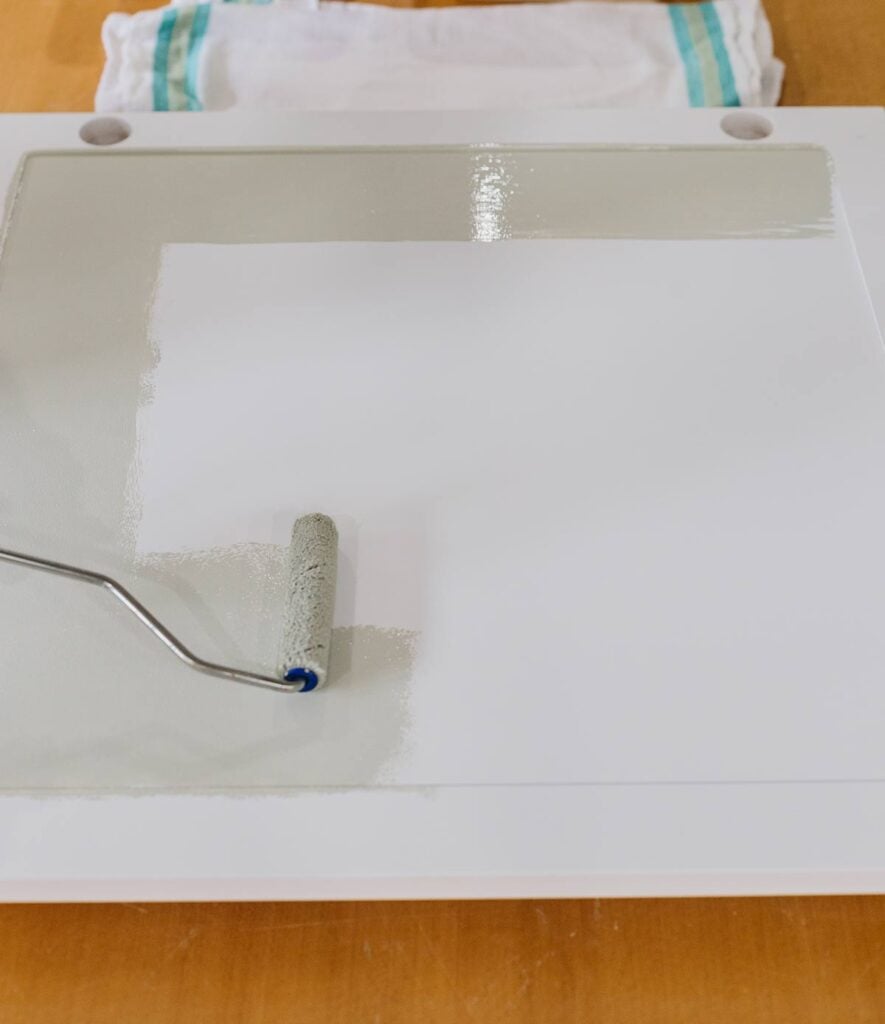
- Apply first coat
Apply an even coat of paint, covering the surface entirely and making sure to smooth out any brush or roller marks.
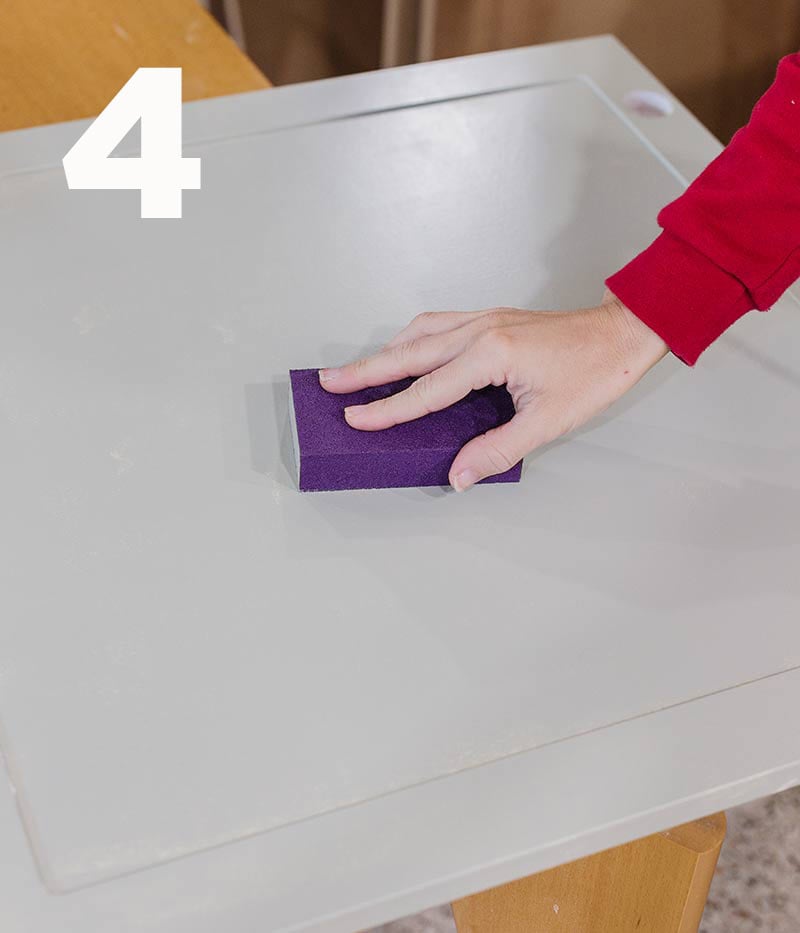
- Lightly sand
After the paint has sufficiently dried, use a fine sanding block to gently smooth down any debris/imperfections
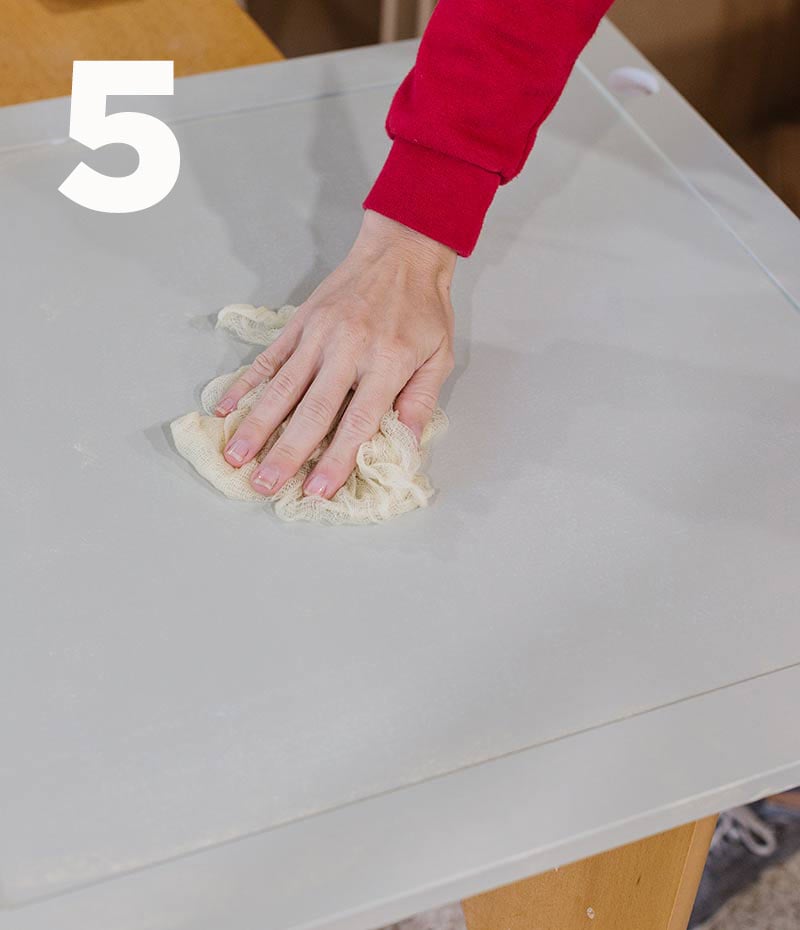
- Clean
Remove sanding debris with compressed air and/or a tack cloth.
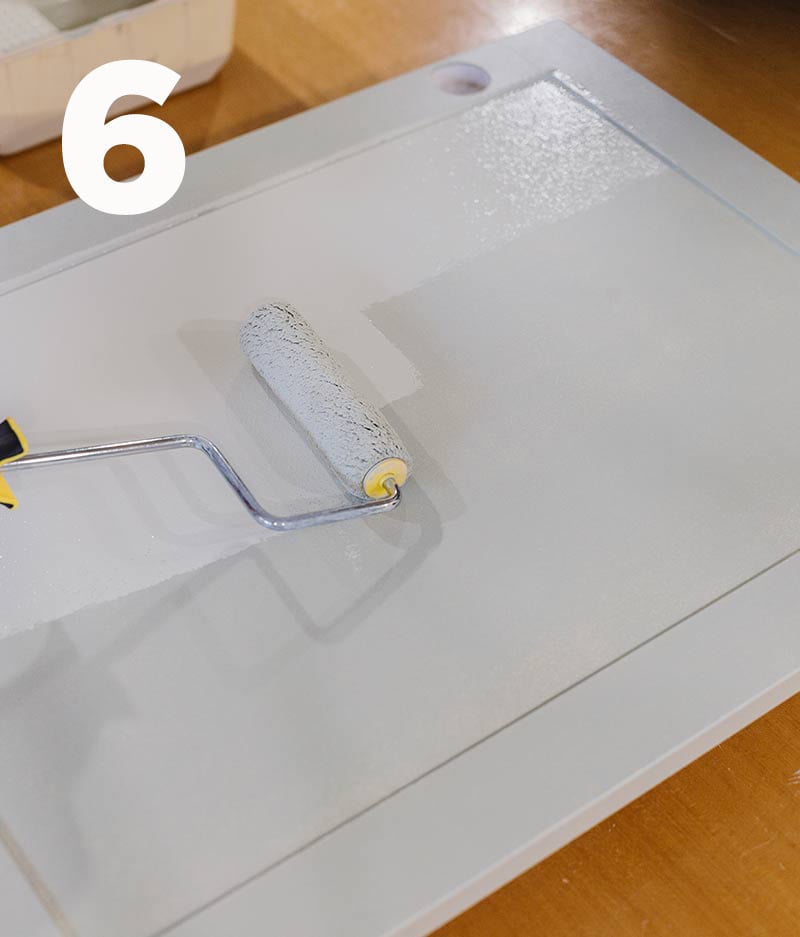
- Apply a final coat
Brush/roll on your final coat, making sure to cover the surface completely
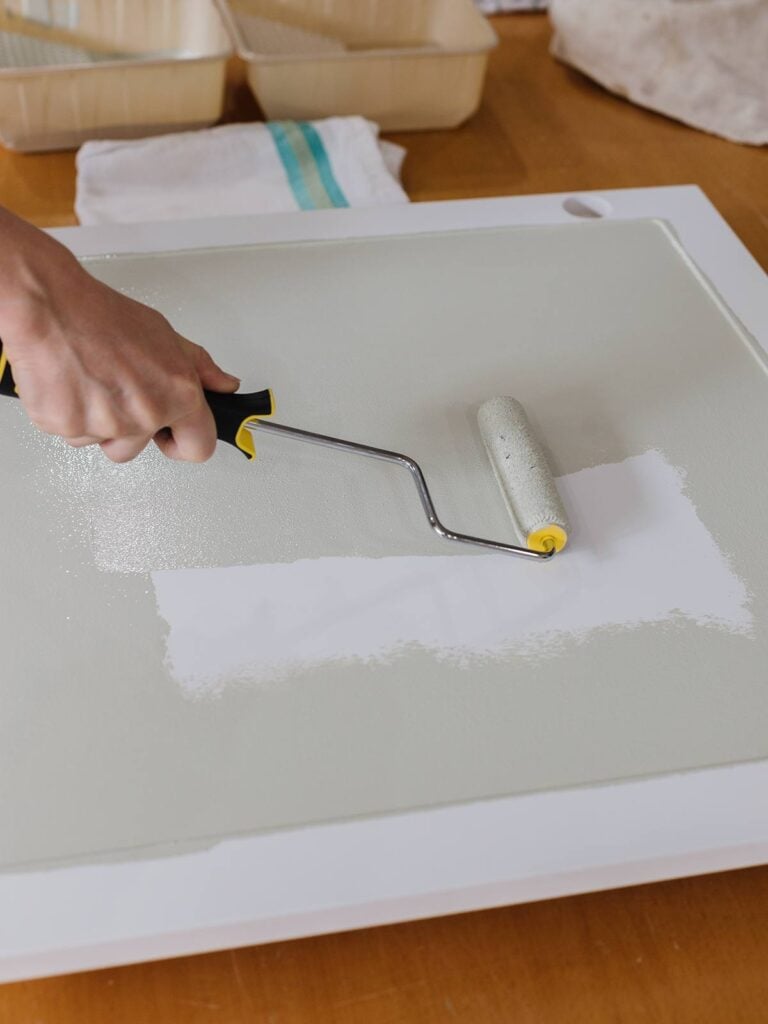
Contender #1: Whizz Velour
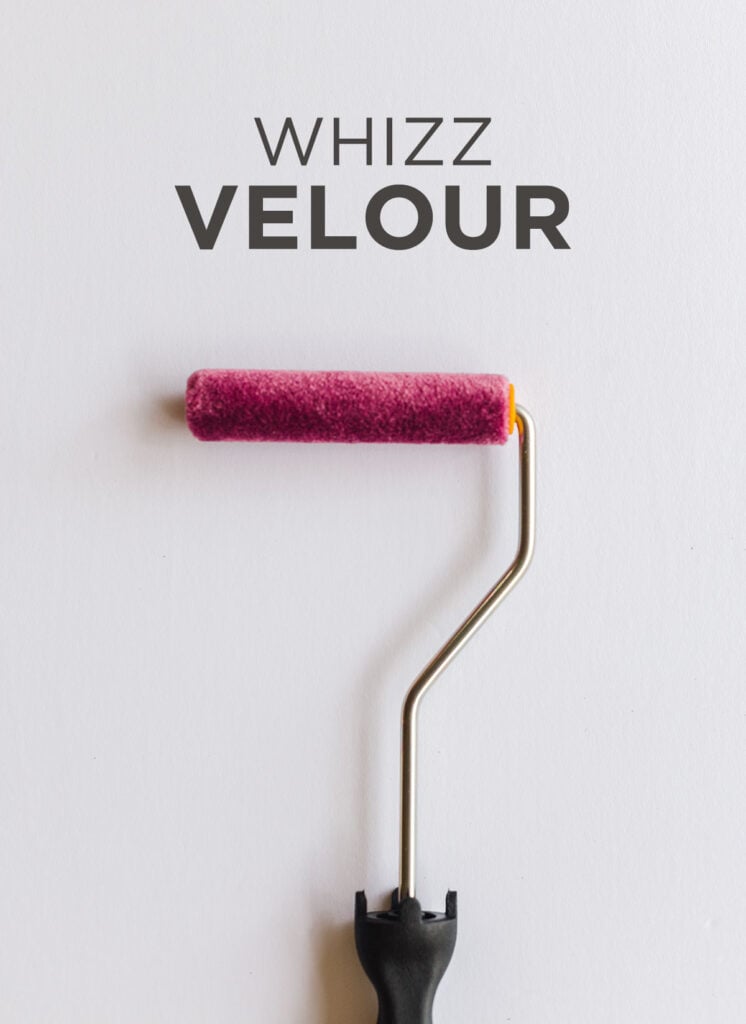
This roller had great coverage, and was easy to maneuver.
There was a light stippling (orange peel) texture, as you’d expect from a woven material. There was some light shedding (a few stray fibers) but the end result was very even, with no visible roller marks.
Contender #2: Sherwin Williams Mohair
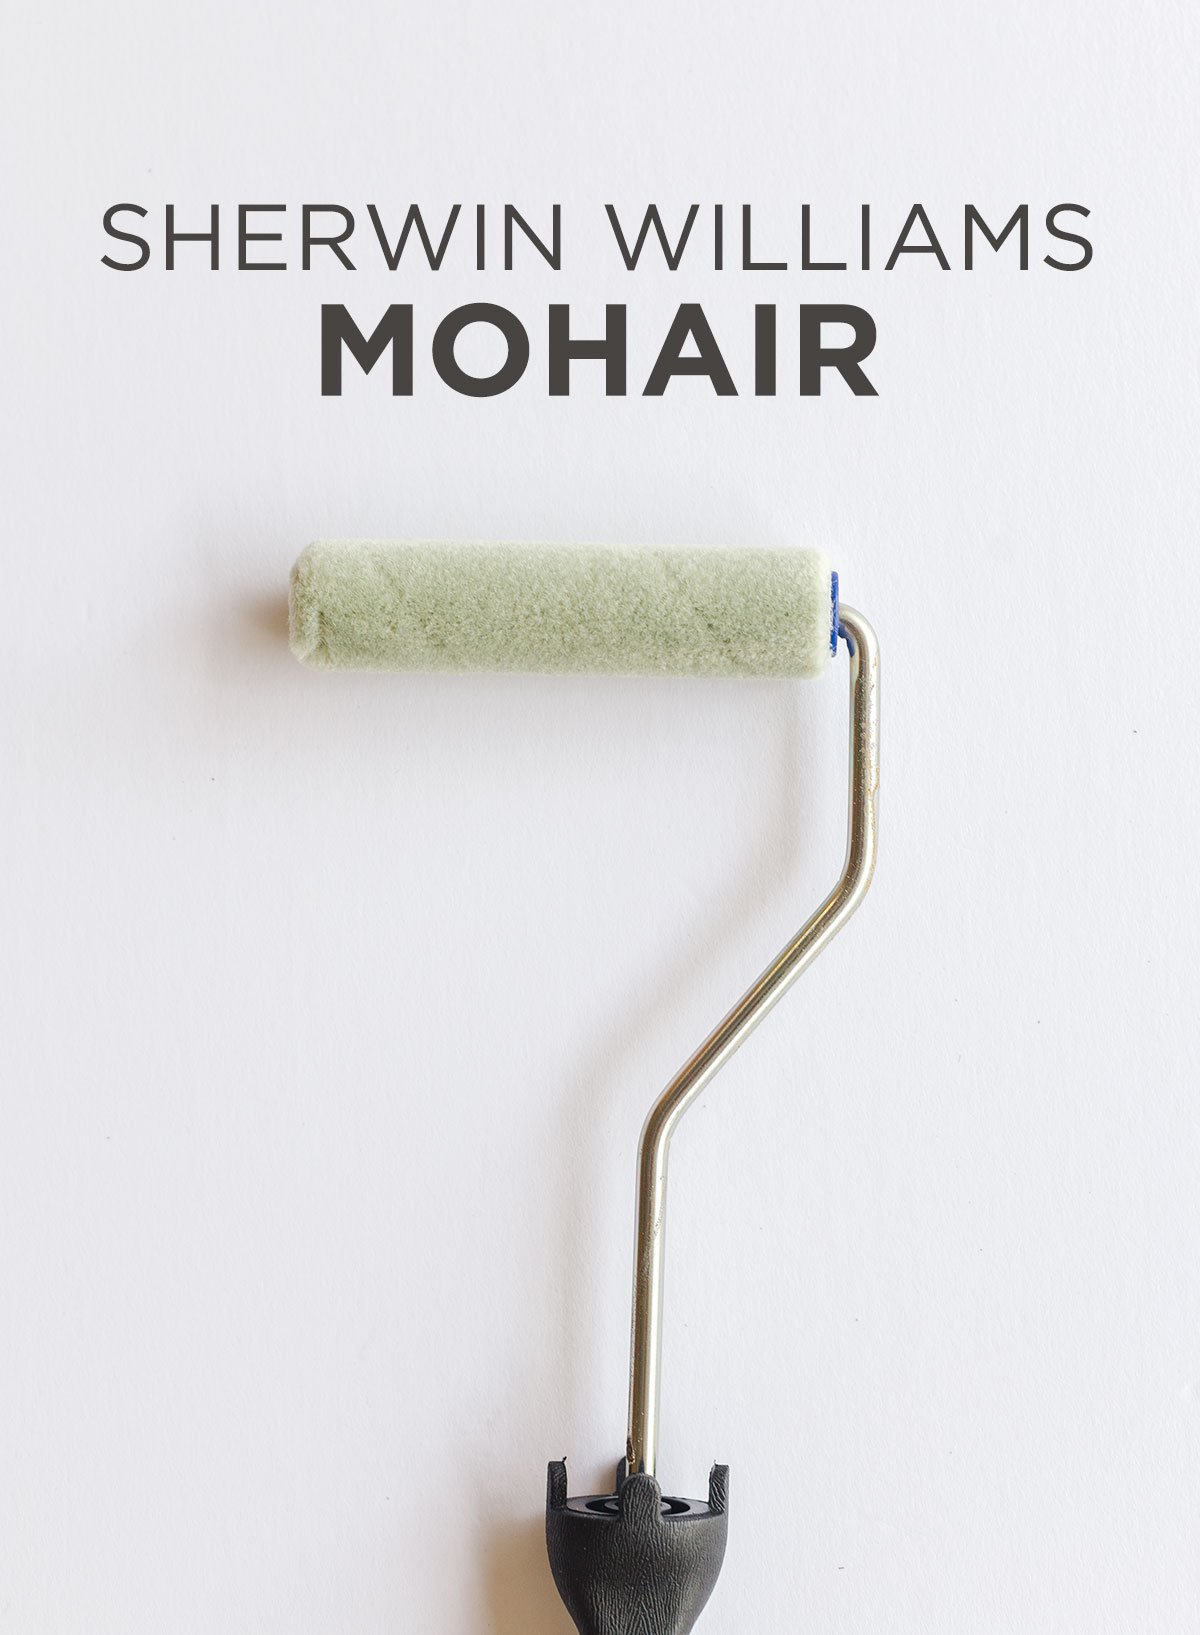
The mohair roller felt nearly identical to the velour—great coverage, similar light stippled texture.
After the second coat dried, I noticed there were quite a few stray fibers, but the overall finish was even and streak-free.
Contender #3: Purdy White Dove
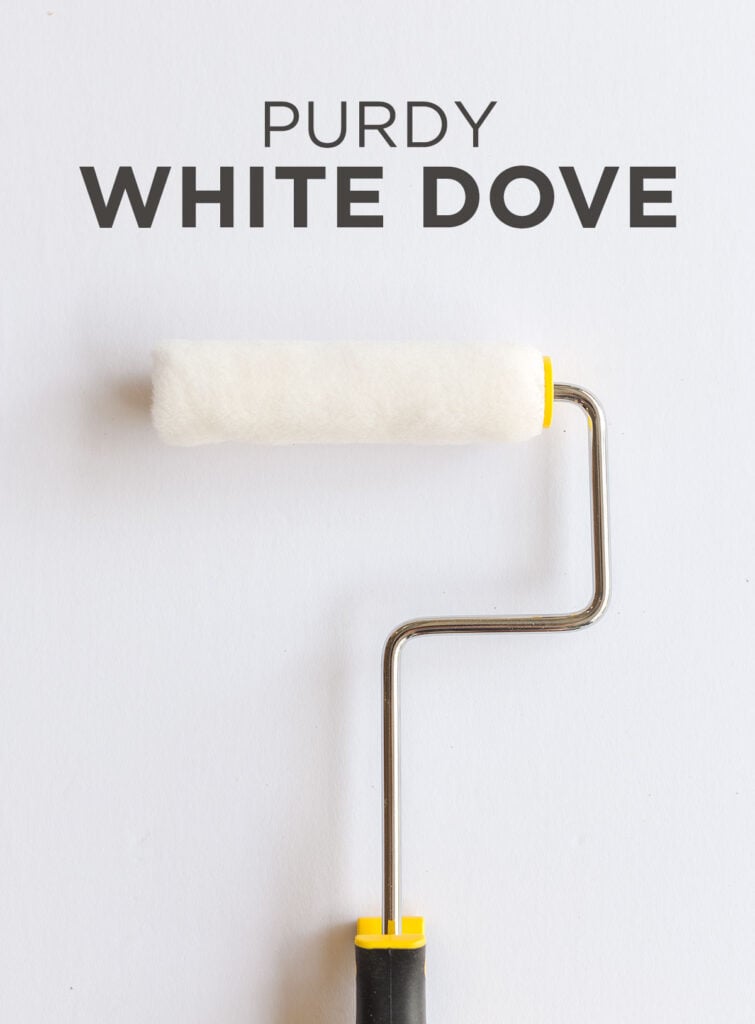
This roller was thicker and larger, and soaked up a lot more paint.
That’s useful for painting larger surfaces, but it left noticeable roller marks after drying.

Contender #4: Whizz Concave Foam

The foam rolled on a thin layer of paint and didn’t cover completely. The concave tip was nice to get into detailed areas.
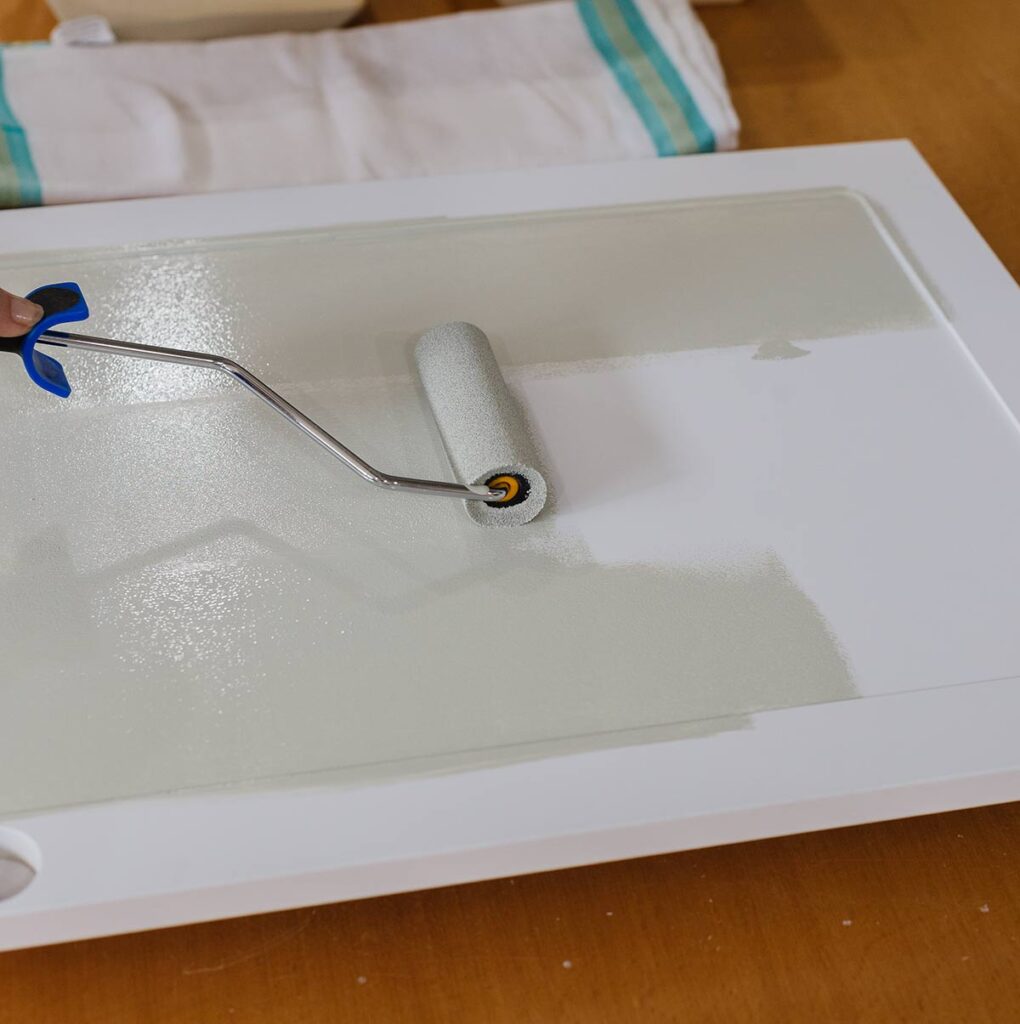
With such a thin layer, there was minimal stippling and a very smooth finish with no roller marks. I did have to apply a third layer of paint, and would skip pre-wetting this roller next time.
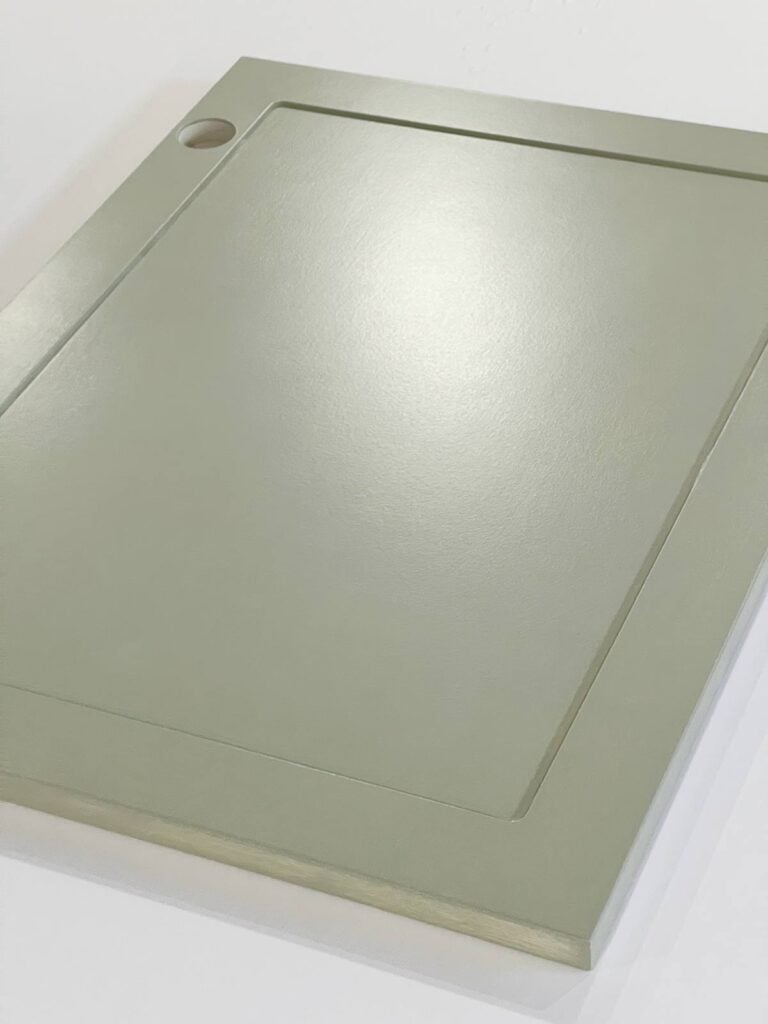
Contender #5: Wooster MicroPlush
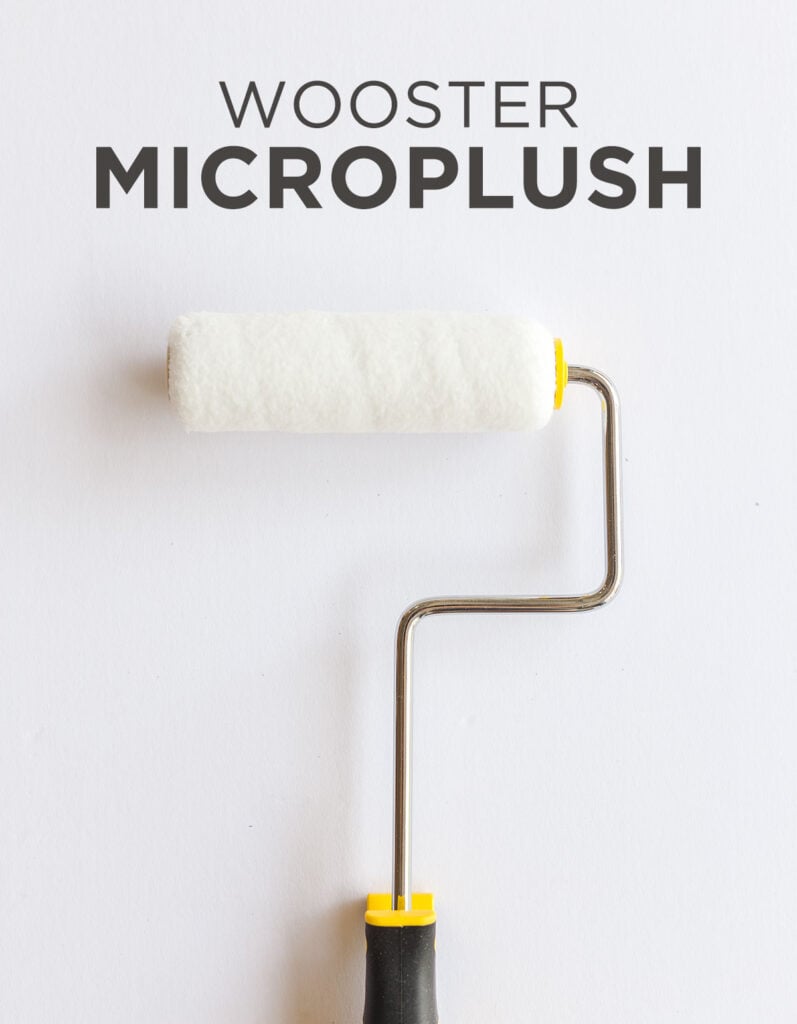
Similar to the White Dove, this roller soaked up a lot of paint and provided great coverage.
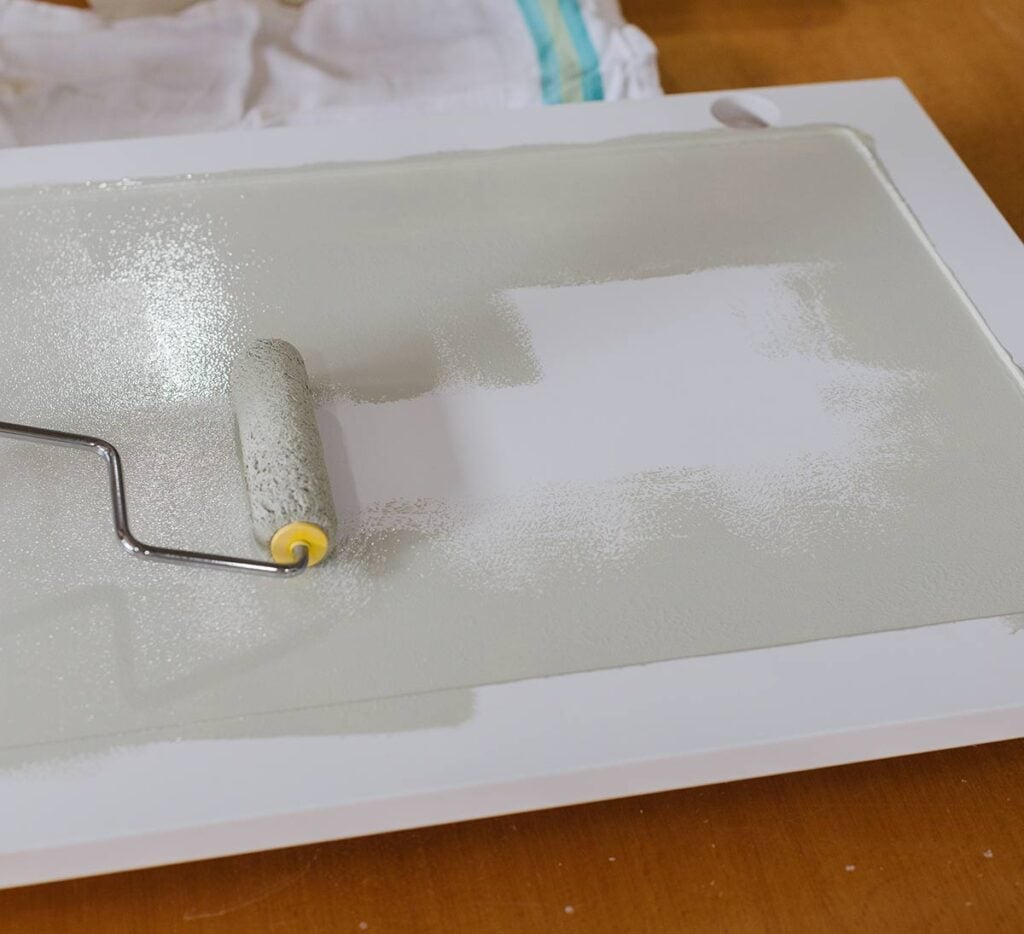
The shedding was minimal, but the sheen had a speckled effect once it dried.
The Verdict
And the best paint roller is…
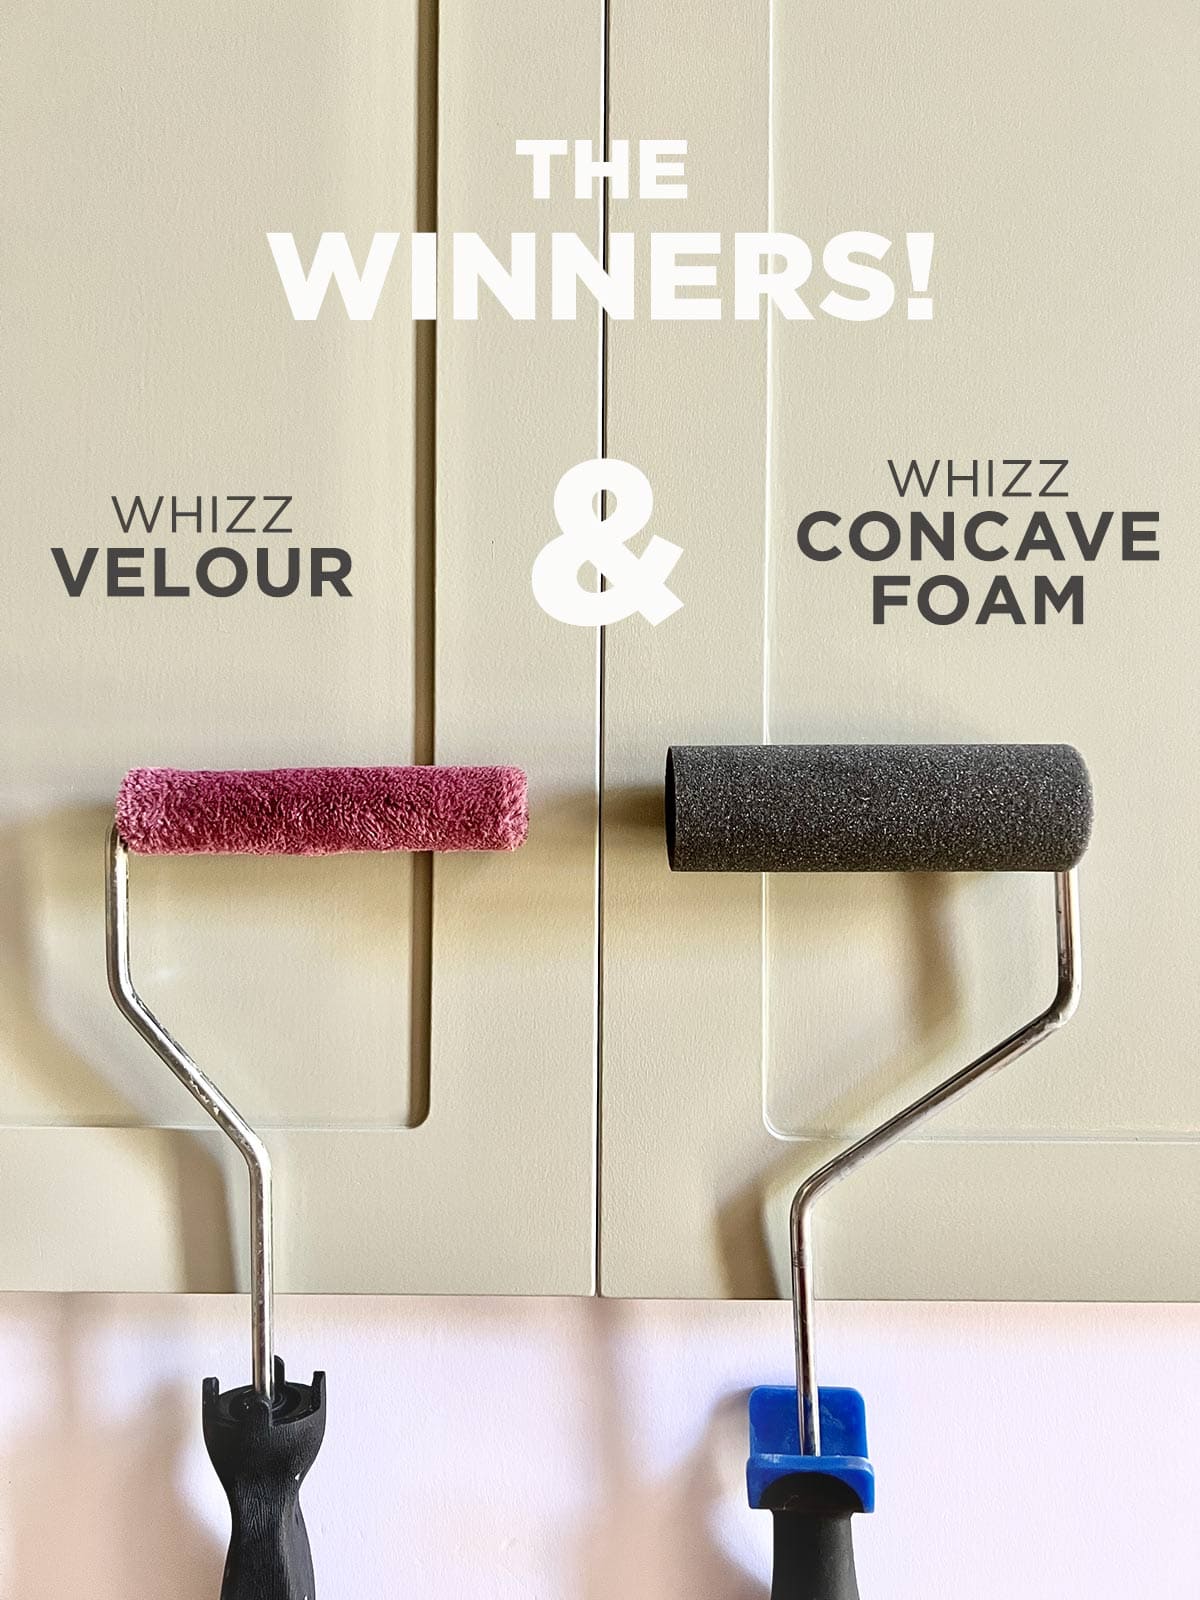
It’s a tie!
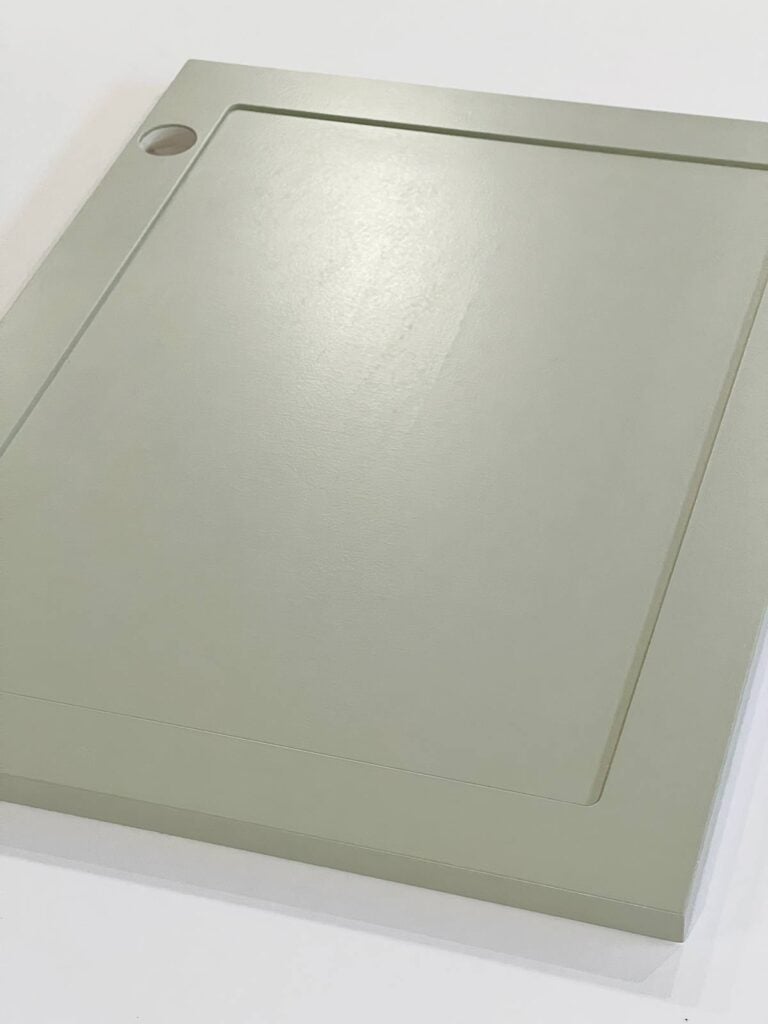
Overall, the foam roller provided the smoothest finish, but having to apply three coats is a bummer. The velour roller finish is *almost* as good, with minimal shedding, and covers in two coats.
Here are the rankings:
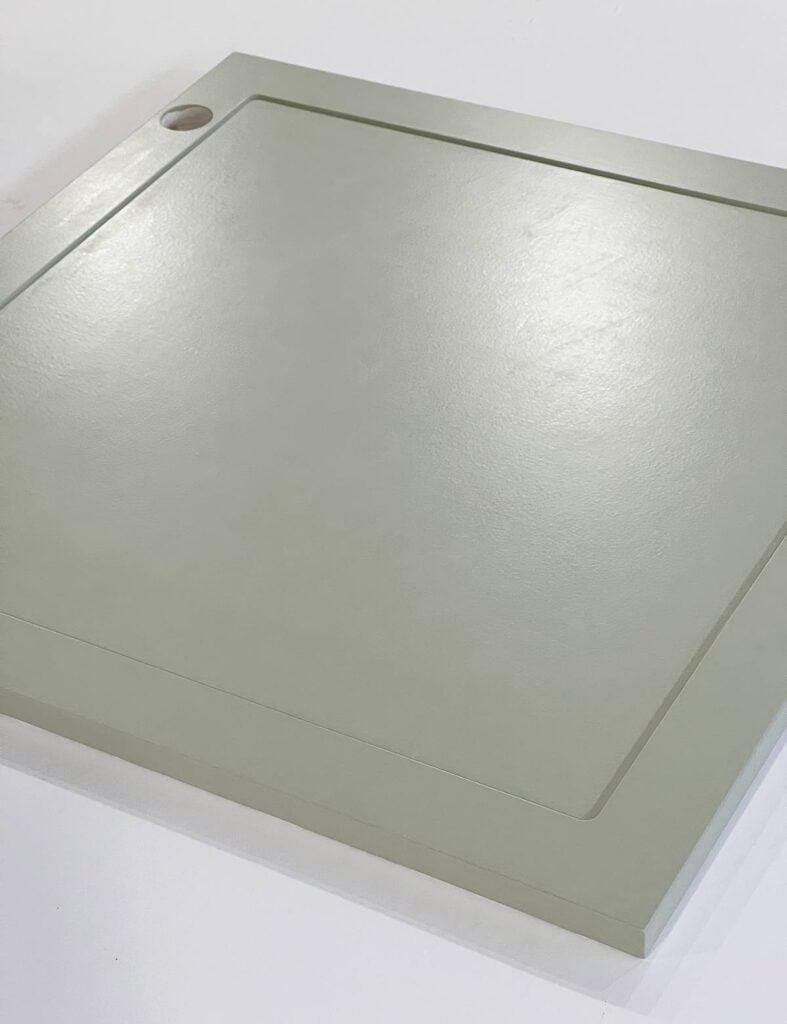
Winner: Whizz Velour
Pros: Great coverage, even finish with no roller marks / Cons: Slight shedding
Winner: Whizz Concave Foam
Pros: Smoothest finish, no shedding, no roller marks / Cons: Poor coverage
#3: Sherwin Williams Mohair
Pros: Great coverage, even finish with no roller marks / Cons: Shed the most
#4: Wooster Microplush
Pros: Great coverage / Cons: Sheen had a stippled effect
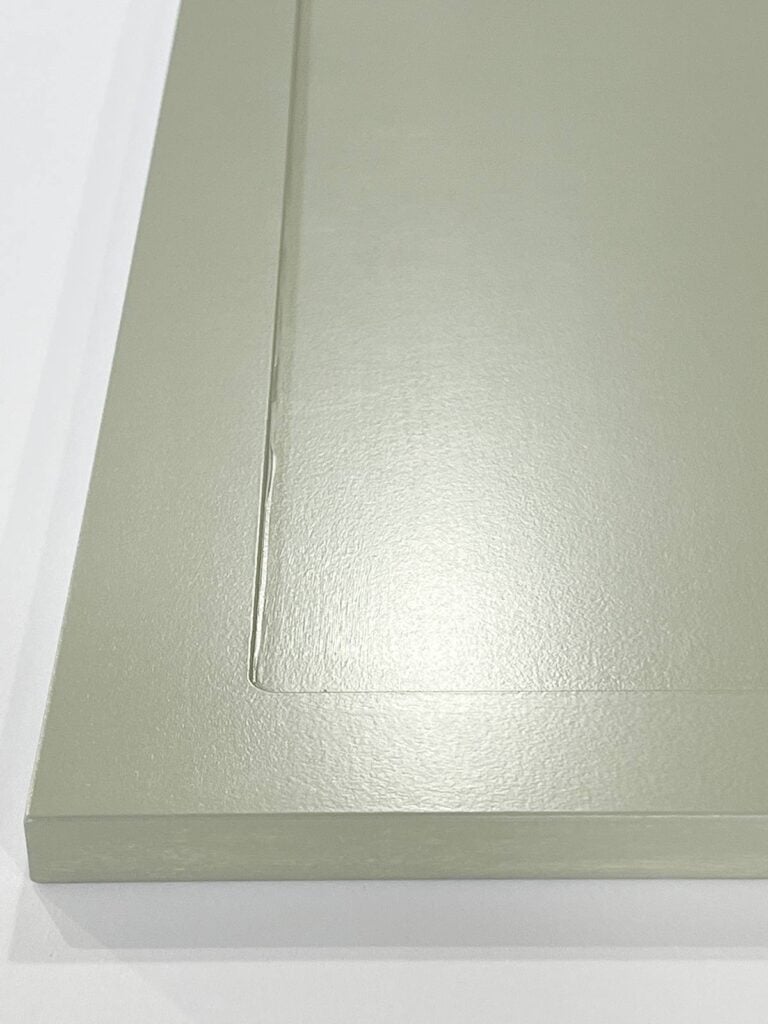
#5: Purdy White Dove
Pros: Great coverage / Cons: Left roller marks
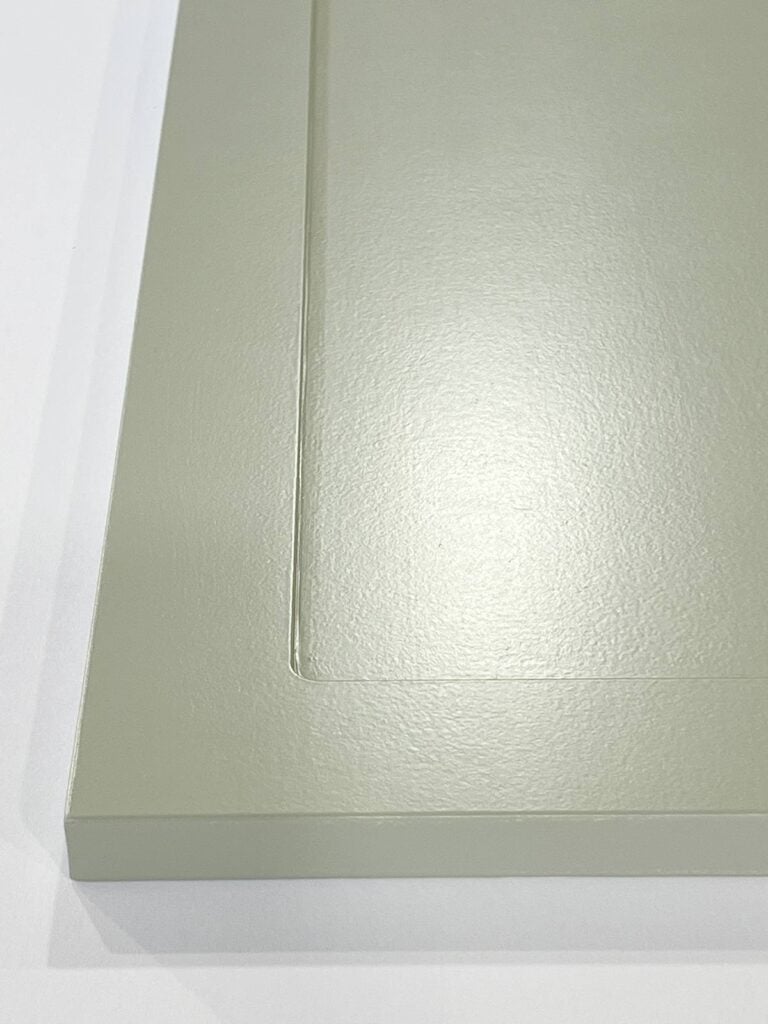
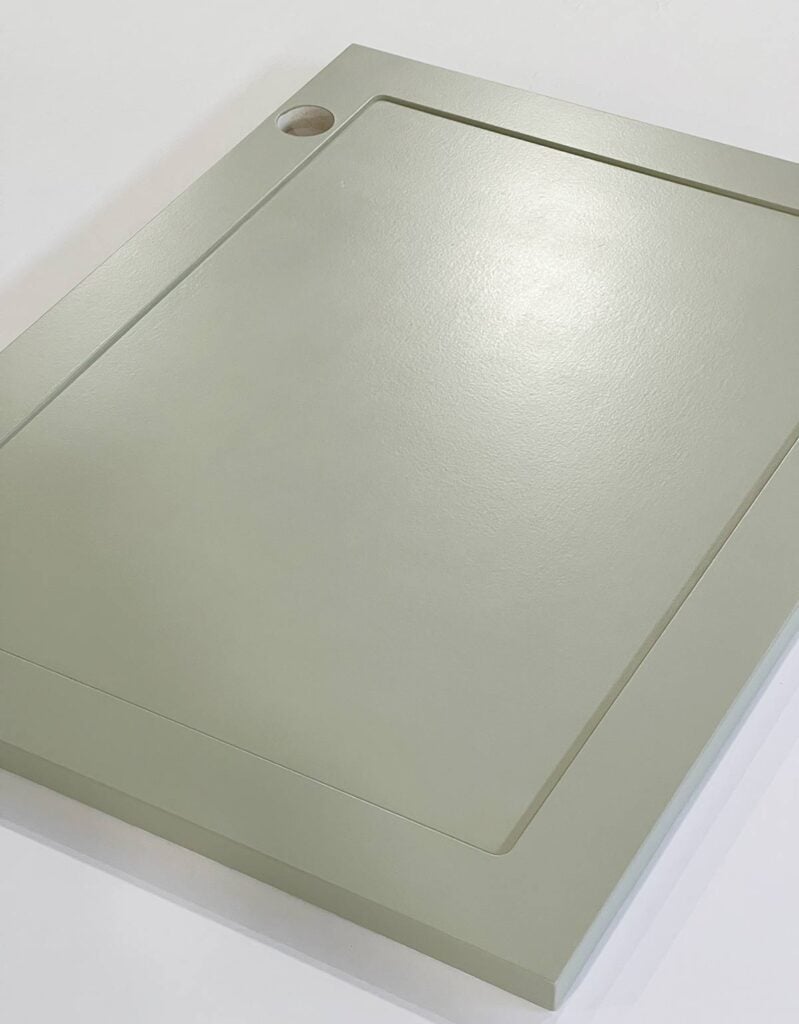
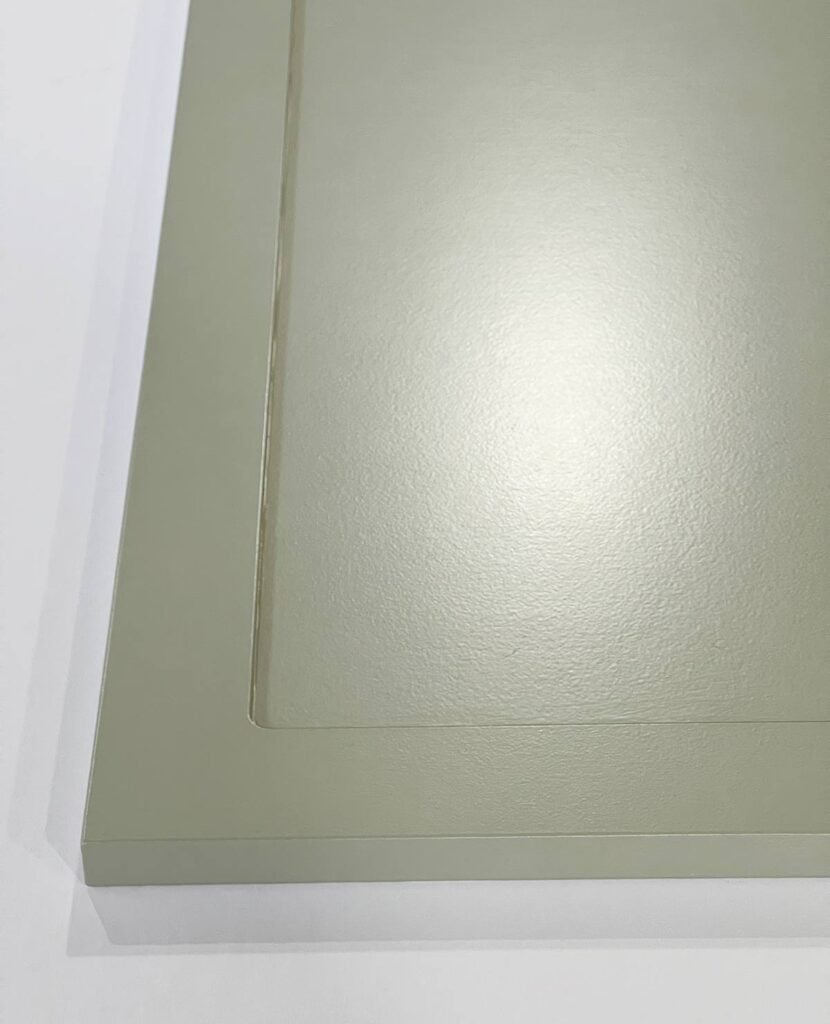
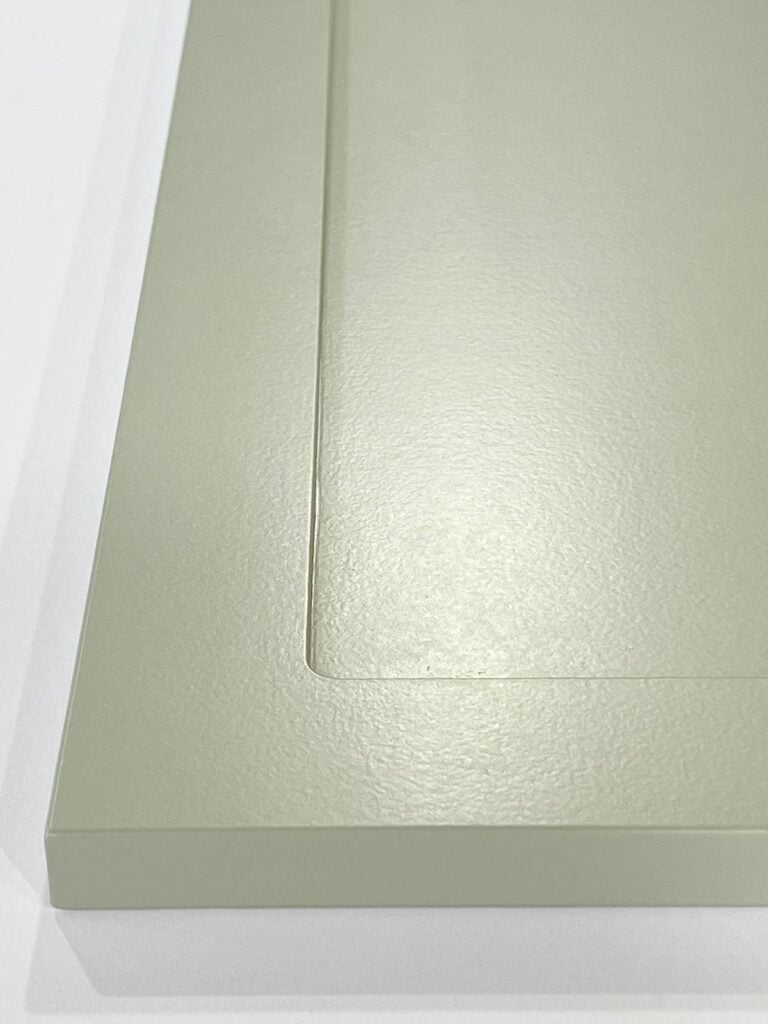
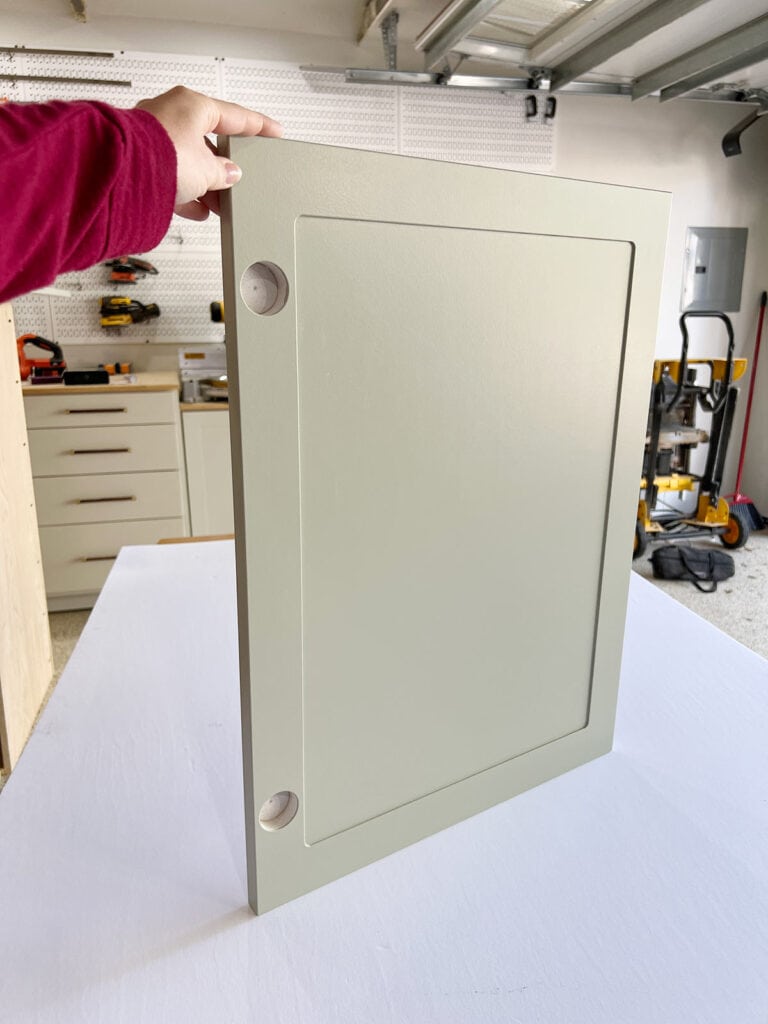
I will say—I don’t think any of these are bad options, and you really have to study them in the right light to notice the differences. Here’s how the “worst” roller turned out, which is still pretty dang good:
I credit these results to using a quality cabinet paint, and am curious to try this experiment again with a different type of paint. I’ve had very different results with wall paint (poor results with foam rollers and great results with White Dove) so it’s interesting to see the difference in this experiment. I also encourage you to do your own experiments at home, as everyone seems to have a different preference.
Cabinet Painting Tips & Tricks
- Paint quality matters: Make sure to use a quality paint specifically designed for cabinets (I love BM Advance and SW Urethane Enamel).
- De-fuzz your roller: To help prevent shedding, use painters tape to remove any loose fibers before painting.
- Try pre-wetting your roller: A slightly damp roller may help prime the roller, allowing it to soak up and apply the paint more evenly.
- Paint in an enclosed area: Make sure your painting zone is protected from a breeze that can blow in dust/dirt as the paint is drying.
- Sand between coats: Use a fine (220 grit) sanding block to gently smooth down any raised texture or imperfections before applying the next coat.
- Pay attention to re-coat and cure time: Paint takes a long time to cure and harden—don’t rush the process! BM Advance instructs to wait 16 hours in between coats, and minimum 5-7 days before installation.
I hope this review is helpful and you learned something new! Do you have a go-to paint roller that isn’t on this list? I’m always up for testing out more and improving my technique/process!
Follow along on my Instagram stories to see how these cabinets turn out 🙂


Julia says
Fantastic! This article is very helpful – Thank you for taking the time to review each roller
Bethany says
This is fantastic. Thank you!