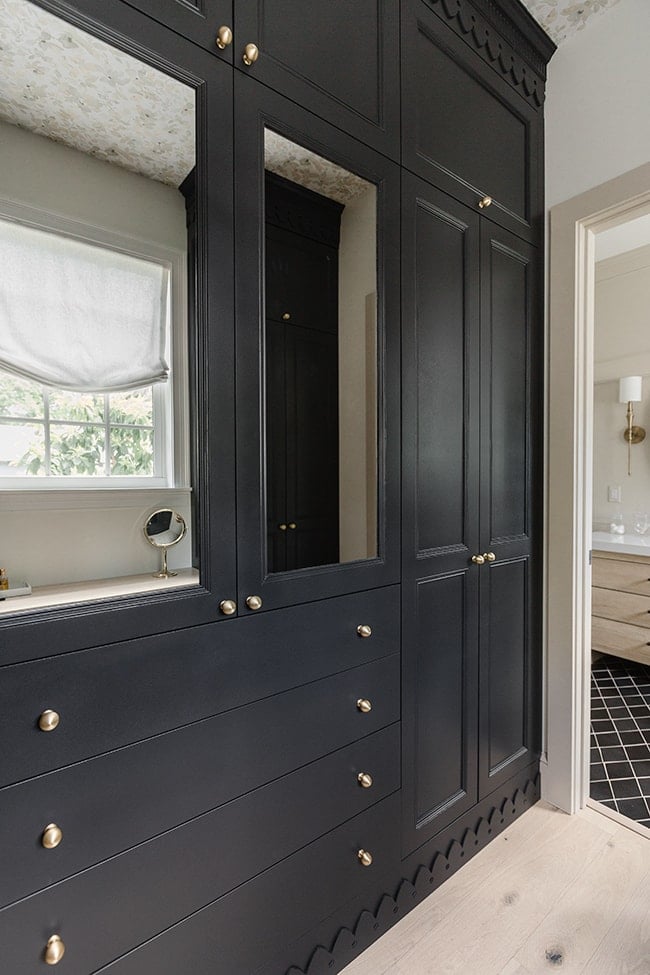
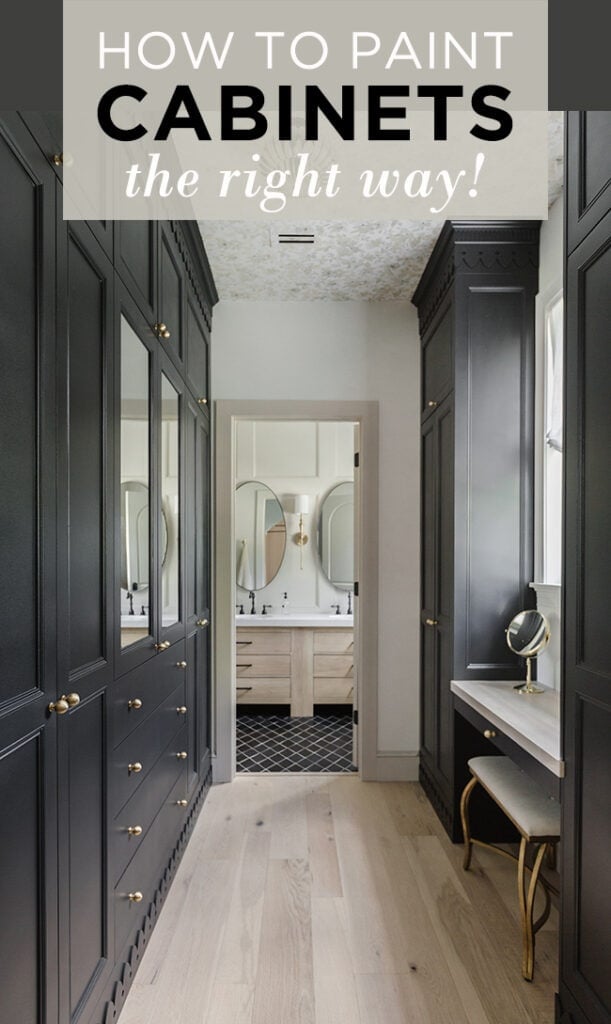
One of the most important steps of our Closet Makeover was painting our doors and trim. After all of the hard work that went into this project, a professional and lasting finish was a must. Watch the video below to see how we accomplished this:
Psst: If you haven’t already, you can also watch this process in action on my Instagram stories (see Closet Pt 3 and 4).
Lucas and I have both had some experience painting cabinets, and this time around I really wanted to make sure we were as meticulous as possible. That meant lots of reading and research beforehand, and taking our time through each step.
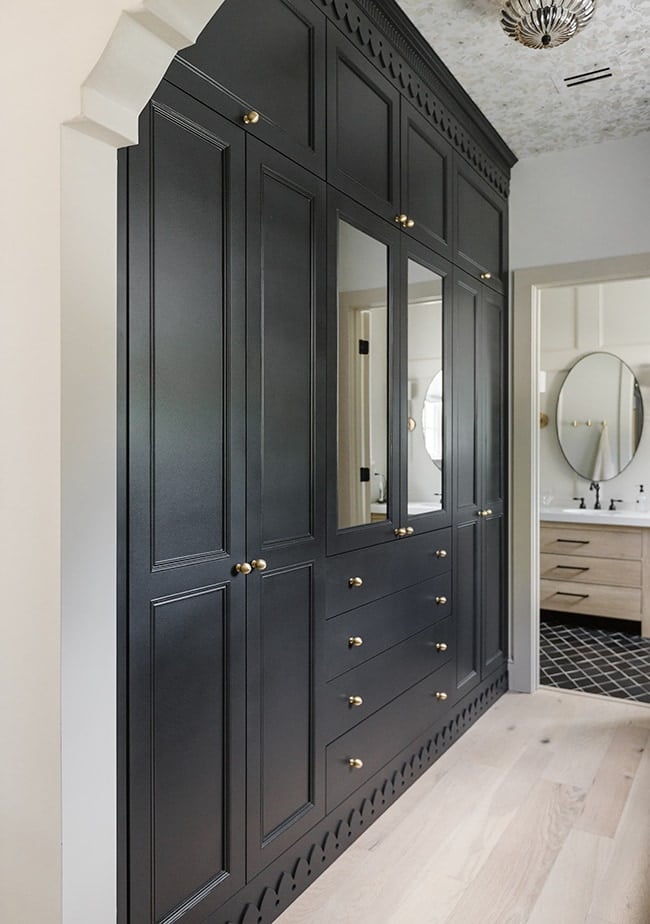
The first step, of course, was choosing the paint. There are a few cabinet paints you’ll see recommended over and over again if you do your homework—and Benjamin Moore Advance is often at the top of this list. I’ve used this product before (most recently on our Riverside Retreat kitchen cabinets) and felt confident it would give us the results we were looking for (I partnered with them on this project, but was planning to use it anyway!)
I knew going in that I wanted a dark, dramatic look for this closet and a rich black color. I picked up a few samples to test (an absolutely necessary step before any painting project—never skip this!)
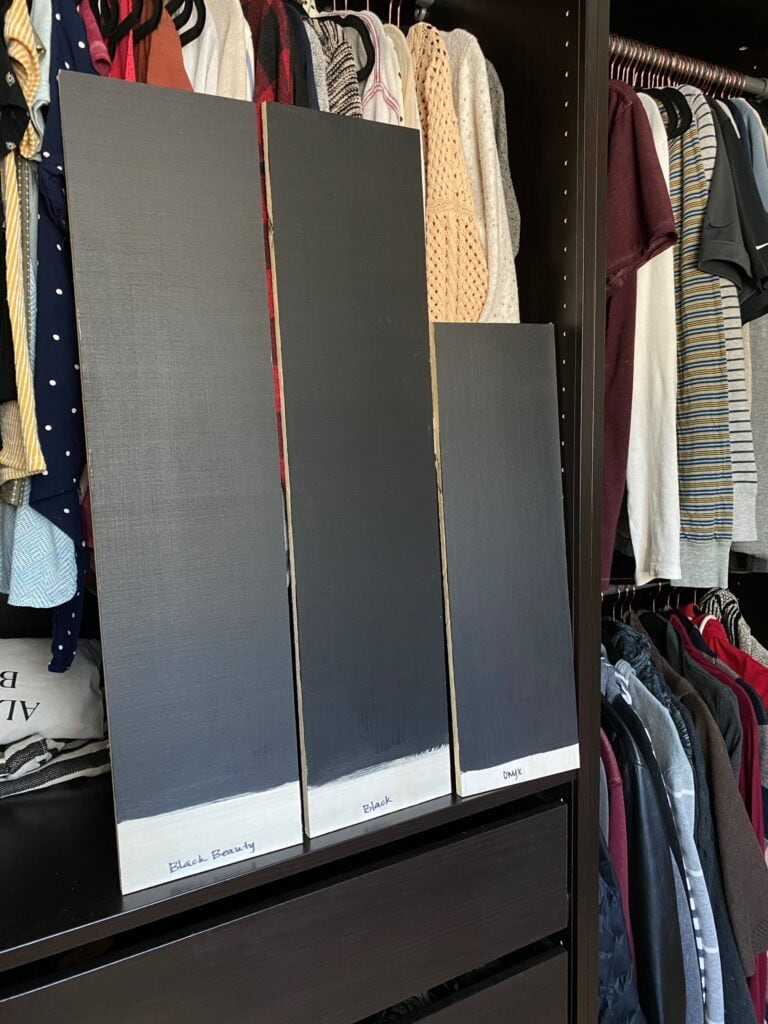
I landed on Black Beauty, Black, and Onyx. Side note: if you want the purest, deepest black, you can have them custom mix that for you in the store. ‘Black’ is the darkest named/off the shelf color, but even that has some other colors mixed in so it’s not 100% pure black.
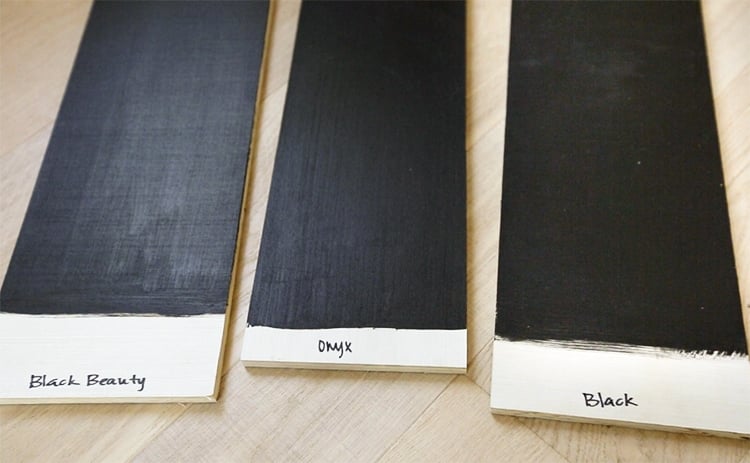
At first I was leaning towards the darkest sample (Black) but the warm undertones of Onyx looked intriguing. I liked the idea of a softer, more dimensional shade and I wanted to avoid a blue-ish tint at all costs (which gray & black tend to read as in certain lighting). Onyx was the warmest of them all (despite what it shows in these photos, pictures online are never accurate!) and so it was decided: Onyx in satin.
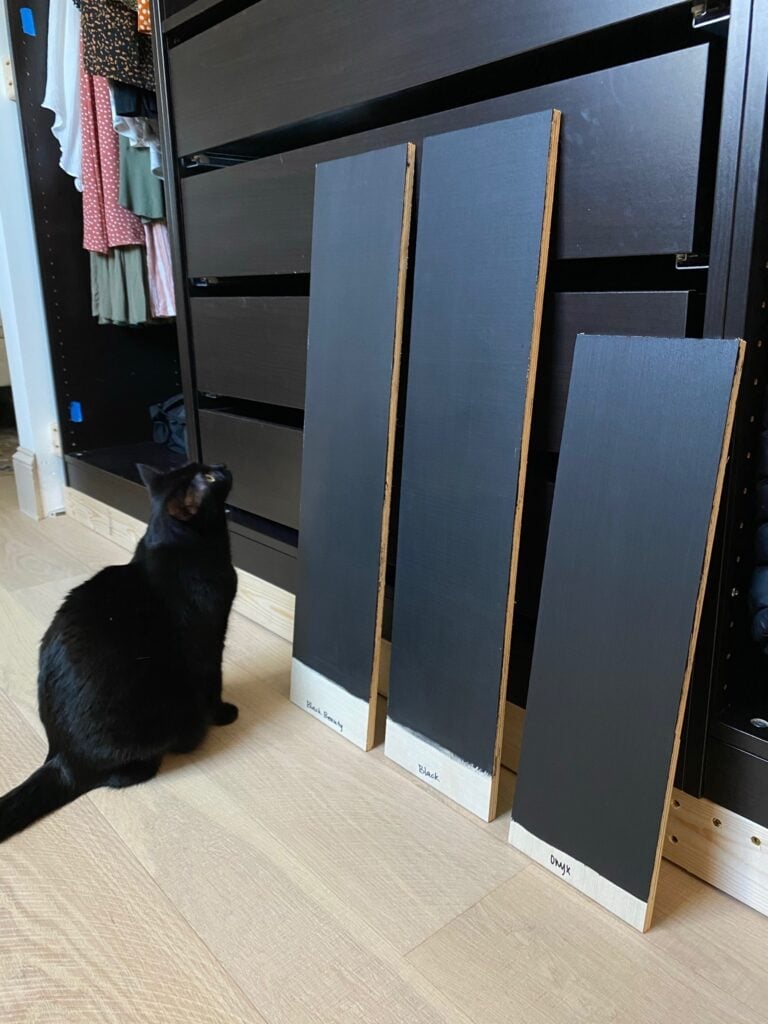
Satin is typically my sheen of choice when it comes to painting cabinets. Flat and eggshell show all the dust and fingerprints, and I’m just not a big fan of the look of glossy surfaces. Semi-gloss will also make brush strokes/imperfections more visible. Satin and semi-gloss are the most popular choices for cabinets, and both are fine options depending on your preference.
With the paint chosen, it was time to get to work! In the last closet progress post, we added custom trim to the shaker doors and panels and prepped them for hanging by attaching two screw hooks to the most inconspicuous side. This edge is also where we labeled each door (under painter’s tape) and won’t ever be seen except by the occasional bug crawling on the ground, so no need to patch the holes.
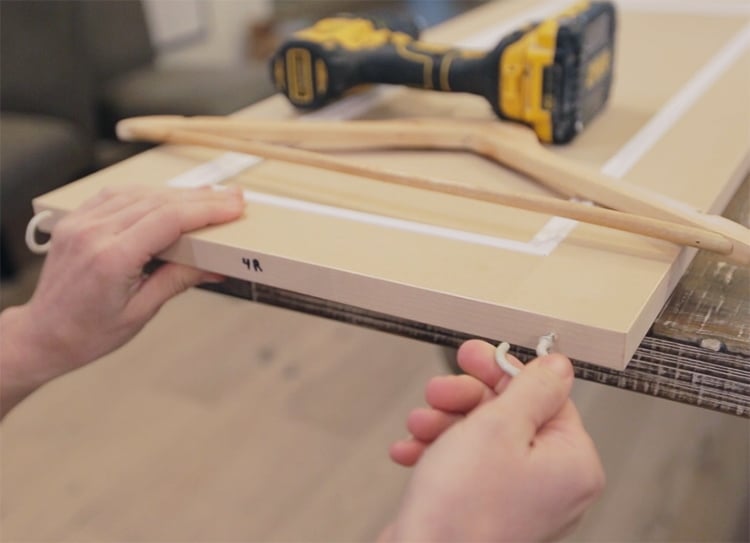
This is the same process we used when painting our playroom cabinets, and it allows us to hang the doors so we can spray both sides at once, saving a ton of time.
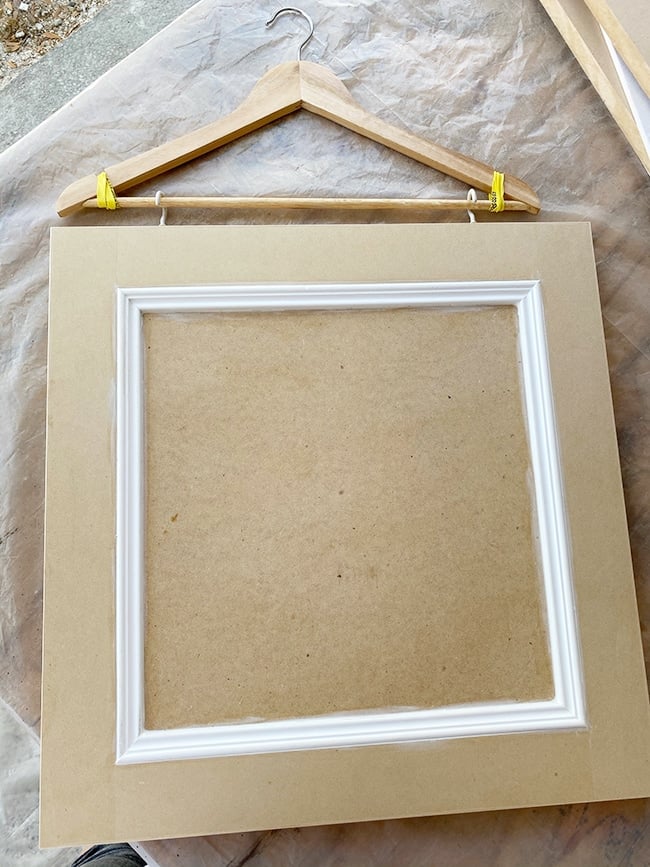
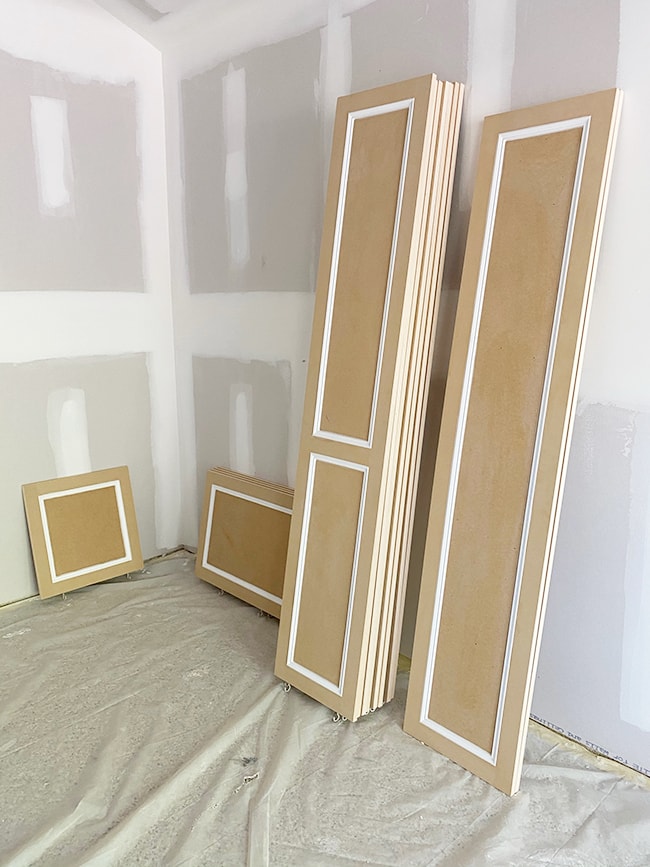
Only the doors had to be hung, since the trim pieces and panels didn’t need the back side painted.
In our garage, Lucas set up a makeshift painting station by adding grommets to drop cloths and hanging them from the ceiling.
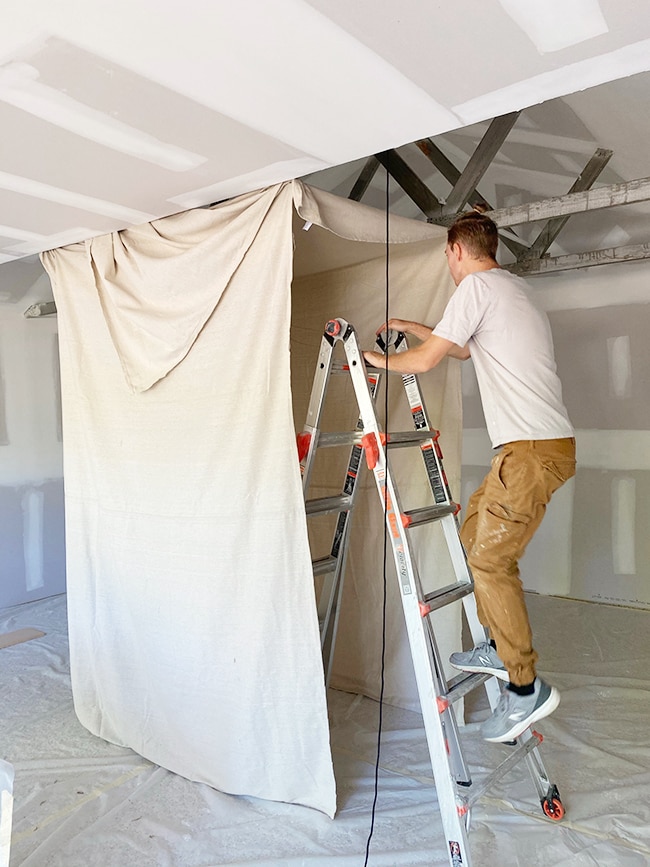
To hang the doors, he added a pulley system suspended from the ceiling, so we could adjust the height based on the door size. This was helpful because the taller doors were 76″ and had to be hung much higher than the small doors.
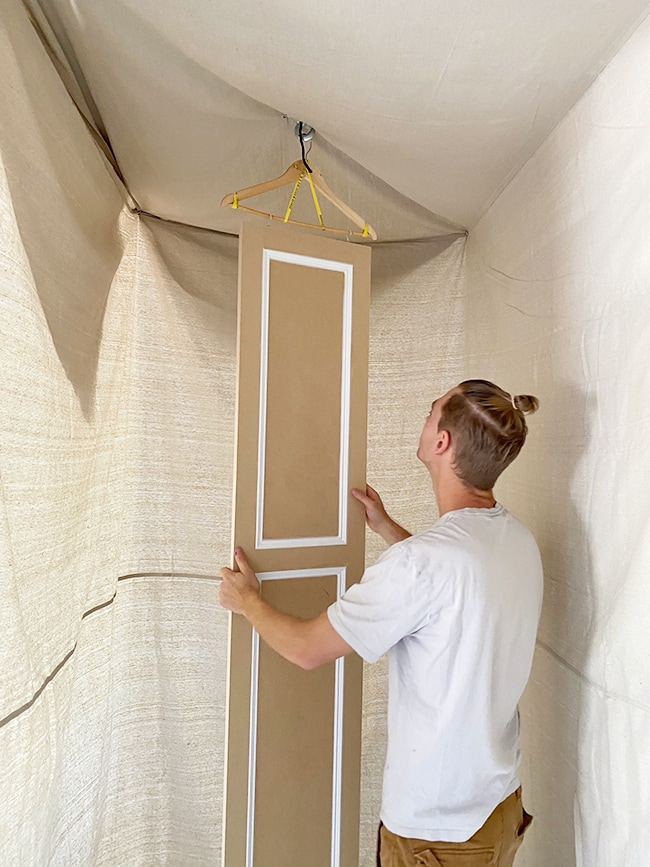
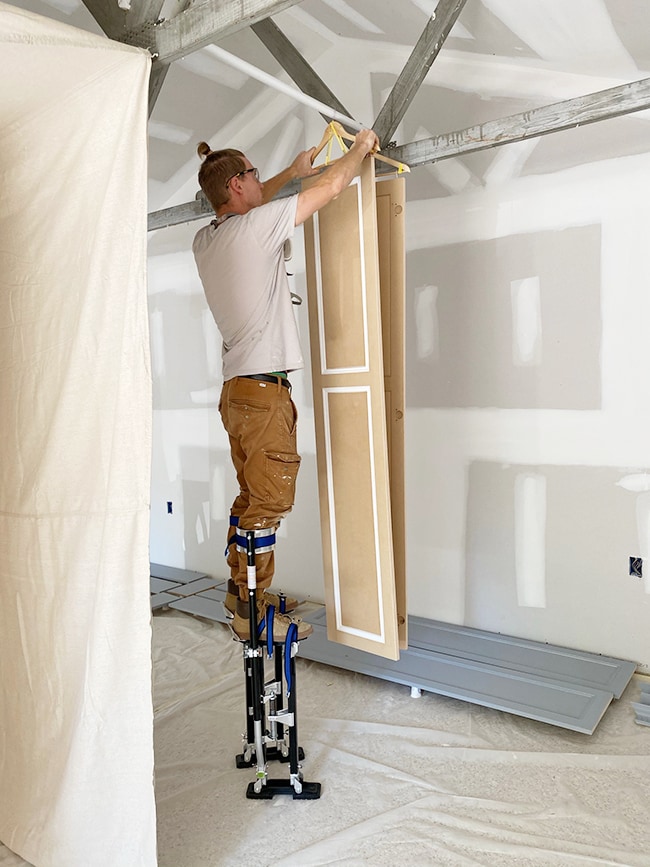
The 76″ doors were also too tall to hang without a ladder, so Lucas bought stilts and created drying racks with closet rods across our exposed trusses. We really had to get creative with these big doors!
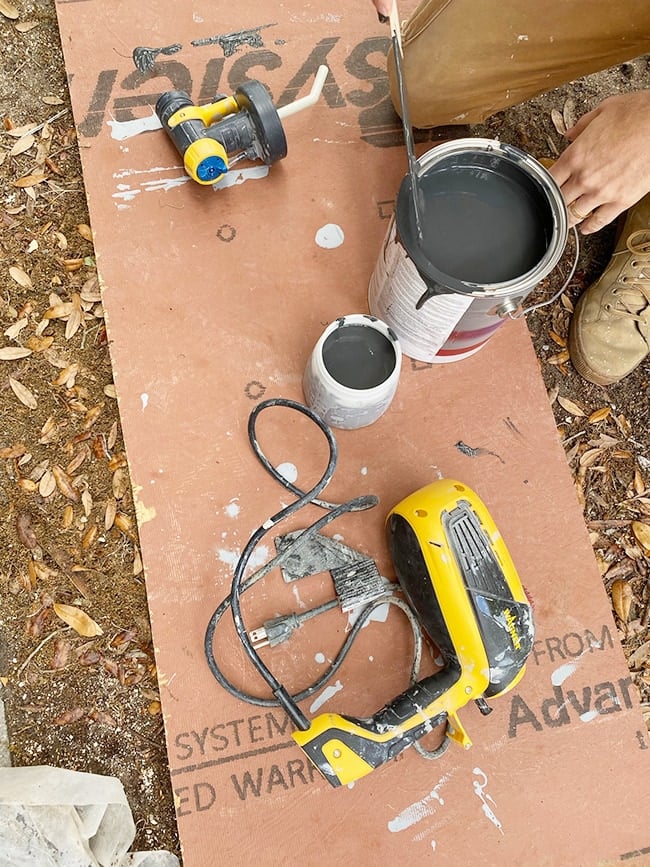
For the trim painting station, we set up sawhorses with a sheet of plywood covered in plastic.
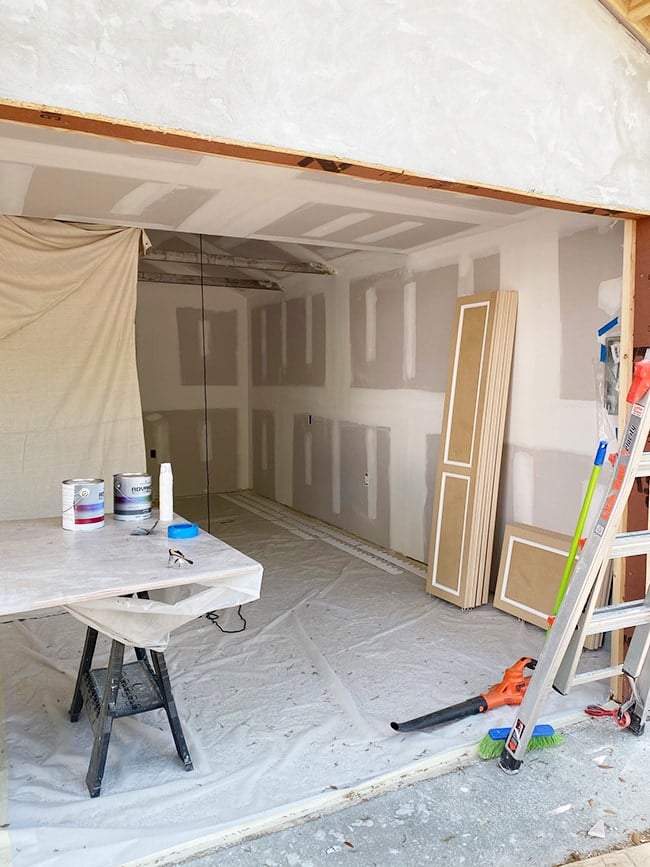
A few of the necessary tools for this project:
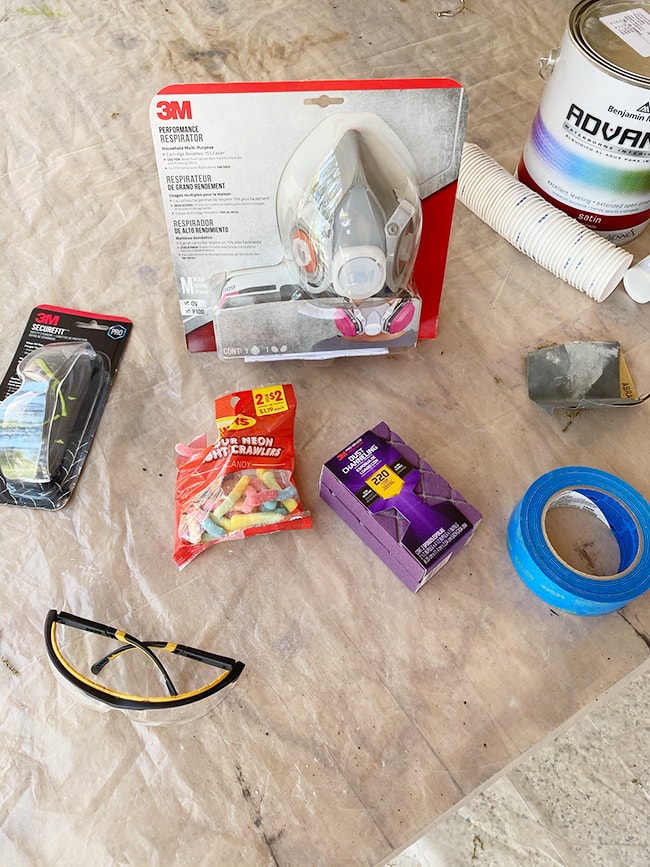
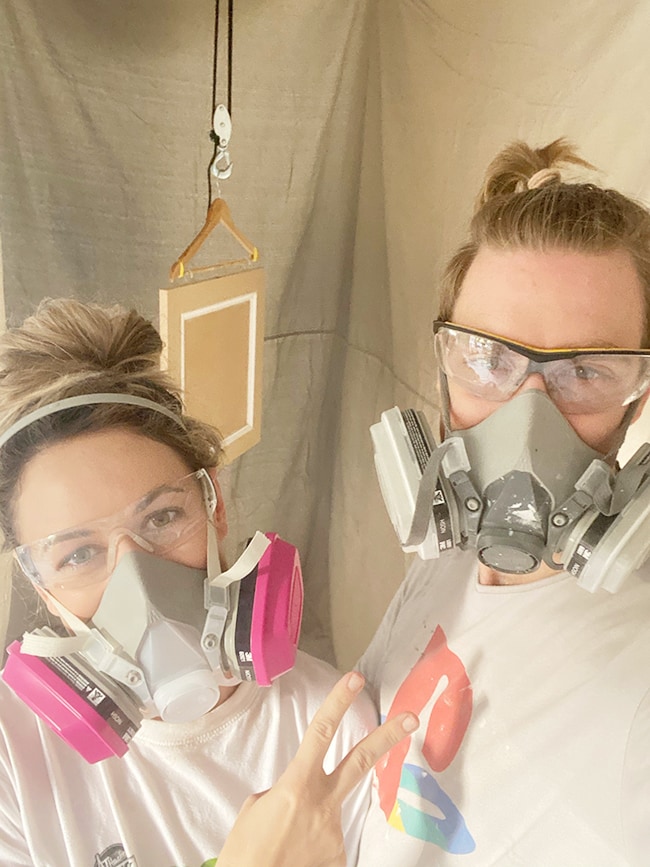
Always use a respirator mask and safety glasses when working around paint fumes. And sour gummi worms always help during those long days of DIY!
Using a sprayer is the best way to get a smooth, professional looking finish. This was our third time using our Wagner Flexio 3000 HVLP, and it definitely takes some practice to get the technique down.
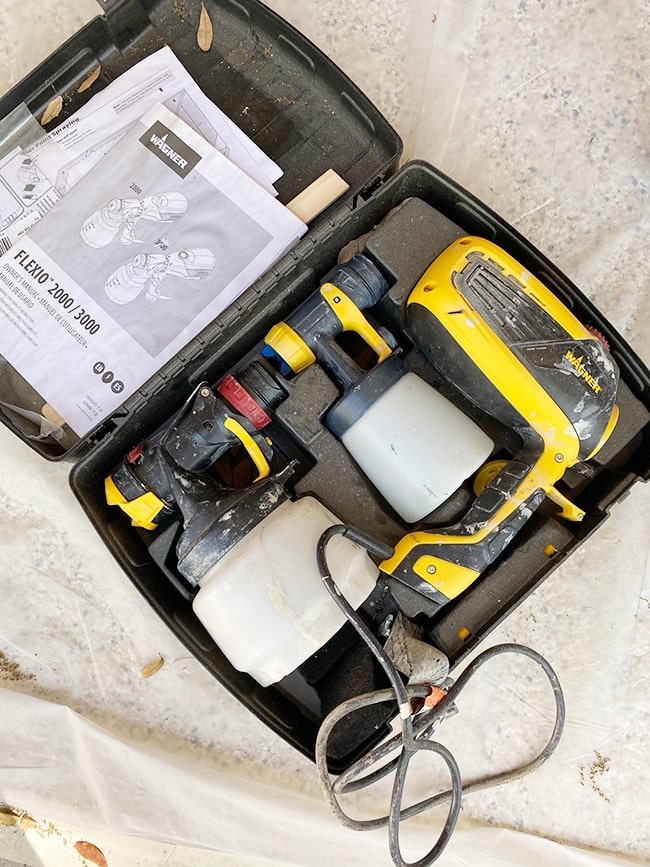
The instruction manual says you can use this (and most) paints without thinning, and Benjamin Moore says it’s not necessary, as the paint is already self leveling with an extended drying time. However, some people swear by using a paint additive regardless—I’ve never tried this with BM paint so I can’t confirm either way.
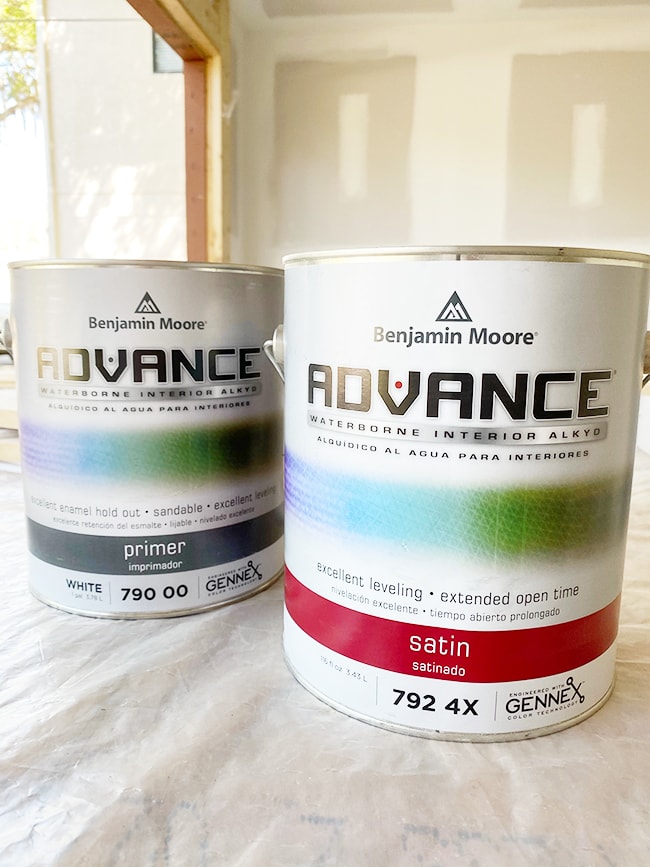
Benjamin Moore also recommends using their Advance interior primer for wood and MDF surfaces, so I bought a gallon and had it tinted (this is recommended for best coverage when using dark paint).
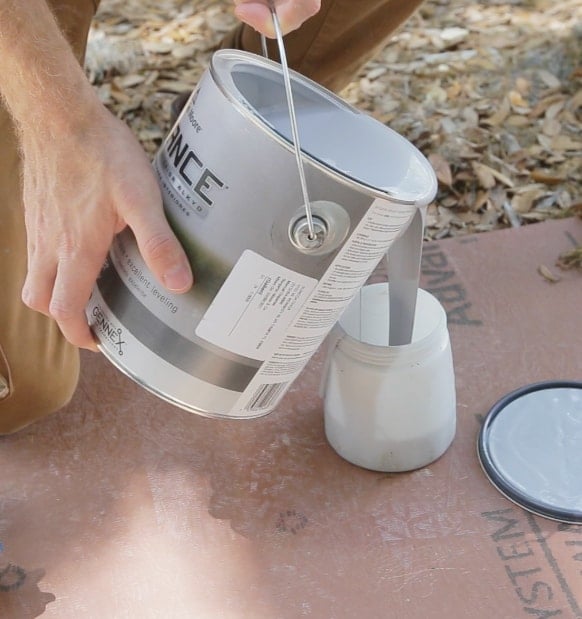
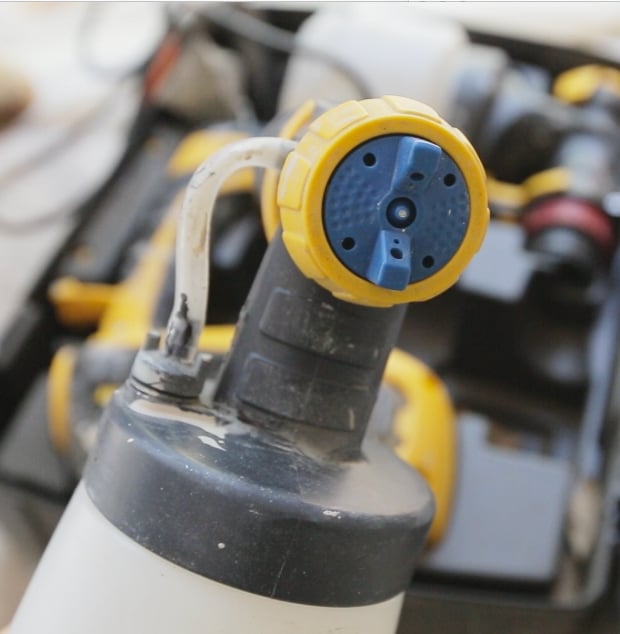
We always use the ‘detail’ nozzle, which produces a finer mist and is best for smaller surfaces.
Since we were working with brand new raw MDF, we didn’t have to sand our doors first (if your doors are old or have a finish, this is a crucial step though!) but a light sanding never hurts. A leaf blower and damp cloth works well to make sure each piece is free of dust.
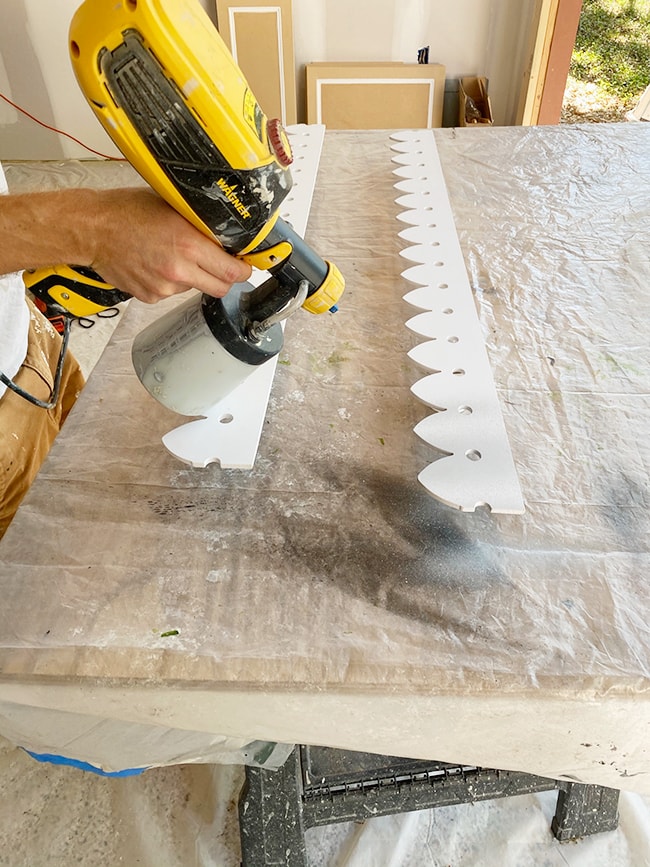
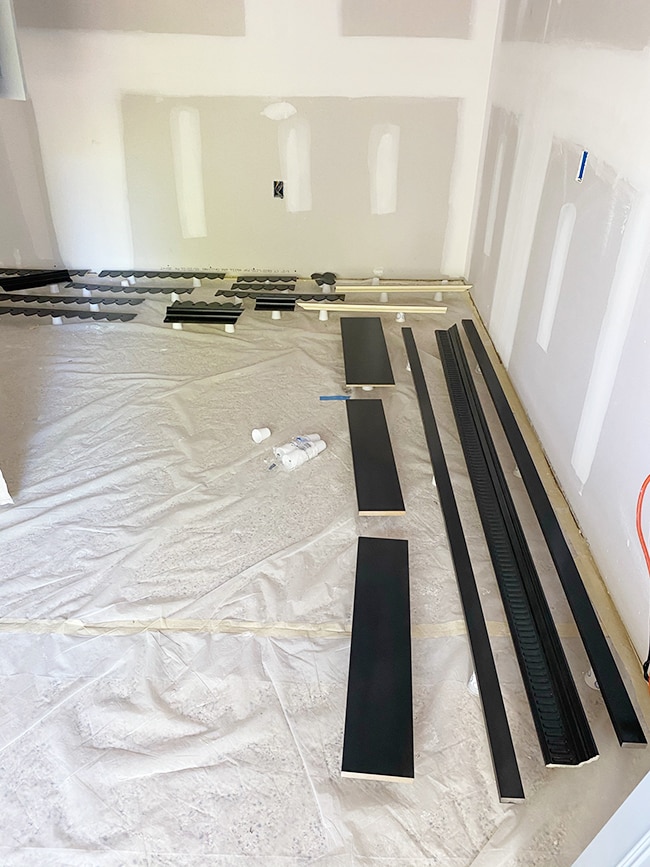
Starting with our trim first, we propped each piece up on small paper cups to access all the edges.
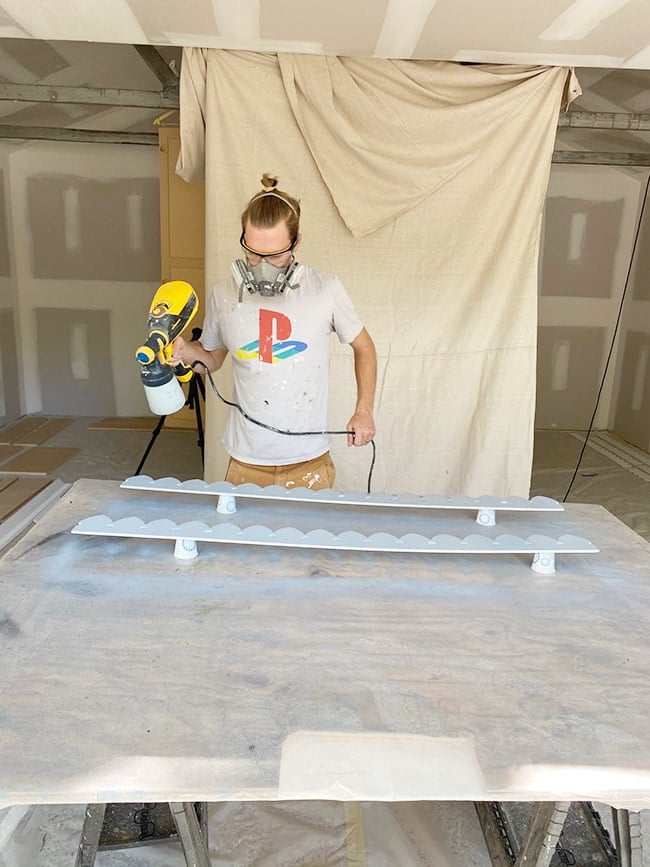
We used the same cups to prop them up as they dried on the floor.
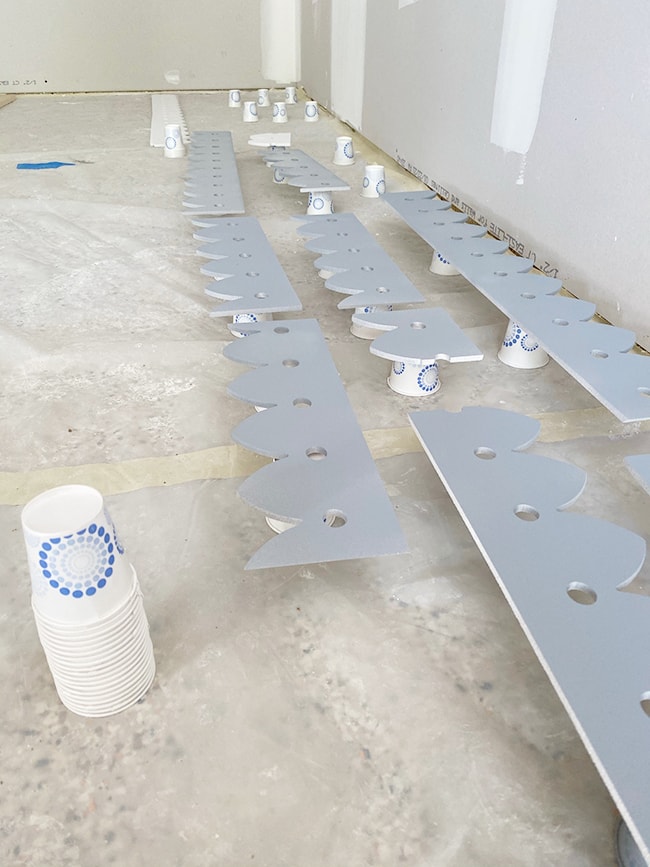
Rinse and repeat. This part goes by fast, but this detail trim took a little longer since we had to cover every little crack and crevice.

You want to keep the nozzle 6-8″ from the surface and keep the sprayer moving at a steady pace. If you hold it too close or for too long over one area, you can end up with drips or ripples in the paint. If this happens, no worries—just let it dry, sand it off and repaint.
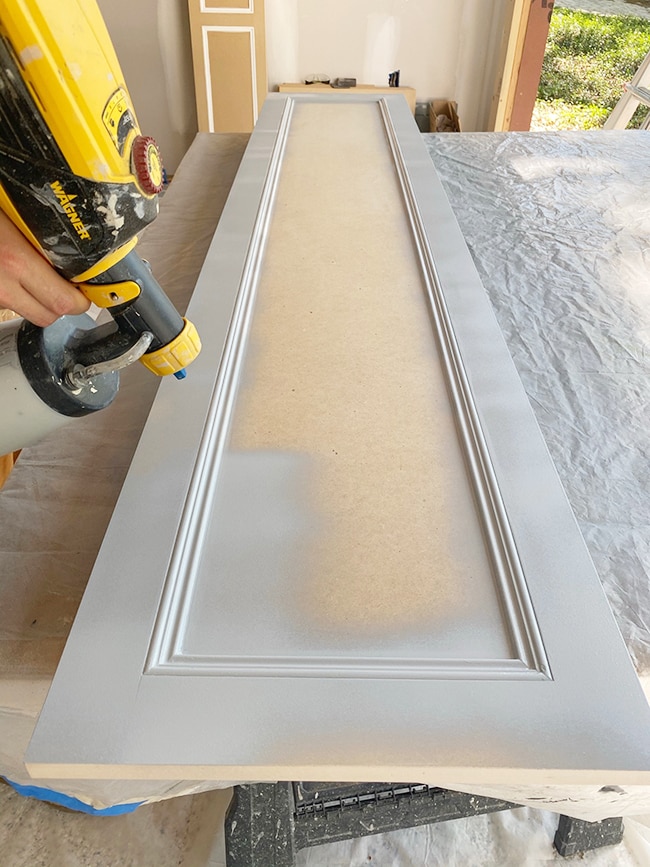
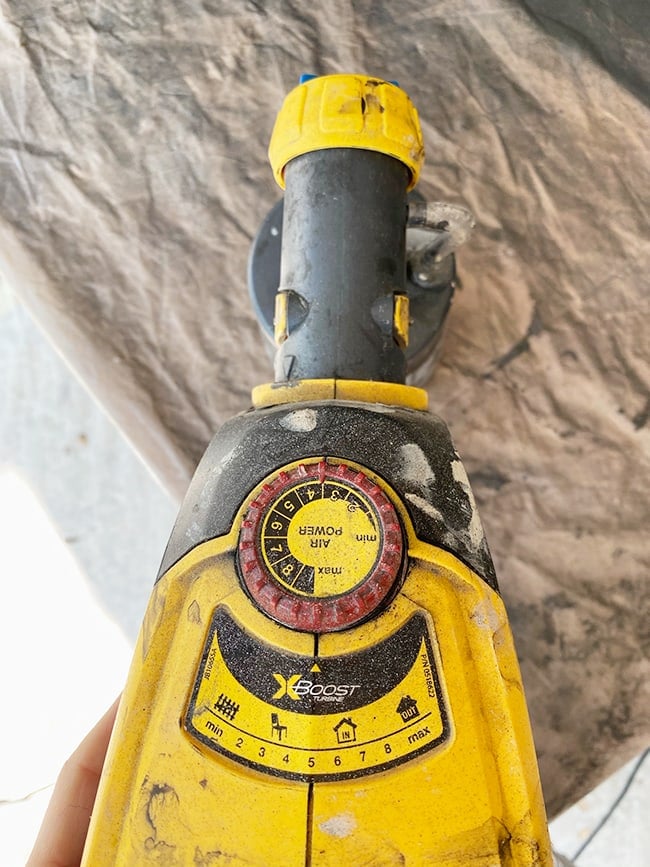
Our sprayer’s power setting was at a six, I believe, but later we changed it to max power. You’ll want to test out the settings and find what works best for you.
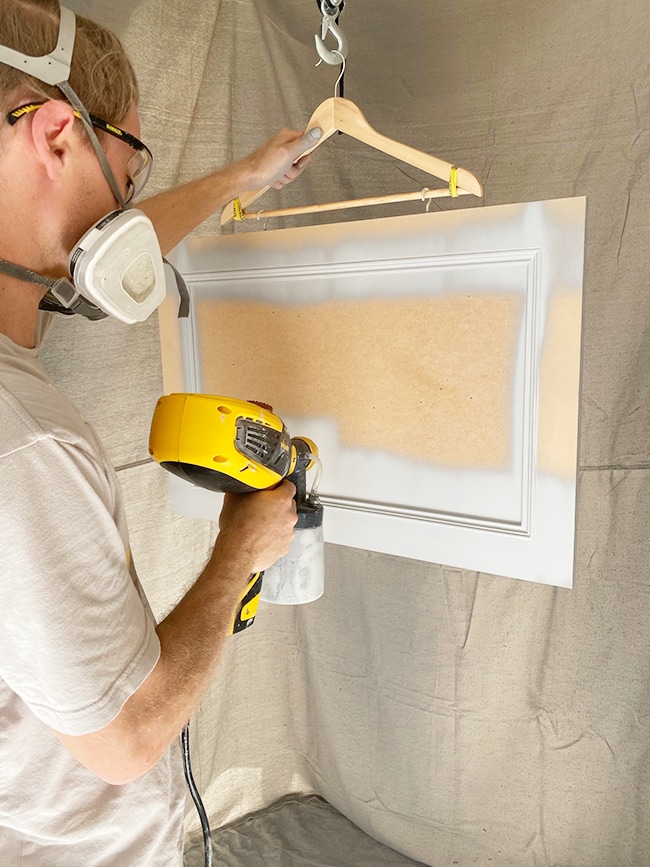
You also want to try to keep the gun perpendicular to your surface so the spray hits it evenly. And make sure to overlap your passes by ~50% for even coverage.

The primer goes on pretty thick and dries really fast. It only needs one coat, so you want to make sure you cover the surface completely. In total, we sprayed 54 pieces and it took most of the day, but a lot of that was spent setting up and getting into a rhythm.
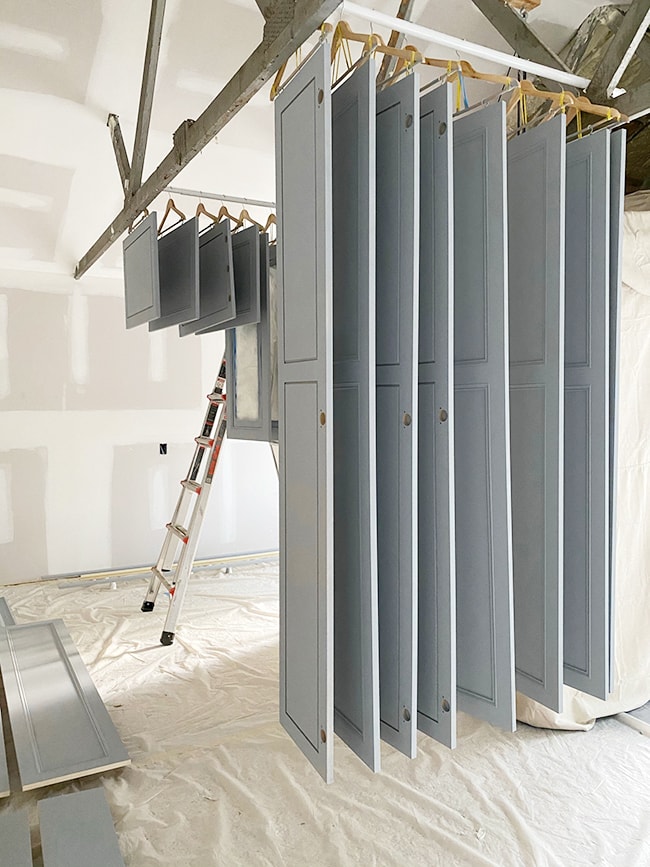
The next day, we took a few hours to sand each piece down. Sanding is especially critical at this stage, because the matte primer dries rough and chalky. It’s hard to tell in photos, but you can feel it when you run your hand over it.
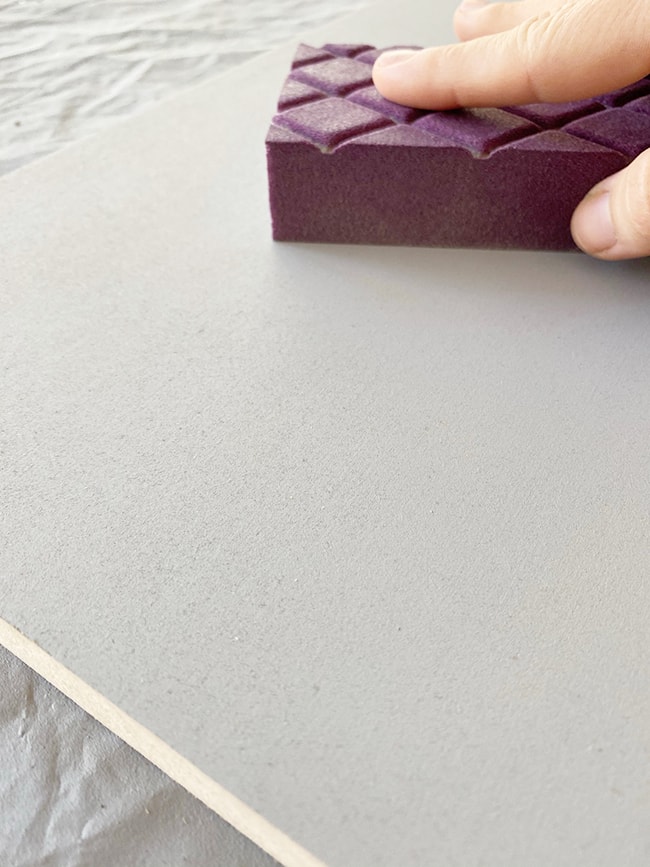
Fortunately, sanding is a super quick and easy process with an extra fine sanding sponge. Just a couple light passes is all it needs to become buttery smooth. You can use regular paper and/or a higher grit, it will just take a little longer to get the same result.
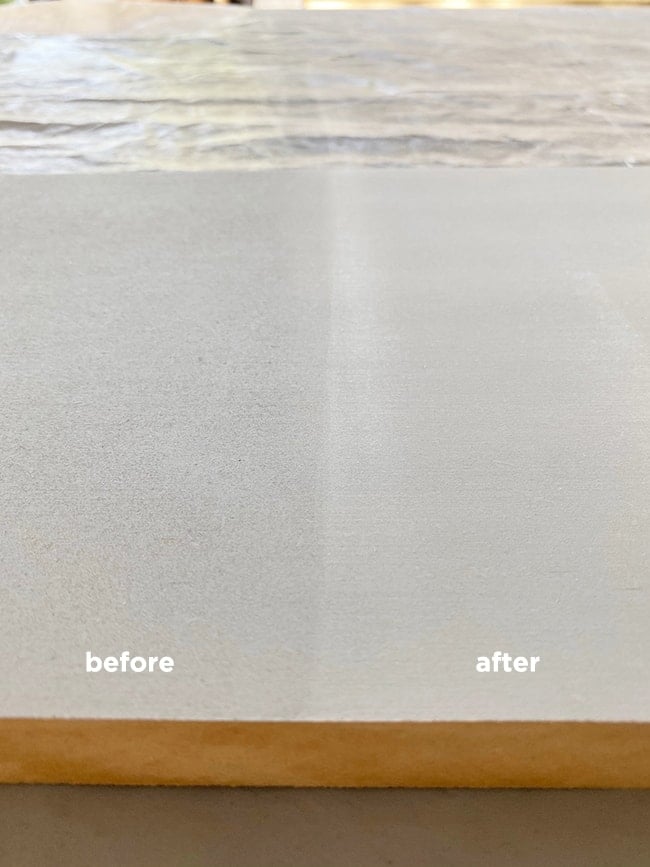
Again, hard to really see in photos but you can definitely feel the difference—and it will reflect in your final finish coat.
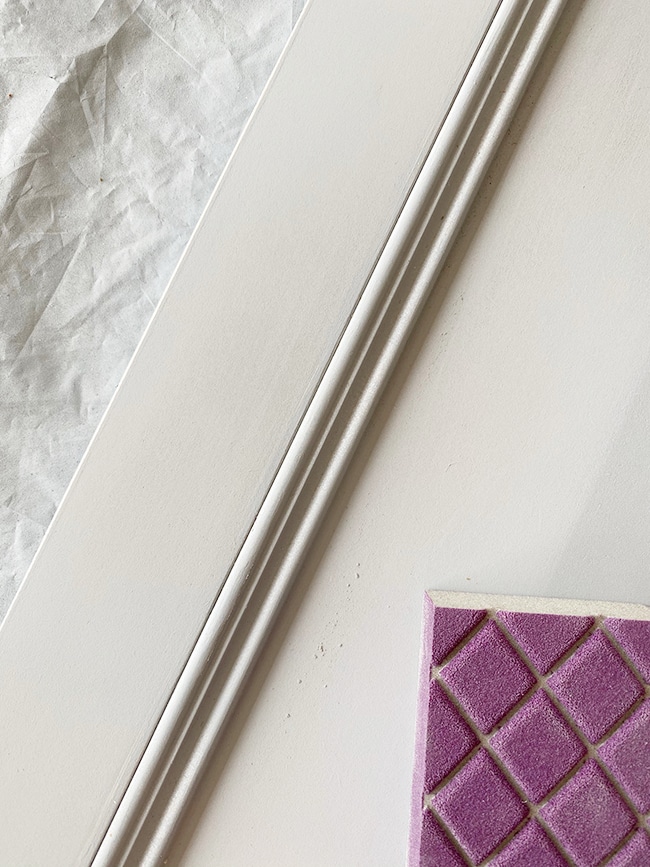
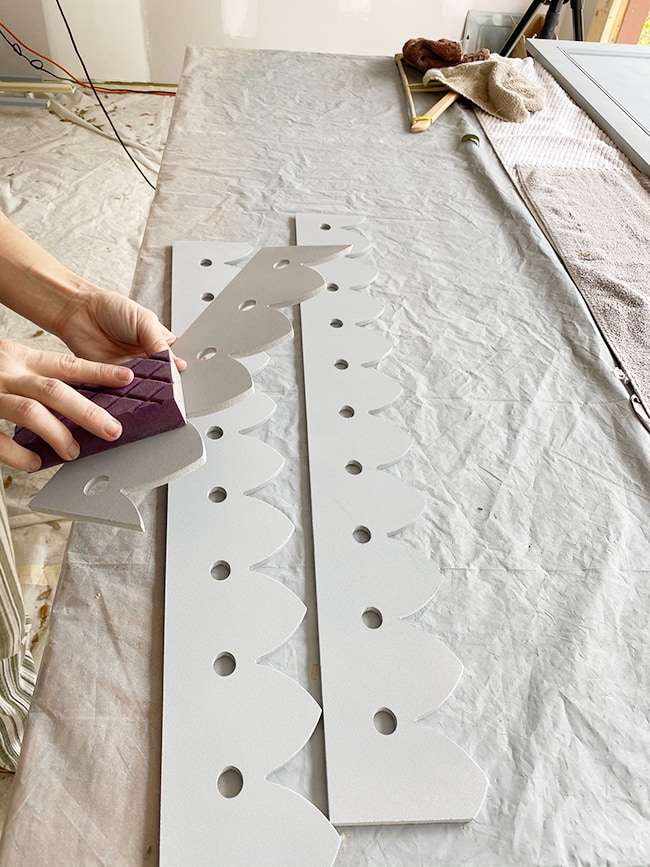
Everything was sanded except for the crown molding, since it wasn’t a flat surface and you’d never be able to tell with it up so high on the ceiling.

Knowing how long it took us to prime, we dedicated Day 3 to the first coat of paint. Same nozzle, same settings and technique as priming.
It started out great—we were blazing through each piece like no one’s business.
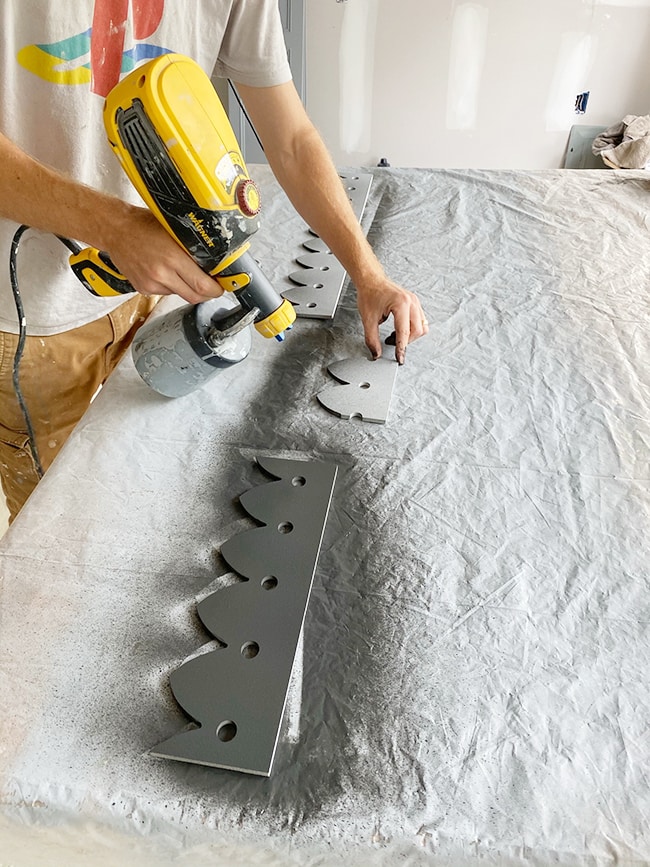
Until the nozzle became clogged. We tried cleaning out the sprayer and even running the paint through a sieve to no avail.

Then, as I was digging through the instruction manual, I noticed one piece that we had never thought to take apart…
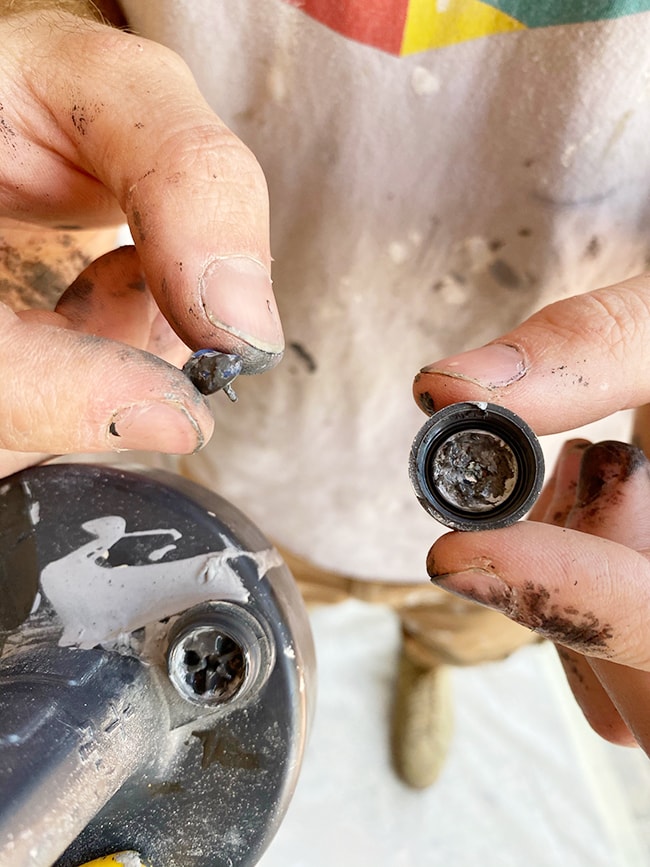
The valve cover and seal were completely coated in gunk—of course the sprayer was clogged! Once that was fixed, we had no issues (let this be a lesson to always read the manual thoroughly first!)
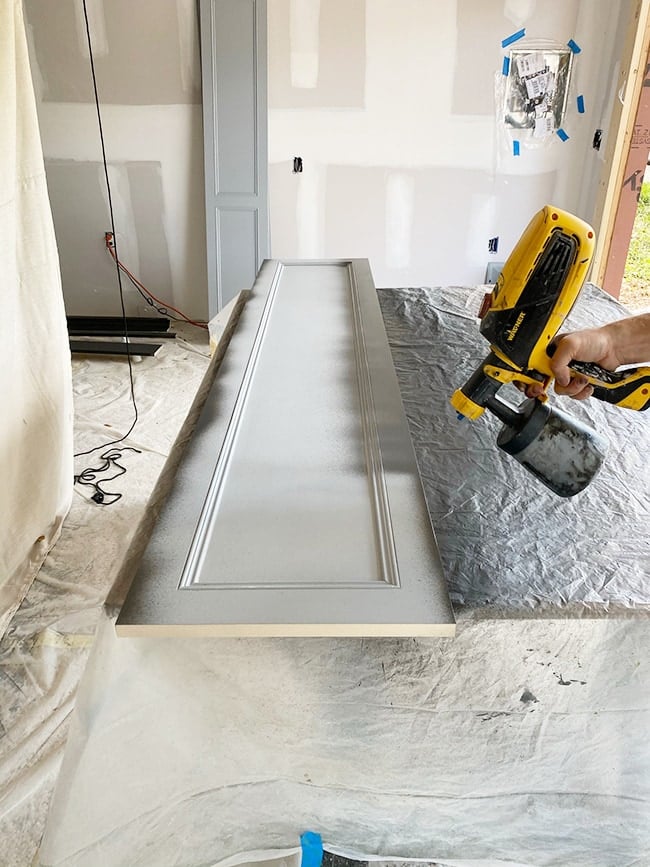
The trim pieces were covered in no time flat.
When it came time to paint the doors, Lucas stood on stilts and held the door steady while I sprayed the bottom, then he took over and sprayed the top. Then the process was repeated on the back. You can watch a timelapse of this on my Instagram story highlights (Closet Pt 4):
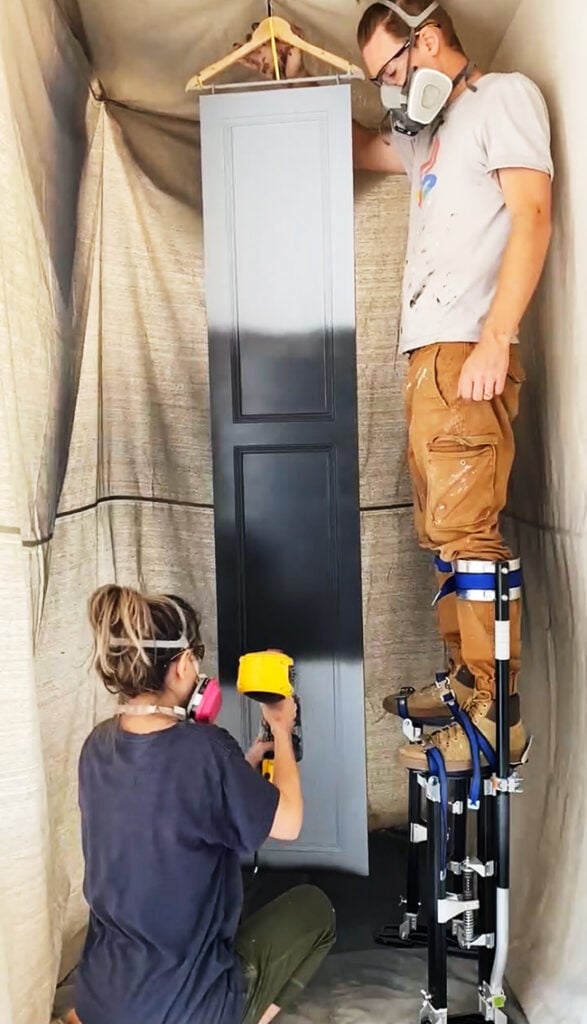
The hardest part of the whole job was Lucas attempting to carefully carry the heavy doors over to the drying racks on stilts without bumping into anything or tripping. Only slightly nerve-wracking.
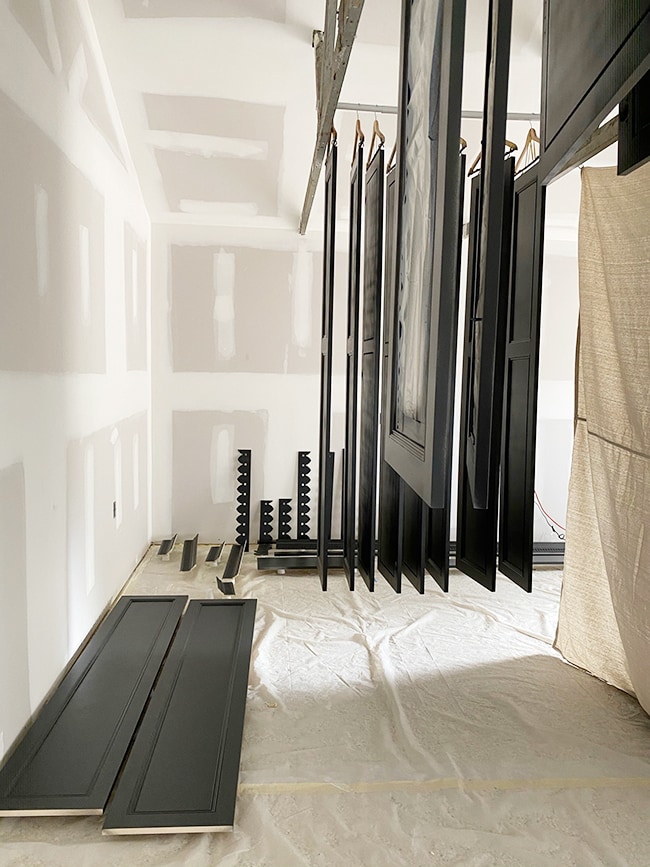
In total, it took us around six hours from start to finish (including an hour for cleaning/troubleshooting and a quick lunch). The next day, we came back for a final round of sanding. This sanding is important because it’s your last chance to smooth out any imperfections! And no matter how careful you are, there will inevitably be imperfections…
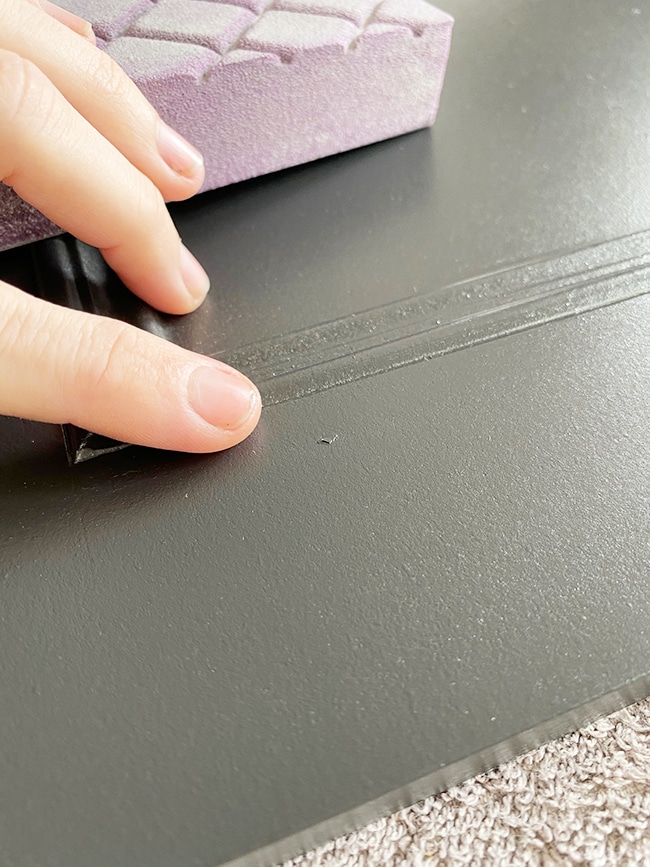
Little specks of dust and globs of paint, as shown above. These sand right off with a sponge or paper.
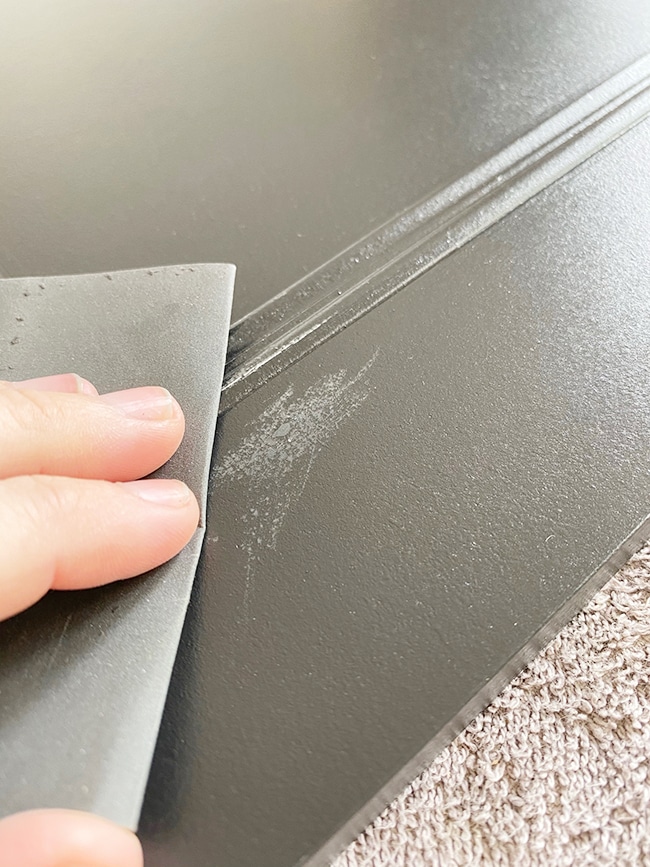
You don’t need to sand the entire surface, just the imperfections. The surface should already be very smooth, thanks to the smooth primer underneath. But if you want to go crazy, you can—you can see below how all of the raised areas become lighter after sanding.
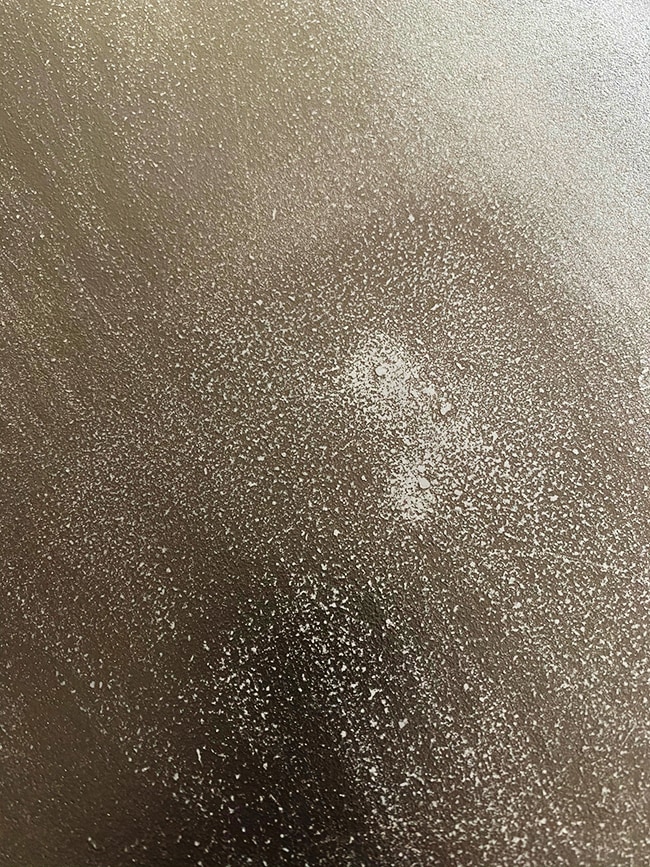
But that stuff honestly won’t be noticeable at all after the final coat—you just want to get the clumps that are clearly visible.

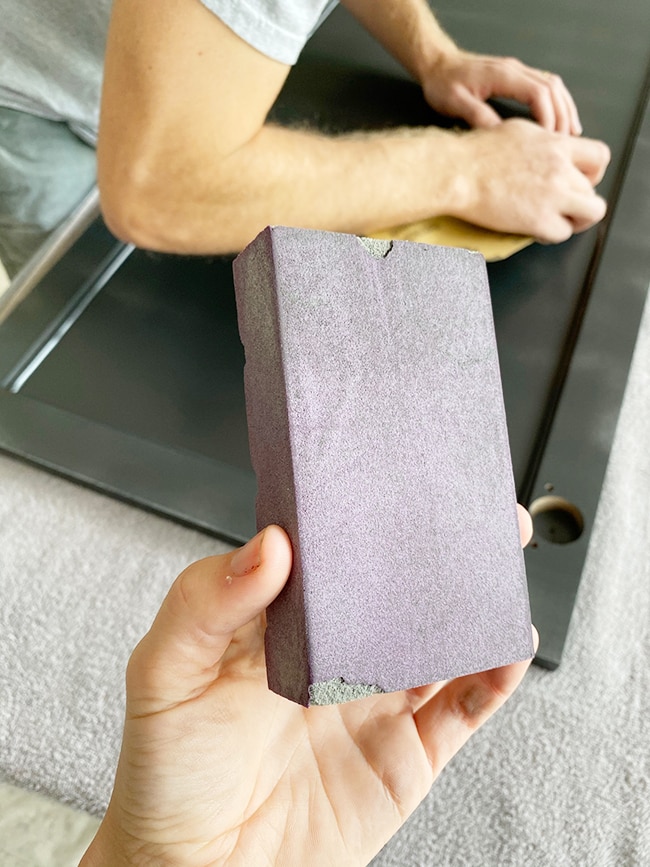
I used the same 220 grit sanding block, but by this point it was so worn down that it was much finer. I was also using 600 grit paper and that worked just as well. A brand new 220 grit might scratch the paint too much on this step, so try something finer first. It’s not an exact science here, and there’s a range that will work, so it’s good to have a few different grits on hand to see what you like best.
On Day 5, we were ready for the final coat! This one went by the fastest.
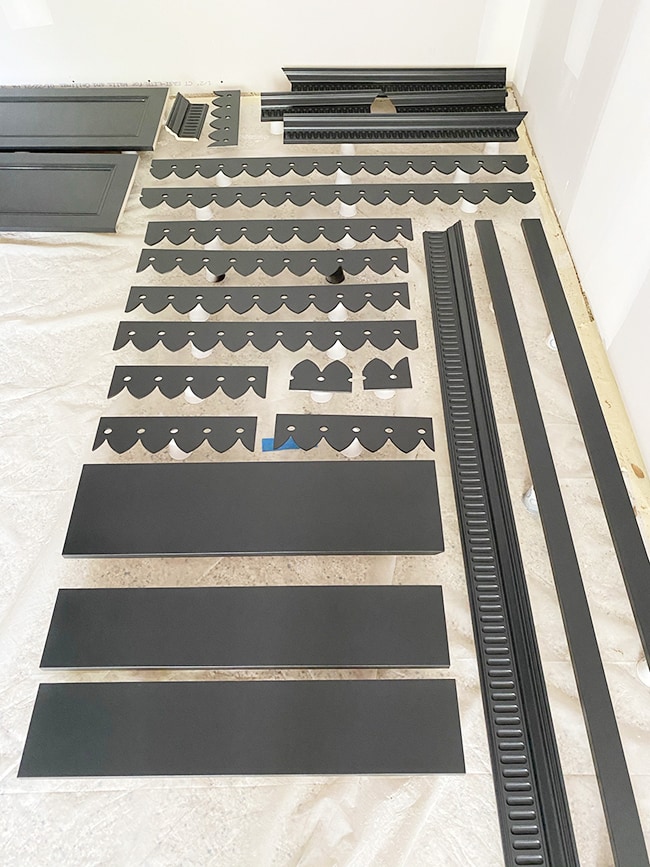
The hardest part was the visibility in our dark spray booth. It’s hard to spray an even coat if you can’t see what you’re doing!
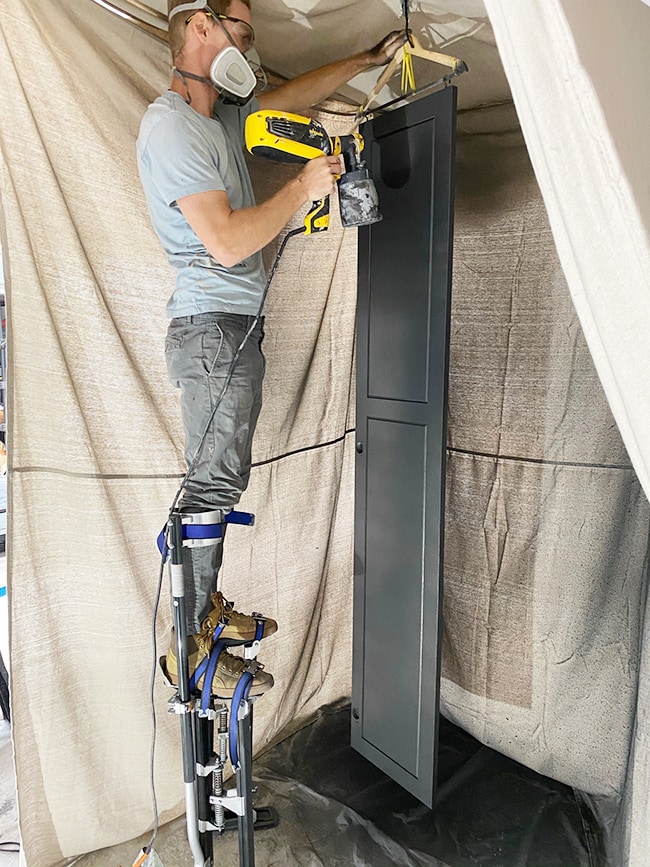
We plugged in a shop light which helped, and allowed us to see where to overlap.
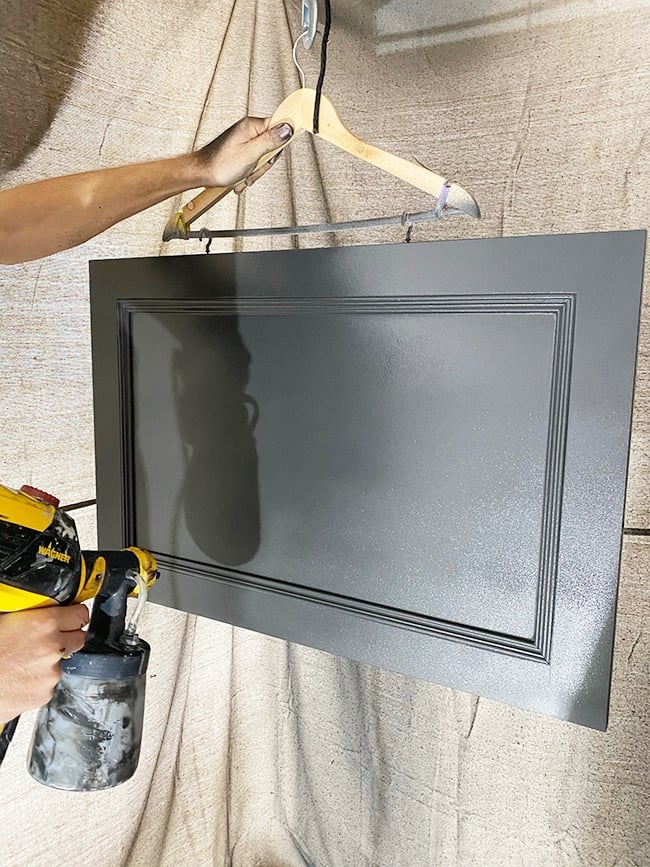
Day 5 done, and that’s a wrap!
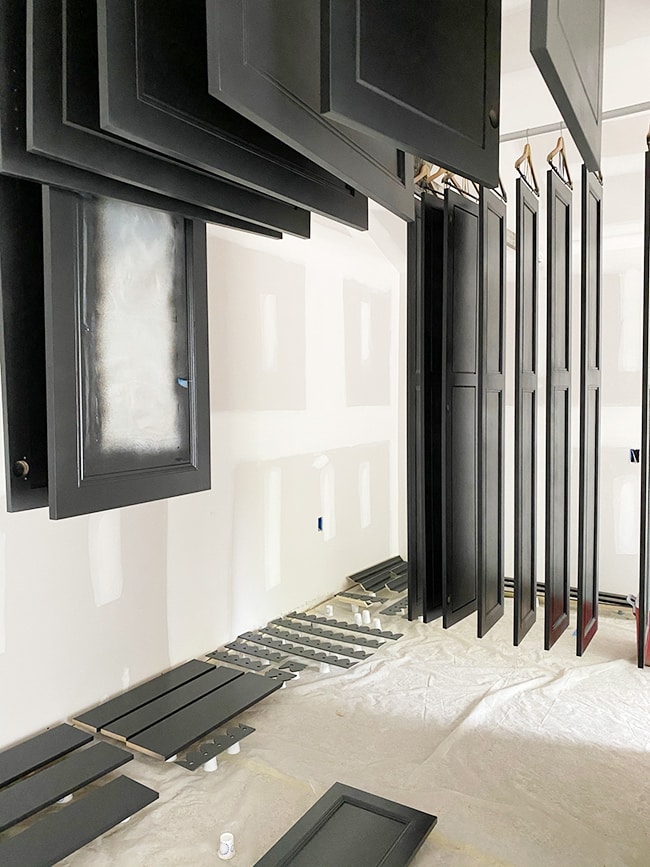
At least, I thought. I came back the next day and noticed uneven lines where the passes had overlapped. They were only visible from certain angles, but they were there. I brought a door into the closet to confirm…
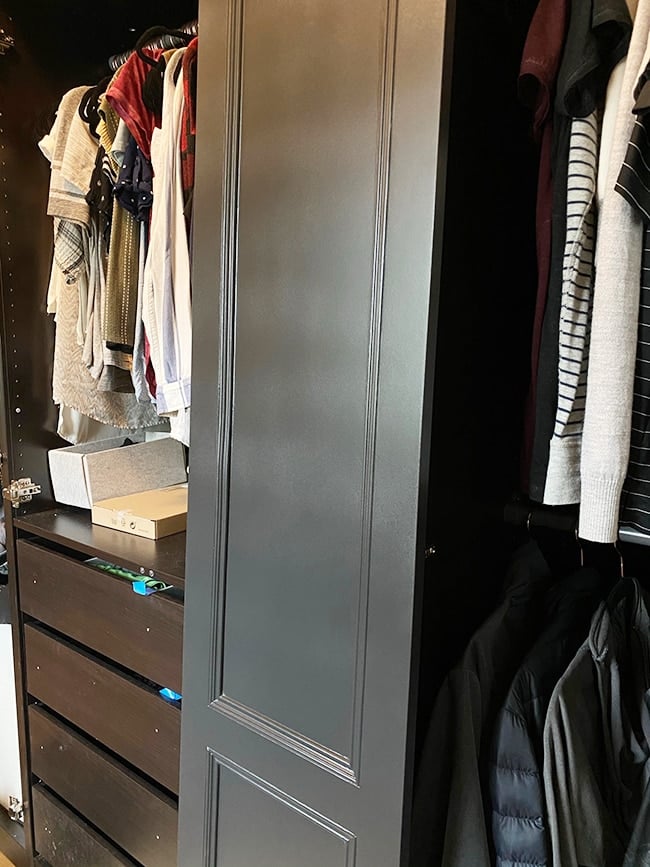
See them? I thought they would disappear when the paint dried, but that was not the case. I know from experience that paint finishes will often even out over time (months and months) but I didn’t want to take any chances, so back into the spray booth we went.
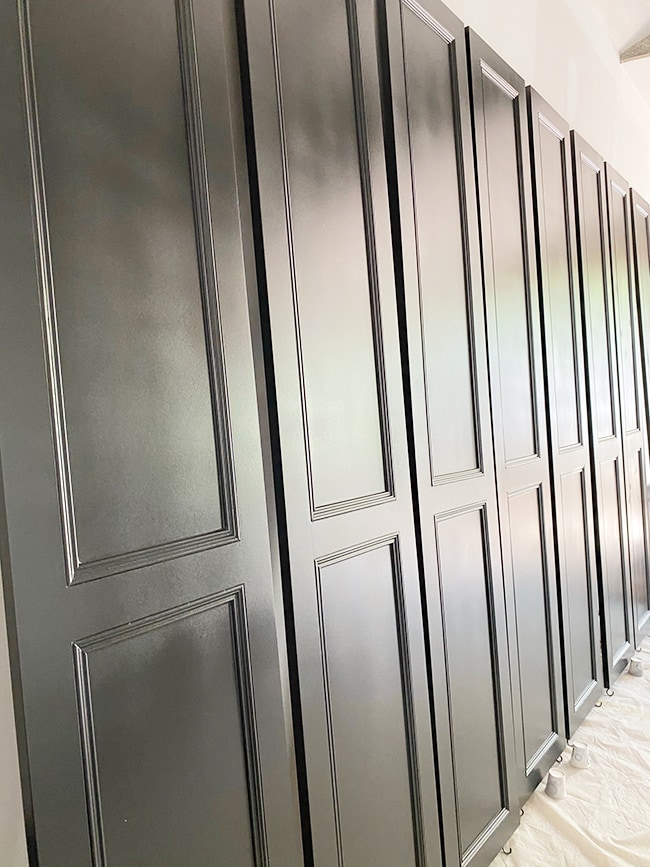
This time we cranked up the power setting to the max and tried making faster passes.
That seemed to work!
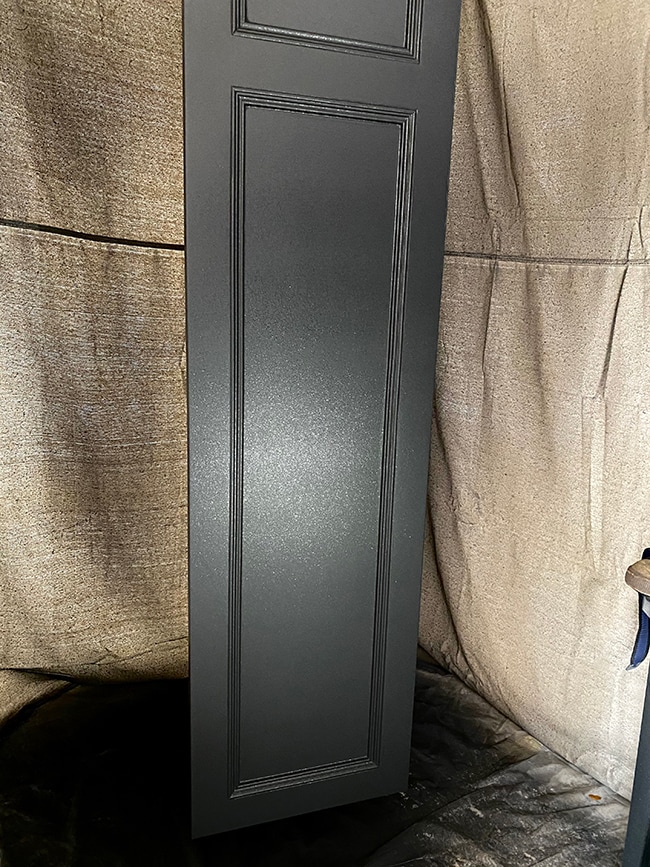
The finish was even when wet, and it dried the same way. SO much better.
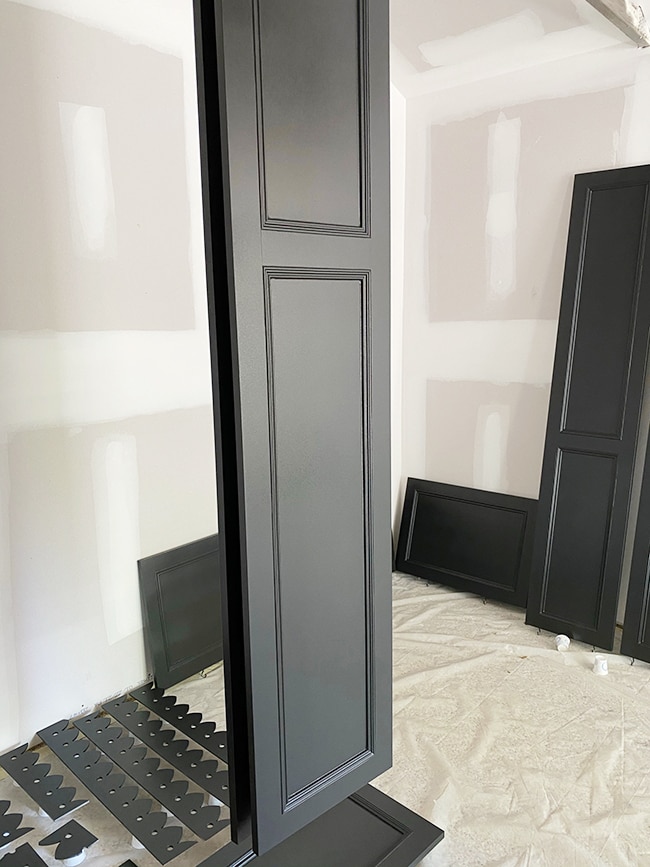
Time to install! This next step is one step I wish we could have done differently. Technically the paint will dry to the touch in 4-6 hours, but full curing time is 30 days (at least) and you don’t want to expose them to any heavy use before then. We couldn’t let them take over our garage for a month, so we brought them in to install after just a few days.
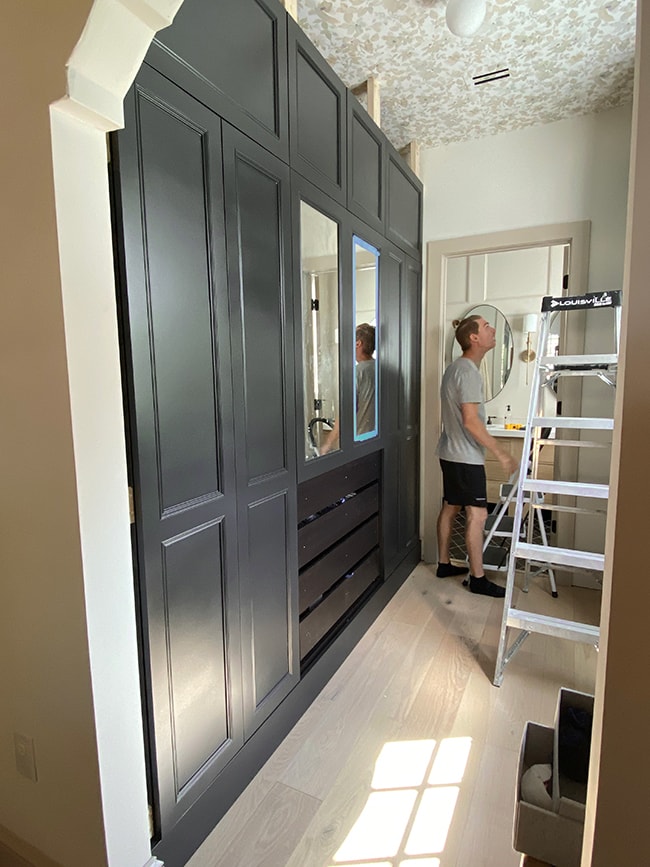
Because the paint was still fresh, we ended up with a few nicks during install. I also learned that wiping with a damp rag will take the paint off and leave a dull spot. The worst moment, however, came last week when I left one of the mirrored doors open and our cat tried to jump into the cabinet—and missed—leaving a trail of claw marks etched into the drawer fronts.
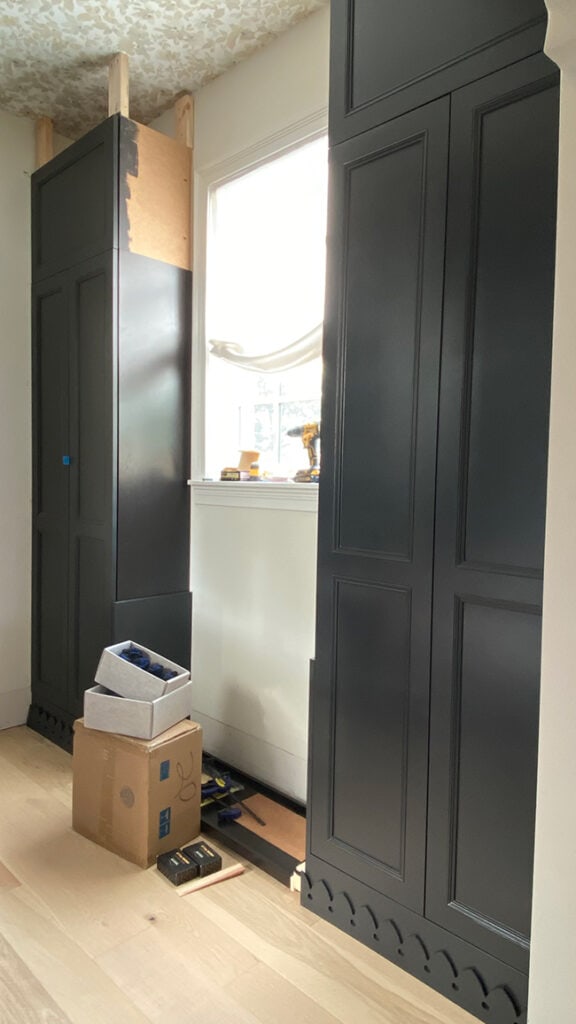
In a panic, I grabbed the first cleaner I saw and started buffing Bar Keeper’s friend into the scratched paint. Some of the paint rubbed off onto the rag, but by some miracle, the scratches mostly vanished and there is little evidence left behind. I think this is a testament to the durability of this paint—even though it still had weeks left to cure!
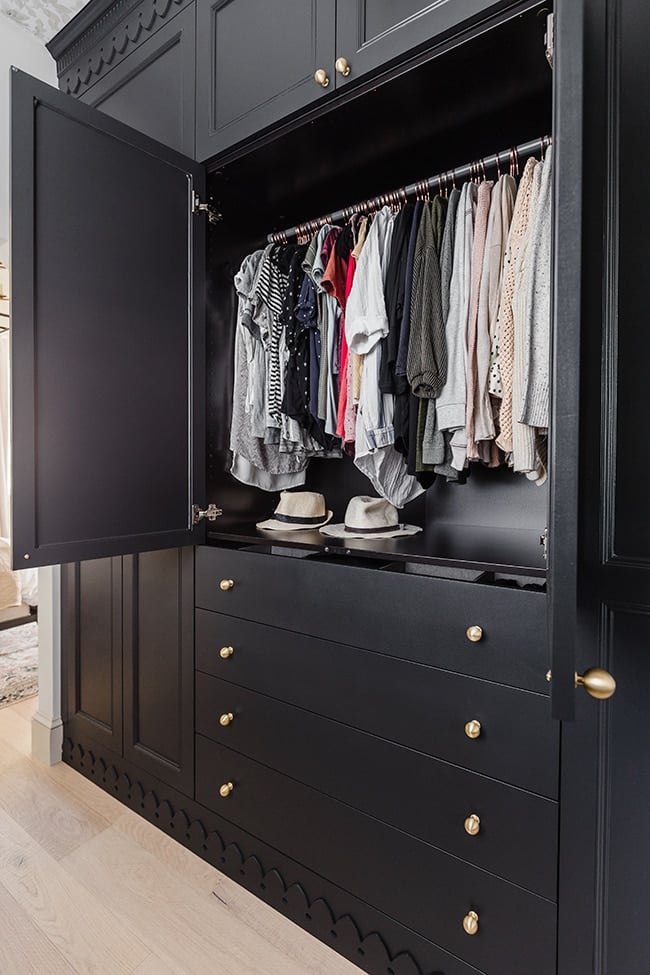
Even though I feel pretty good about my painting technique and process, it’s not 100% flawless and I am still learning. Painting is a life-long skill that you continue to develop with practice over time. There is always room for improvement. If anyone has any additional helpful tips, please do comment below—sharing is caring 🙂
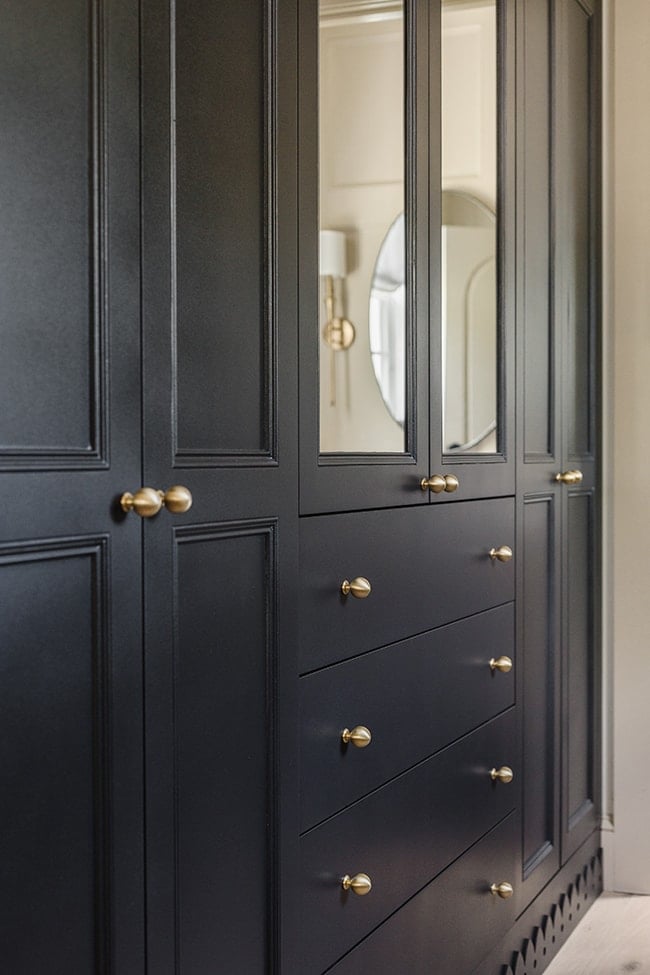
Let’s recap! Here are the materials needed and steps required for this process:
Materials
- Primer (I used one gallon of Benjamin Moore’s Advance interior primer, tinted)
- Paint (I used Benjamin Moore’s Advance in Onyx, satin finish)
- 220 grit (or higher) sanding sponge
- 320-600 grit sanding block/paper
- HVLP sprayer, or velour rollers and a good brush
- Respirator mask and safety glasses (if spraying)
- Orbital sander (only if you need to sand before priming)
Directions
- Set up a painting station (ideally in an enclosed area to avoid dust/debris)
- Clean/prep your surface (sand first if using a pre-finished surface)
- Apply primer
- Sand with a 220 grit (or finer) sanding sponge
- Apply paint
- Sand with 400-600 grit sanding sponge/paper
- Apply second coat of paint
- Allow to dry (ideally at least 5-7 days) and re-install doors/trim. Full curing time is 30+ days for normal use.
Q&A
A couple days ago I posted a Q&A form on Instagram—here are my answers to the most popular questions:
Q: Does this work for Ikea/laminate surfaces? You would follow the same process, but you’d also have to sand before priming to rough the surface up a bit. You would also need to use a primer designed for laminate, like Benjamin Moore’s All Purpose Primer. Some people say you only need to use a liquid deglosser but I don’t trust that enough. In fact, I try to avoid painting laminate/non-porous surfaces for any big projects with heavy frequent use (especially kitchens!)
Q: Do you typically always have to sand cabinets before painting? You’ll need to sand any surface with an existing stain or finish for best adhesion. New raw wood, MDF or pre-primed smooth surfaces just need to be clean and free of debris (although a quick light sanding never hurts!) Side note: I would use an orbital sander for this—you don’t need to completely remove the old finish, but you do need to be thorough.
Q: Is sanding between coats necessary? Yes, yes and yes again! Necessary if you want the smoothest finish possible. You can sand by hand and it’s a really quick and satisfying process, I promise.
Q: Do I have to use a sprayer to get a smooth finish? No, plenty of people have successfully painted their cabinets with a brush and roller. Like anything else, it just takes practice to get the right technique down (and using the right materials/tools, of course!) Some of the more detailed pieces are tricky to brush/roll on, like our running trim—that would have been nearly impossible to do without a sprayer. Keep in mind that if your paint has a low sheen (flat or eggshell) and is a light color, any brush or roller marks will be much less noticeable. Don’t expect to get a perfectly flawless finish on your first (or second, or even third) attempt!
Q: Is it better for a first timer to just roll the cabinets? Is spraying too advanced? Personally, I would start with a brush/roller on a smaller project to become familiar with the priming/painting process. There is a learning curve to using a sprayer and while it can certainly be done by a beginner (we’re all beginners the first time!) it’s a lot of information and technique to process at once—especially on a large, time-consuming project. The last thing you want is to have to re-do your work at scale, so start small! If you’re happy with the way your finish looks with a brush/roller, then by all means, skip the sprayer!
Q: What is your best tip for rolling or using a brush to paint cabinets if you can’t spray? I’ve heard that velour rollers are closest to a sprayed finish. I also find that foam rollers work well on smaller pieces that can be covered in one pass—but the overlapping passes always seem to be visible at certain angles/lighting. Floetrol is a latex paint additive that a lot of people swear by, it extends drying time and helps eliminate brush marks.
Q: How long is the durability of the paint? Is it better to add lacquer to be safe? The beauty of Advance paint is that it is designed to hold up to wear and tear without any top coat. If applied properly with the right primer (and allowed to cure for 30+ days) it should be just as durable as any other pro-grade finish.
Whew, I think that just about covers everything! If I missed anything or if you still have questions, let me know in the comments and I’ll do my best to answer. I plan to tackle many more painting projects and look forward to learning and sharing my experience with you as I go.
Stay tuned for some easy outdoor décor and DIY projects next week 😉
If you like this project, check out these popular paint/stain tutorials from my Project Library!
- How to realistically age wood (the easy way!)
- How to whitewash butcher block
- DIY Fluted dresser (+ chalk paint tutorial)
- Natural wood finish with lime paint


Paula says
Hi Jenna! Question about this sprayer: how’s the overspray? Would it be possible to use indoors for spraying inside cabinets?
Love everything you do!
Jenna Sue says
Hey Paula! We’ve used it indoors once to spray a wall, and taped off the entire area with plastic sheets. It’s definitely doable but the paint particles will coat everything in the room if the spray area isn’t entirely closed off (pretty easy to wipe up though afterwards!)
Jennifer Laura Living says
Just bookmarked this page, such great info!!
Jenna Sue says
Thanks Jennifer, I’m so glad you found it helpful!
Jessica says
I am sooo glad you made this blog post!! I started hand painting my windows with the same paint (same color too!) but really want to spray them. I am hesitant though because I’ve had trouble spraying BM Aura paint without thinning. I’ll have to give it a try now! Thanks you!!
Carly says
Beautiful job and love all things of the closet design you guys did. I have used floetrol as an additive many times with wall paint, as in bottles and bottles of it. It will change the paint color lighter in my experience depending on the paint to floetrol ratios and makes the paint much more slippery in feel to work with. Never used it to paint cabinets or trim so I can’t speak on that. With walls it definitely adds open time to working and leaves no roller marks. When doing wall paint treatments and design it helps your work time. Back in the day before premade paint glazes it is what I was taught to use to make a paint glaze. I am going to be roller painting dark navy and dark turquoise paint colors to small furniture pieces soon and will try adding floetrol to paint to see if it help eliminate the roller marks that even the best rollers can’t avoid. With the BM paint you sprayed I would be nervous to add floetrol. I would be afraid it would alter the paints settling properties and I think leaving it out was a good idea. It would help with the sprayer clogging but not worth it altering your paint qualities. You and your hubby do such wonderful work, great job!
Alix says
Love all this. Last weekend I used a new Wagner Flexio575 to spray a table and chairs – I wanted a really smooth, satin finish like I got when I tested with a spray can of paint. Long story short – it turned out horrible! The finish is really rough, almost pebble-like. Any thoughts about where I went wrong. Am now trying to strip it all off and start again but not sure I’ve got the stamina to get paint off curved table and chairs. Sad.
Jenna Sue says
Yikes that’s no good! I’m not familiar with that model but I would definitely reach out to Wagner to see if they can help. It honestly takes a LOT of practice and experimenting to get the best results. I know there are other brands/sprayers that are more professional, but they are pricey so it’s not worth it unless you spray paint regularly IMO.
Brittany says
Quick note before my question. I saw someone above asking about primer for laminate surfaces, and BM now sells a product called Styx. It sticks to just about anything! Good results IMO.
My question: I’m familiar with Advance and have only ever used it for cabinets, but I’ll be spraying for the first time. I’m starting with a small project, refacing a built in desk. Is it necessary to hang the doors and drawers if they’re small? If this goes well I’m likely doing the kitchen and will need to develop a system for that… but not prepared yet!
Jenna Sue says
Hey Brittany! I’ve heard of Styx but haven’t tried, might have to give it a shot next time 🙂 Hanging isn’t necessary at all, it just saves time and space–which can really add up for larger projects. For something small like a desk, I wouldn’t bother. You’ll just have to wait a day before flipping it over to paint the front. Good luck with your project!
Janice says
Beautiful!
Off subject, but have you used Behr’s scruff defense? I’ve used the flat and it is amazing in dark colors…no roller or brush marks. Haven’t tried other finishes.
Jenna Sue says
Hmm I’ve never heard of that! I never use Behr, but flat paint is definitely the best sheen to avoid roller and brush marks. Just not the best idea for cabinets 😉
Pily says
Excellent work!
Jenna Sue says
Thank you, Pily!
Maja says
Hey Jenna!
Wondering what you used to seal the cabinets and how you applied the sealant. Thanks
Jenna Sue says
Hi Maja, no sealer needed with this paint! We followed the exact steps outlined in the tutorial 🙂