Let me just start by saying this is what the living room looks like as of Tuesday. Two days before the Country Living photo shoot:
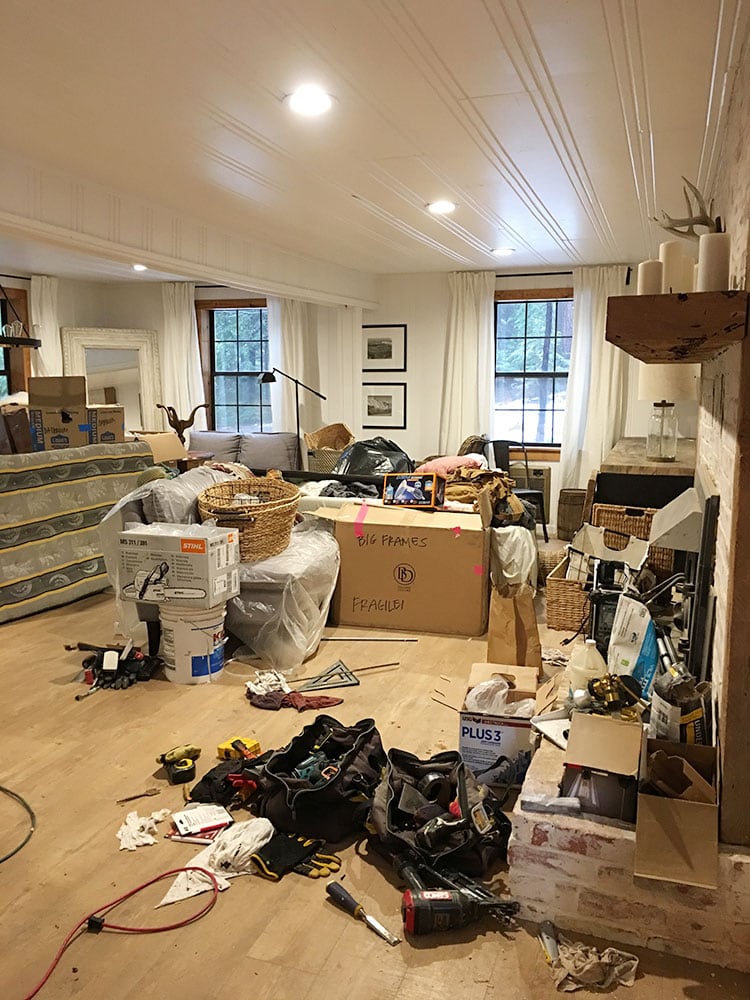
That should give you an indication of where my frantic/stress level is currently at.
I really don’t even have time to post but I can’t leave you hanging, so here’s a quick run down of as much as I have time to squeeze in.
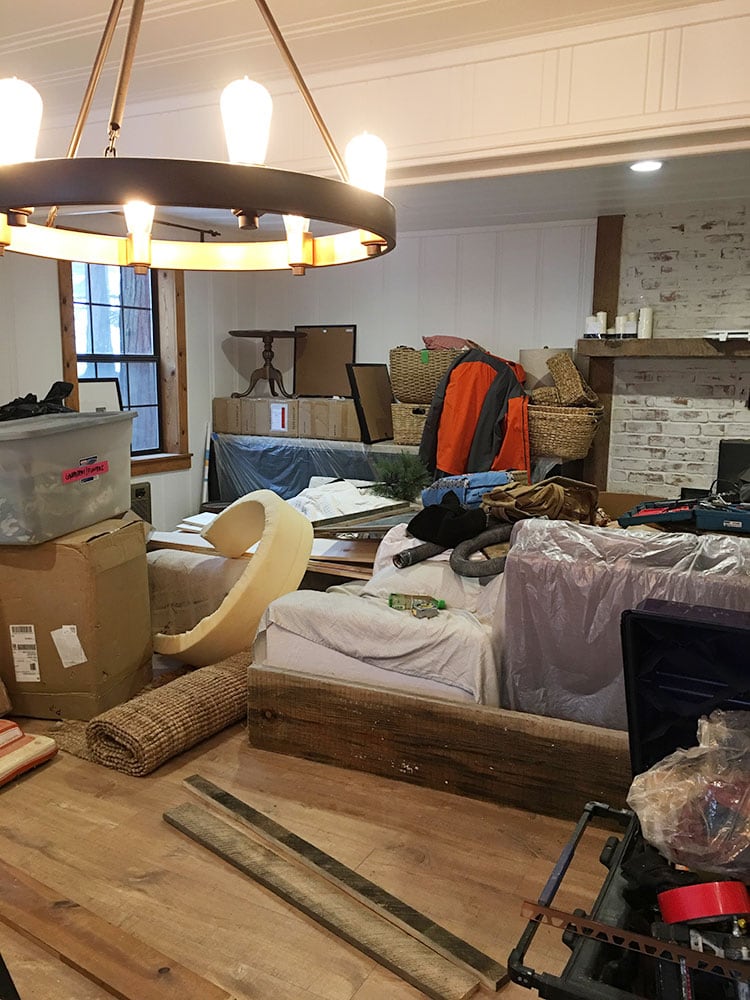
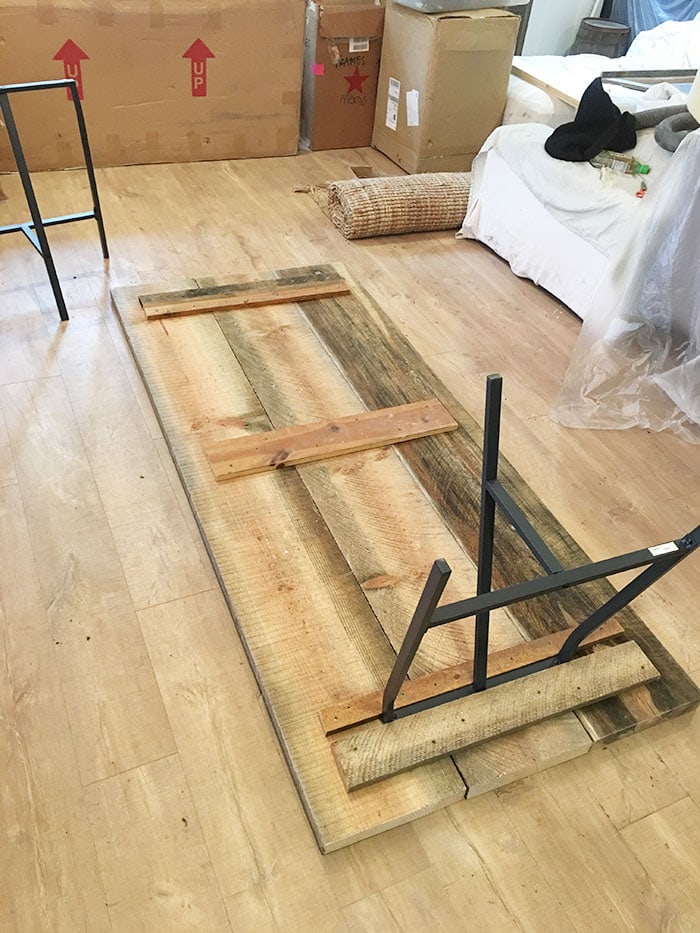
On Friday morning, my dad and I headed to the flip and got right to work on the biggest remaining project: the DIY dining table. Here’s how the living room looked upon arrival… I feel like it’s actually getting more cluttered with time.
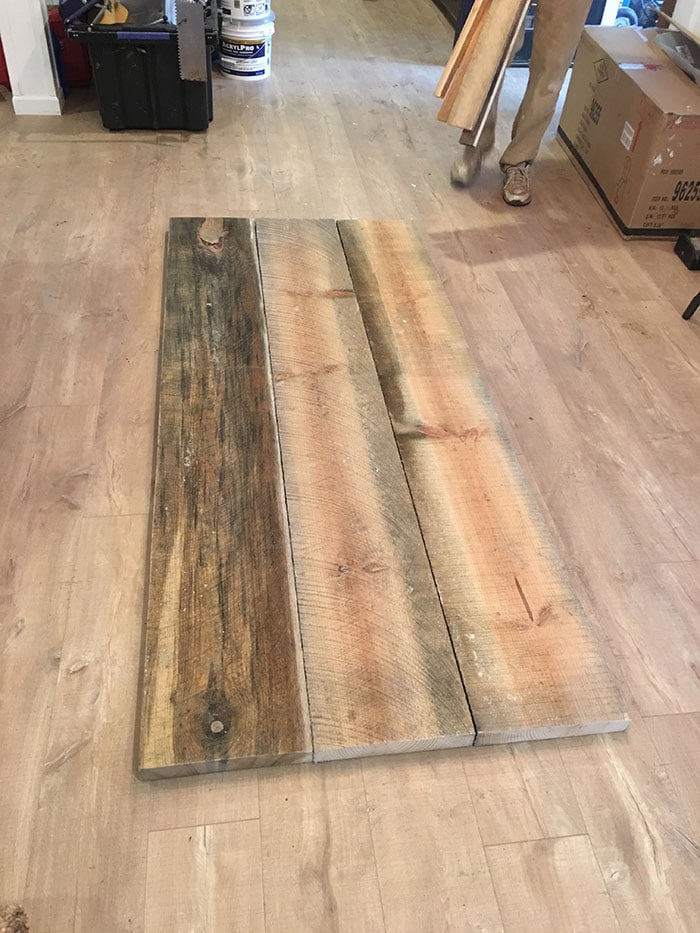
We bought two 2×12’s at the local lumber yard the weekend before so we cut those down to 7′ and used a belt and orbital sander to get them smooth. They were covered in snow last week so they are still drying out, hence the dark streaks.
I brought two $15 trestle legs from Ikea. The legs don’t have holes to attach to anything, so we added cleats on the bottom of the wood for them to sit between, using scrap wood:
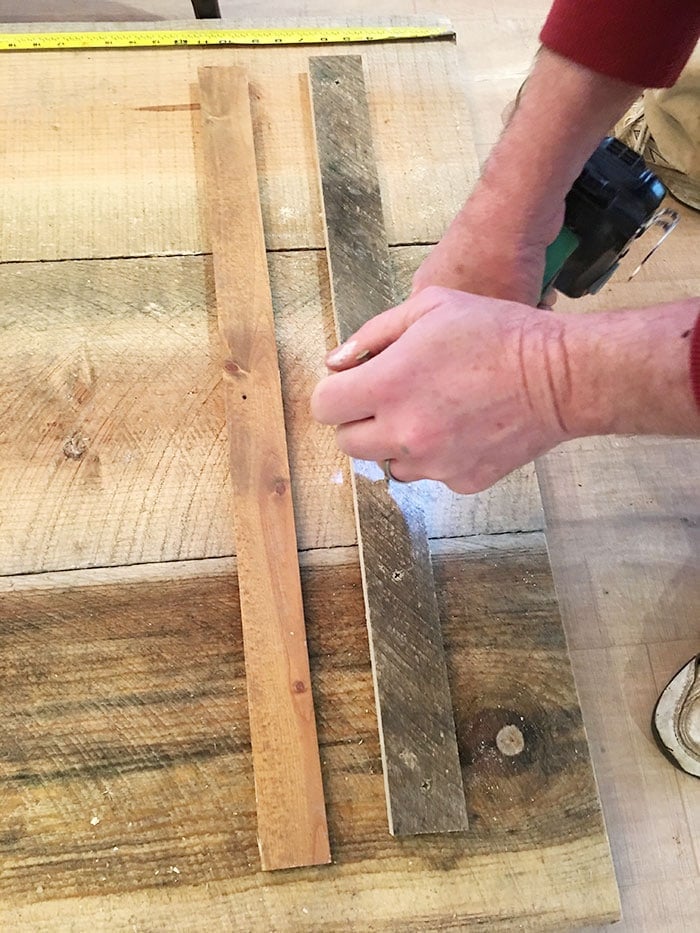
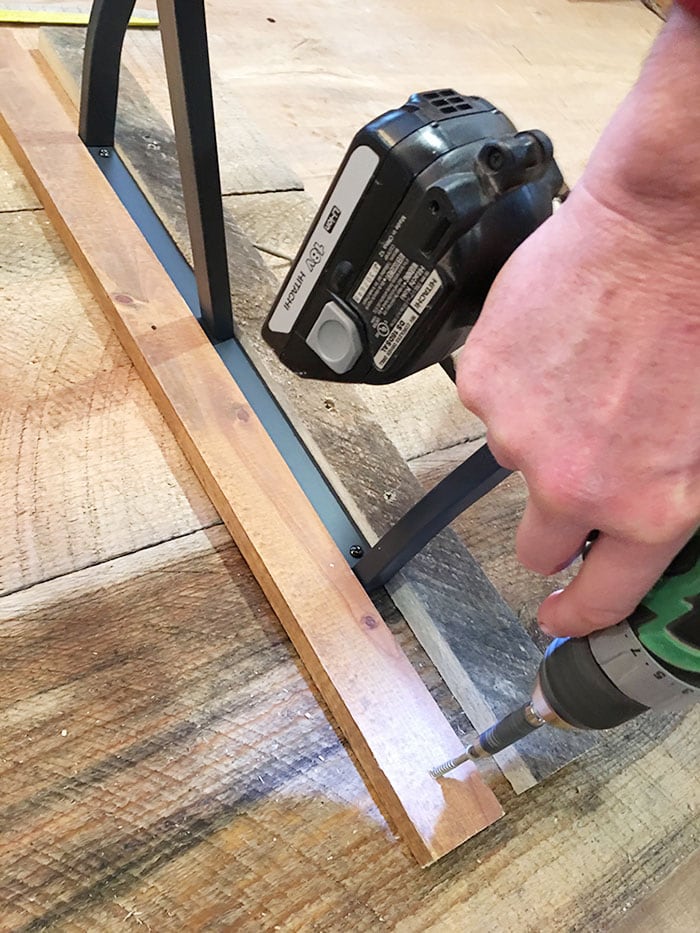
We secured it in the middle as well:
Done! Easiest table ever. But this reclaimed wood is quite imperfect, and didn’t exactly line up. So we had to tweak it a little.
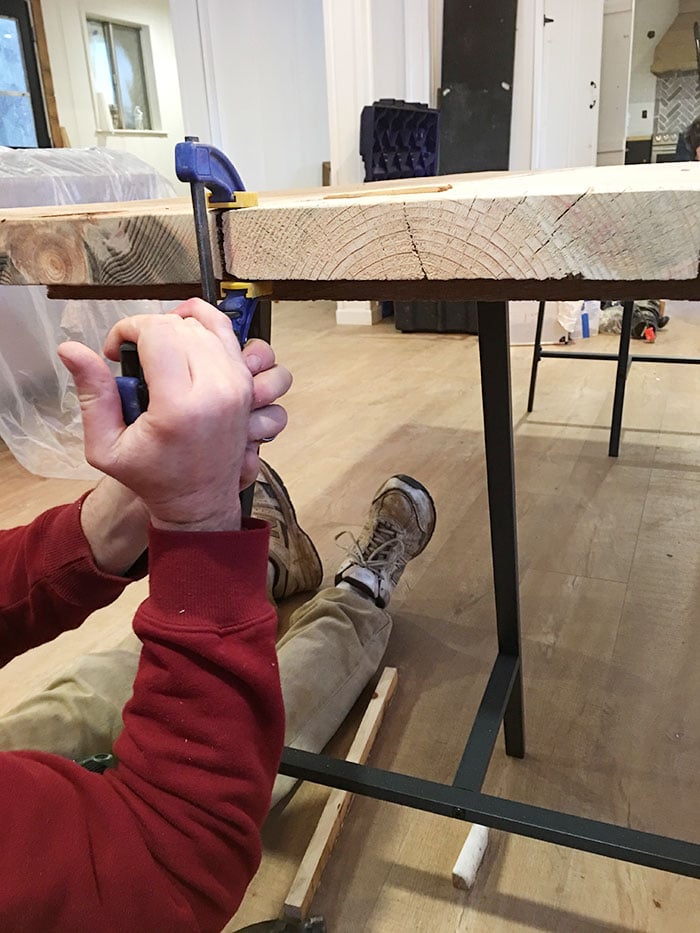
We also ended up drilling into the metal to secure the legs to the wood to help with stability. For anyone looking to use these legs, I’d recommend keeping the table top as light as possible to avoid any wobbliness.
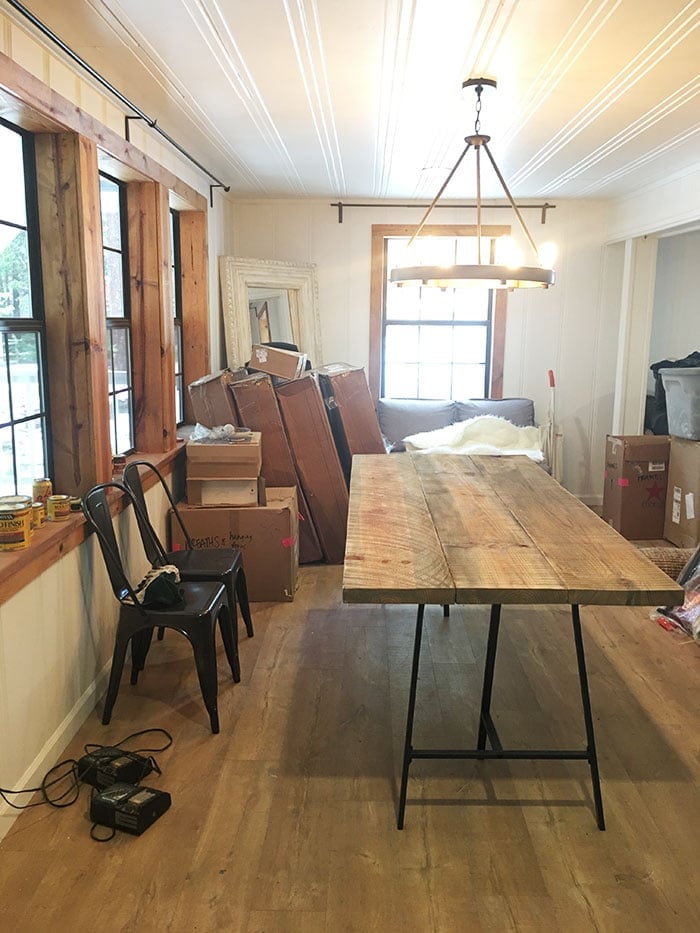
I stained the top with Minwax Weathered Oak which is a very close match to the floors, but I’m not really feeling it—too much wood for me. I explained my problem on instagram and hundreds of you chimed in—90% in favor of leaving it wood, 10% said paint it. There won’t be a rug underneath since there’s a rug just to the left in the living room. White washing or a different stain won’t cover up the red streaks (which are a lot more noticeable in person), so it’s down to either painting (and distressing to let the wood show through) and/or covering it with fabric which I’d rather not do… so… it will be a game time decision after I consult with the Country Living stylist.
Meanwhile, my dad built these simple shutters:
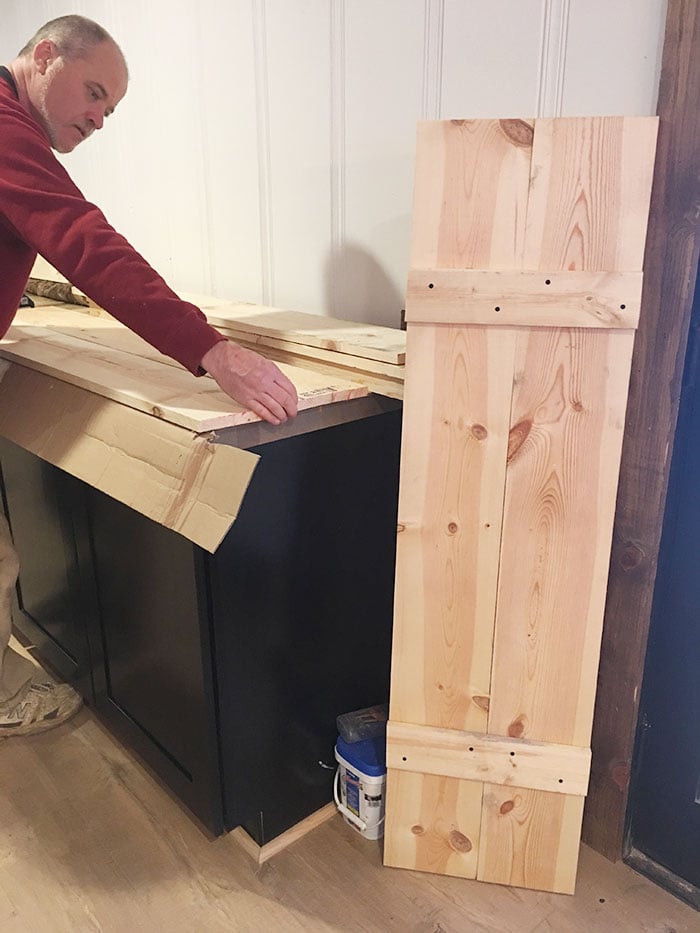
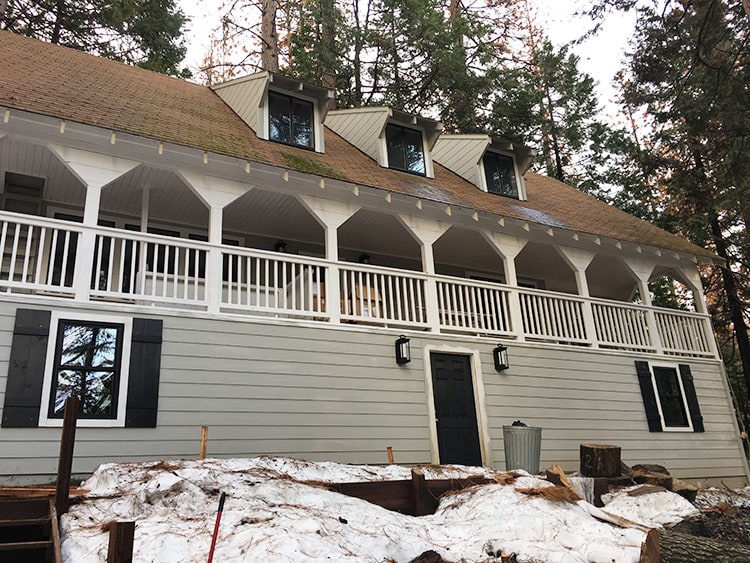
They were painted with Valspar’s Cracked Pepper (in exterior Duramax) and attached to the lower windows… what an improvement!
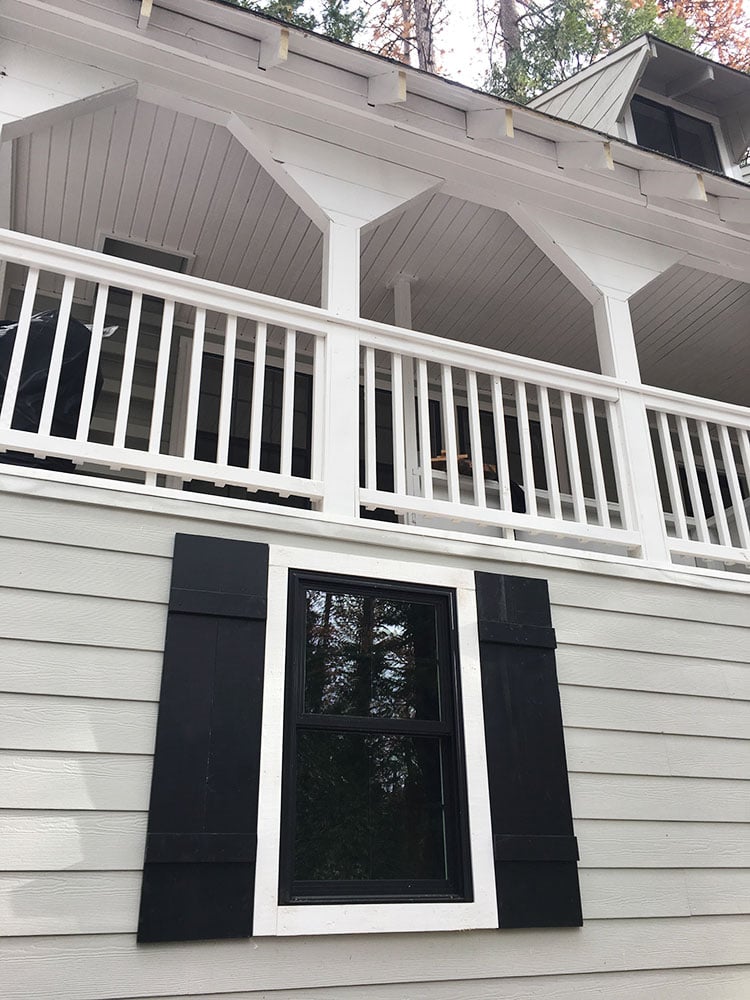
The exterior still needs touch up paint… let’s hope the rain stays away long enough!
And how about these lanterns??
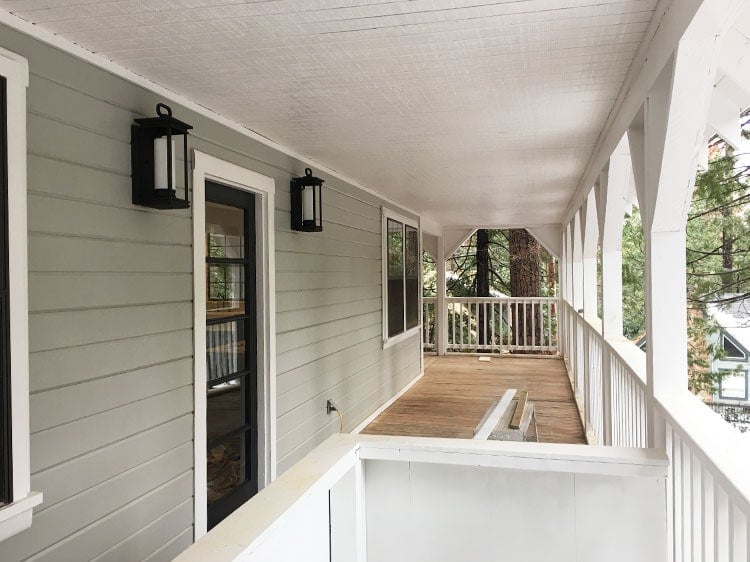
Lowe’s was kind enough to provide them, and they instantly make the house look so much more sophisticated (These are the 17.75″ size)
The biggest transformation award goes to the downstairs bathroom… remember how it looked last week?
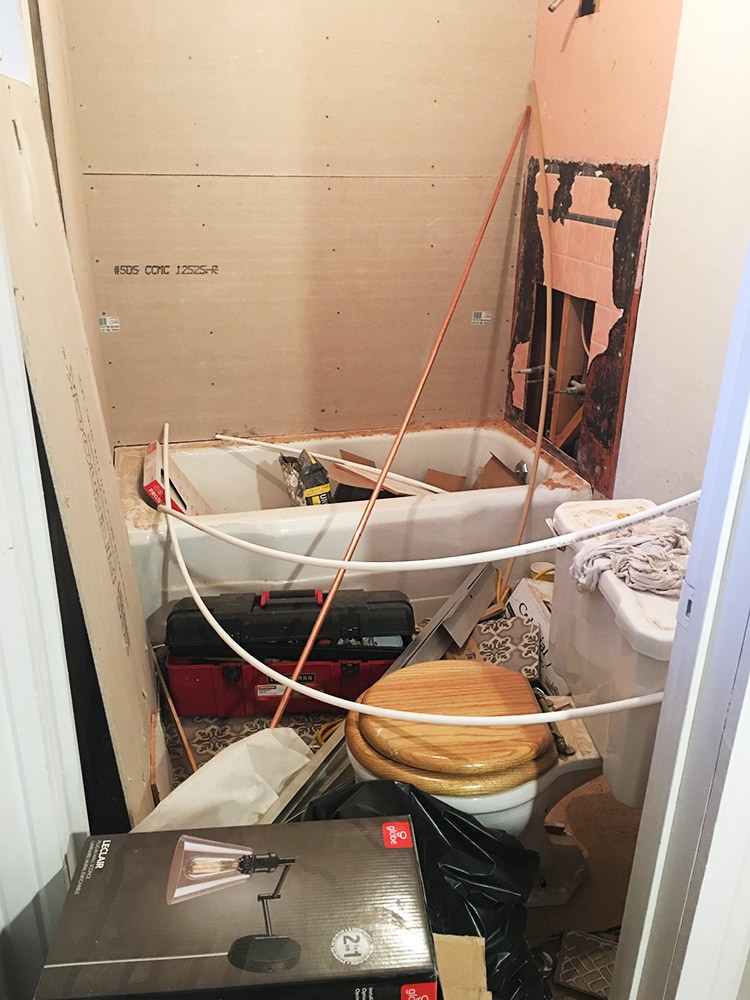
I can’t believe how fast my contractors knocked it out… and I just realized I neglected to take a full photo (there were videos on my instagram stories & snapchat), but here’s the best part:
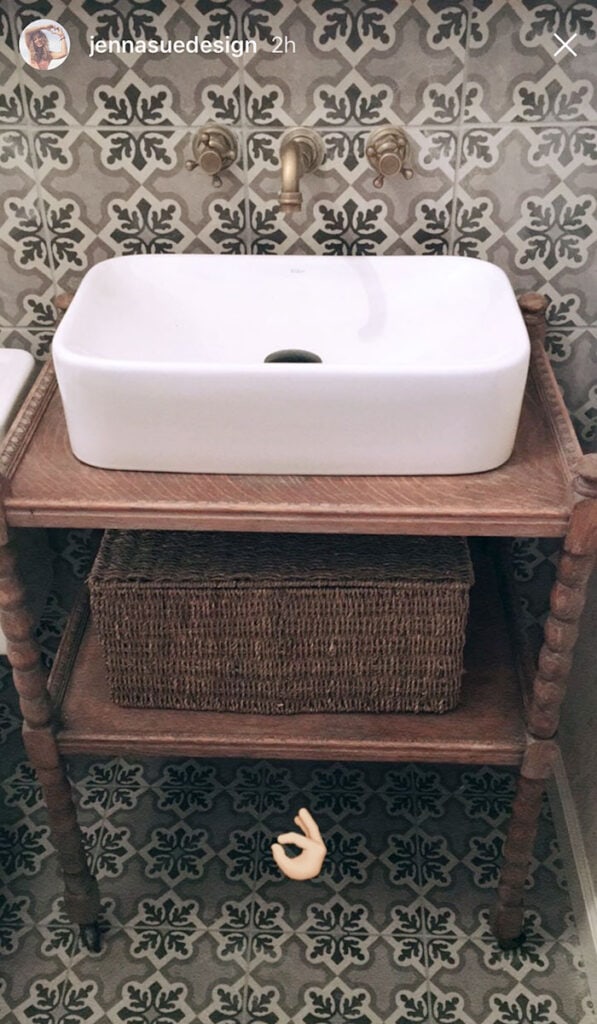
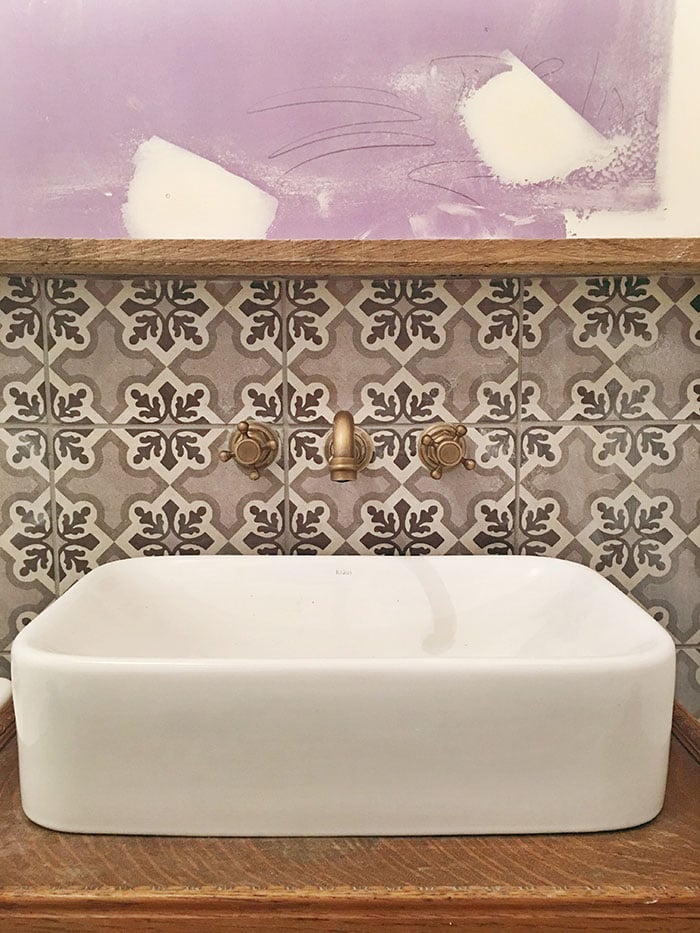
It just needs paint, a mirror, shower hardware and the lights reinstalled. You’ll just have to watch live on my instagram/snapchat or wait for the big blog reveal!
Let’s move into the living room, where we now have a foyer on the side of the staircase:
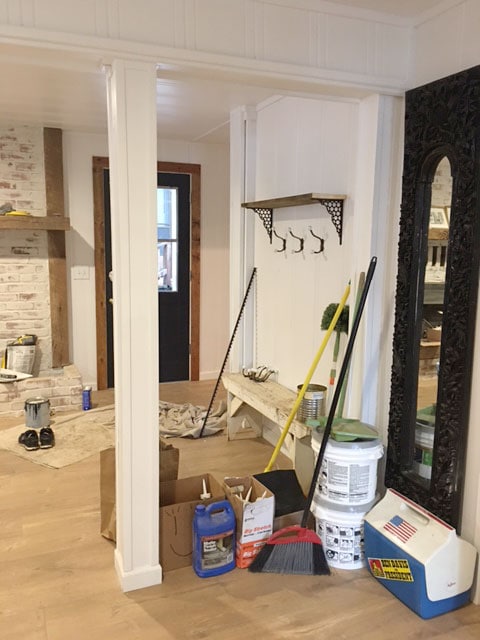
Side note, the back door trim will be painted white.
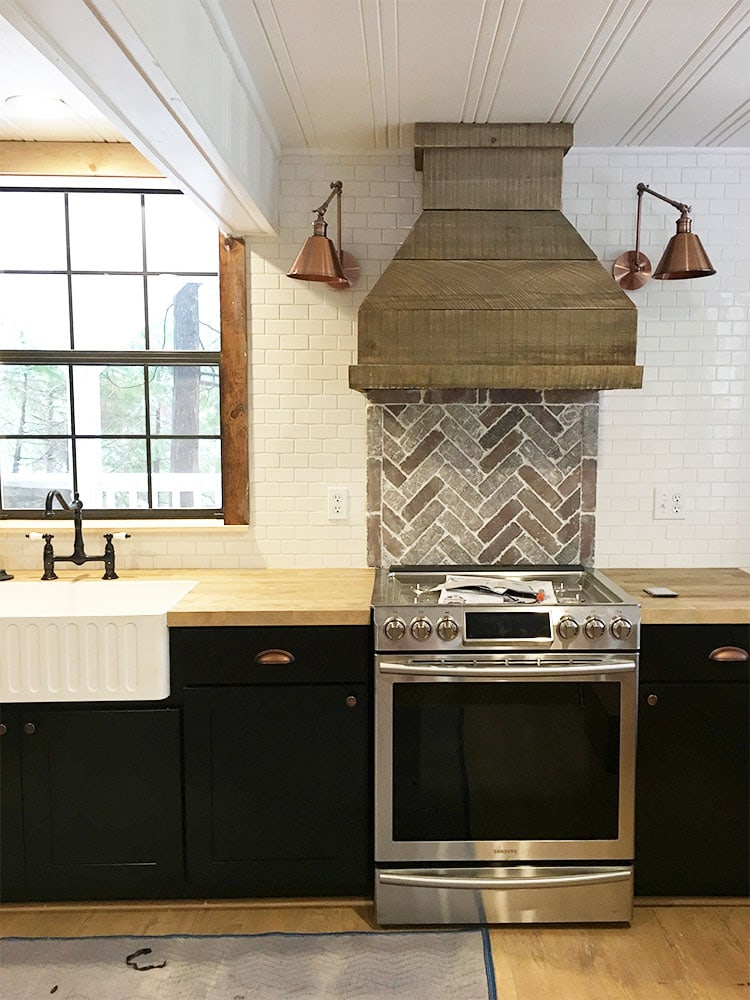
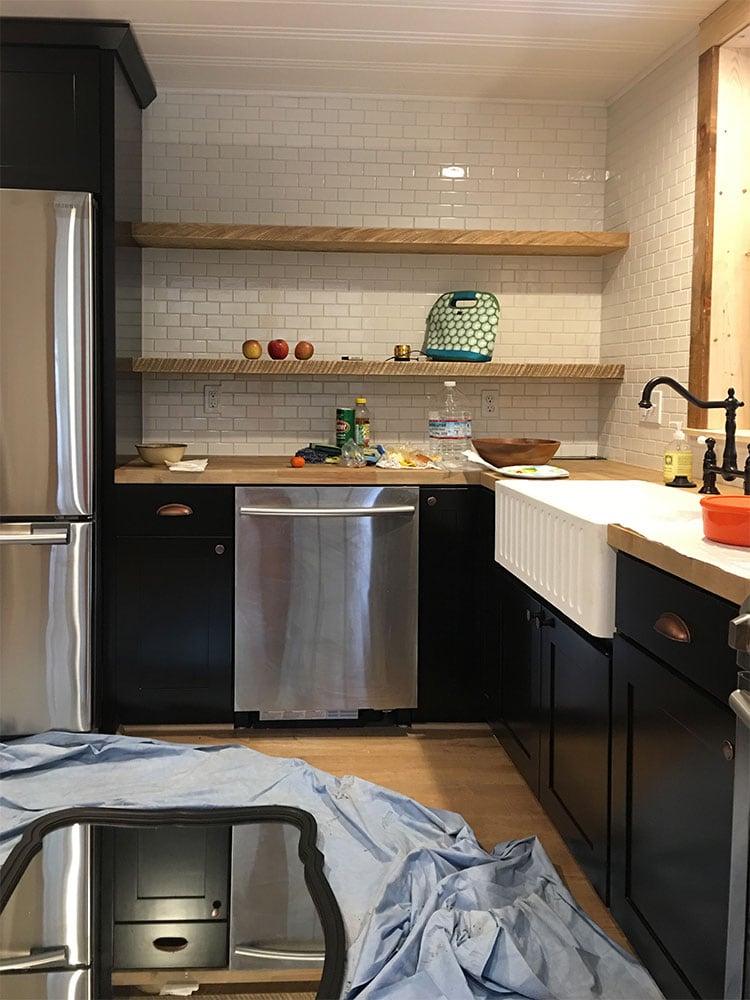
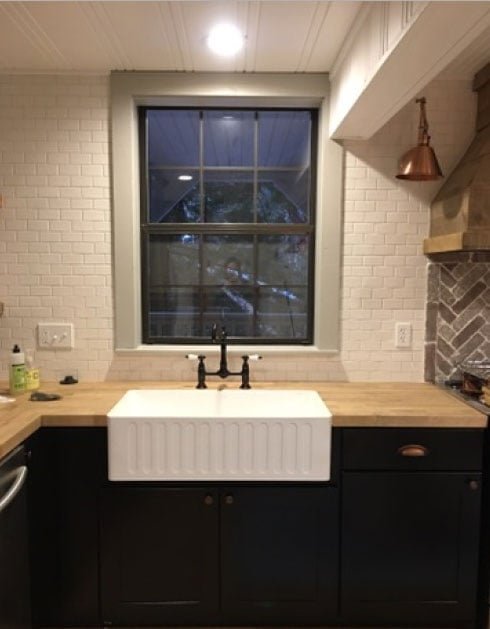
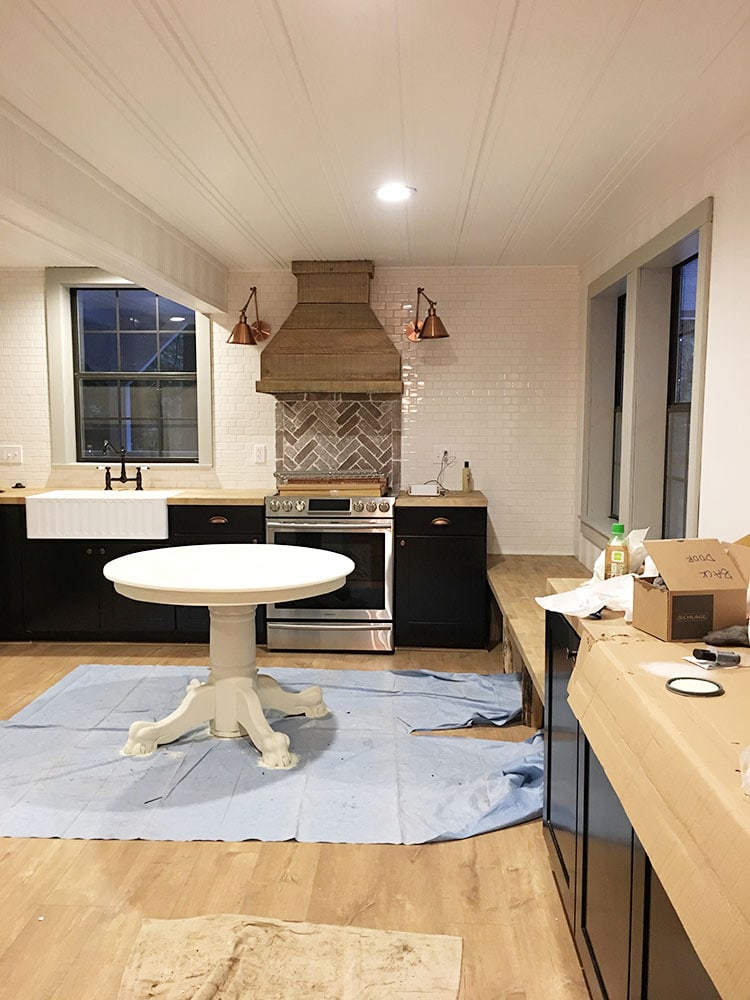
Now on to what’s shaping up to be my dream kitchen… folks, it’s basically DONE!
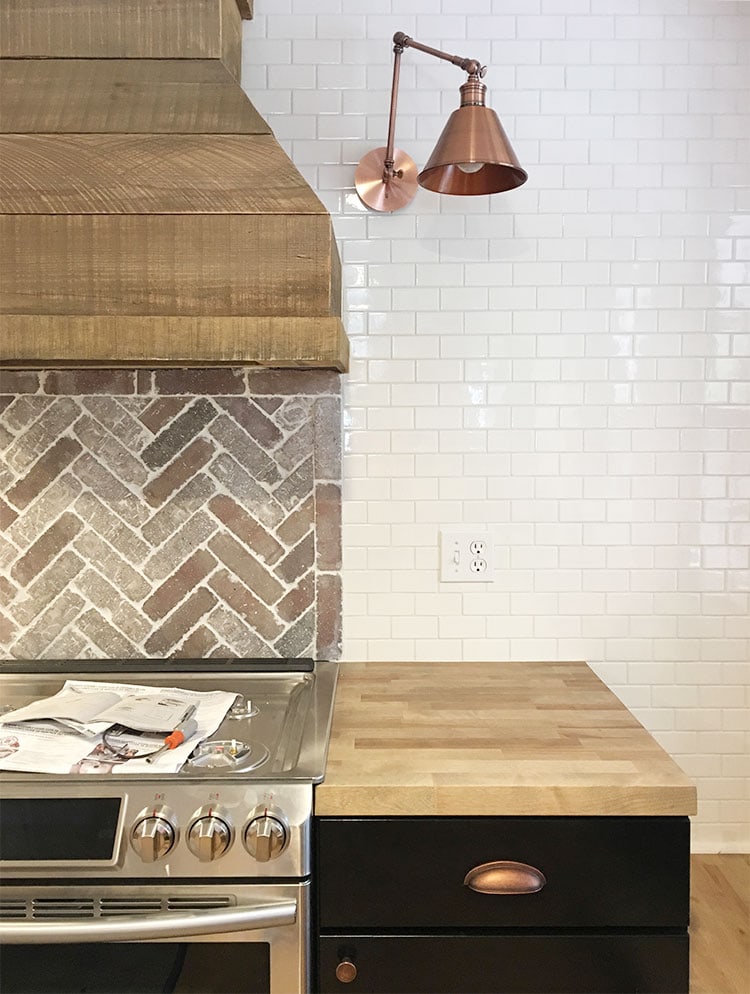
The copper sconces, that gas range!
And the fridge is finally in too!
And after much debate, I finally decided to paint the window trim in the kitchen. All the different types and shades of wood were just too much (they’ll stay original in the rest of the house).
I tested white, but gray was the clear winner:
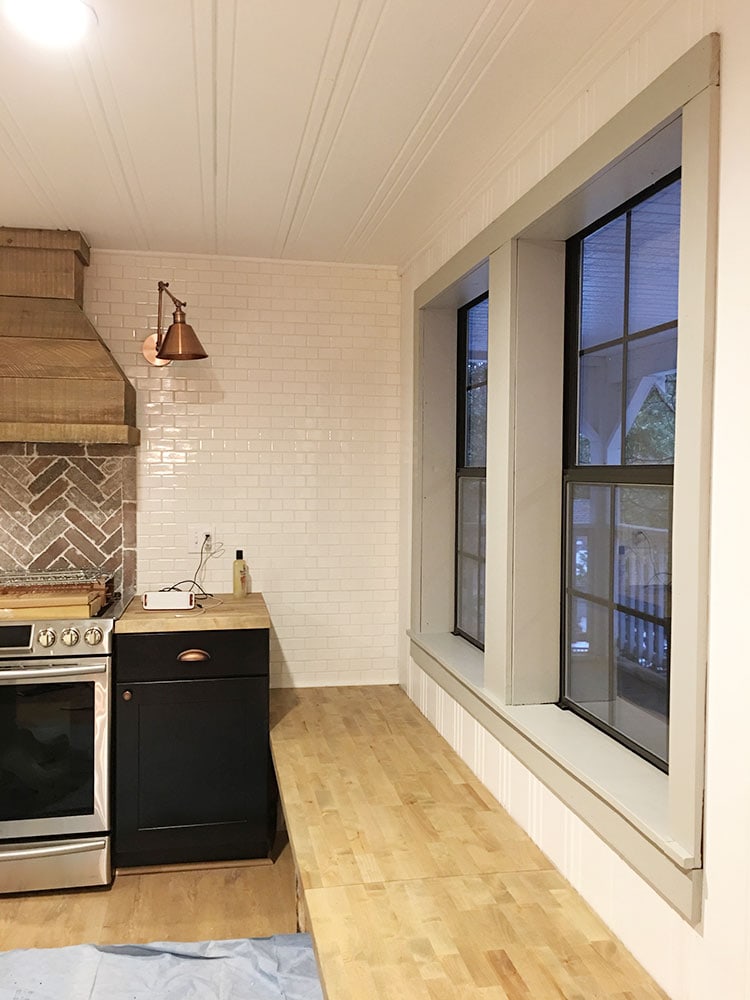
It’s the same shade as the exterior—Valspar’s Woodlawn Colonial Gray.
Doesn’t it feel so much lighter and cleaner?
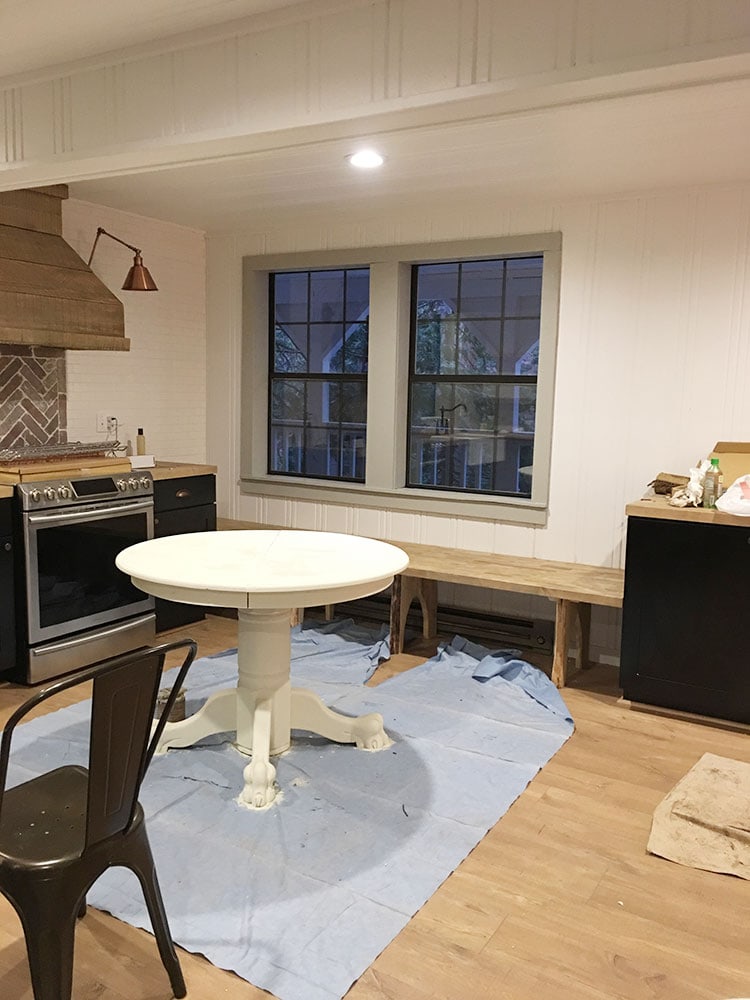
I also painted this table (in Maison Blanche’s Vanille) which I plan to use in front of the bench with a few bar stools.
After these photos were taken I distressed it and used a dark brown antique wax, so it’s looking quite different.
I spent Sunday morning setting up the beds for each room and I had so much fun coming up with a “story” for each one. They all have their own unique personality and character, and I can just imagine how fun it would be for kids/grandkids to come visit their mountain vacation home and pick their favorite room. Living out my childhood fantasies with this house, for sure.
With that said, of course each room deserves its’ own number…
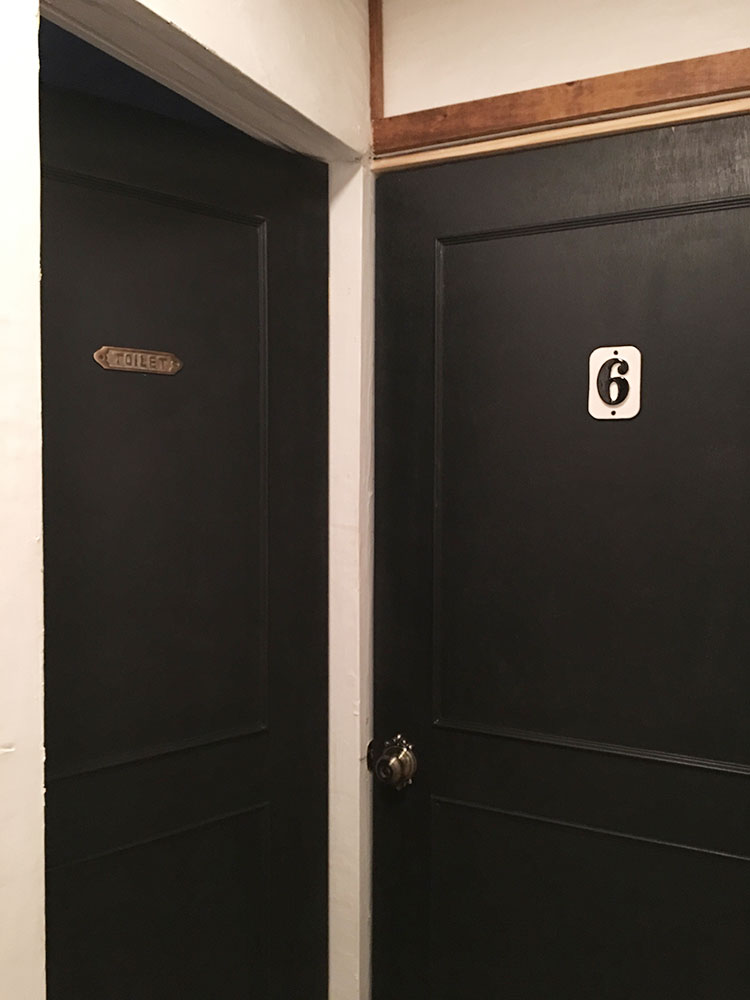
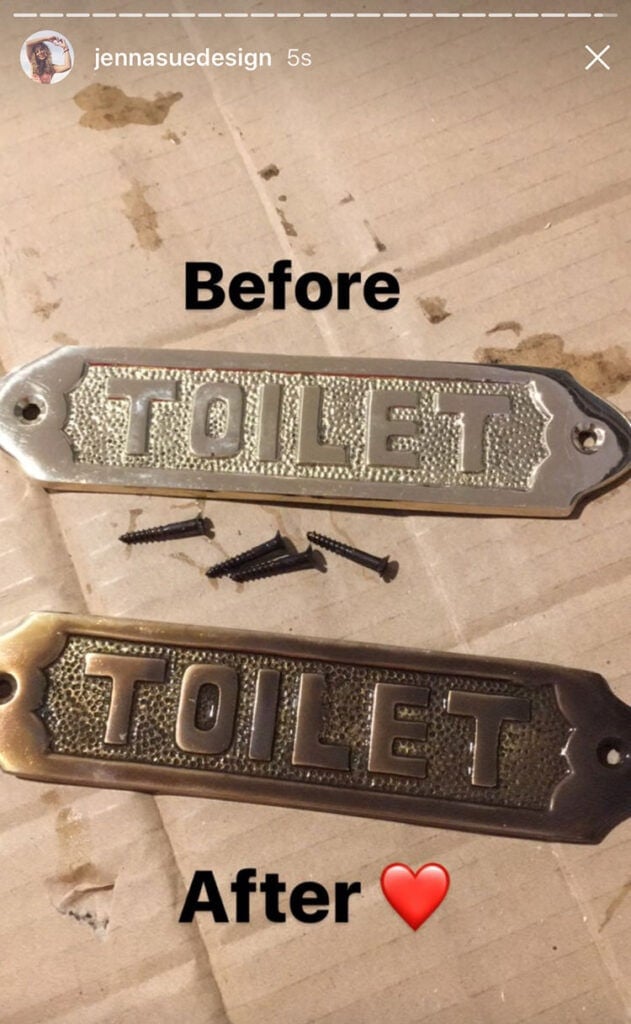
Can’t forget about the toilet.

It wasn’t easy to keep these bedrooms straight at first, but now everyone will know which one is which.
A lot of you asked where these plaques were from… both on eBay! The door numbers were such a great find, after scouring the internet for weeks. They’re handmade and completely customizable. I see more of these in my future!
The brass toilet signs were another steal at around $10 each, and I there’s a variety of words to choose from on eBay. Although to tie in with the rest of the house, I aged them using my brass aging solution…
Okay, bedroom #1. The bedding (thank you Wayfair!) was a complete game changer for this one.
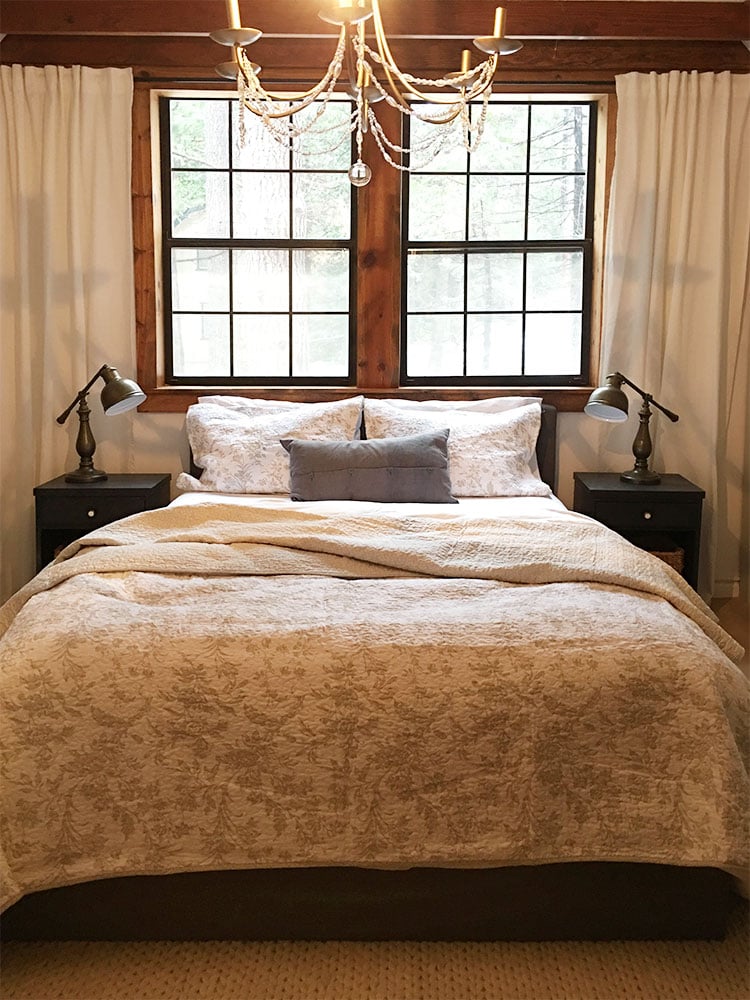
That chandelier doesn’t hurt either. Nor do those amazing lamps. I’m just so smitten with this room… I honestly didn’t think I would love it this much, but it has risen to the top of my favorite rooms list. So cozy.
Bedroom #2 has become a storage unit for all of the extra pillows and blankets… so no updated photos, but here’s how it looked last week as a reminder:
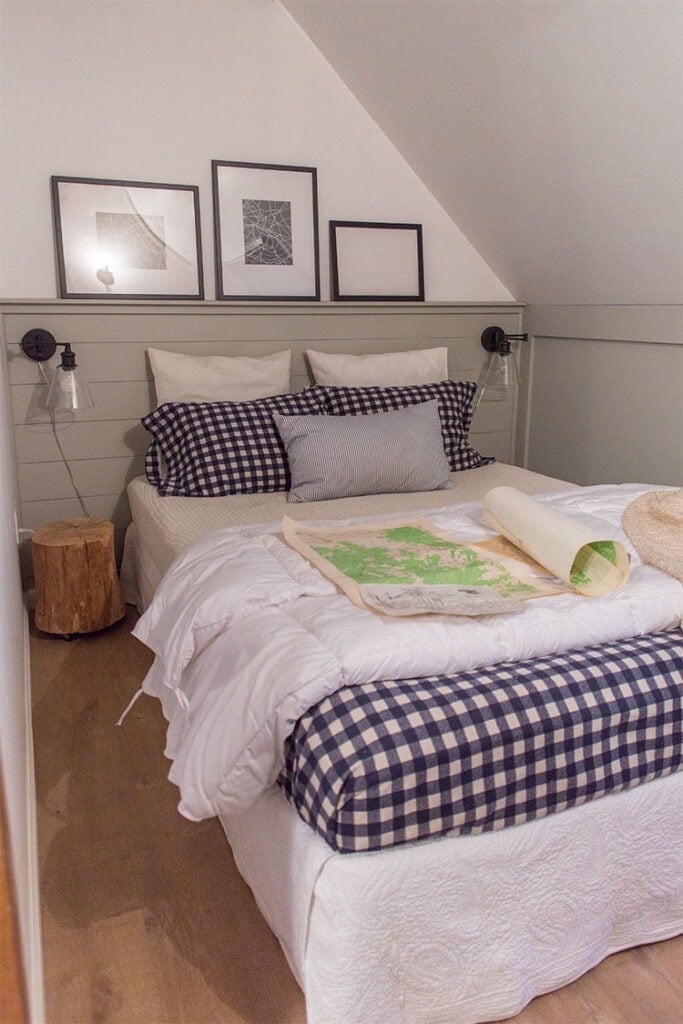
There’ve been a few small updates in here but nothing too drastic.
Bedroom #3!
So sweet. My favorite part may be the quilted skirt and sconces from last week. Those pillows are not permanent… it will probably change 10 times before the actual shoot. Still need art and accessories too.
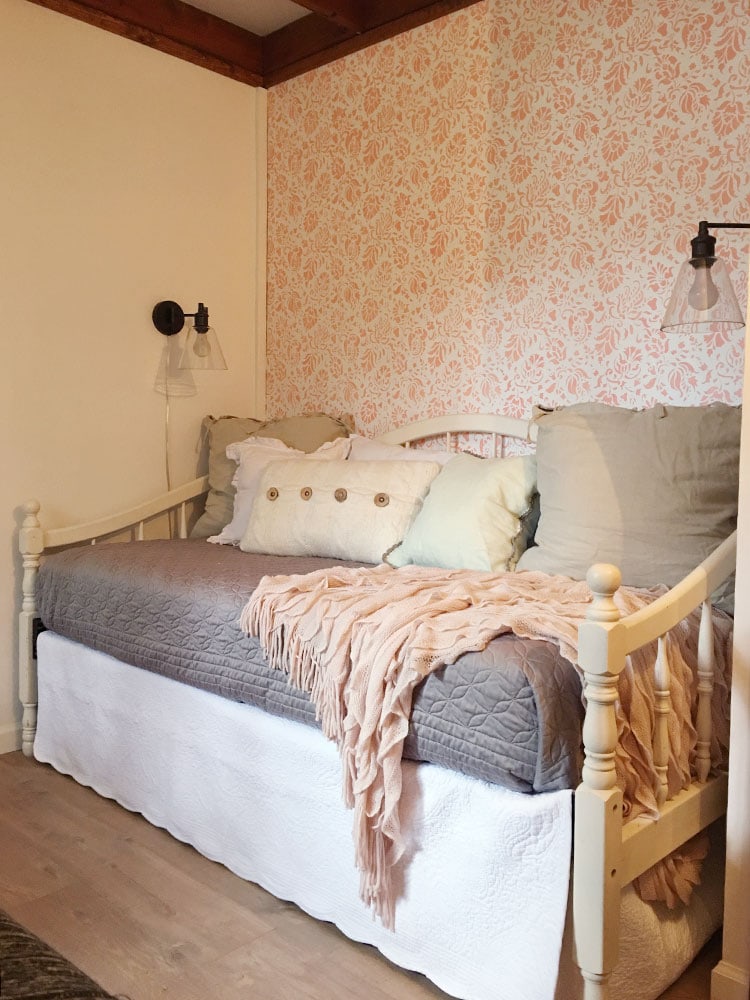
Bedroom #4 might actually be tied with #1 on favorite bedrooms… because it’s just so DARLING.
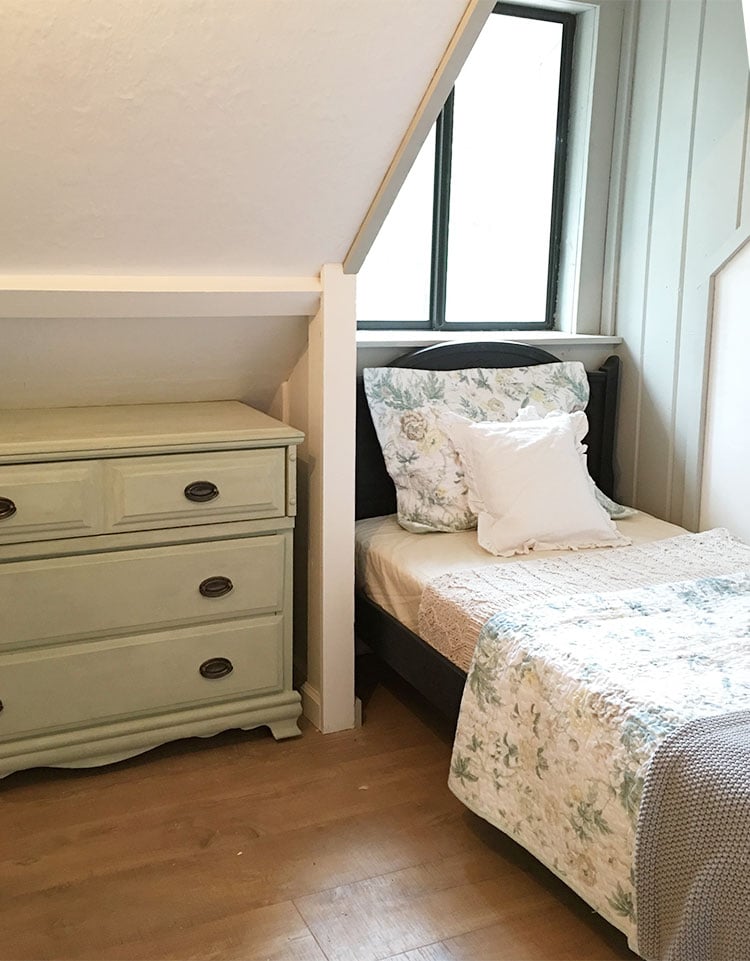
This floral quilt slays me. And what a perfect match it is to the Maison Blanche Printemps shade on the dresser! It’s hard to tell online if you’ll get the right match, but I got lucky.
Bedroom #5 is clean and simple, with an iron bed frame, fluffy comforter, striped sheets and Ikea bedspread.
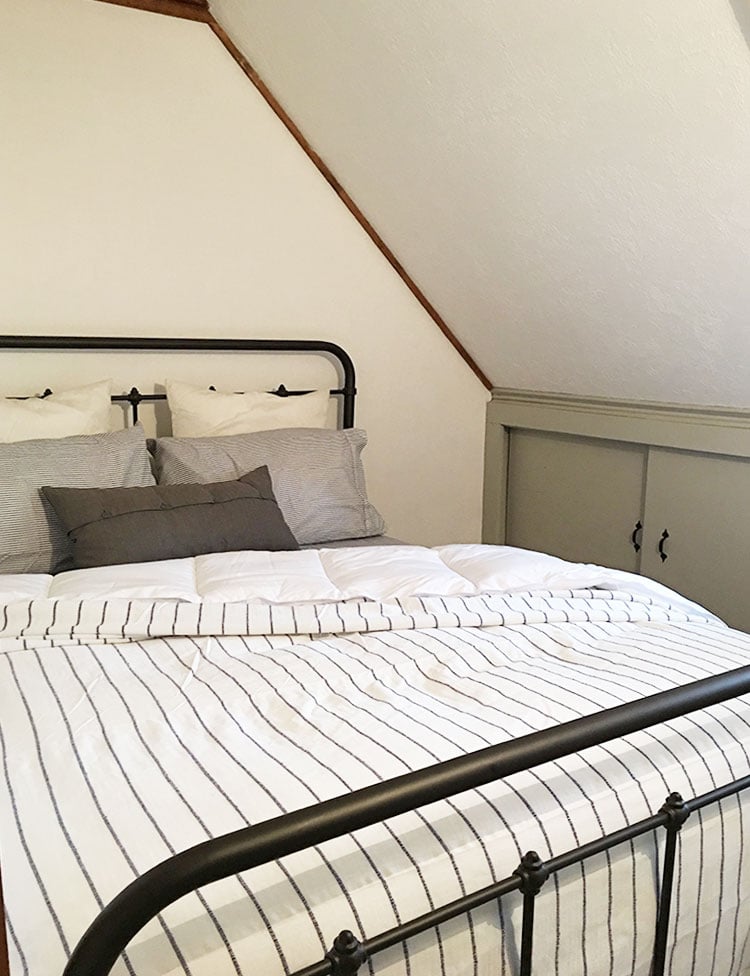
There have been a few more updates since this photo was taken Monday… make sure to watch my instagram stories to see more before the reveal!
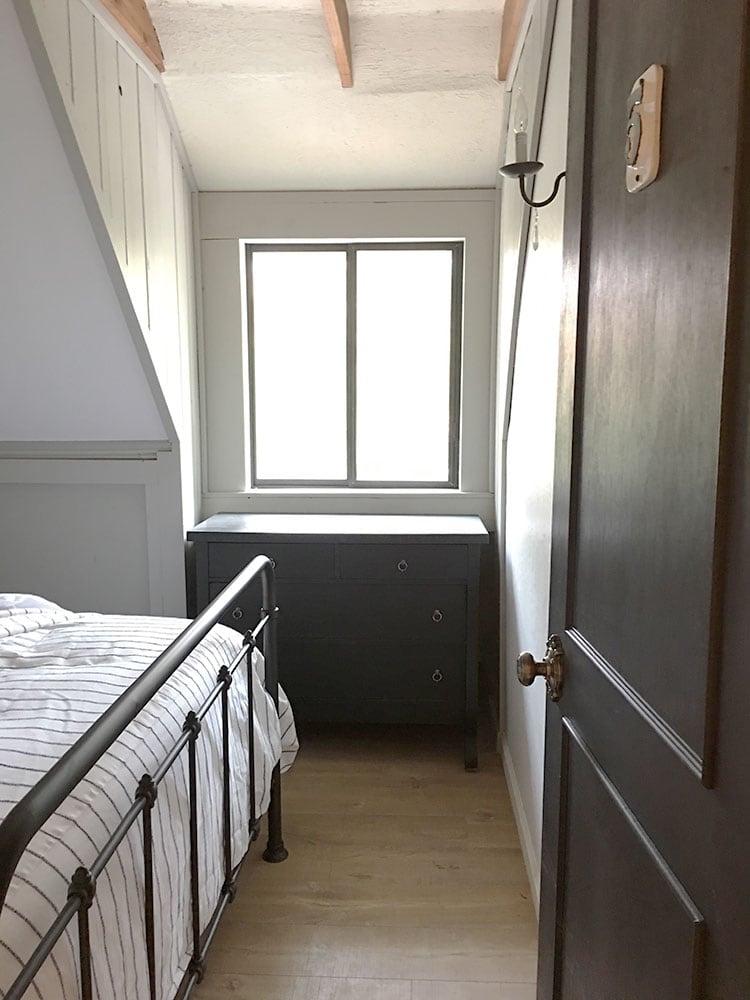
And last but not least, bedroom #6:

I brought in a jute rug and old chest from my last house, reused the original striped green sheets and pillow cases, and added matching comforters and plaid throw blankets. Love love love.
That’s it for now! The house is changing every 5 minutes and you can watch it all live on my instagram stories or snapchat. I have a feeling it won’t be 100% completed to my satisfaction by Thursday, but I’ll pull all nighters if I have to… whatever it takes! I also have to stop and thank my sponsors, especially Lowe’s and Wayfair for having faith in me and allowing me to create this dream home for a lucky family. It certainly wouldn’t be on the same level without them, and I’m so incredibly fortunate and grateful for their support.

The next post will be the first of the month long reveal. Stay tuned!!
Disclosure: Some of the products listed were provided via sponsorship—all of which I selected and fully approve of.


Jen says
Your space is so inspiring! What style you have!!
tricia effendi says
Everything a gorgeous-you have such vision and style, not to mention getting stuck in and doing so much yourself. You are an inspiration.
Jenna says
Love your work + the door numbers! I’ve been searching for the right style for my house and the ones you found are PERFECT. Thanks for sharing, I just bought them!!! <3
Karen says
It’s looking great…… I, too, can’t wait to see the projects’ final photos. Your table should be fine with accessories on it. I’m with the other person that mentioned the mis-cut tile behind the bathroom sink – it jumps right out at you. That’s more bothersome than too much wood, so hopefully it can be corrected? Thank you for taking the time to post this update for us.
Ashley Huber says
I’ve loved watching this whole flip progress. Your vision and work is amazing and I’ll never get tired of it. Thank you for the updates on SnapChat and Instagram!
Laura says
The grey around the windows does look fantastic now! The rest is cute and coming together. The bottom windows look great and more important now with the cute shutters your Dad made but the door there needs a wide wooden band of trim painted black (outside of the white door trim) so it stands out as the entrance! Can’t wait to see it all prettied up!
Katie P NC says
I NEED to know where the rug in Bedroom #1 is from. I must have this in my life!!!
Gina says
I love what you’ve done! That kitchen is so gorgeous! I want to move in!! I think the table will be fine once it’s set. Know what you mean about too much wood but feel a centerpiece and some dishes, flatware etc will break it up some. Great job!!
Vicky says
Beanutiful job, I love the bathroom tile, one question, there is one tile that doesn’t seem to be lined up. Top right in the picture of the sink. Will you at some point post the list of suppliers for everything?
Wish I could make it to the open house!
Shari says
I’m sure you are on cloud nine. What a rush! I kinda love that type of stress-gets my creative juices going! You smashed it. Knocked it out of the park. 5 bedrooms-are you kidding me? All of it-magical. It feels like a home, and that’s no easy task in a flop. Congrats, looking forward to an IG story with feet up and a glass of wine in hand for sure. ? Cheers!
Emma says
It is looking marvelous Jenna Sue – so exciting to watch this all come together… I MAY be stalking Instagram and snapchat for your daily updates (like every 30-minutes!) LOL
Wishing you all the best over the next 24-hours… cannot wait to see the reveal!
Emma says
BTW – I was NOT expecting an update this week, so THANK YOU for taking the time for us groupies 😉
Jen says
PURE AWESOMENESS! Every time I visit your flip, my adrenaline goes crazy! I love your vision and style and CANNOT wait to see the end results. I will be waiting (semi) patiently for your feature in Country Living. Keep up the fantastic work!
Linz says
Keep up the great work- it’s looking fabulous! I think once you put a runner, flowers, and place settings on your table it won’t look like there is too much wood going on. And remember, a magazine usually brings a team that will probably help with any last minute cleaning before pics. You are amazing!!! Praying for you?
Amy says
I know you must be freaking out right now but I have faith you will make this amazing! That kitchen is too die for! So pretty! The fireplace is my second favorite feature! It has inspired me to do the same thing with my ugly 70’s brown brick fireplace. Can’t wait to see the finished project! Yay!