Today I’m excited to share the next room design at the Hacienda Hideaway—the ensuite guest bathroom! Last year we tackled the primary bathroom, and one nice feature of this house is that it’s equipped with a second ensuite bathroom.
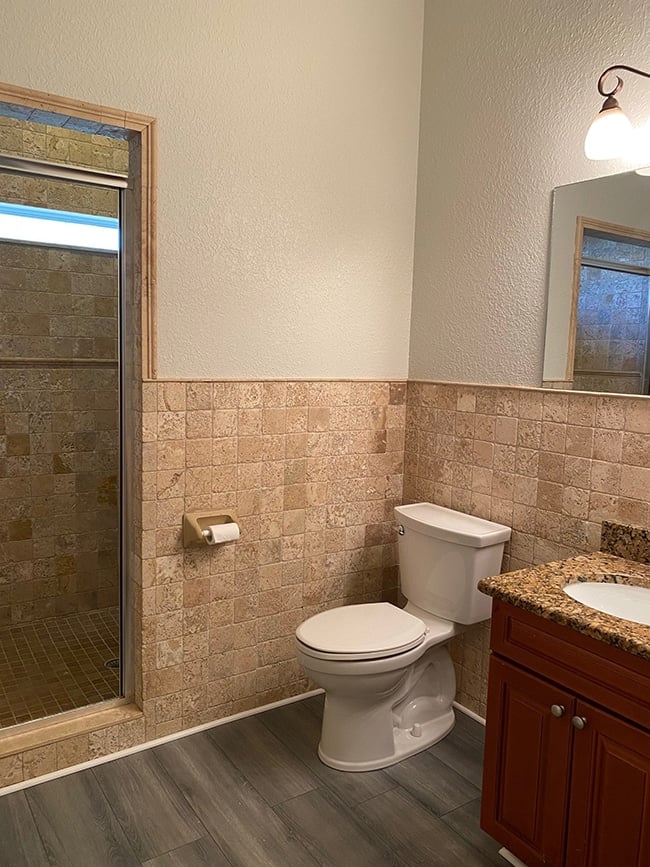
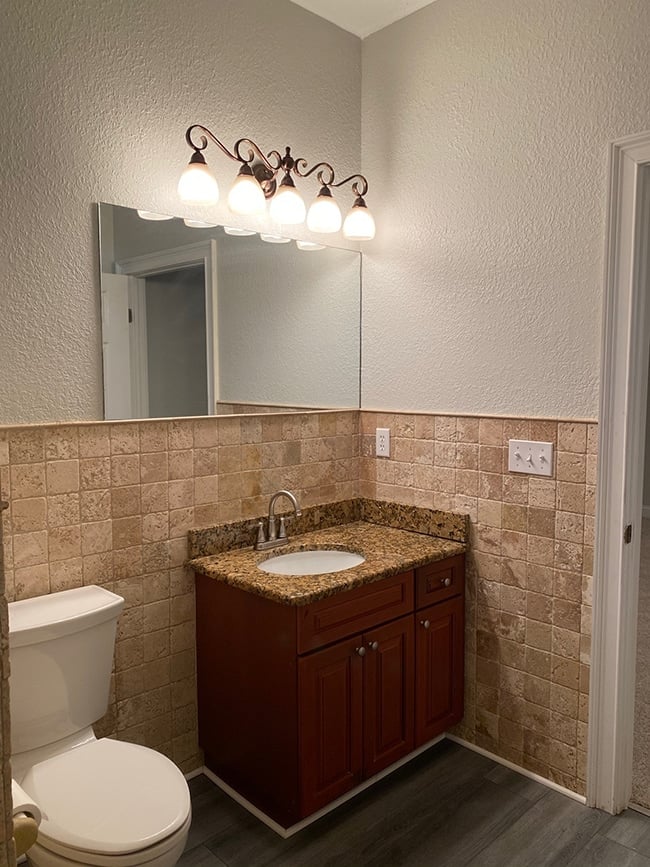
Before
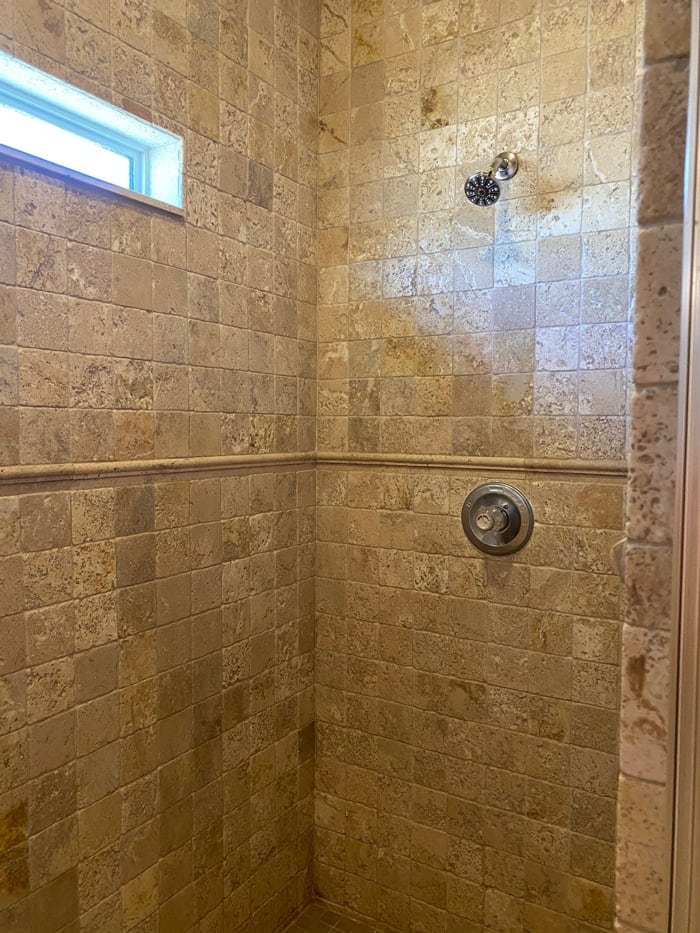
This ensuite is a smaller standard bathroom with an enclosed shower. The original design matched the other bathrooms—brown travertine tile, cherry wood vanity with speckled granite, and the signature flip-house gray walls and vinyl plank floors:
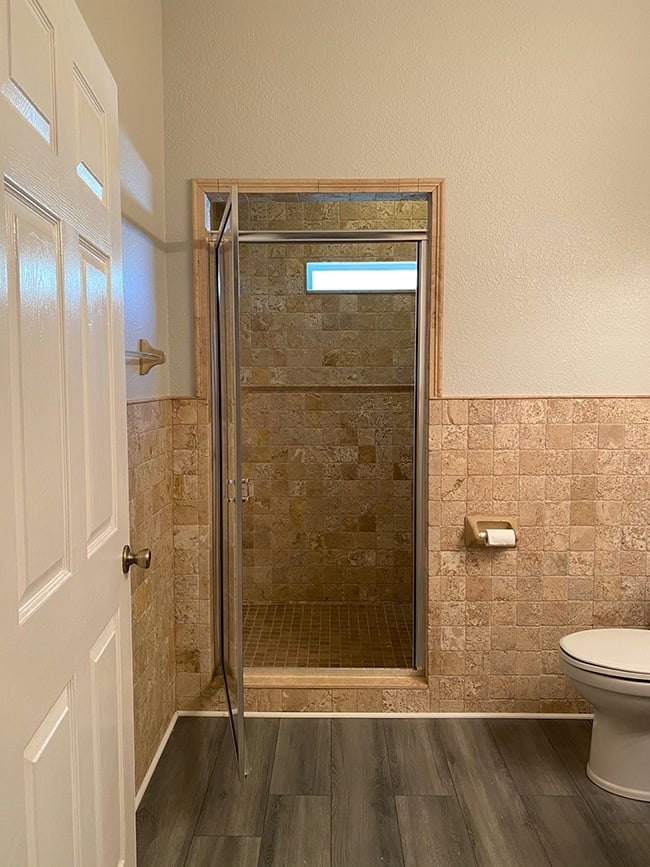
The main bathroom area measures 85″ x 73″, and the shower footprint is 42″ x 87″.
Design Plan
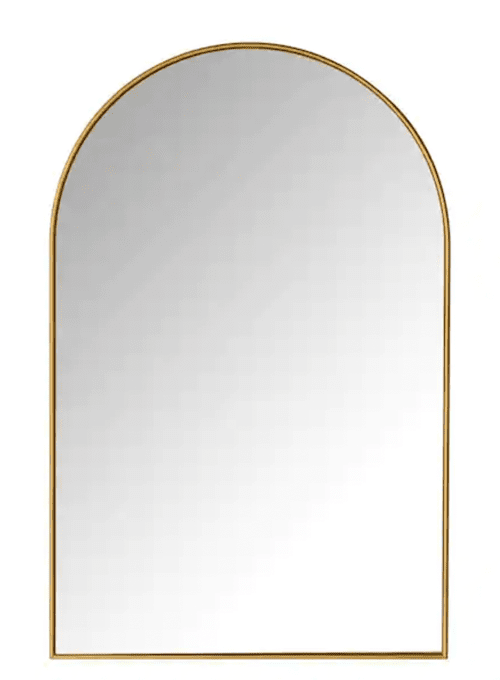
Similar to the primary bathroom design, this ensuite will feature a Mediterranean style with Moroccan influence, a muted earthy palette, and organic elements like brass and wood tones. Here are a few designs that caught my eye…
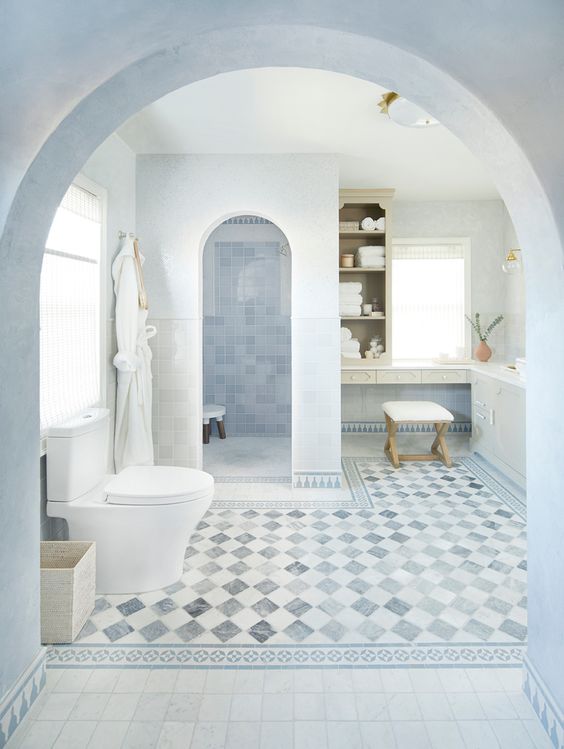
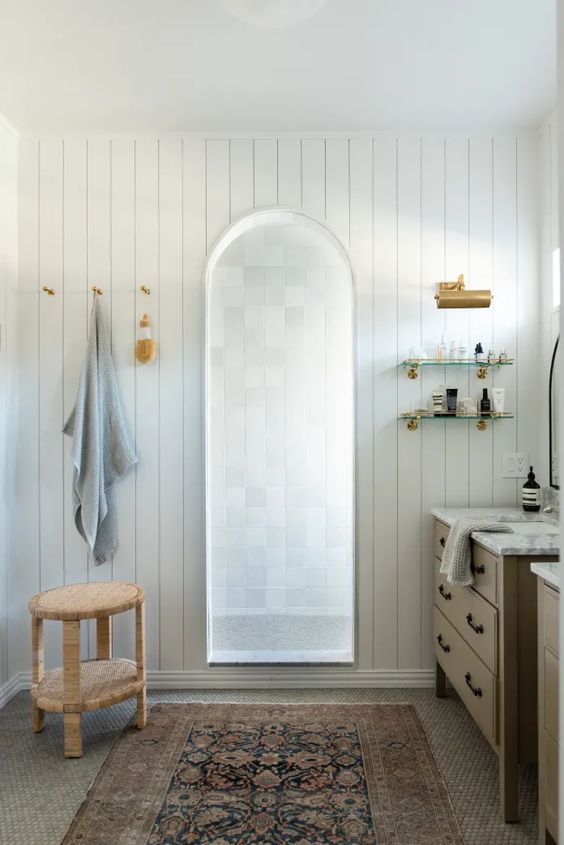
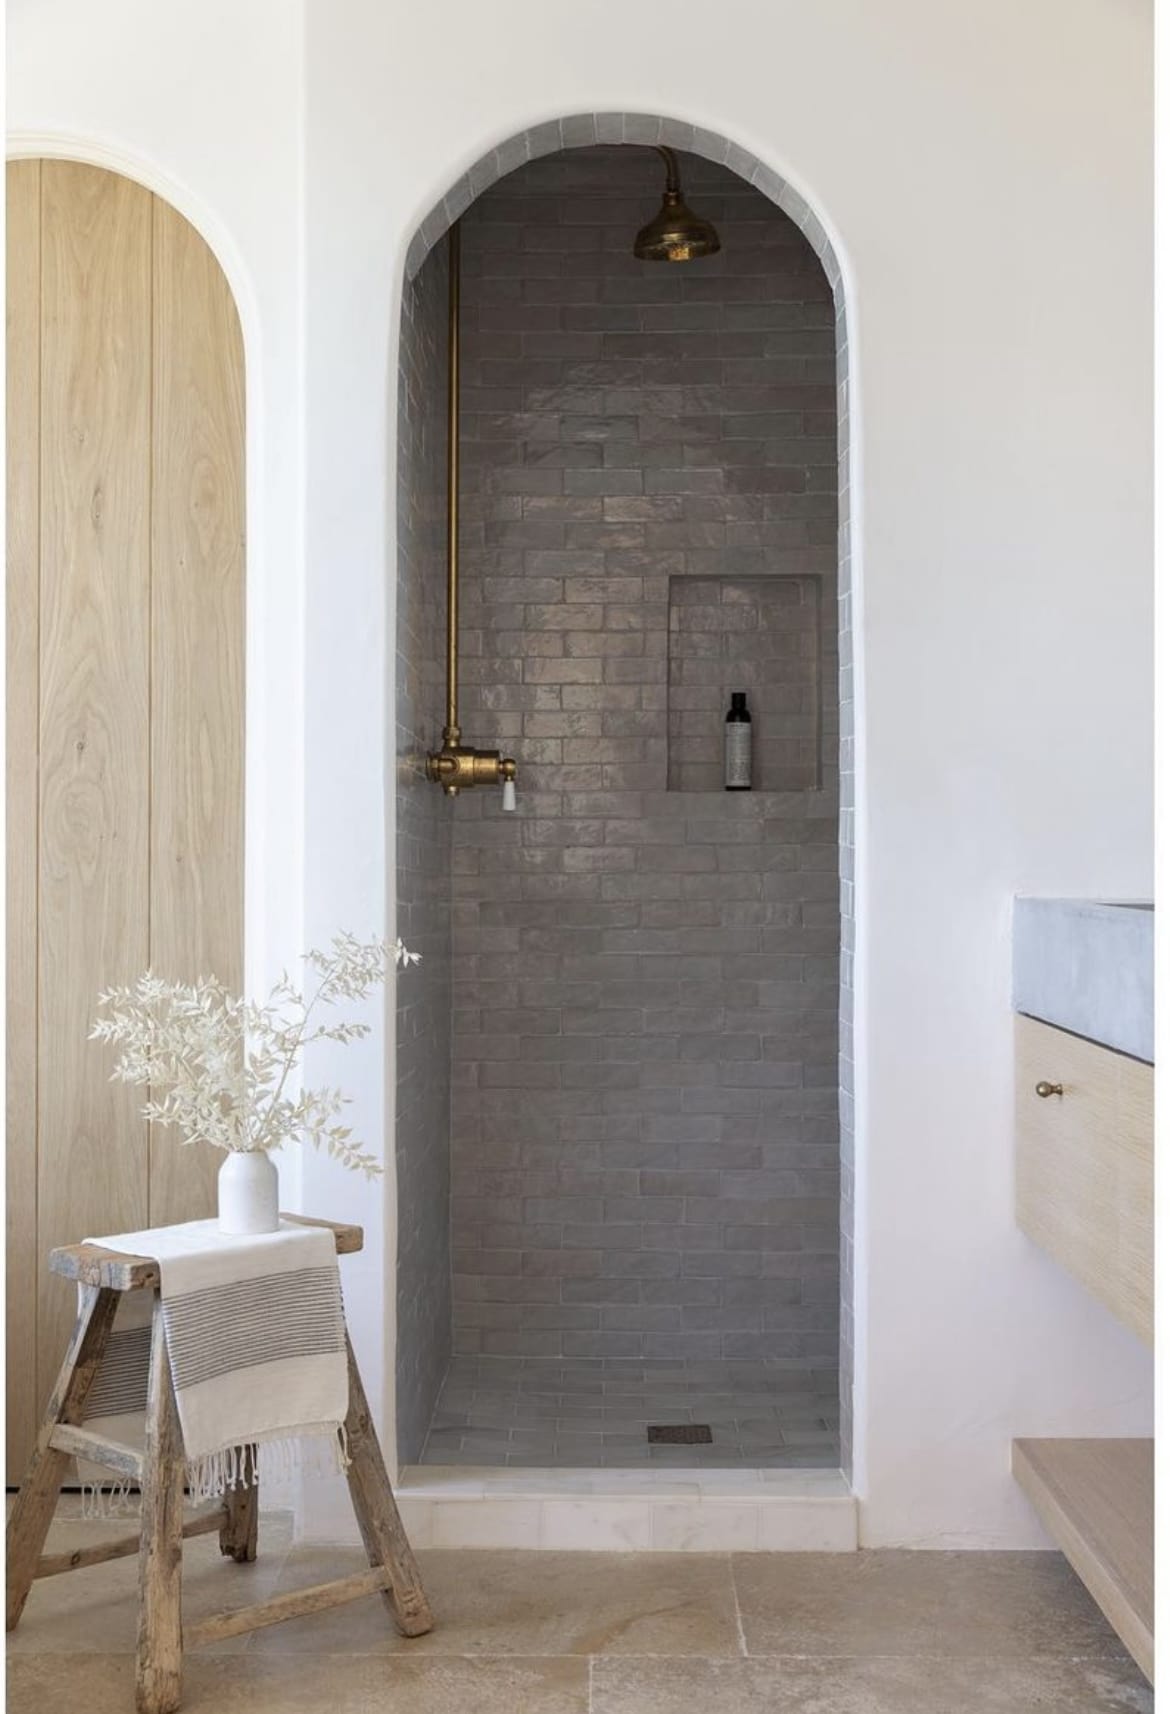
The key design takeaways for this space: an arched shower opening, zellige shower tile, light blue moroccan floor tile with natural wood and brass accents. Here’s what I came up with:
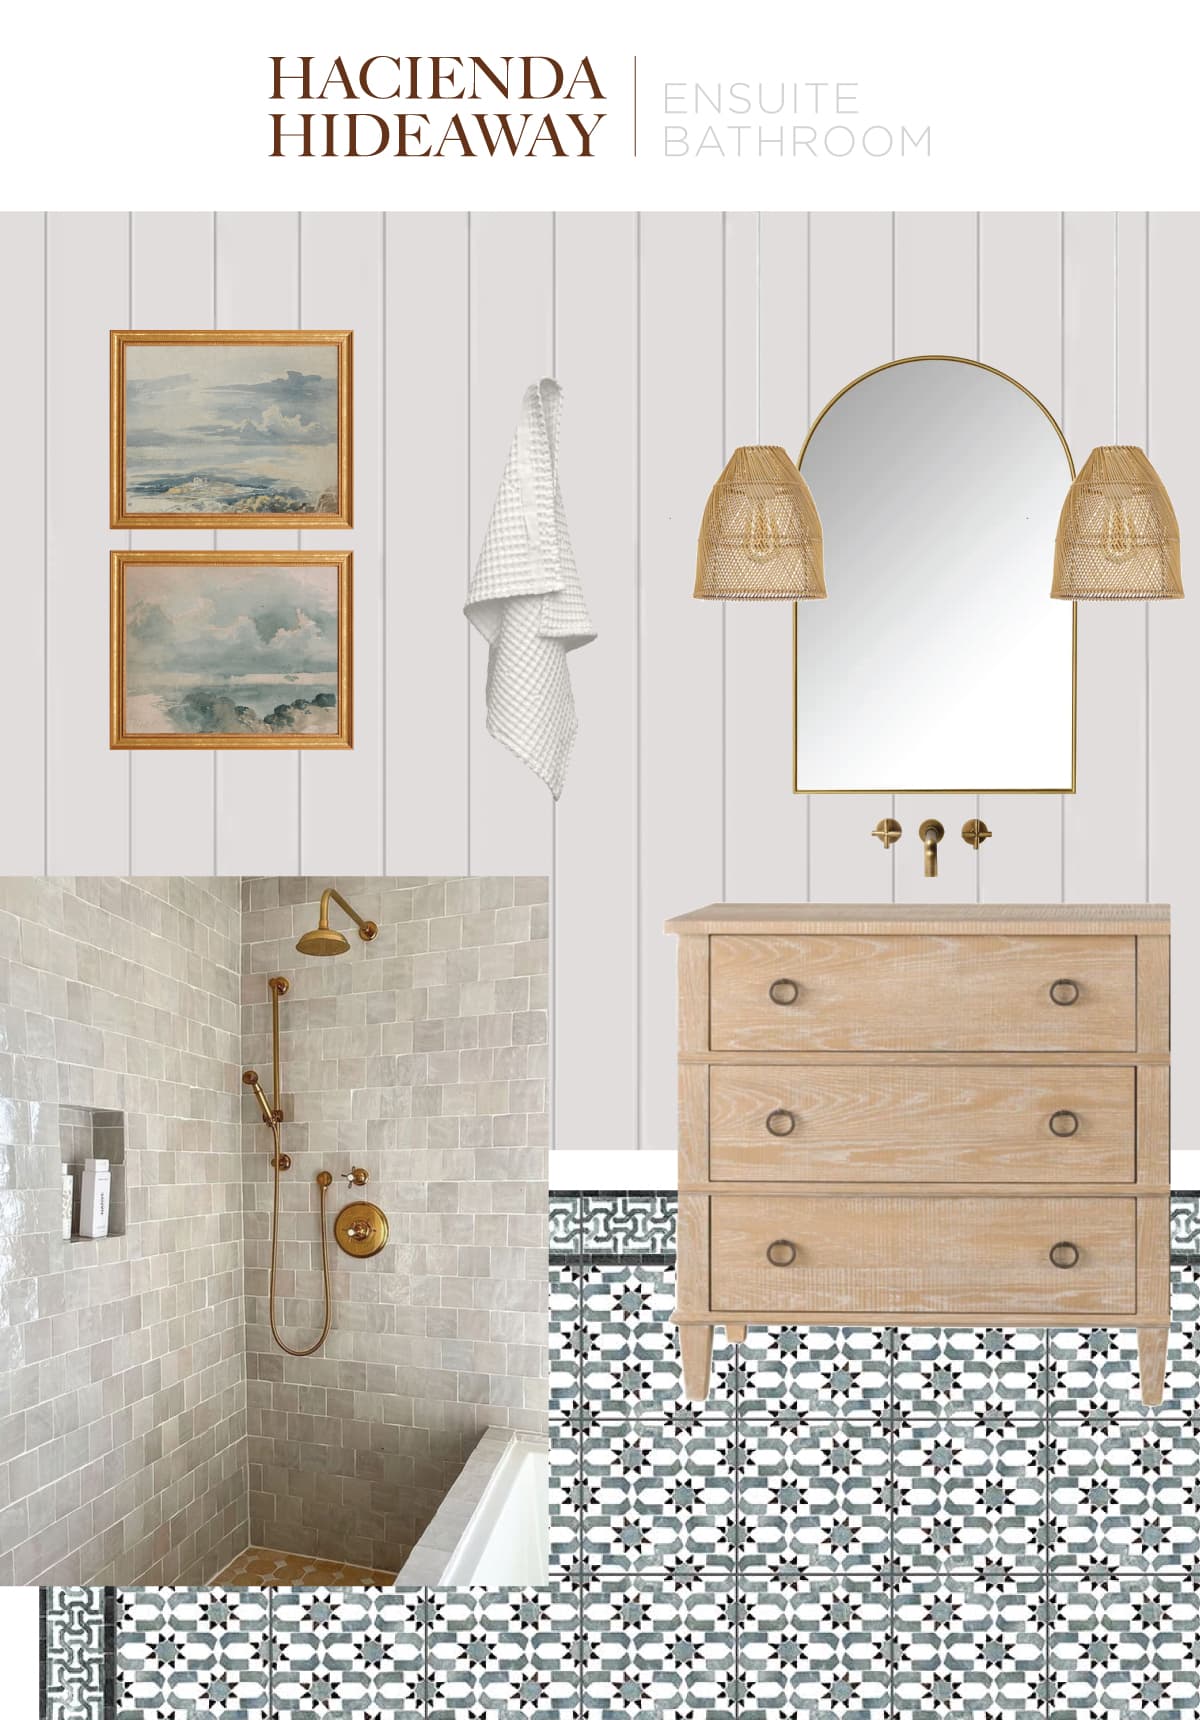
You can click to shop the exact sources:

Progress
It wasn’t in the budget to rearrange the floor plan or make any major structural changes, so we had to work with the existing layout. Last summer, we demo’d all of the wall and floor tile.
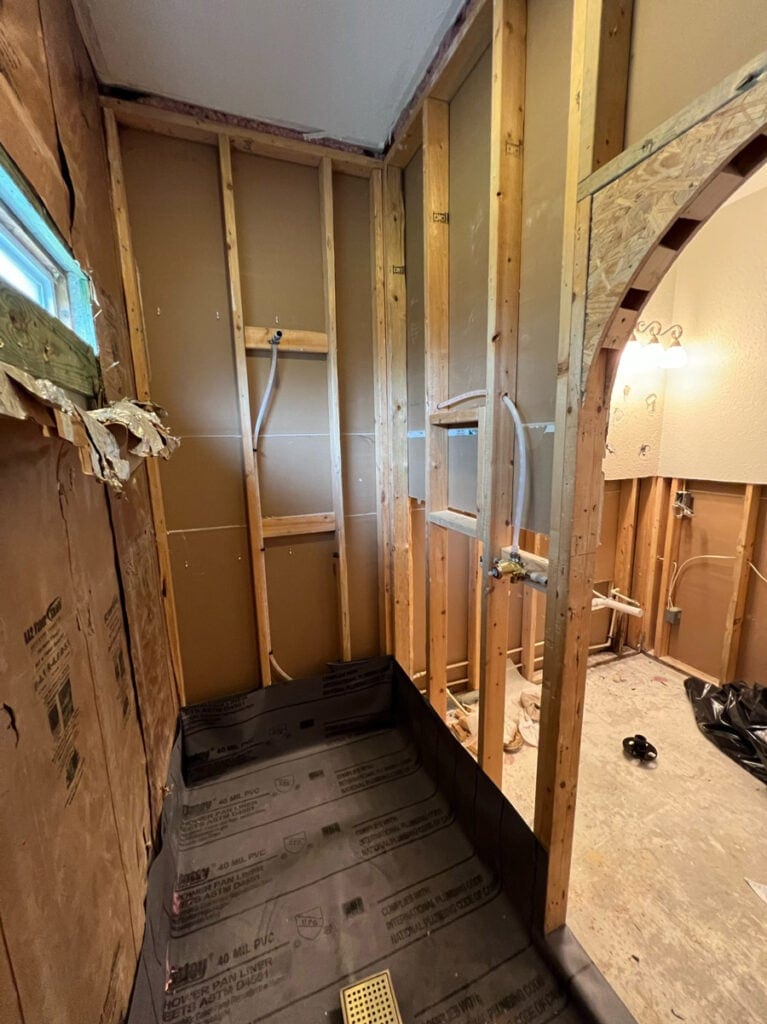
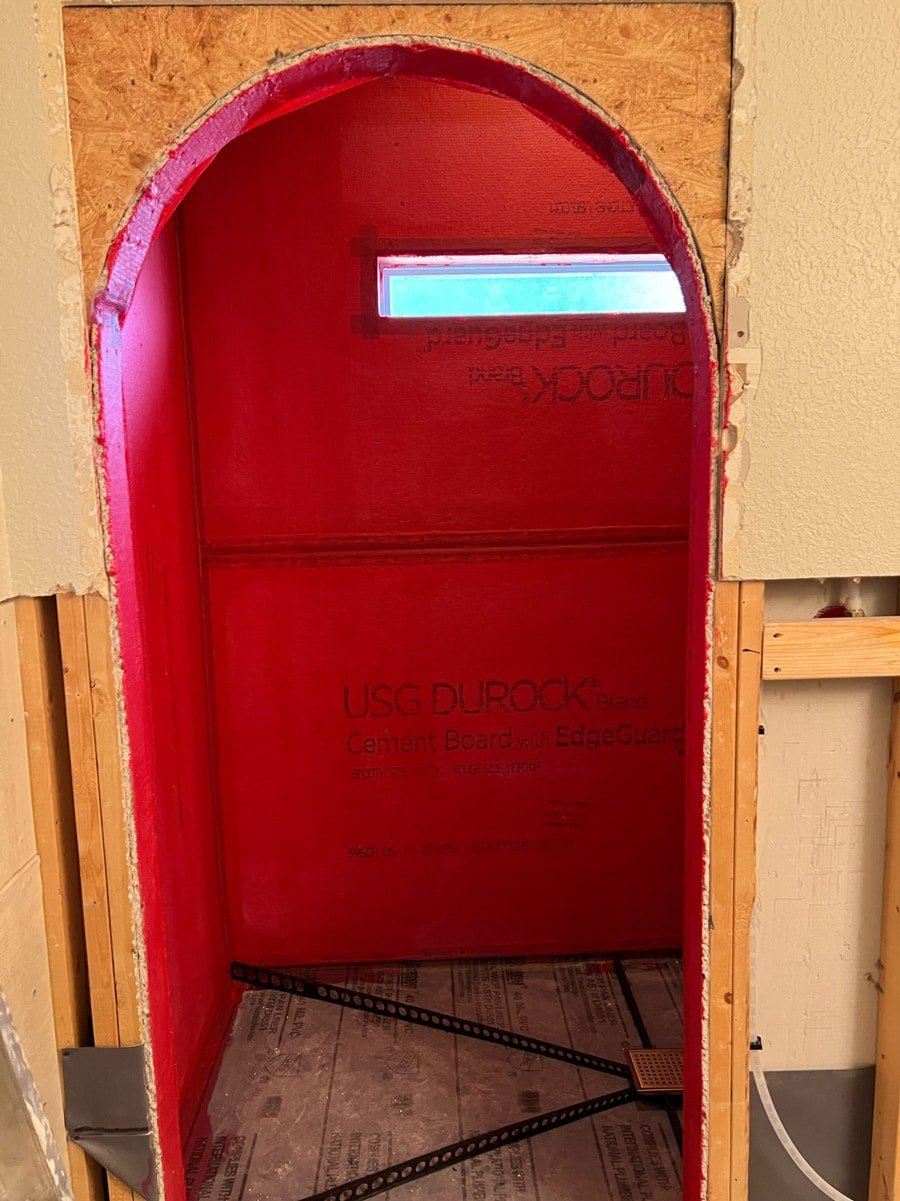
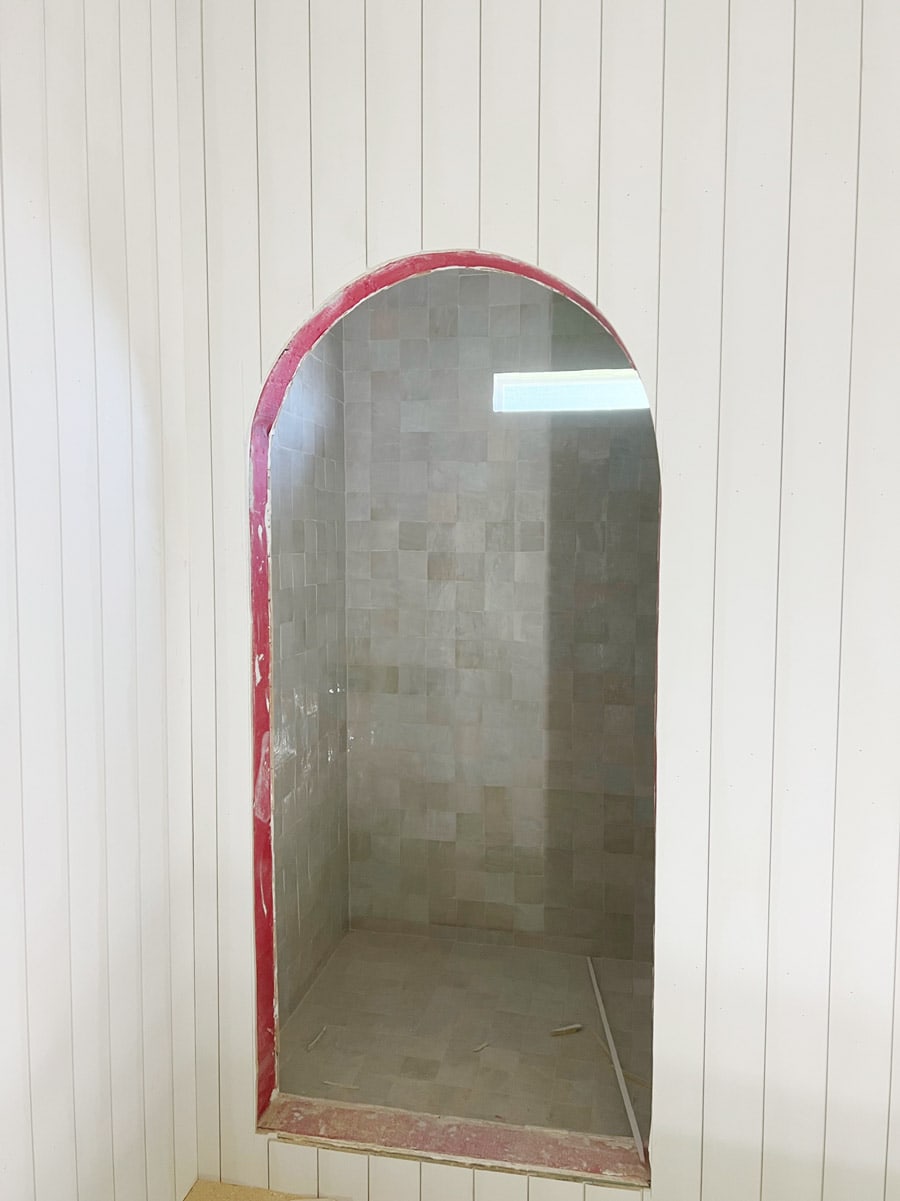
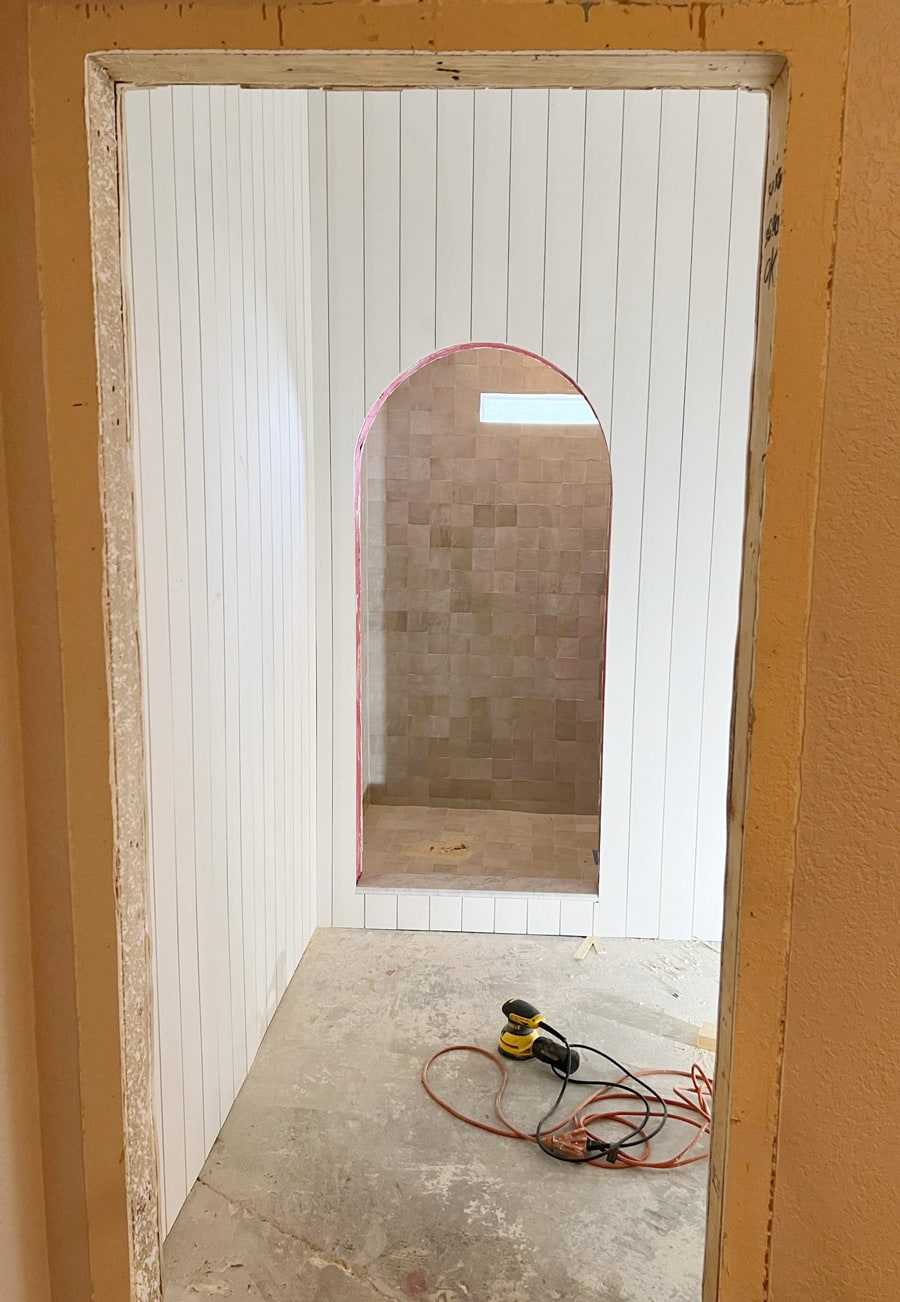
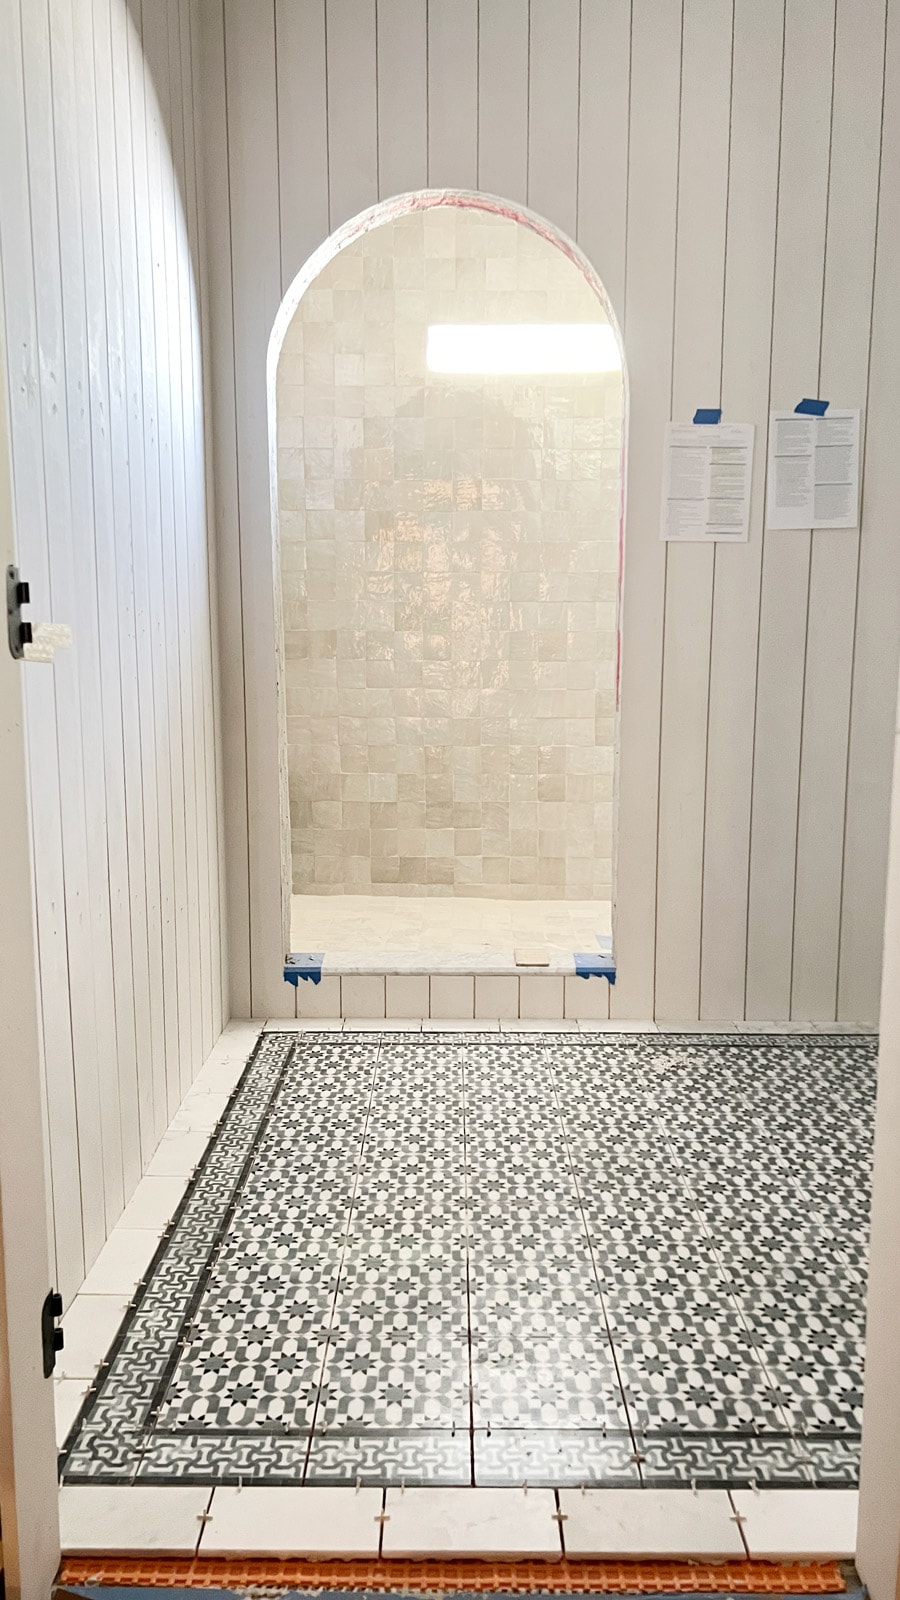
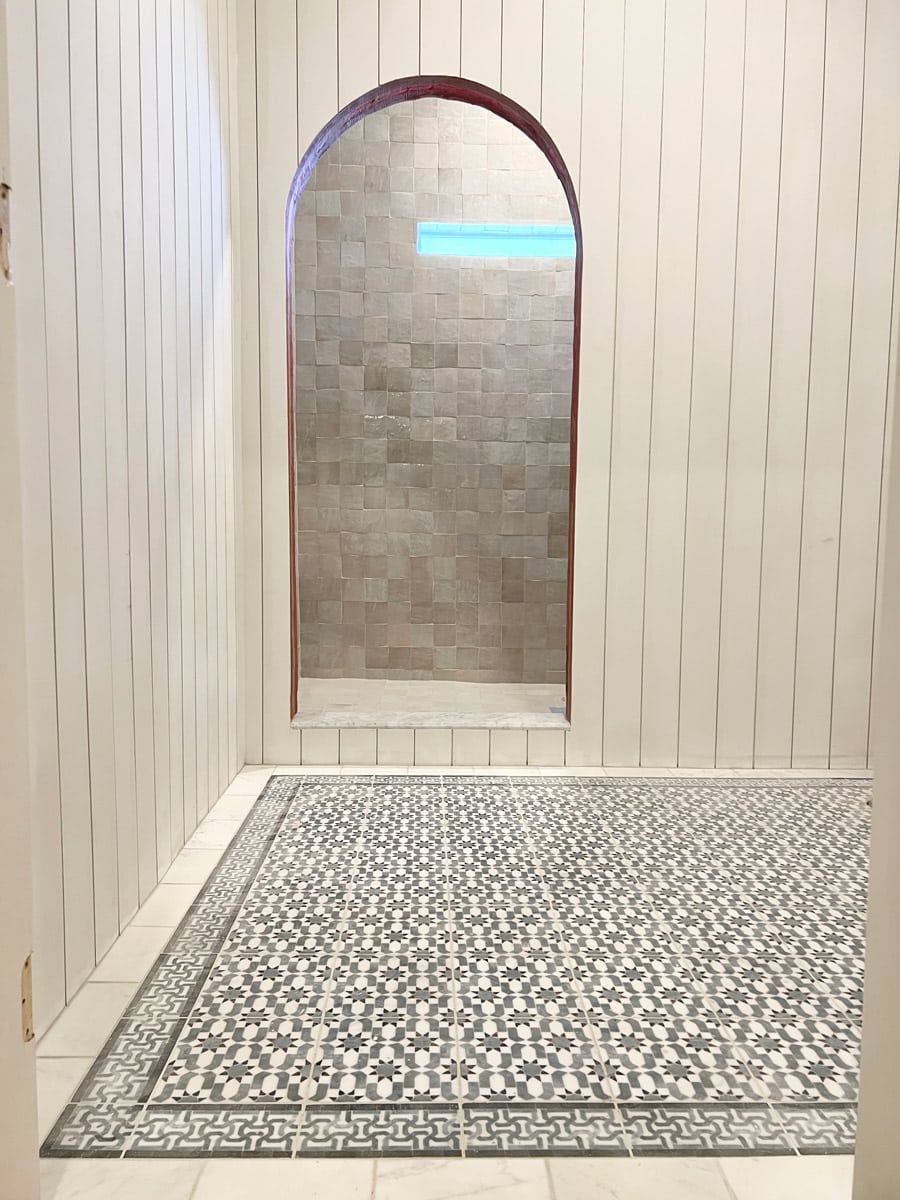
Then Lucas framed out an arch for the shower entrance and patched the walls.
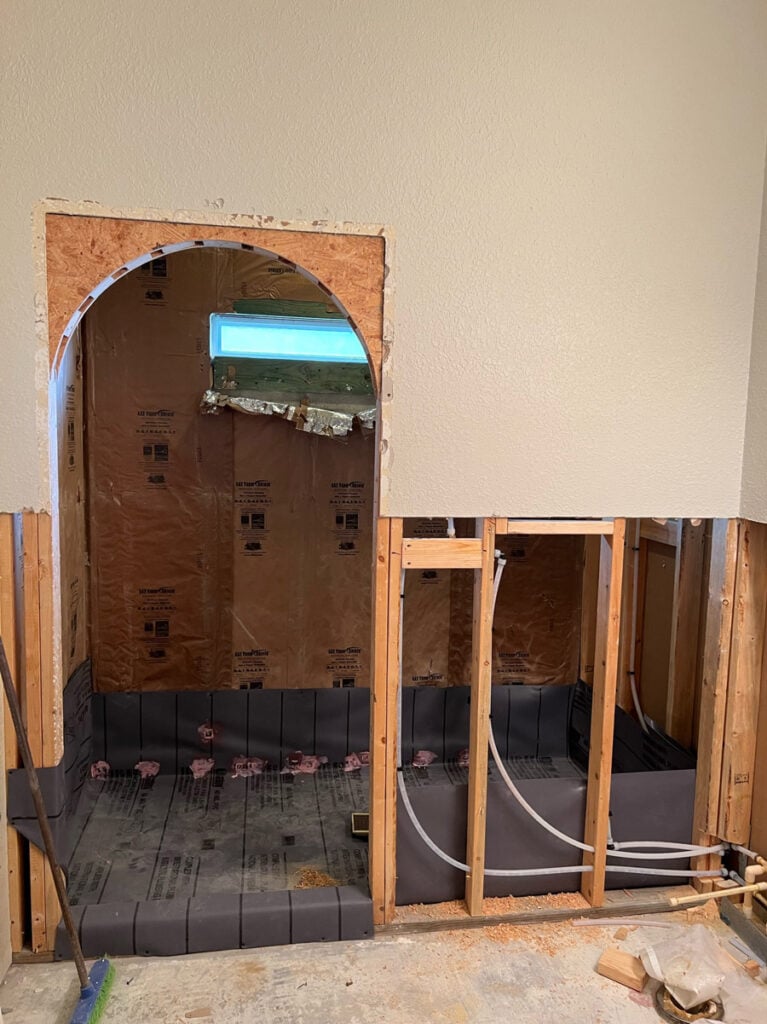
The shower walls were coated in RedGard in preparation for tile…
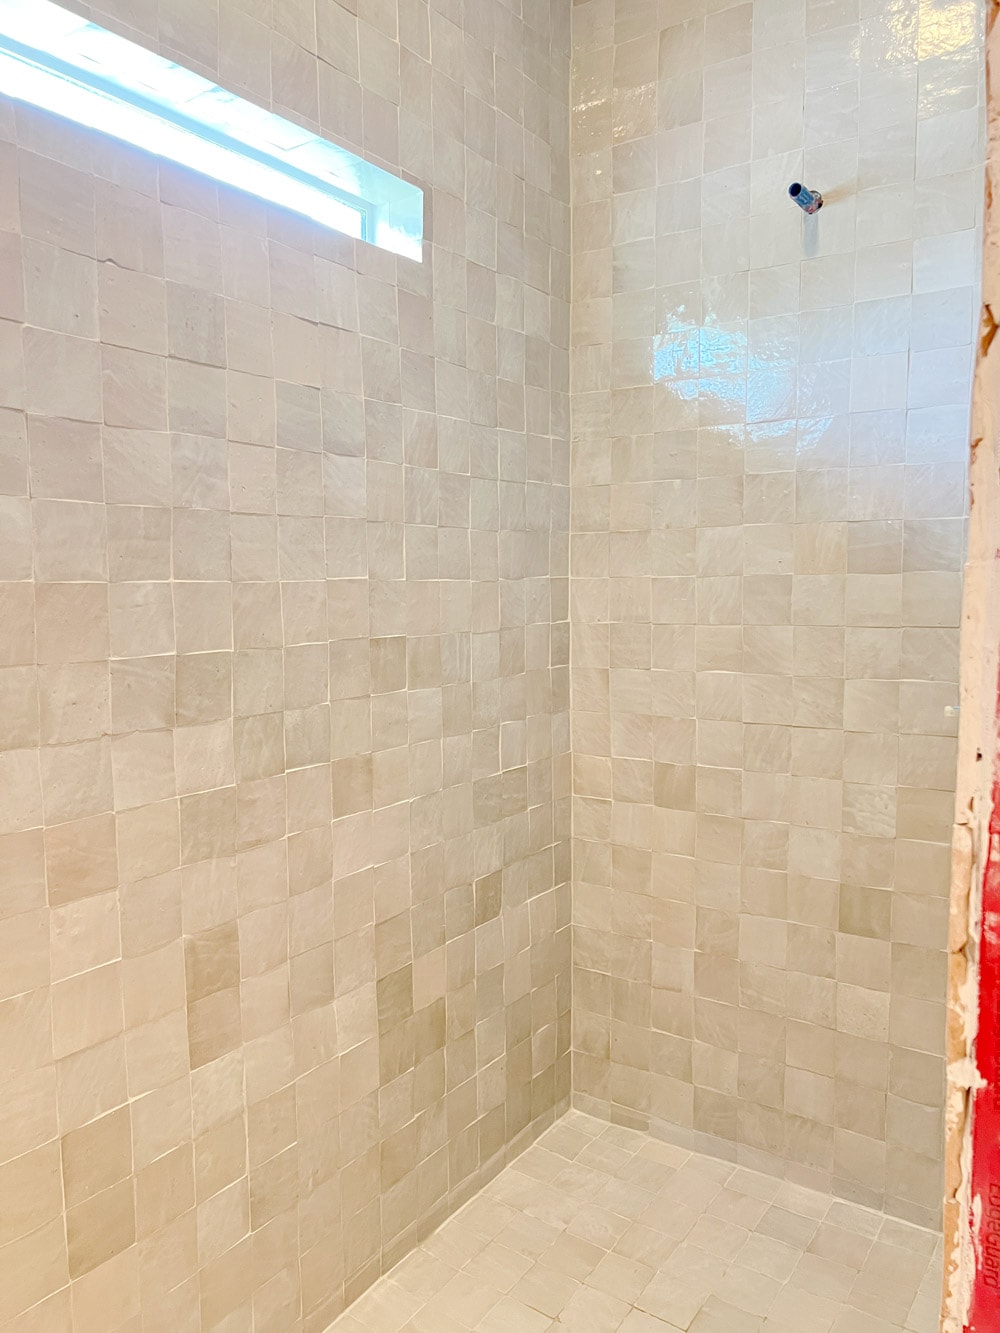
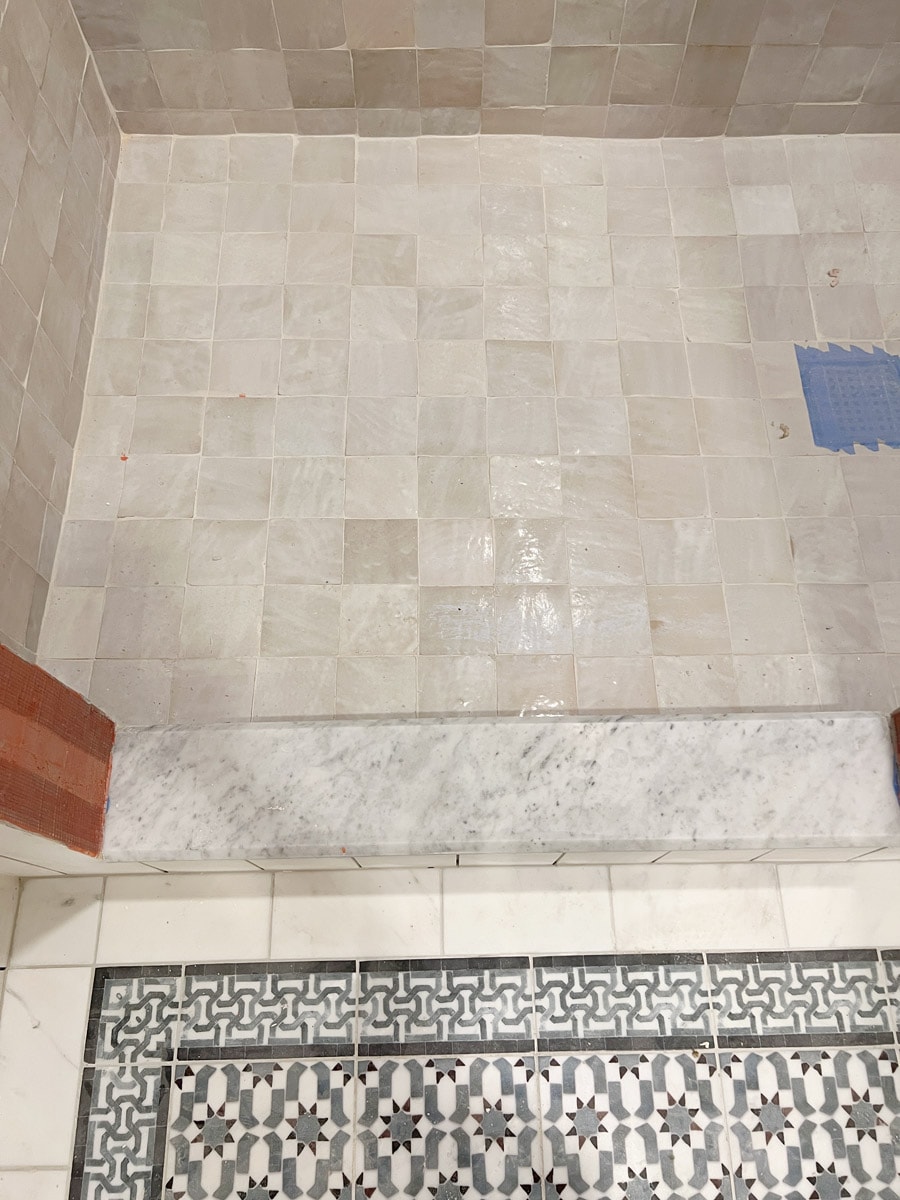
And then the fun part: shower tile! I collaborated with Riad Tile for this project, and chose their natural zellige 4×4′ tiles.
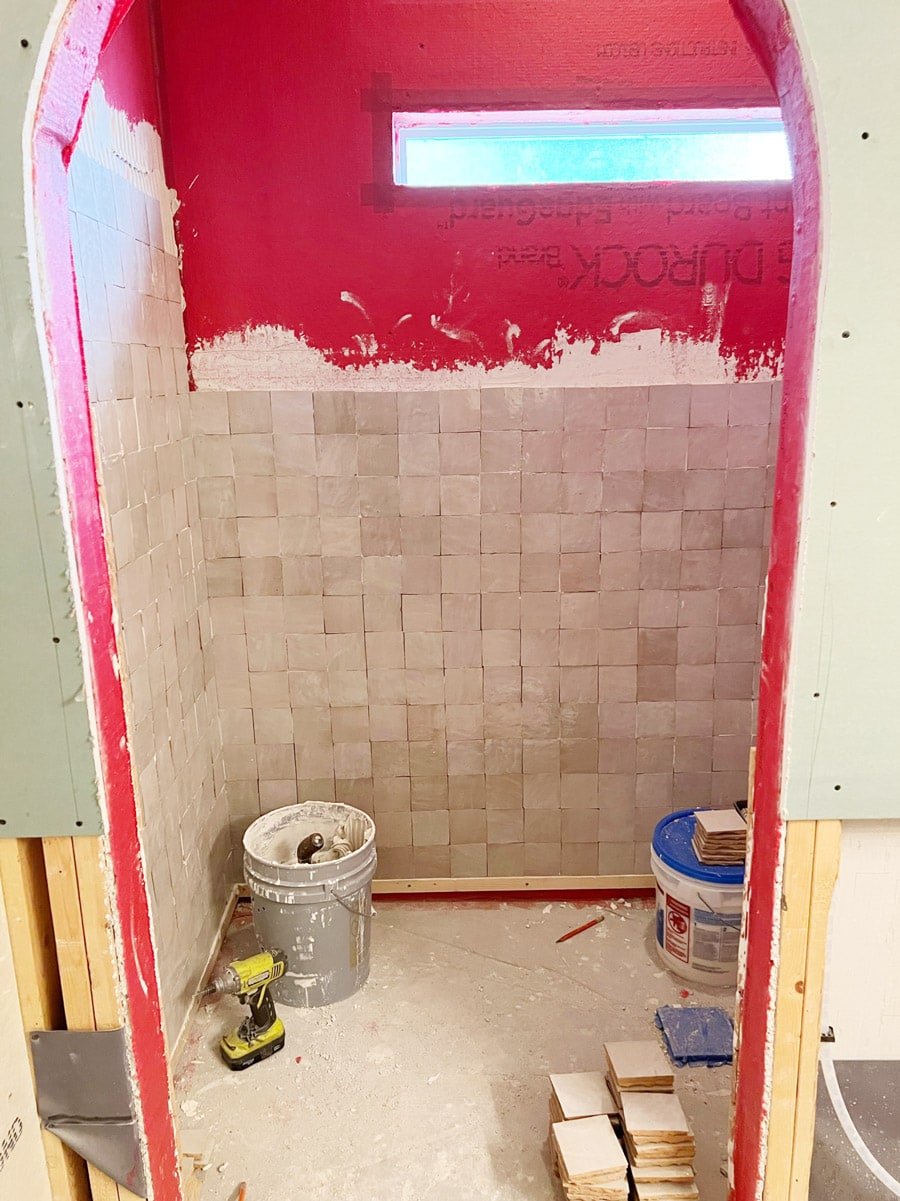
We hired this job out and our installer had never worked with zellige, so there was a bit of a learning curve.
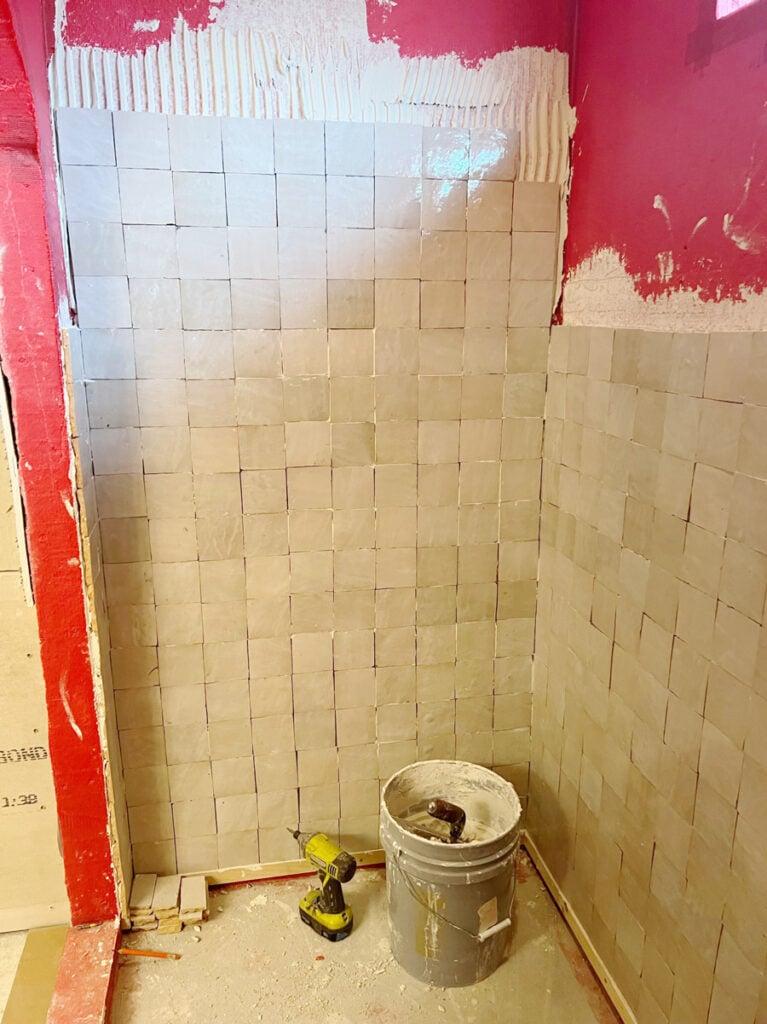
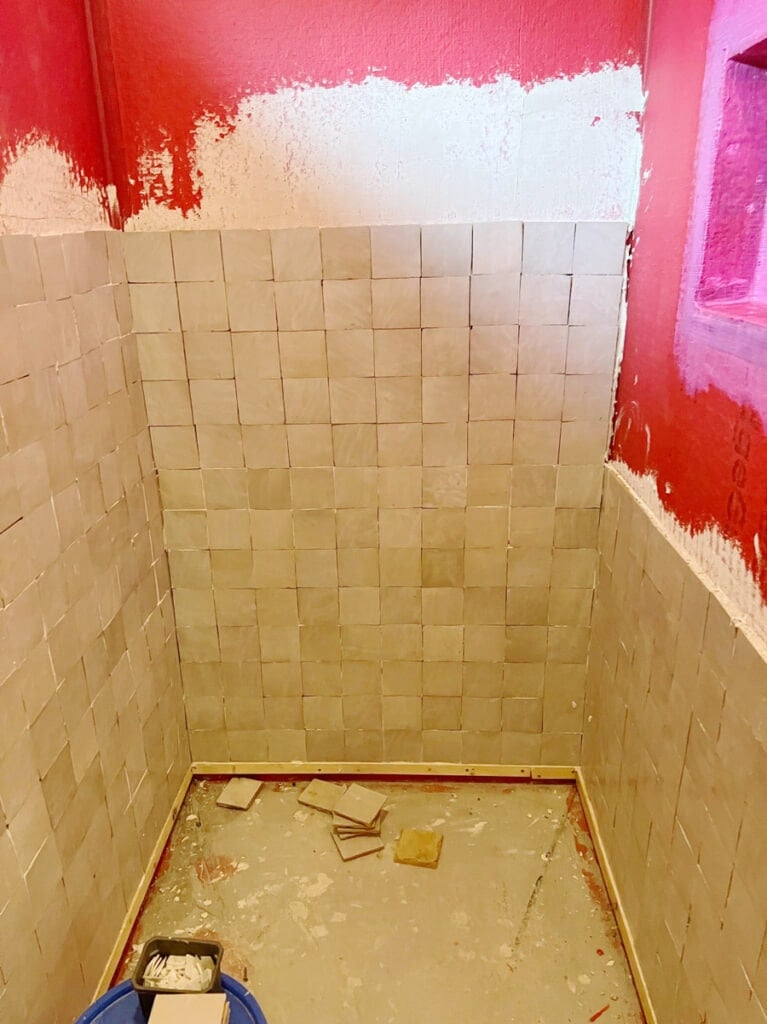
It took two guys a few days to finish, but it turned out incredible! Honestly, how dreamy is this tile?? I’d been wanting to use it for a long time and it did not disappoint.
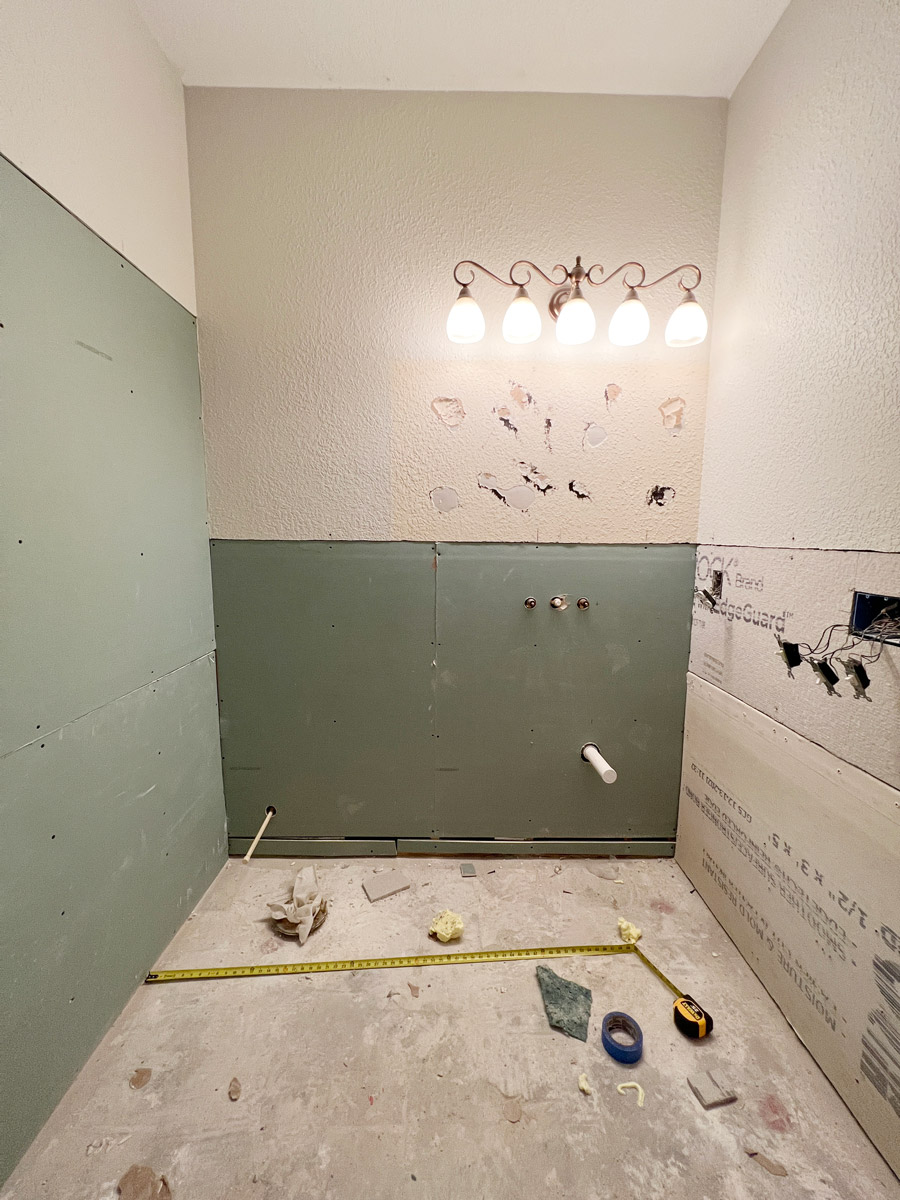
With the shower tile complete, Lucas moved onto the bathroom walls. Originally we planned to cover them in microcement, but I changed my mind and opted for vertical shiplap instead (don’t worry, we’re using microcement again in the third bathroom!)
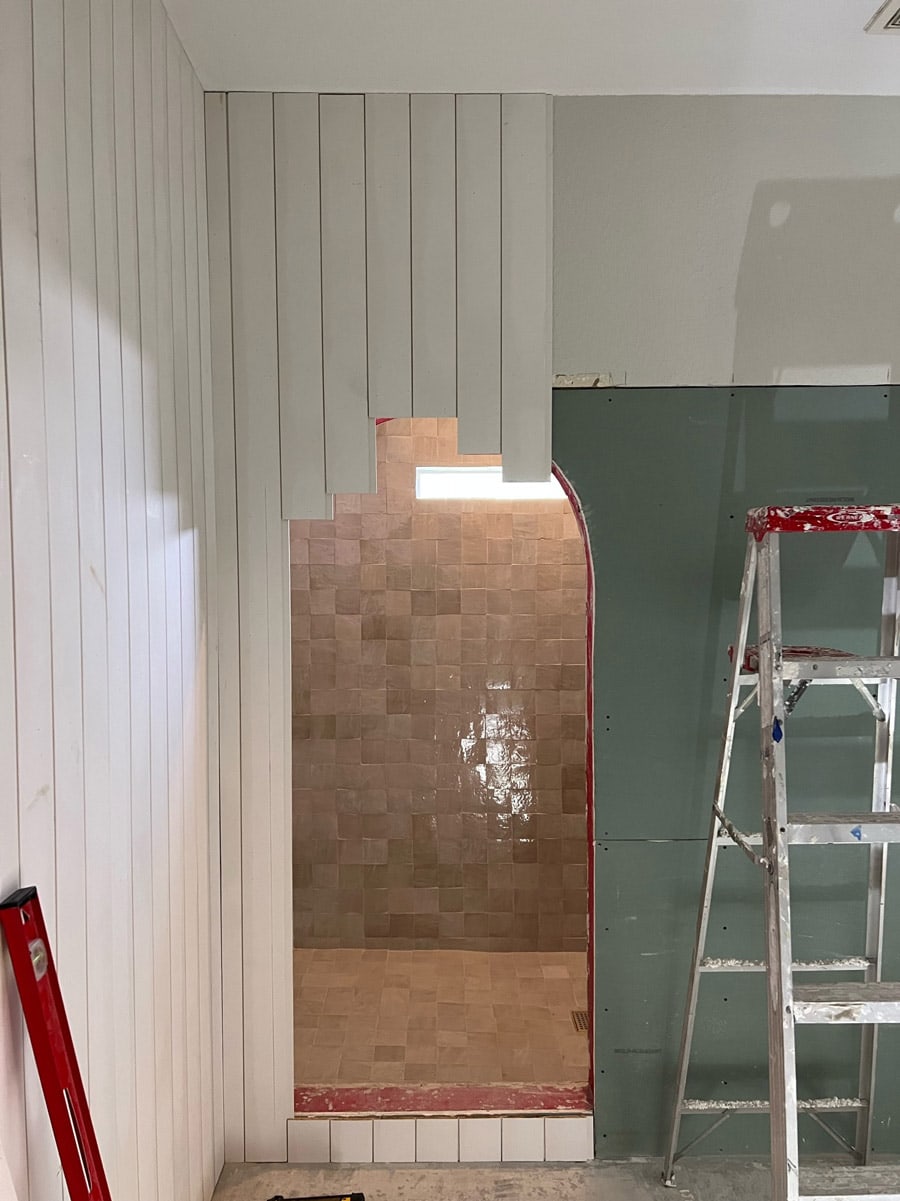
We went with these shiplap planks (the same material we used in the Hacienda kitchen) as they come in extra long lengths and are straightforward to install. Our ceilings are 9’4″ which help make the space feel larger, especially with the vertical lines.
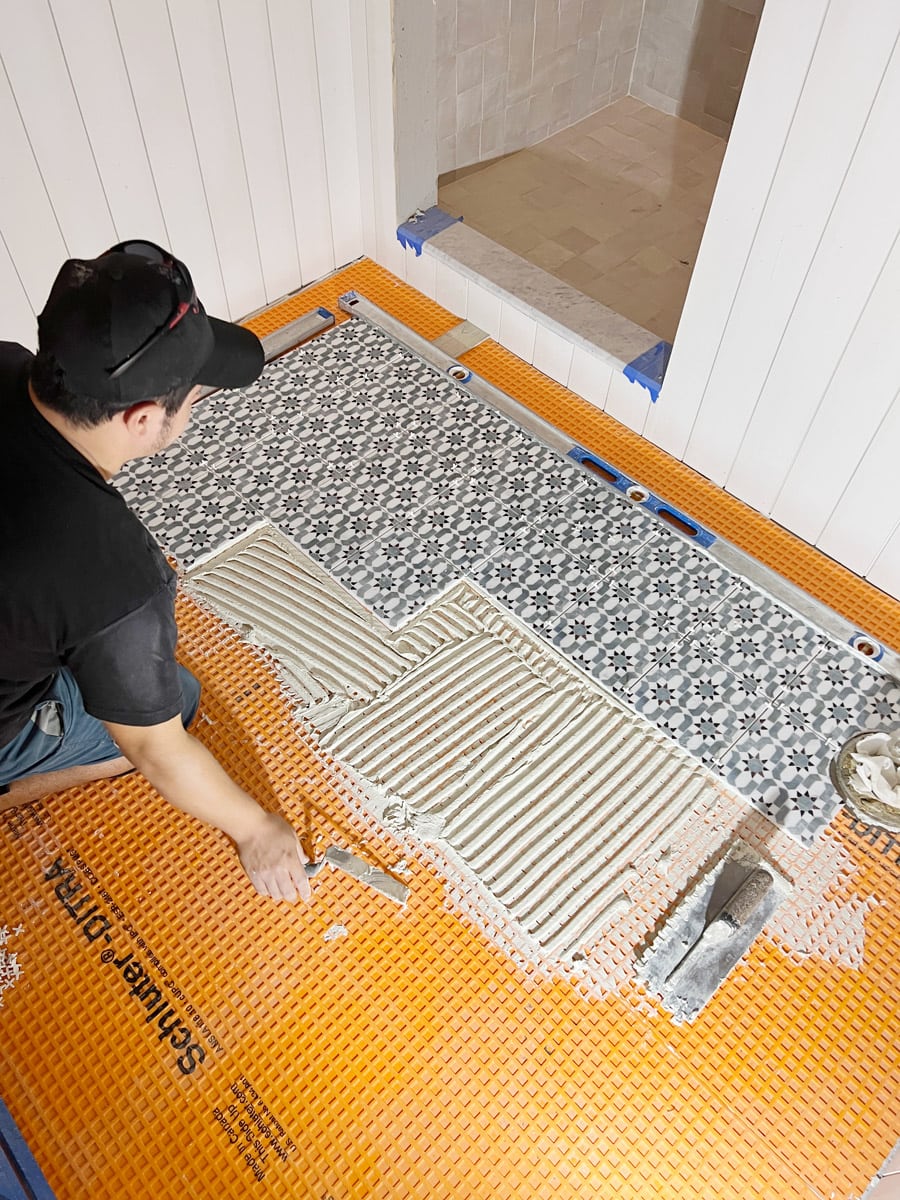
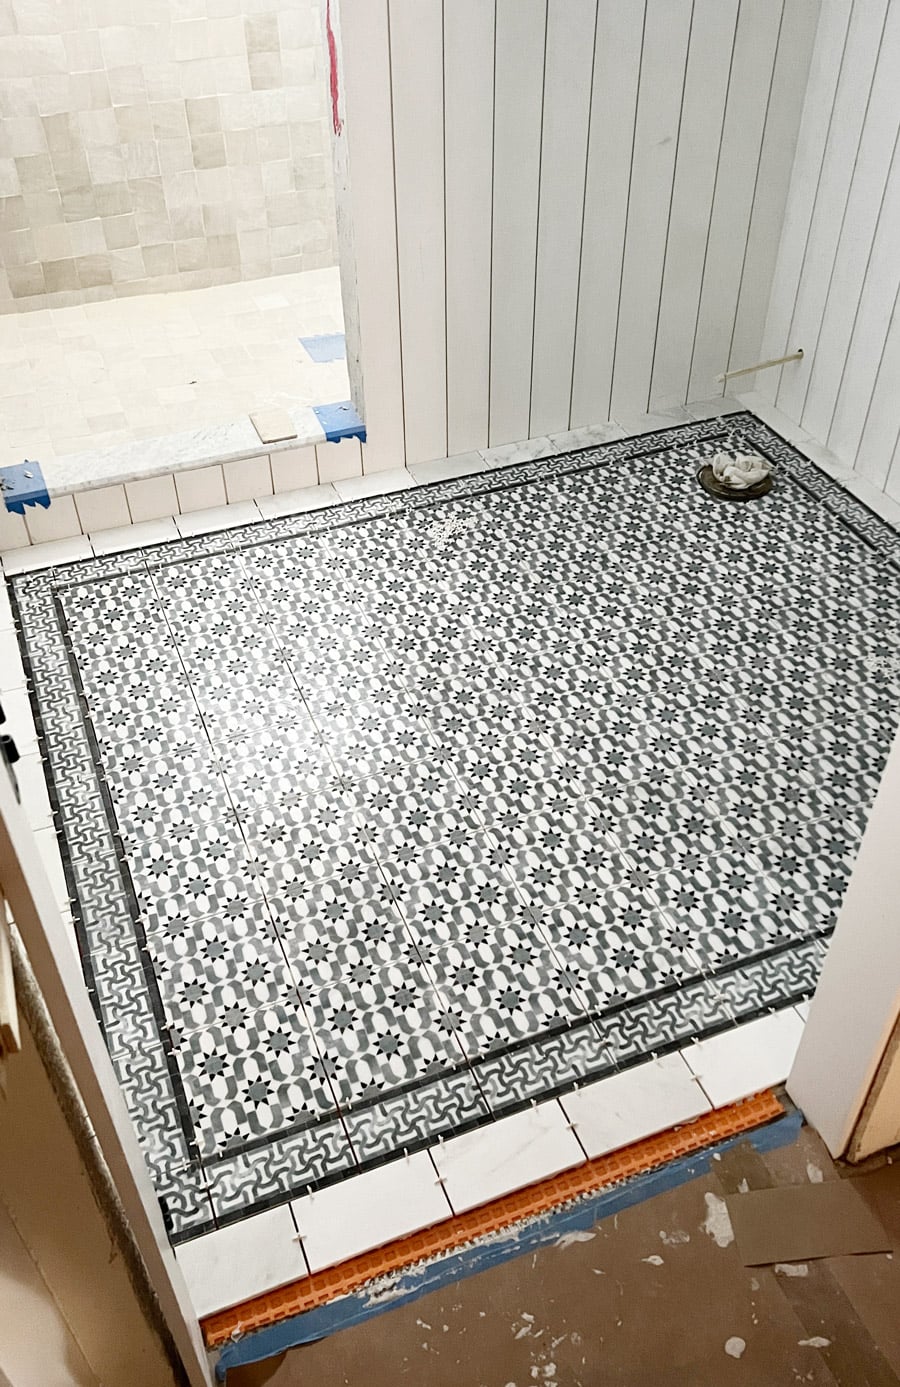
With the shiplap complete, it was time to move onto my favorite part—the floor tile!
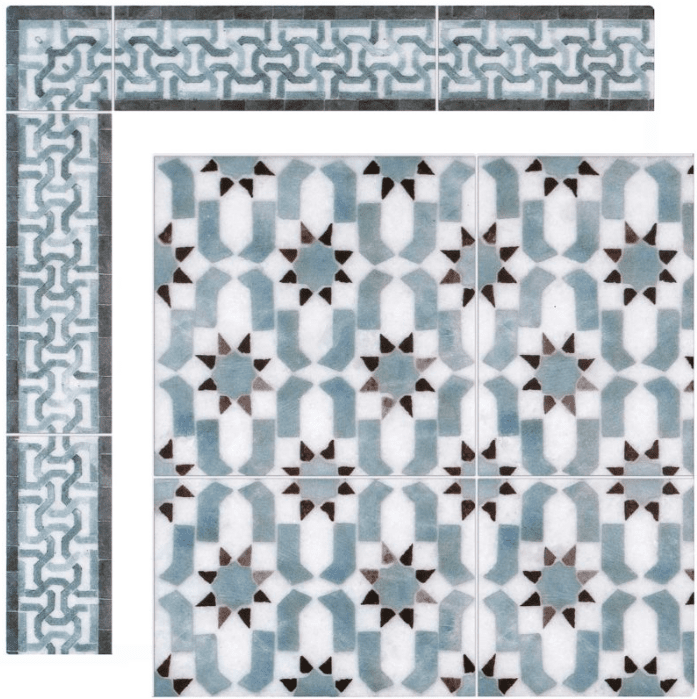
I worked with Stone Impressions and selected their Miabella tile mural in Sea Glass, on Thassos marble. These murals are custom made to order to fit your room, and they sent a mockup based on our floor size:
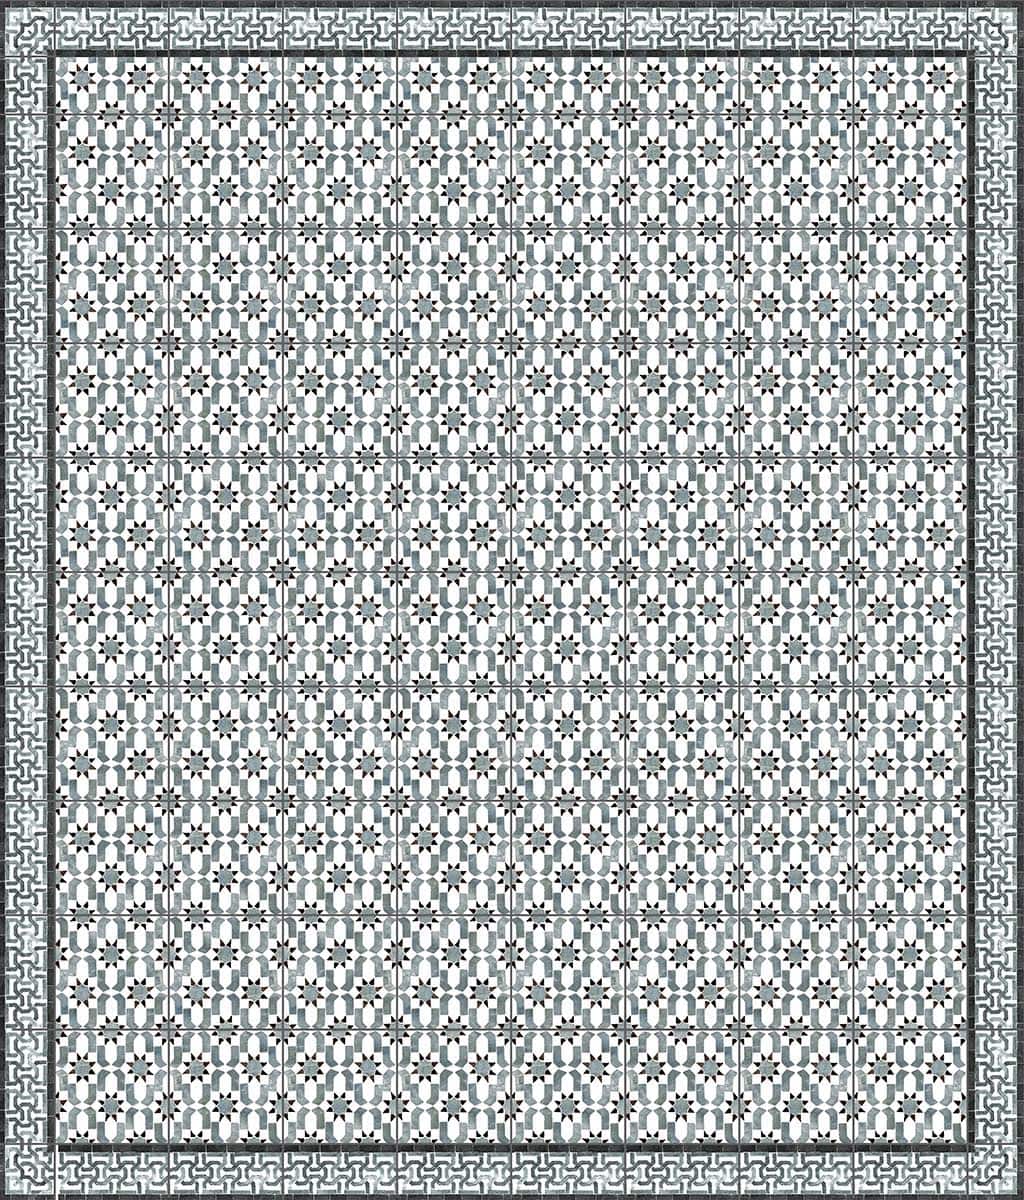
Install day arrived and I couldn’t contain my excitement! Until our installers discovered that the walls were not square at all—see the border row of tile on the far left? That edge is square, which meant we’d have a large gap in the lower left corner. Because this tile is like a puzzle and all of the pieces have to fit together in a perfect square, there was no room for error and we had to come up with a Plan B.
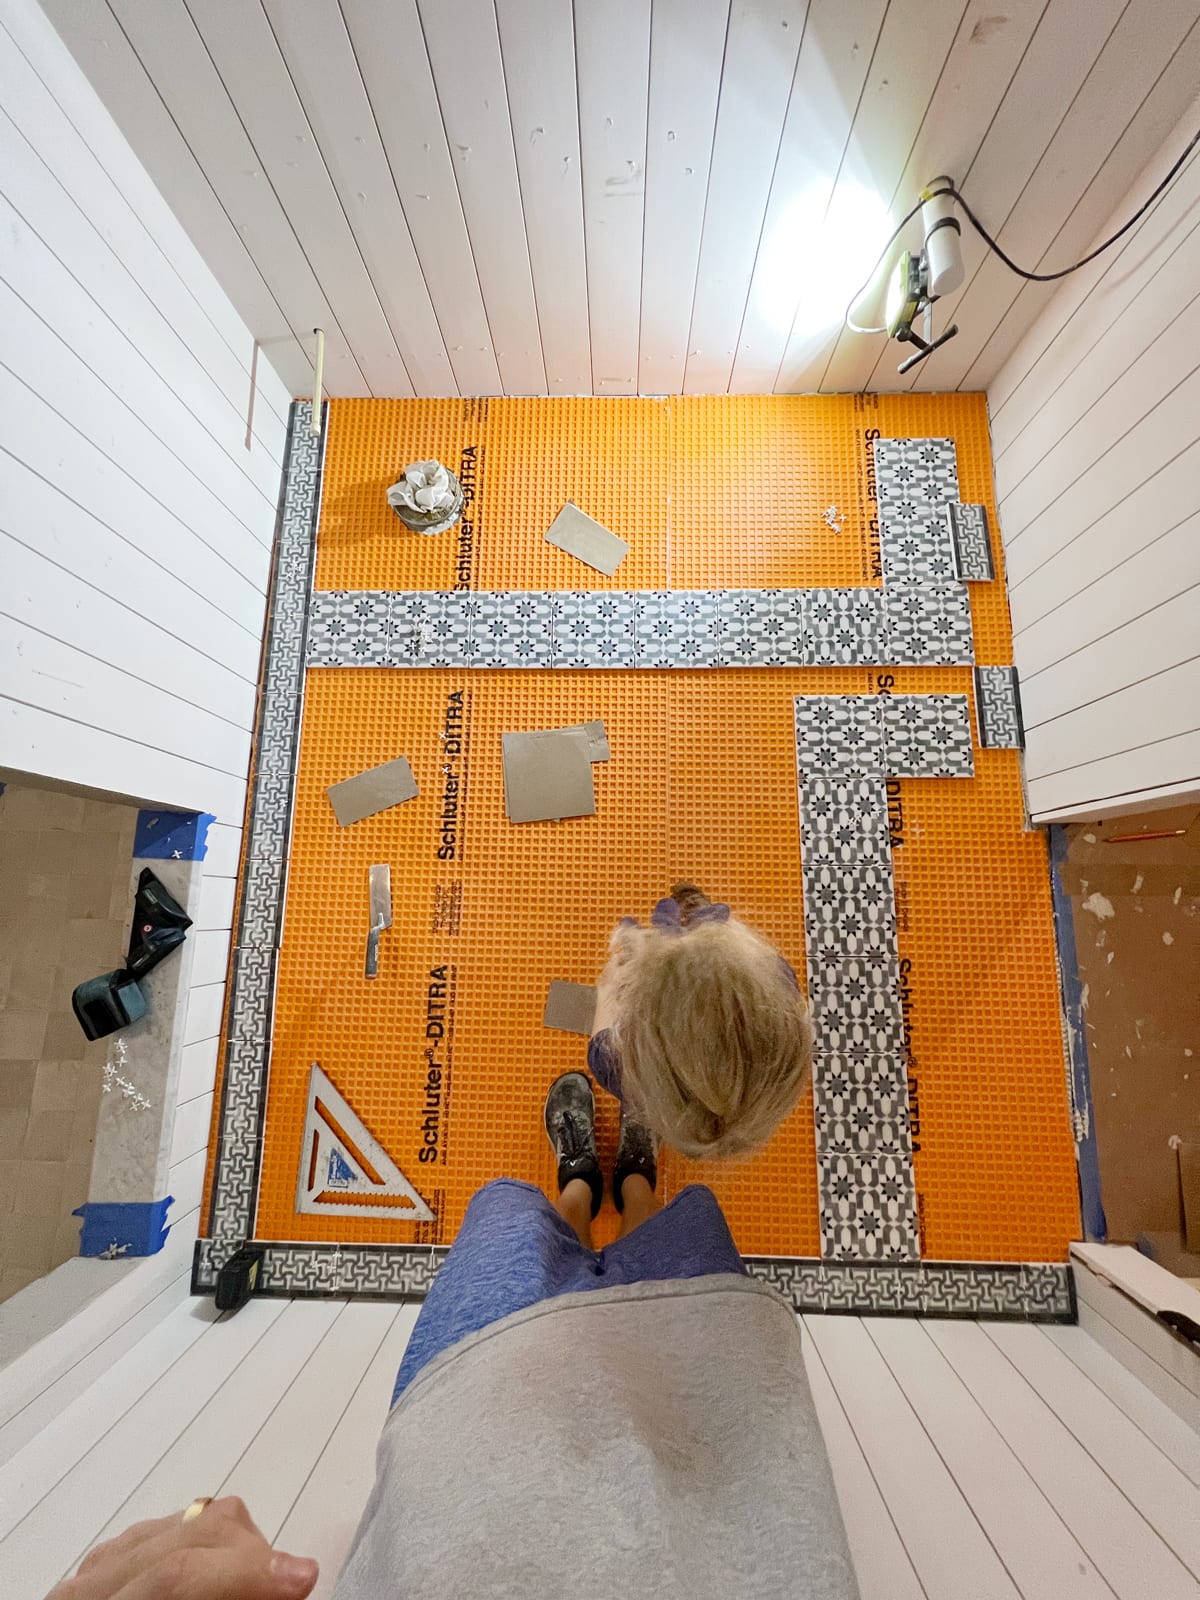
I decided the best solution was to create a new border using plain white marble 4×8′ tile to help hide the uneven edges, and inset the entire mural so it becomes more of a ’tile rug.’ Stone Impressions sent over the new border tile and our installers got to work…
Hiring out the tile work in this house was worth every penny. We got to let the pros do their thing and watch in anticipation!
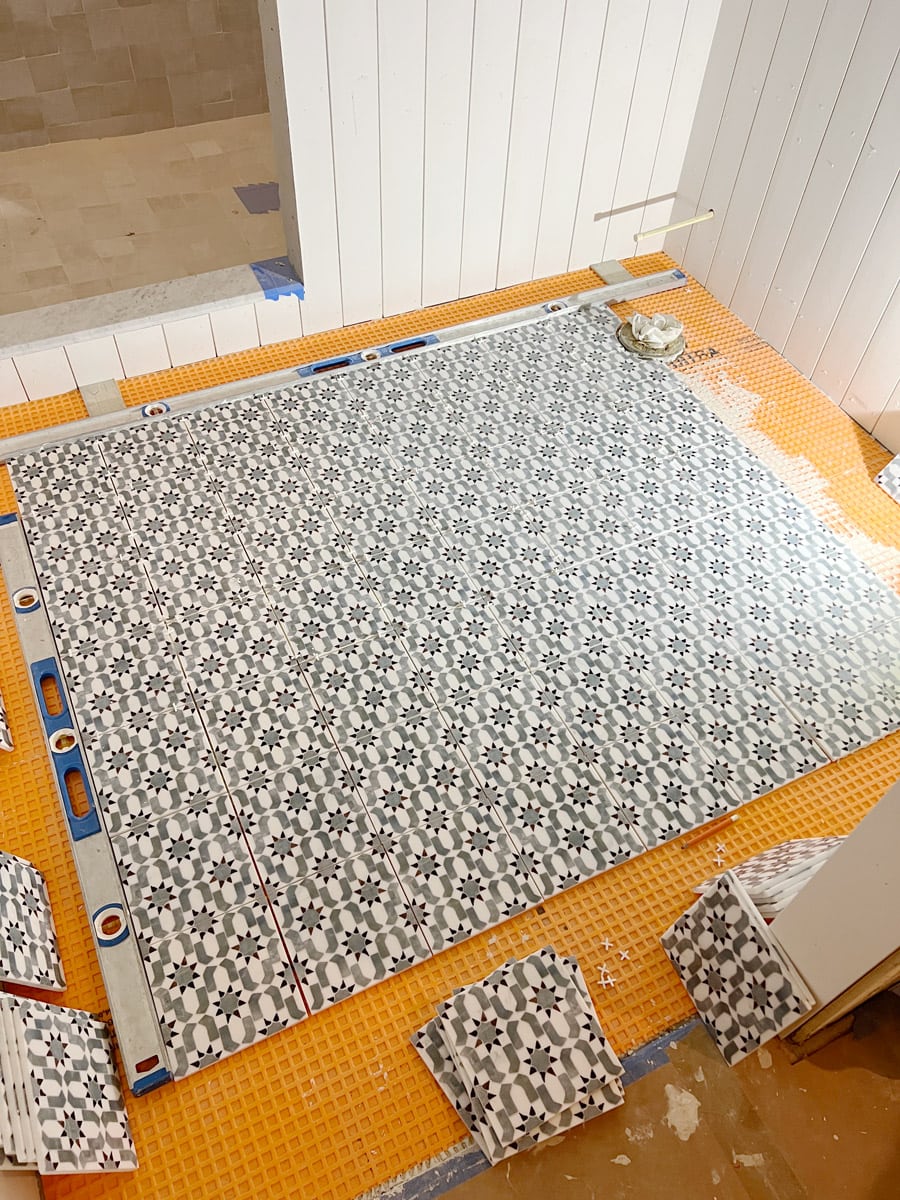
As is often the case, Plan B actually turned out even better than Plan A. I absolutely love the added white border—and our installers were able to make it so that you don’t even notice the uneven sides!
Talk about statement tile. It’s absolutely stunning in person.
We used Mapei Alabaster grout on both the shower and floor tile, which is a light warm gray and much easier to keep clean than white.
I also added this marble shower threshold:
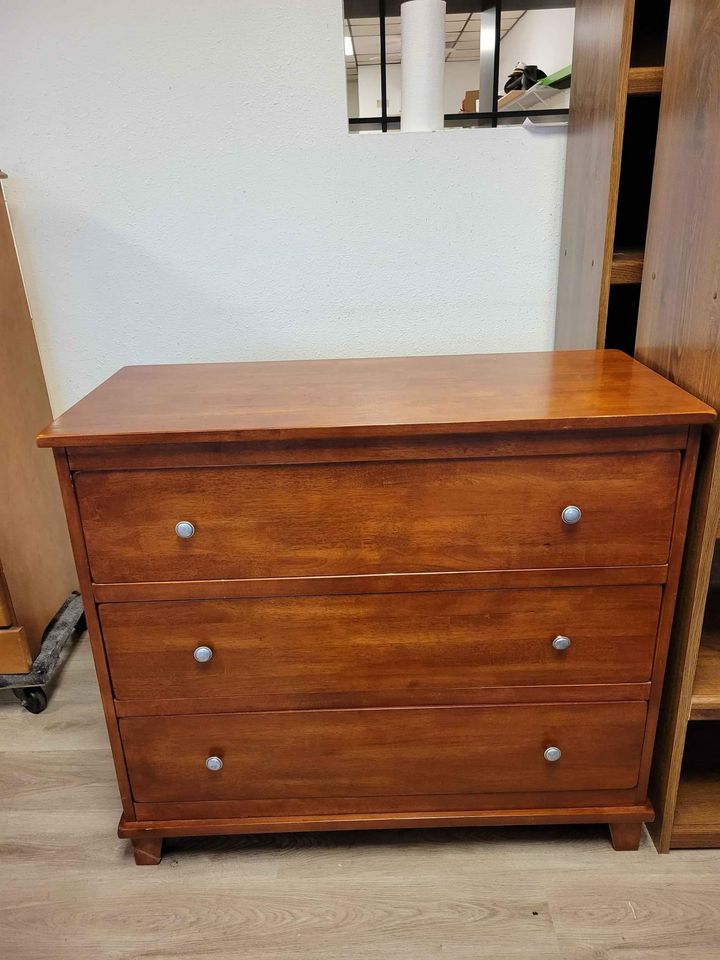
And that brings us to today! I’m ordering Samplize swatches this week to find a wall color (going with a very pale greige or beige) while Lucas works on refinishing the vanity. It’s a dresser I scored on FB Marketplace for $40, and it just needs a little modifying to fit:
Everything else is pretty much ordered and ready to install (besides artwork and hardware). We’ll be finishing up this room over the several weeks in tandem with the adjoining bedroom. I plan to reveal both rooms next month, and you can follow along with our progress on my Instagram stories for more updates!


Evelyn says
Could you give details on how he refinished the dresser and products he used? It is absolutely beautiful he did an amazing job!
Jenna Sue says
He secured the top door to the vanity frame, cut out a section on the middle drawer for plumbing, and stained it Cabot solid Acorn. Hope this helps!
Melissa A Hess says
Hello. I am very curious as to the interior dimensions of the shower. I have a client that wishes to have a doorless shower but I feel the space is too small for overspray – the ‘rules’ for this type of layout seem to be vague and various. Input appreciated!
Jenna Sue says
Hi! The shower size is 42×87″. Any overspray should be minimal at that length.
Amy says
Absolutely gorgeous! How did you finish the archway? Is it tiled within the jam? Did you use finishing bullnose? I can’t find any information on it and it’s so seamless!!
Jenna Sue says
Hi Amy, the jamb was waterproofed and covered in microcement. You can see the process on my Instagram story highlight Bath 2: https://www.instagram.com/jennasuedesign/