If you’ve ever swooned over those framed brass shower enclosures from high-end designers and wondered whether they’re actually attainable, today is your lucky day! I’m sharing all the highly requested details behind our custom enclosure, and how we made it happen without the luxury price tag.
Jump to:
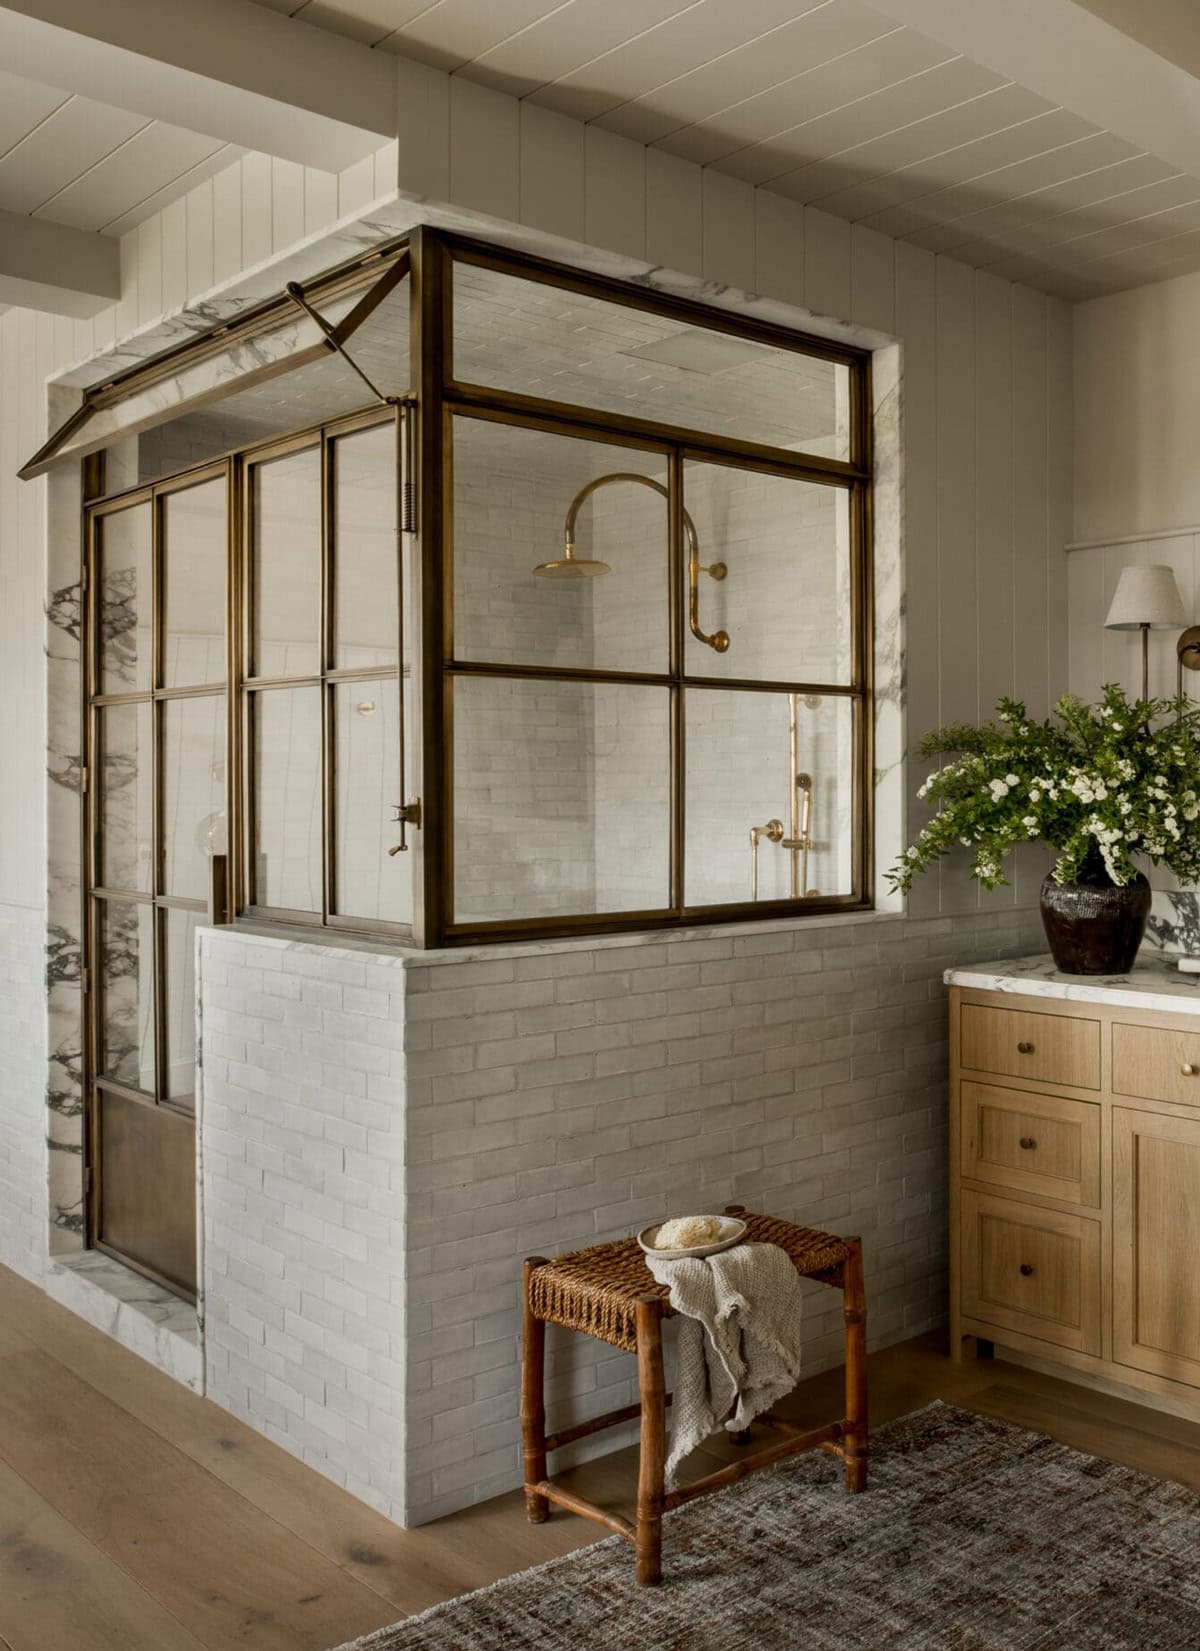
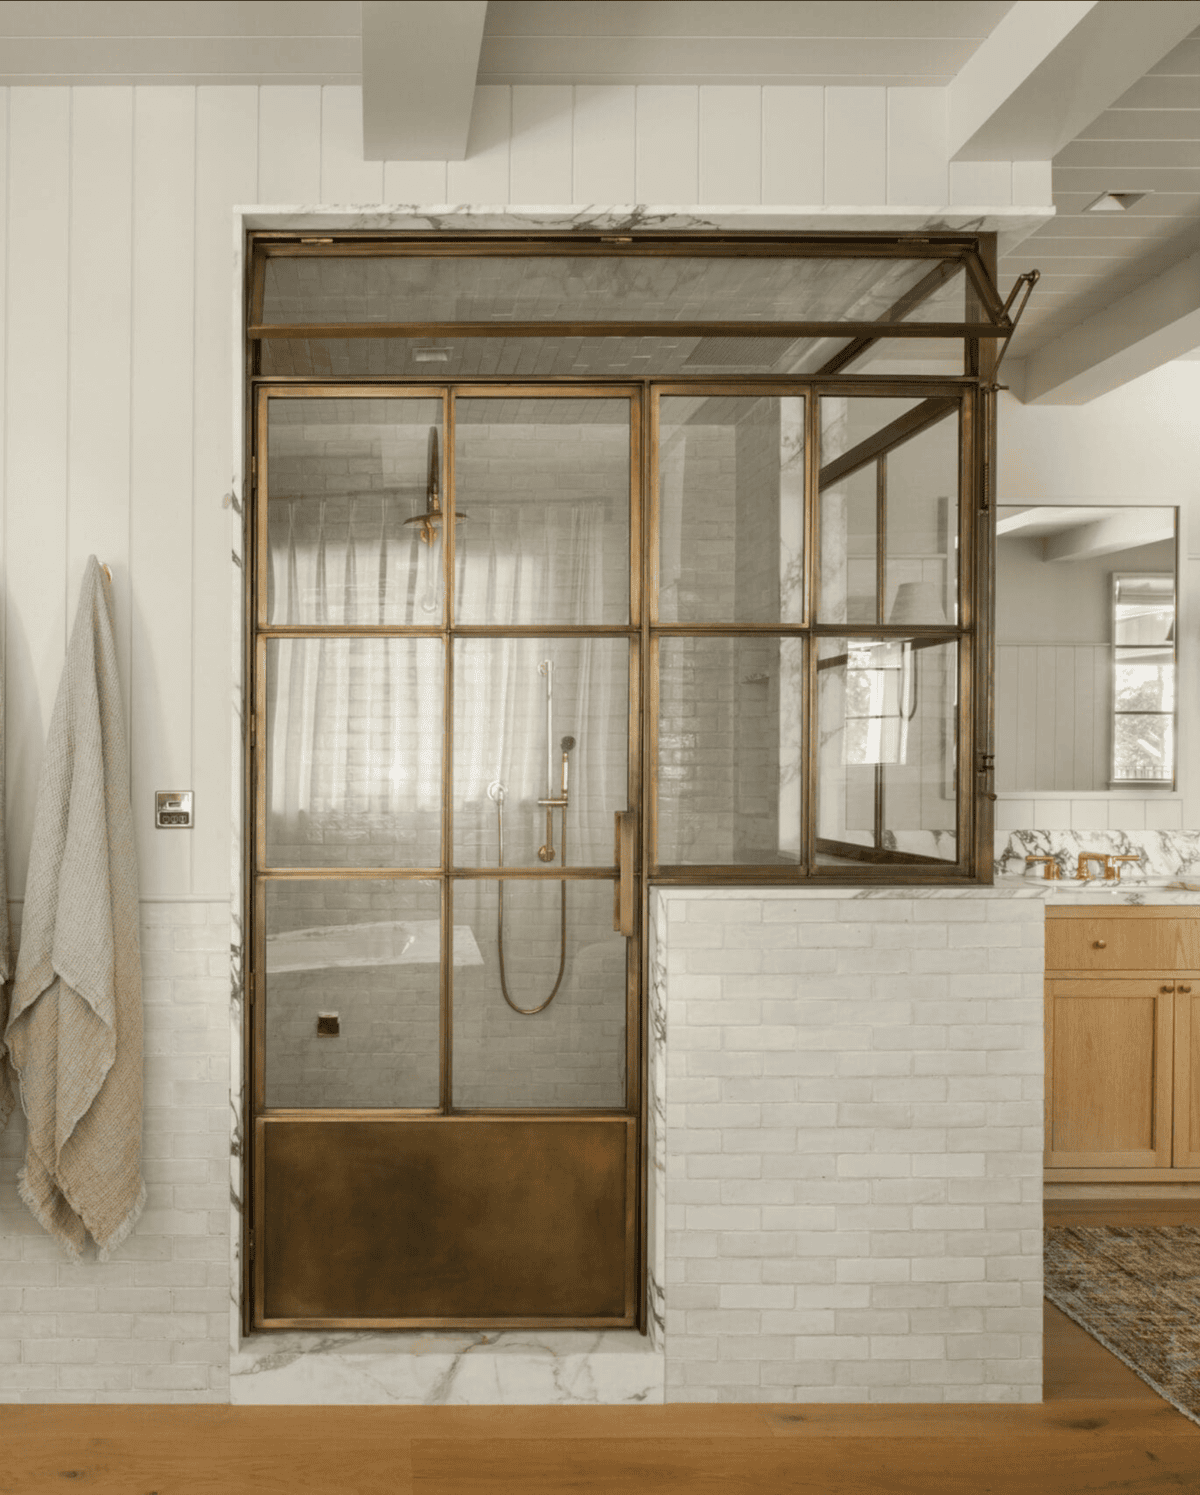
The Inspiration
You’ve probably seen those jaw-dropping bathrooms floating around Instagram and Pinterest from top designers. I’ve been obsessing over that look for years, and went down more than a few rabbit holes trying to figure out if and how it could be DIYed.
After talking to other designers and bloggers, I learned that these enclosures can cost anywhere from $30–50k (or more), depending on the setup. Needless to say, that just wasn’t realistic for us, especially for a rental.
I even started sourcing materials to attempt a DIY version, but it still required working with a specialty glass installer, and there were so many opportunities for things to go sideways. It started to feel like a complicated puzzle with very little room for error. Still, I wasn’t ready to give up on the idea just yet…
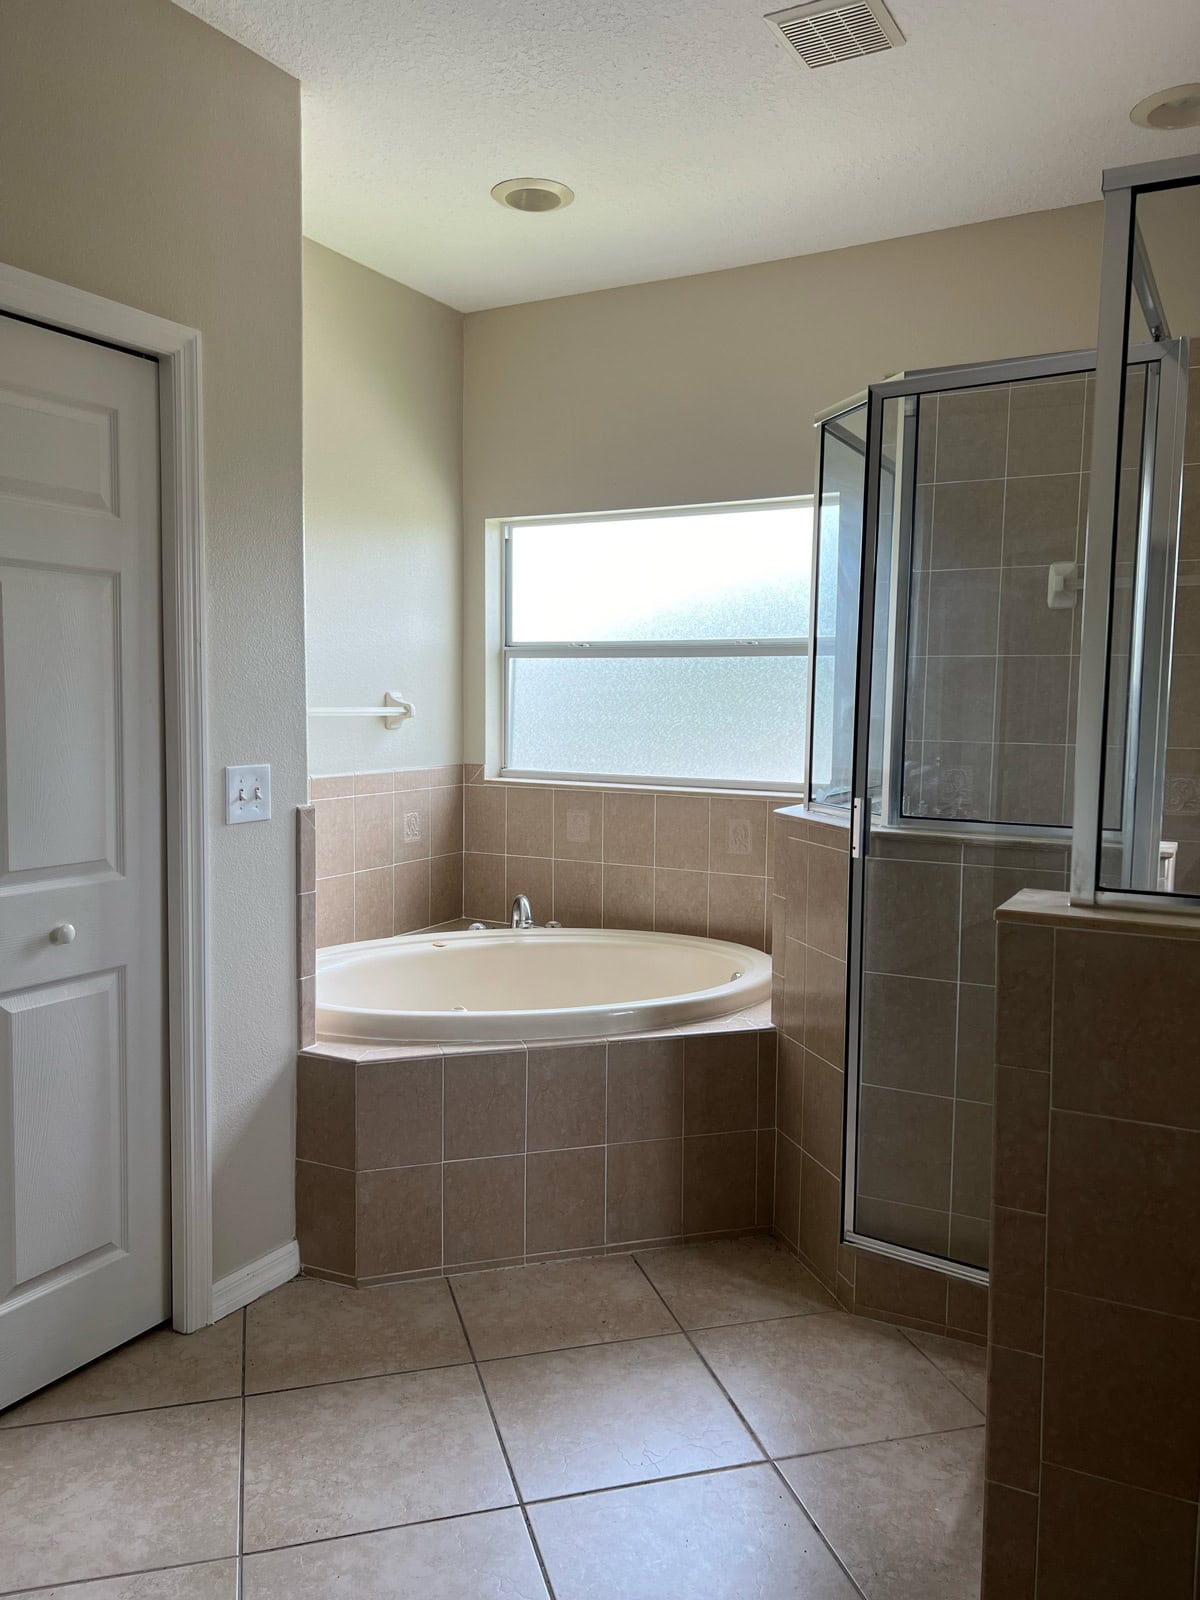
How it started
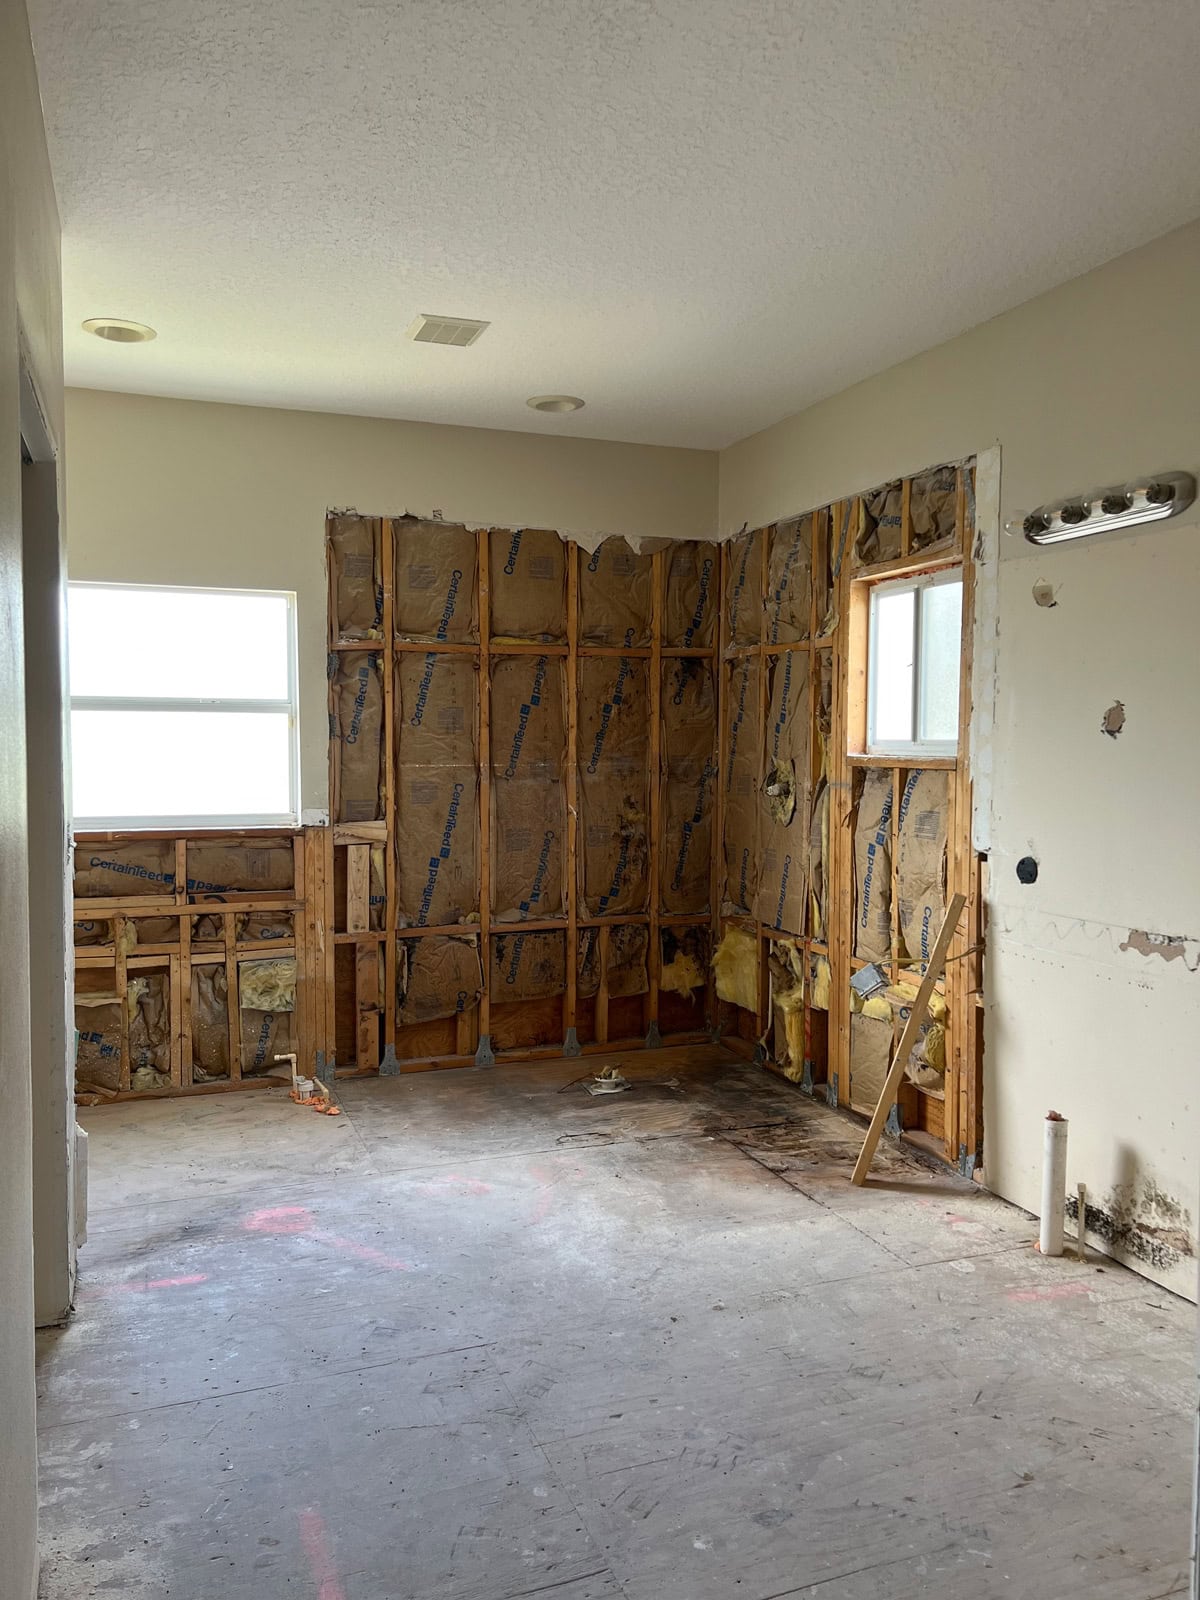
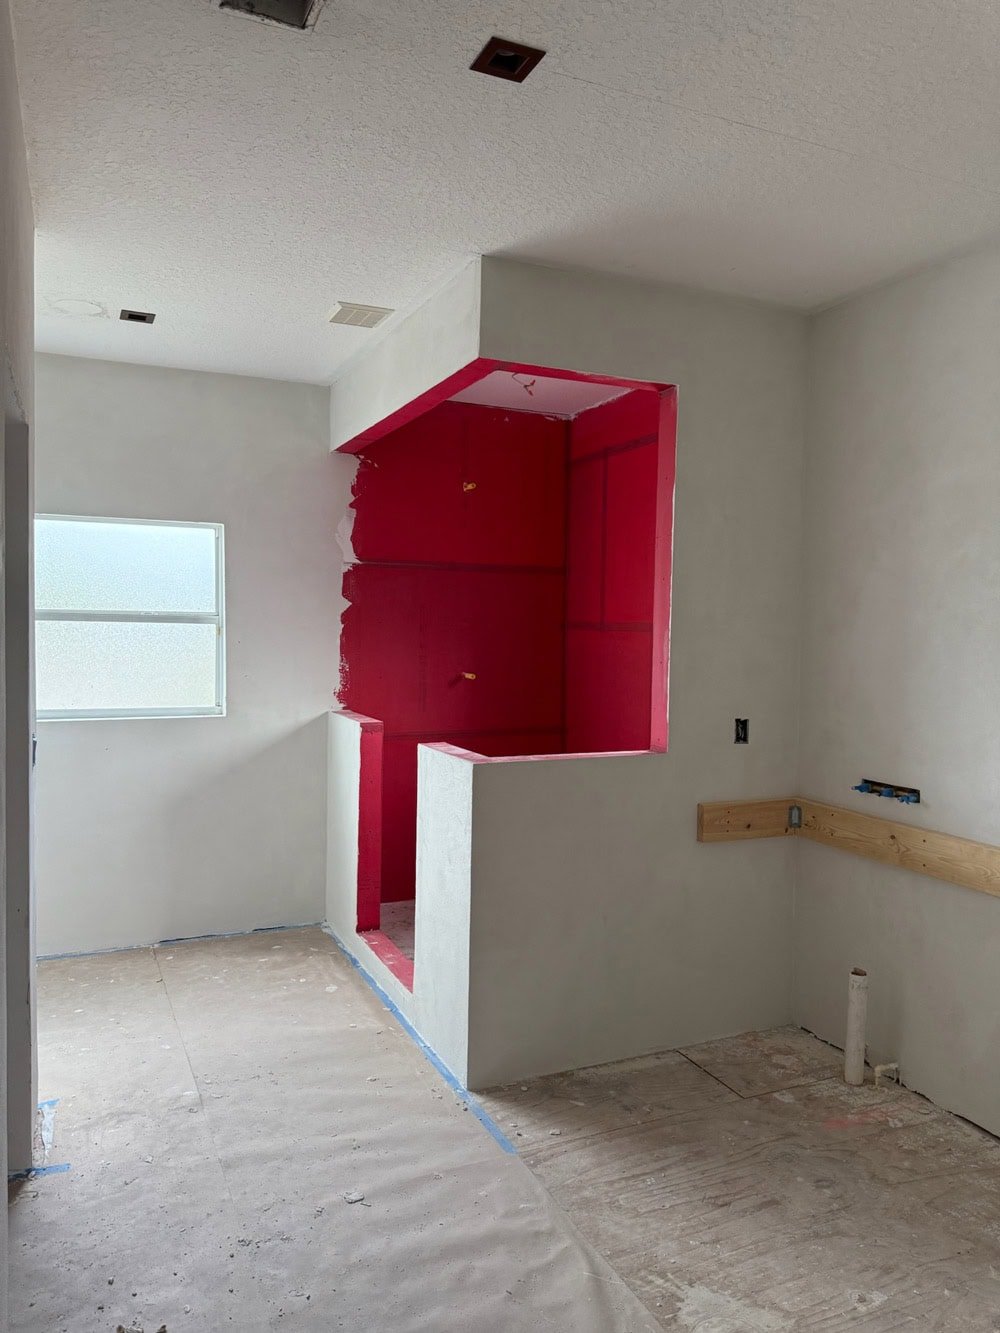
Here’s how the bathroom looked before we touched it…

We decided to ditch the tub in favor of a larger shower plus a vanity desk area that would be more functional for a vacation rental.
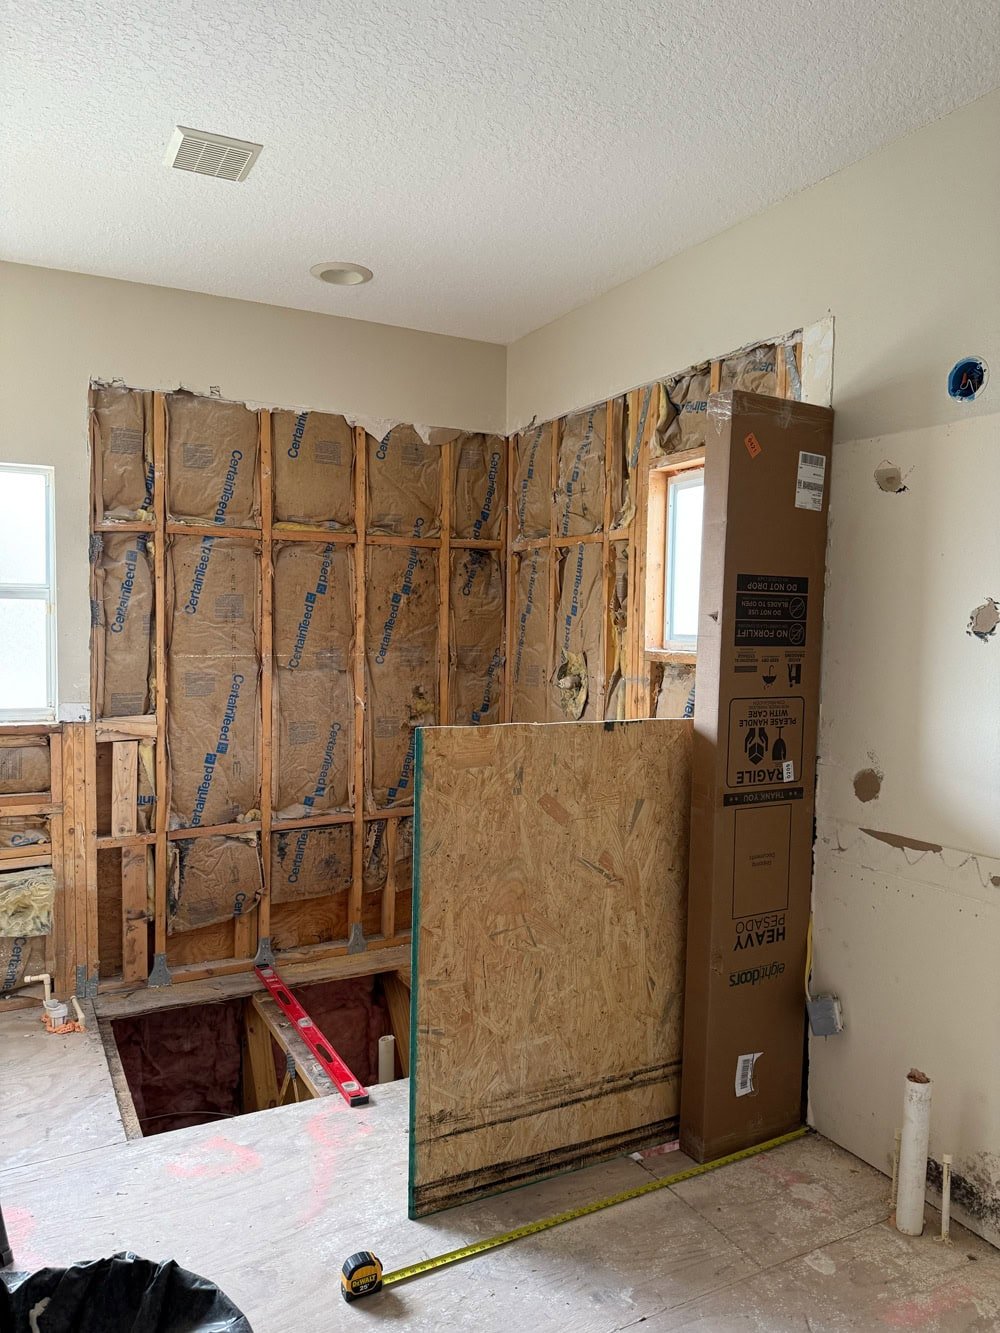
Demo + Rebuild
Demo began exactly one year ago (this week!) giving us a clean slate to start from. I shared more details with measurements in this Bathroom Design Plan post.
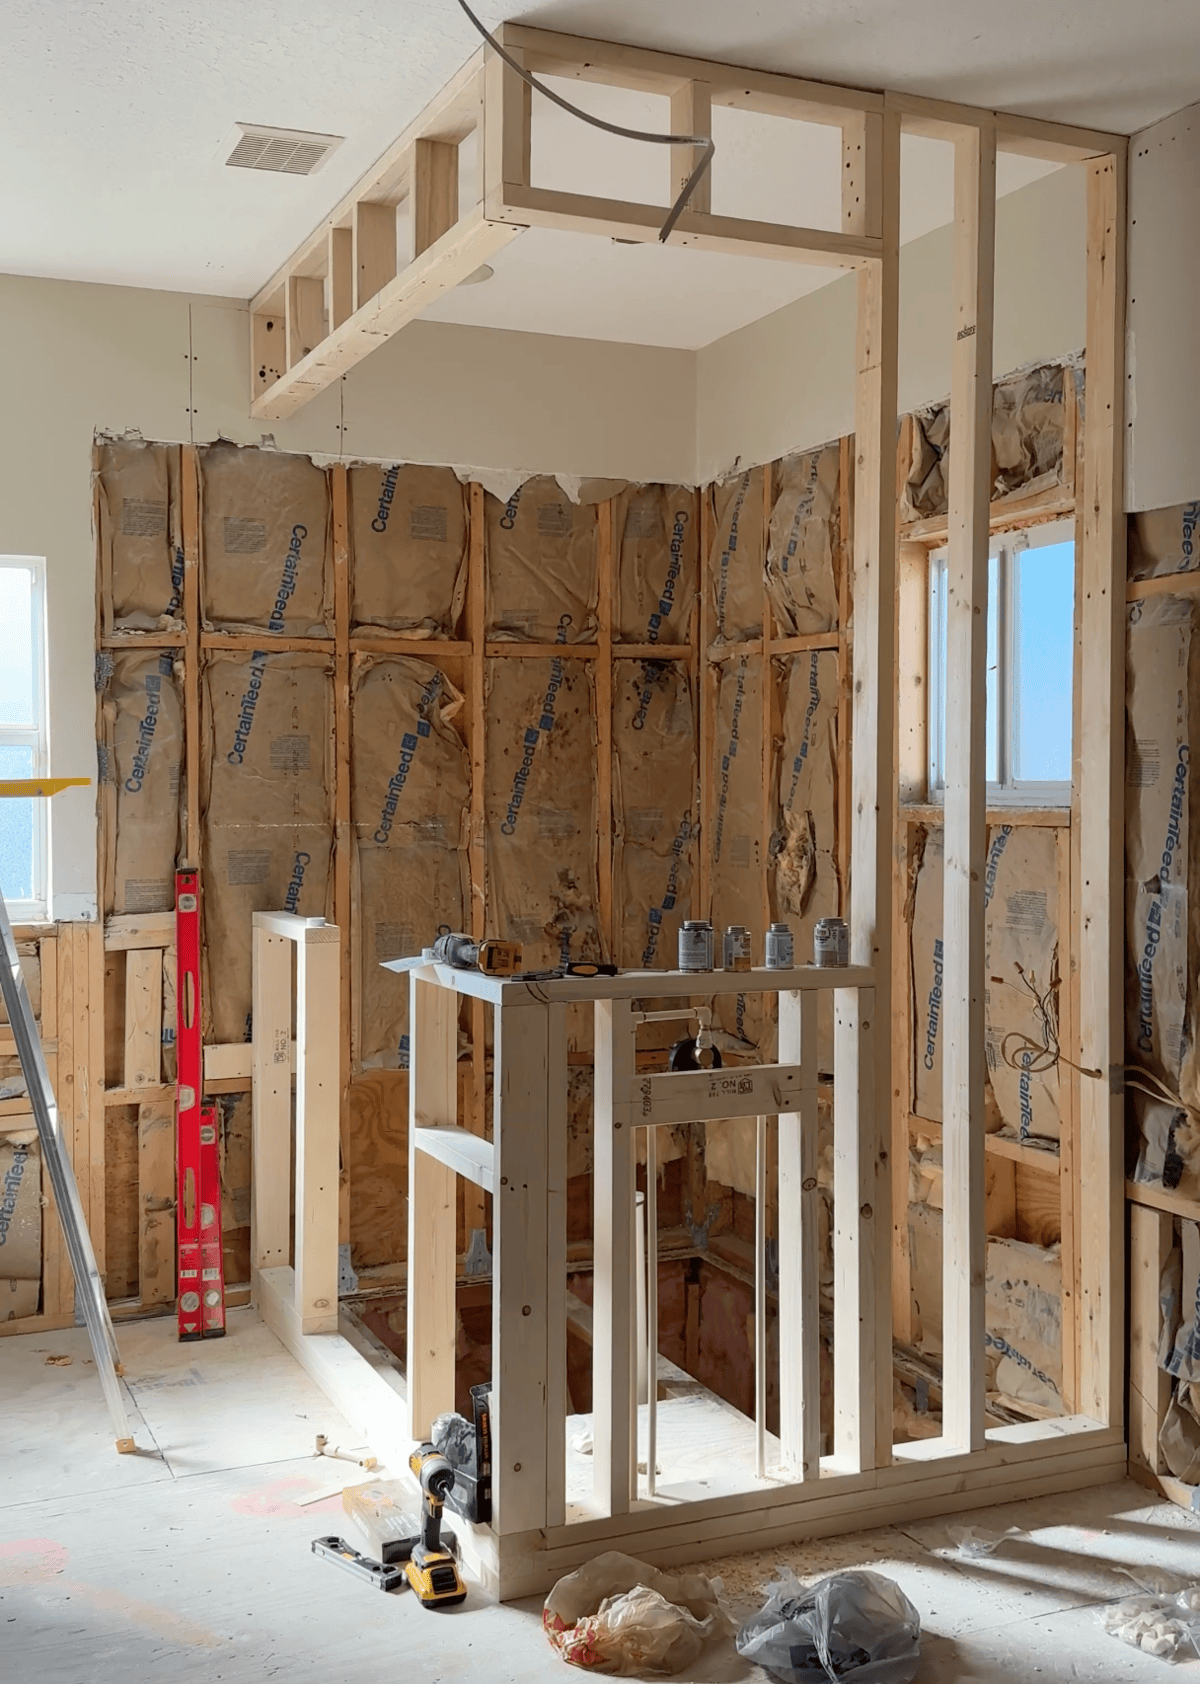
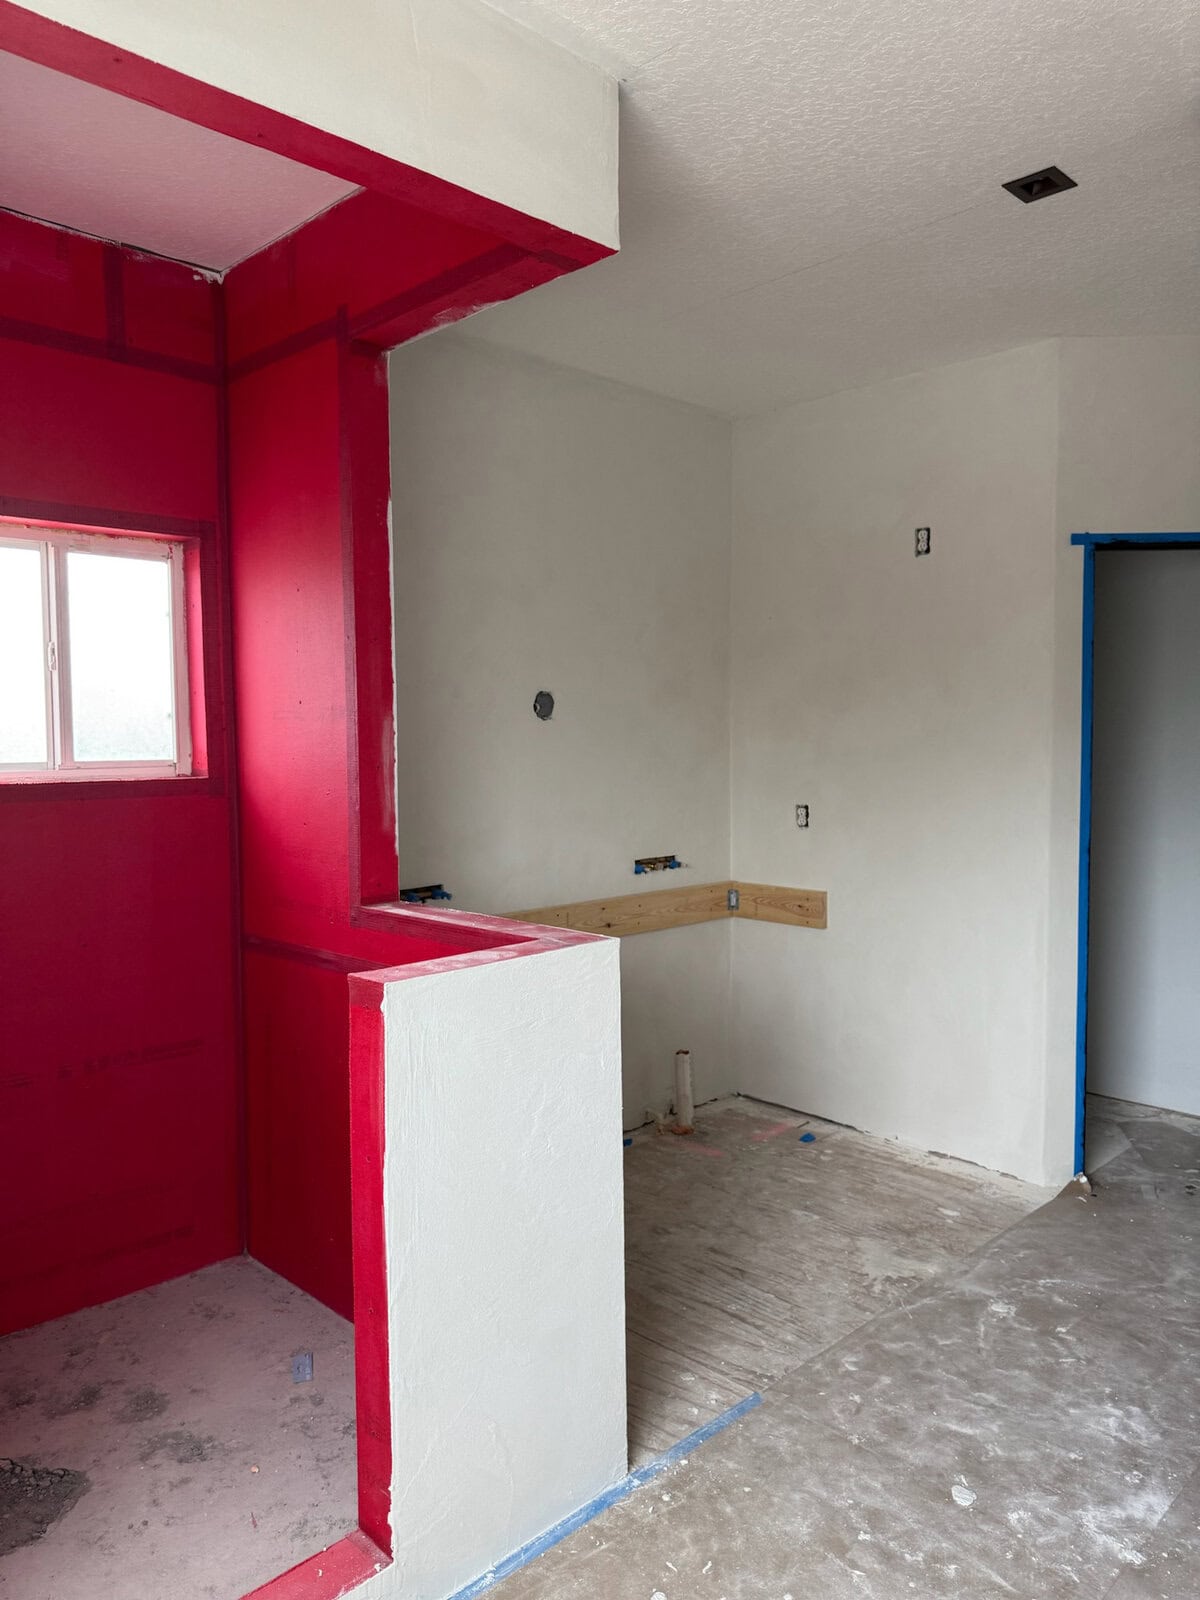
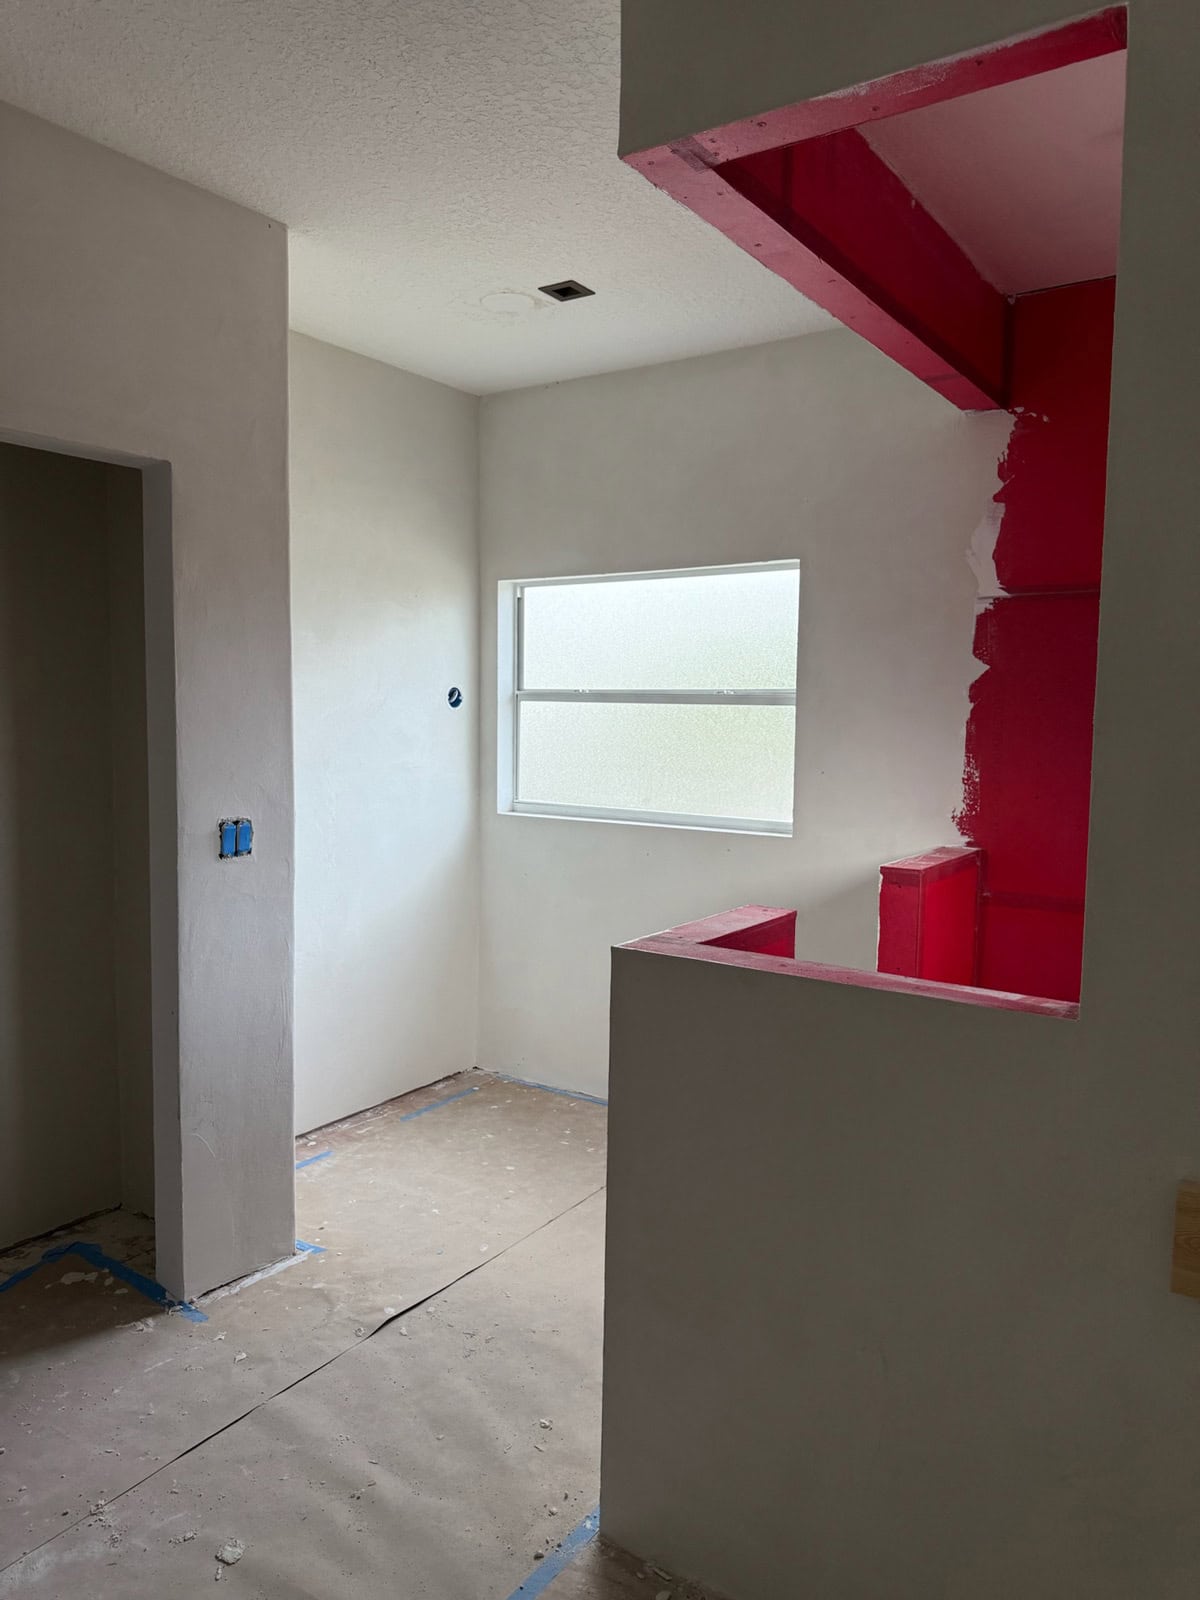
We relocated the plumbing and electric, and began to plan out the shape and size of the enclosure.
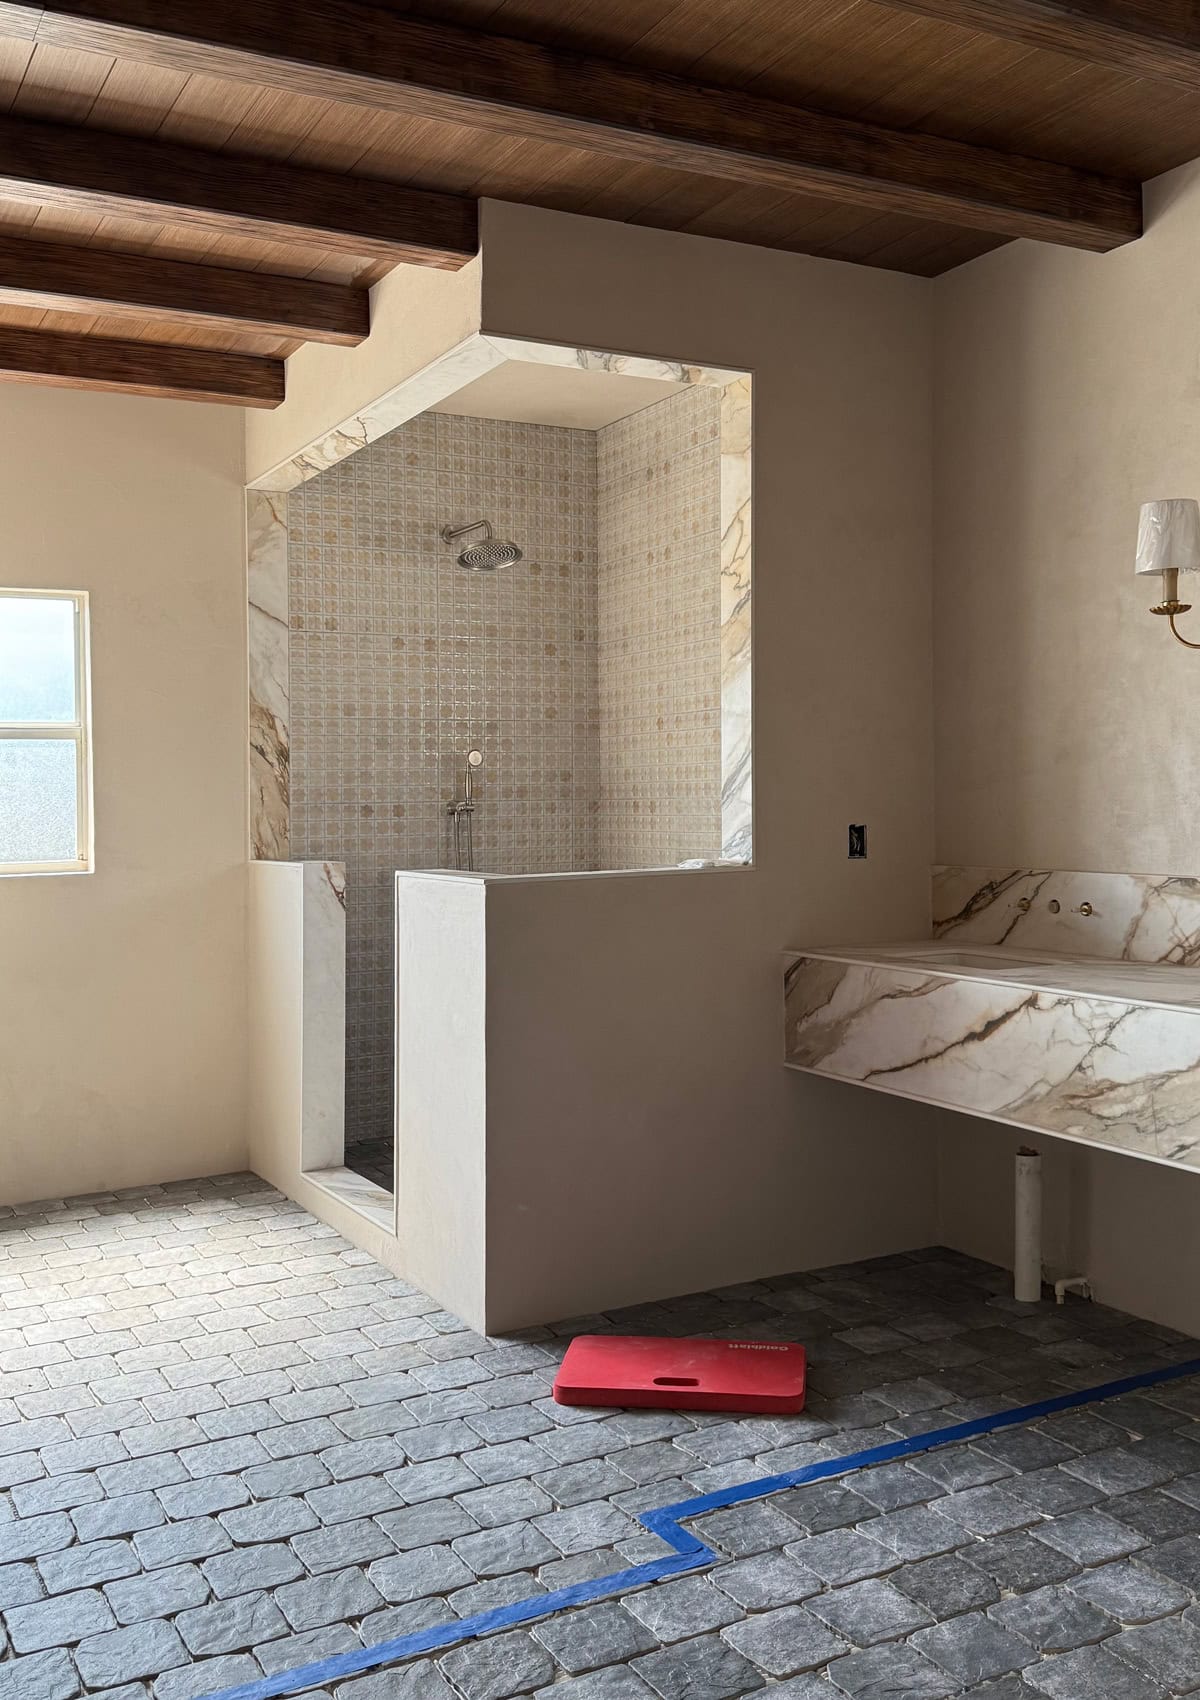
Lucas built out the framing, and we landed on a total shower footprint of 54″ x 75″ (interior is 48″ x 69″).
Cement board was installed…
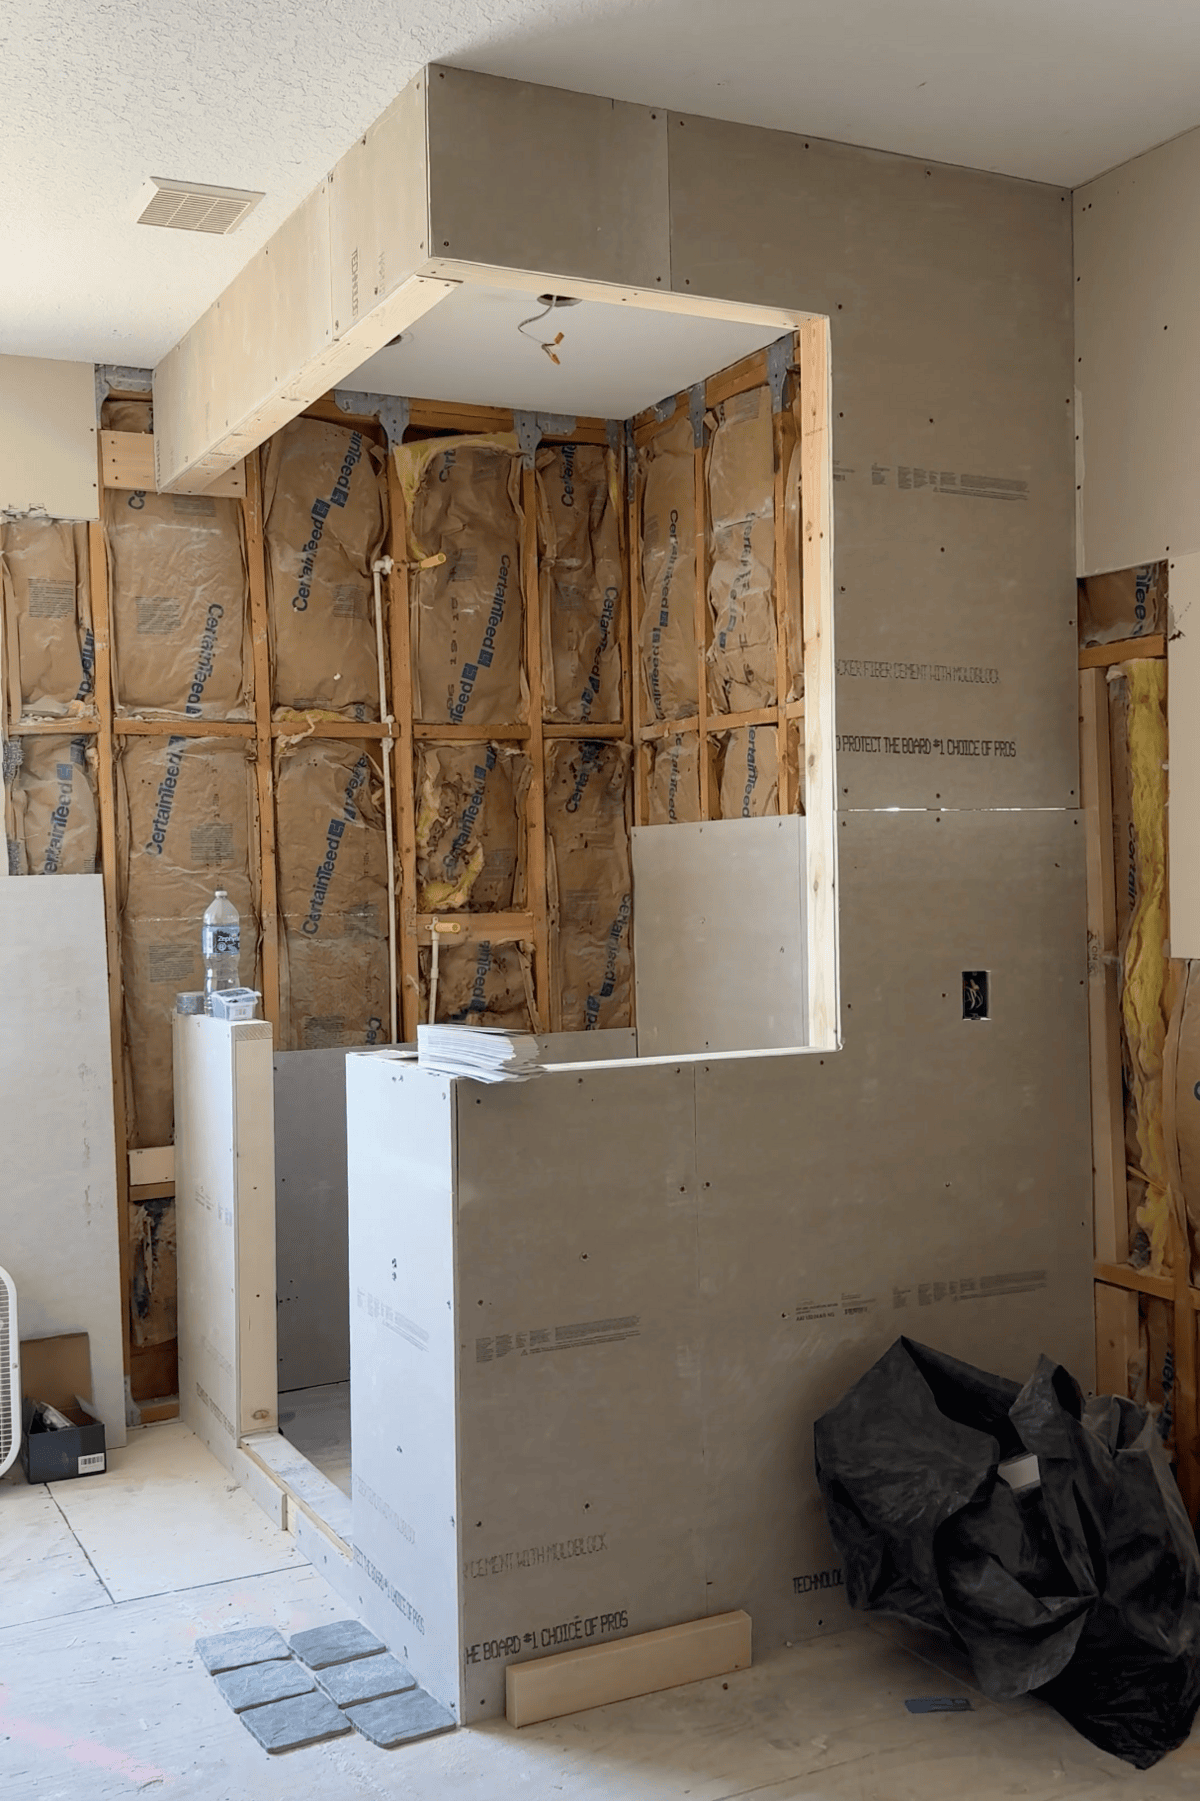
Followed by waterproofing and microcement.
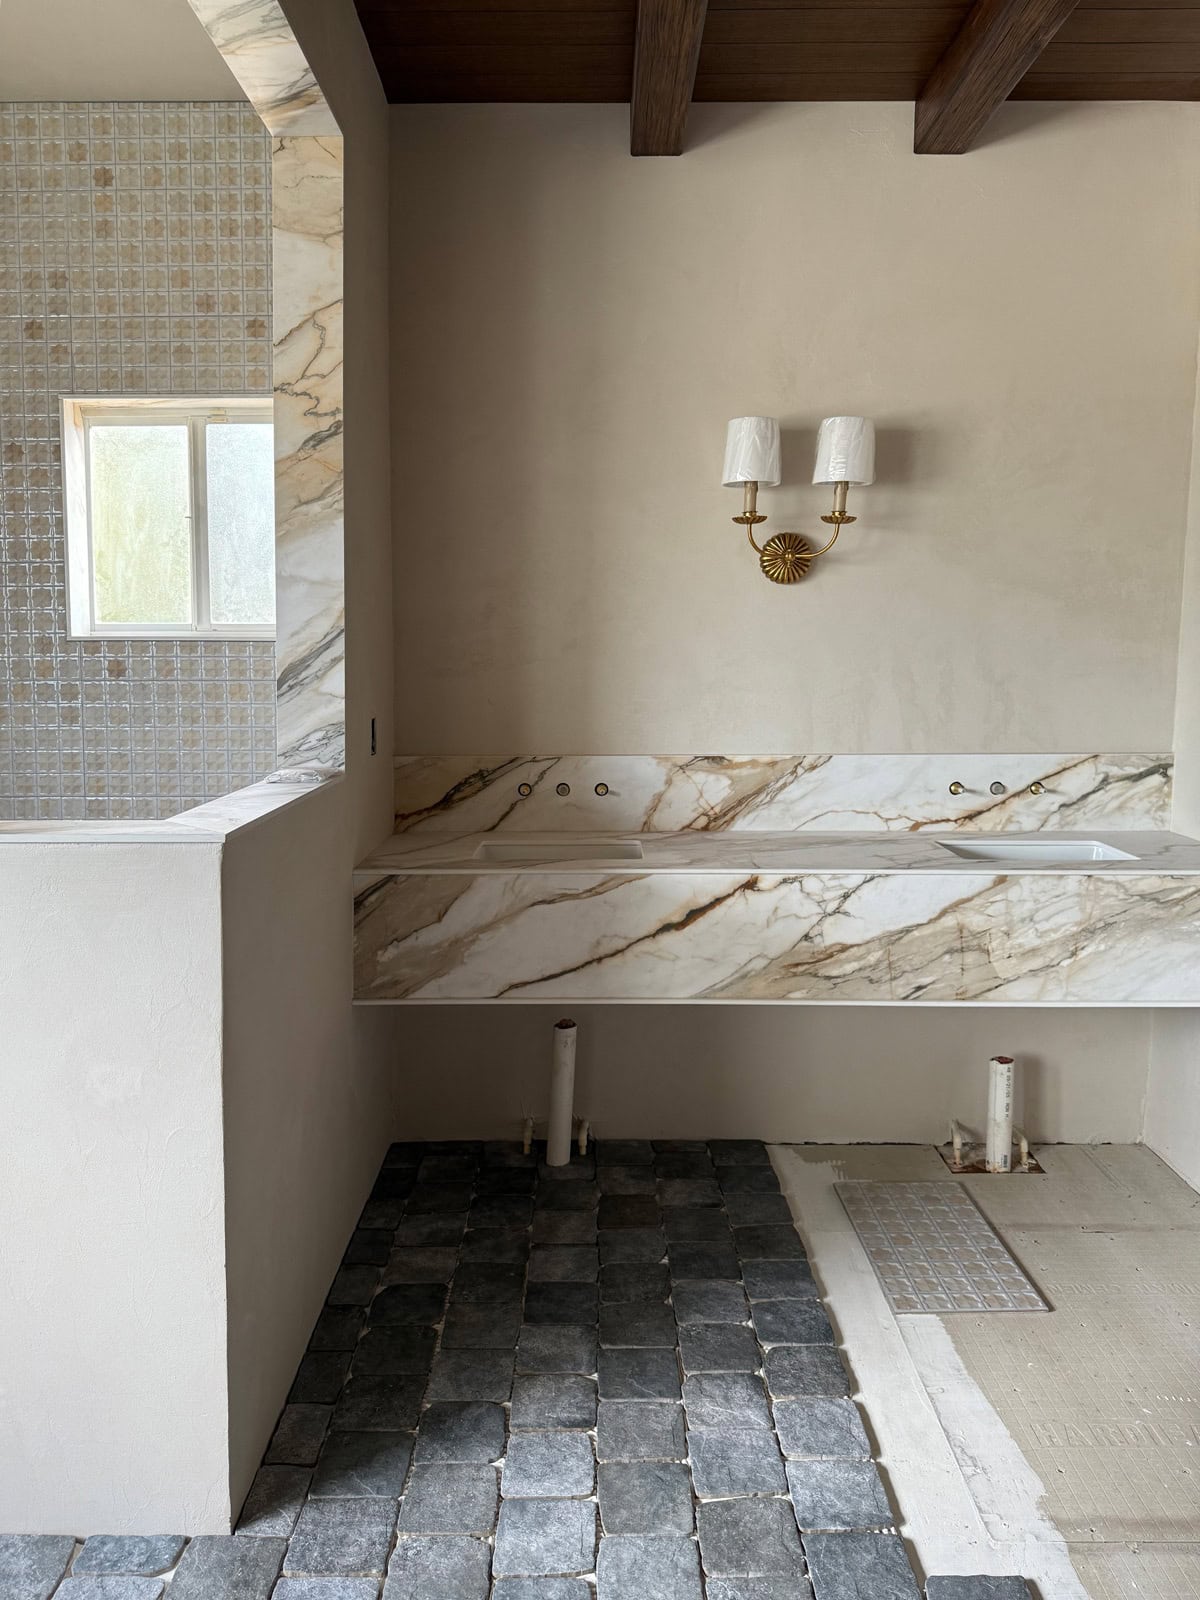
I chose this Moroccan porcelain tile for the walls, and continued the same cobblestone floor tile into the shower.
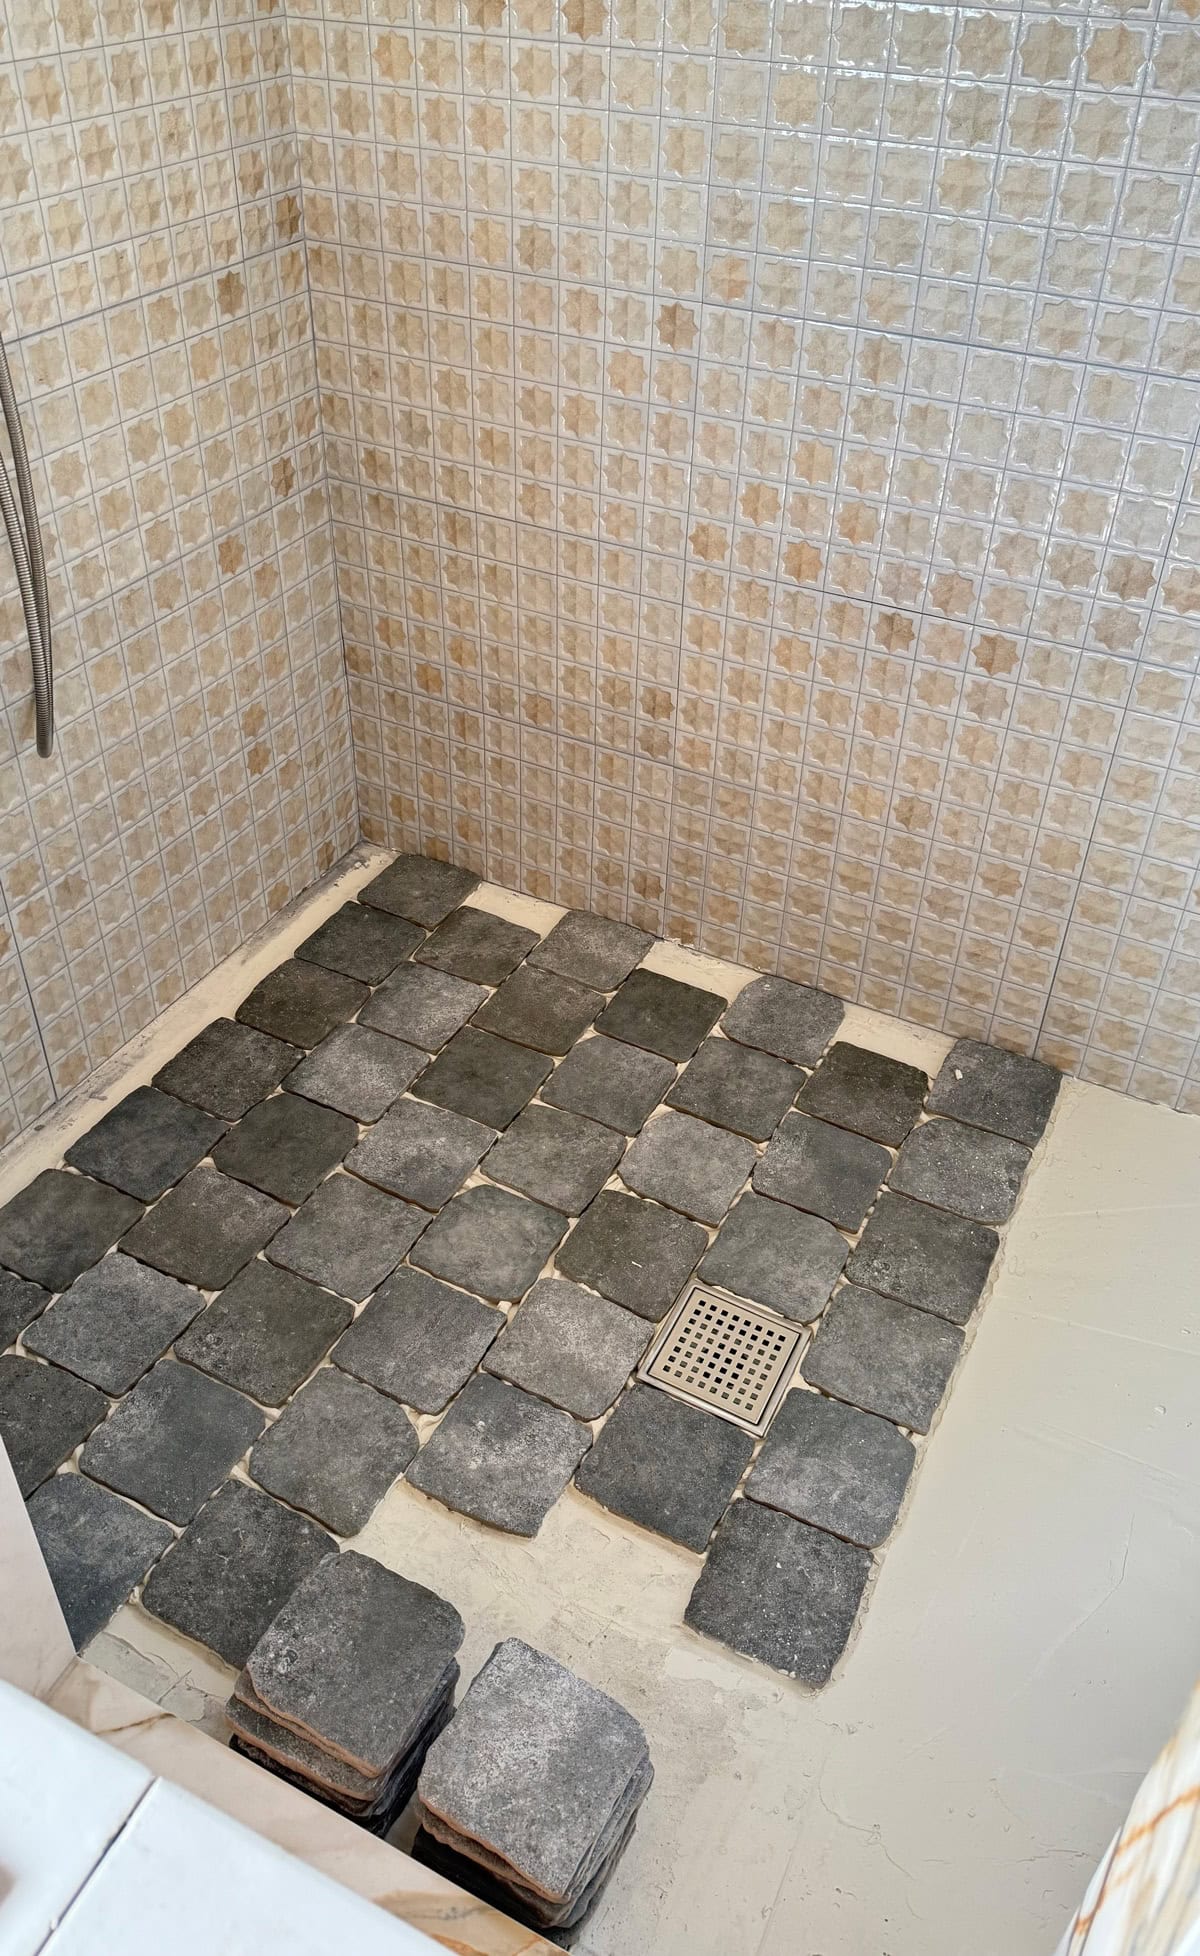
We also had custom threshold pieces fabricated from our Magnifica Encore Calacatta countertop slabs. Pro tip: make sure the finished opening is perfectly square on all sides if you plan to add a custom shower enclosure! We didn’t take the time to double check our installers work, and it cost us in the end.
Sourcing the Shower Enclosure
We called multiple local shower and glass installers, even a custom metal fabricator we’ve worked with in the past and explained our project. None of them were willing or able to take it on.
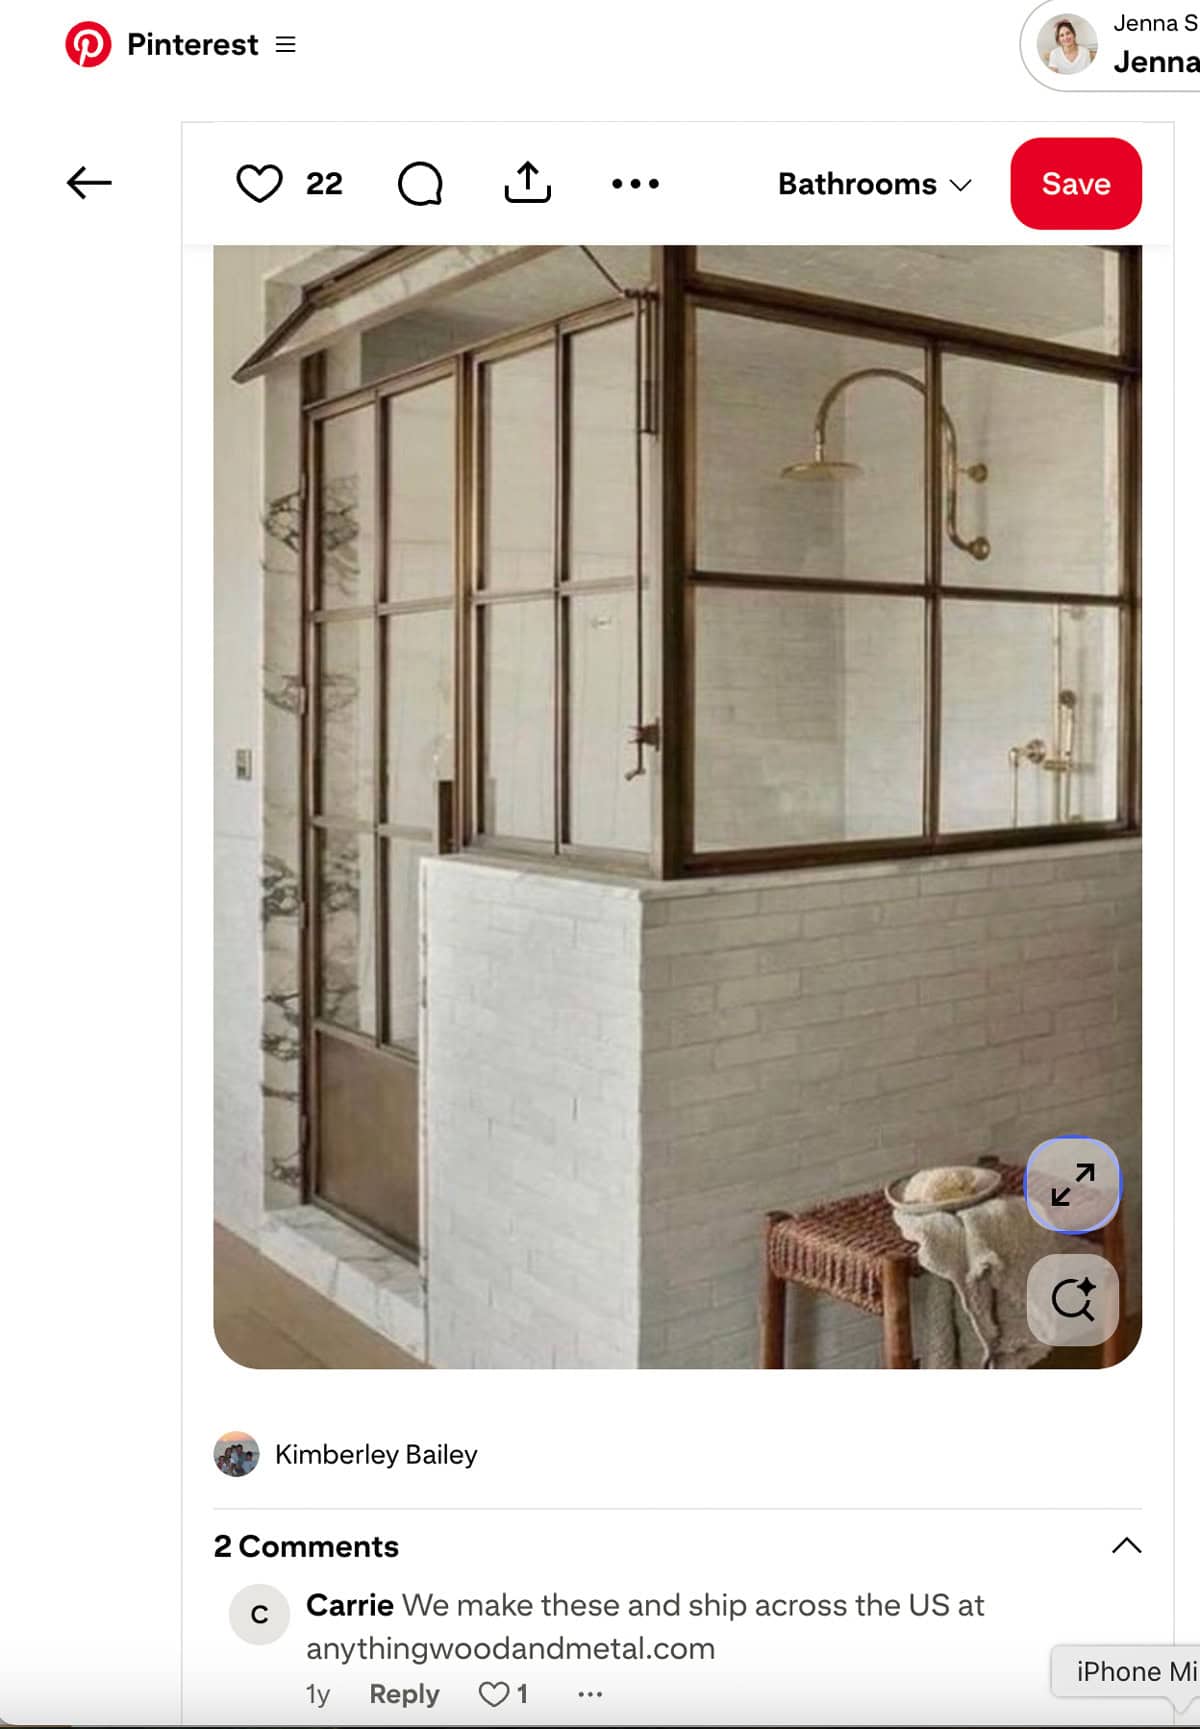
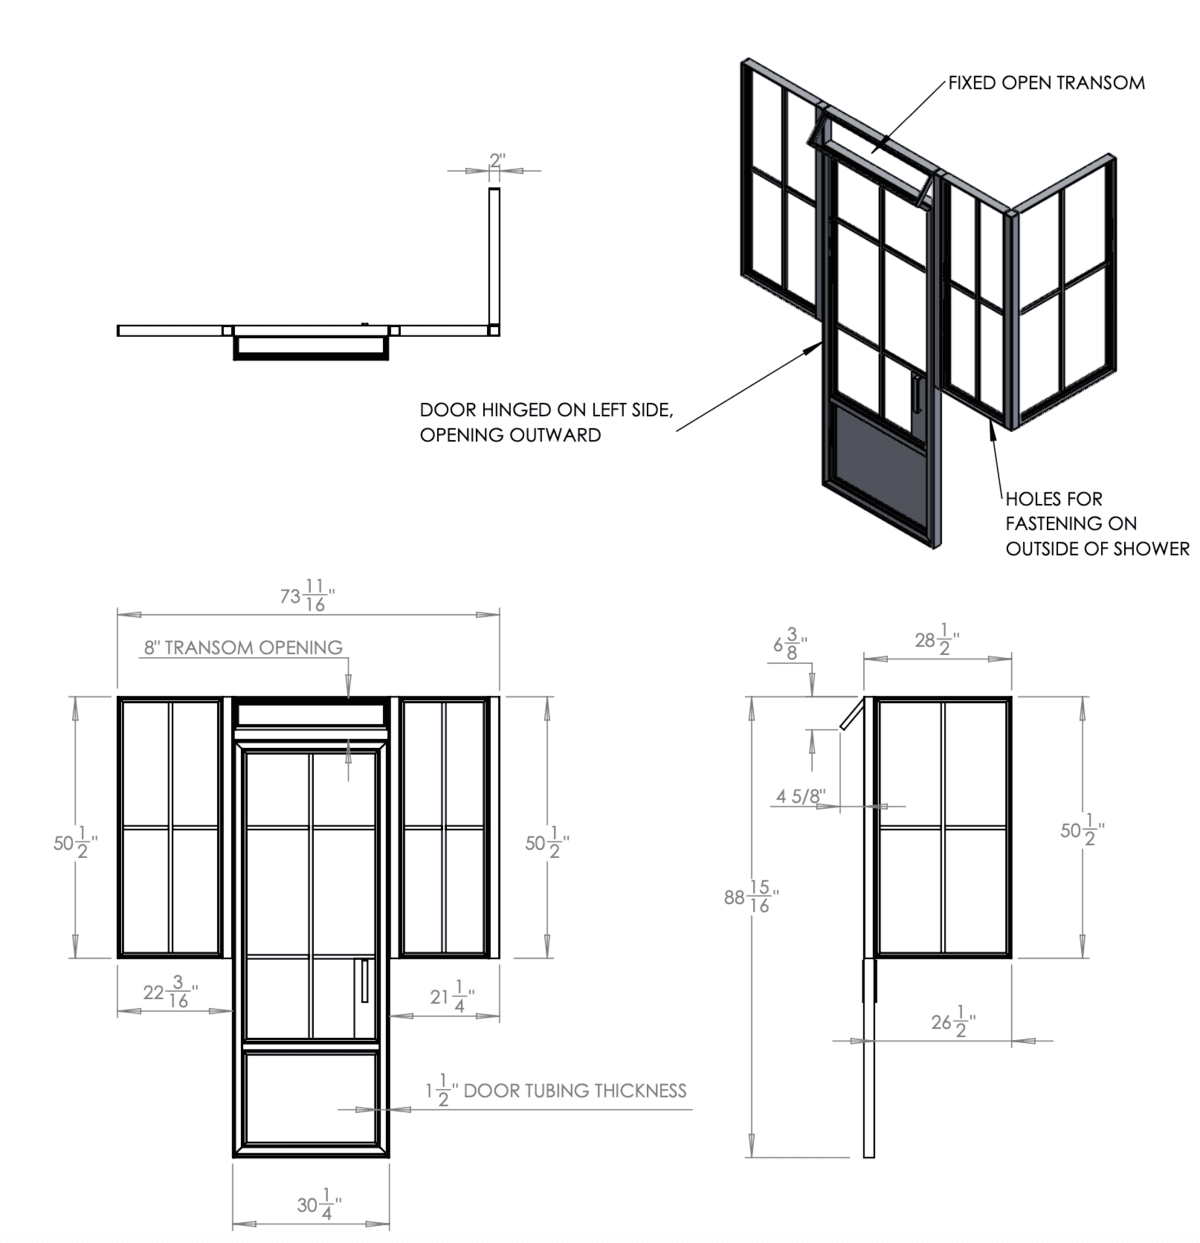
Then one day, I was researching on Pinterest and saw a comment a company had left on one of my inspo pins, saying that they could make it. I immediately reached out to them, and within a couple days they got back to me requesting measurements. I sent over a quick sketch and awaited their response.
I was fully expecting the quote to come back in the typical $30k+ range, but to my surprise, it was under $10k ($9,670, to be exact). Now, I realize $10k is not inexpensive by any means, but it’s a steel (pun intended) for a shower enclosure like this. And, the heart wants what it wants.
Luckily, Lucas came around to the idea (probably because DIYing it sounded like a nightmare) and we were off to the races.
The main reason our cost came in at a fraction of my inspiration photos is that the enclosure is made from steel rather than solid brass. While steel won’t develop the same natural patina as true aged brass, the right powdercoat finish can achieve a similar look. After ordering samples from different vendors, I landed on Prismatic Powders’ Golden Black.
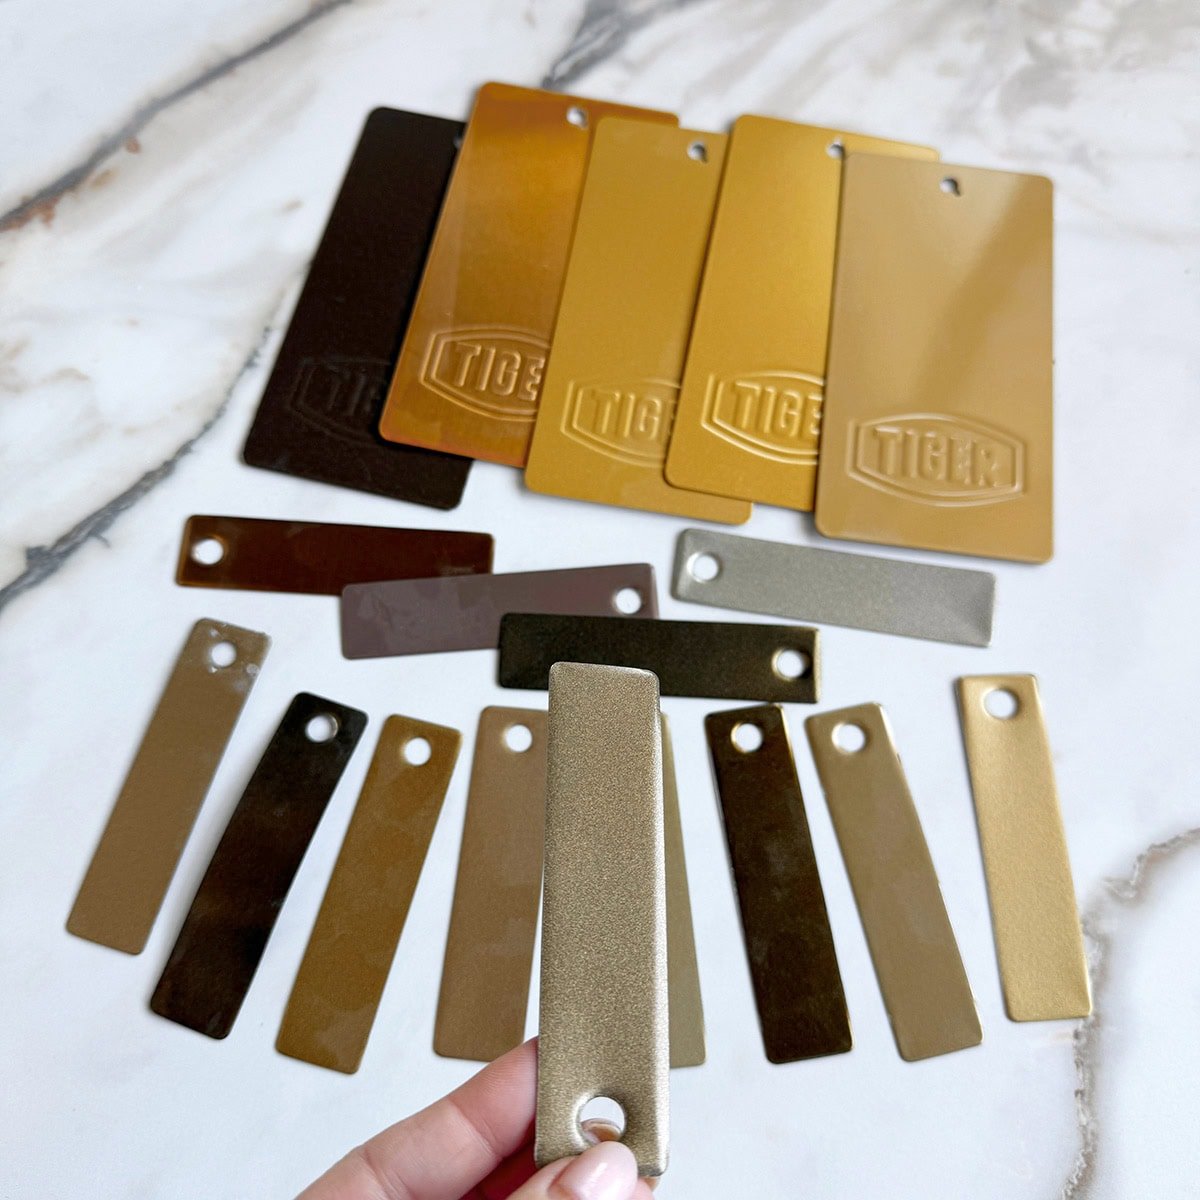
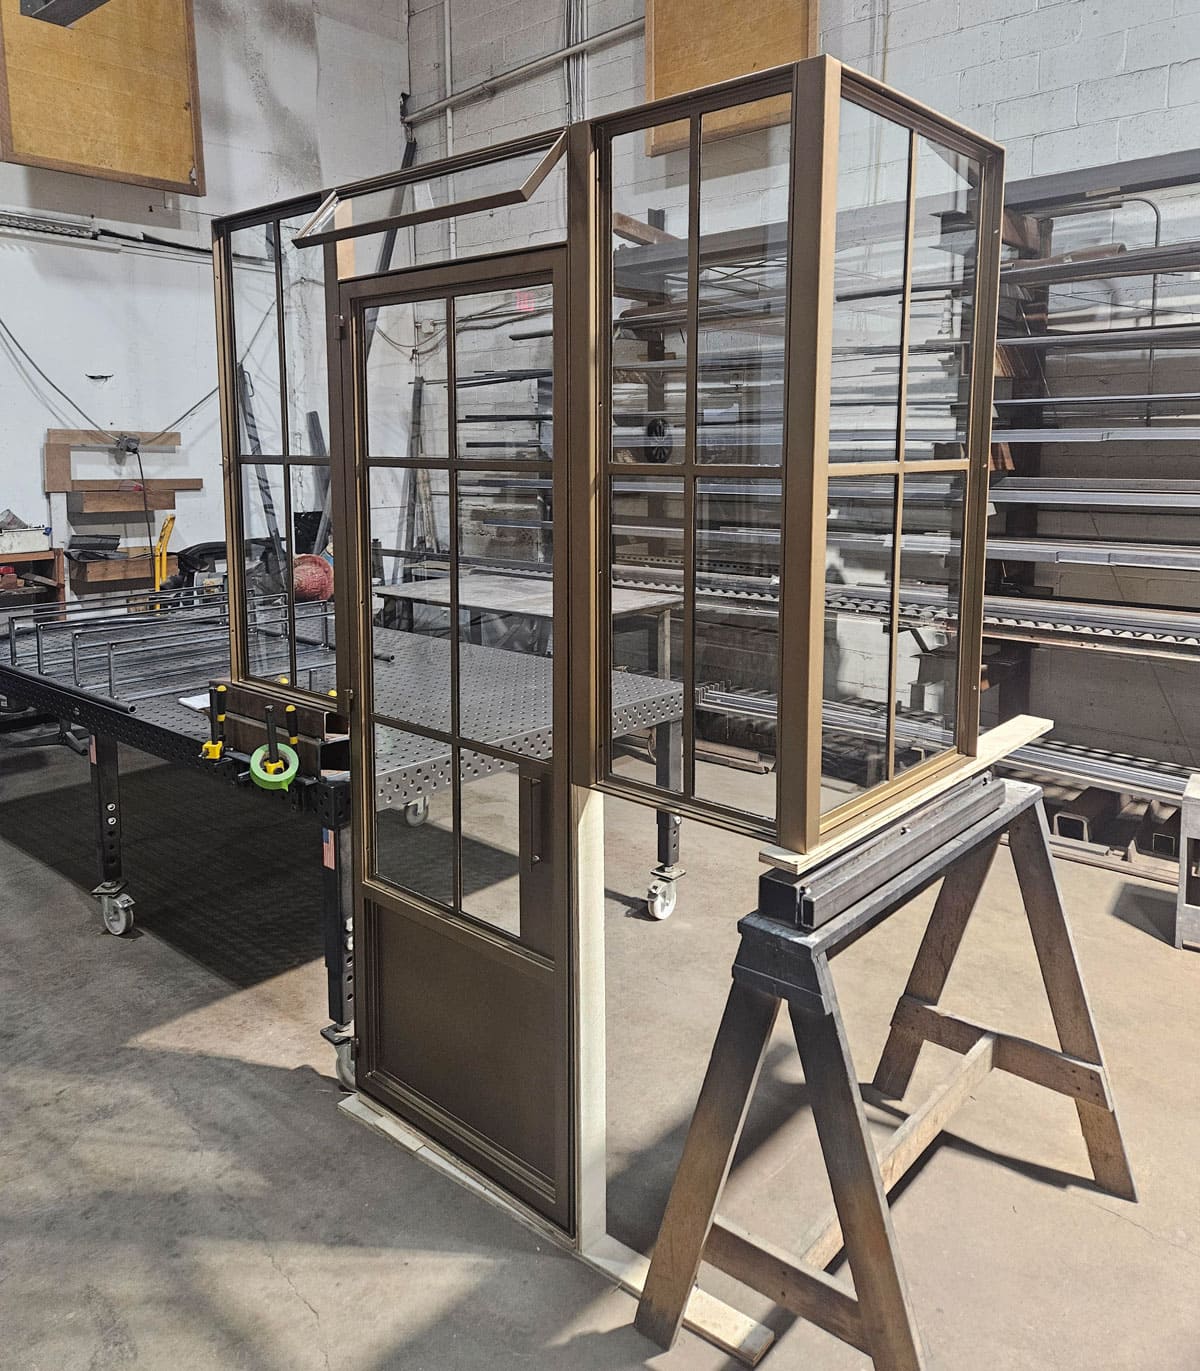
It was definitely a gamble to choose the perfect shade from a tiny swatch, but I had to trust my gut and hope for the best. After the enclosure was built, they sent over a photo and to my relief, it looked amazing!
Installation
The panels arrived via crate in four separate pieces. They were HEAVY, and it took all the strength of two men to get them up the stairwell (just picture the Friends episode—“Pivot!!!”)
My palms were sweaty as we opened the boxes…
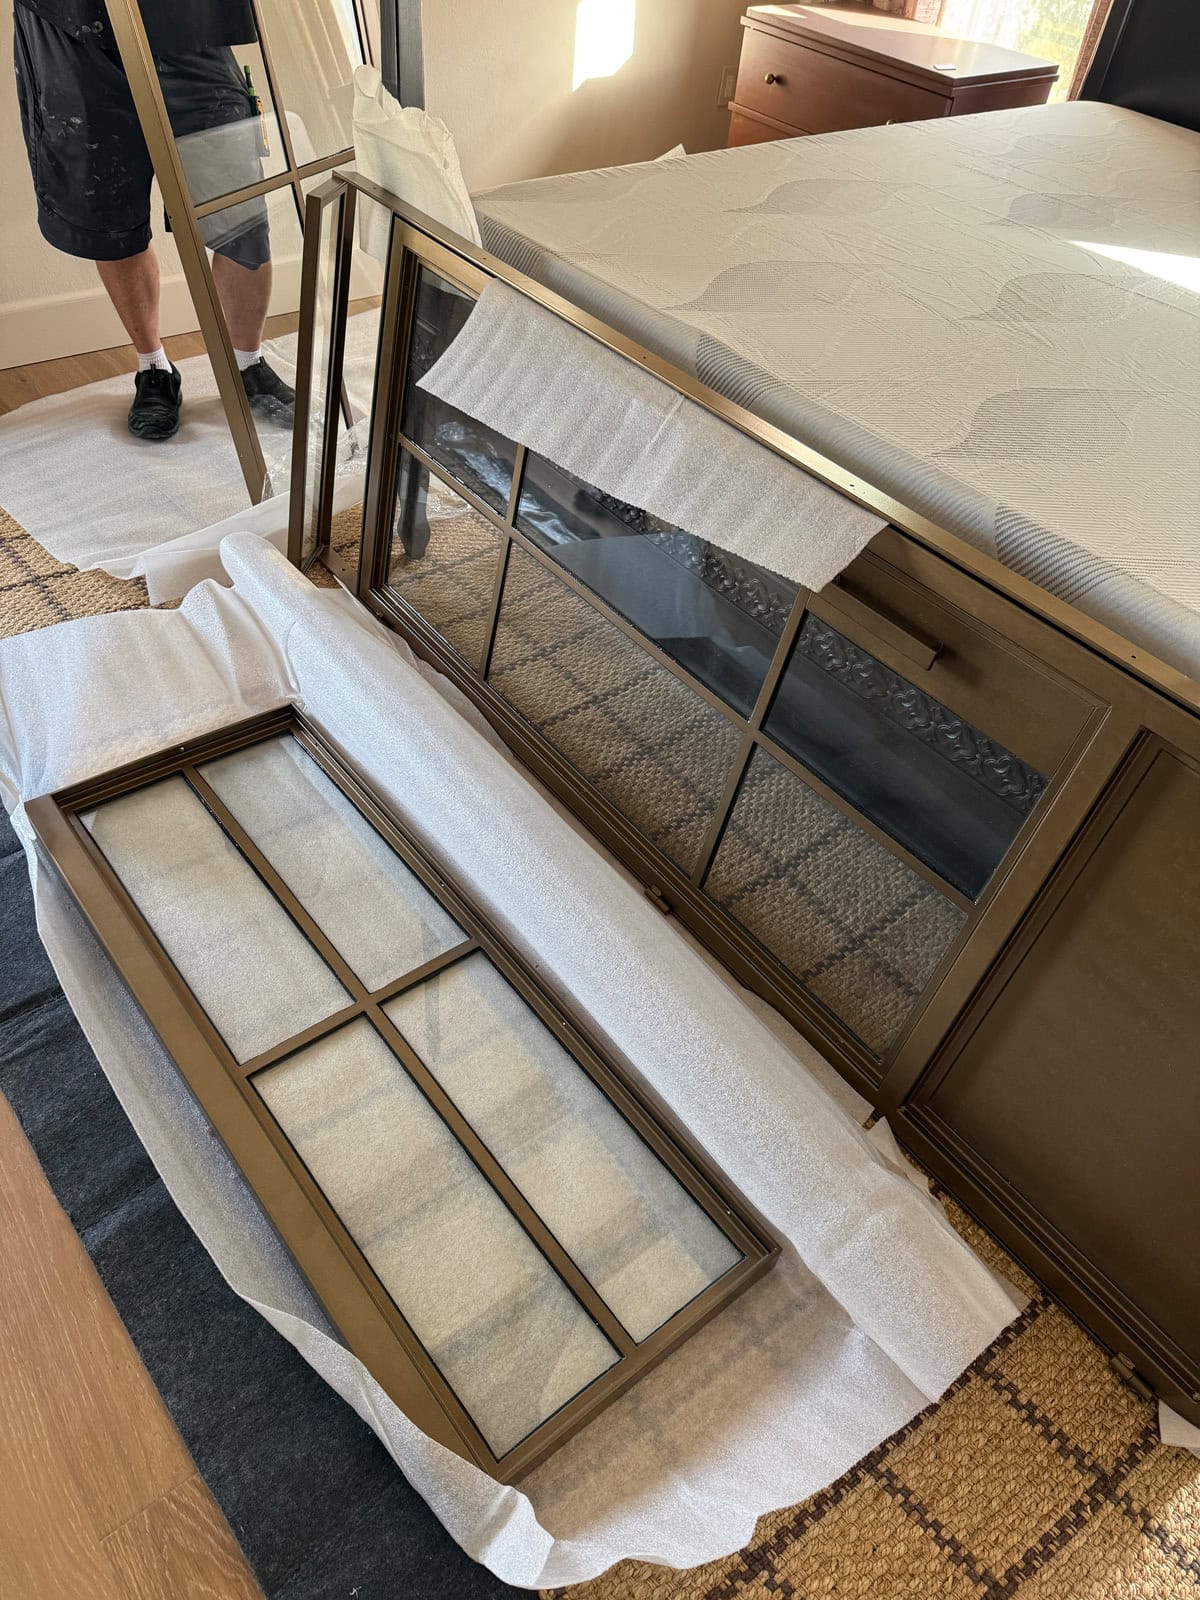
They were perfect! But the real test was still ahead. We knew going into this that our opening wasn’t square—it was off by more than a half inch in some areas, so the enclosure wasn’t going to be an exact fit. I was panicked about it being too large or out of level, and that we’d have to scrap the whole idea and start over.
I watched with a pit in my stomach as the first panel went up… and it slid right in! As expected, there was a gap in one of the corners but you honestly couldn’t even tell from a few feet away.
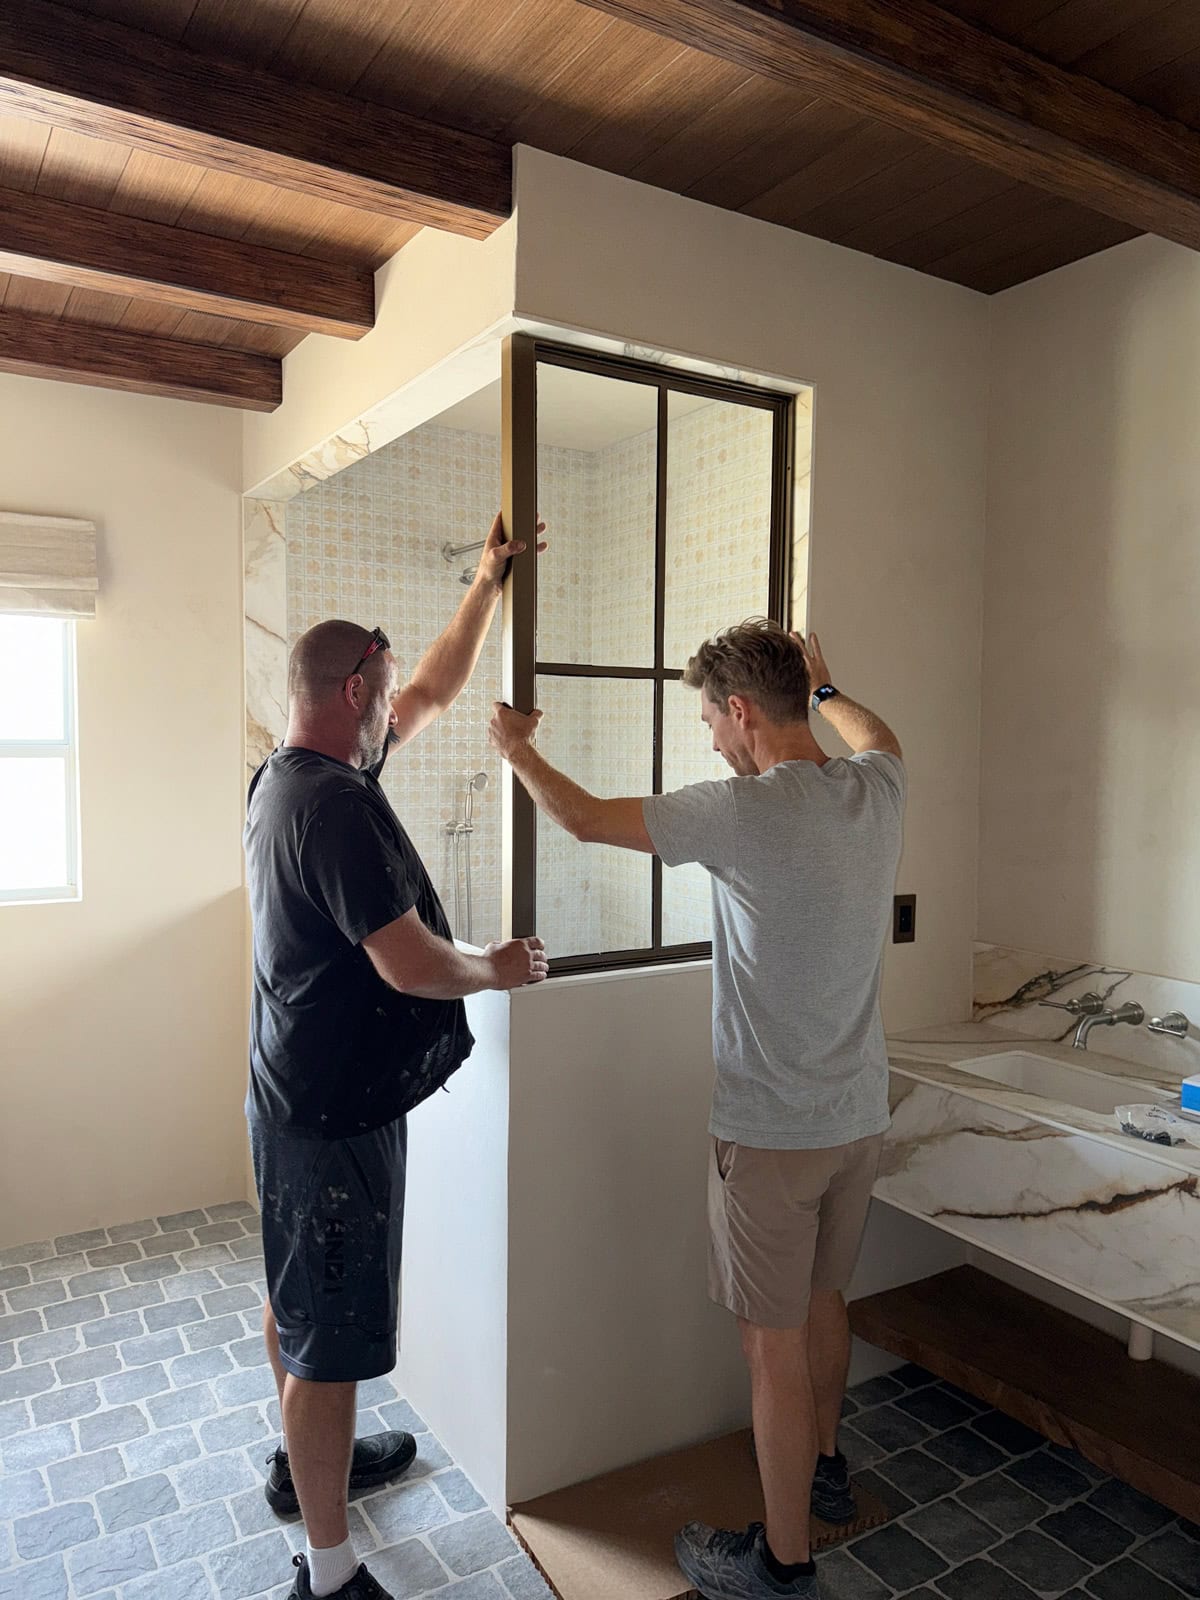
The next three pieces went in just as smoothly, and the entire installation was finished in under an hour. After months of planning, stressing, and waiting, the sense of relief was instant, and it was the greatest moment of victory in this entire renovation. I can still hardly believe my idea came to fruition.
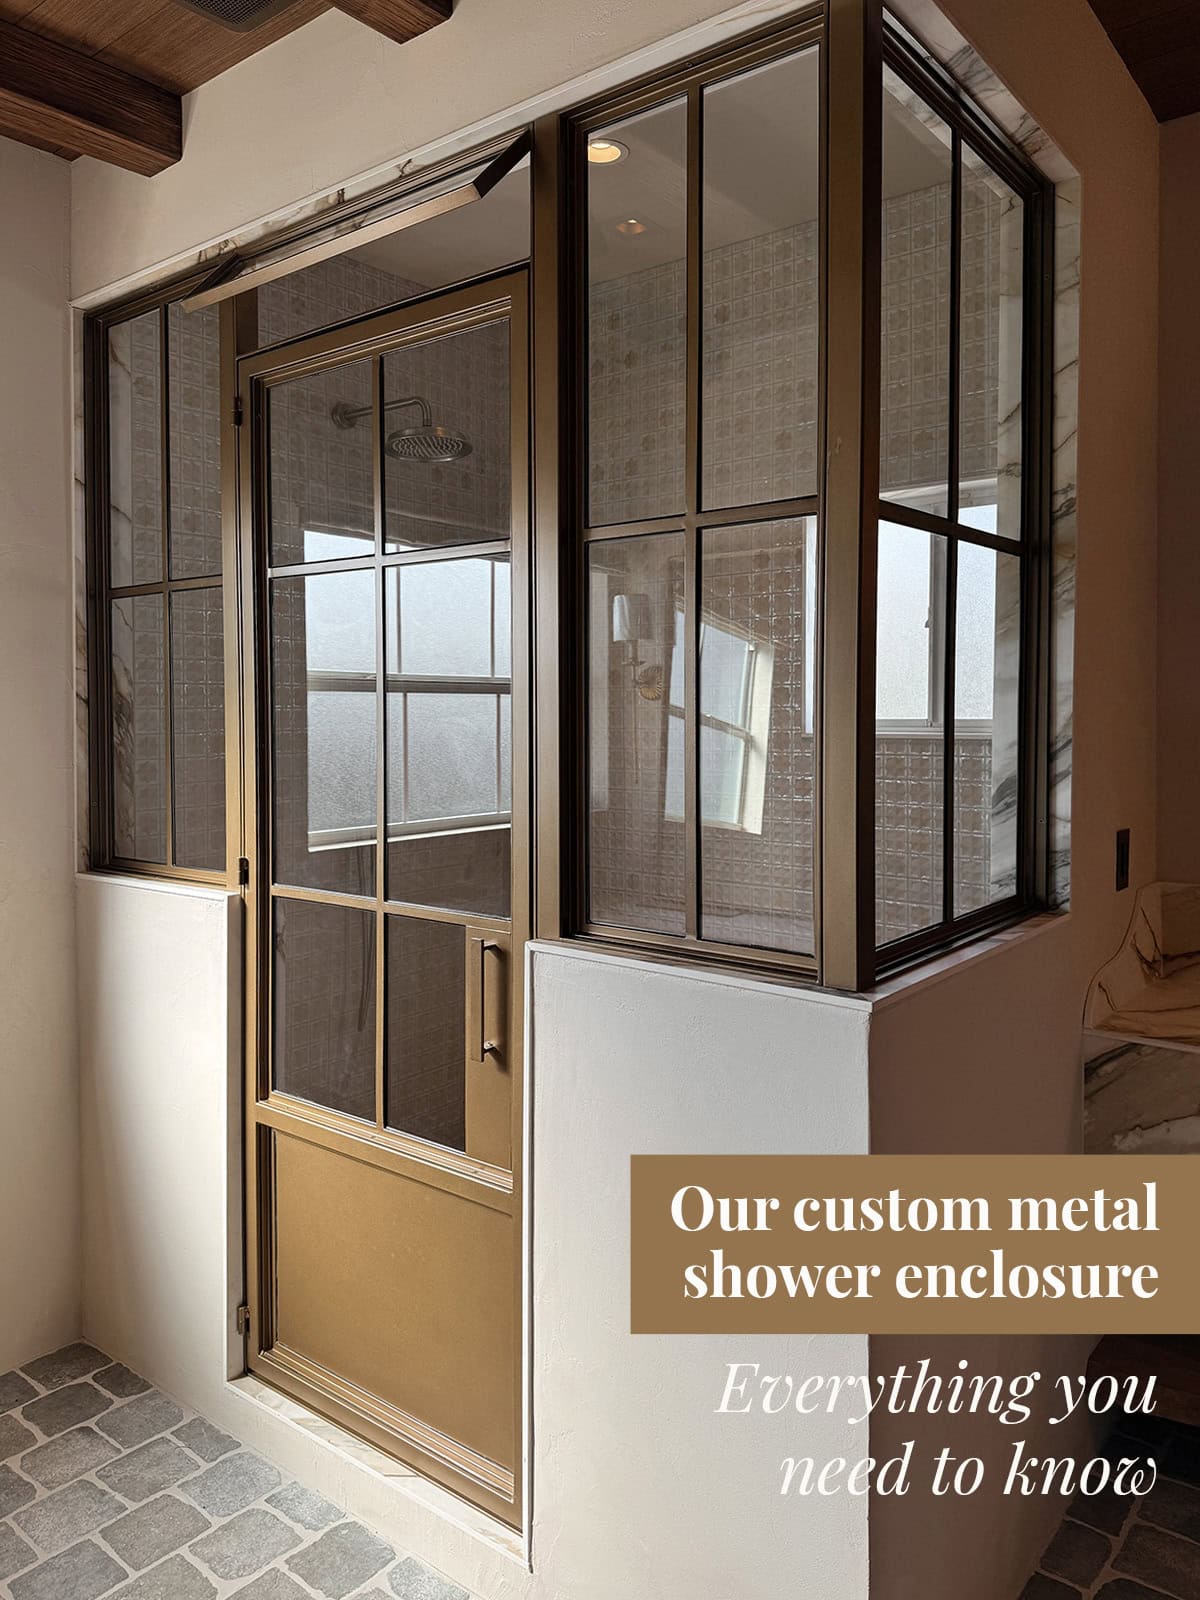
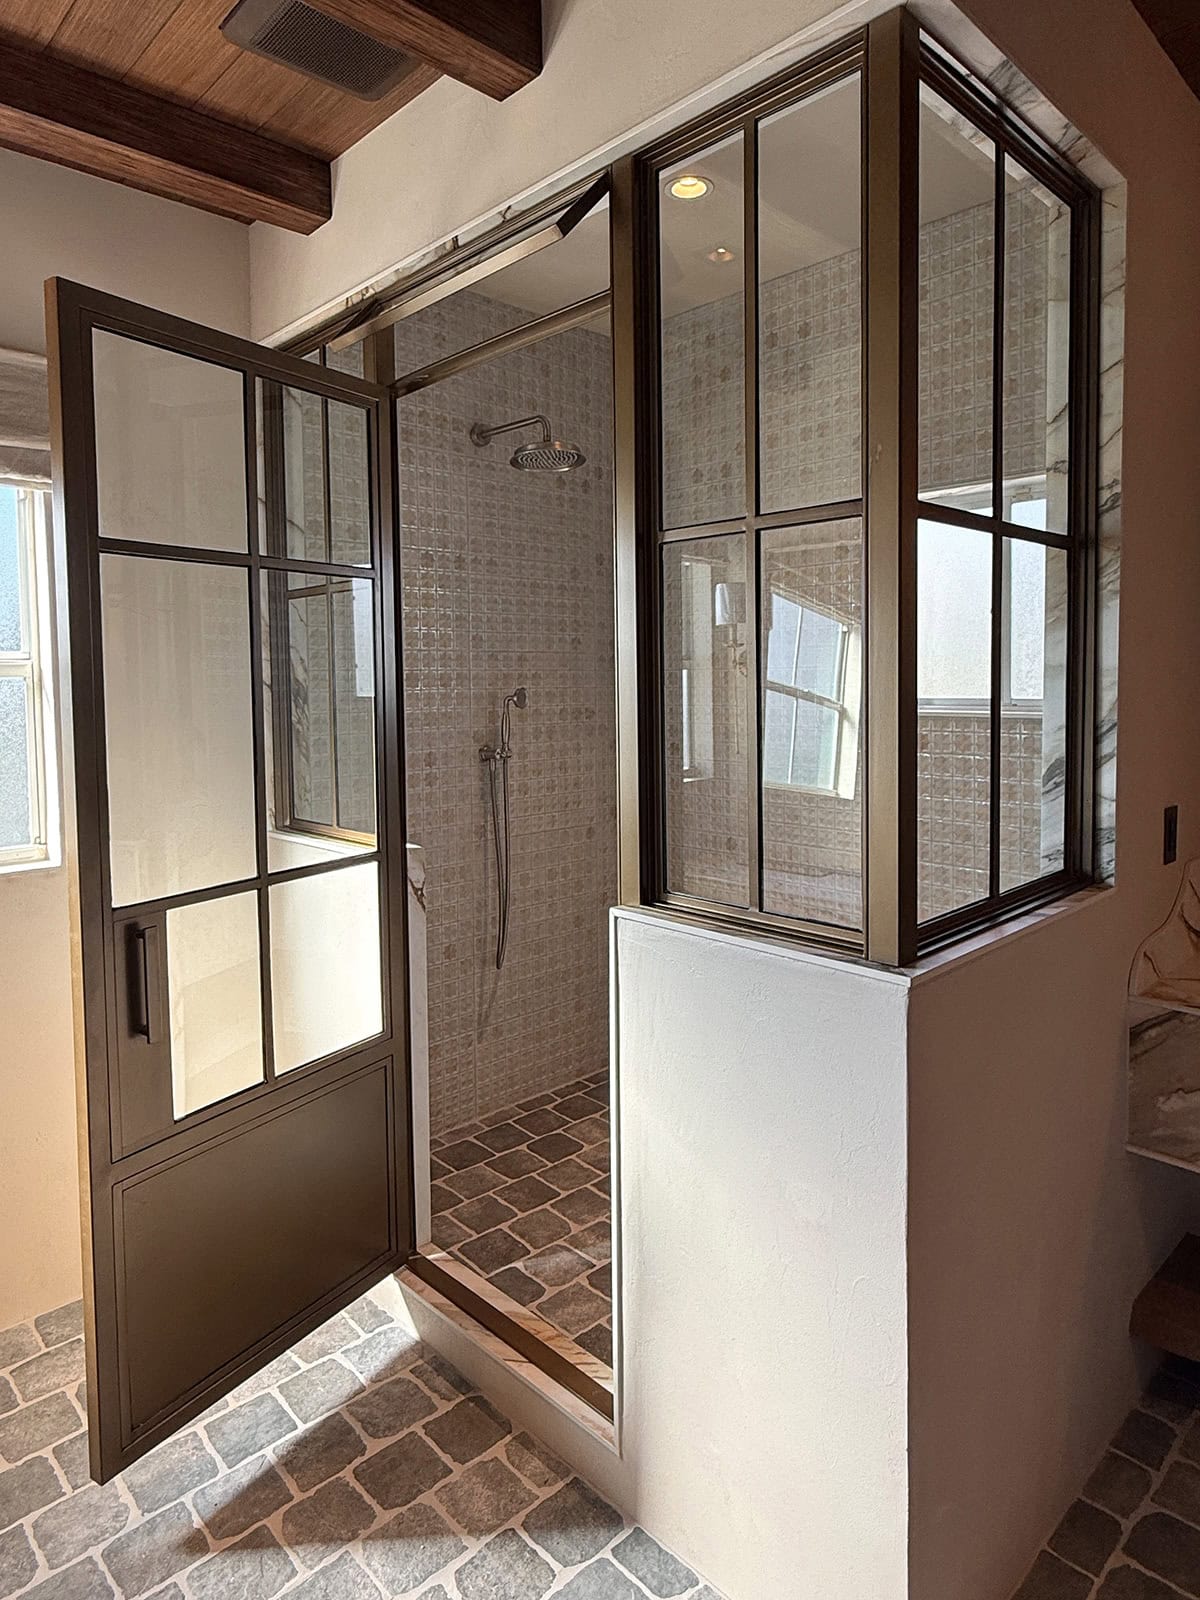
Final result
The panels were attached to the thresholds along the outside edges with screws, and sealed with silicone around the perimeter. We had to fill the uneven gaps and redo some of the silicone that looked sloppy in some areas, but apart from that, I could not be happier with the result.
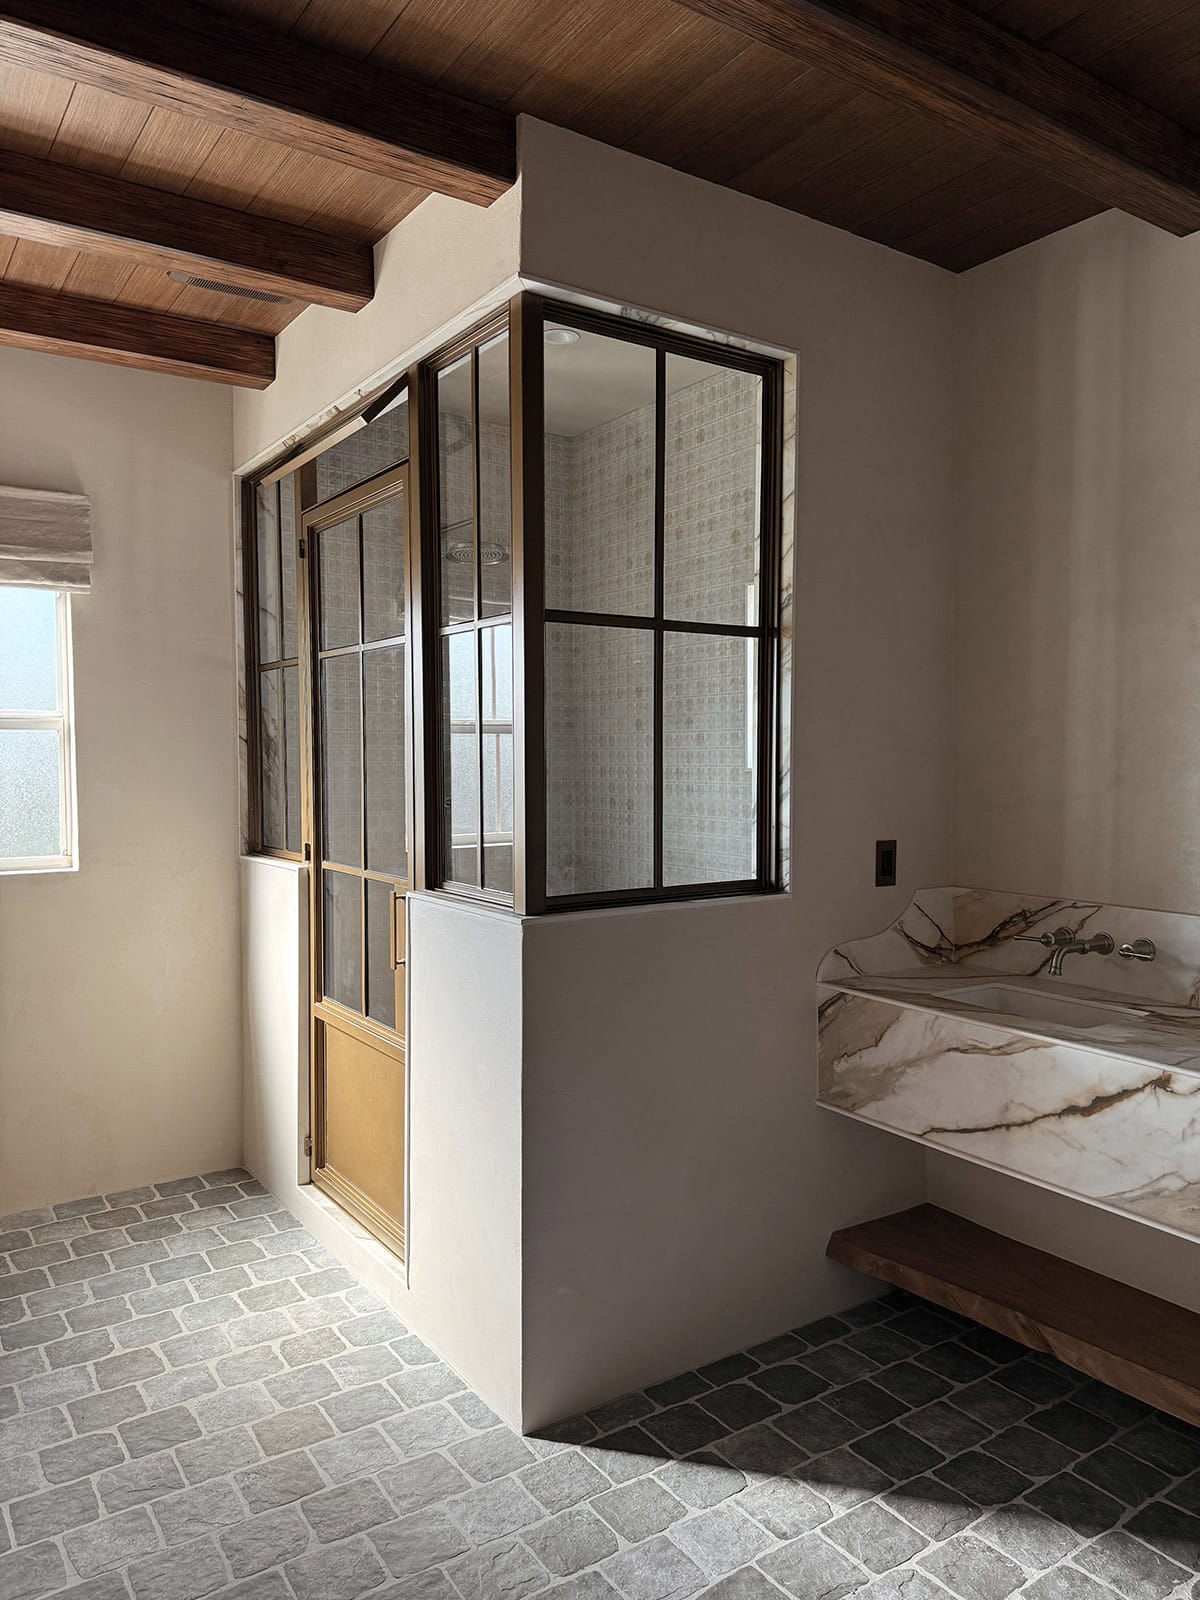
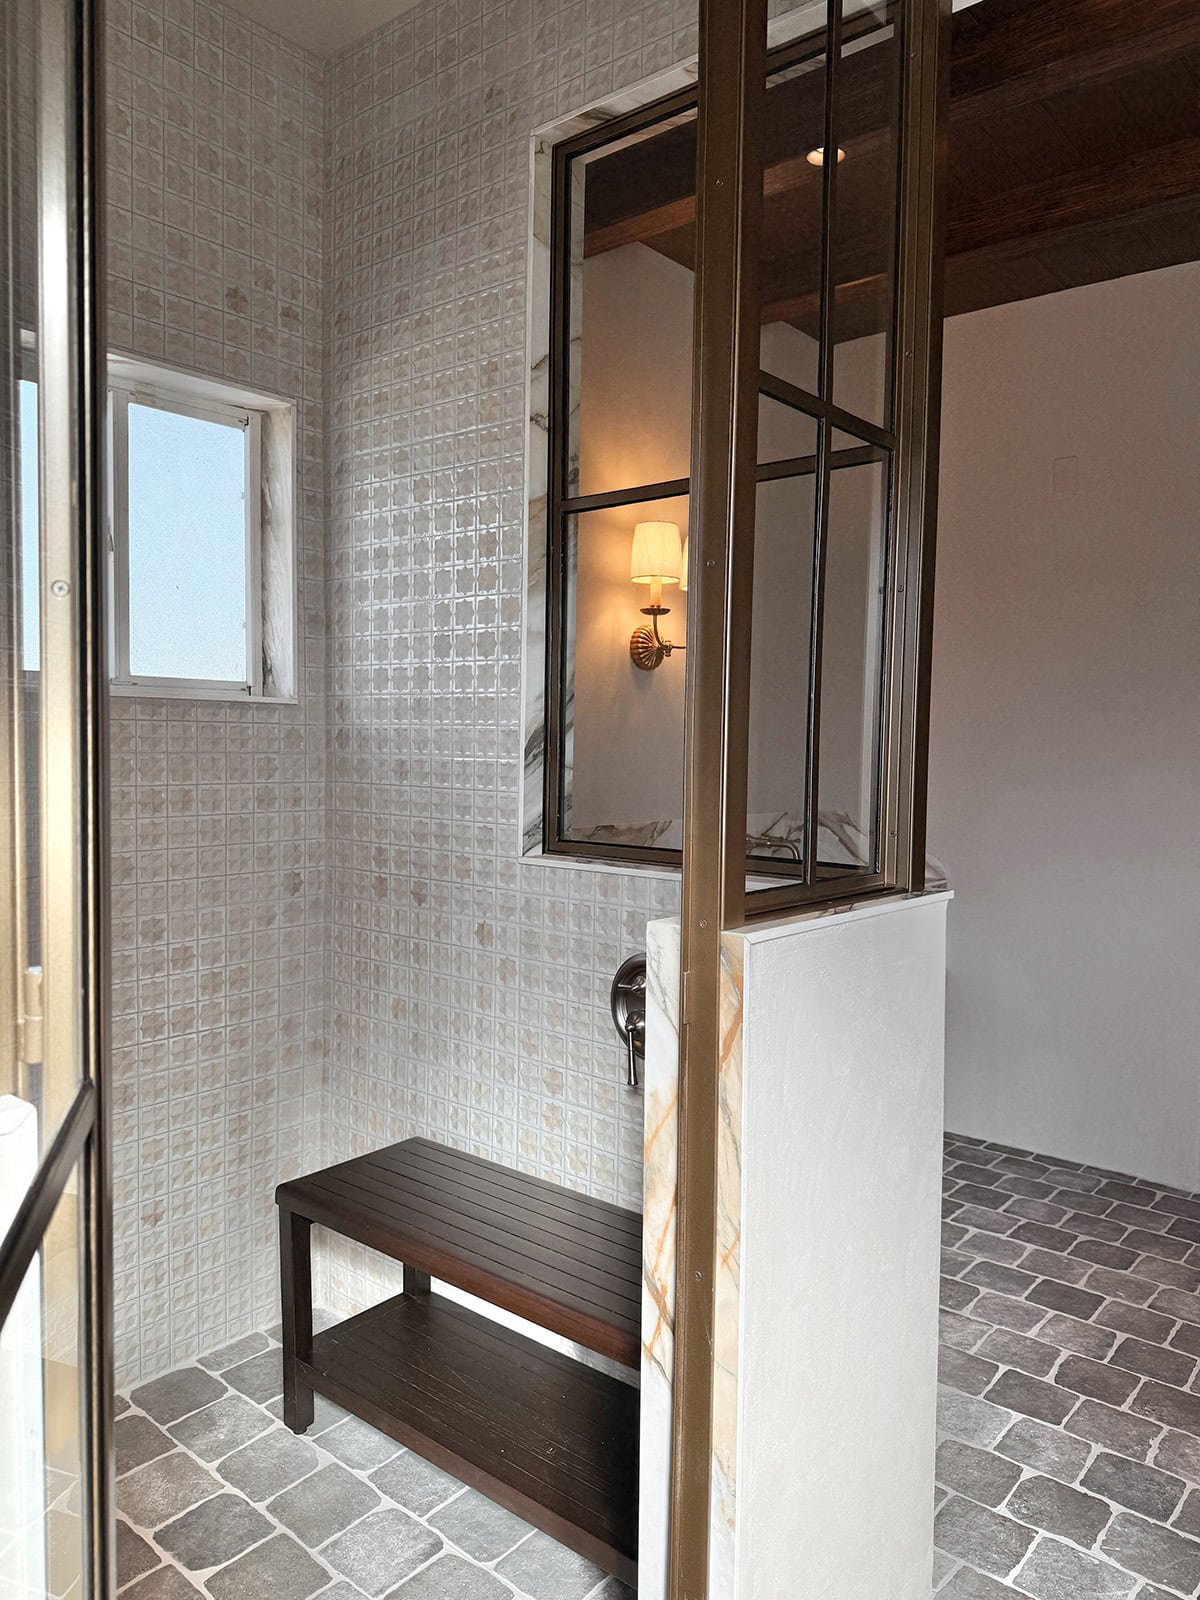
We opted to have the transom window fixed in place to ensure airflow at all times. Also, it’s one less moving part that can break from misuse.
Here’s a look from the inside:
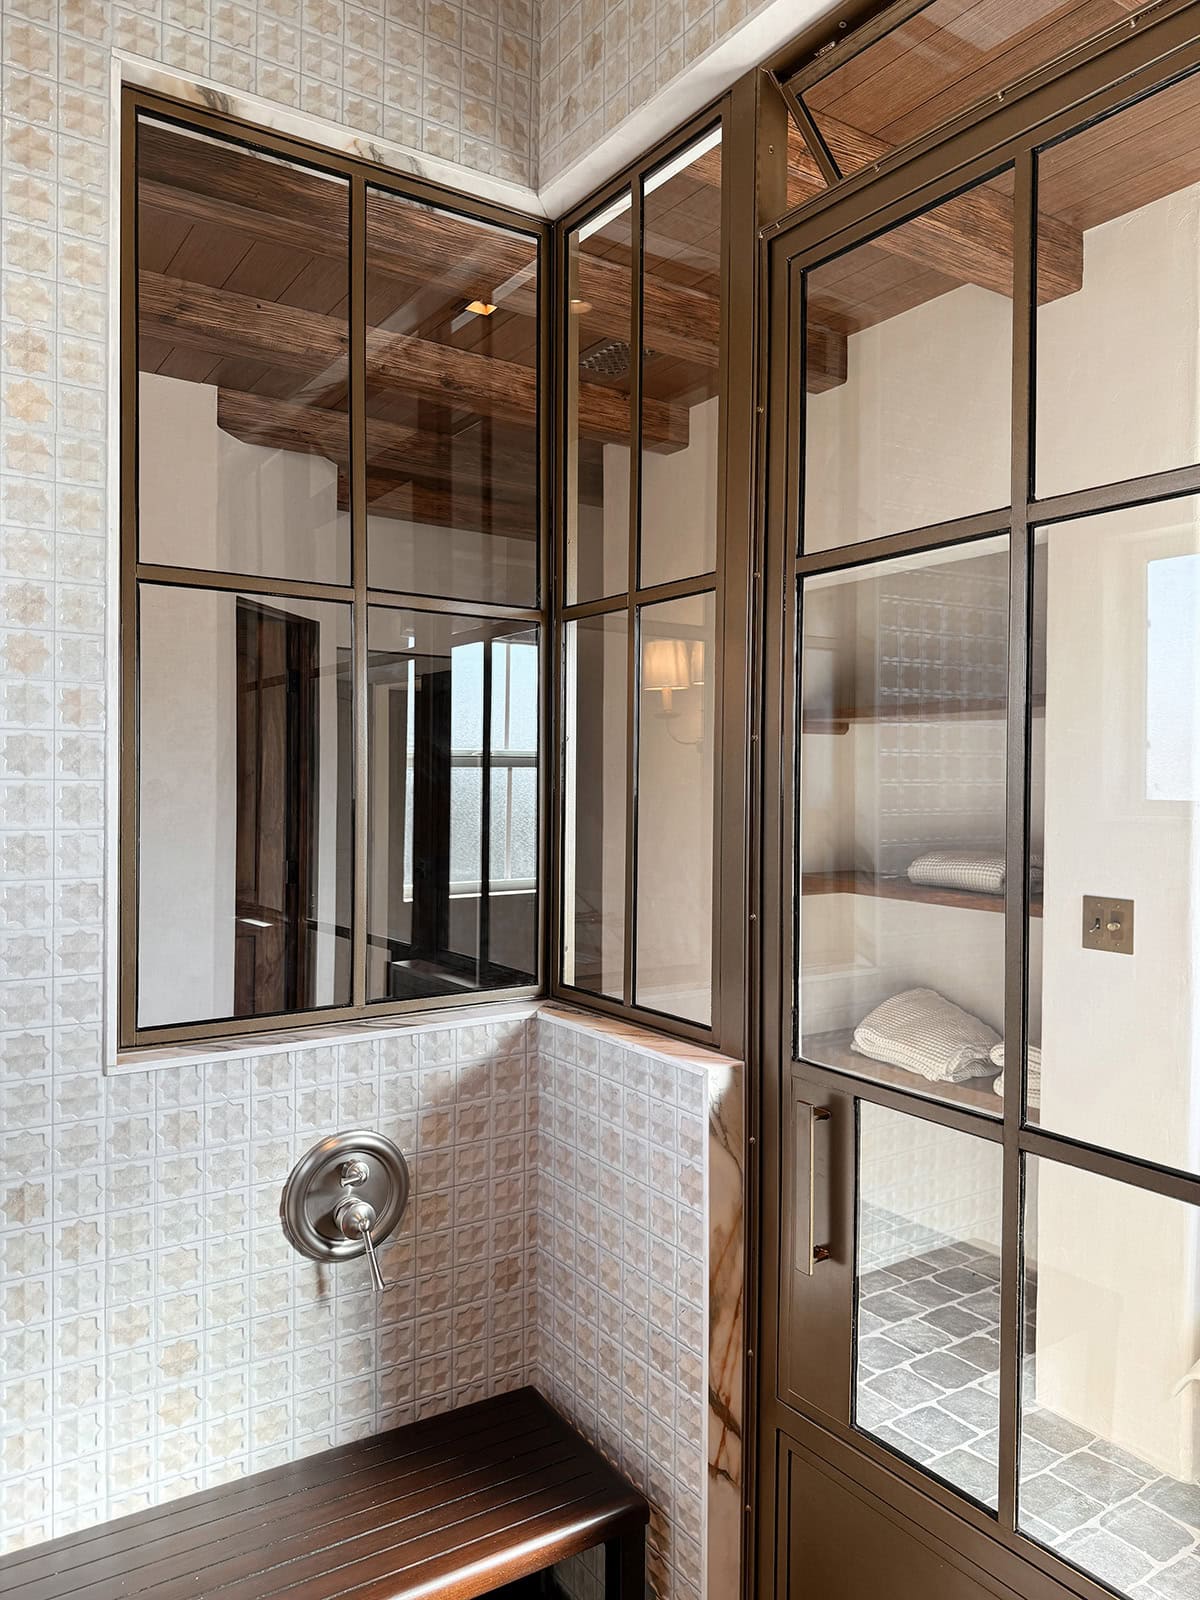
I’m so glad I didn’t give up the search after we couldn’t find a fabricator locally (thank you, Pinterest and Anything Wood & Metal!). The company is located in Baltimore but ships all over the country, and our freight cost to Florida was $1600.
Keep in mind that the lead times are longer—ours took around 3 months. We had plenty of other things to keep us busy so it wasn’t an issue. What do you think, was it worth the investment??
Happy to answer any questions, feel free to drop them in the comments below. You can also reach out to the company directly through their website—they’re very responsive and easy to work with.
We’re wrapping up the finishing touches in this bathroom right now and I’m hoping to share the full reveal on the blog next week! Stay tuned for our biggest bathroom reveal yet…


Jake says
Looks amazing! Is there any concern of the steel corroding or rusting as opposed to a brass finish?
Jenna Sue says
The powdercoating should protect the metal. I haven’t heard of that being a concern in this application but time will tell!
kj says
Good choice all the way around.
Susan says
Absolutely gorgeous! Thank you for sharing with such detail. I am wondering what grout color you used for your cobblestone tile floor. The shade details the edges of the tile wonderfully!
Jenna Sue says
Glad you like it Susan! The grout color is Mapei Cobblestone.