Over a year after swinging the first hammer on demo day, our largest and most anticipated bathroom renovation is complete.
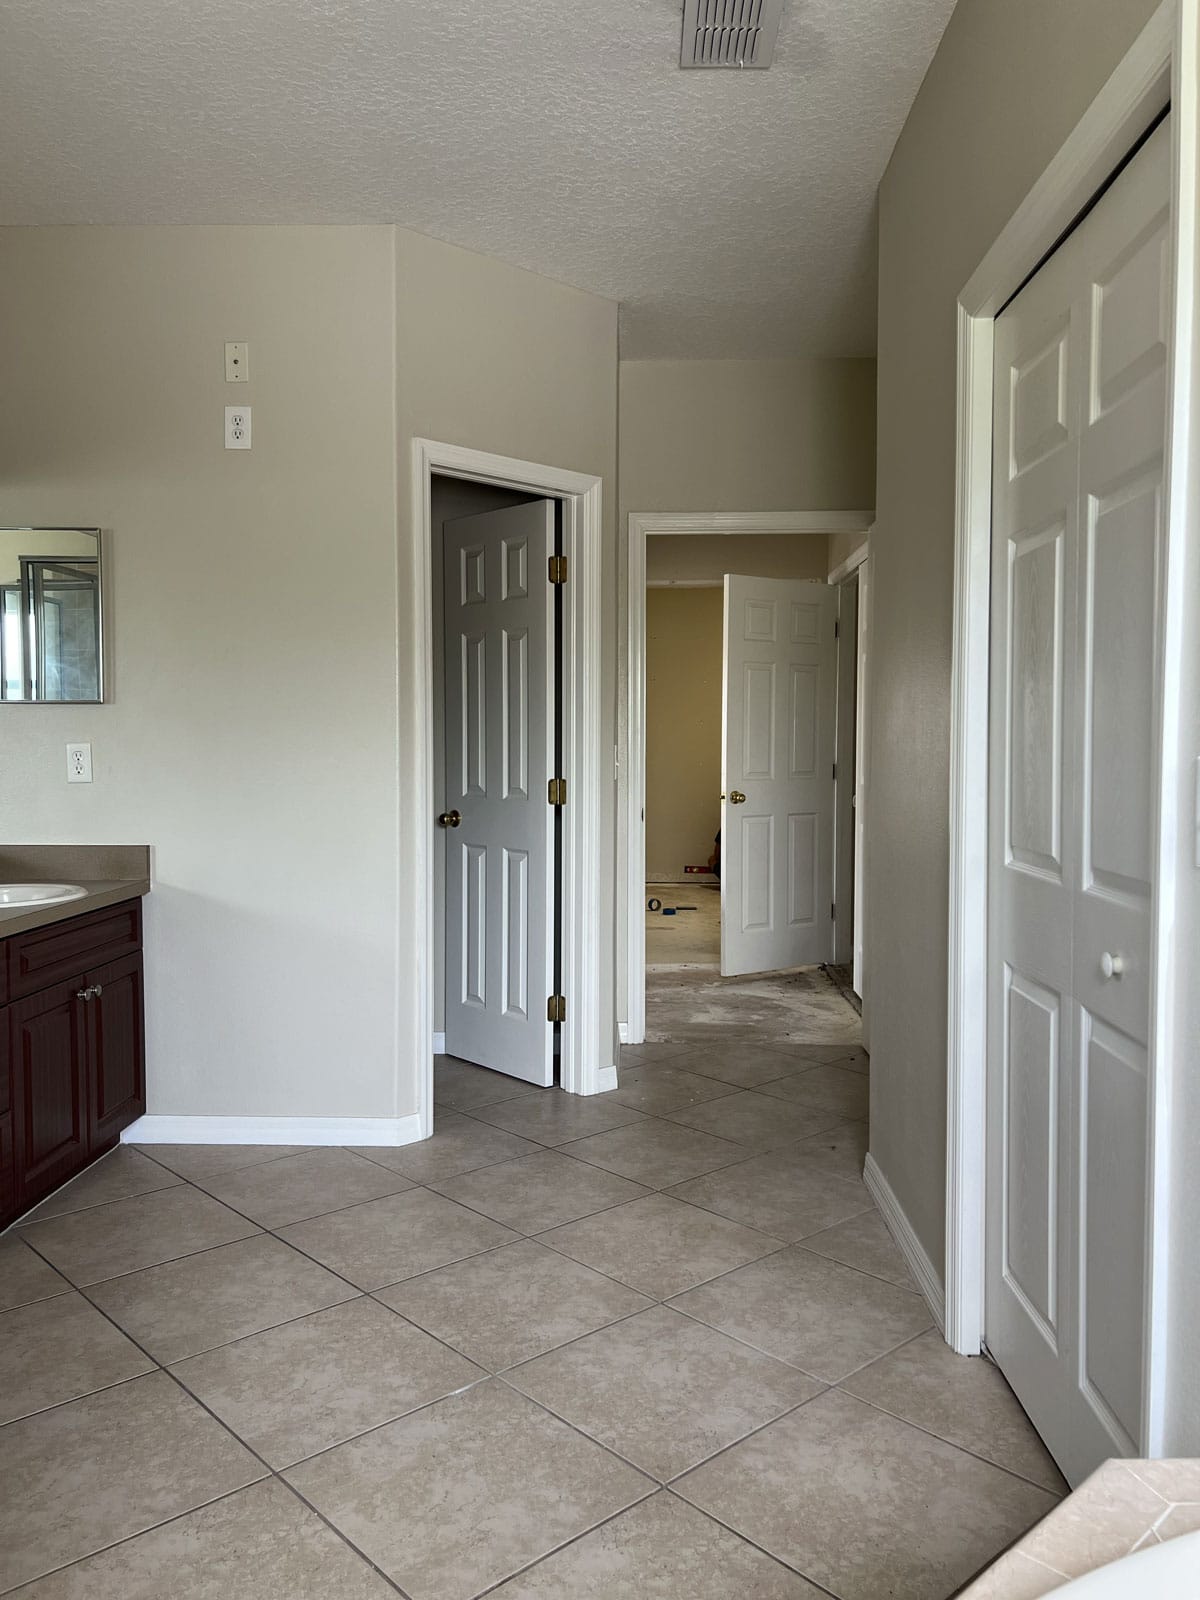
Let’s jump right into how it looked before…

What it lacked for in style it made up in size, boasting around 172 square feet—by far the largest bathroom I’ve ever worked on. I shared more before photos, demo, and my initial design plans in this post.
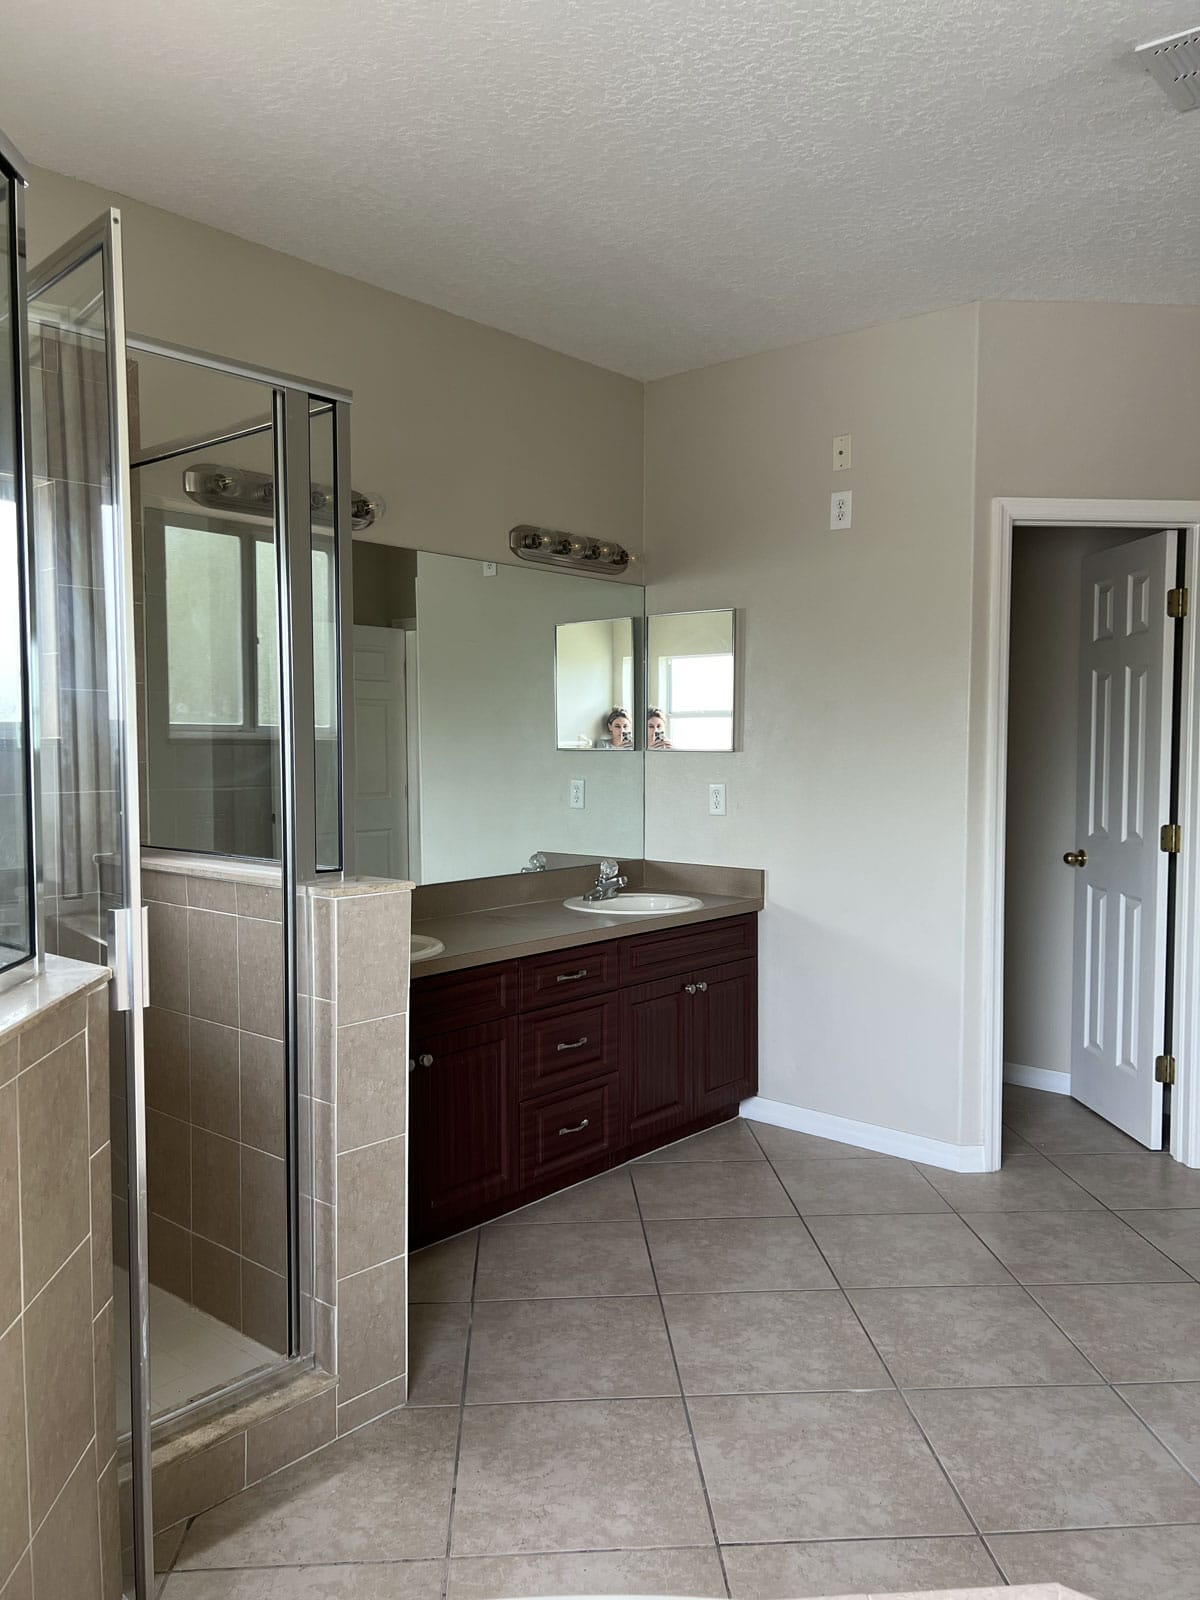
I had lofty goals to create a ‘rustic luxury’ dream bathroom without the designer price tag (this will be a vacation rental, after all).
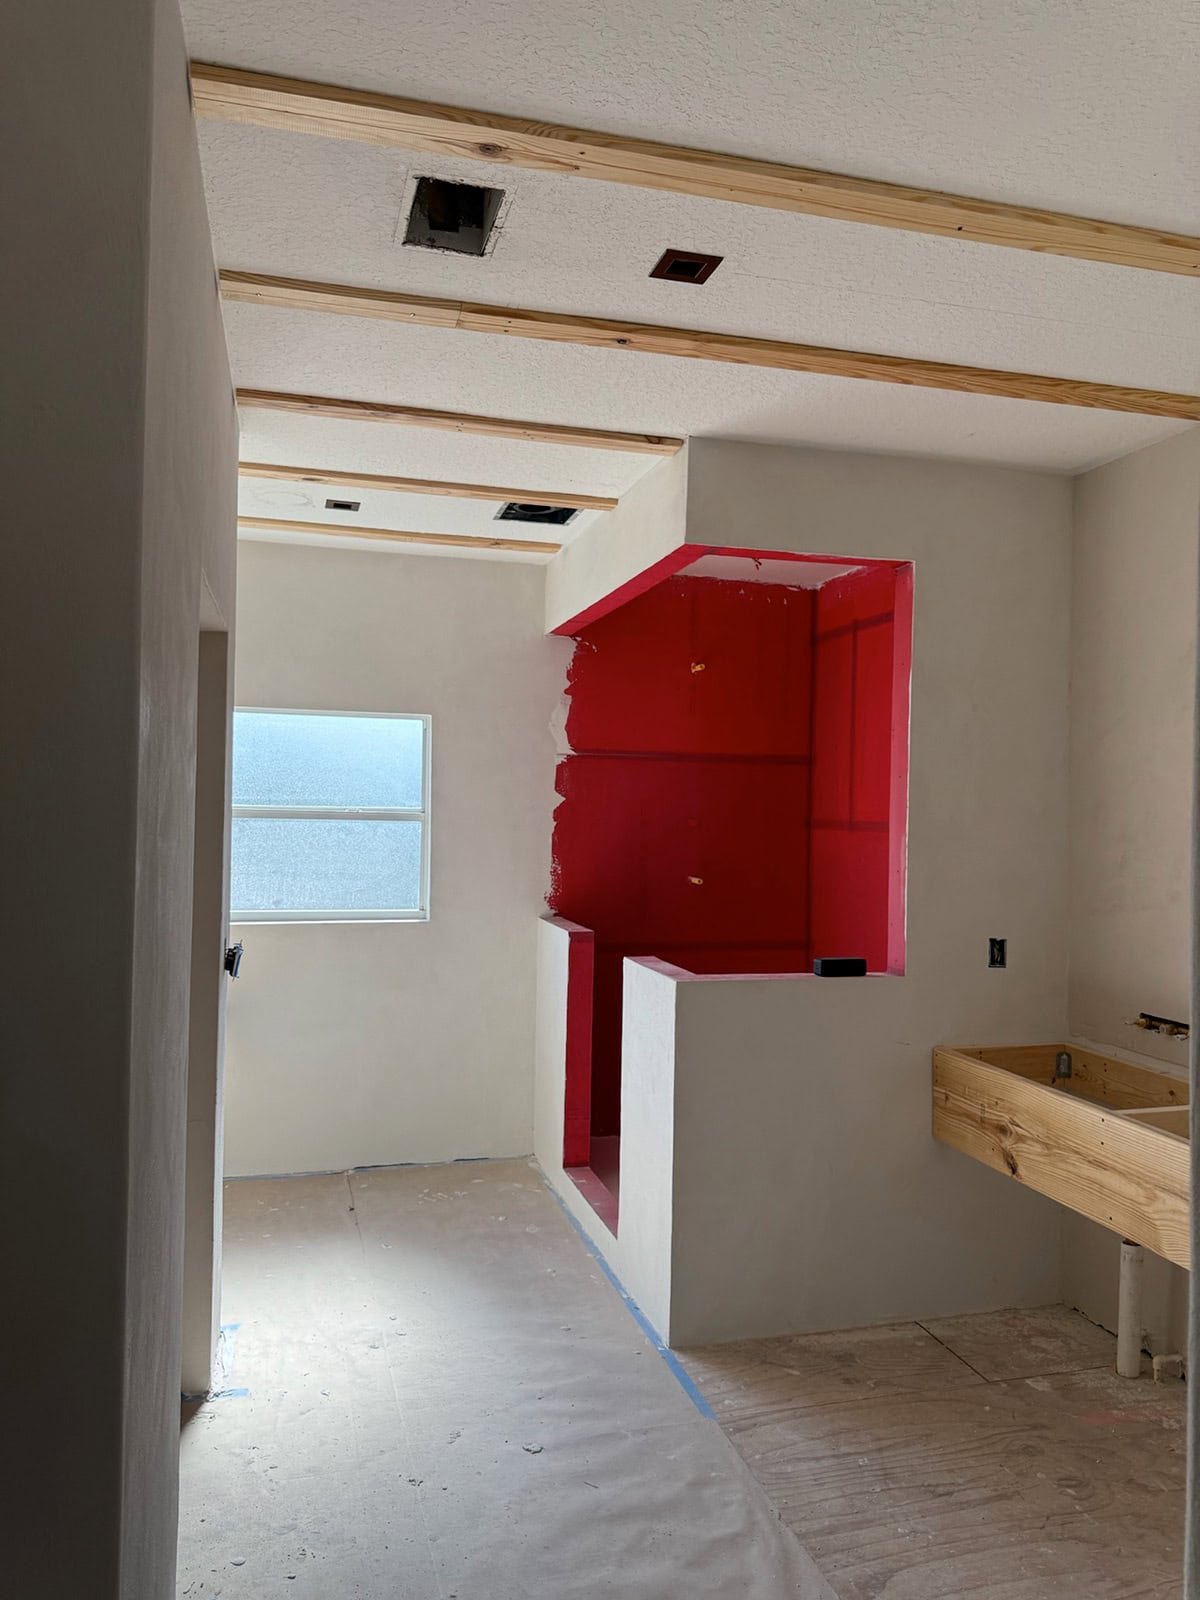
Without the budget to completely redo the layout and plumbing, we worked within the original footprint. We built a custom shower enclosure, replaced the doors, installed DIY wood ceiling beams, covered the walls in microcement, and designed floating sink and makeup vanities.
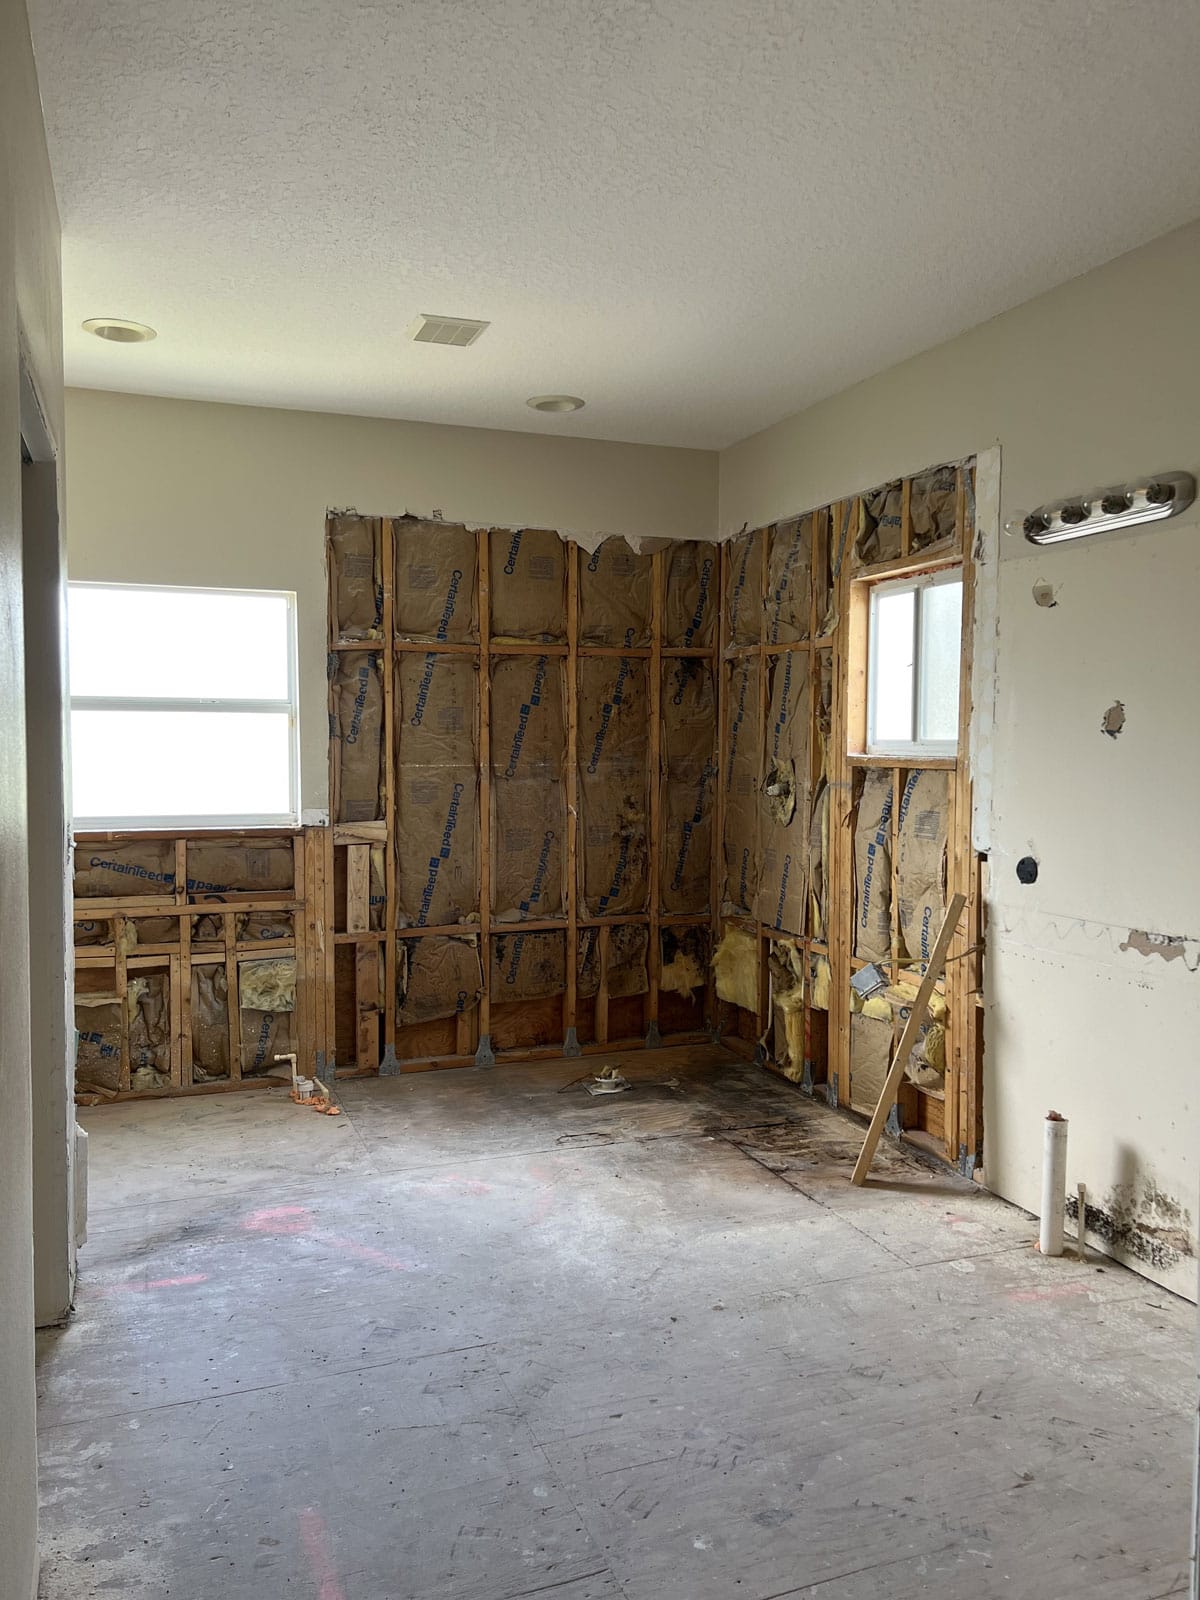
A million decisions had to be made, work had to be re-done (sometimes twice), and it was one of the more challenging projects I’ve taken on in my 16 years at this.
Was it worth it? 100% yes.
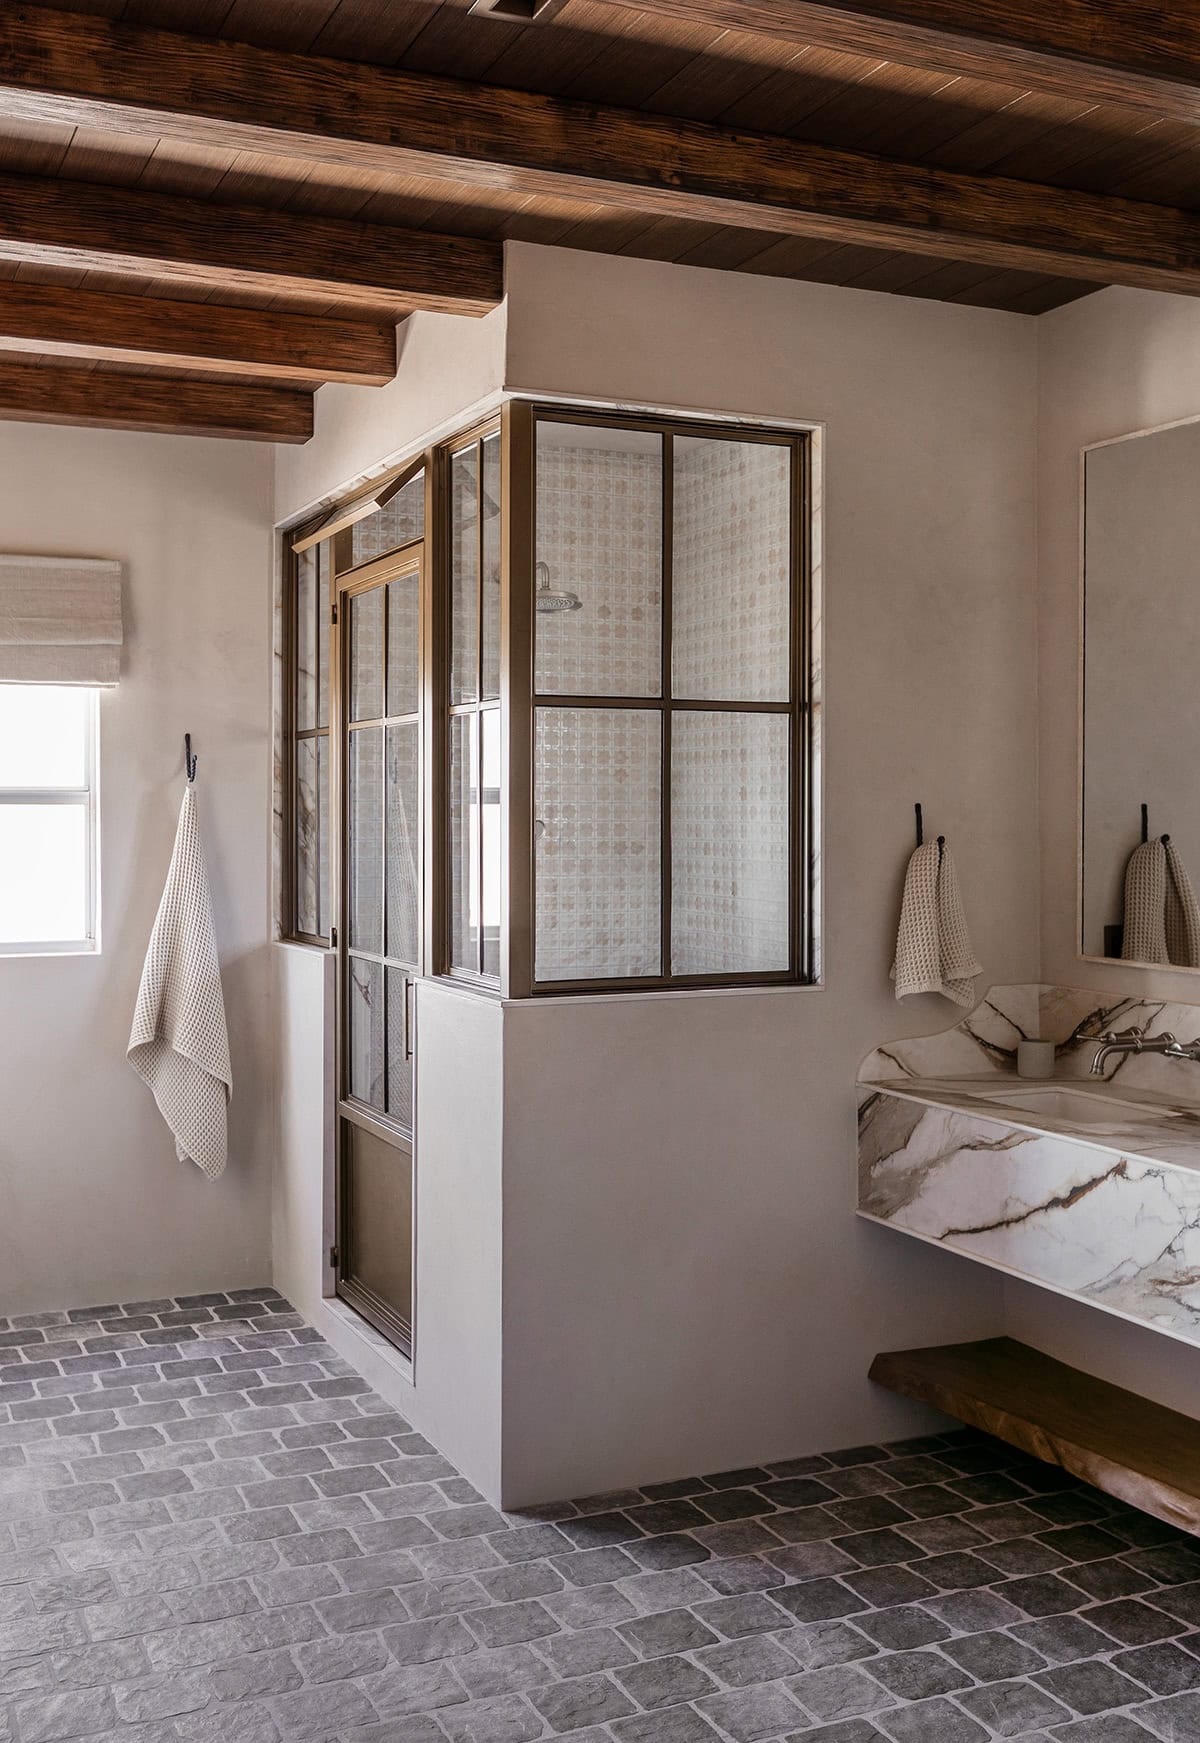
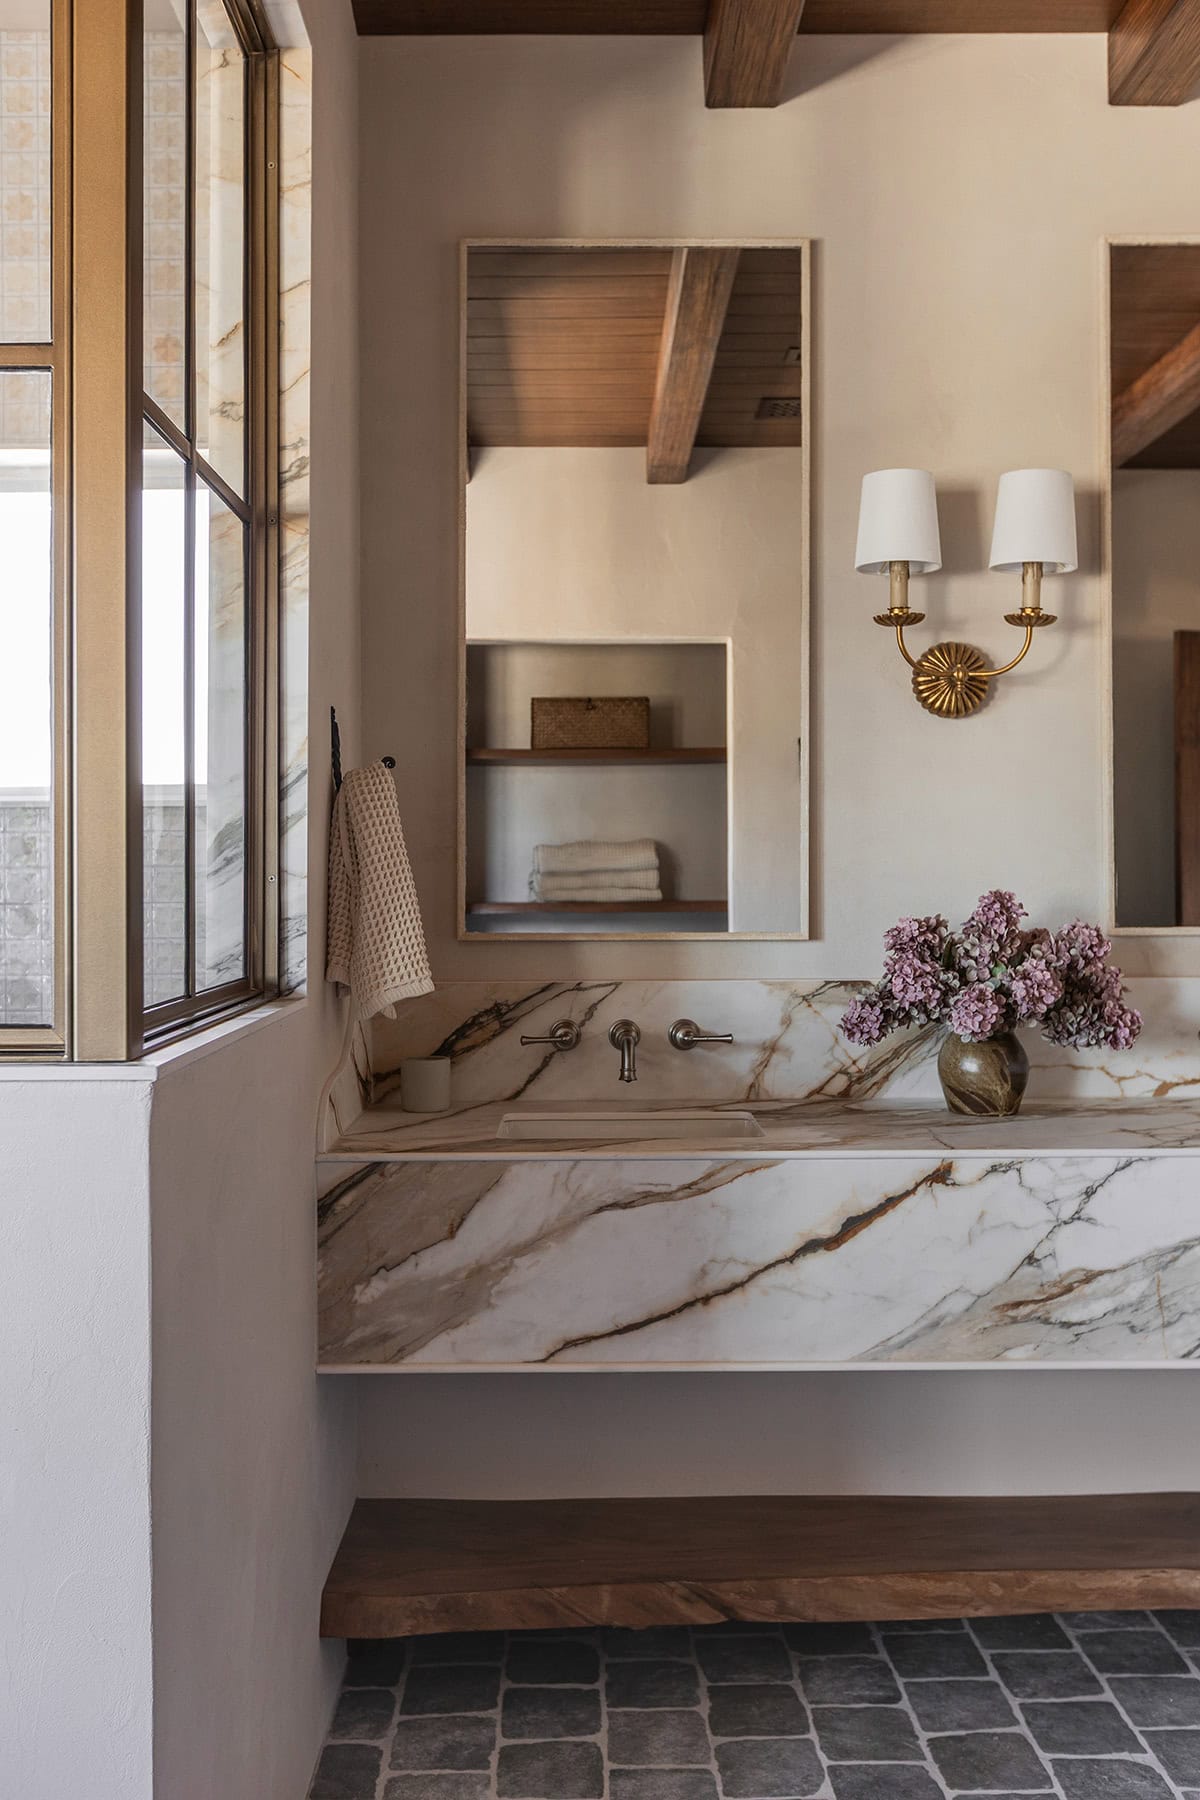
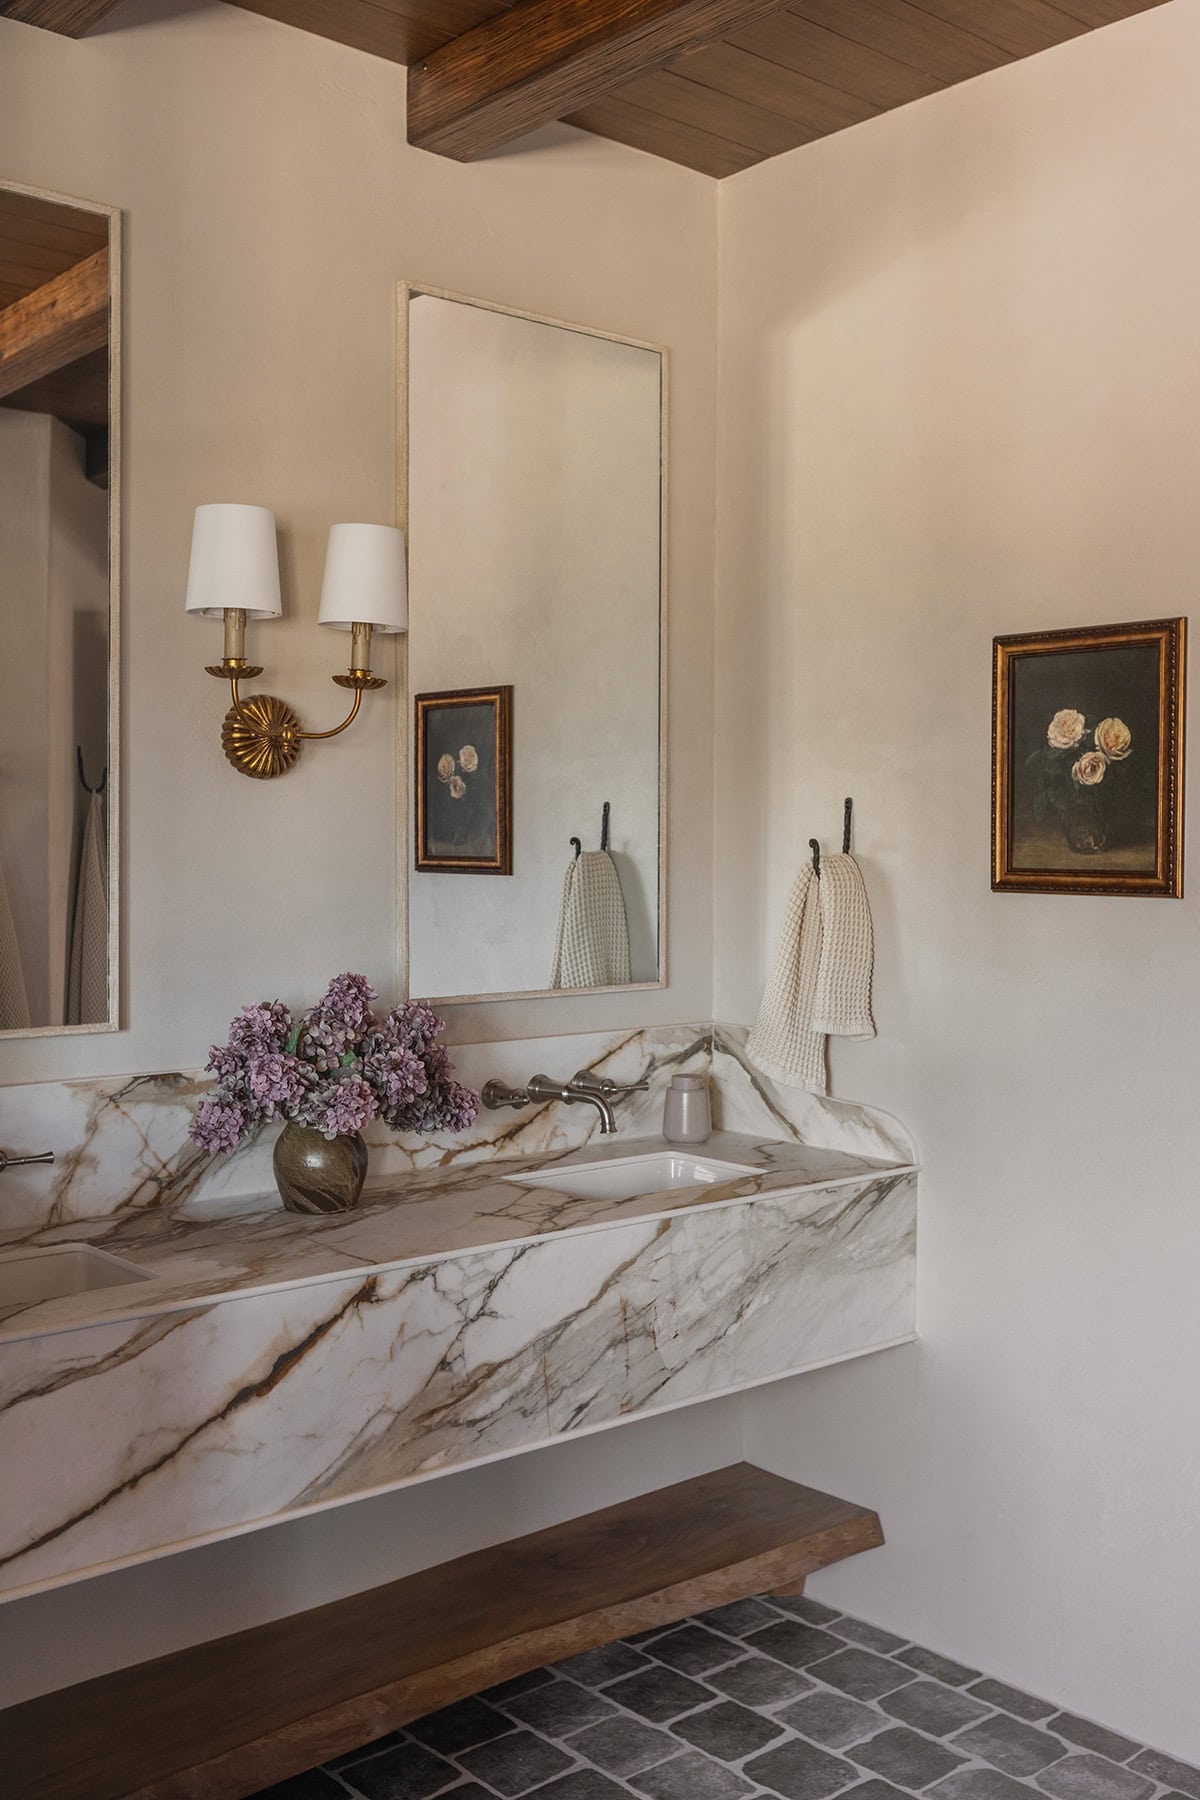
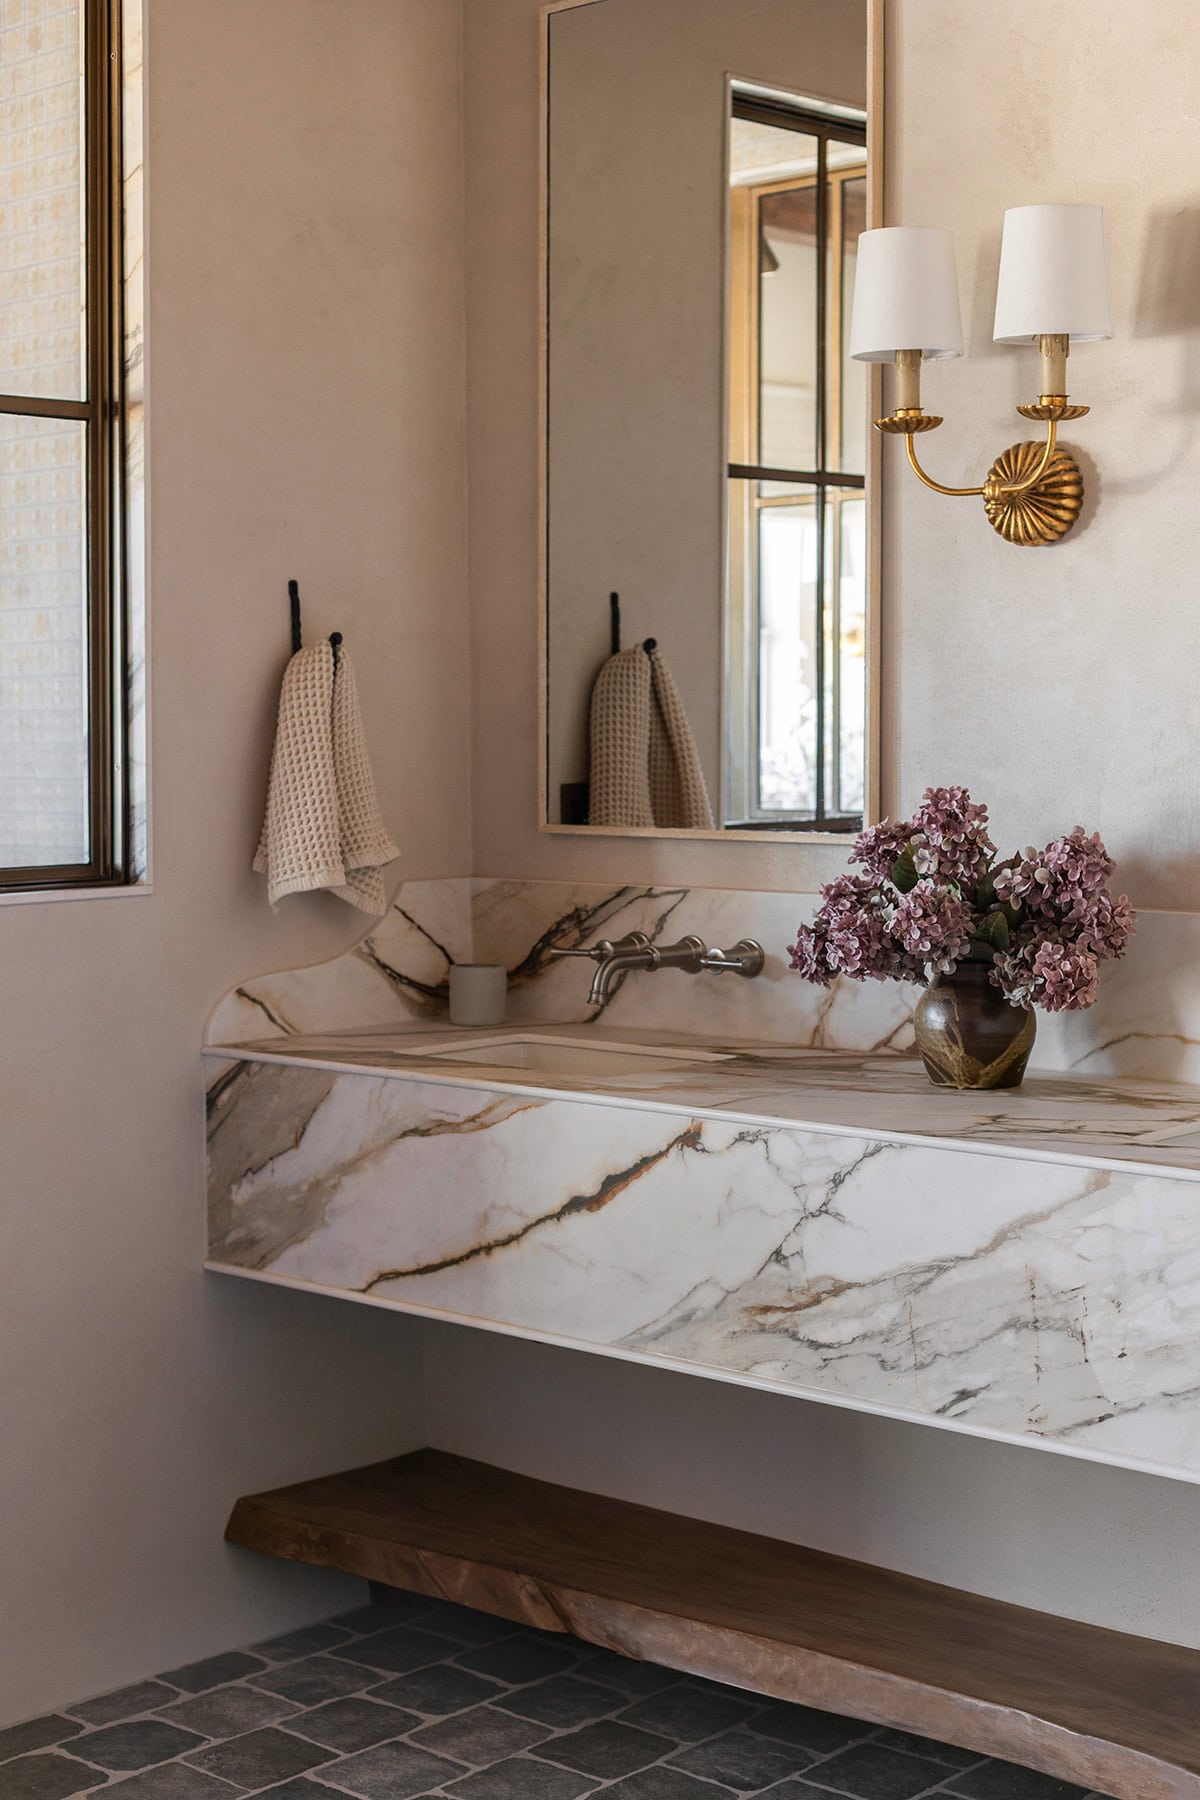
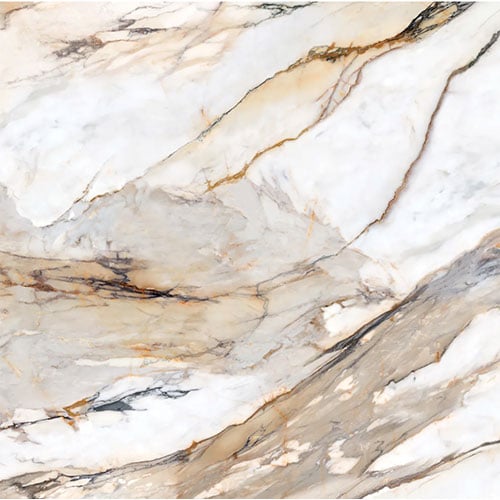
I went back and forth on the countertop material for months before finally landing on this honed porcelain slab. It’s a rental-friendly alternative that gives a high-end marble look, without the upkeep or price tag.
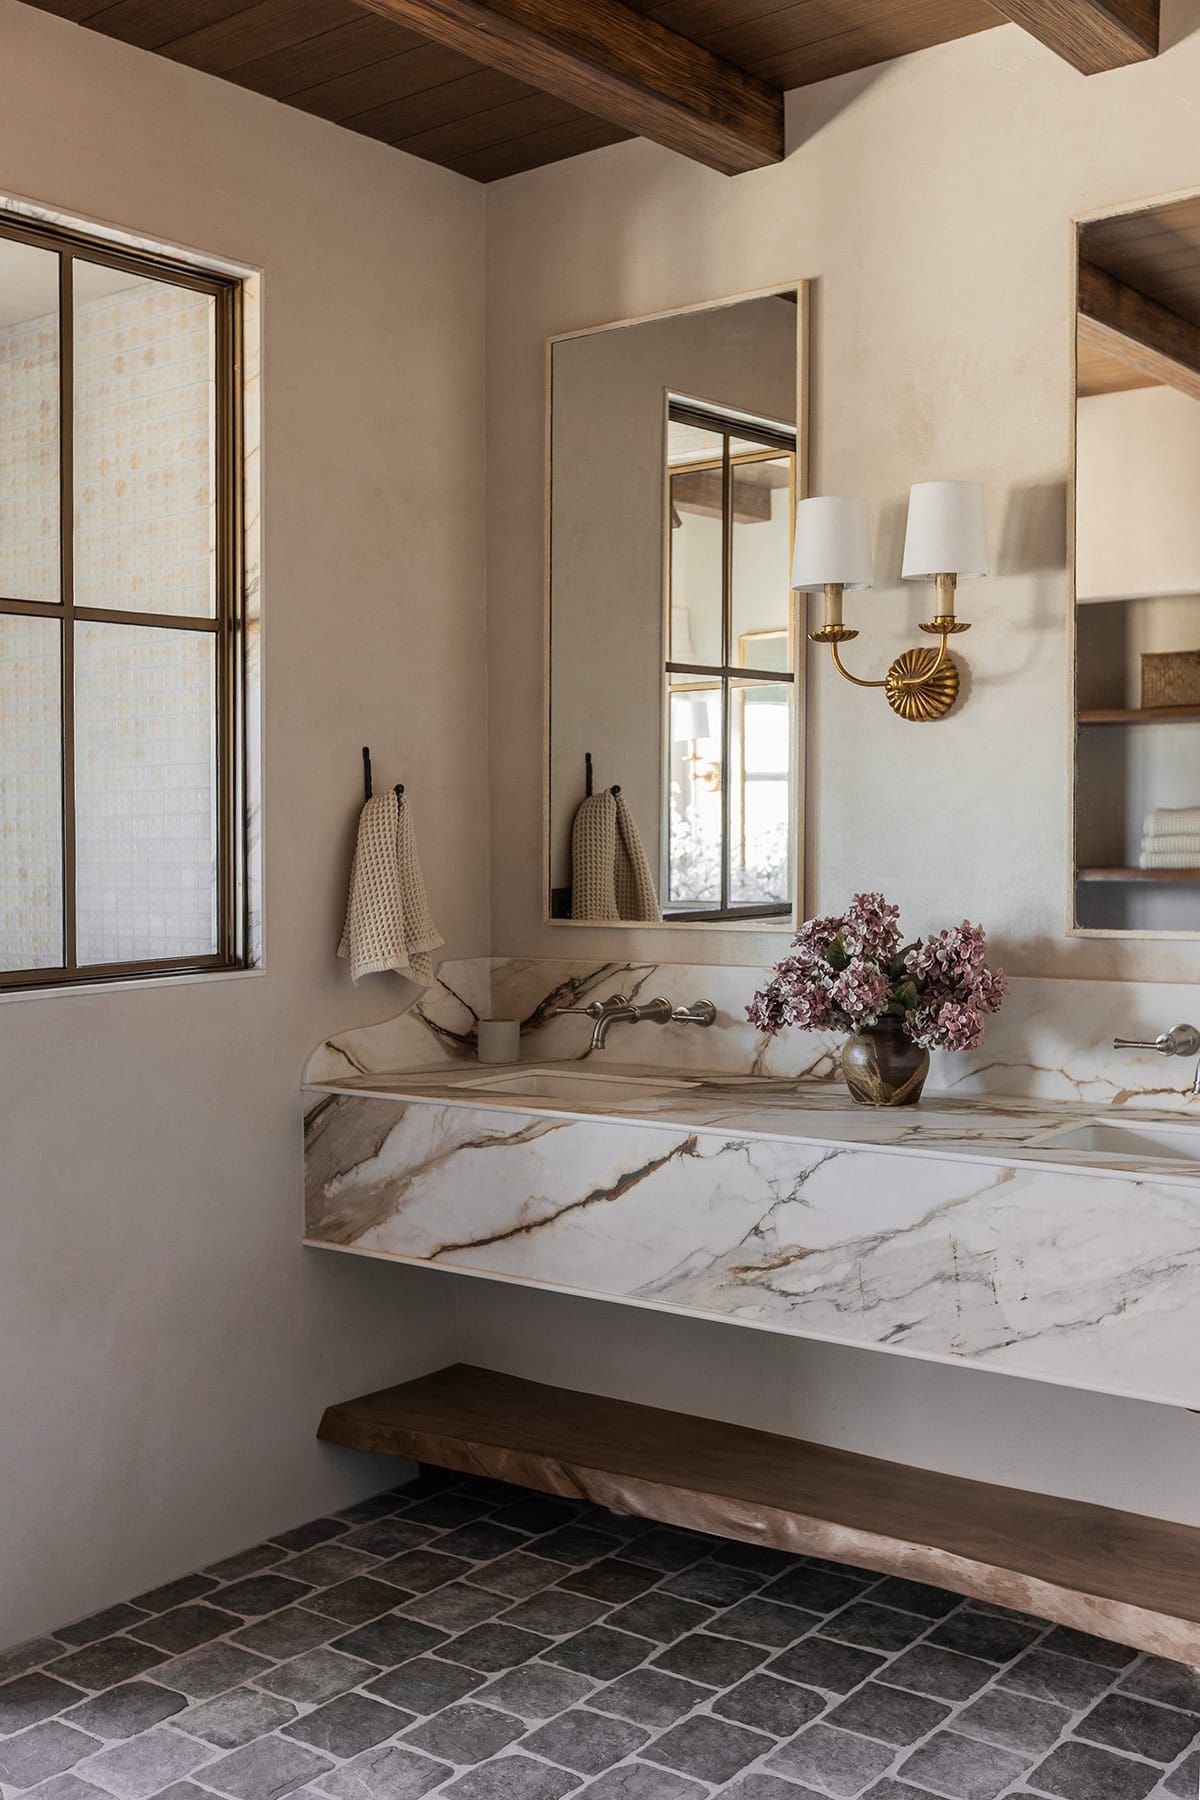
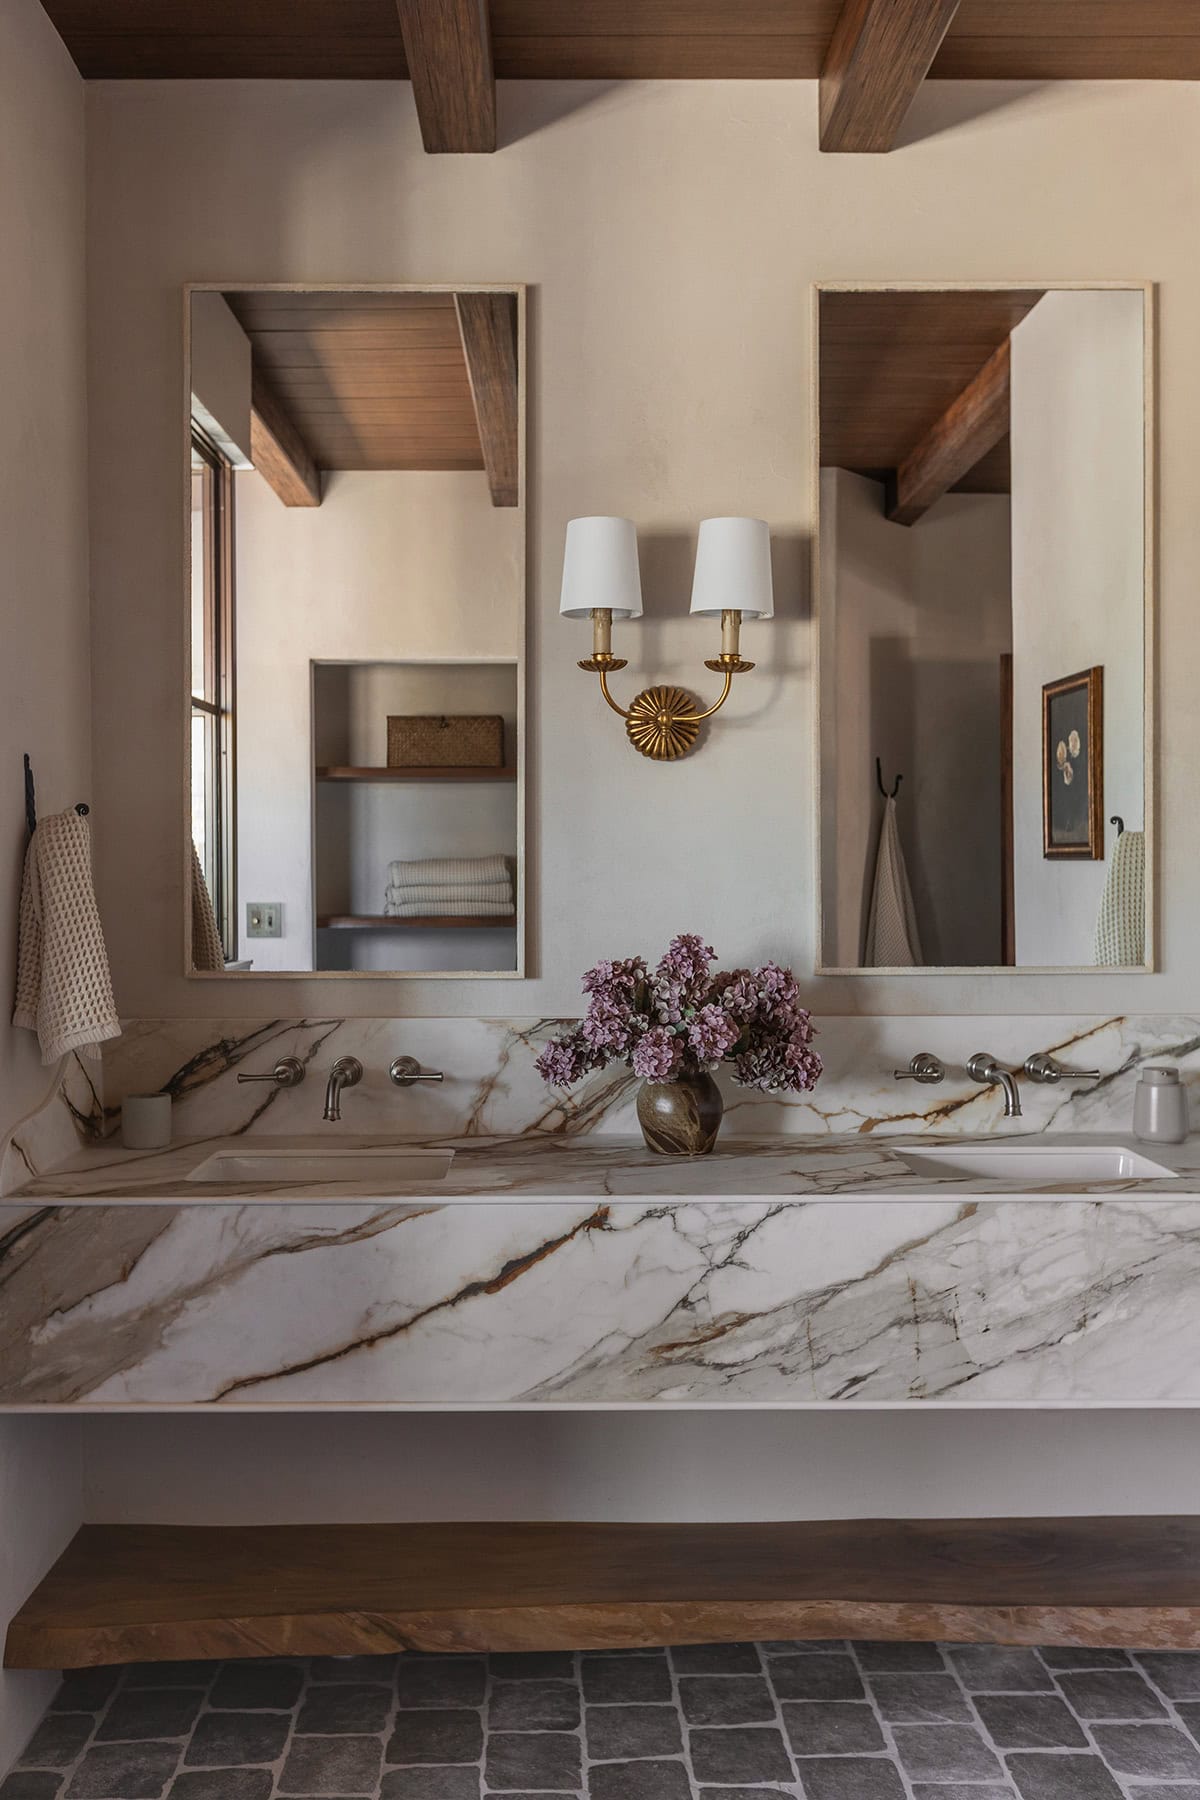
To soften things up and add a little visual interest, I had our fabricator create a stacked profile with bullnose edges. A locally sourced live edge sycamore slab became a floating shelf, adding a raw, organic contrast to the veiny stone.
What used to be an old jacuzzi tub is now a custom desk vanity nook. A simple DIY grid update on the window and a linen roman shade helped soften and instantly elevate this corner.
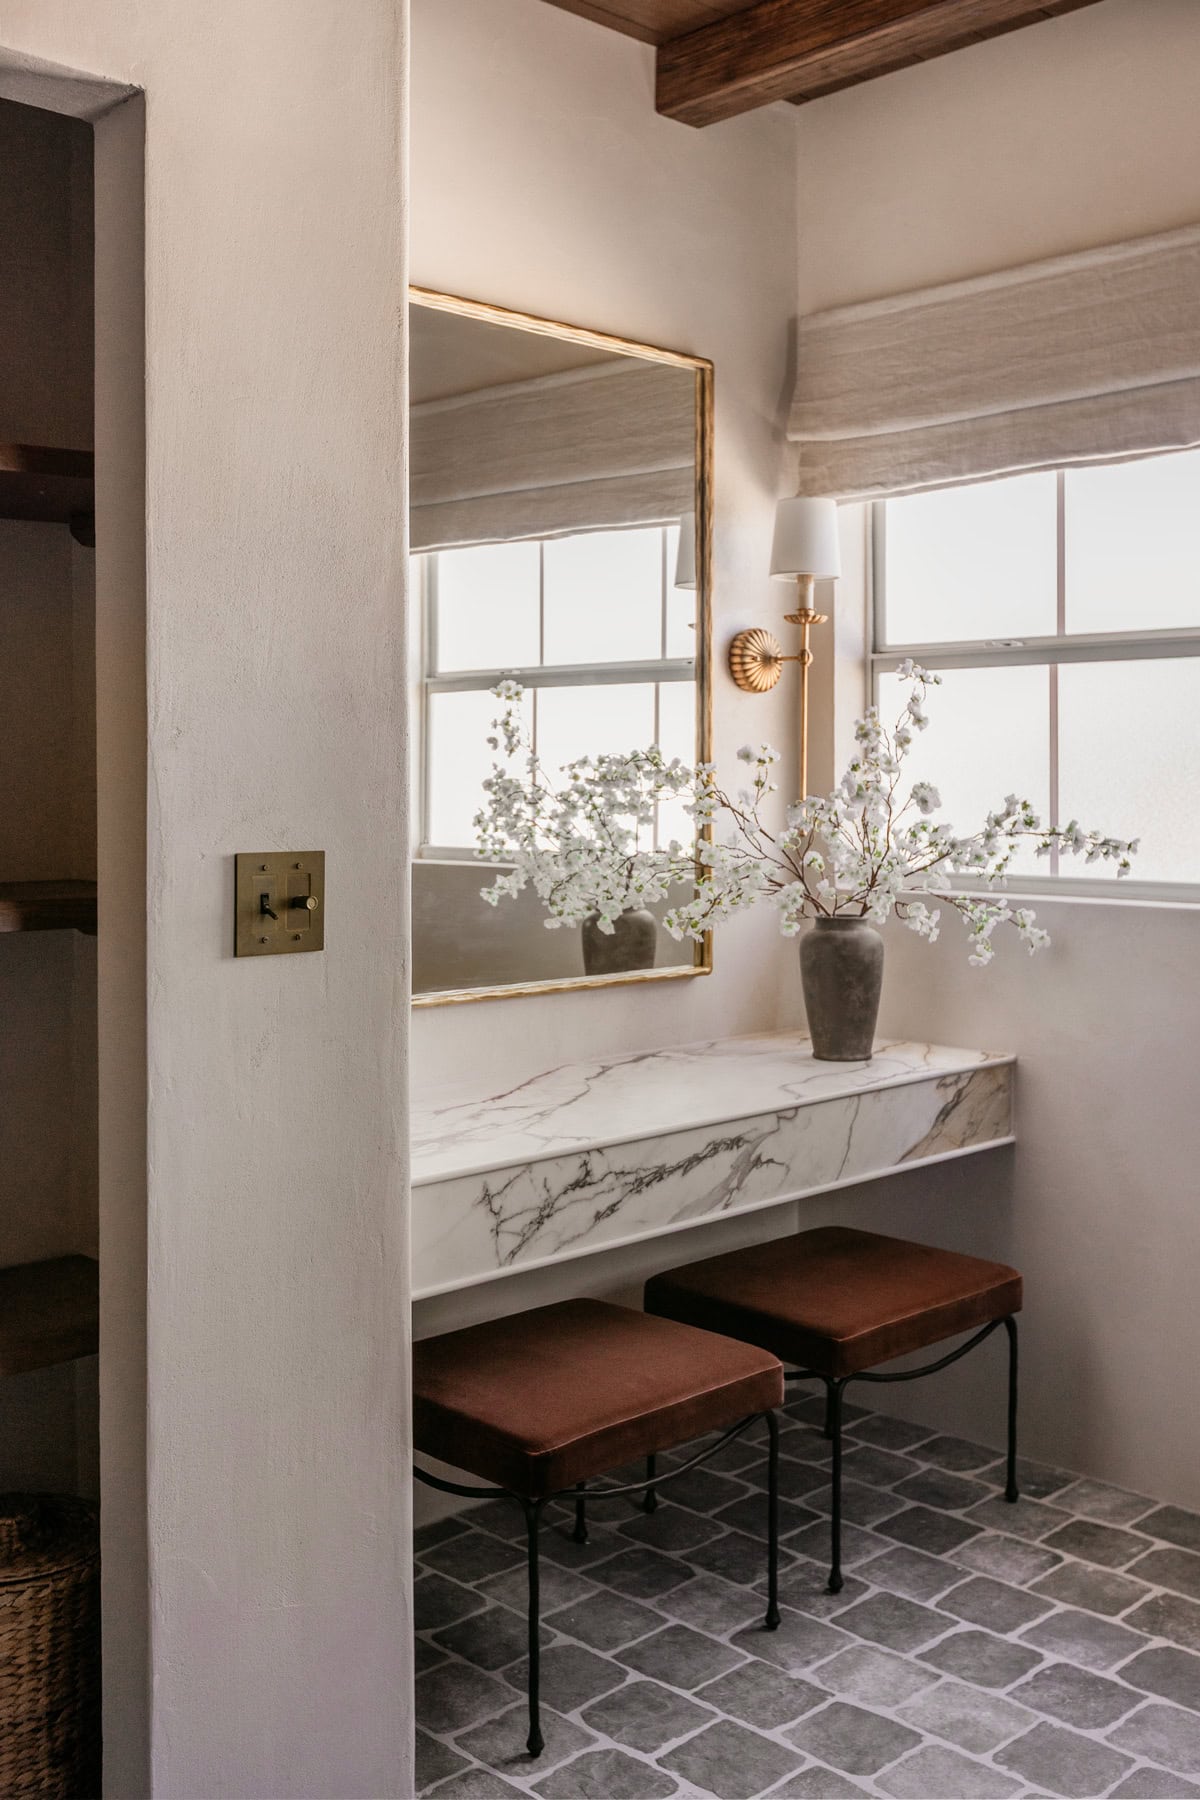
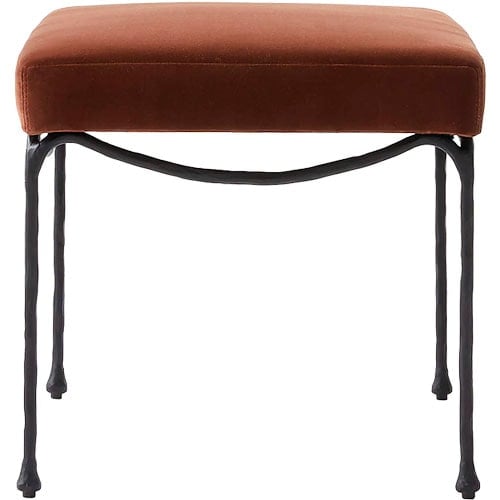
With this home hosting larger groups, a separate hair and makeup area will be very useful. And how luxe are those terracotta velvet stools??

Next to the vanity, we kept the linen closet simple by opting to remove the doors and install live edge wood shelves. I debated on adding closet doors, but hidden storage really isn’t needed in a rental. The Concretta walls (tinted SW Divine White) naturally support this open, minimalist look.
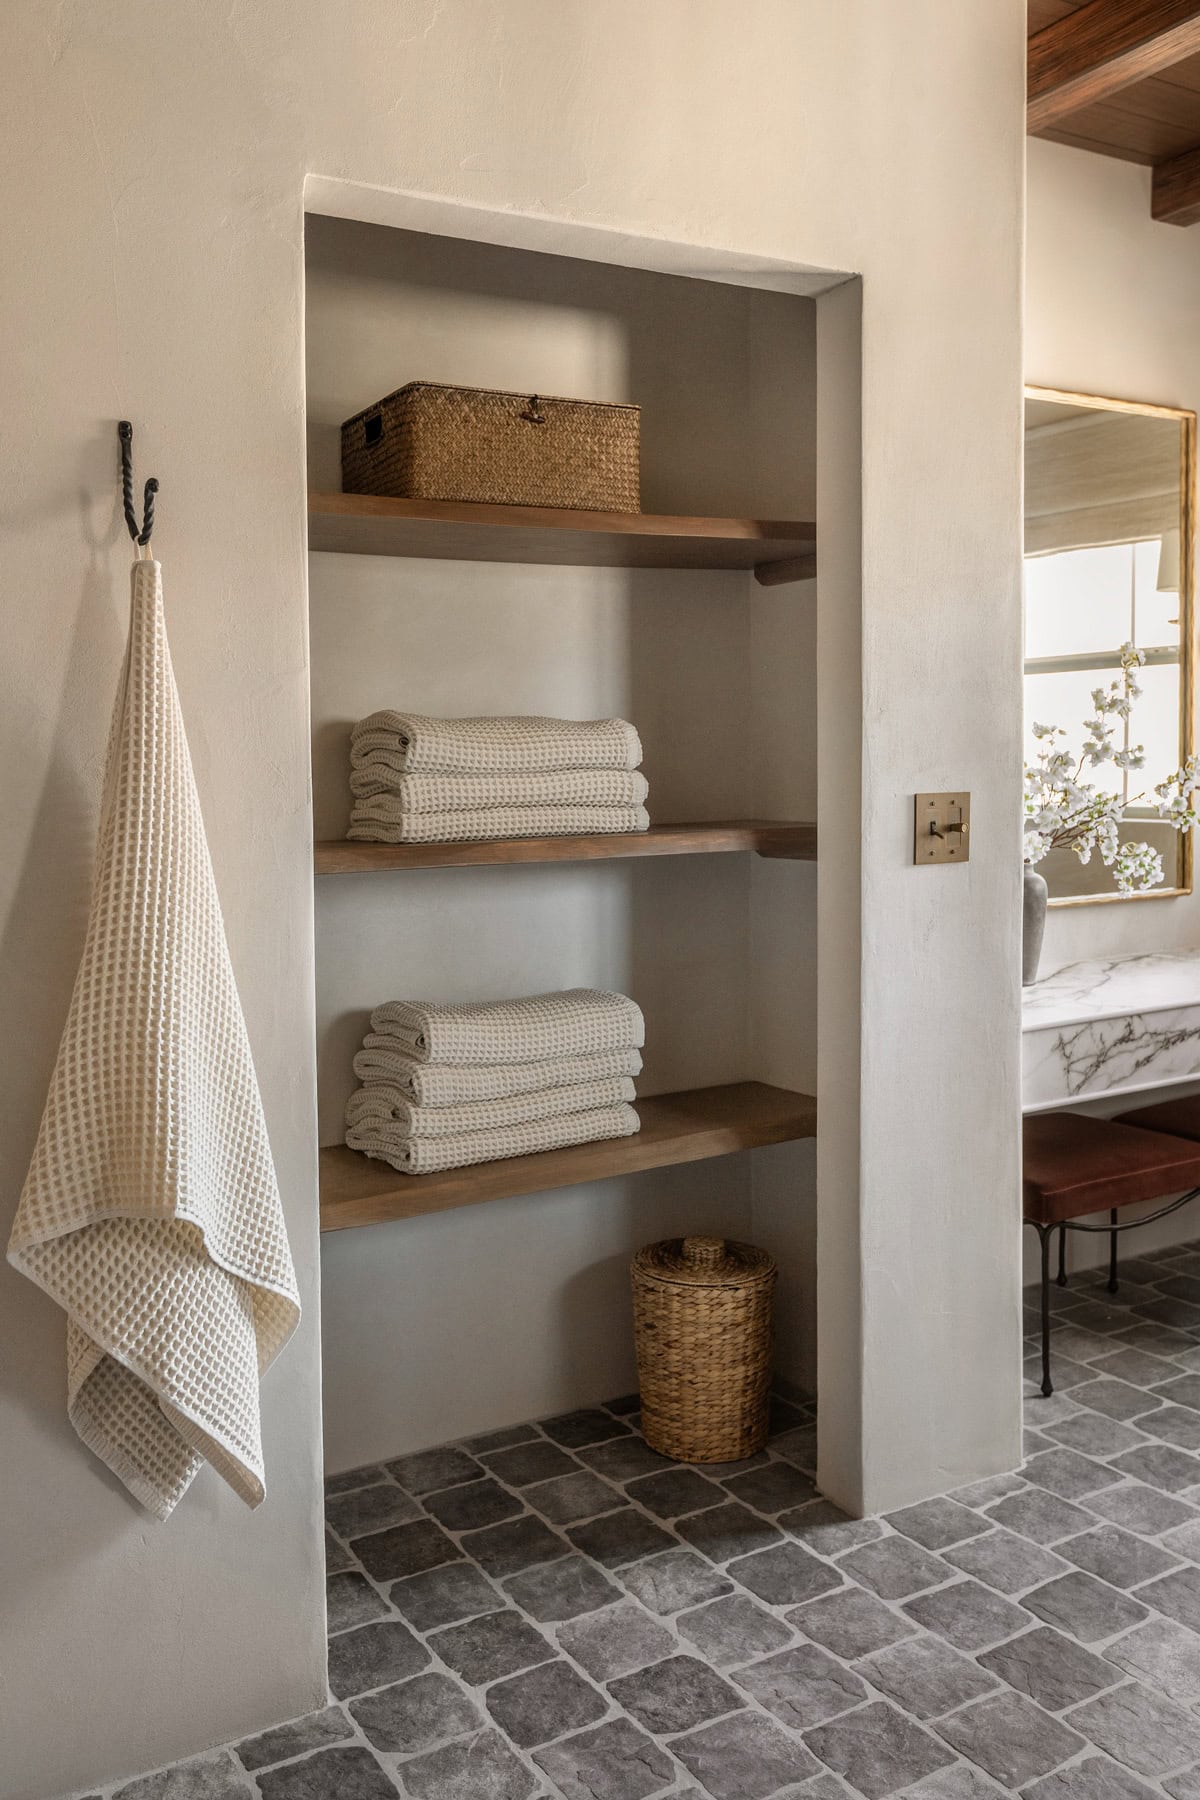
Such a better use of space now, don’t you agree?
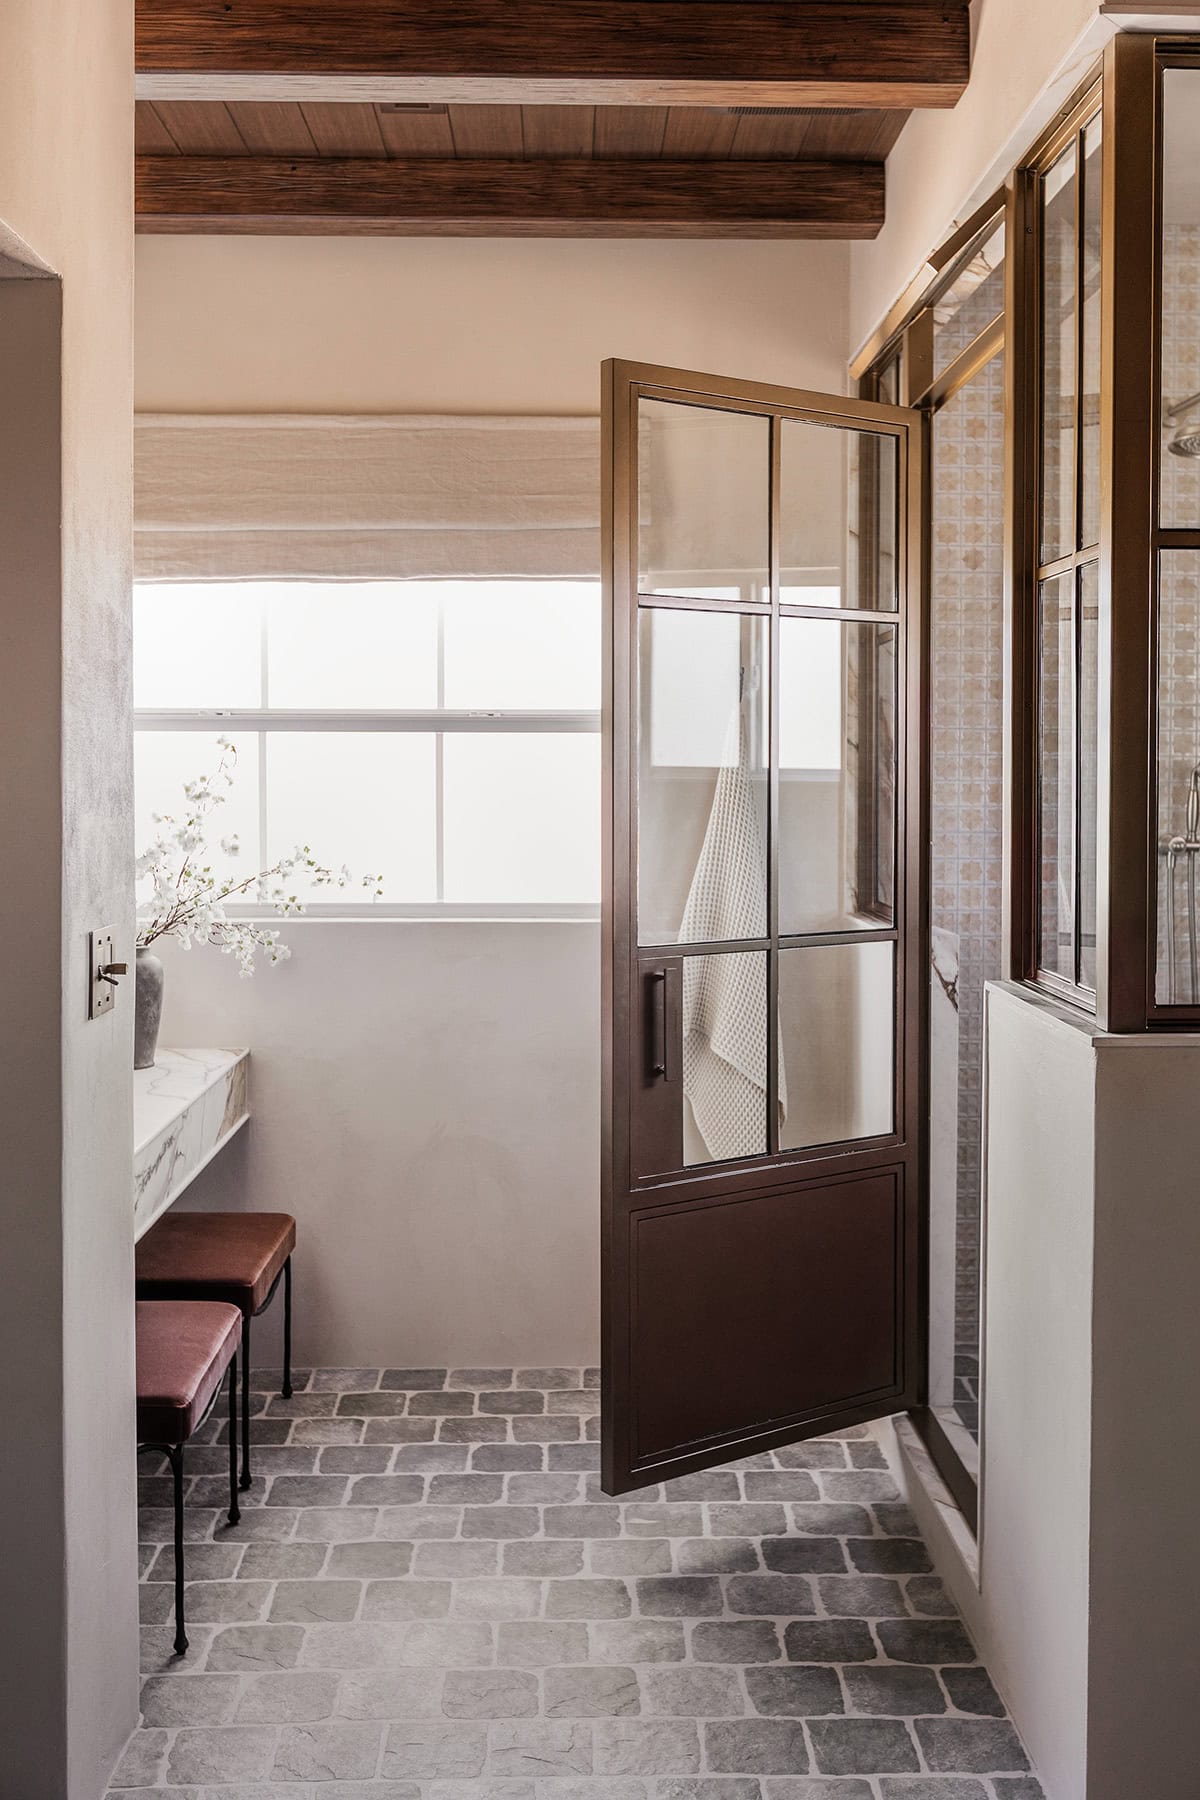
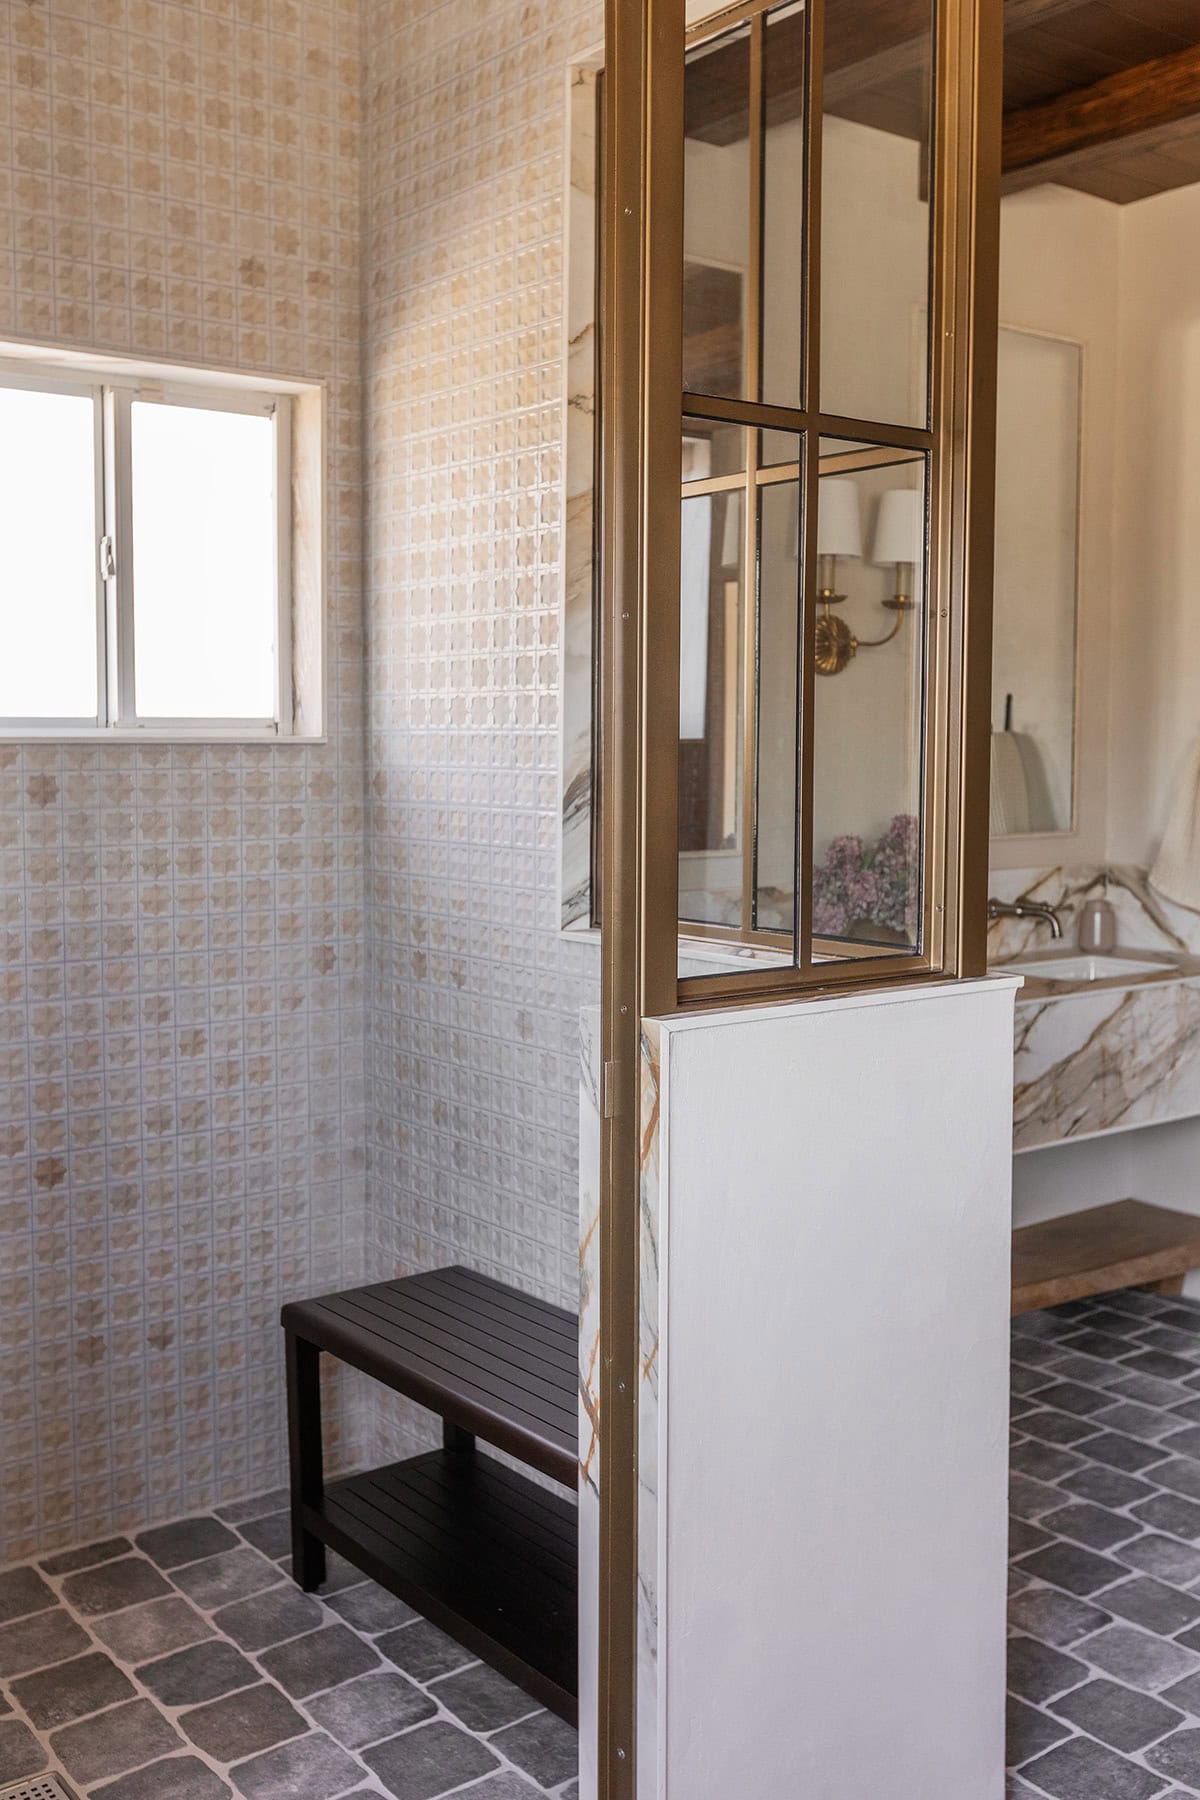
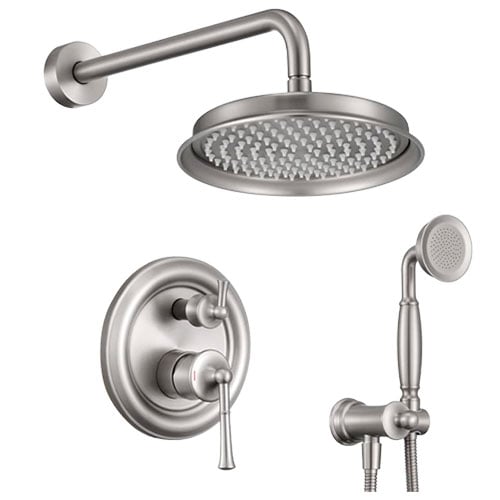
Moving onto the star of the show, the metal and glass shower…
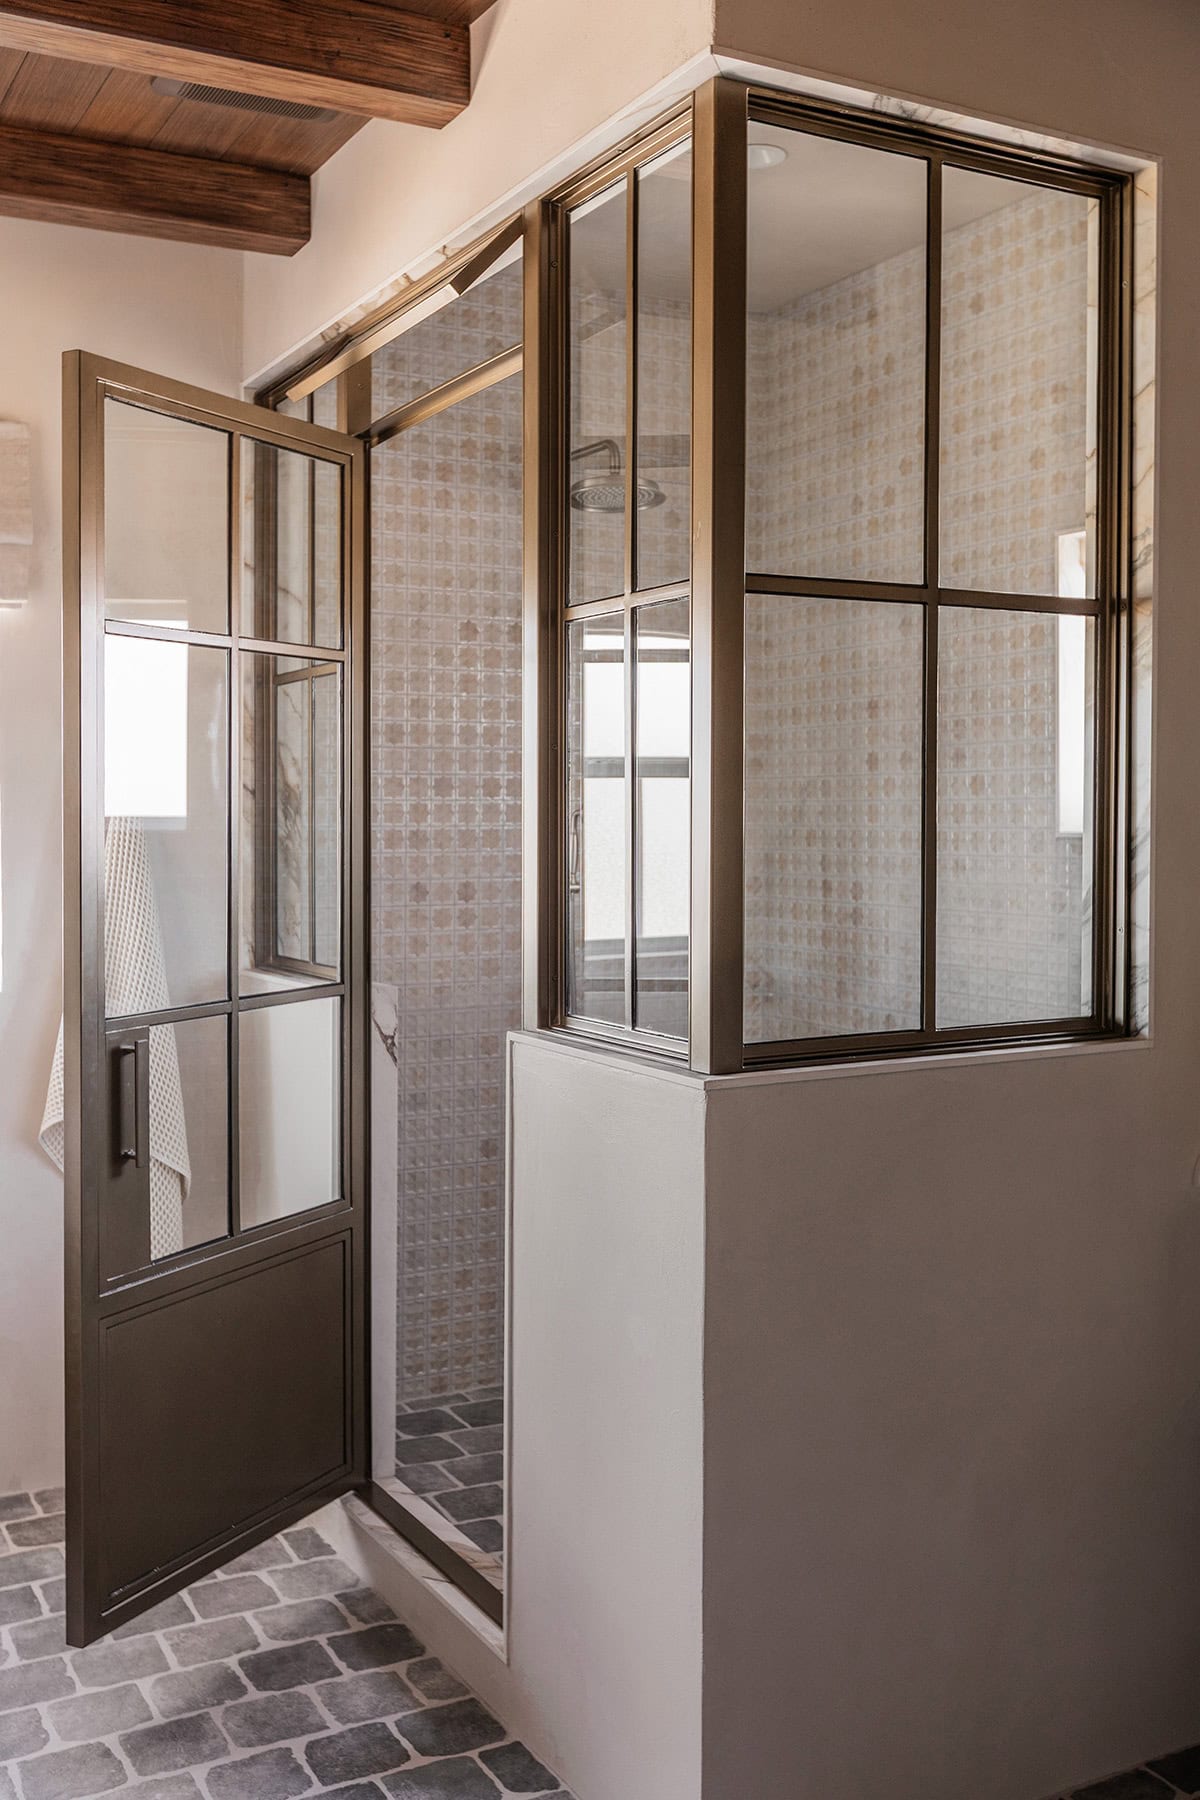
I still can’t believe we made it happen. She’s a work of art!
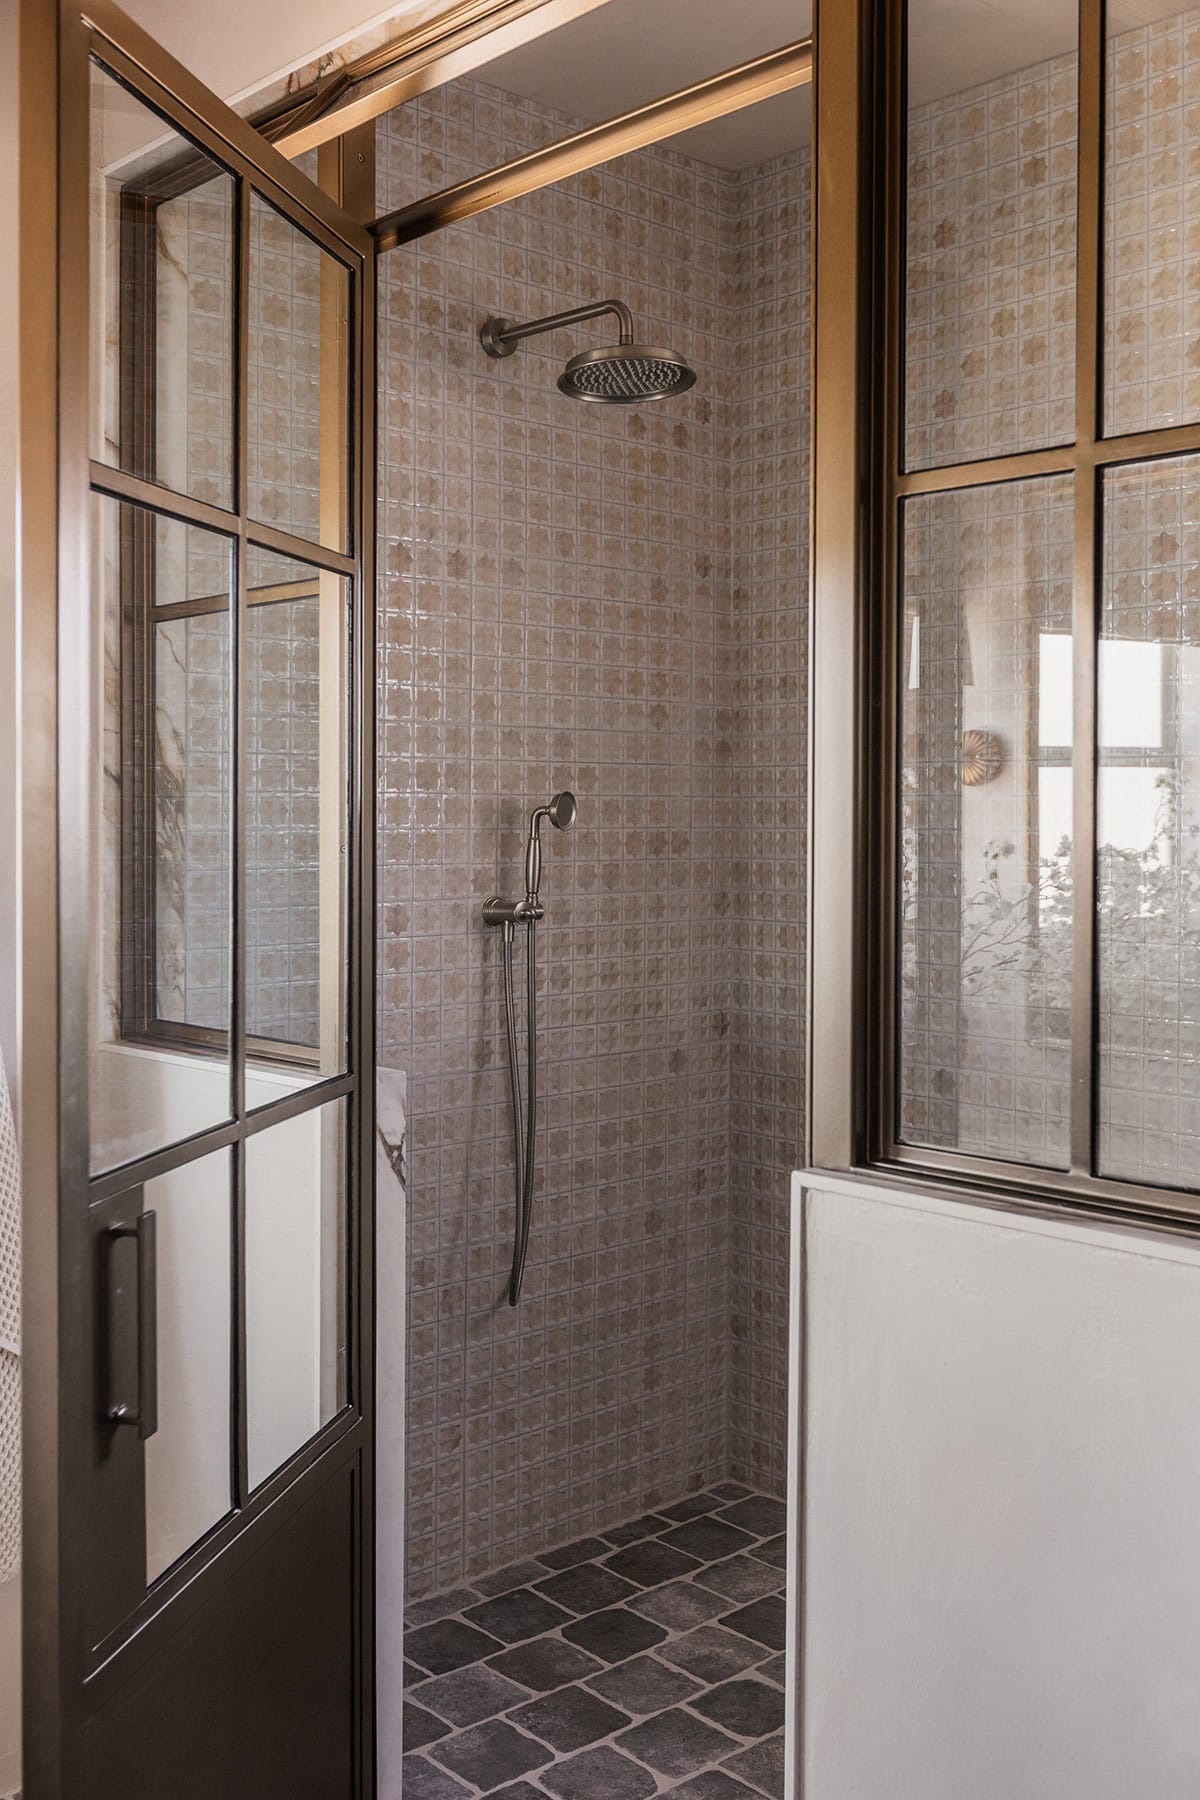
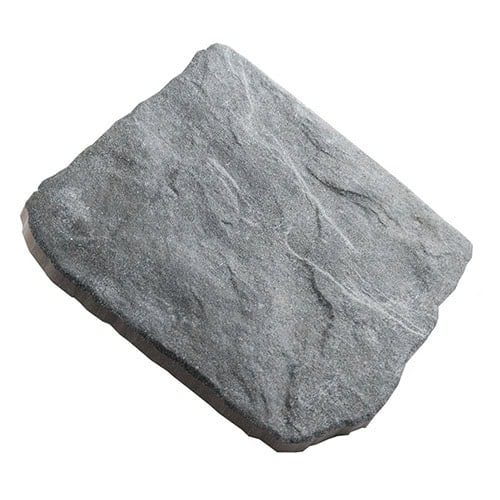
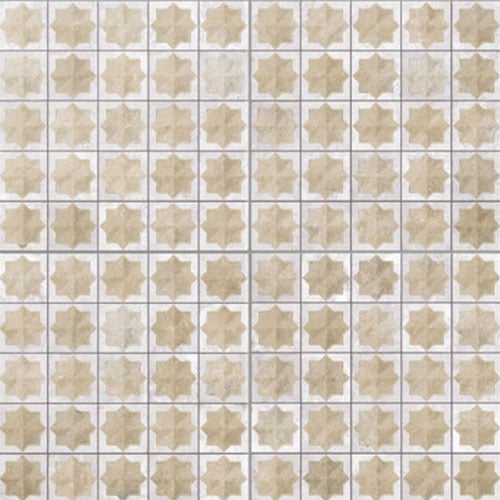
I chose floor to ceiling star & cross tile for the walls, and carried the cobblestone porcelain tiles onto the shower floor (the grout color is aptly named Cobblestone by Mapei). Remnants from the vanity slabs were used for the thresholds.
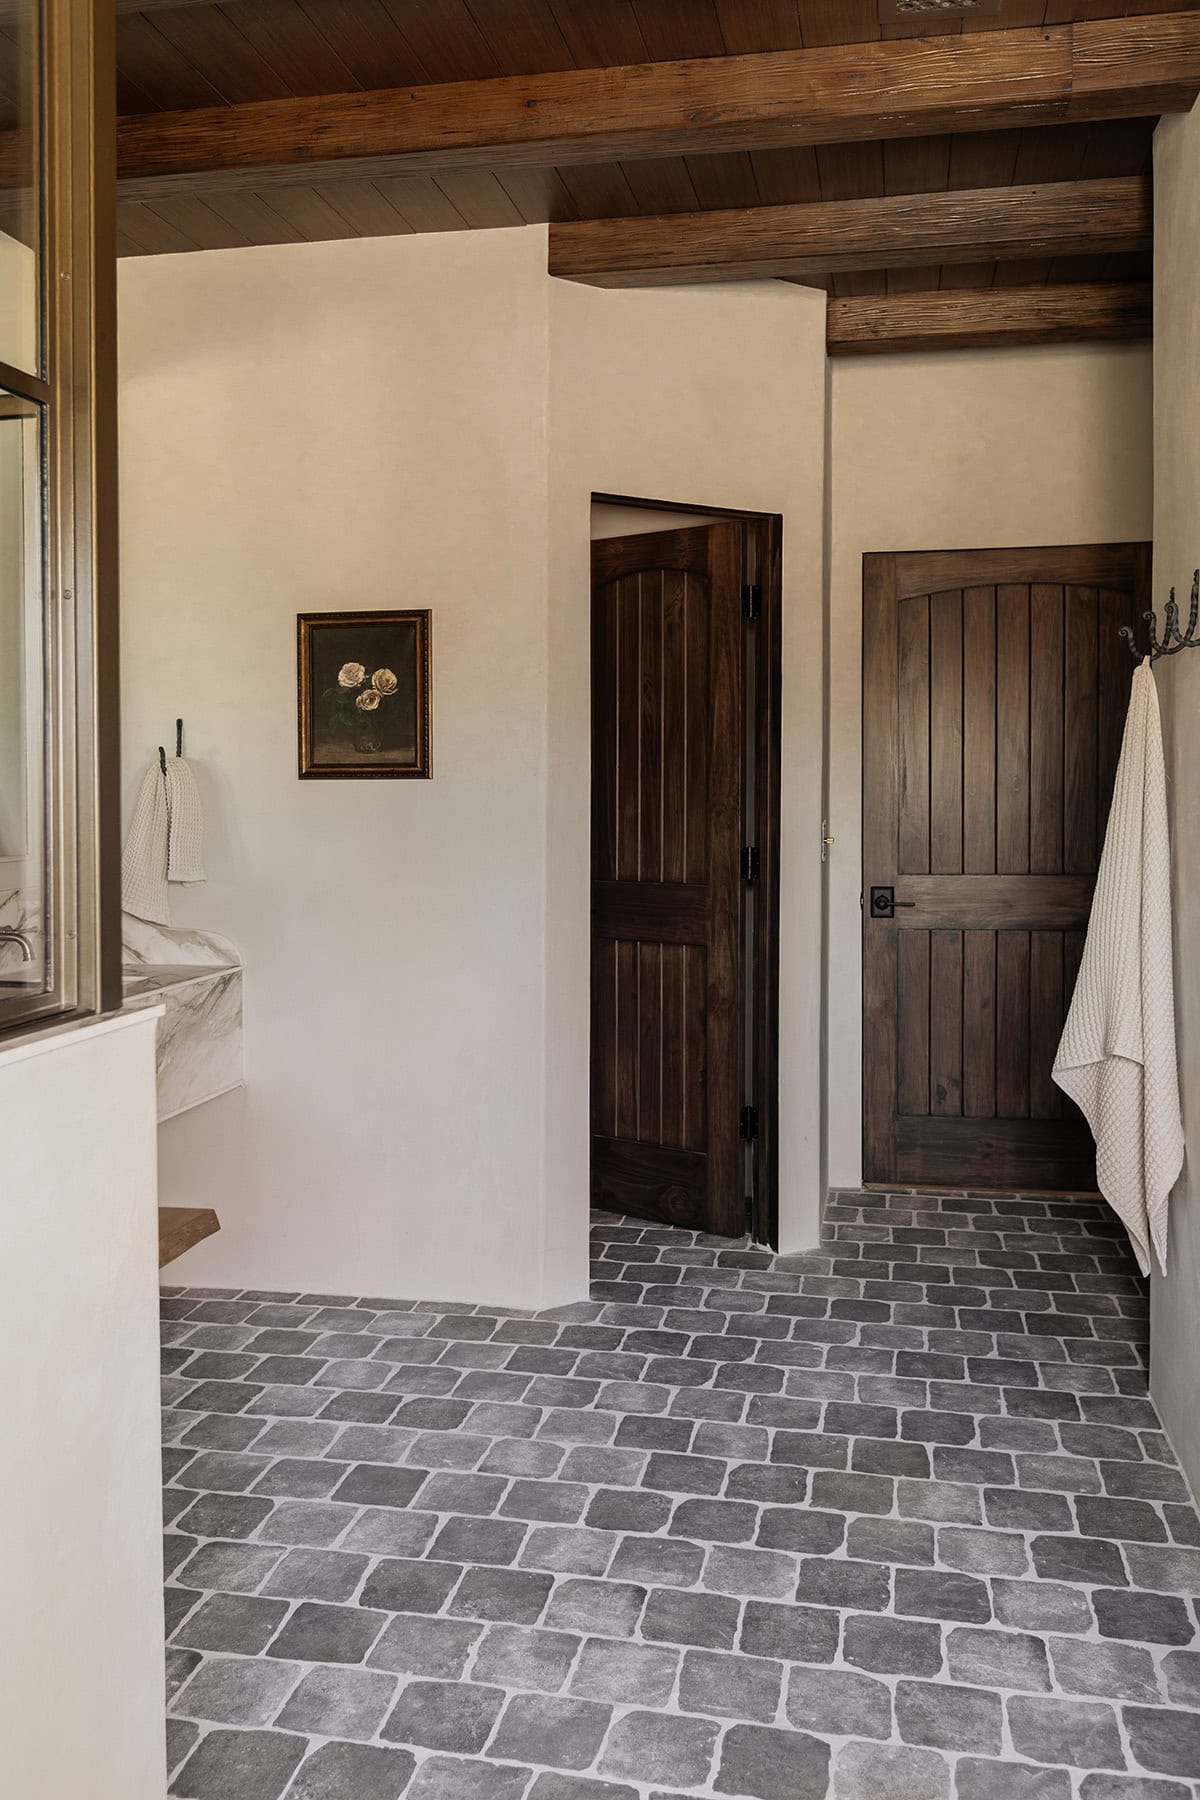
Here’s how the room looks from the other side with the solid wood pine doors (stained dark to match the beams). The toilet room door is on the left, and the entrance is to the right.
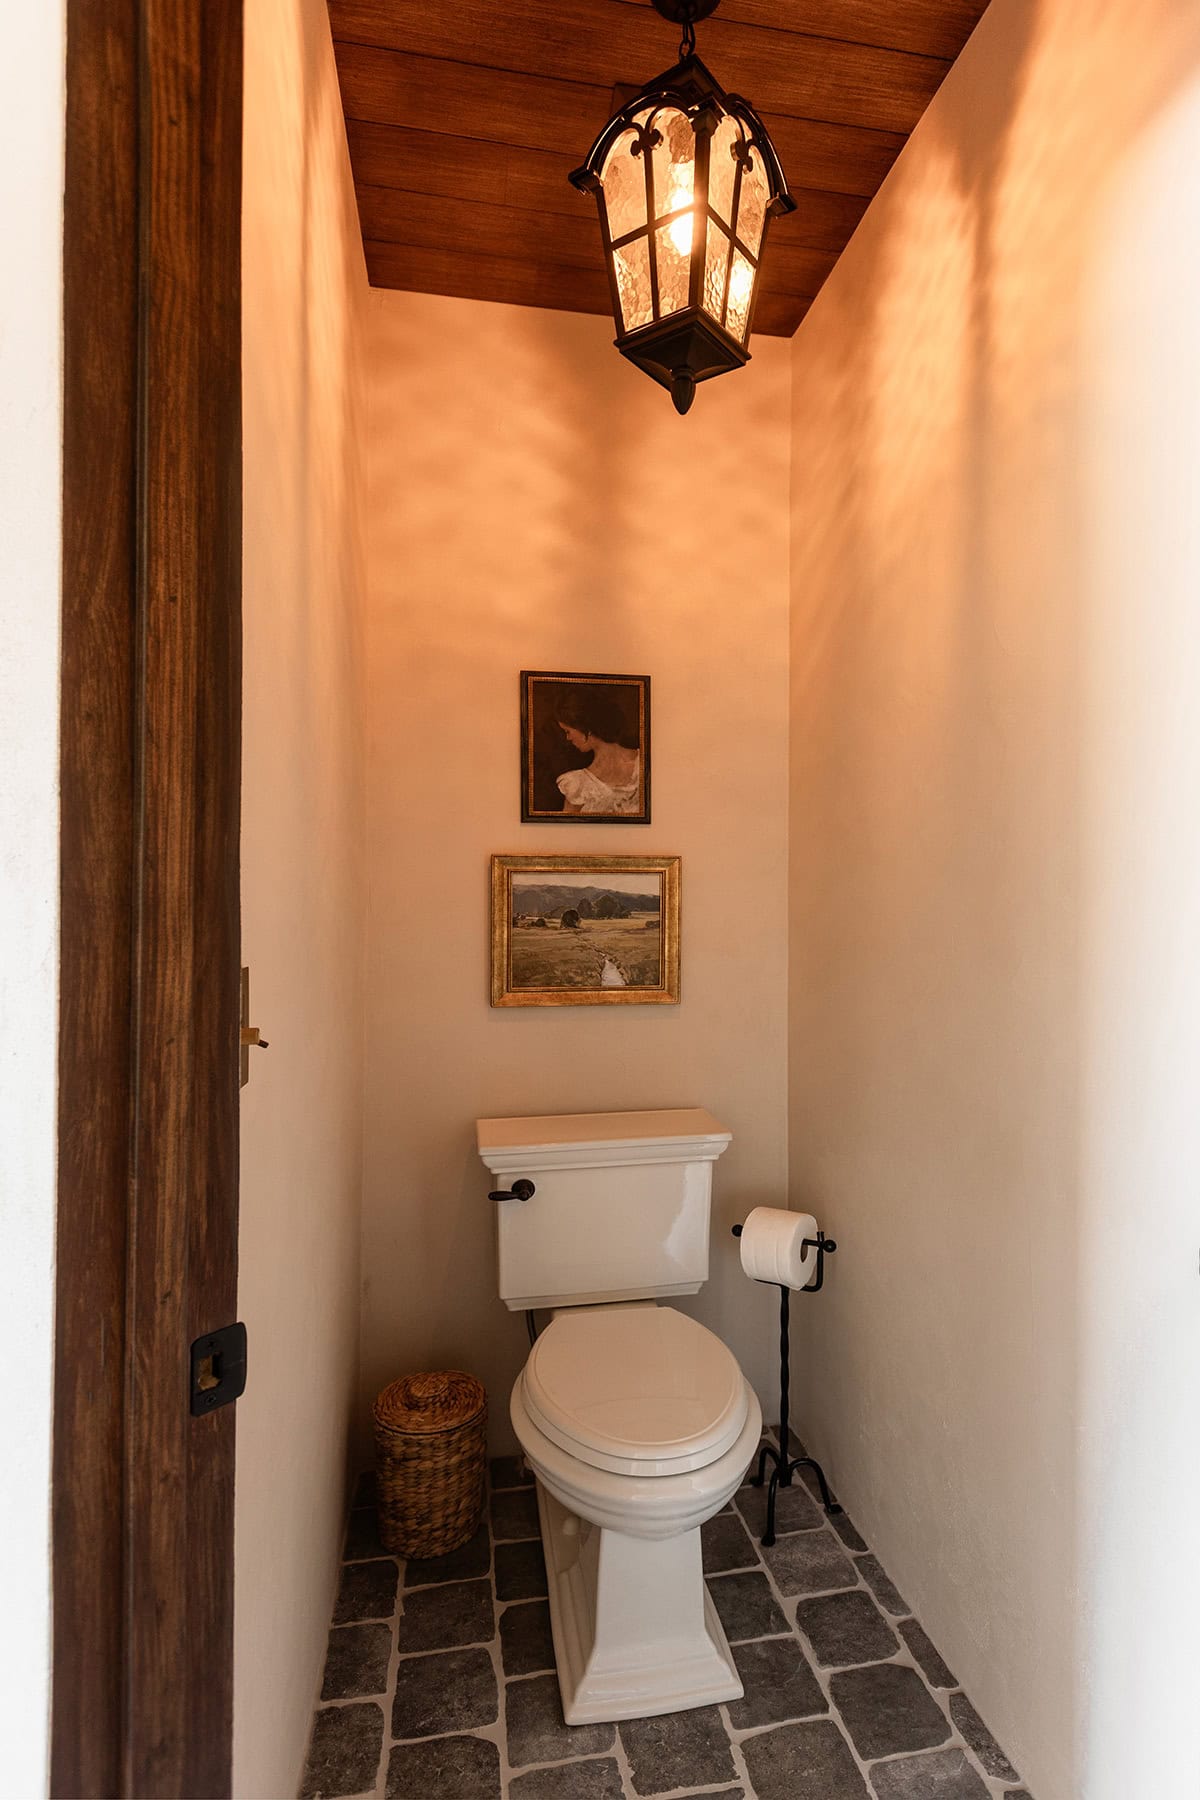
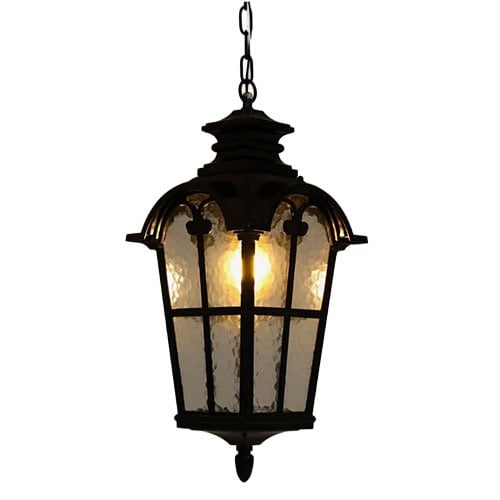
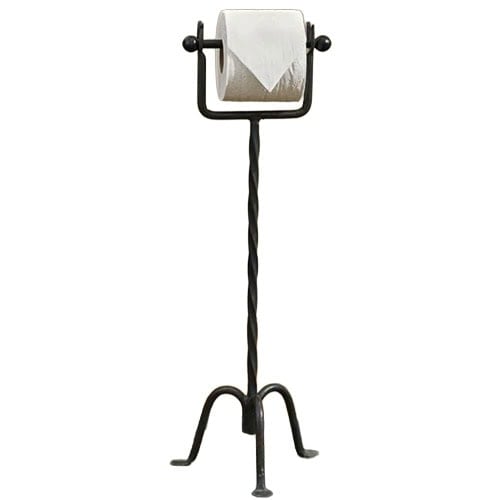
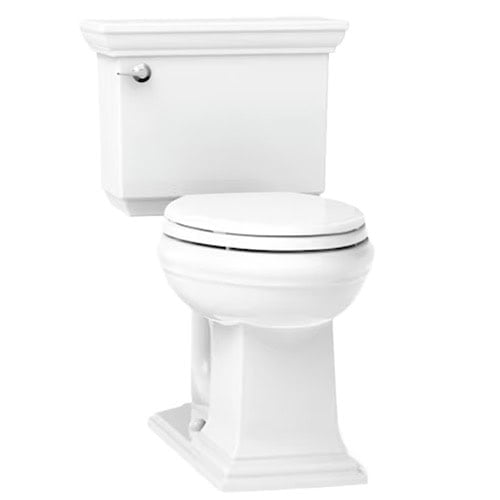
The toilet room has a cozy, old world feel with rustic iron accents (that lantern!), the neatest toilet paper stand, and vintage inspired art.
These vanity mirrors were another saga. Between damaged deliveries and design changes, we ended up with these and covered the frames in microcement to match the walls in the final hour. They almost held up this photoshoot!
It’s hard to pick favorites, but this view is up there…
And one more angle, because I can’t get enough of this whole situation.
Sources


Did I miss anything? Happy to answer any questions you have below!
Next up, the primary bedroom reveal…


Anna says
Amazing work!
Just a question regarding the vanity.
Did you wrap the edges of the cut porcelain tile with something?
Especially on the curved side panels? Is this a bending strip of some sort?
There seems to be also a bullnose edge in front.
Wondering if I were to use tiles for a vanity to hide the sharp cut edges…
Thank you! Great job really beautiful!
Jenna Sue says
Hi Anna, we just had our installers sand the edges down to a bullnose. The raw material matches the overall white background so the cut edge isn’t super noticeable!