
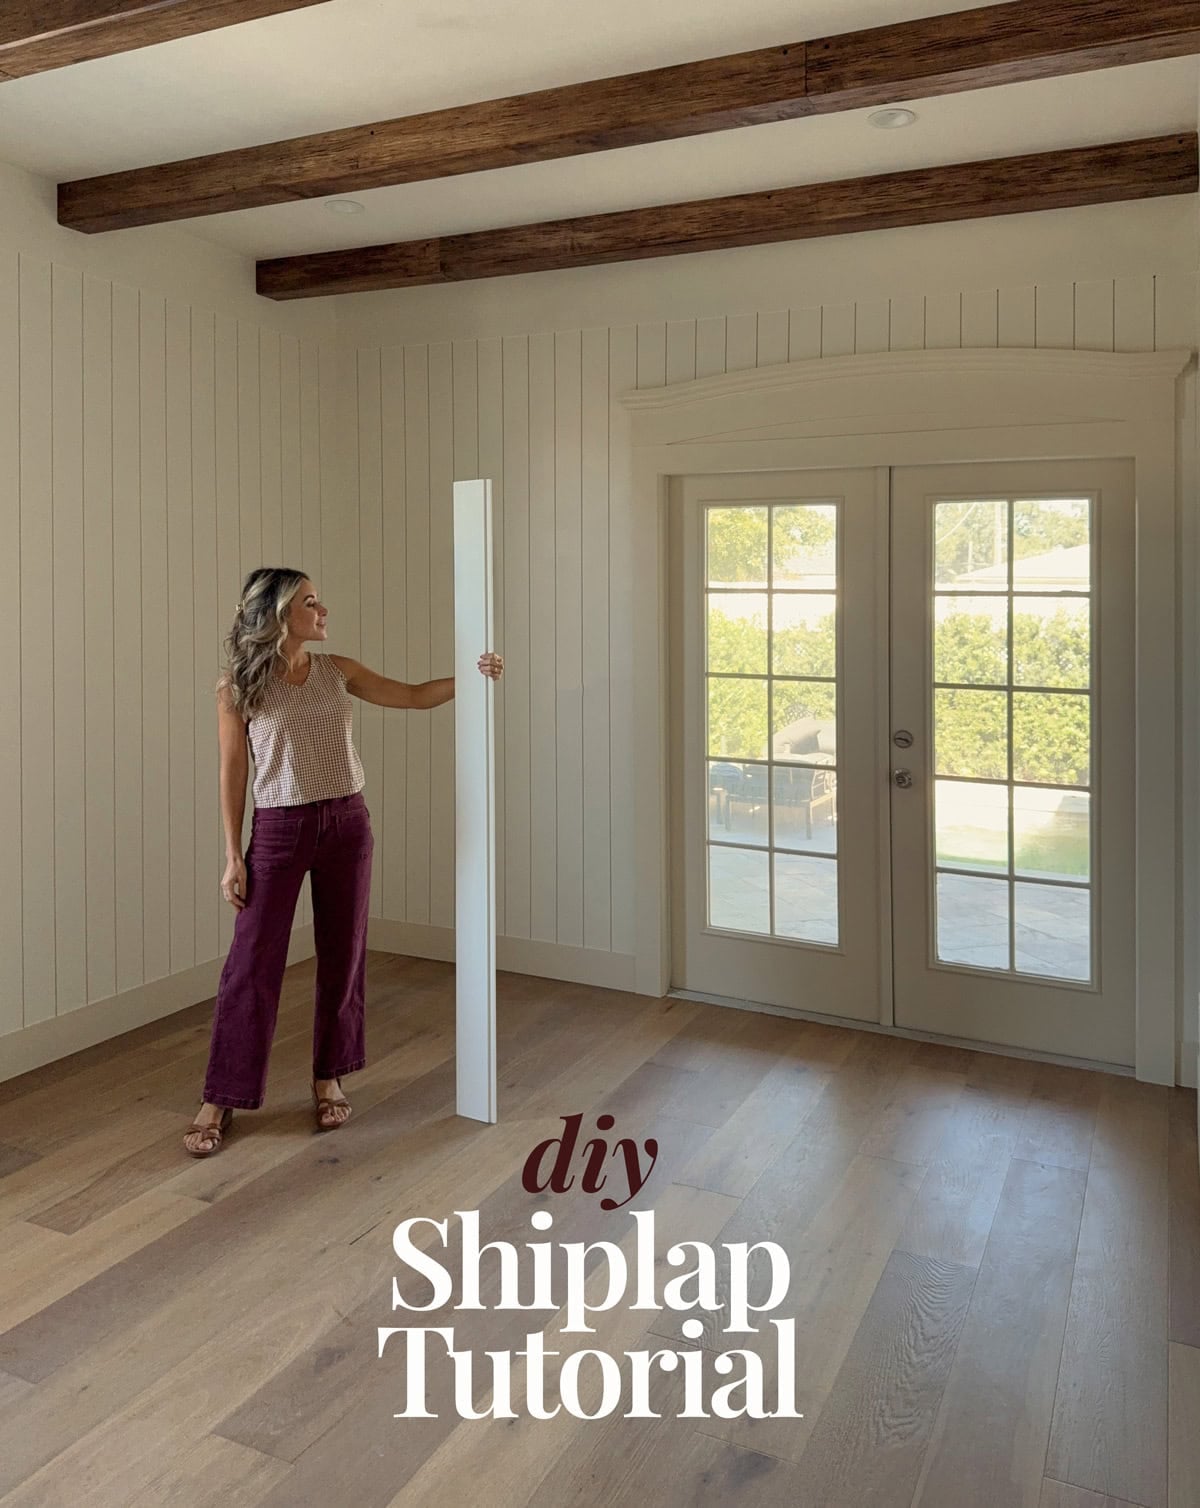
If there’s one DIY project I always come back to, it’s adding character to plain walls. Shiplap has been one of my go-to upgrades for over a decade, and I’ve tried everything from tongue and groove boards to budget-friendly plywood strips.
Today I’m sharing the traditional shiplap board method we’ve used in our last two renovations, with step-by-step instructions and helpful tips we’ve picked up along the way.
Jump to:
What exactly is shiplap?
Shiplap is a type of wood paneling made from boards with overlapping edges, creating evenly spaced lines when installed horizontally or vertically. Originally used in shipbuilding centuries ago, it’s now a popular way to add architectural character to walls and ceilings.
Horizontal shiplap had its moment in the spotlight during the modern farmhouse craze of the 2010s, but in recent years, vertical shiplap has become a favorite for its more tailored, understated look. Bonus: the vertical lines help give the illusion of taller ceilings.
Supplies needed
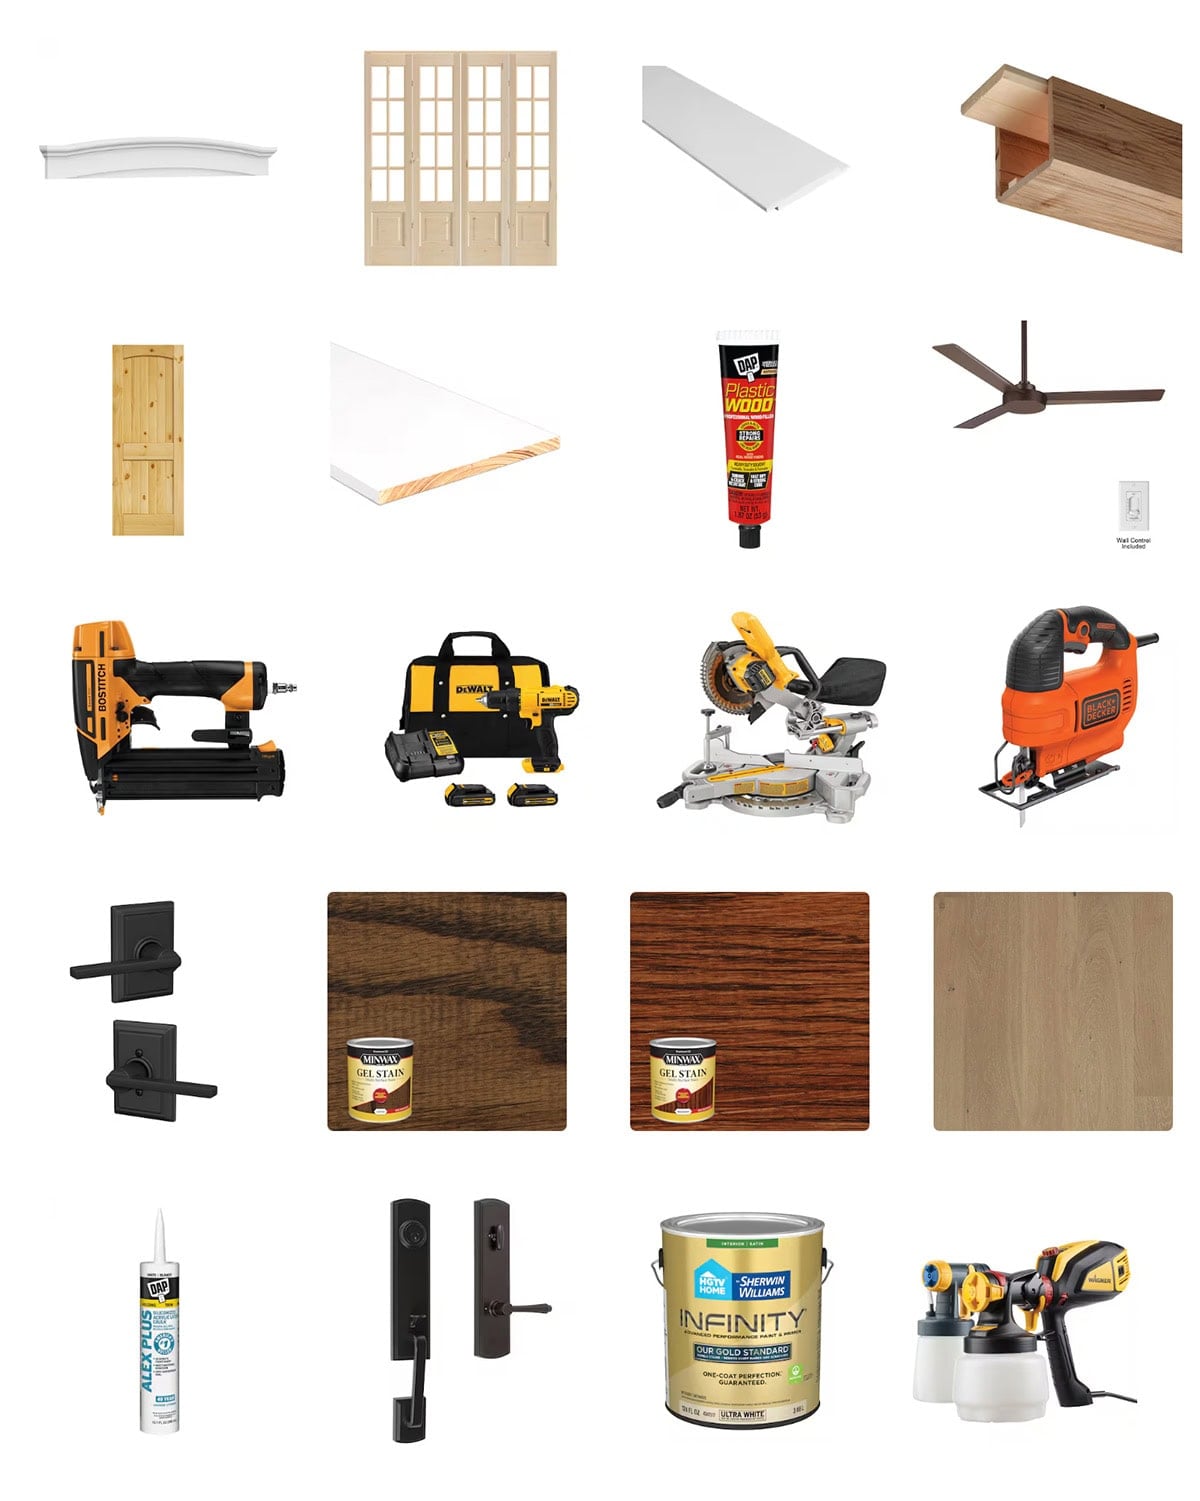
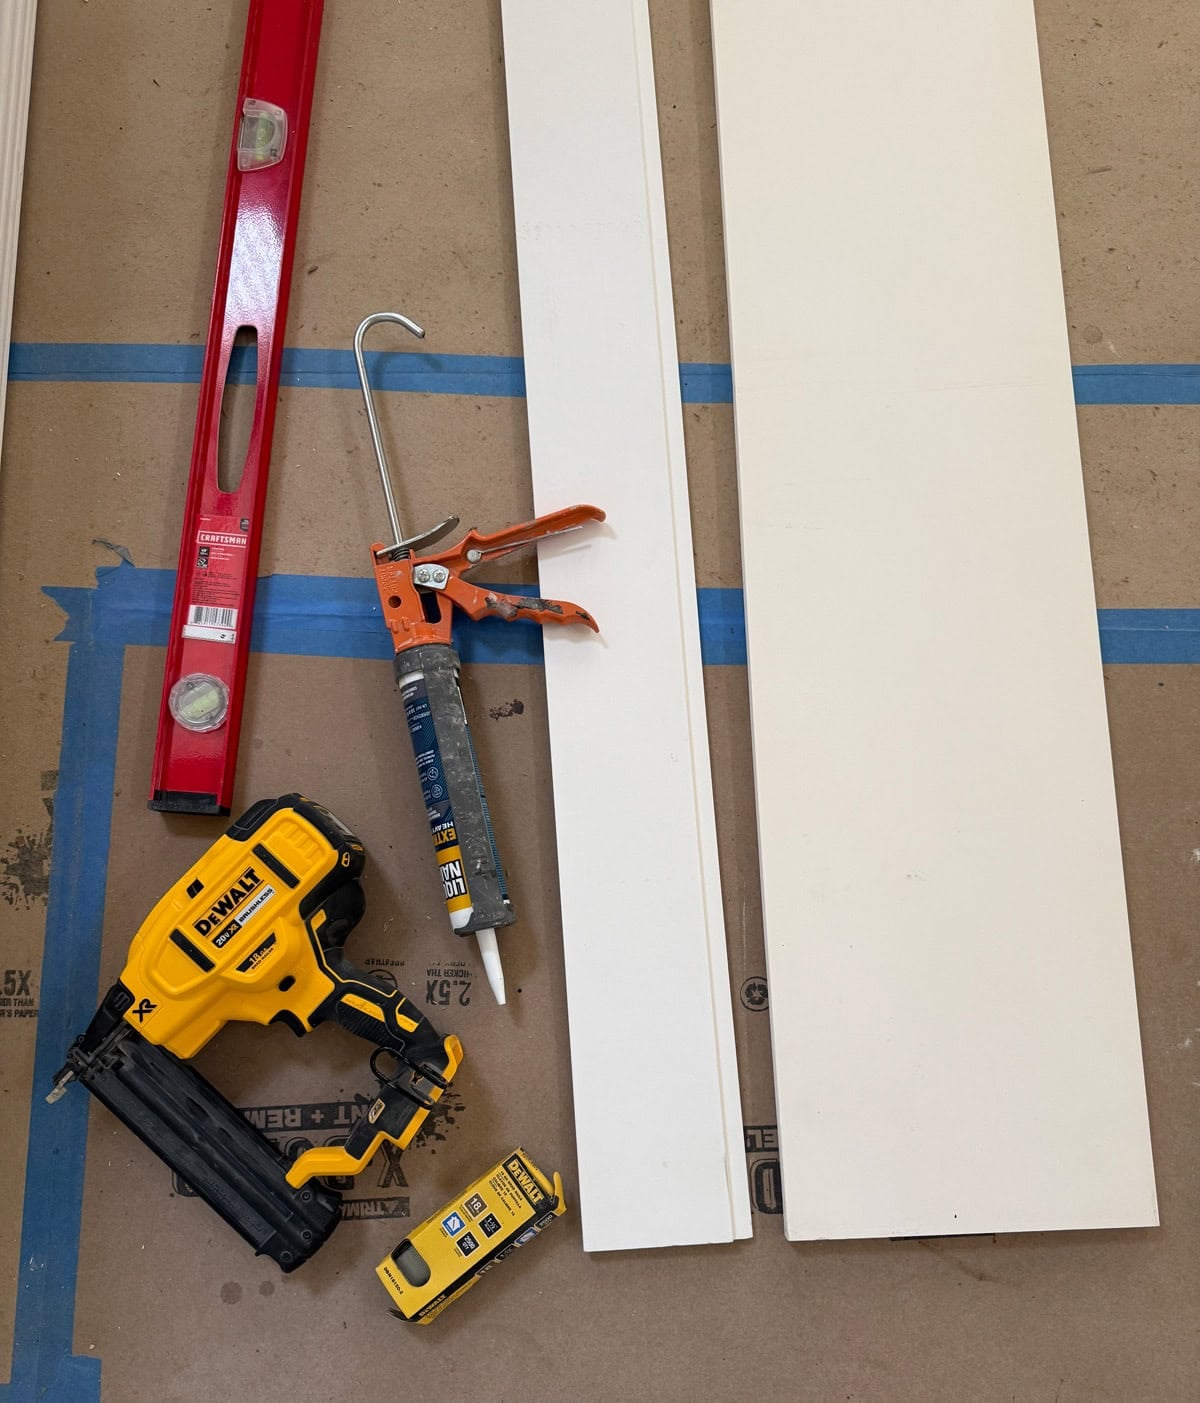
Everything for this project was purchased from Lowe’s. Here’s what you’ll need:
- Shiplap boards, baseboards, and ceiling trim
- Construction adhesive and finish nails
- Finish nailer, level, tape measure, miter saw and table saw
- Jigsaw or oscillating multi-tool
- Wood filler, caulk, sandpaper and paint
- Electrical box extenders, as needed
- Safety glasses and appropriate protective equipment
In total, we ended up using just over 100 shiplap boards and it came in at around $1k for the entire room (for the shiplap only).
Tap below to shop all of the materials and supplies we used:
Before
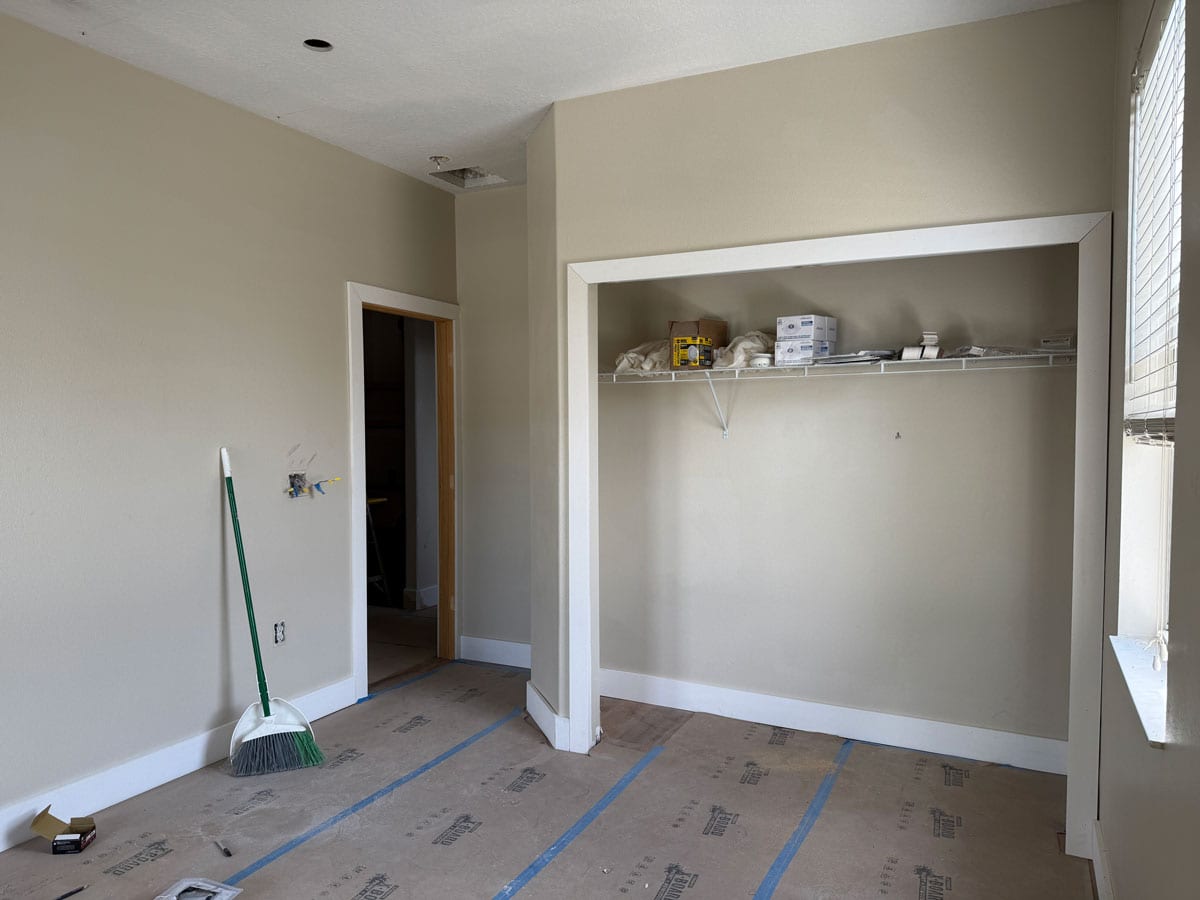
I shared the full design plan for this bedroom in my last post, but here’s how it looked before getting started:
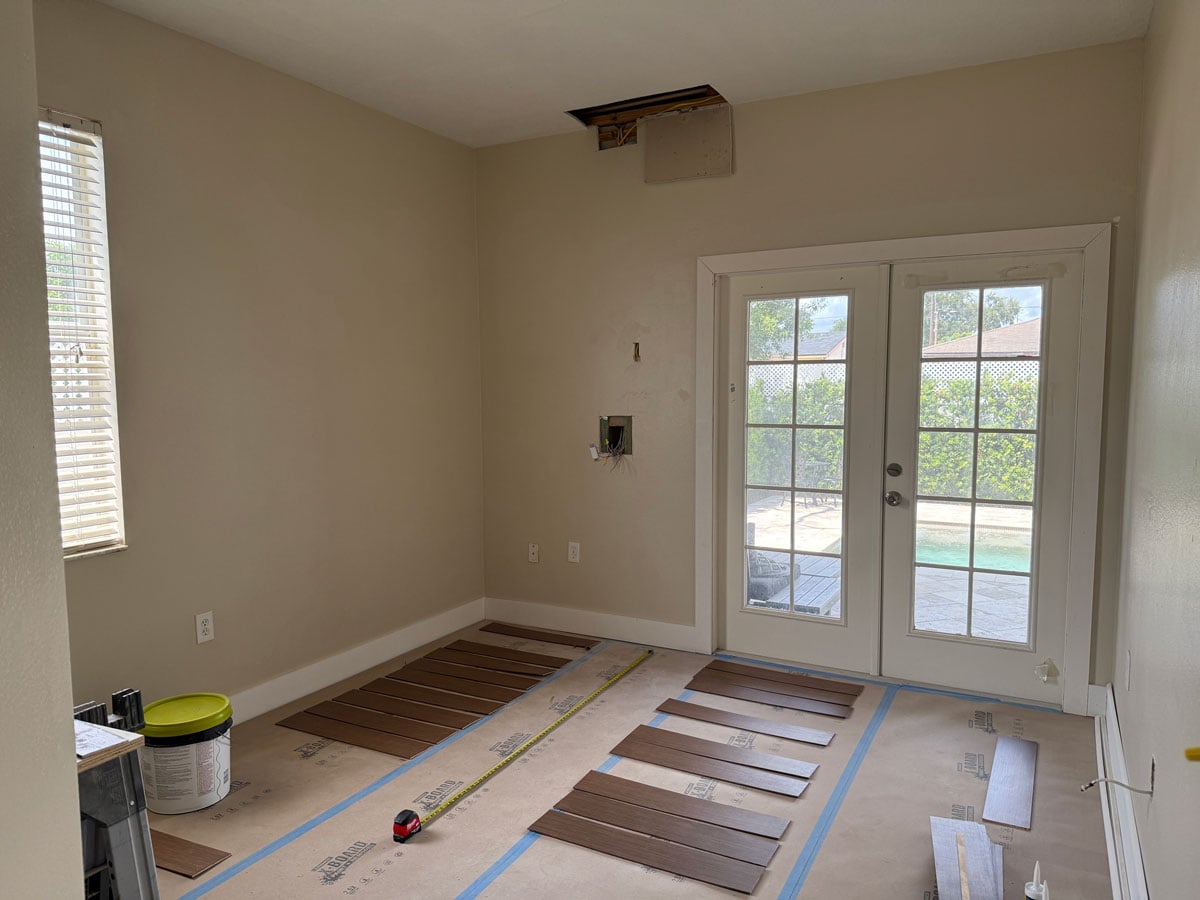
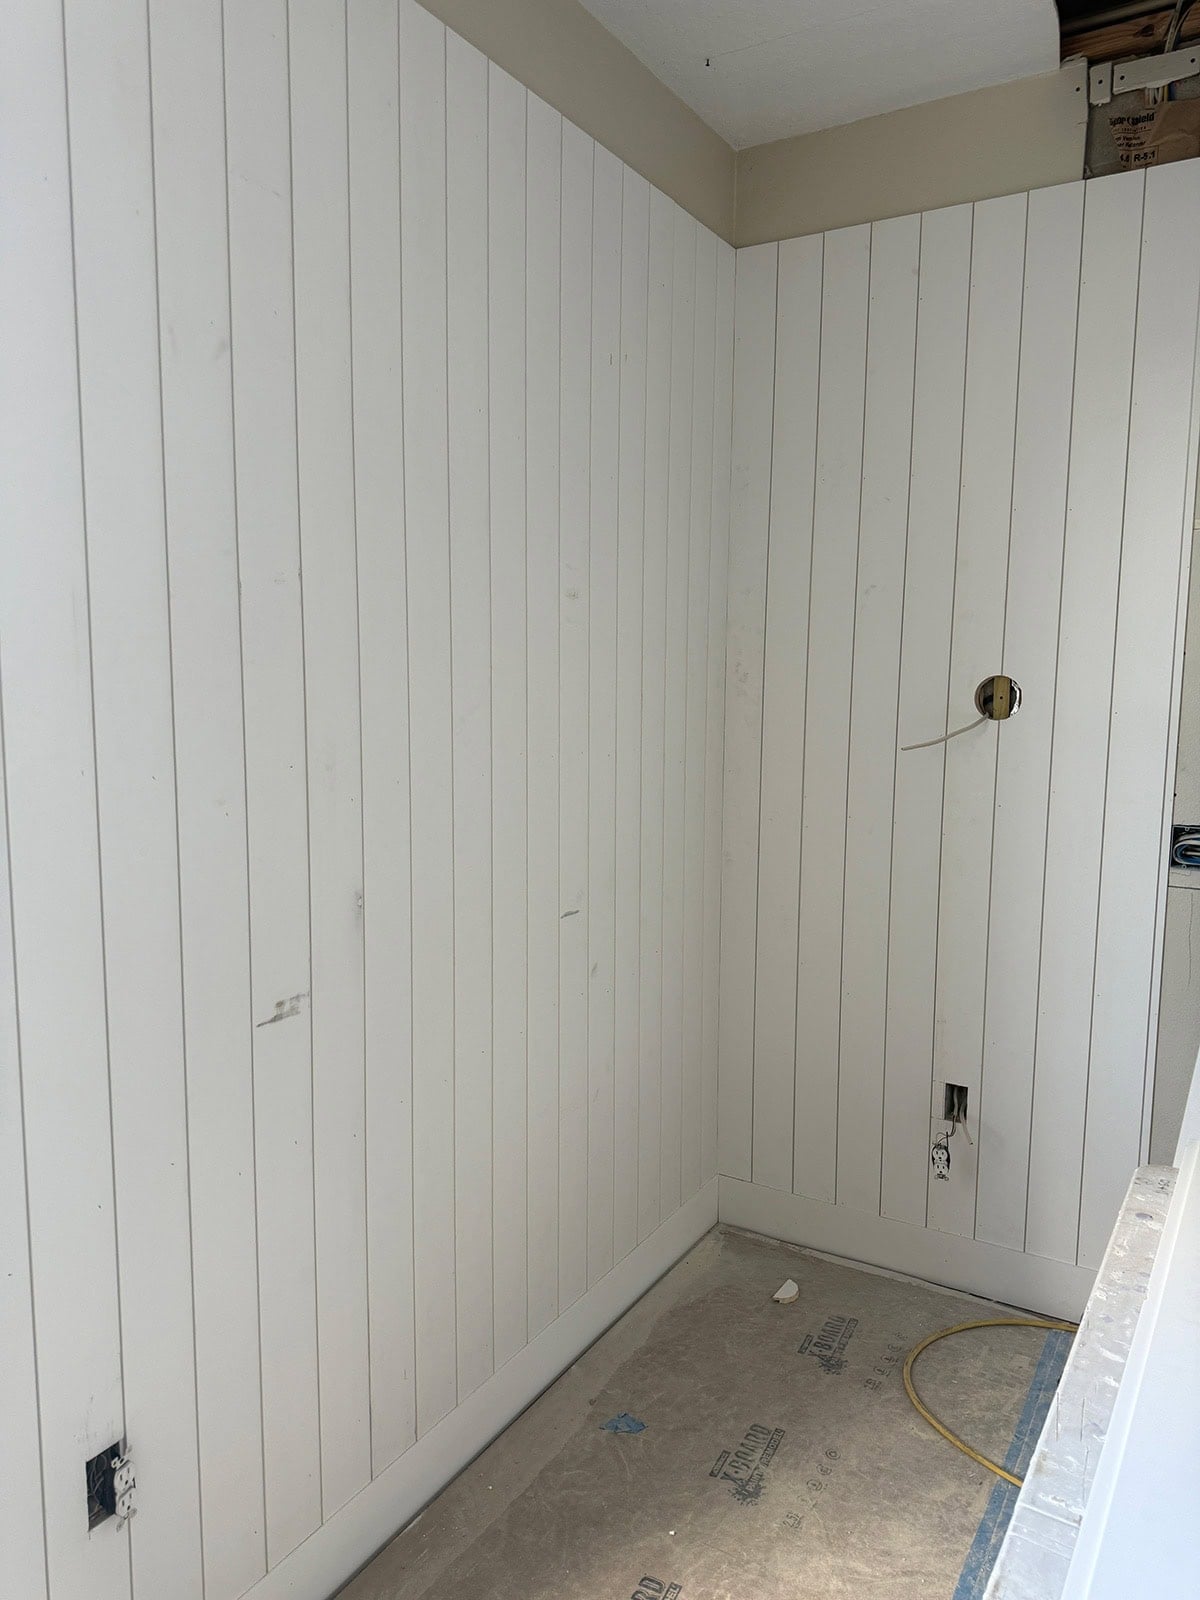
These photos were taken after we installed new flooring, baseboards and trim.
Let’s jump right into the tutorial!
Plan the materials
To determine how many boards you need, Lowe’s has a handy calculator right on the shiplap product page.
In addition to the shiplap boards, you’ll need to decide how to finish the walls at the baseboards and ceiling. Since we had already installed new 1×6″ baseboards, we decided to leave them in place.
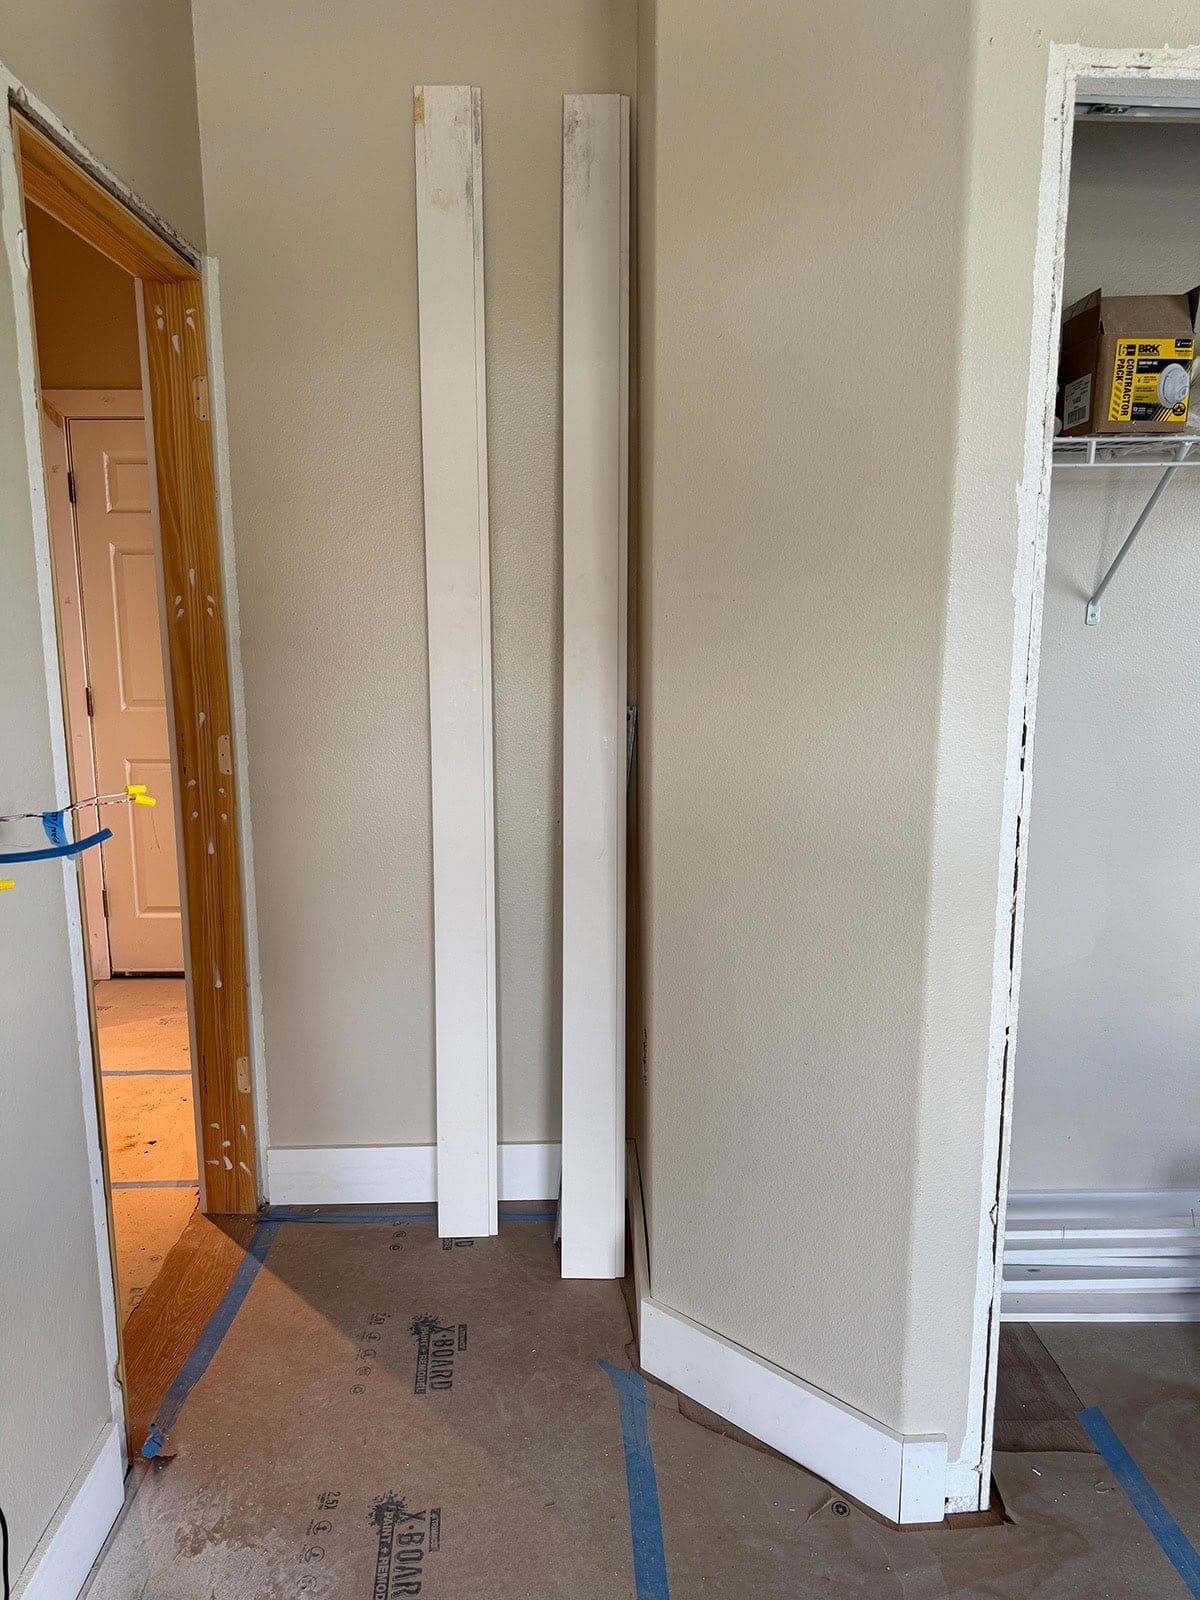
One important thing to consider: your baseboards should be at least as thick as the shiplap. Most modern baseboards are thinner, so you may need to remove and replace them. I’d recommend taking this opportunity to upgrade to taller baseboards with more presence.
If you’re installing new baseboards, you can attach them over the finished shiplap for a more pronounced look. Ours sit below and extend just slightly beyond the shiplap, while our door trim was added on top of it. Both methods work, it’s really just a matter of preference.
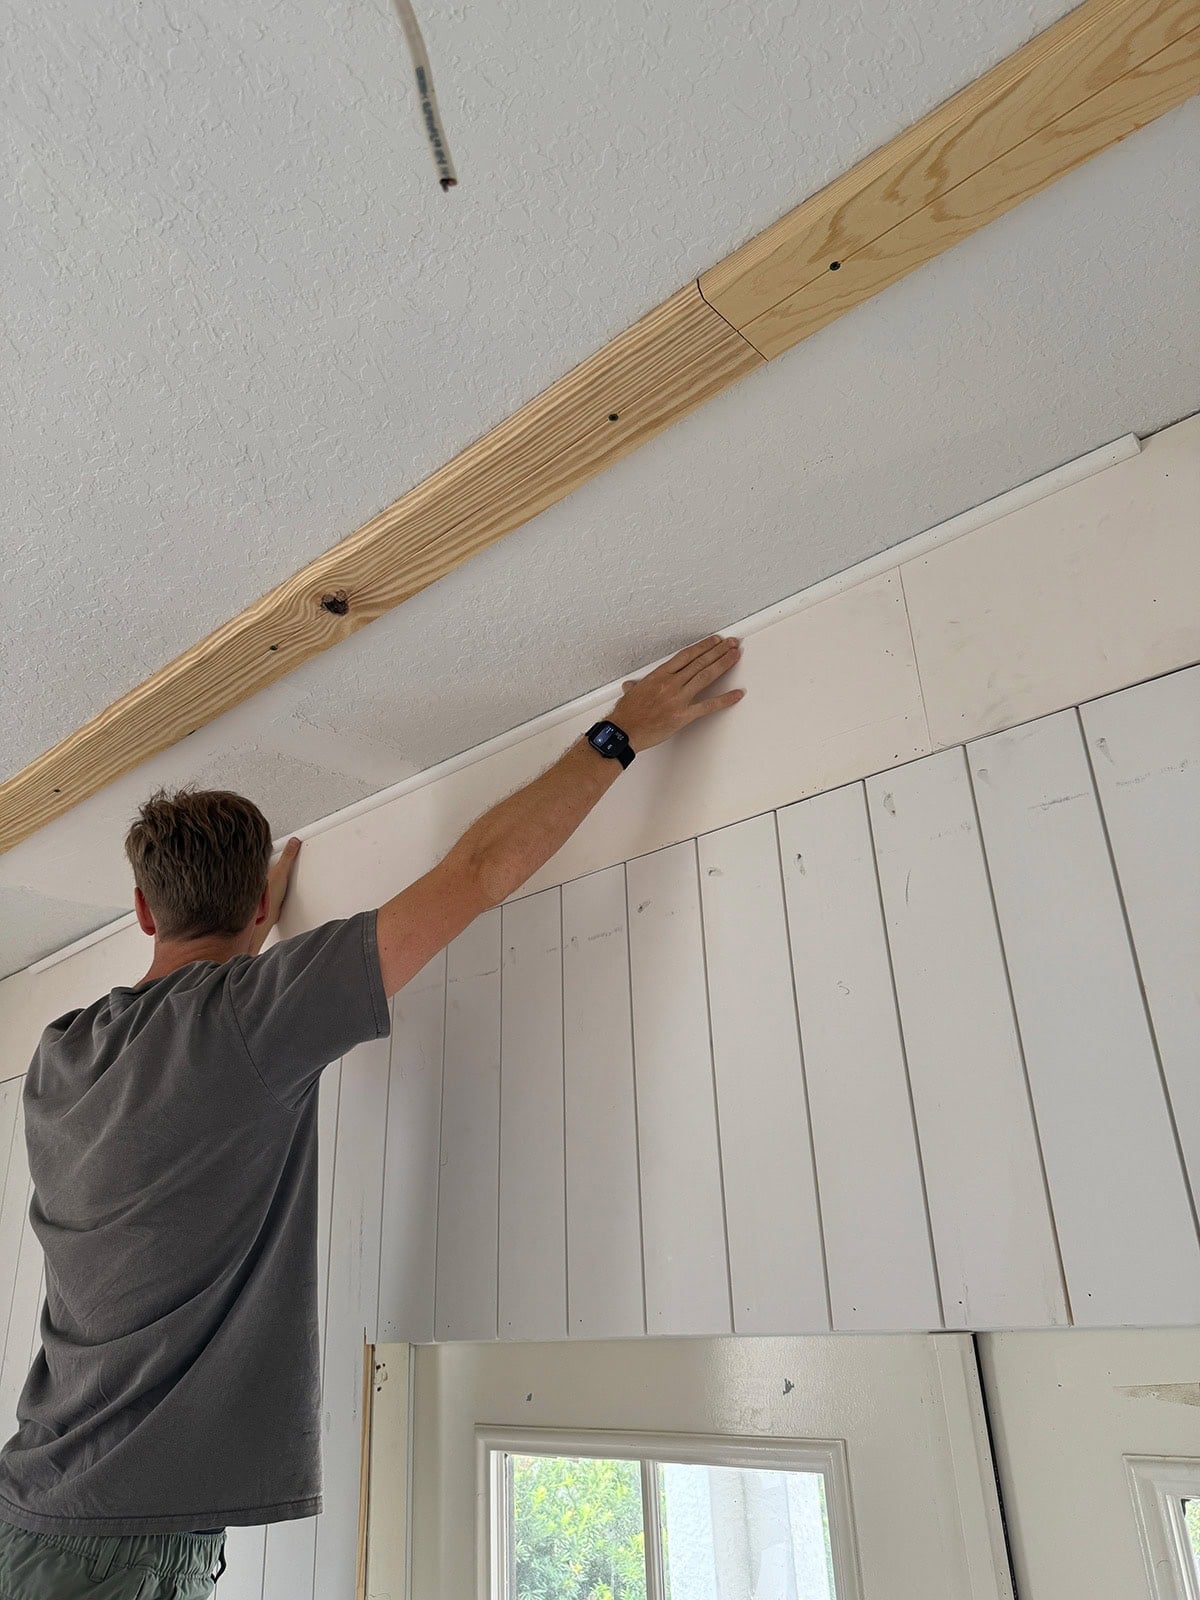
Our ceilings are around 9’3″, so we used 8′ shiplap boards with a 1×12″ header board along the top to fill the gap. This cut down on material cost and also gave us a flat surface to install our ceiling beams.
For a simpler approach, you can use traditional crown molding, a flat trim board, or quarter round to conceal any gaps at the ceiling.
Install the first shiplap board
First, measure the wall and plan the board layout to avoid ending with a very narrow strip.
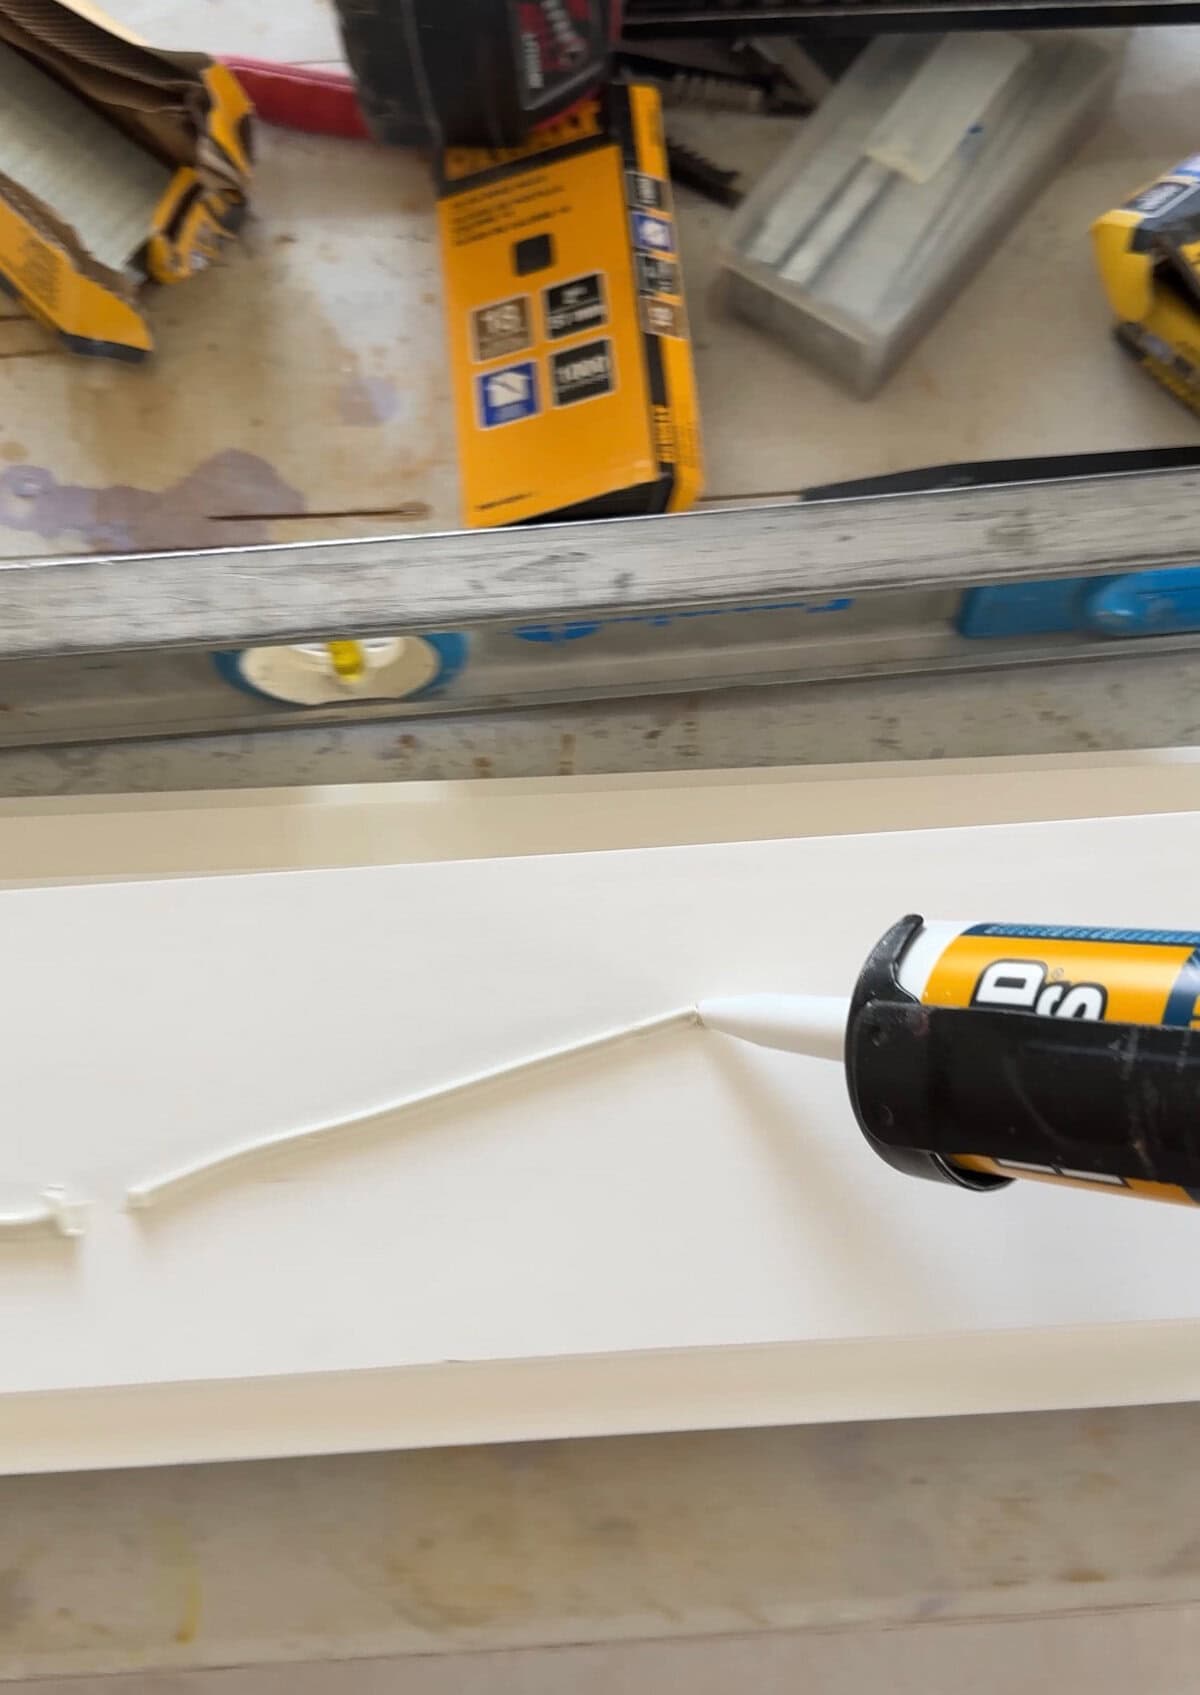
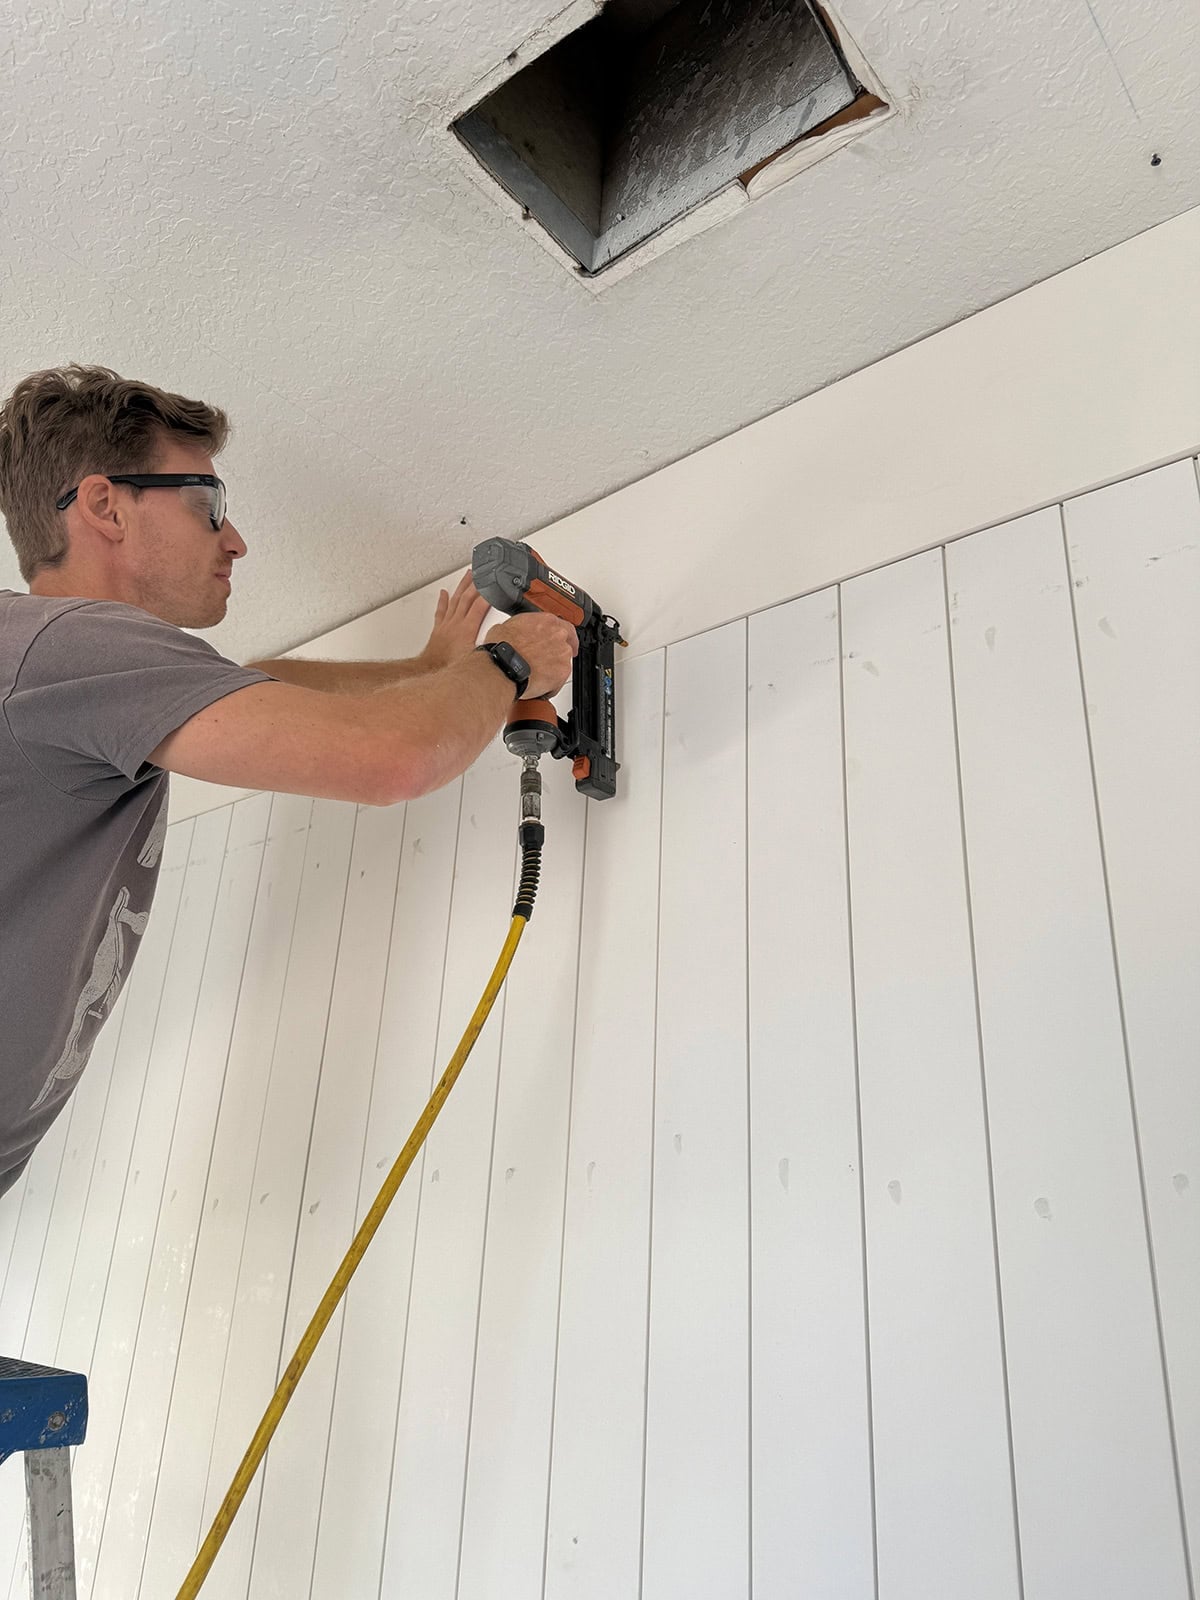
If your boards need to be cut down, measure the ceiling height and cut to length. Before attaching, apply liquid nails in an S-shape down the length of the board.
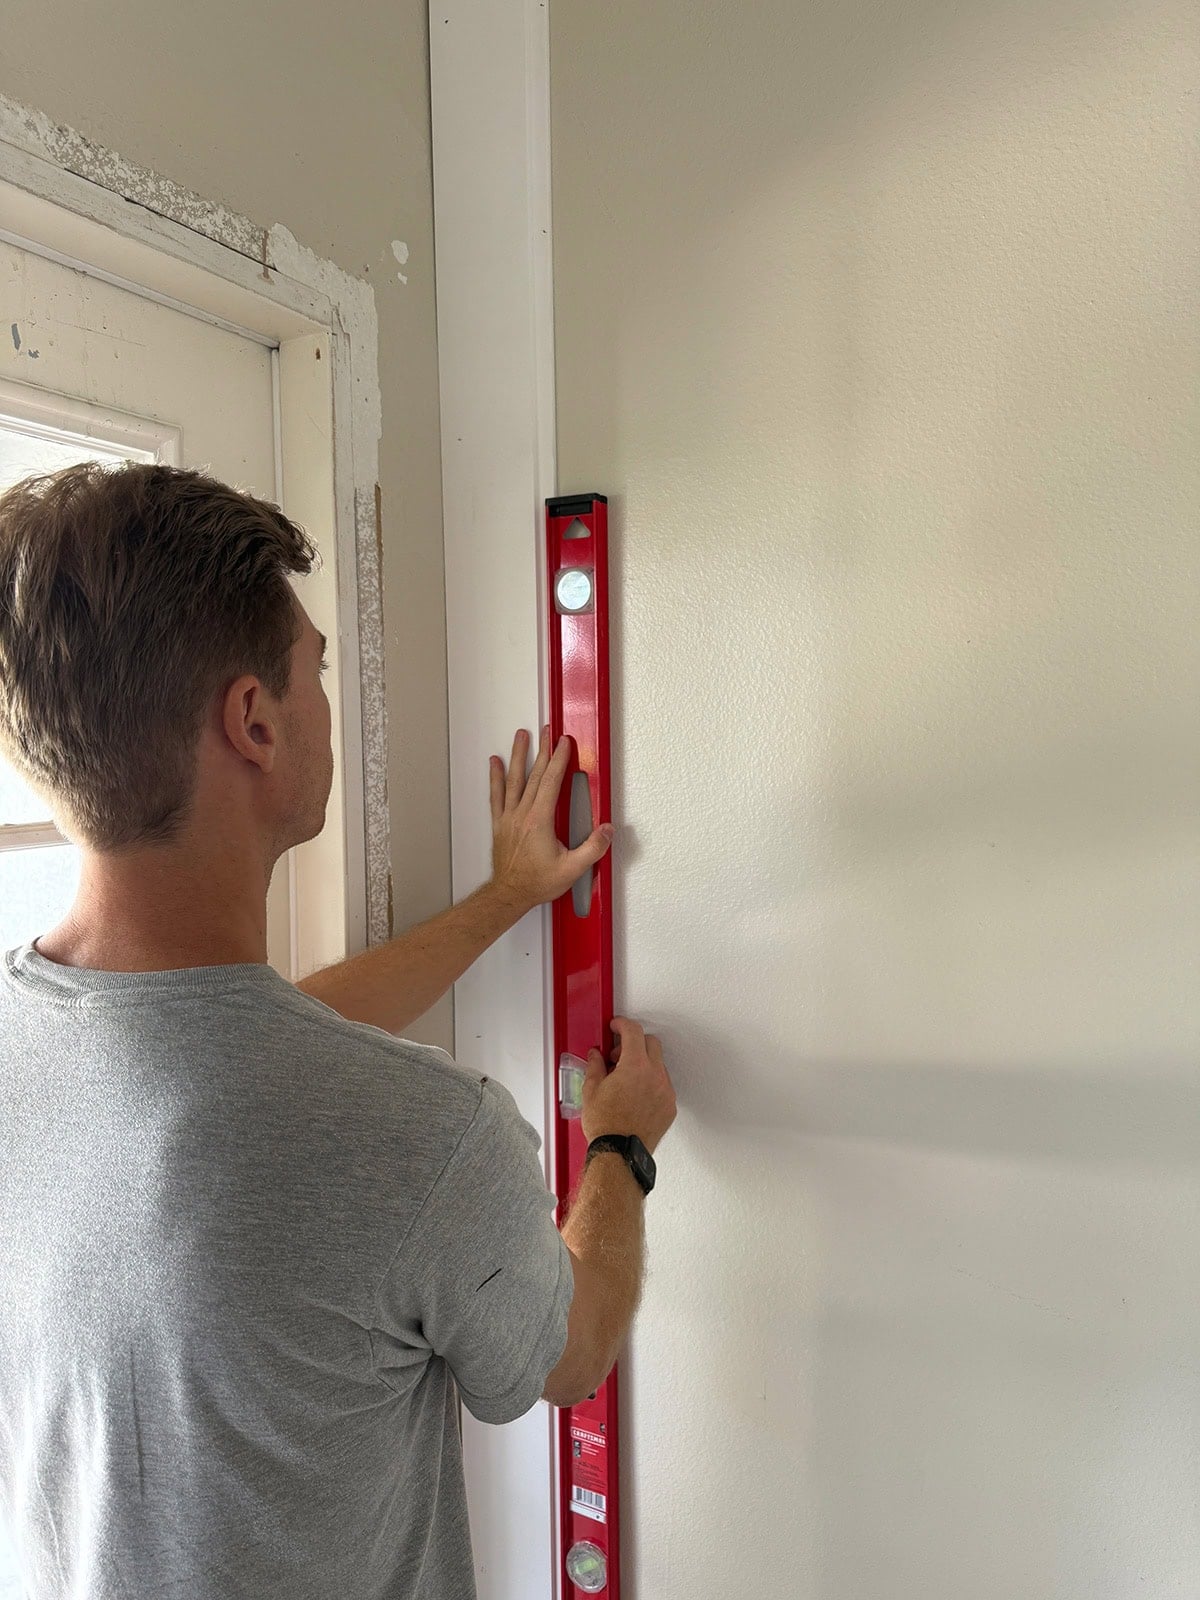
Choose a starting point in the room to place the first board (a corner usually works best). Use a level to ensure it’s perfectly plumb on the wall and secure it with finish nails, alternating between the left and right side so it sits evenly against the wall.
Continue around the room
Repeat the process with the next board, making sure it’s positioned firmly against the previous board.
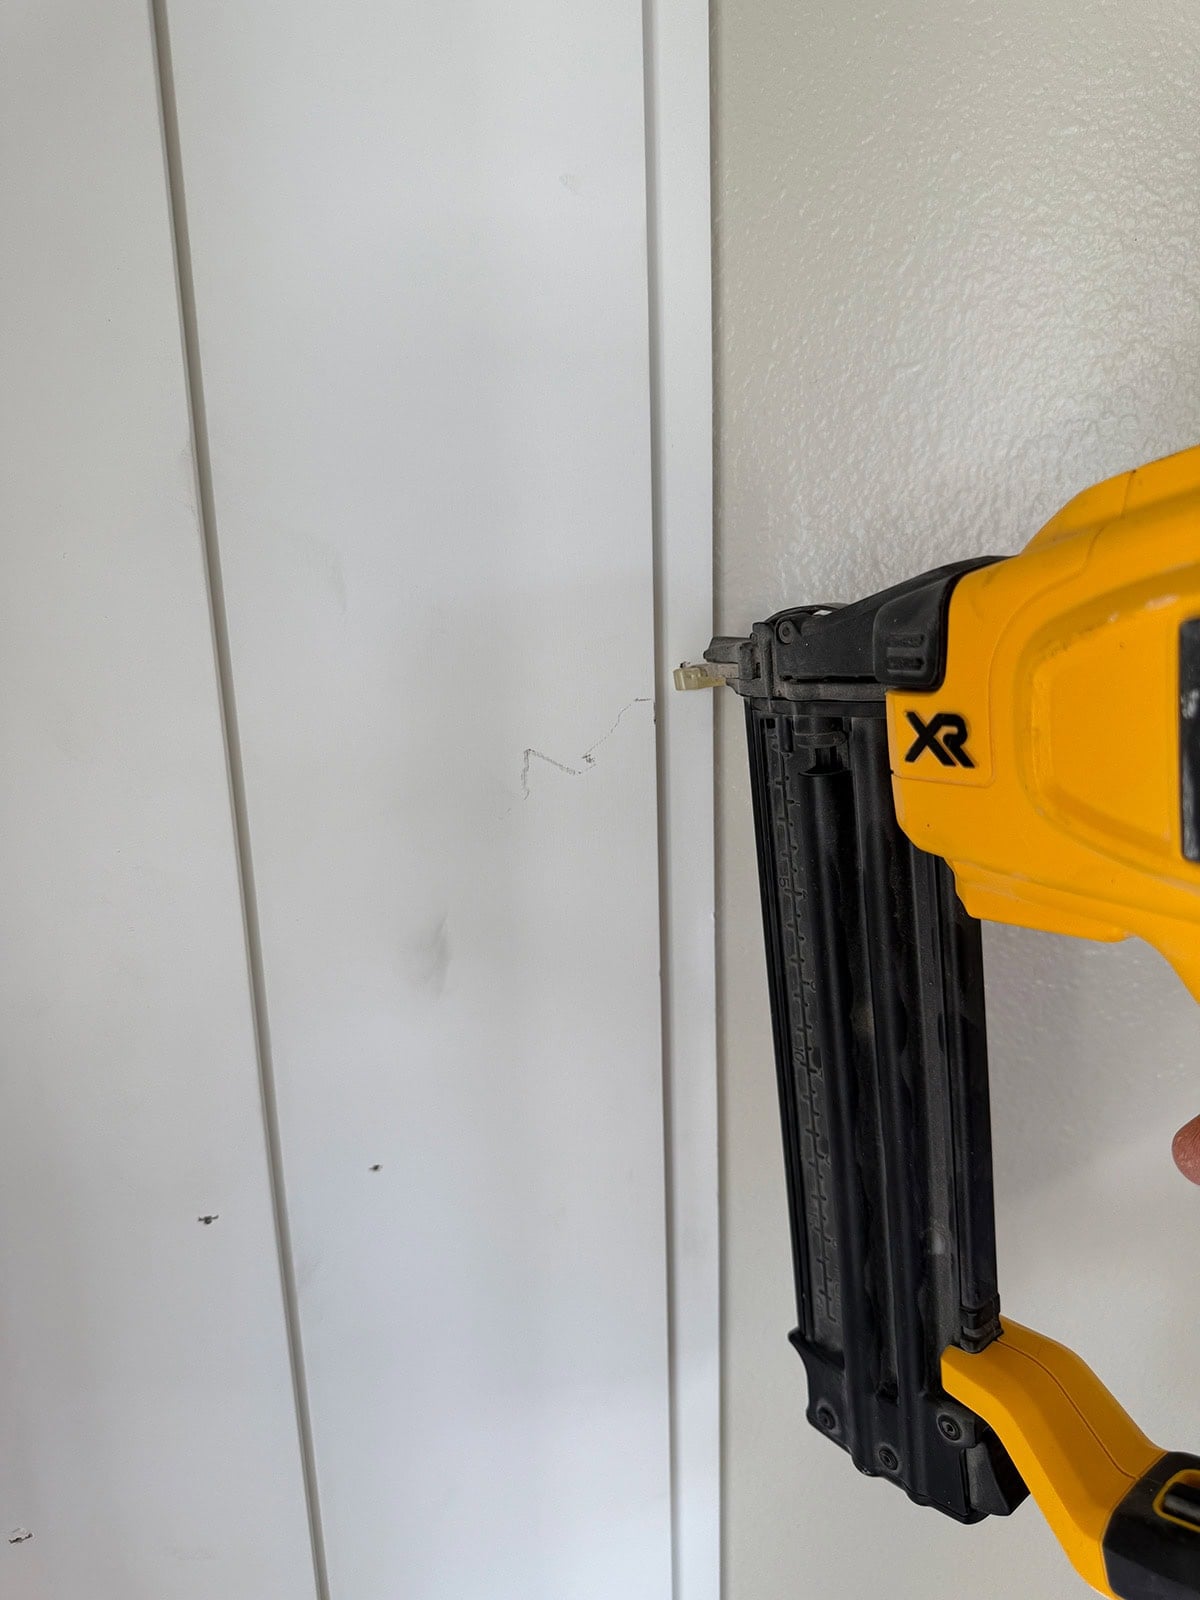
Continue the process, working your way around the room. Check for level every few boards. It’s easy for things to shift slightly as you go, so don’t skip this step!
Chances are, the last board on the wall will have to be ripped down to fit. We used a table saw, but a circular saw with a guide will work too.
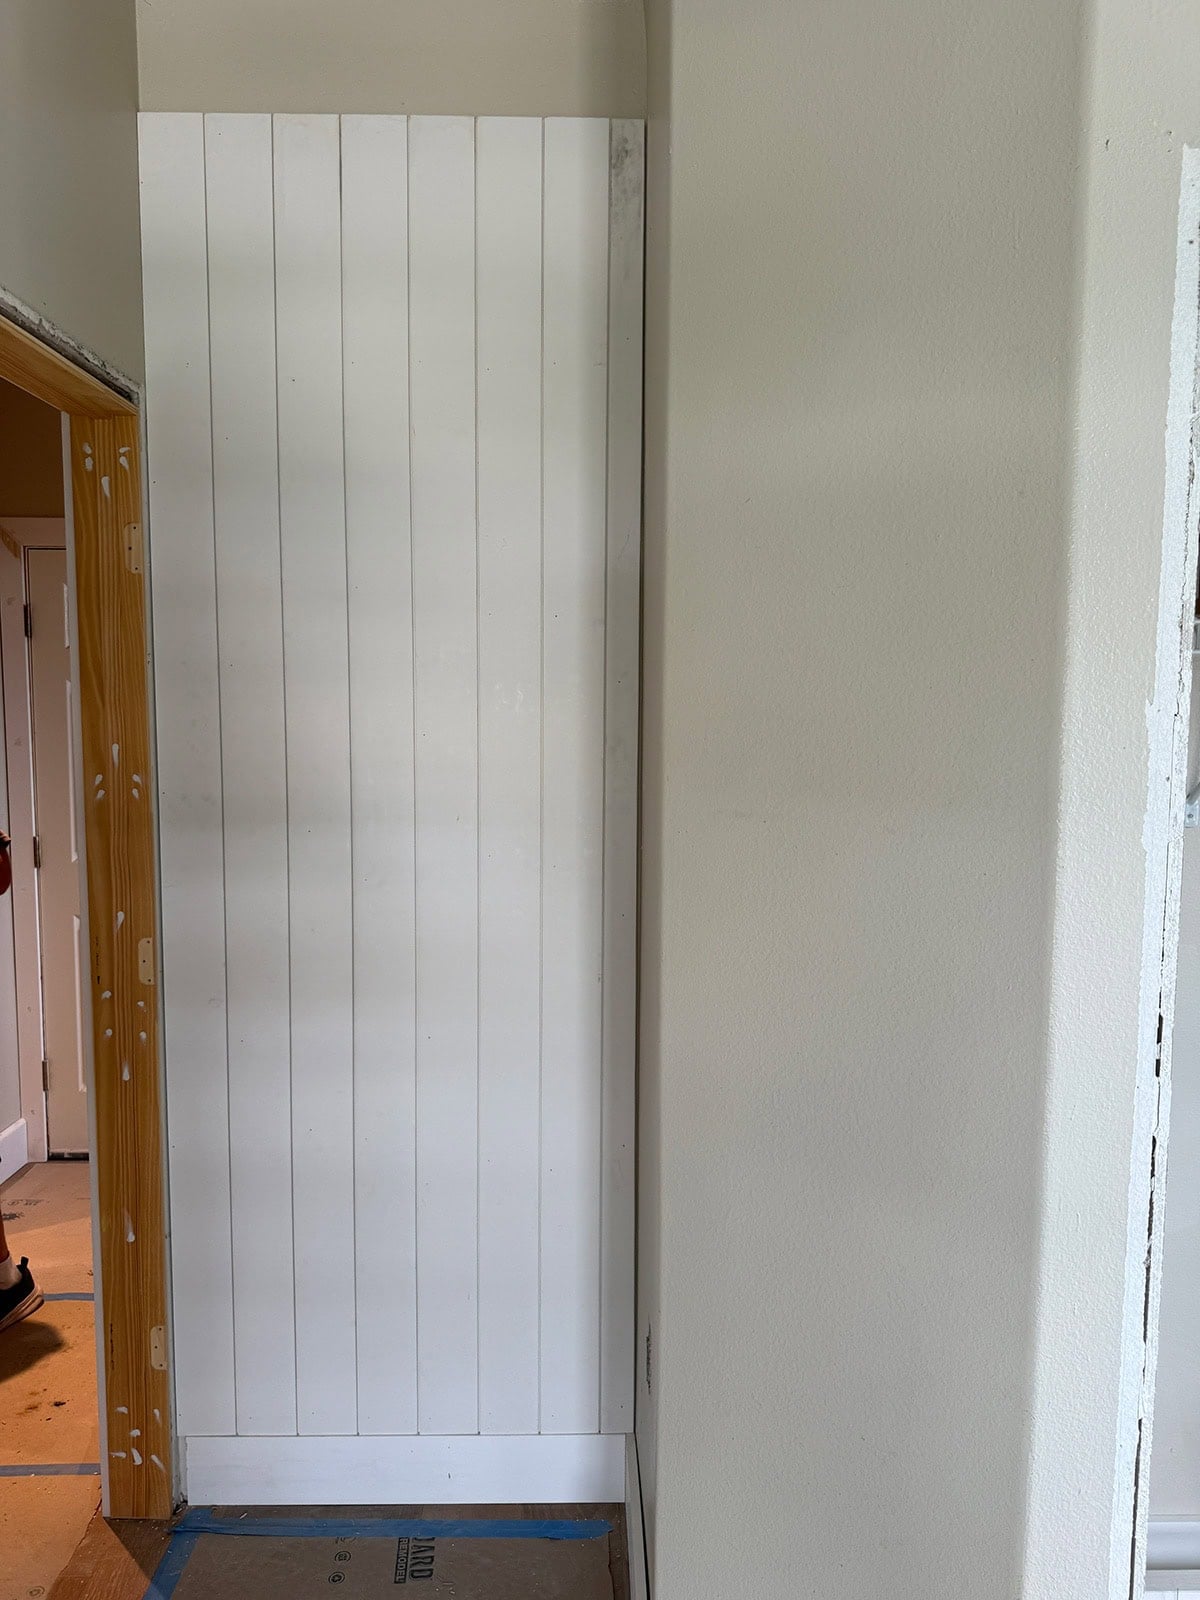
Addressing the corners
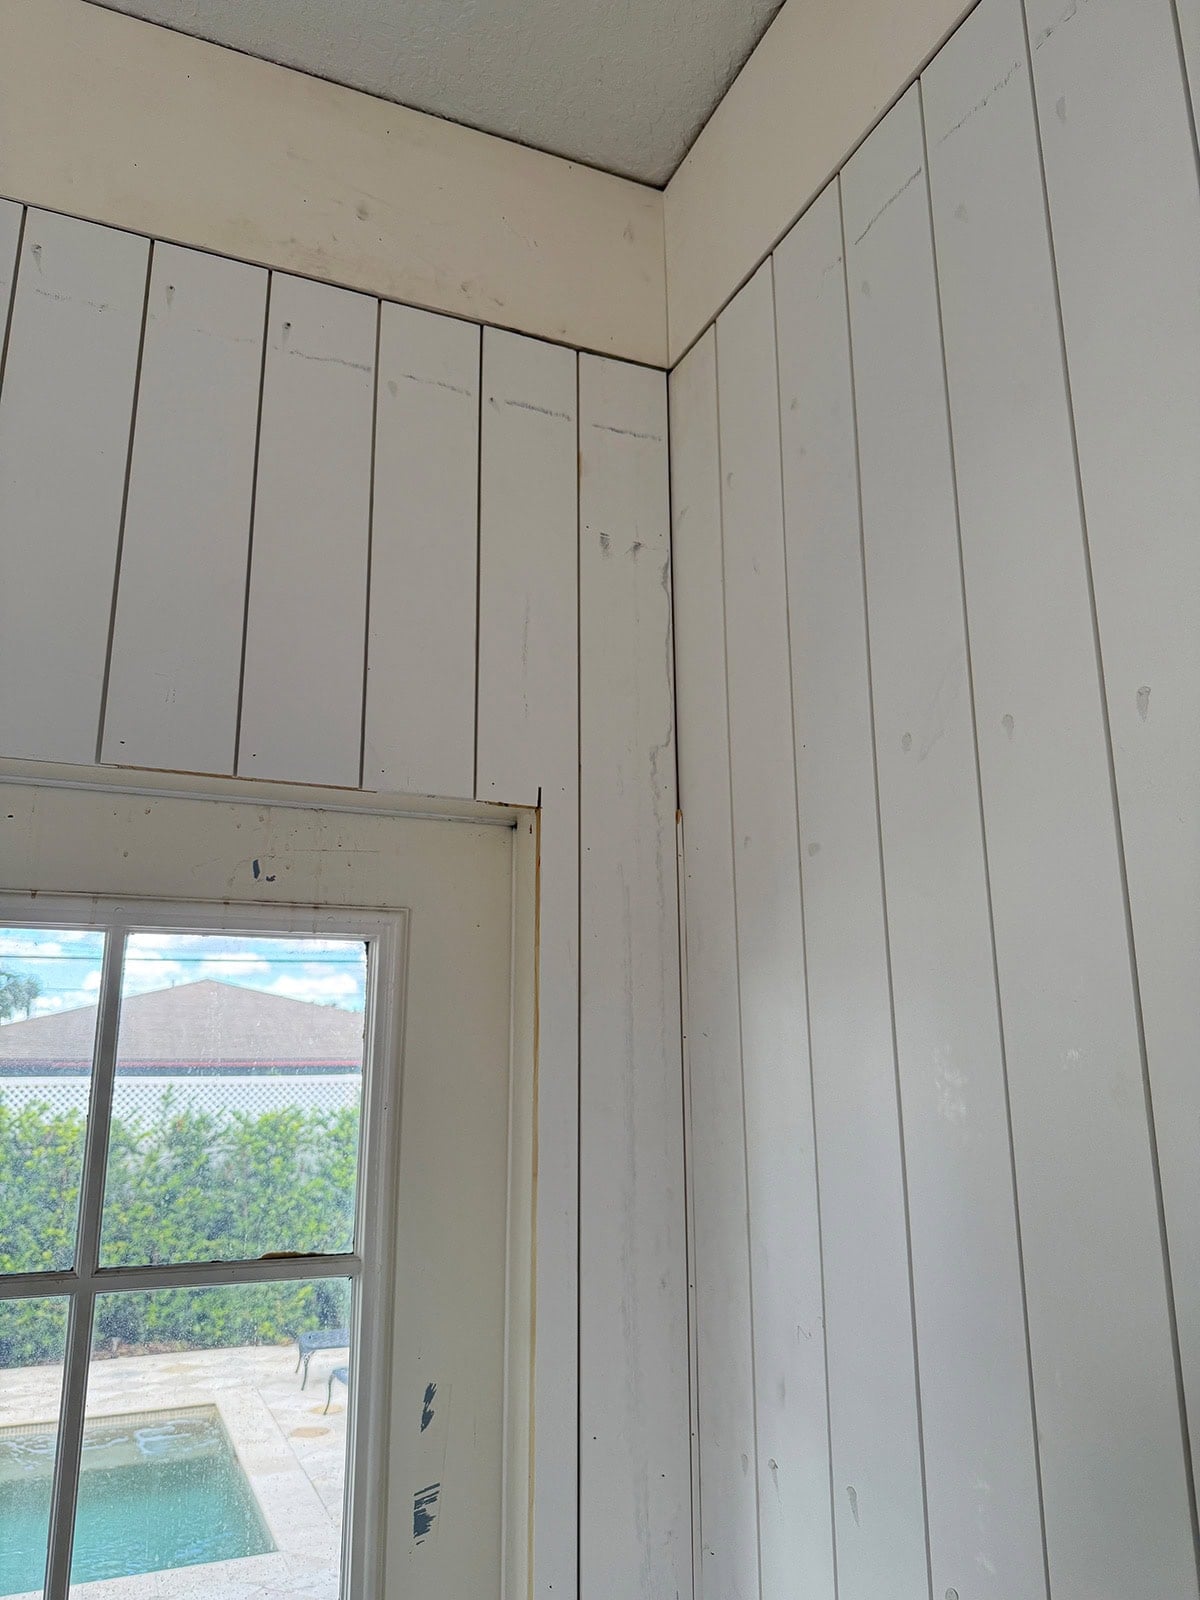
For outside corners, mitered edges will give you the cleanest, most seamless look. We had a few angled walls to work around, so we adjusted the angle on our table saw to get a tight fit.
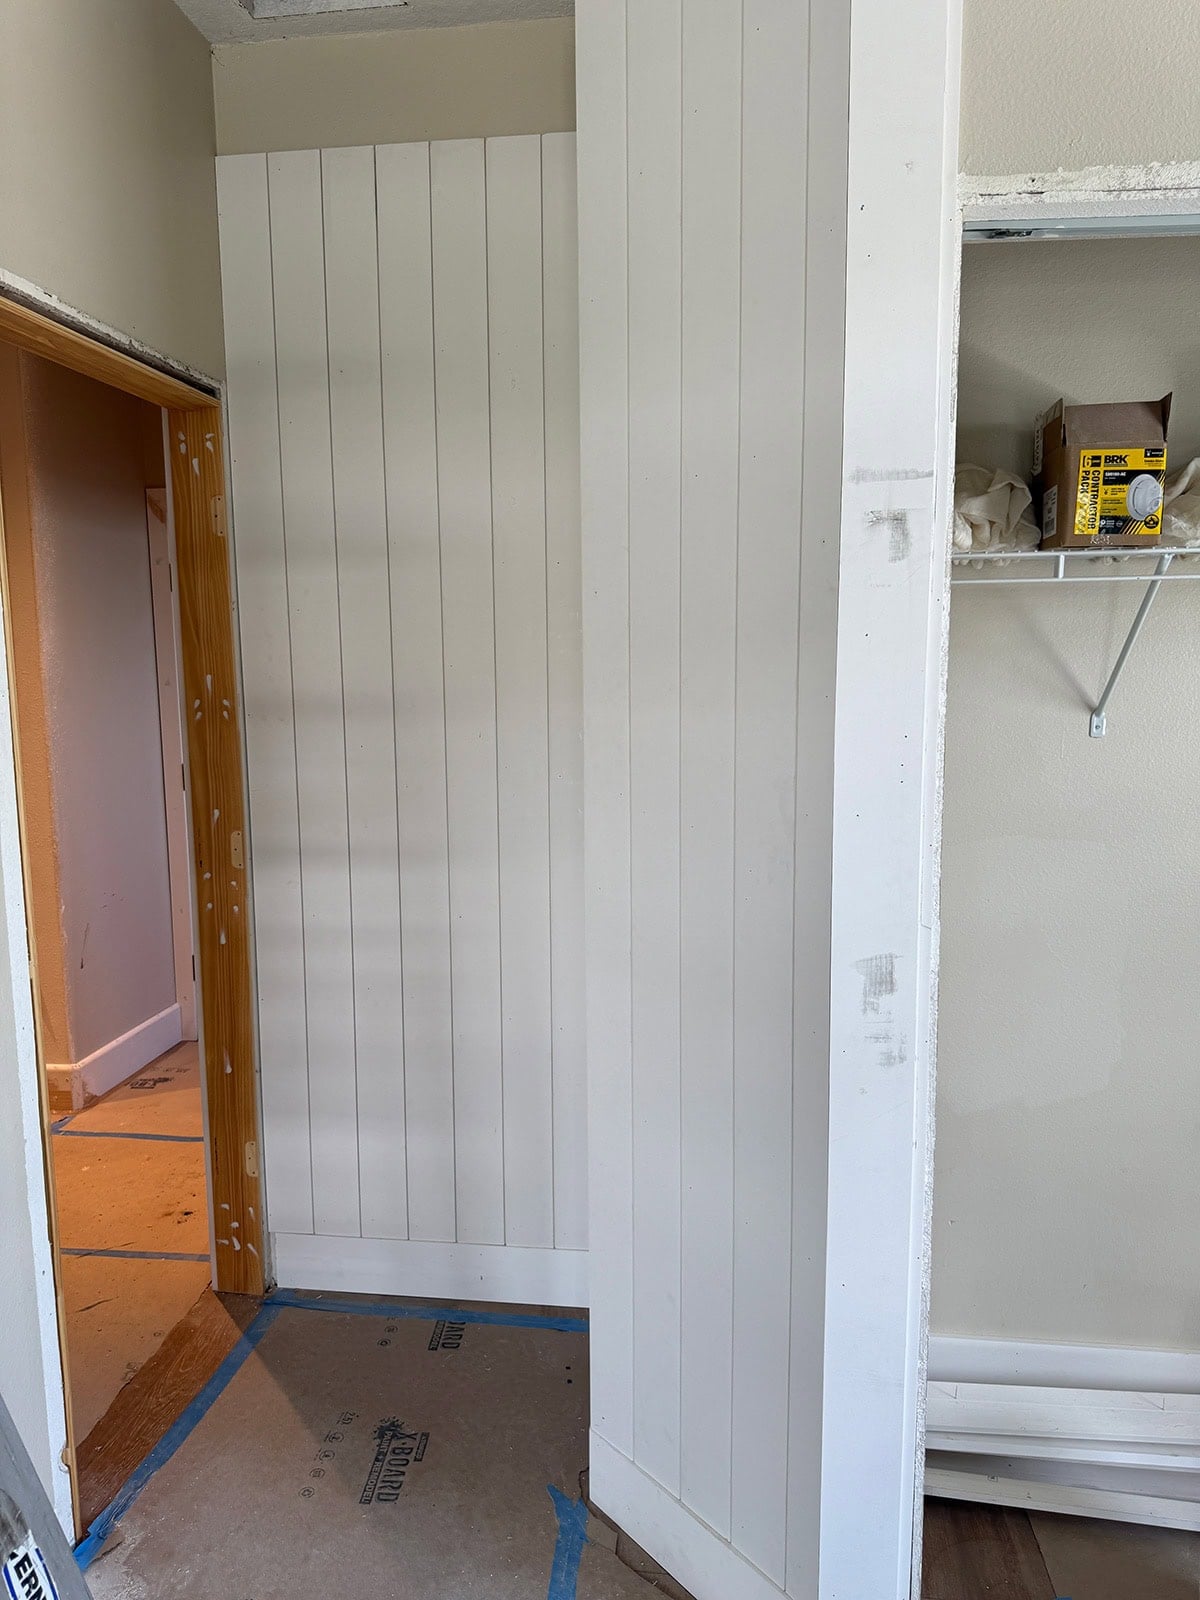
Don’t worry if your cuts aren’t absolutely perfect (most walls aren’t either!). Imperfections can be disguised with wood filler and caulk.
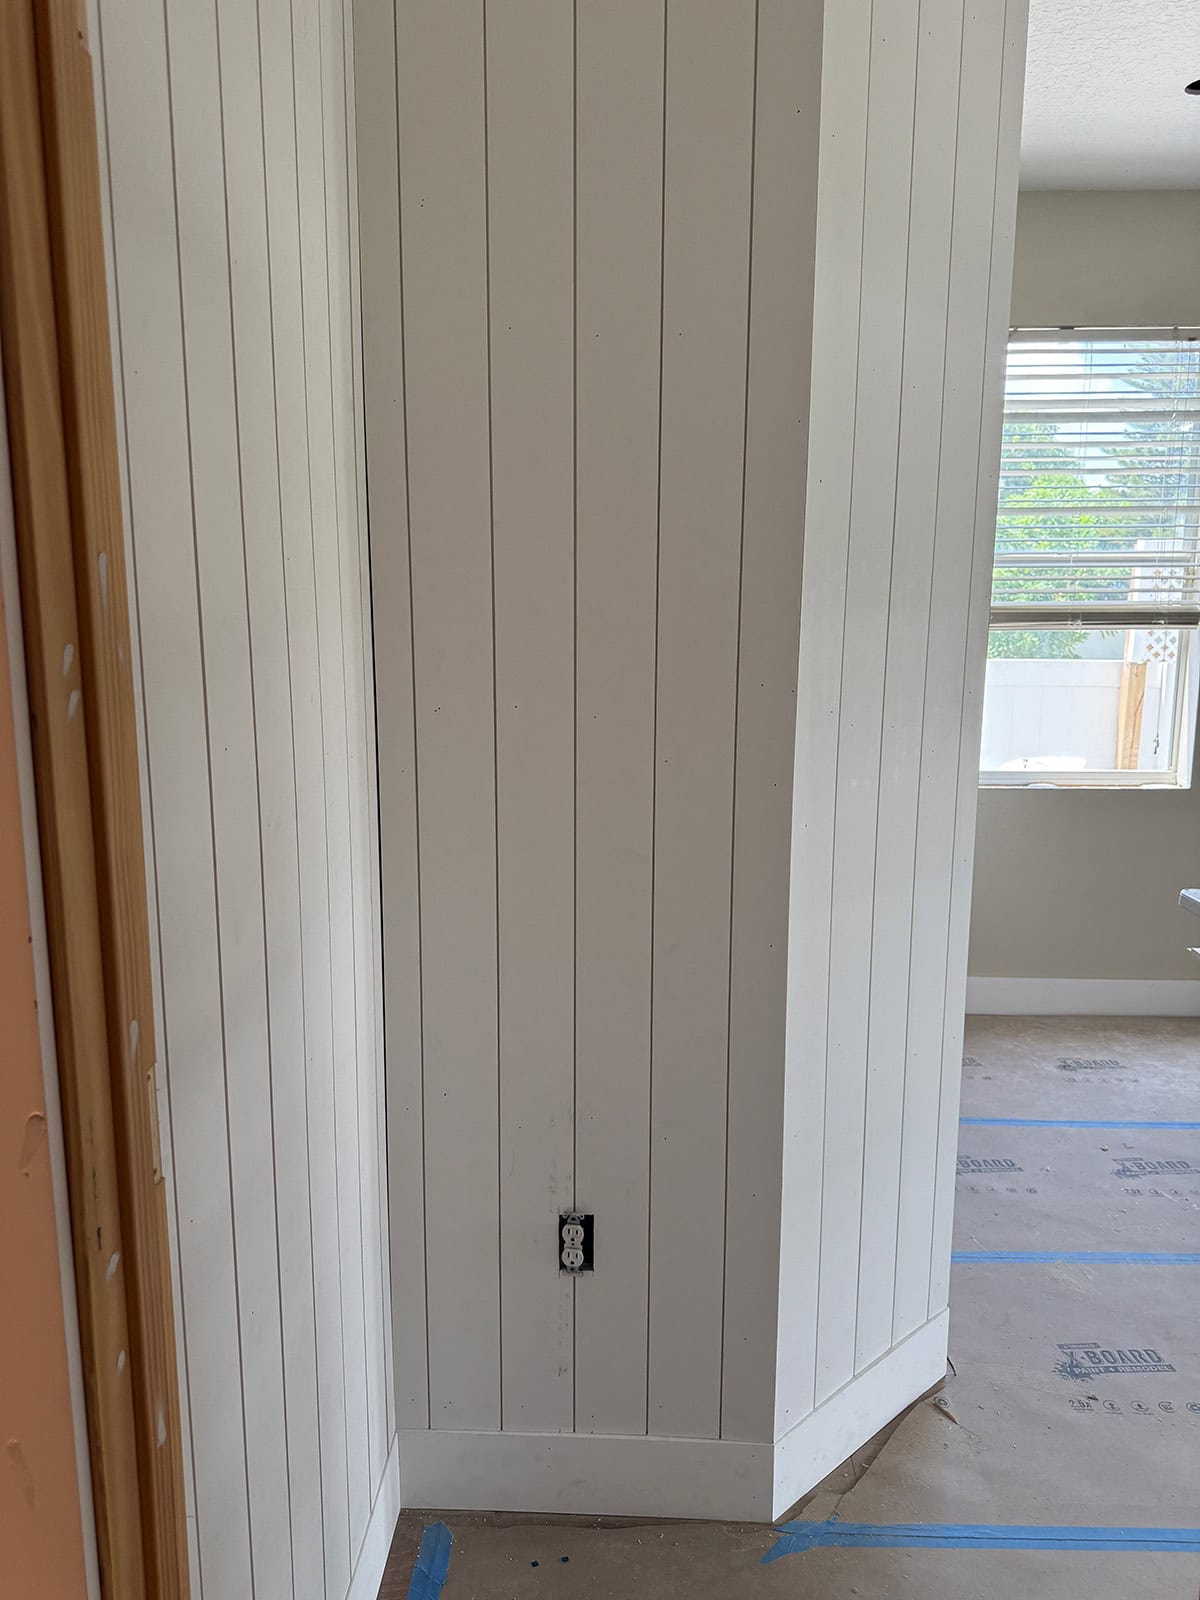
If necessary, outside corner molding is an option (I used it when I was just starting out) but I’d try to avoid it if possible.
Expect imperfections on the inside corners, too. Our walls weren’t straight and we ended up with some pretty large gaps that we had to fill with slivers of wood.
Working around Obstacles
Working around sconces, switches and outlets is pretty straightforward. Turn off power to the electrical boxes you’ll be working around, then carefully measure and mark the cutout on your board.
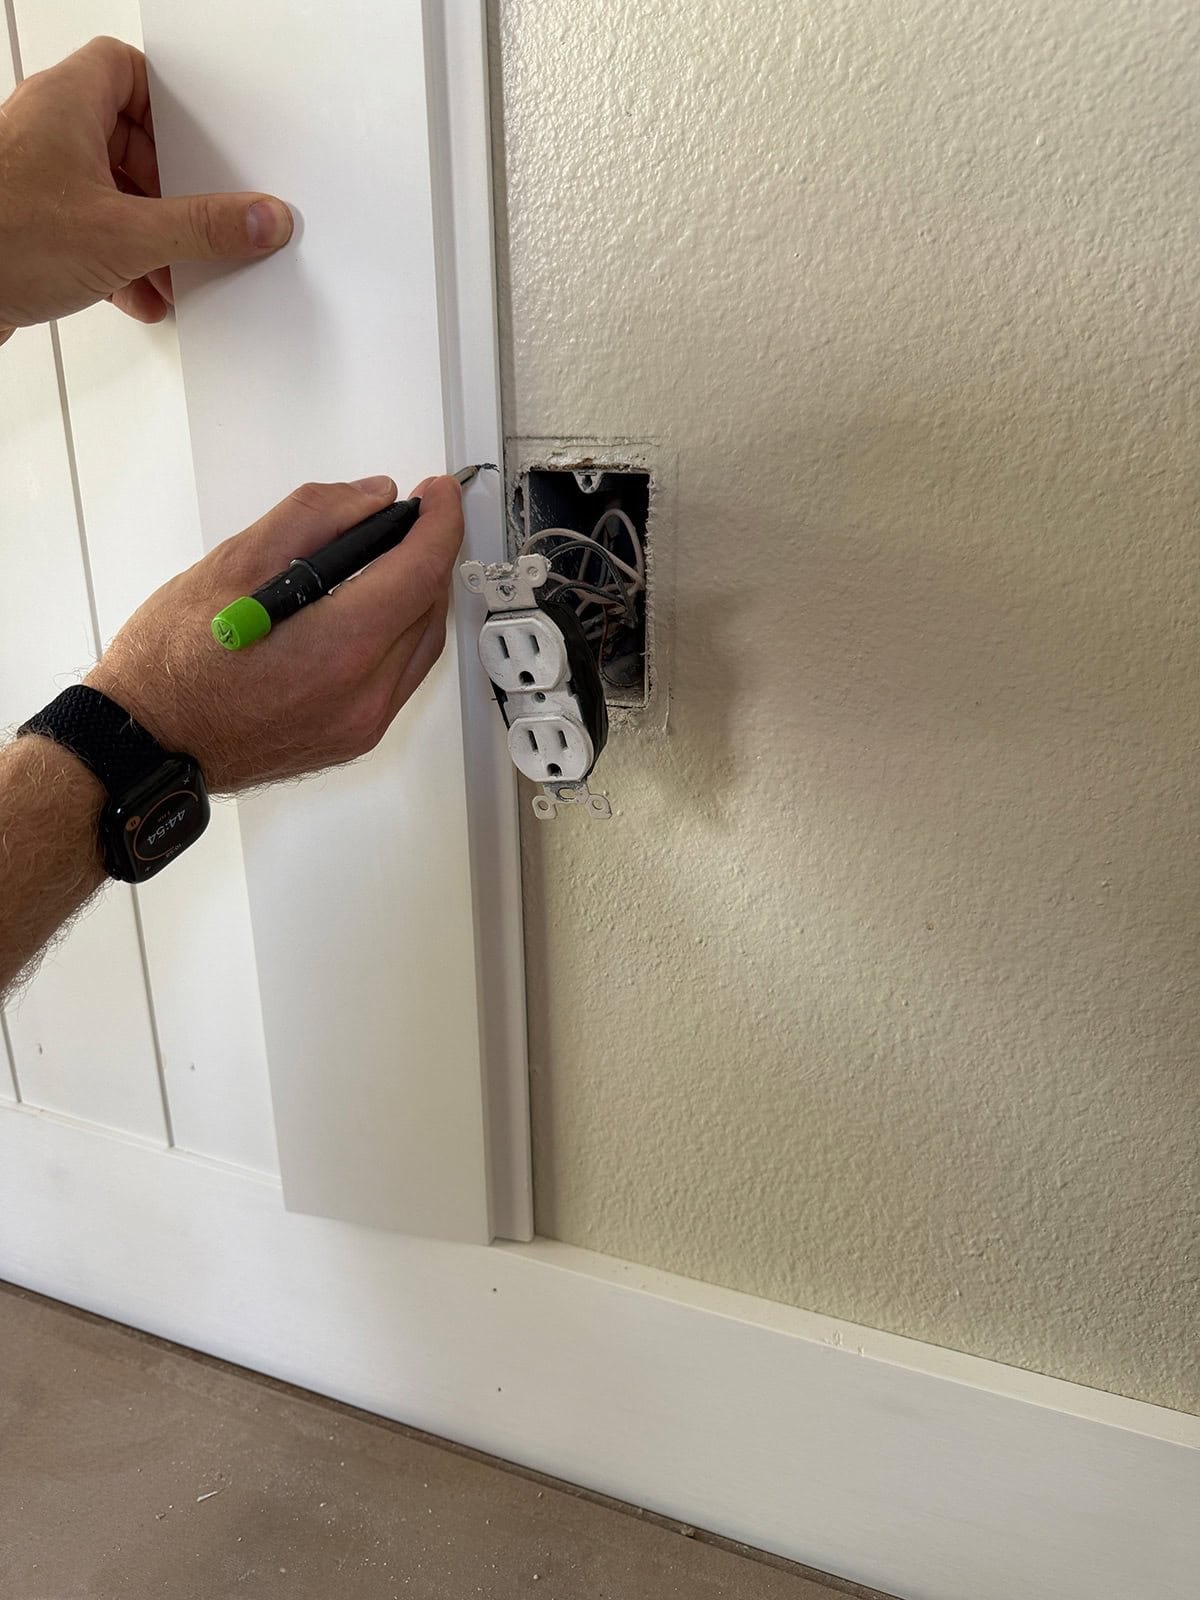
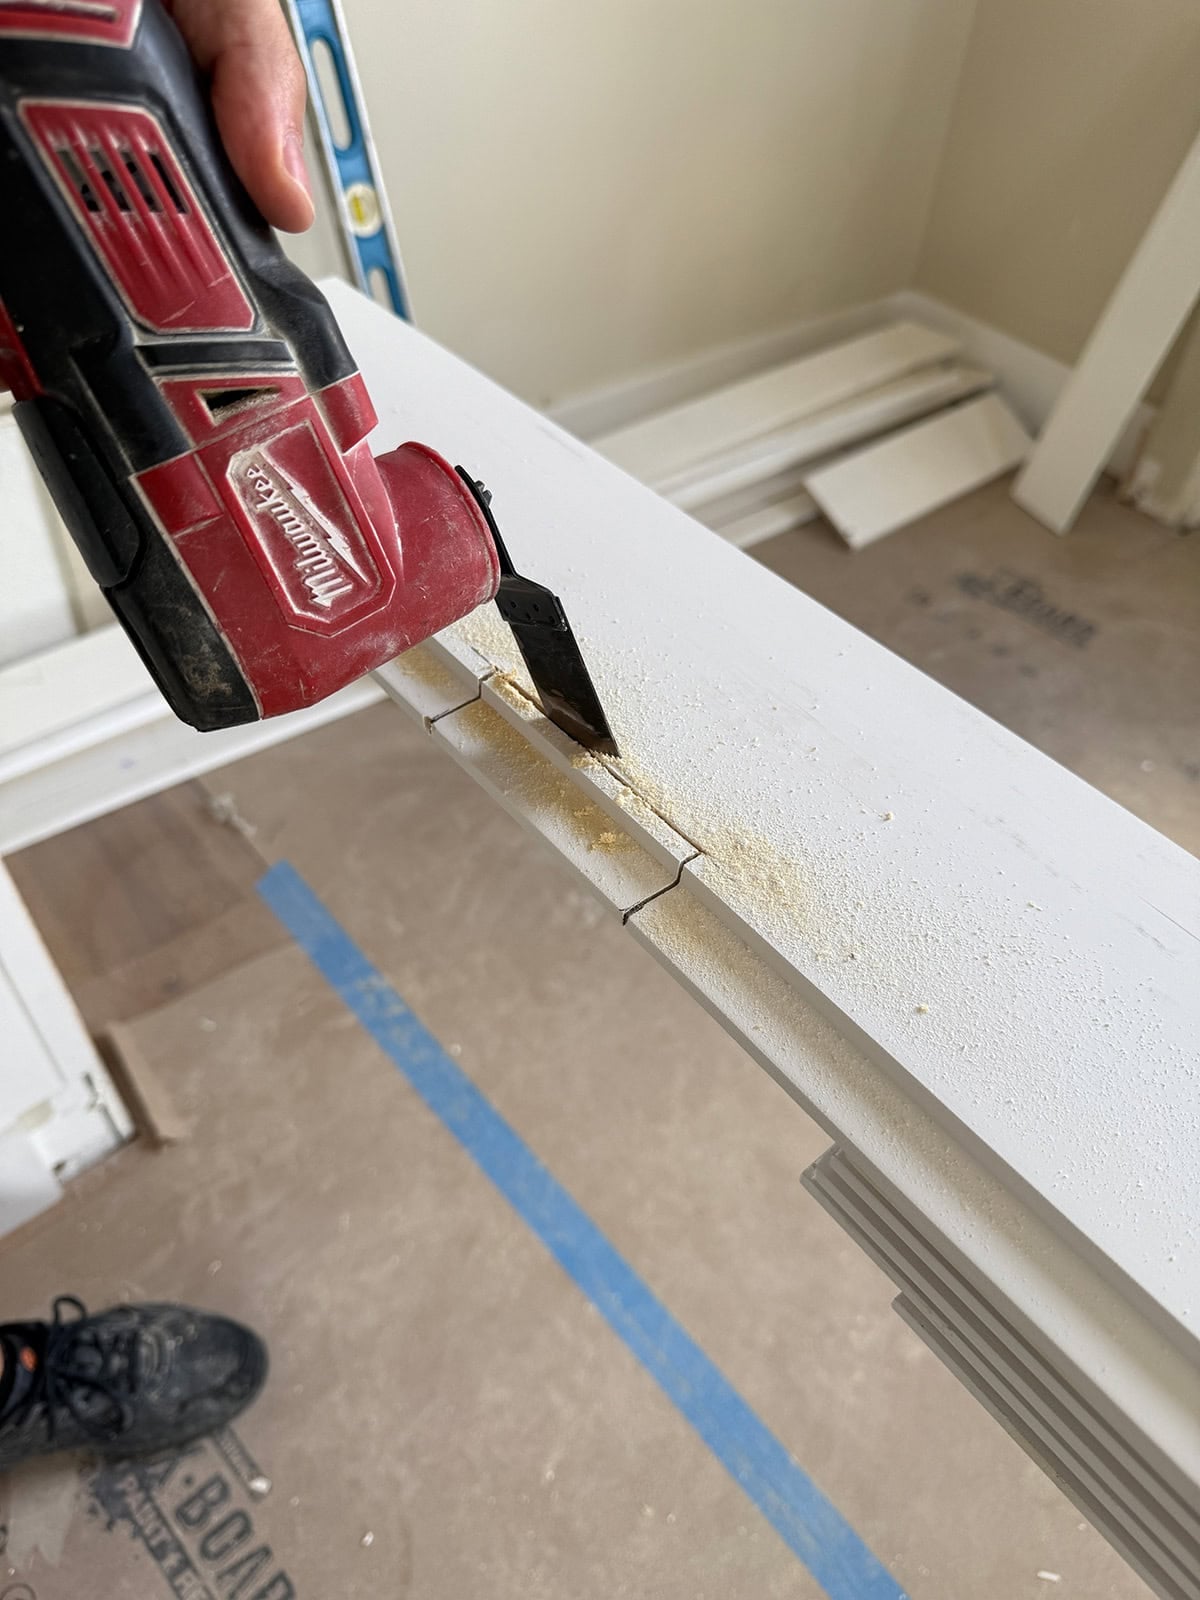
A jigsaw or oscillating multi-tool works well for cutting out these openings. Double check your measurements before cutting, and test-fit the board before attaching it to the wall.
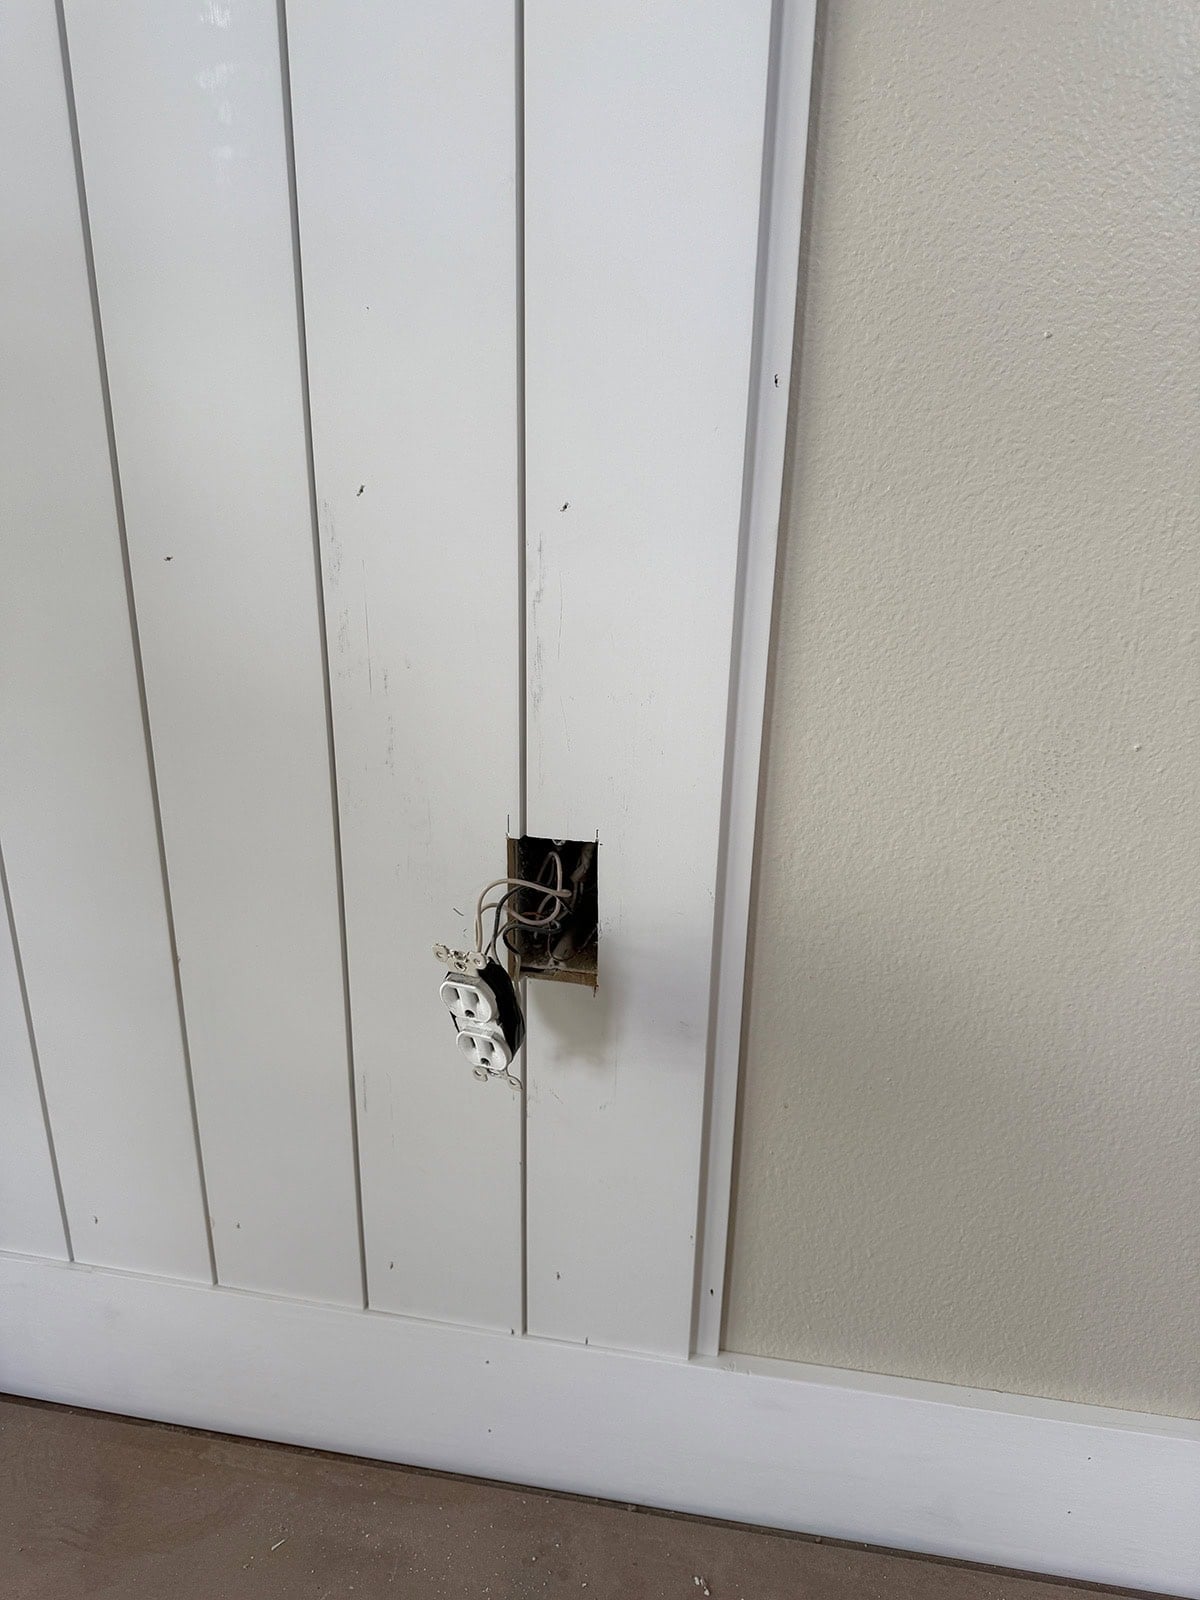
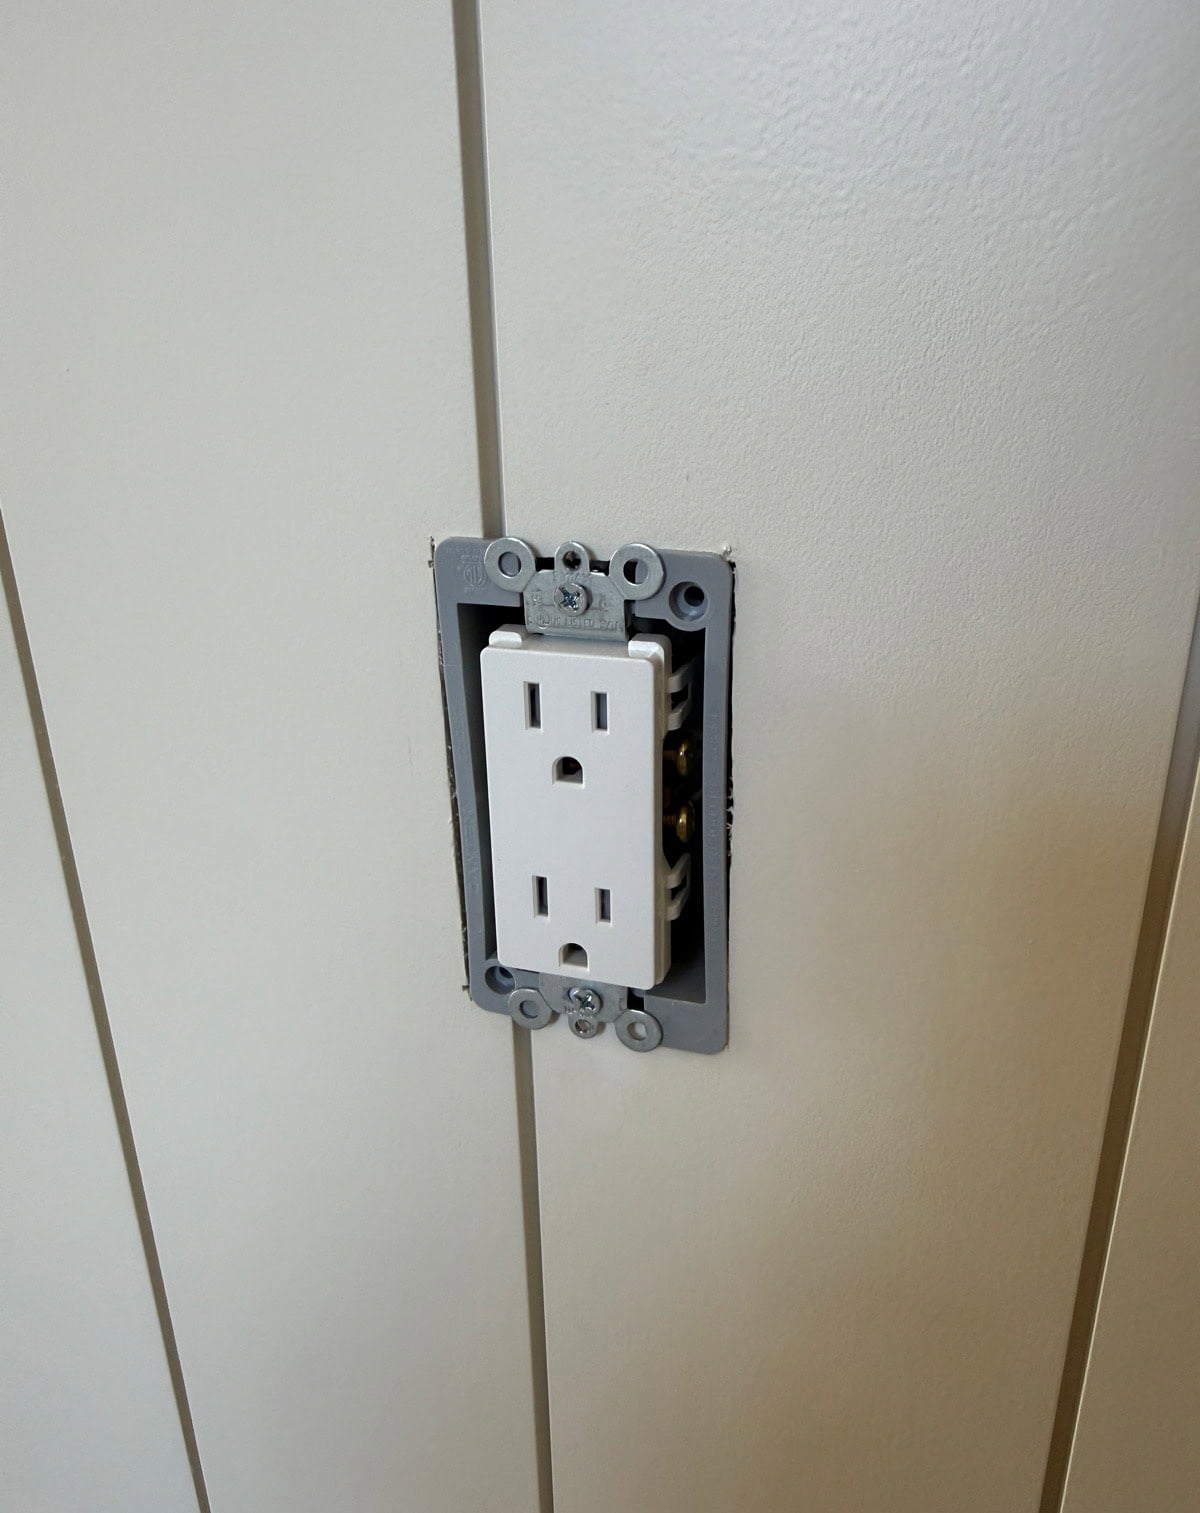
A note on outlets and light switches: you’ll need to install an electrical box extender to bring the box flush with the new finished surface. It’s a simple process, but when in doubt, consult an electrician!
Install the Ceiling Trim
Once the shiplap boards are in, it’s time to add your ceiling trim.
Since we chose to add a 1×12″ header board, we first needed to create a straight, level line across the top of the shiplap.
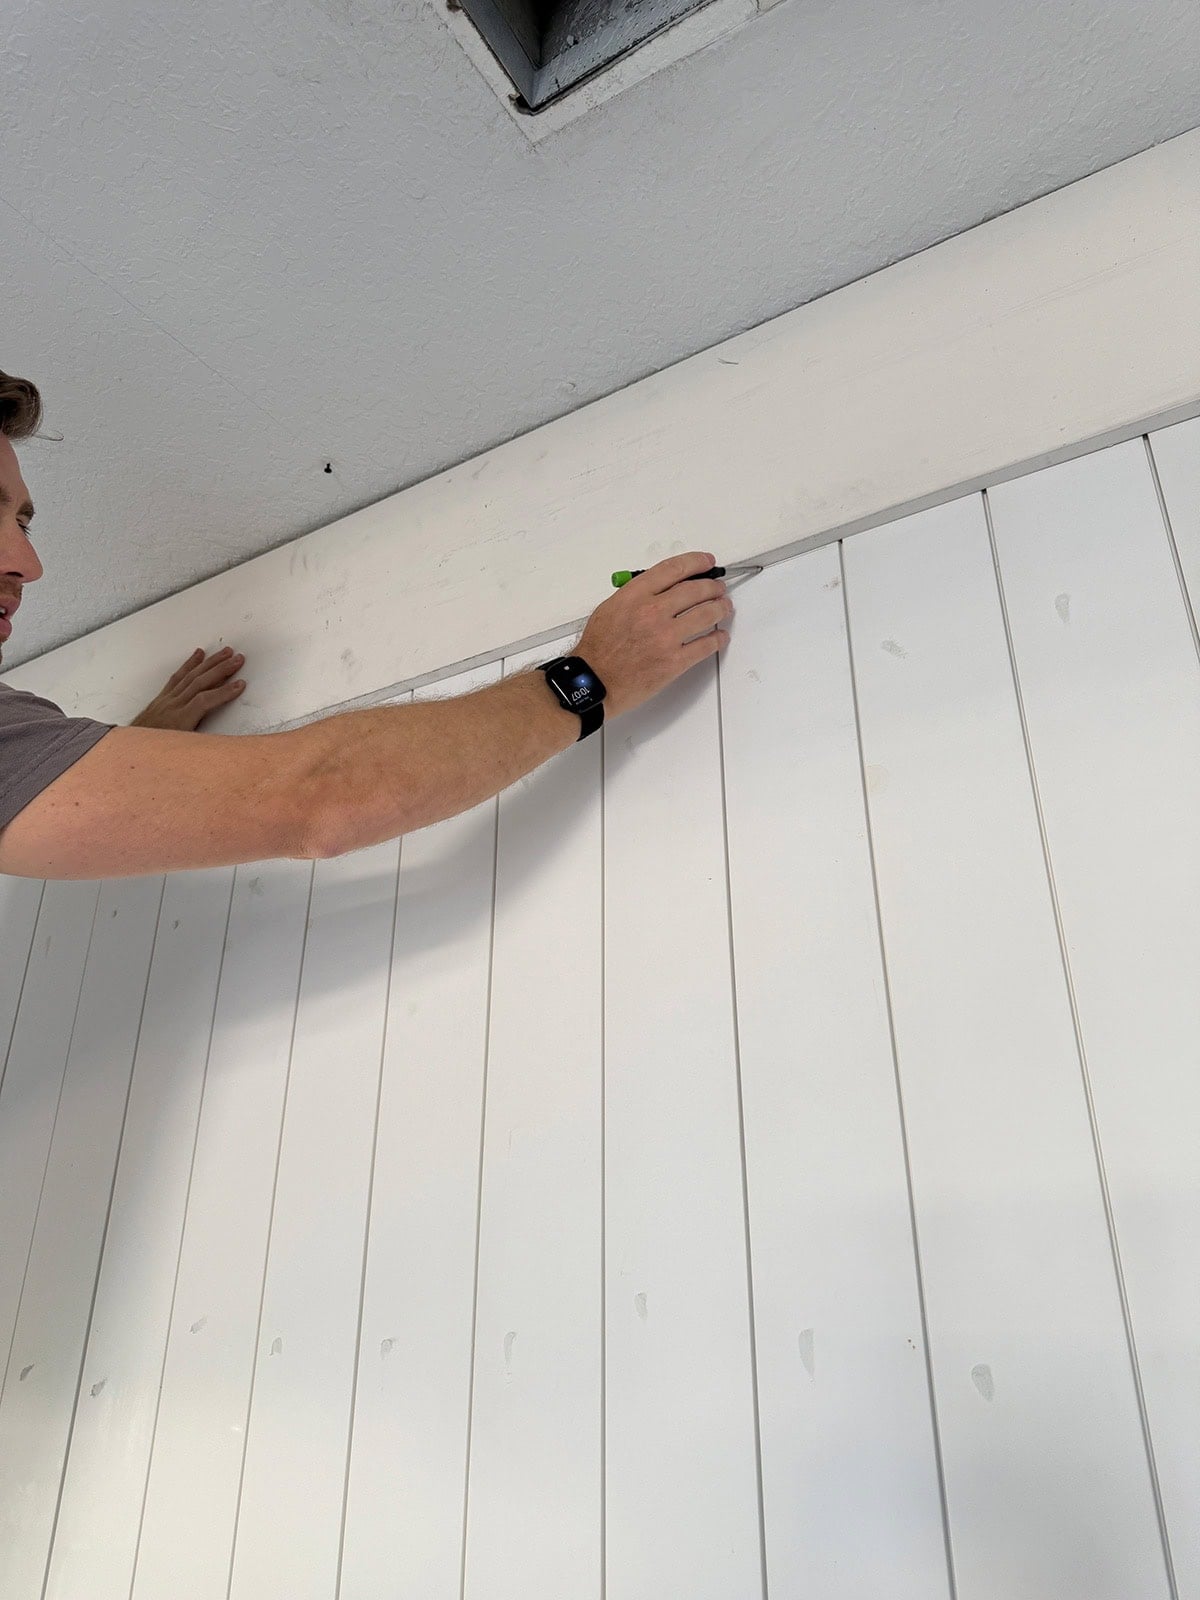
We marked our cut line, then carefully trimmed the boards with a circular saw (set to the proper depth) before attaching the header across the room.
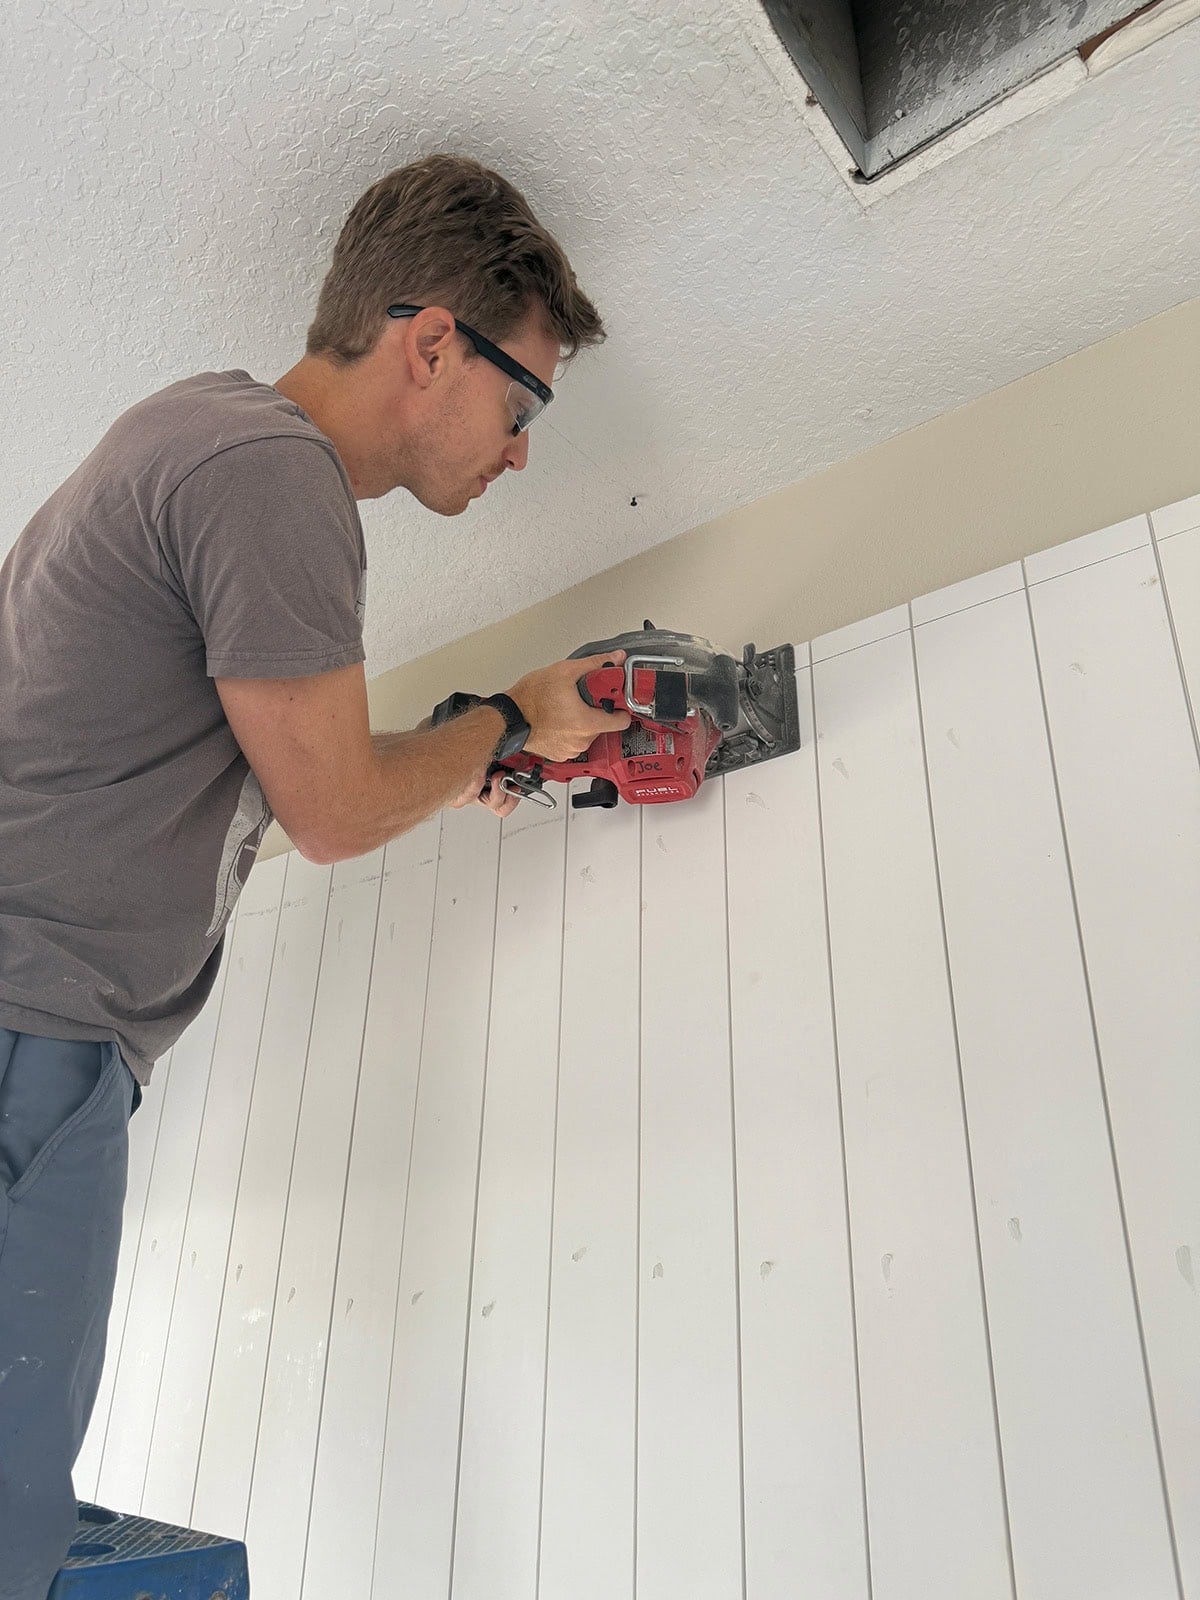
The board was glued and nailed in just like the shiplap.
This isn’t a step I’d recommend unless you specifically want this look. The easiest way to finish the ceiling edge is to install crown molding or a simple flat trim board over the top of the shiplap.
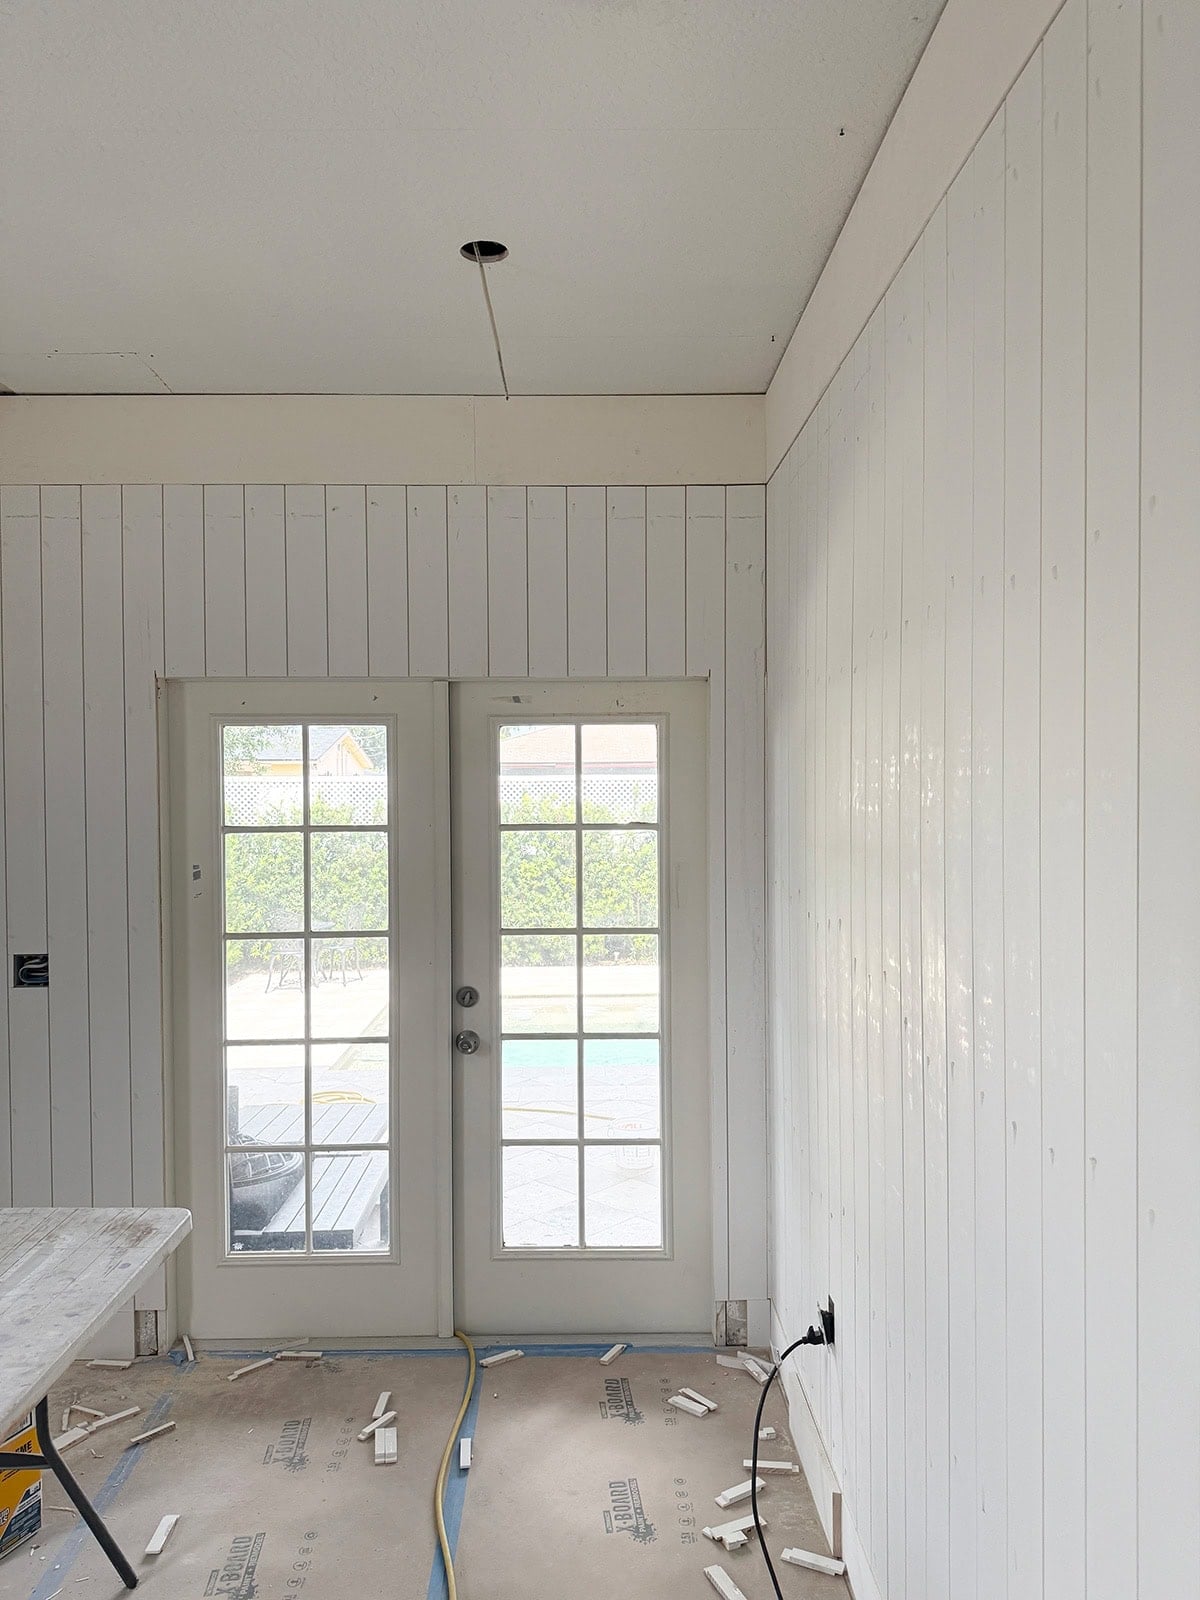
Because our walls and ceiling weren’t perfectly even, we added quarter round to conceal the remaining gaps.
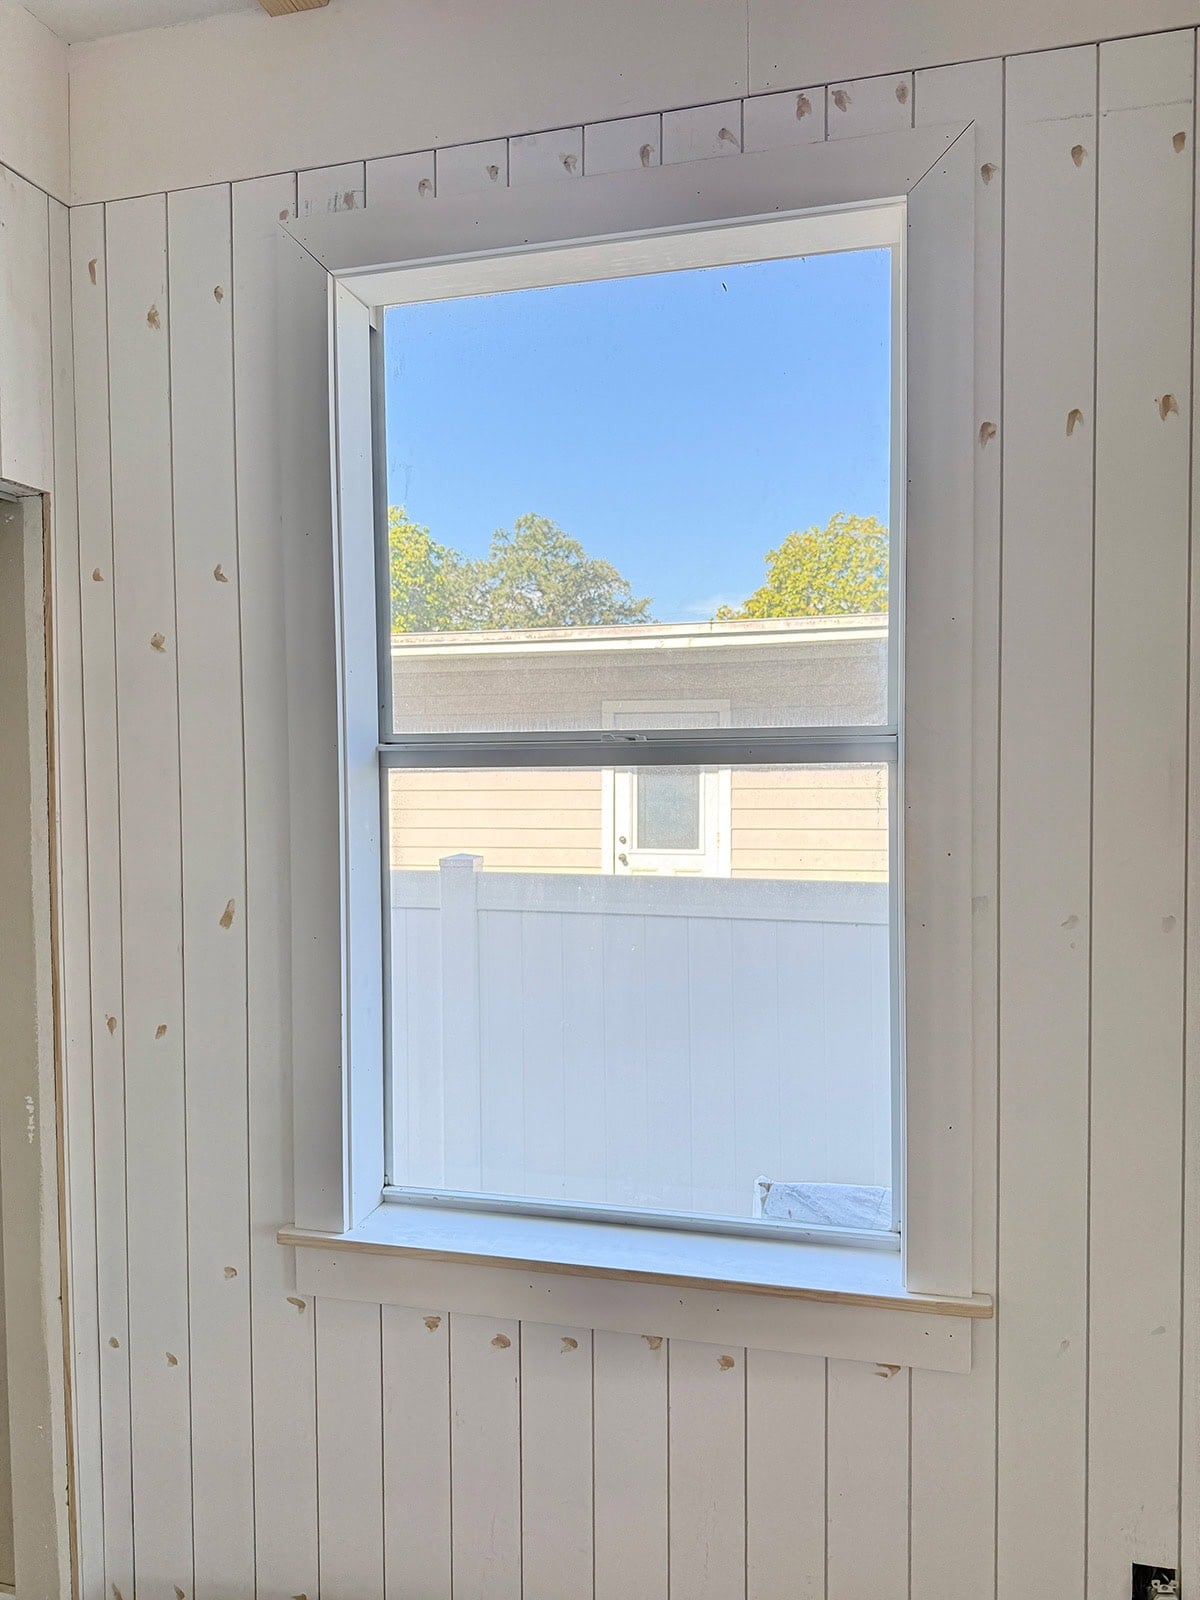
We also took this opportunity to add a simple frame around the window.
Patch, sand, caulk and paint
Start by filling the nail holes and any larger imperfections with wood filler (we like Plastic Wood).
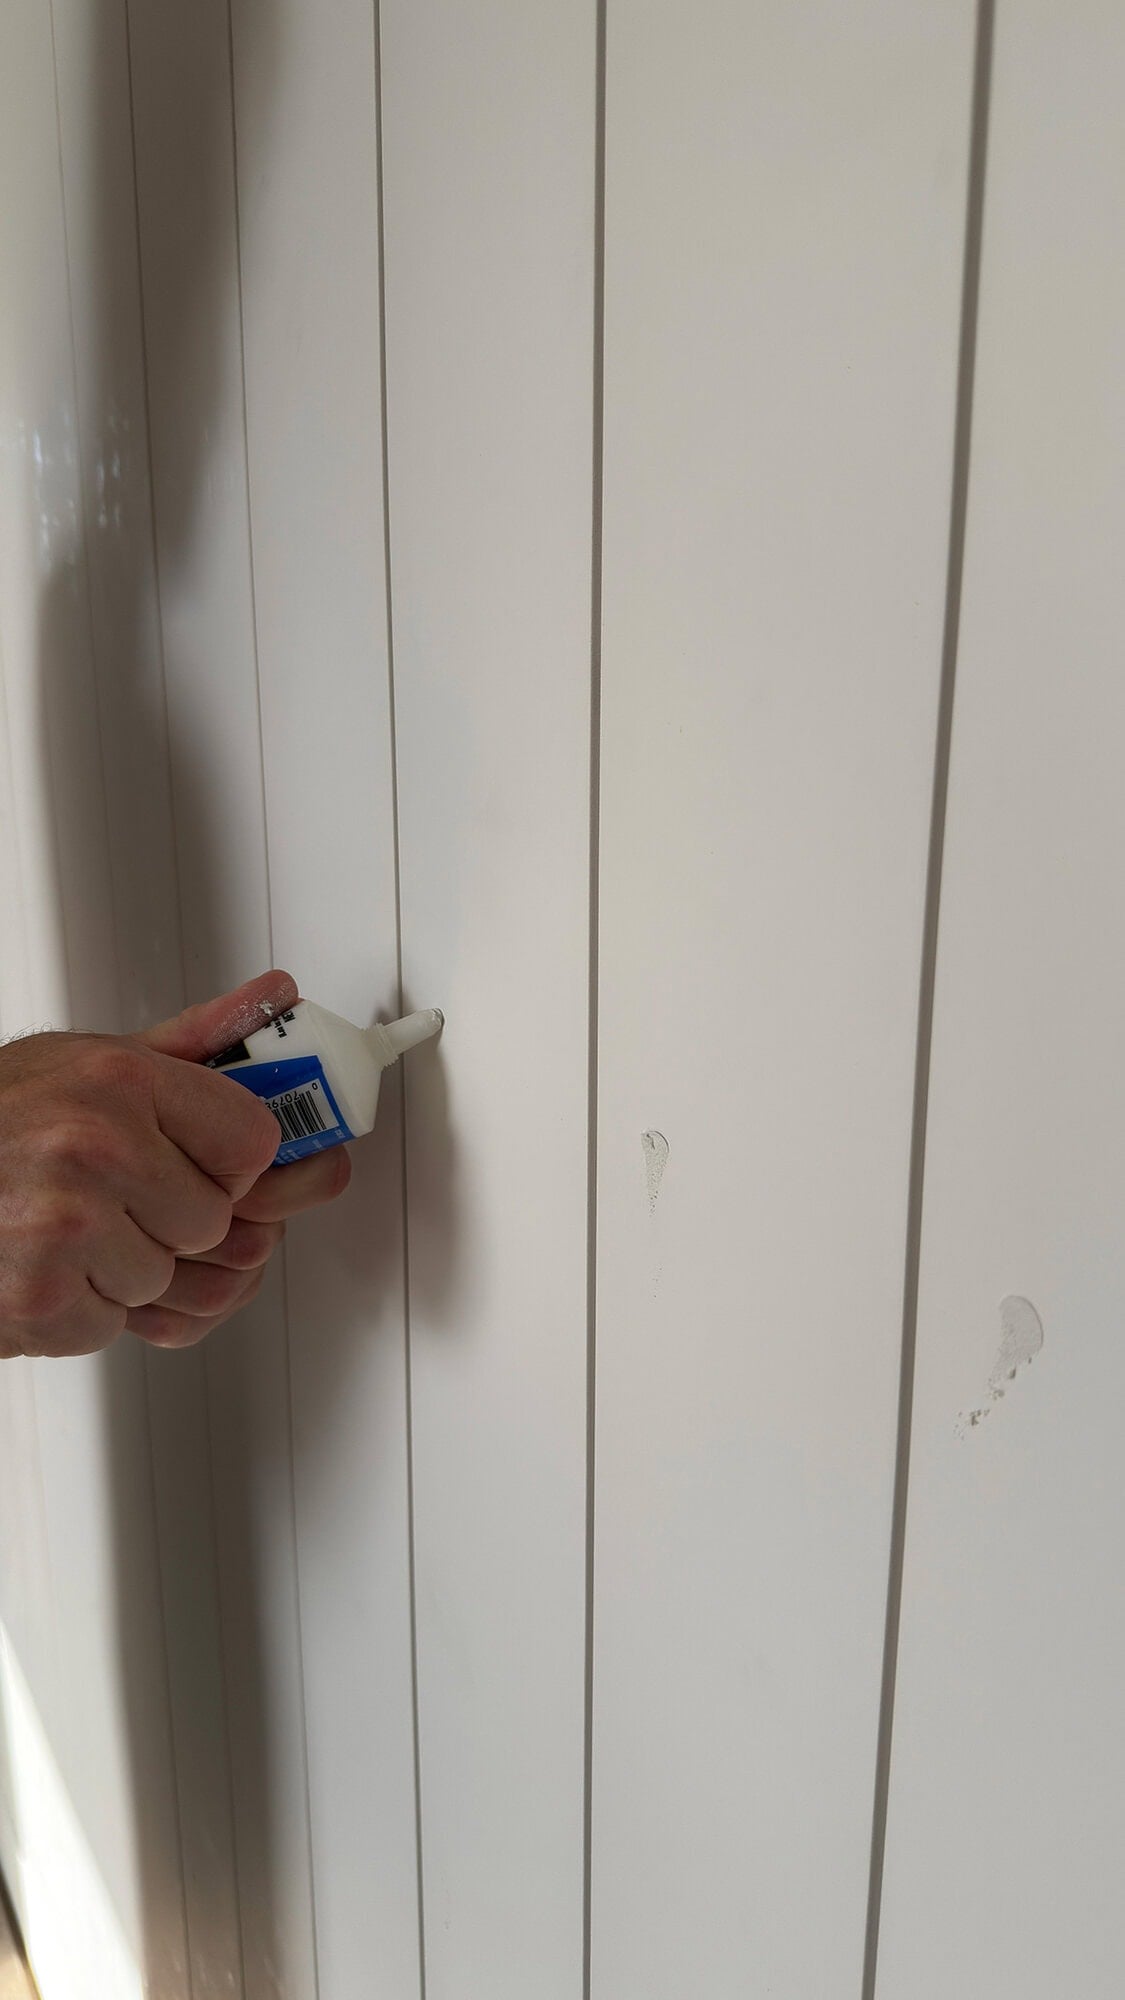
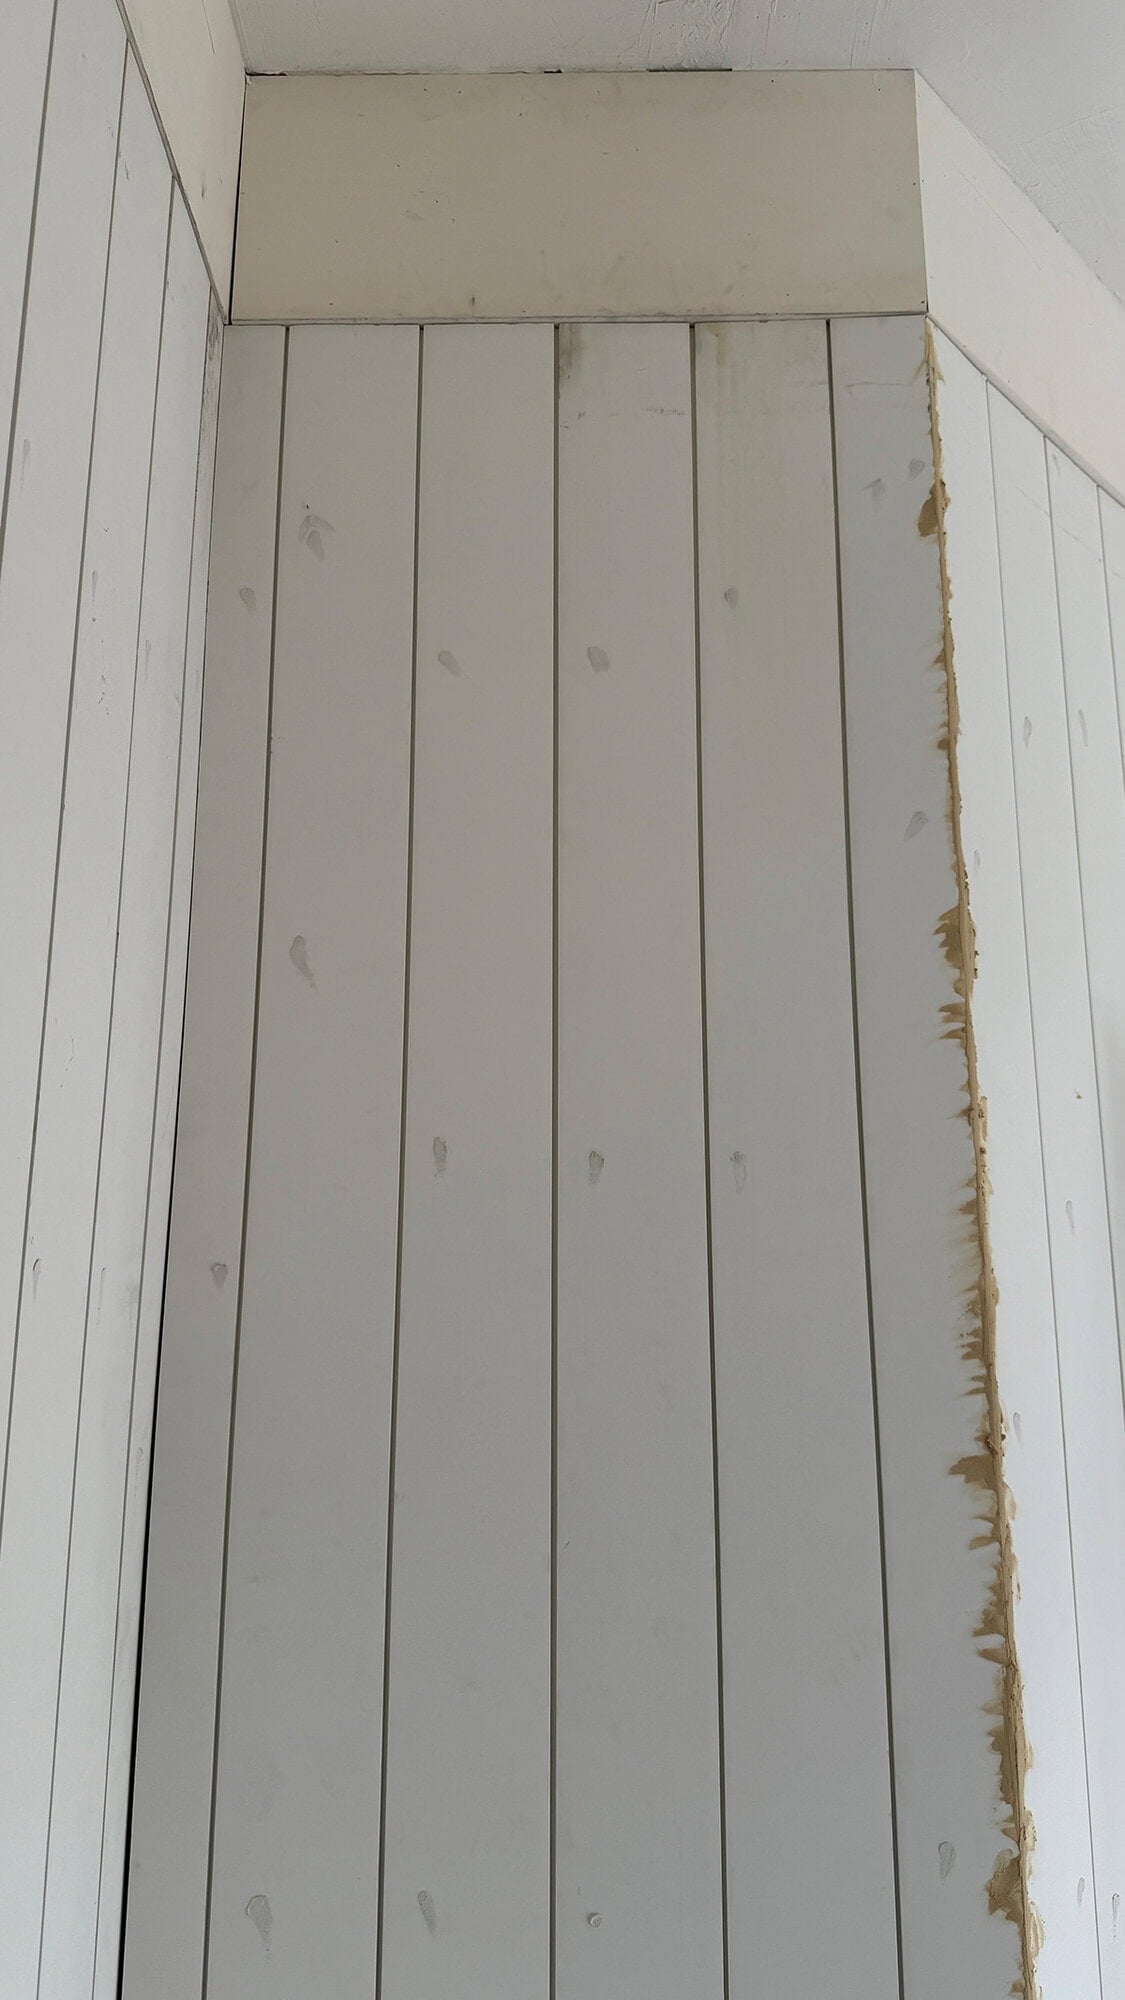
Once dry, sand everything smooth with an orbital or detail sander, then vacuum and wipe down the walls to remove the dust.
Caulk along the corners where boards and walls meet, and allow to dry fully before painting. The shiplap boards and trim are pre-primed, so two coats of paint should do the trick.
I chose SW Ivory Lace for the walls, and SW Maison Blanche for the trim and doors (both in satin). The grooves make shiplap more challenging to paint by hand, so we had our painter spray it on for a perfectly smooth finish.
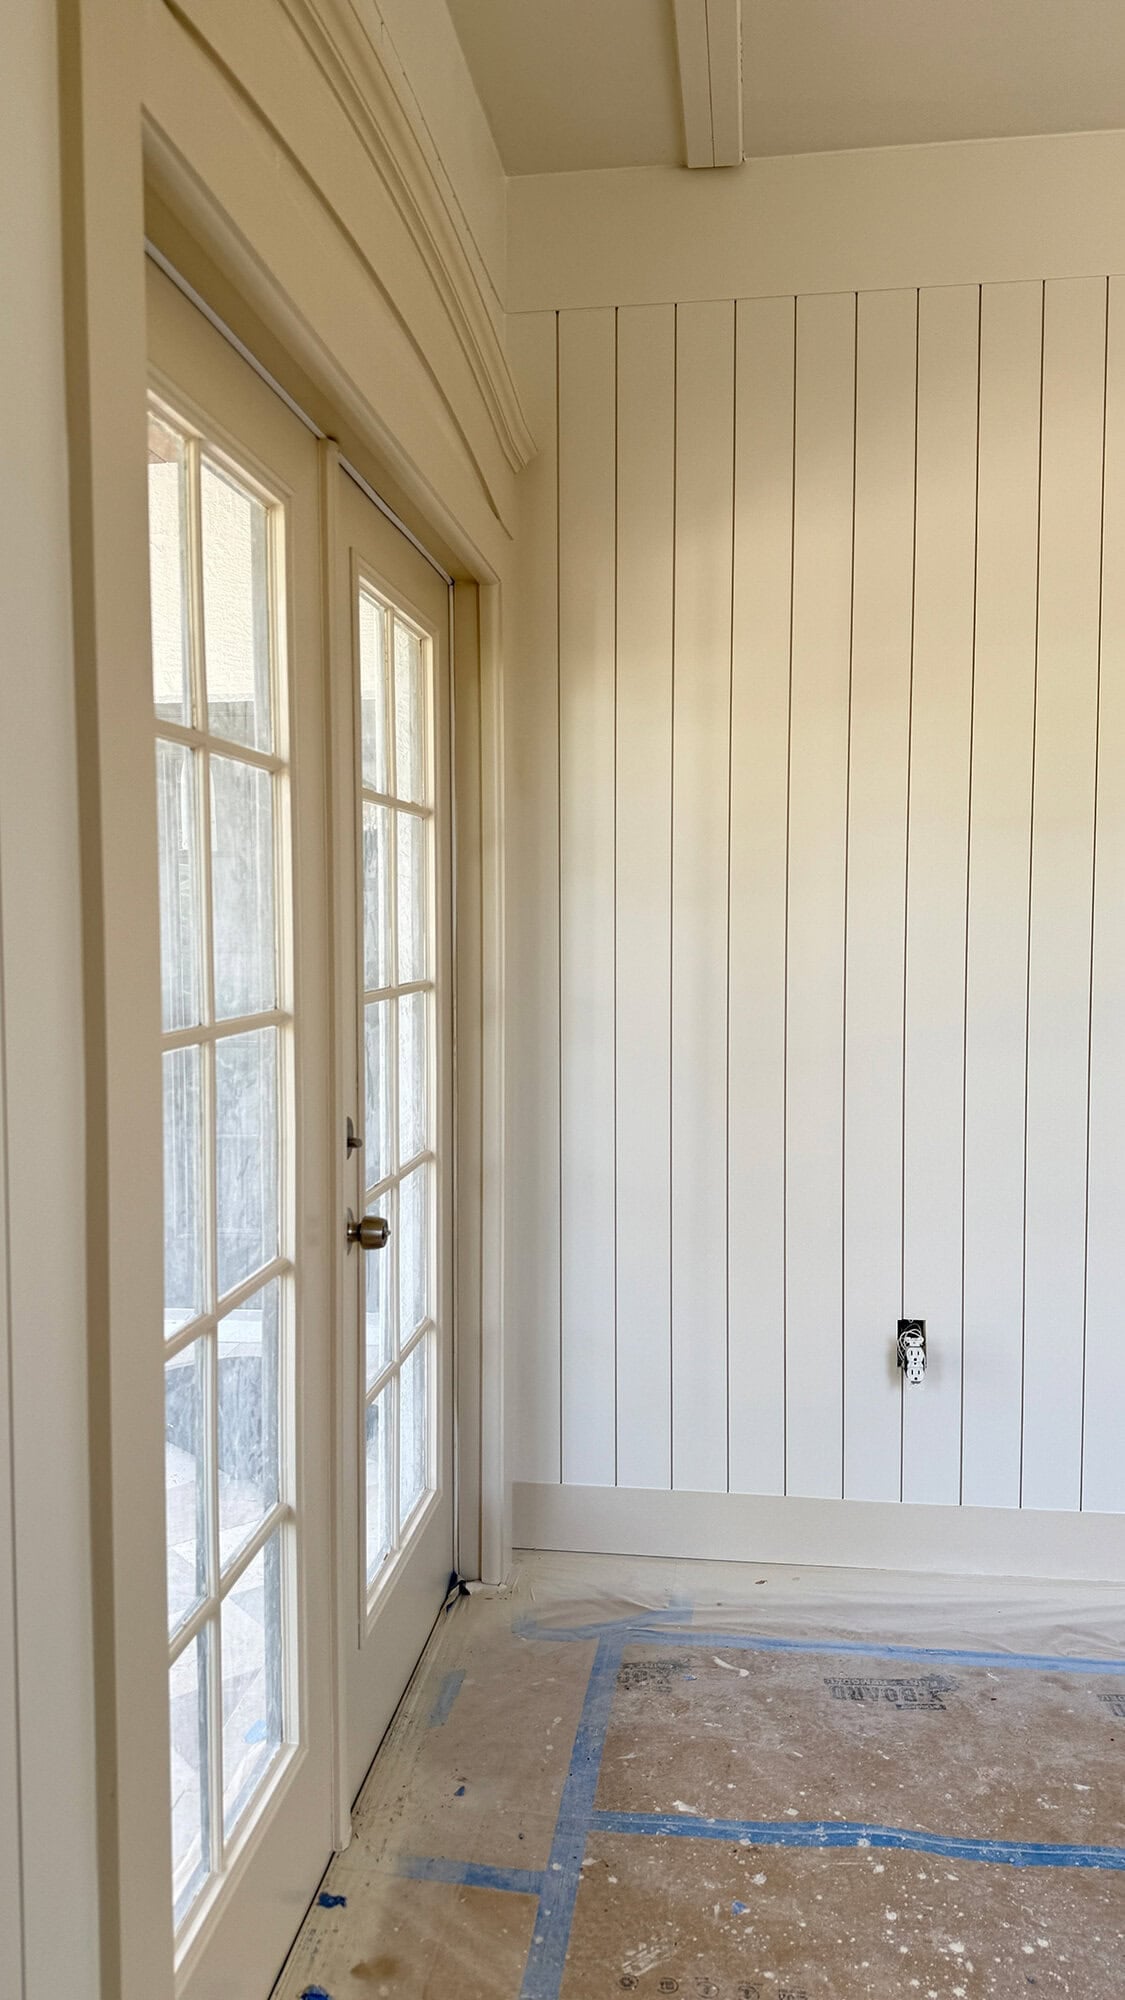
My favorite detail in this room is this door pediment we added. The doors in this house are too small for the 9’3″ ceilings, so I used this to give the door more presence and height.
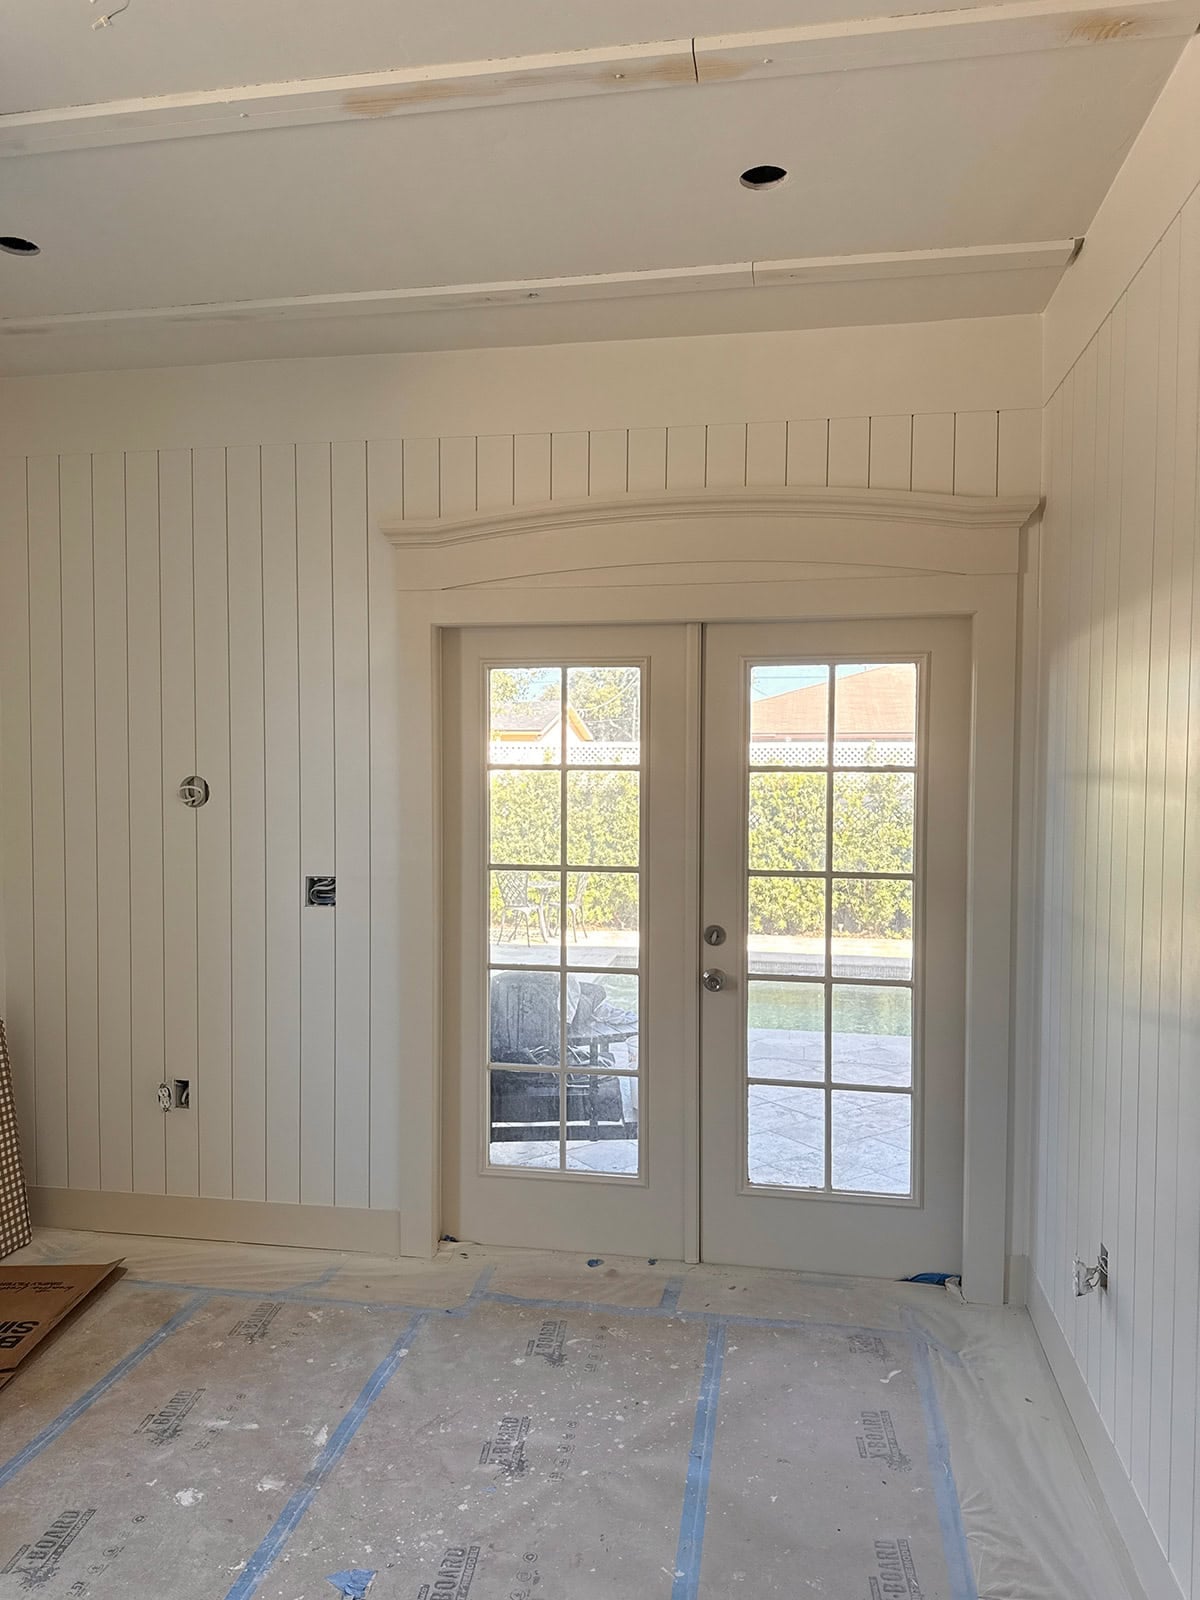
It’s such an under-utilized design trick and it makes a world of difference! Even if your doors aren’t too short, I’d highly recommend adding a pediment for architectural interest.
After
I’ll never get over the difference moulding and millwork makes! We just finished installing the ceiling beams and closet doors, and here’s how the room looks today:
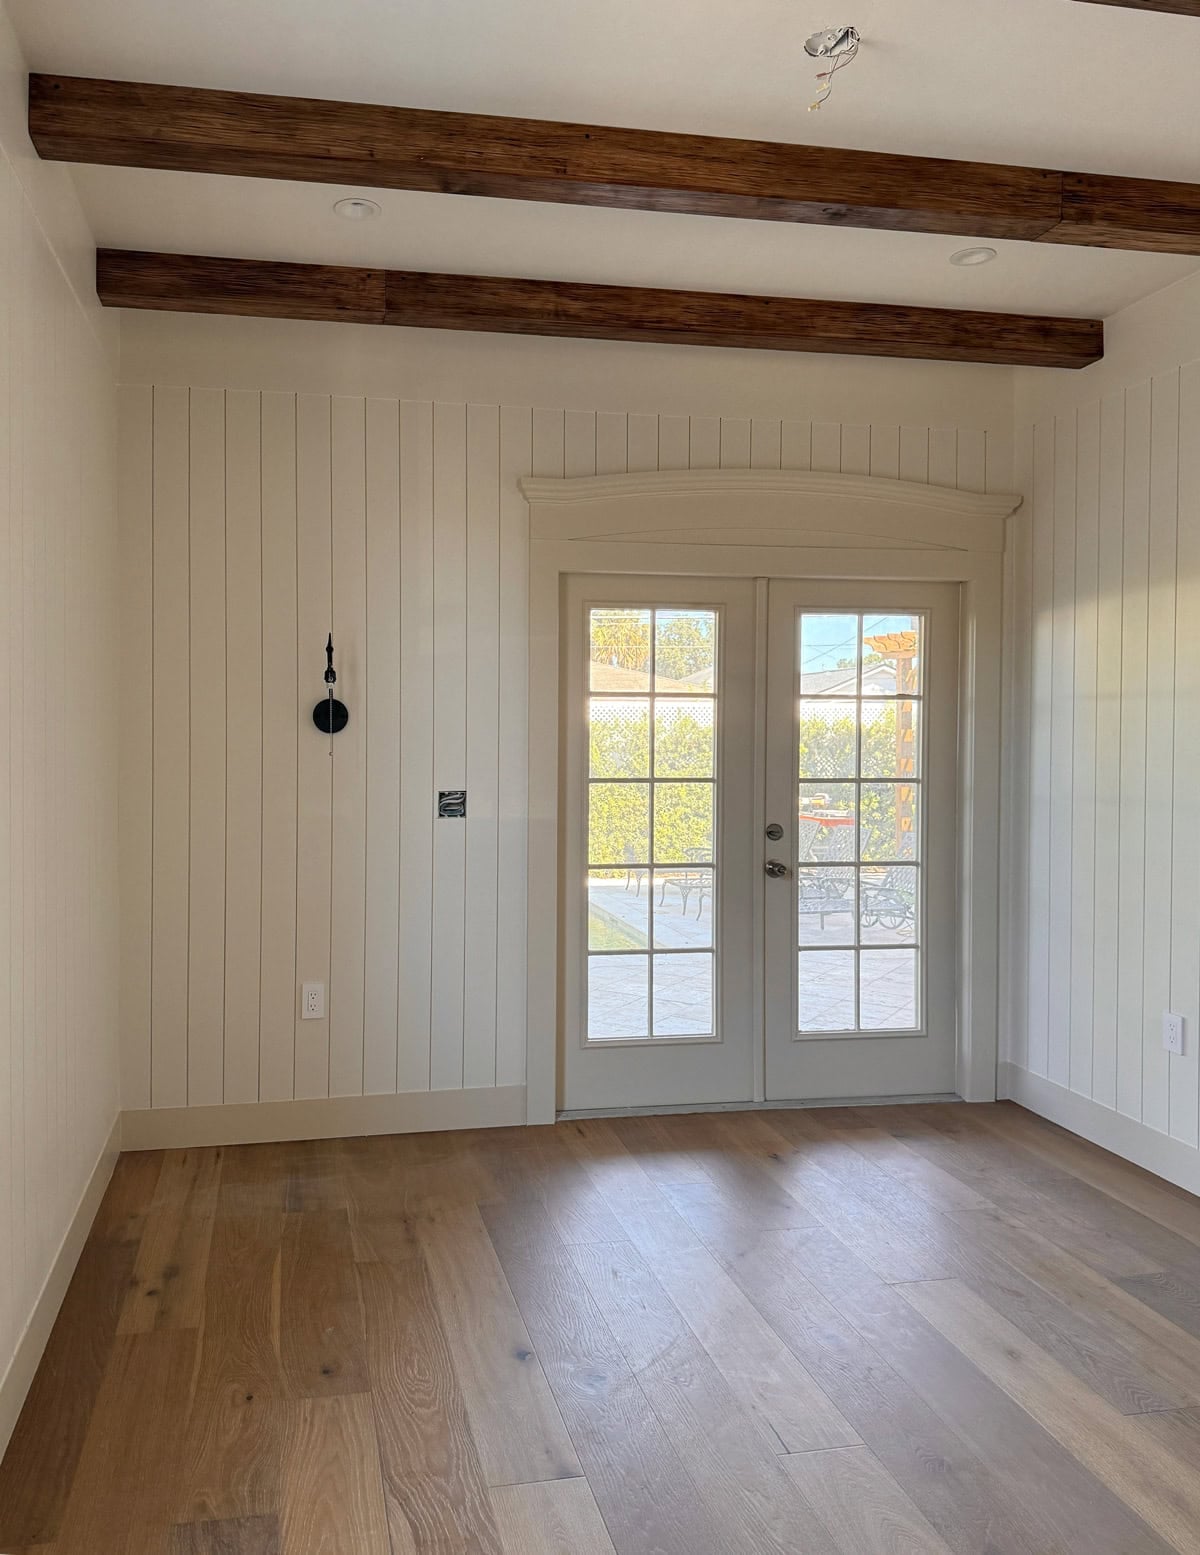
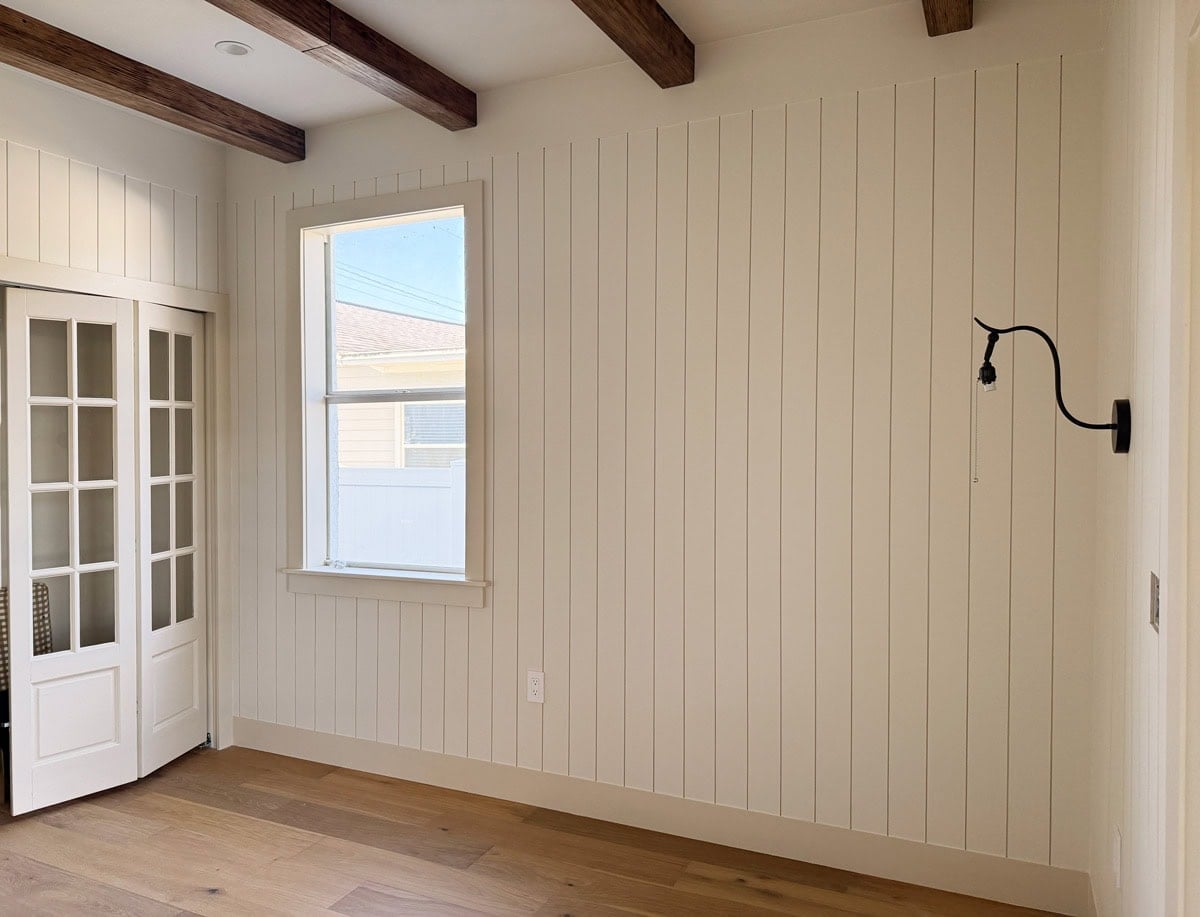
I can’t wait to bring all of the furniture and accessories in here over the next couple weeks. Keep an eye out for the big reveal soon!
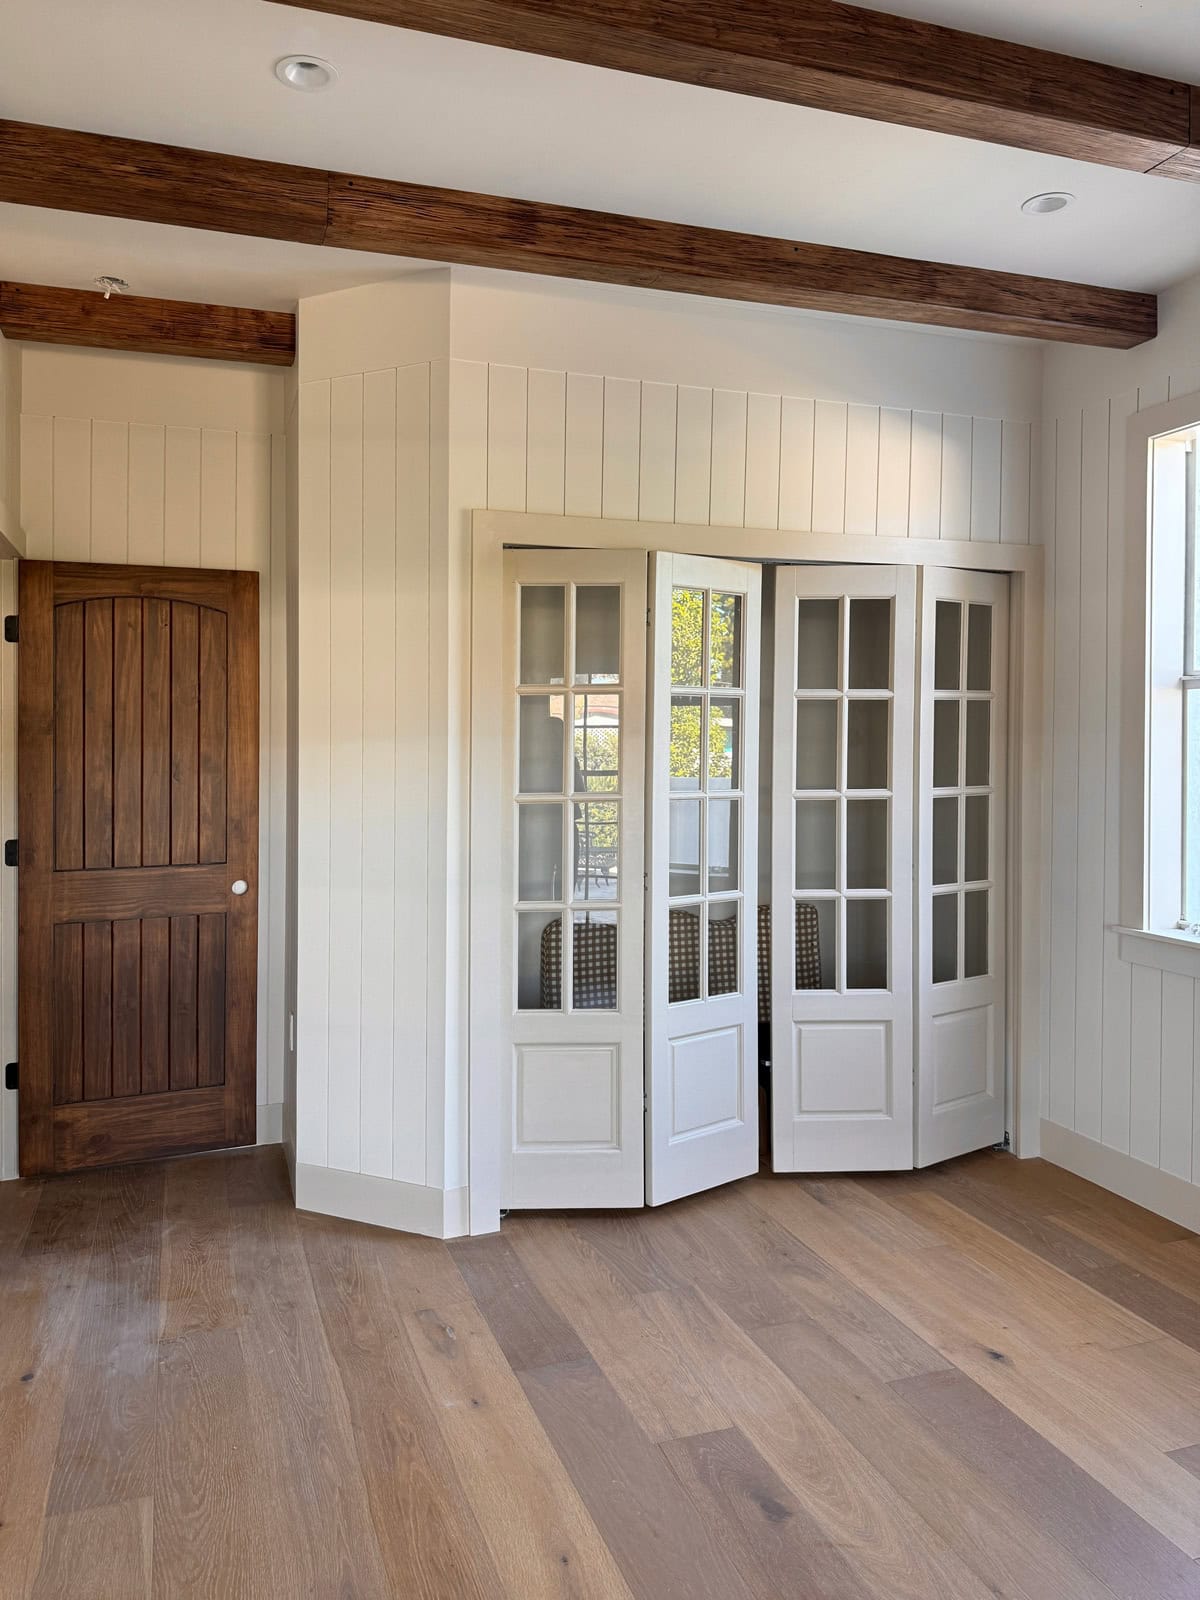
As always, let me know if you have any questions or need clarifications on any of the steps.
And in the meantime, make sure you’re following all of the other updates coming from this house on my Instagram stories.






Kathryn says
This house is just stunning with what you and Lucas have created with it! Thank you for sharing your processes.
Do you/have you butt ceiling beams against the ceiling/wall? Or are the beams always installed away from the wall? And if you wanted a beam right again the wall how would you butt them? Hope this makes sense.