If you didn’t get enough door makeover inspiration last week, today is your lucky day because I’ve got another tutorial for you!
Before we get into that, how about a quick flip update?
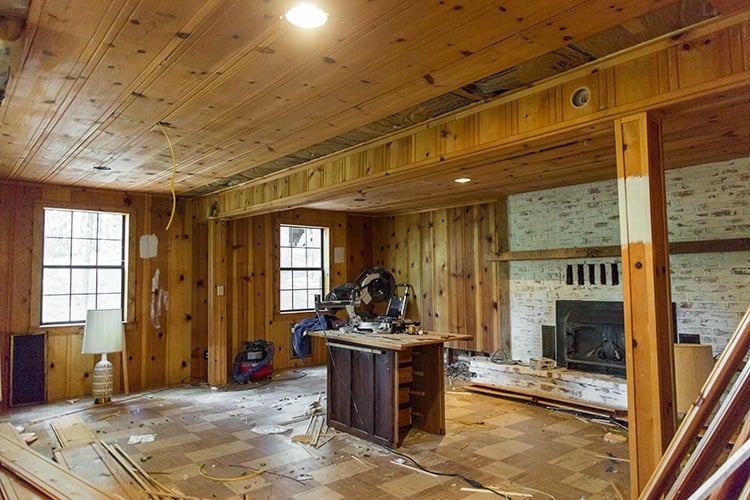
I’m happy to report there’s been some nice progress, as the carpeting has been completely removed and we now have recessed lighting downstairs.
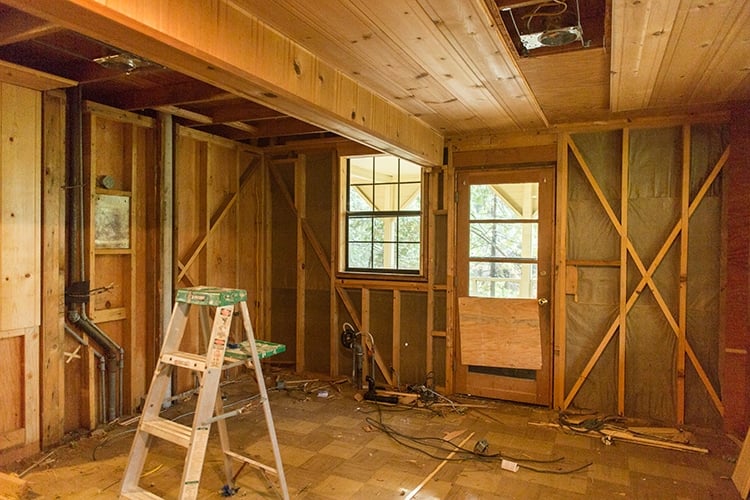
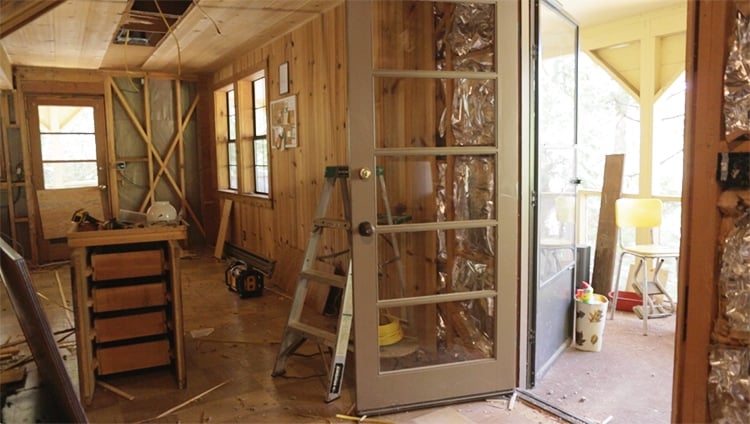
The kitchen is down to the studs and hopefully that door will be gone and replaced with framing next week.
It hasn’t all been smooth sailing, though. My electrician discovered the wiring isn’t to code and he’s going to have to install new breakers, and run a gas line to the kitchen for the stove.
Not only that, but when the wood paneling was removed from the ceiling & wall to run the wiring, most of them broke and I have no replacements so it’s looking like I’ll have to hire a drywall guy to redo the kitchen ceiling.
I’m also dealing with huge work estimate increases that came out of left field today, so this has not been the best week. It’s all part of the process though and what I signed up for, so let’s just head upstairs and focus on the good parts…
Like my fabulous new doors! I actually did a quick tutorial for these earlier this year, but now I have a super helpful video:
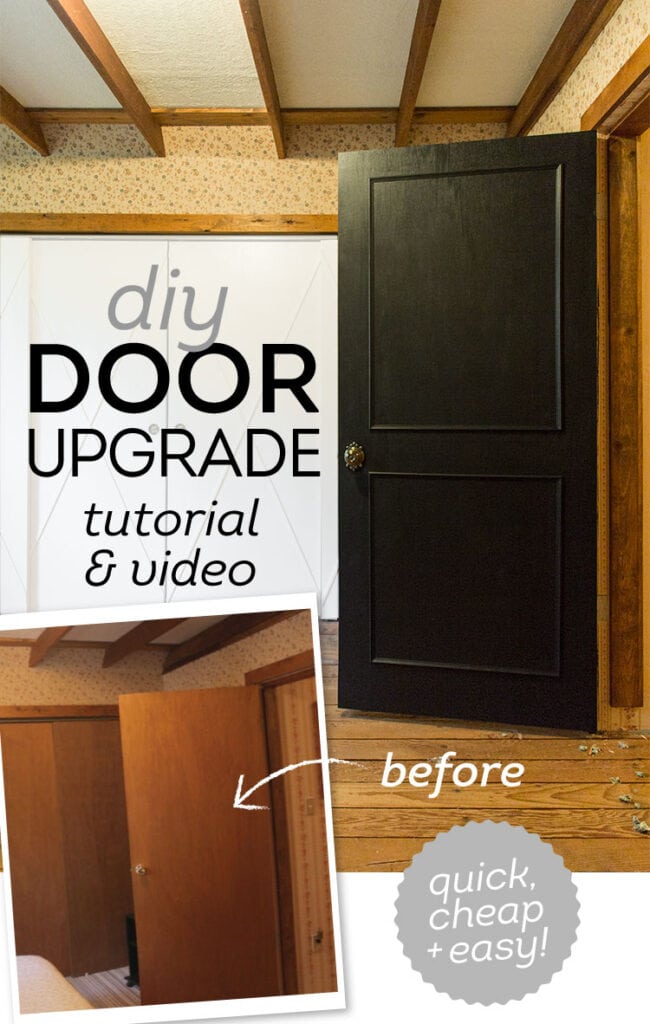
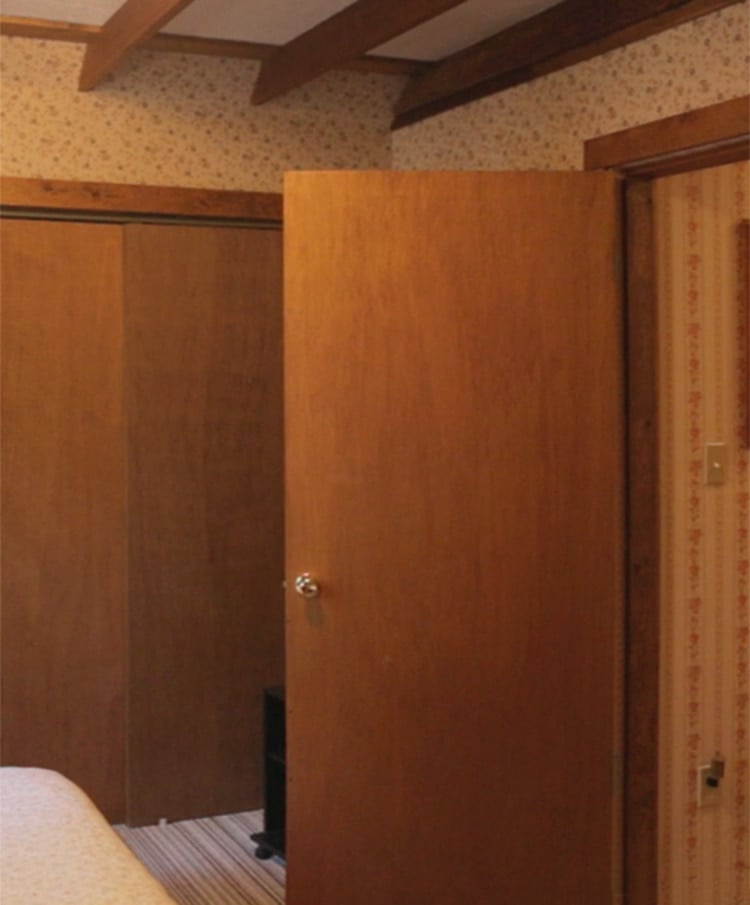
Just like the closet doors, the bedroom doors also started as flat panel wood:
Since I had 7 doors to makeover (6 bedrooms and a bathroom) and only a day or two to complete everything, I needed the fastest and easiest solution possible. This option definitely fits the bill.
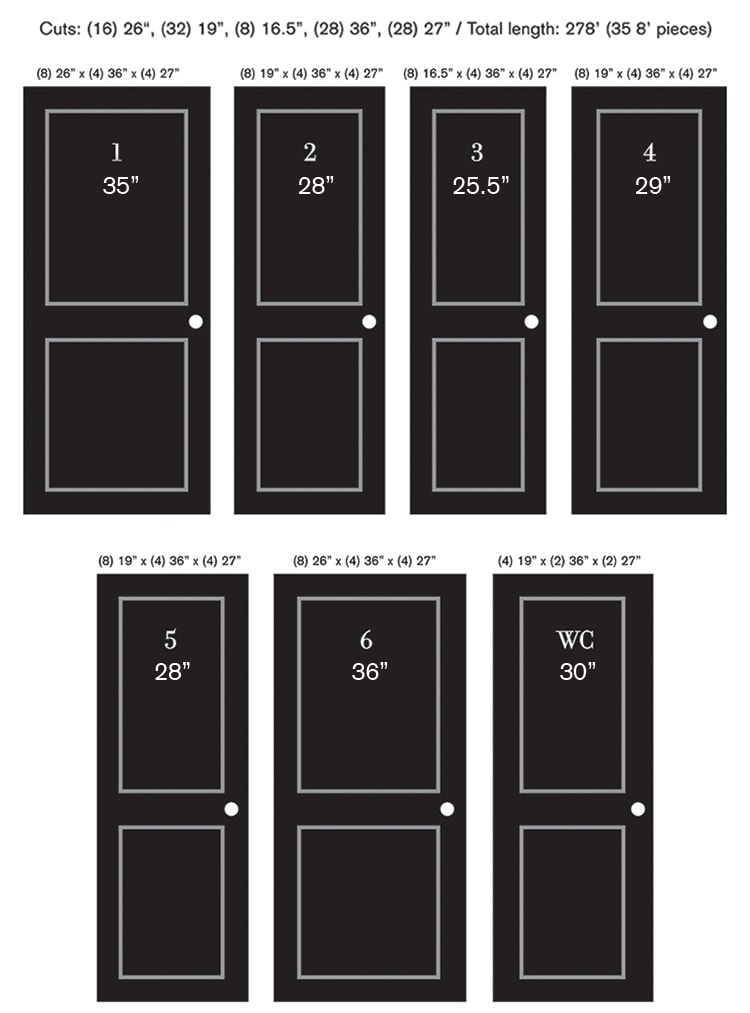
Before starting, I measured my doors and laid out my plans (in Illustrator):
I know that’s a whole lot of numbers—so let’s break it down. The 1-6 represents each bedroom (they have been assigned a number from the beginning to make my life easier). WC = Water closet aka the bathroom. The numbers on the doors are the width of each door.
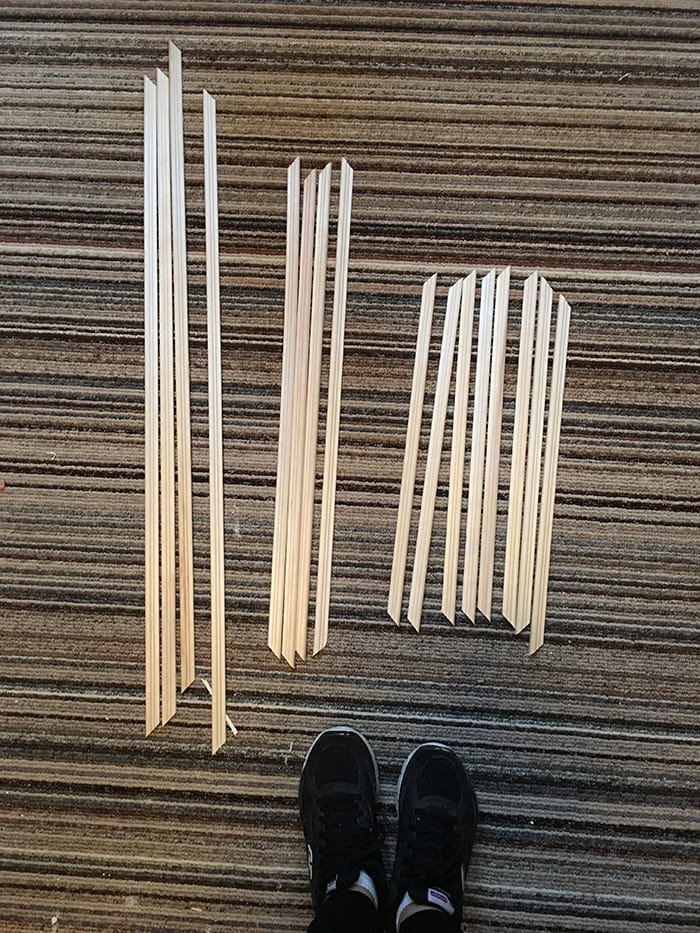
Above the door, I’ve listed out the cut list and number of pieces needed in total (for both sides). The 28″, 29″ and 30″ doors all had the same cut sizes to keep things simple, as did the 35″ and 36″ doors. You’ll notice there’s 8 identical horizontal pieces, 4 longer vertical pieces and 4 shorter vertical pieces for the different size rectangles. I aimed for approximately a 5″ gap around the door edges, although this varied between doors.
In total, I bought 35 pieces of 8′ trim, and at around $5 per trim piece, that brought each door total to around $25 (not including materials/paint).
Now that we’ve got our numbers down, let’s move on to the process!
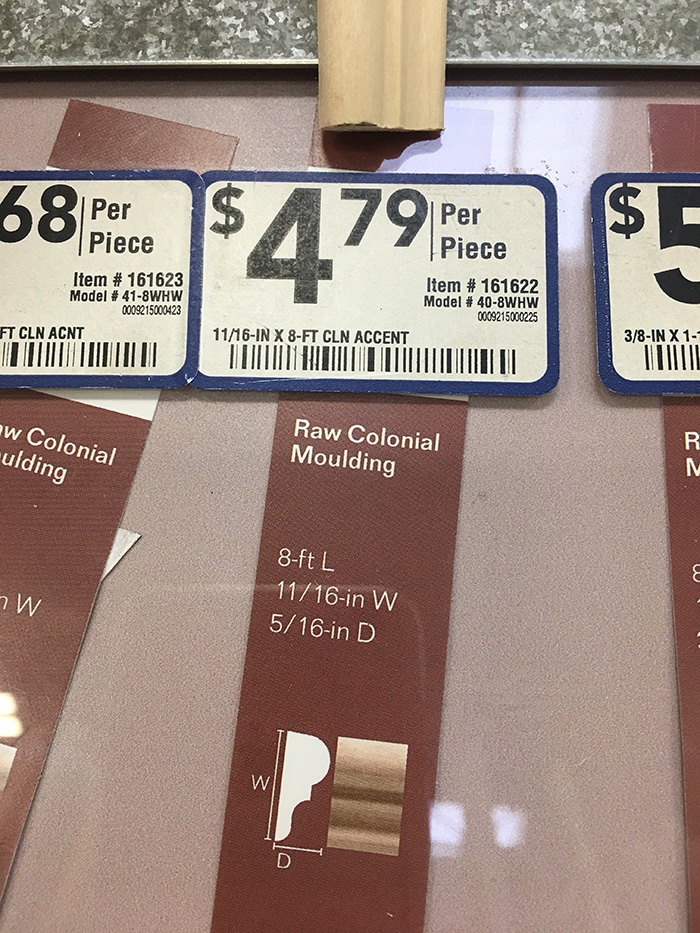
I chose this wood molding from Lowe’s, because I liked that it was flat on one side:
With my cut list in hand, I proceeded to cut all 112 pieces with a miter saw (luckily my dad was there to help out for a few hours!)
I listed these tips in my last tutorial, but they’re worth repeating:
- Measure to the outside of the cut, triple check your mark and use a saw with a laser
- Cut on the outside of the laser line, not directly on it to account for blade width
- Make sure the saw base is locked into the angle you set it to so it doesn’t shift
- Make sure the trim is lying flat and flush up against the gate
- Pay attention to the direction the molding is facing!
Here’s what the molding looks like for one full door:
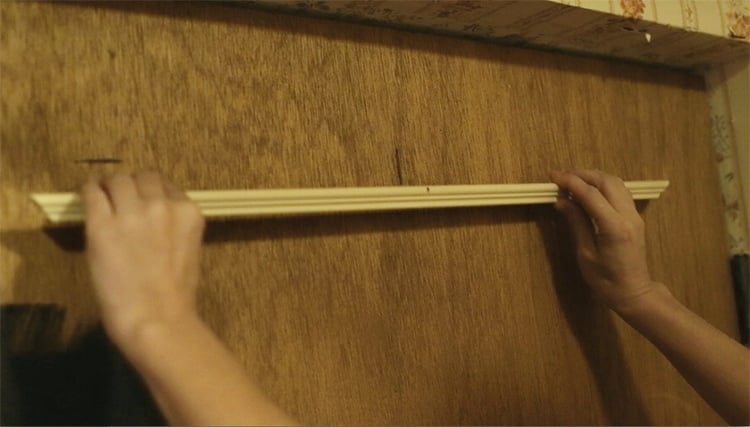
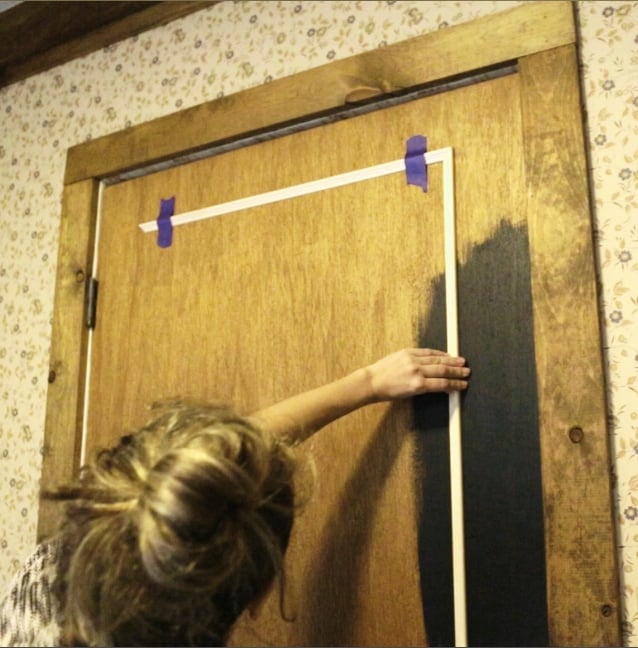
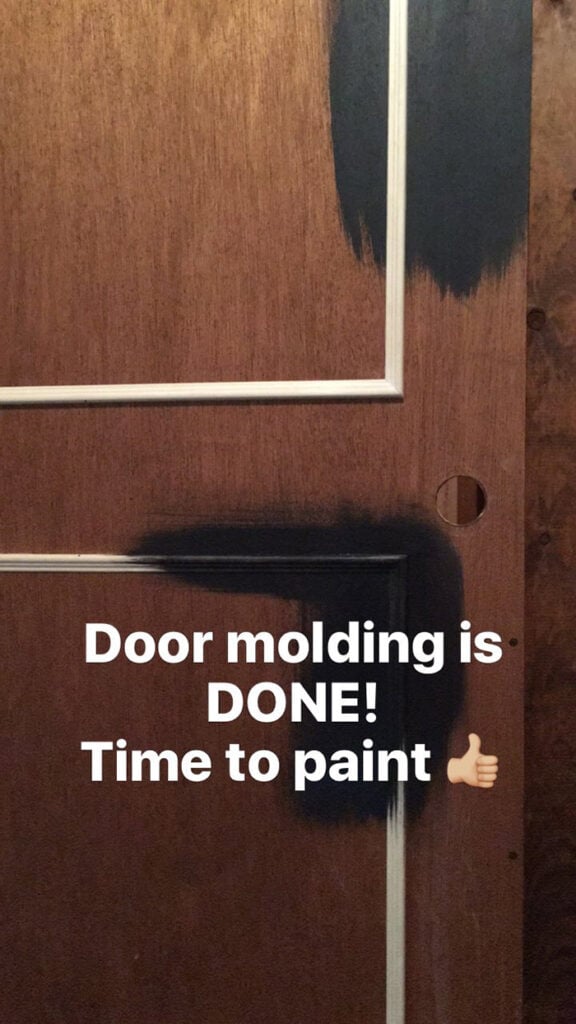
Before beginning, I marked the center of every door 5″ from the top, along with the center point of my top trim piece so I knew exactly where to line it up:
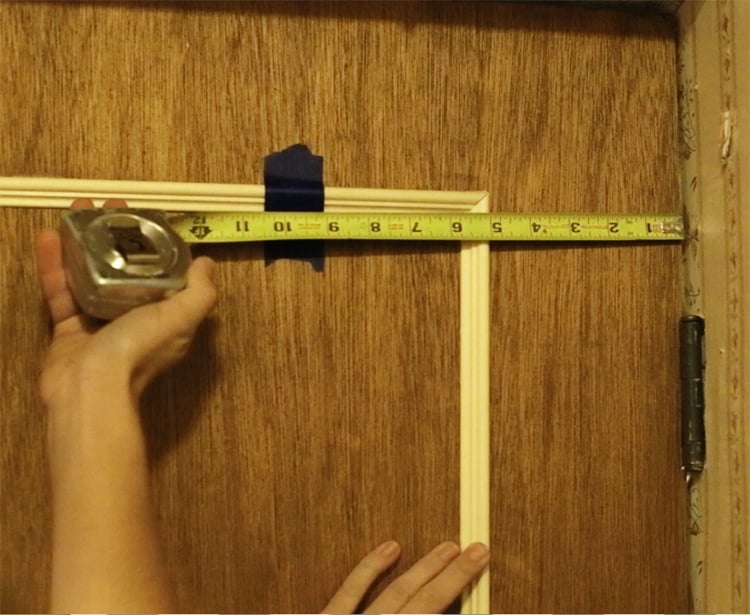
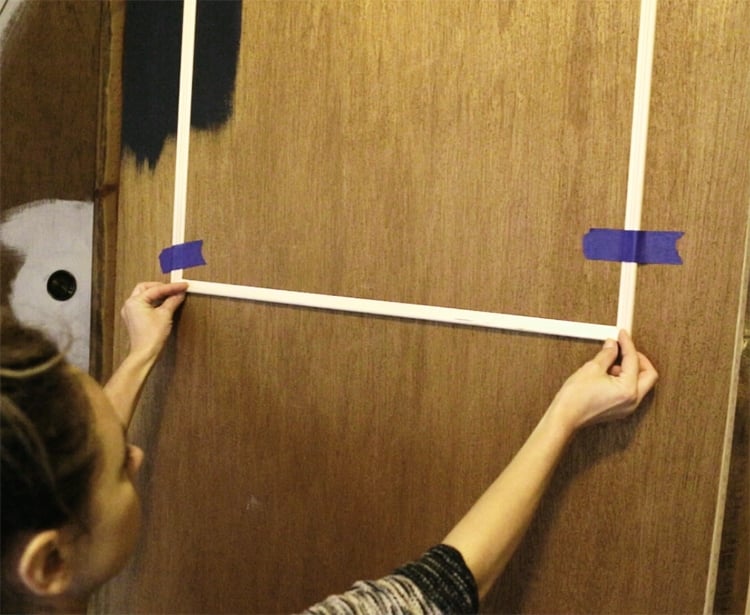
After applying a thin bead of liquid nails, press it into place. The first piece is the most critical, and once it’s straight you can tape it into place and move right along.
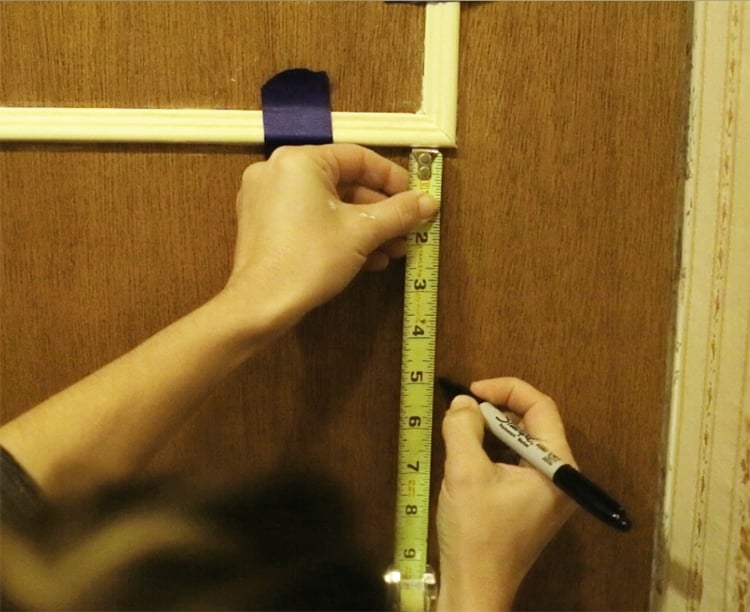
The easiest way to align the vertical pieces is by measuring where it falls at the top, and then marking that same distance farther down on the door.
Repeat the process for the second vertical piece, and then slide that lower piece in to complete your first rectangle:
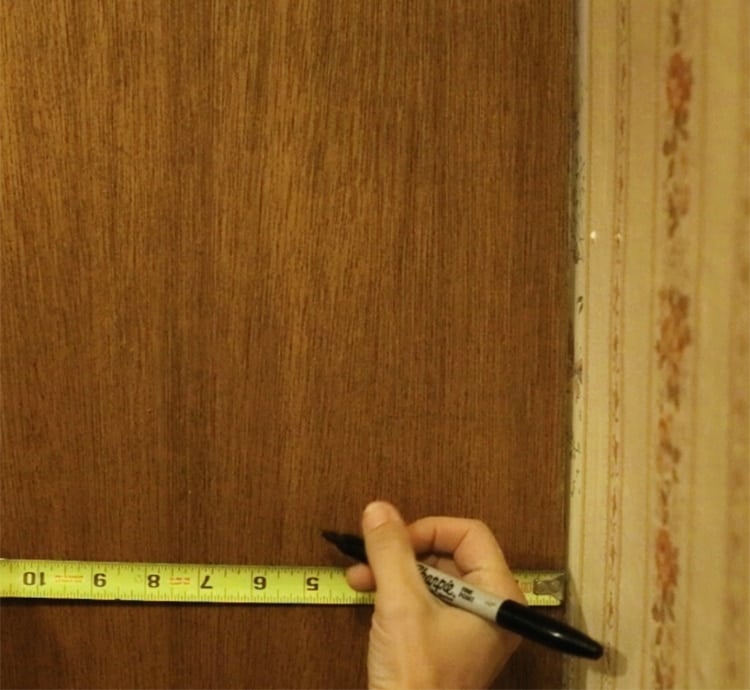
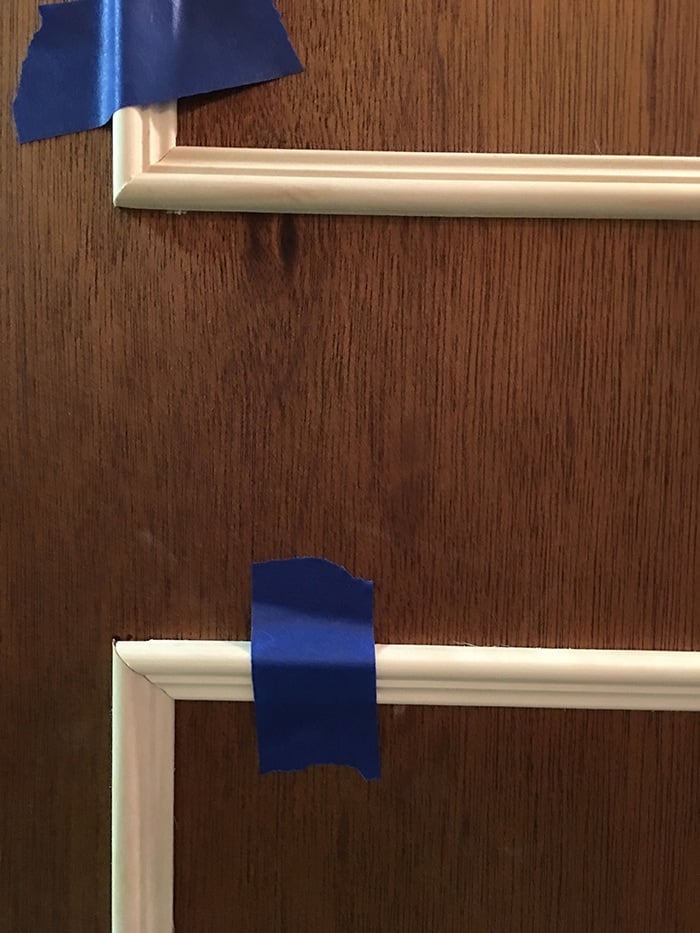
Duplicate those steps for the lower box. I wanted a 5″ gap between them, so I simply marked 5″ from both edges and aligned my top piece:
Easy peasy!
Make sure to wipe off any excess liquid nails before it dries, and use painters tape to keep the trim from shifting. Once they’re stable enough, apply a bit of caulk in the seams before painting.
After getting my rhythm down, I was able to complete each door in under 30 minutes—so this can definitely be a weekend project (especially if you have help!)
If you follow me on instagram you may remember my real-time updates…
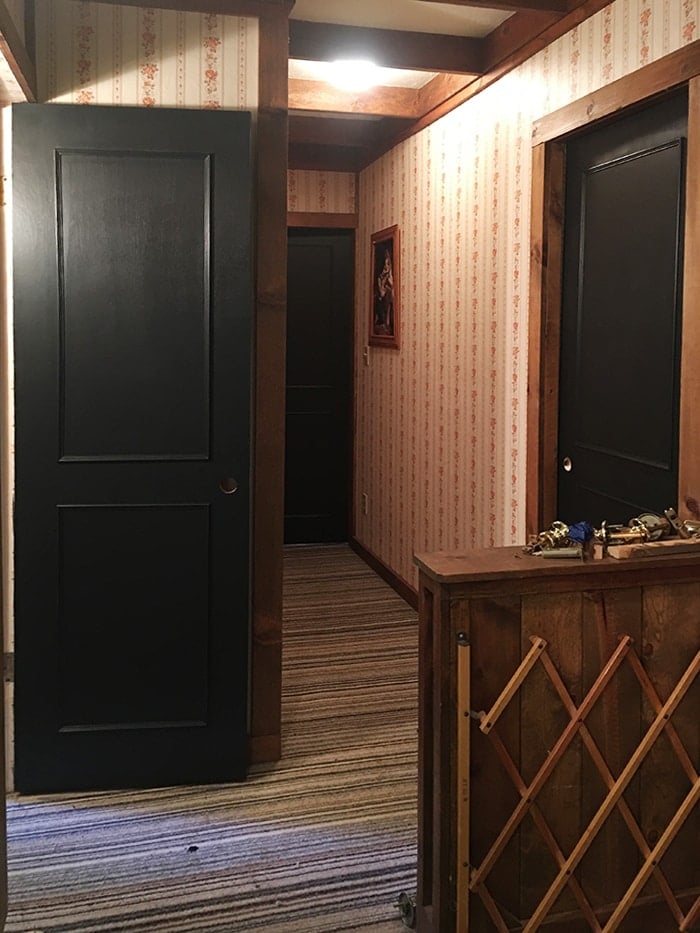
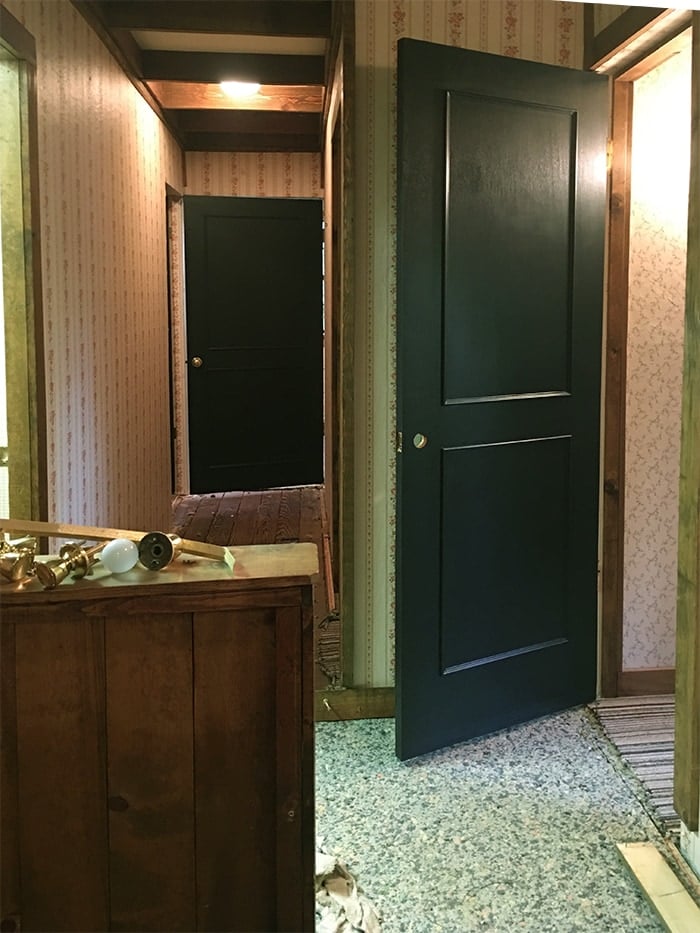
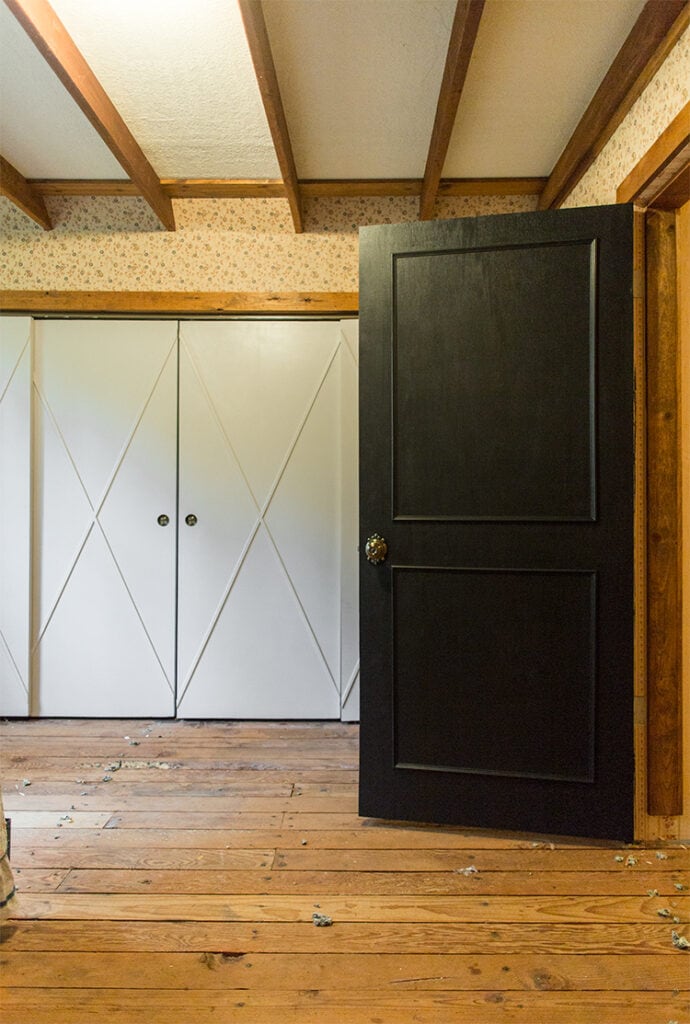
After returning the next day, I was ready for a full night of painting. The color I chose was Valspar’s Cracked Pepper (which I hear is their richest black) and it went up so smooooth on those wood doors.
With my favorite short handled brush for the detail around the molding, and a foam roller for the flat parts, I knocked them all out in a matter of hours (using one thick coat or two thinner coats for full coverage).
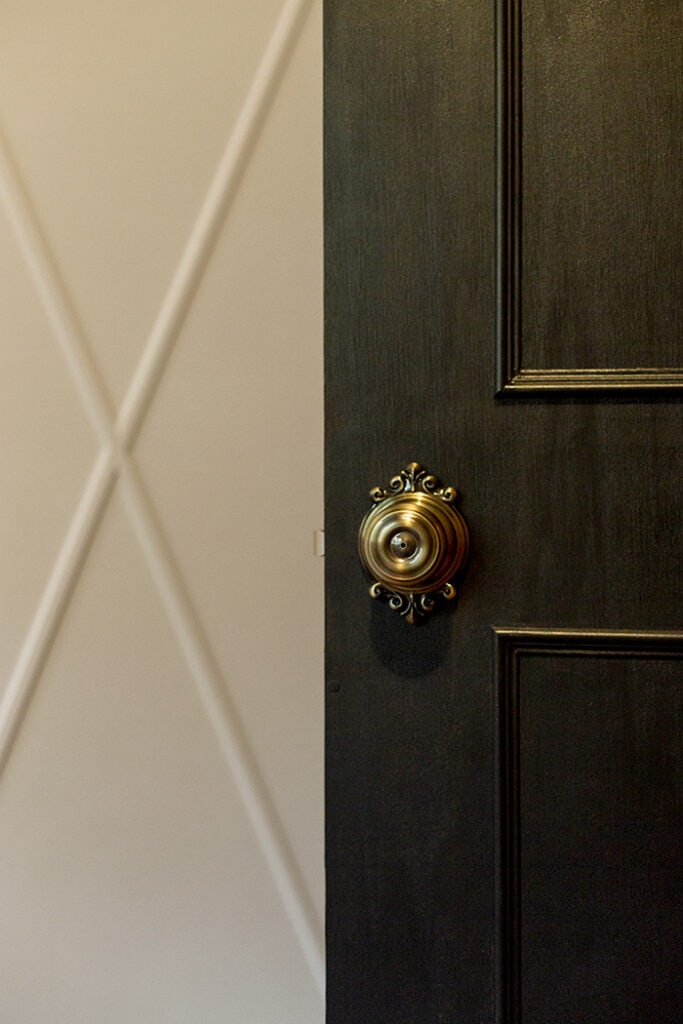
Then I found these antique brass beauties on Lowe’s and fell in love:
They are currently my favorite thing in the house.
I live for the little details.
And this concludes the story of how my doors rose to greatness from humble beginnings.
Already a vast improvement from just a few weeks ago, right?
Now to get rid of that wallpaper! Fresh white walls, coming right up.
Next week I’ll be back to share all the details of my future kitchen! I’ve got some new and exciting plans in store, and I’m anxious to see what you think.
As always, you can stay up to date via instagram, snapchat (@jennasuedesign), Facebook and my YouTube channel. Have a happy Halloween weekend!
Disclosure: Some of the products listed were provided via sponsorship—all of which I selected and fully approve of.





Becca says
Hi! I love your doors! What type of paint did you use? No need to sand or prime before painting??
jennasuedesign says
Hi Becca! The paint is mentioned in the post, it’s Valspar’s cracked pepper, and no need to sand or prime!
Jen says
Quick question for you! You estimated the trim costs per door at $25, but does that include both sides of the door? Or just one side of each door? And if you only updated one side of each door, which did you choose to update? Thanks!
jennasuedesign says
Hi Jen, both sides of the doors were done and I used 35 pieces of trim, at just under $5 each, divided by 7 doors is around $25. Hope this helps!
Terri says
I have been set to use Valspar Black Kettle on my interior doors. Now I see you using Valspar CrackedPepper. Is there a big difference between the two colors?
Online CP looks like a grey compared to your pics, where it looks like your go to choice of Black Kettle.
Thanks
Terri
jennasuedesign says
It’s hard to say without seeing the colors side by side, since the hallway is pretty dark with little natural light. All of the blacks look gray online but from what I read, Cracked Pepper is more of a true black. Hope this helps!
sweetfe says
The house is looking great! I love the designs from your last house. I am still drooling over the former master bath.
About your kitchen ceiling….”Pickwick Pine” can still be purchased…https://retrorenovation.com/2014/05/19/pickwick-pine-paneling/ I find it a rather amazing fact…but it might be worth consideration or cost comparison…or have you considered another plank ceiling? I am very interested in your ceiling decision! Will you be able to upcycle the damaged pine from the ceiling? I am really looking forward to seeing what you make of this new place!
jennasuedesign says
Thanks so much for the info! I’ll have to compare both the price and timeline of replacing the boards vs removing them & drywall… or something else all together. We’ll see!
Amy says
OMGosh at the door knobs! Sooo pretty!
Jen says
So smart!!! You mentioned you were planning to paint the walls white. Would you mind sharing your go-to interior white paint. I’m having the hardest time finding the right hue!!
Thanks for the constant inspiration!
jennasuedesign says
Thanks Jen! I used Swiss Coffee in my last home but this time I’m going with Valspar’s Bistro White.
Rachel says
Love! These look great! Curious to know, did you paint the inside trim part where the hinges are? If so, did you just put painters tape over them?
jennasuedesign says
Thanks Rachel! I just used my short handled brush which allows me to get a super accurate line (I rarely use tape). The hinges are black though, so I can paint over it and you really can’t tell. If you wanted to completely avoid paint on them, you could wipe the paint up when it’s still wet (it comes off metal easily) or use wide painters tape and an Xacto knife for a clean cut around the hinges. Or just remove the door completely but I think that’s an unnecessary added step! Hope this helps 🙂
Linda Grubbs says
Oh boy!! Once again you have inspired me!!! I too see this project in my future.
Thanks for showing all the details….makes my job easier! I’m so happy you’re “back at it” so too speak. I love looking forward to your updates! Hugs from KS.
jennasuedesign says
Thanks Linda, always happy to help inspire! 🙂
Jessica says
Looks great! Interesting to me how just dressing up the doors really changes the look and updates it immensely. Thank you for the inspiration!
jennasuedesign says
Thank you Jessica! You’re right, this has to be my favorite bang for your buck DIY ever.
elizabeth says
This is such an awesome upgrade, and they look fantastic! The doorknobs add a little somethin-somethin!
jennasuedesign says
Thanks Elizabeth! Aren’t those knobs the best?
JennieB says
Curious… in hindsight, would it have been easier to remove the doors for the moulding and painting? I see this project in my future!
jennasuedesign says
I don’t think so! It’s just an extra step, and it would take longer to paint since you’d have to wait for one side to dry.
Allyson says
Hi Jenna! It doesn’t look like the video is loaded to the post – the space where the video player should be is just blank.
Looking forward to watching it when it’s up!
Thanks!
jennasuedesign says
Sorry about that Allyson, it has been fixed!
Stacy G. says
This project is really coming along! Estimate adjustments are so hard. The stress is tough.