If you’ve been keeping up with my instagram stories, you know what a crazy, busy, DIY-filled weekend I just had (still recovering from it). 14 interior doors trimmed and painted over the course of 2.5 days—about 20 hours in total spent (literally) running around the house trying to beat the clock—that’s the drawback to living 4 hours from a flip and being on a tight schedule. I was a woman on a mission, and let me just say: MISSION ACCOMPLISHED.
Sorry, I’m just relieved it’s over (and surprised I was able to pull it all off). There were two projects this weekend—the DIY closet door update (which I’m sharing today) and a second style DIY door trim for the bedroom doors, which I’ll be sharing next week.
Originally I planned to tackle the closet doors last weekend and the interior doors next weekend, but my sister is coming into town from Florida next weekend and I didn’t want to spend 15 hours working at the cottage instead of with her, so I pushed myself to get it all done at once. You hear that, sister? You’re welcome. Also, I had to stop every 20 minutes to take videos and pictures and snapchats and update you on instagram, so I did this for you guys, too 😉
Okay, back on topic! Here’s the latest video update from the flip including the closet door tutorial, so you can see exactly how it all came together:
https://www.youtube.com/watch?v=T53yEbAZkFU&feature=youtu.be
Before we get to the doors, a quick update on the rest of the house: the carpeting has been removed downstairs!
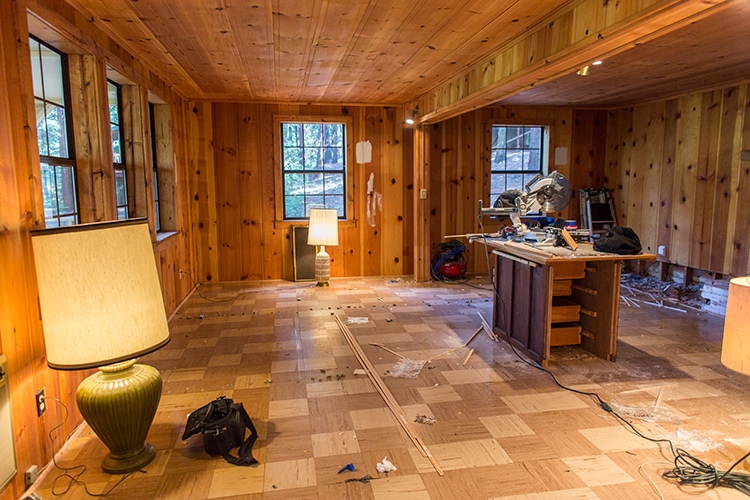
Now the house is almost entirely orange wood or wood-like materials. Awesome.
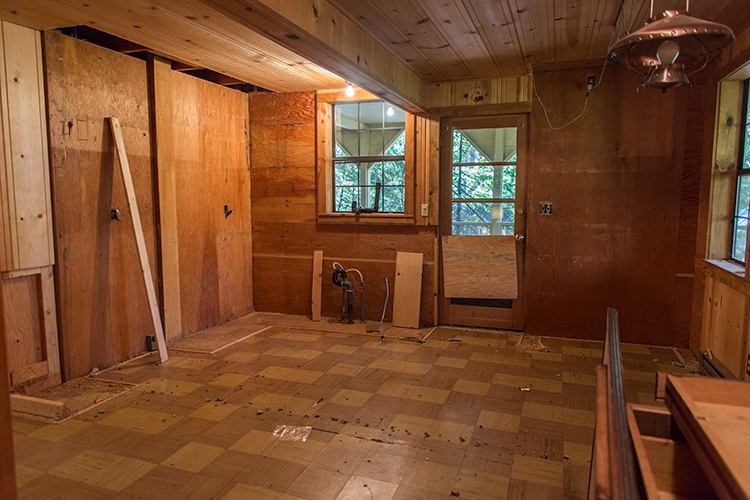
The future kitchen:
The living room has been converted into a makeshift work space:
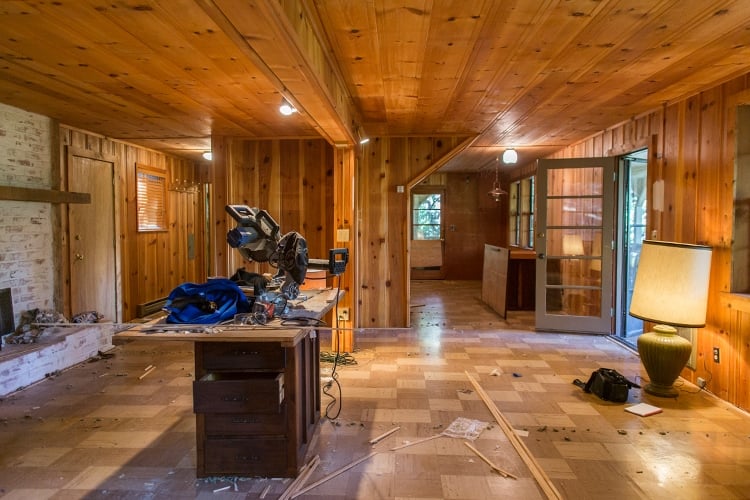
Hey there, beautiful fireplace:

Not much else happened, aside from meeting with several contractors, getting the work schedule lined up, and kitchen design finalized (I’ll share those plans in a couple weeks!)
On to the tutorial!
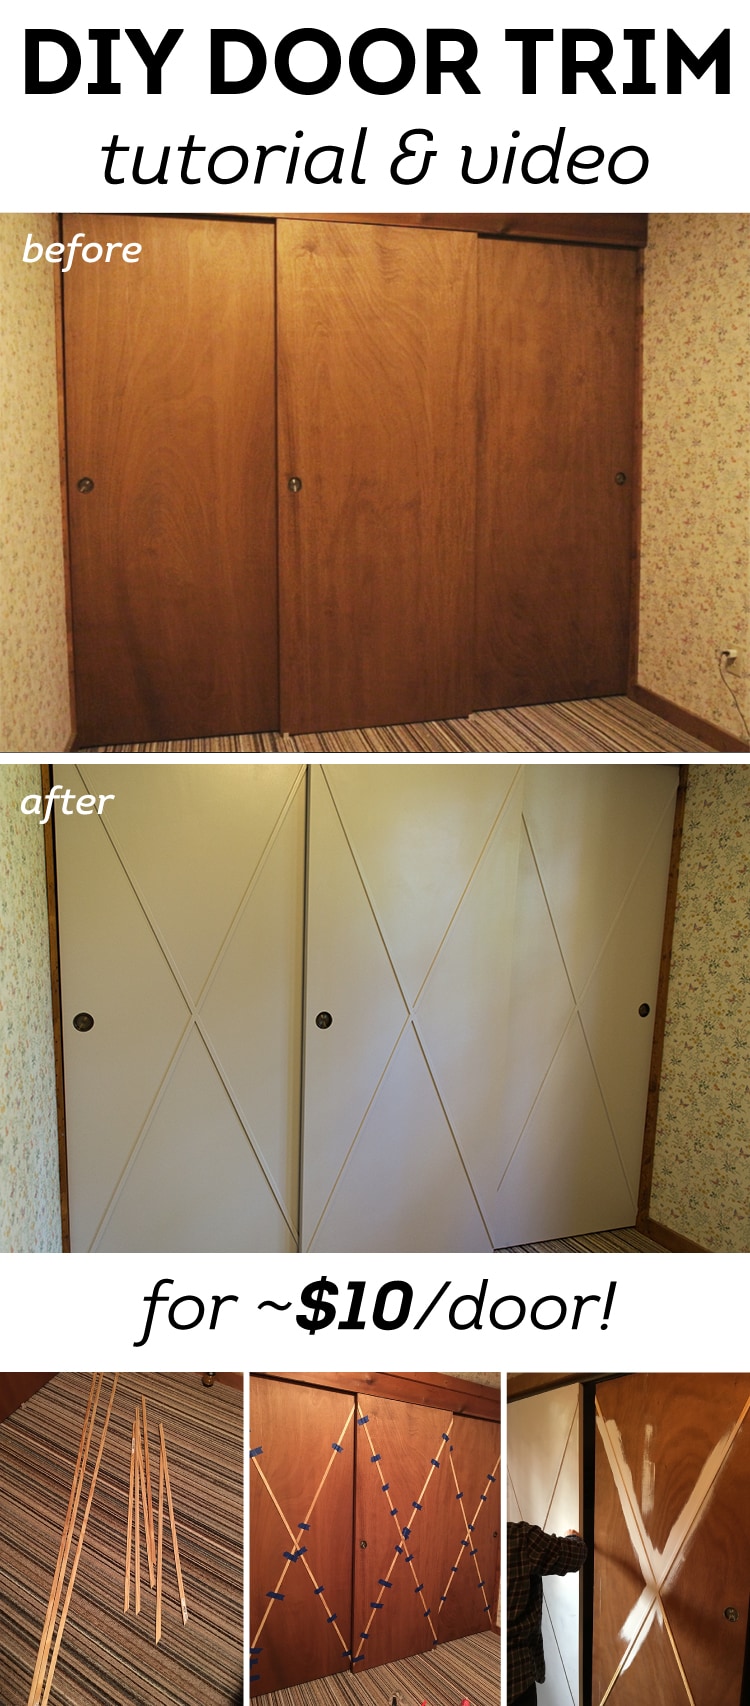
There are two bedrooms with flat panel sliding closet doors. I’ve never been a fan of the look but new doors are most definitely not in the budget, so molding and paint was the answer (it’s the answer to a lot of things, surprisingly).
I’ve done my fair share of flat panel door transformations in the past—you may remember this first one:
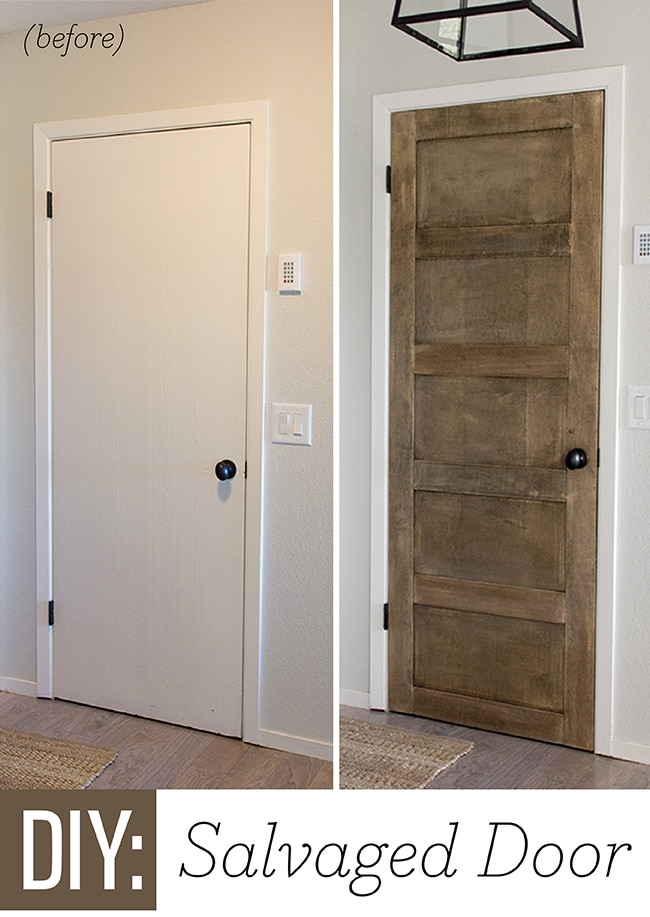
Then the Ikea wardrobe door hack:
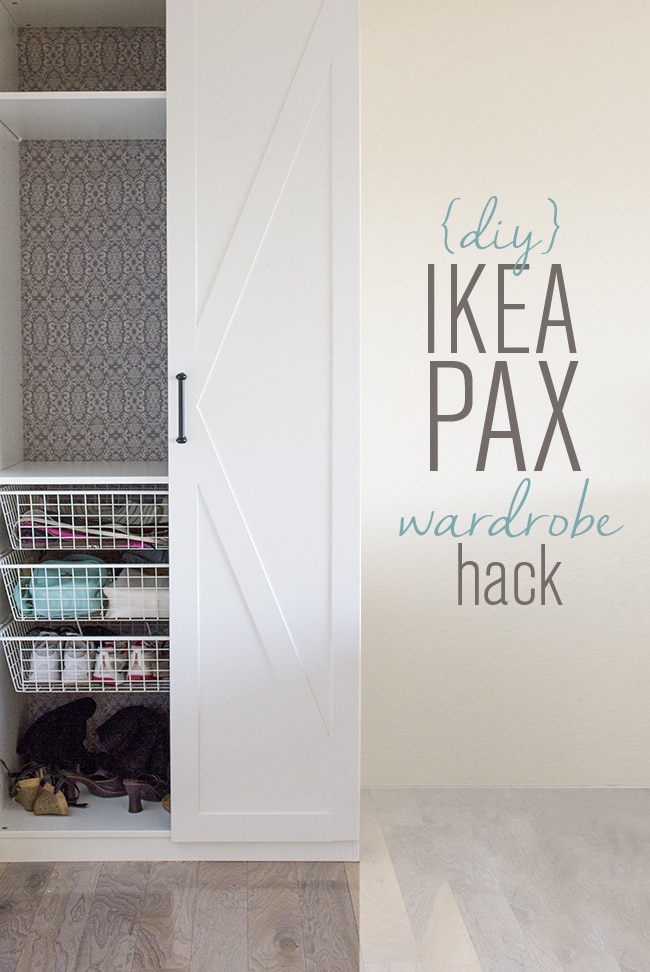
And one of my most popular posts ever, the plain to paneled door:
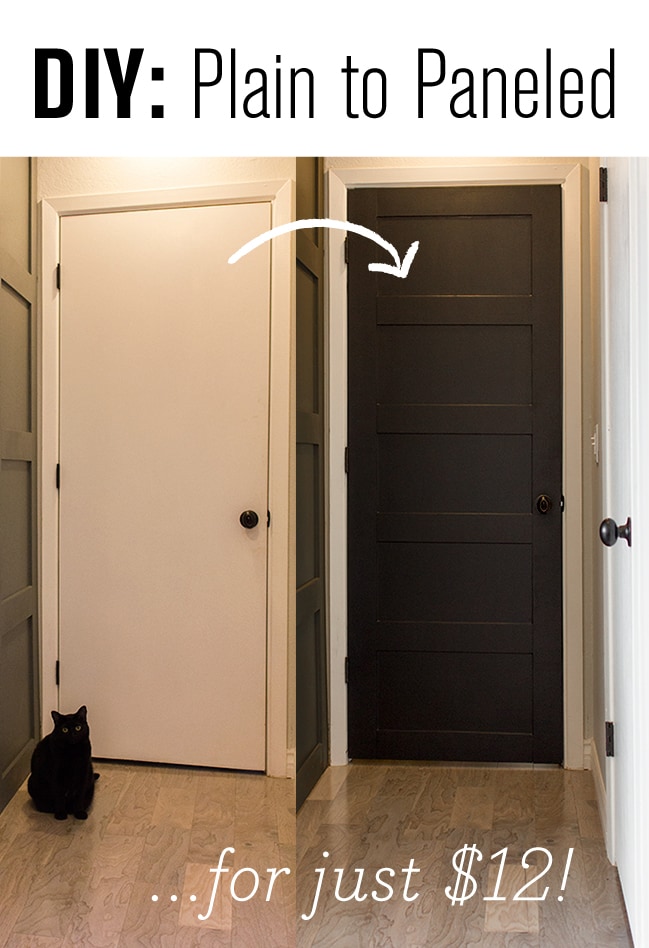
And then the quickest and easiest of them all:
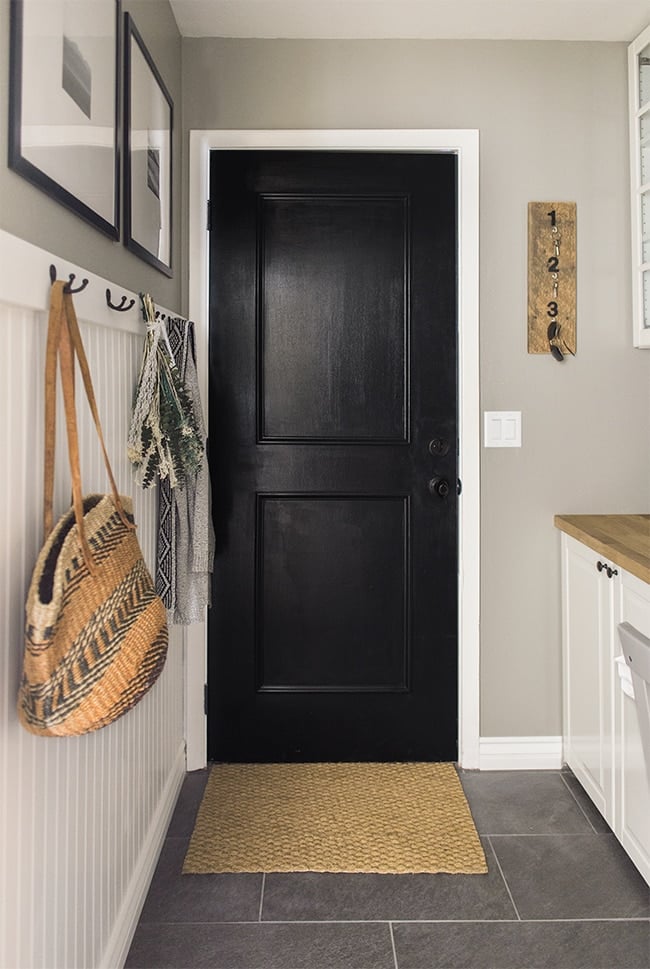
It was time to add another door style to the collection. These sliding doors are a bit limited as far as molding options, because a) there’s a narrow gap where they overlap, so your trim can’t generally stick out more than 0.25″, and b) there’s a track along the top and bottom so you can’t add any trim there. I actually didn’t even consider that second point until I had bought all the trim and had to change my design plan on the fly—oops.
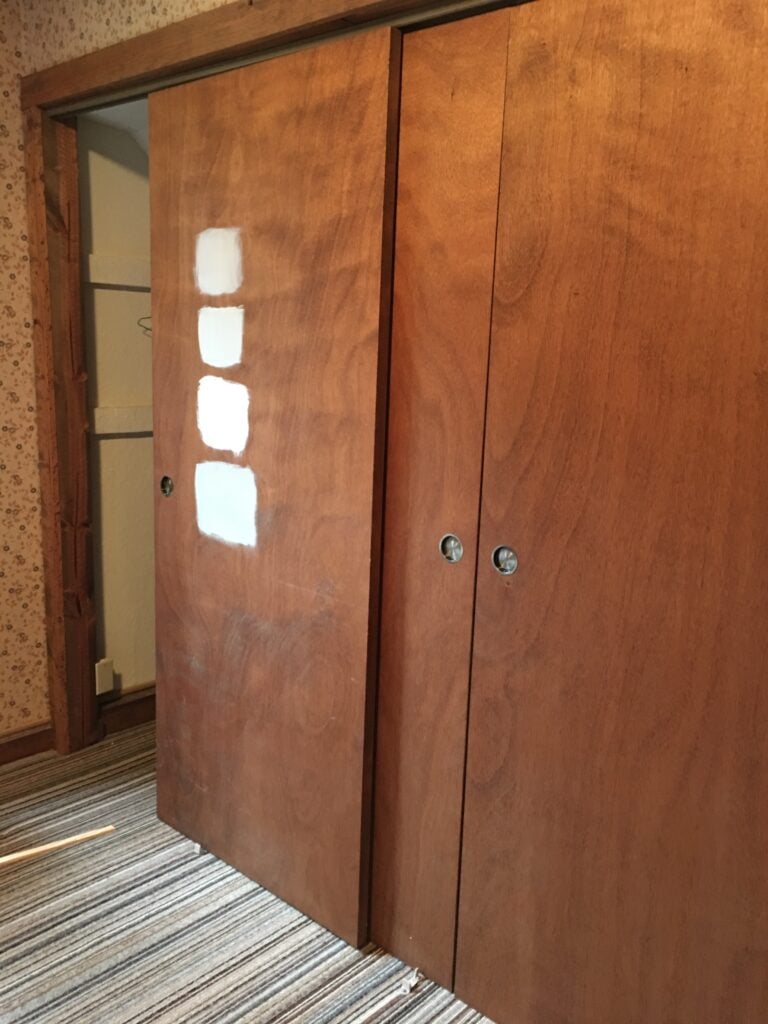
Once you have the right size molding, you can create any design you’d like with it. I considered going with one or two rectangles to keep things nice and simple and match the bedroom doors, but ultimately was drawn to an “X” formation. Gotta keep things interesting, right?
I found this molding from Lowe’s that was the perfect size, and a great price at just 60 cents/foot:
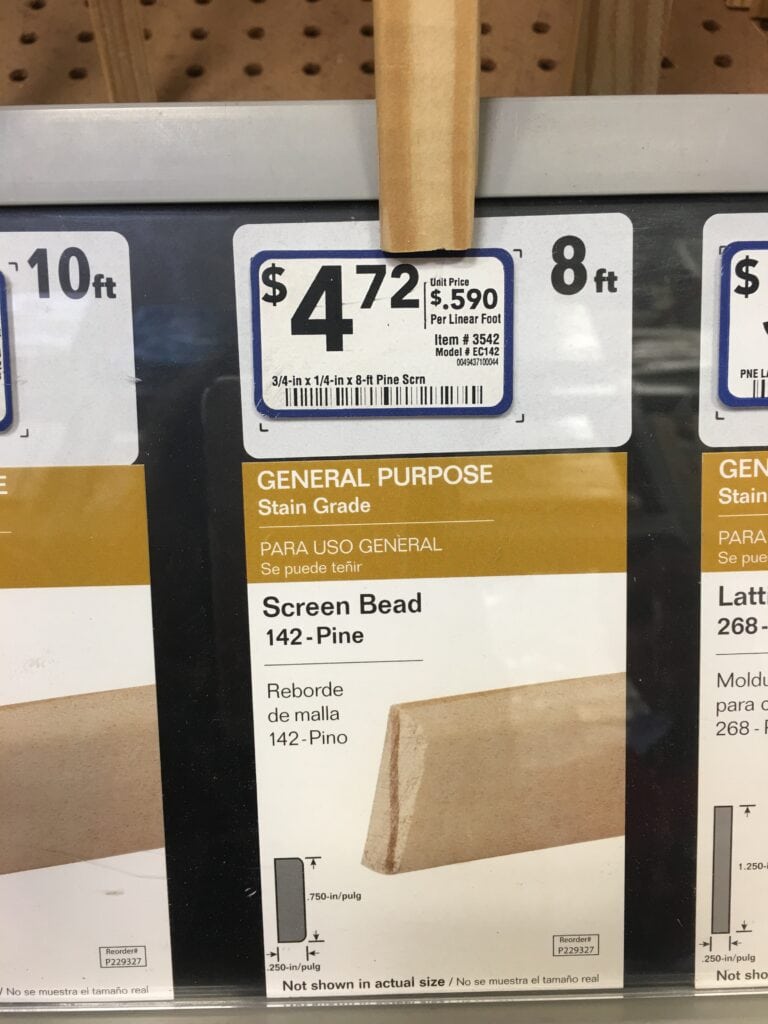
Tip: look them over carefully and make sure to select the straightest ones, and always buy an extra or two! My design plan called for two 8 foot pieces per door (I had 7 doors total). That makes each door cost just under $10 (not including paint/supplies).
Then I grabbed the rest of my supplies (and posted it on instagram):
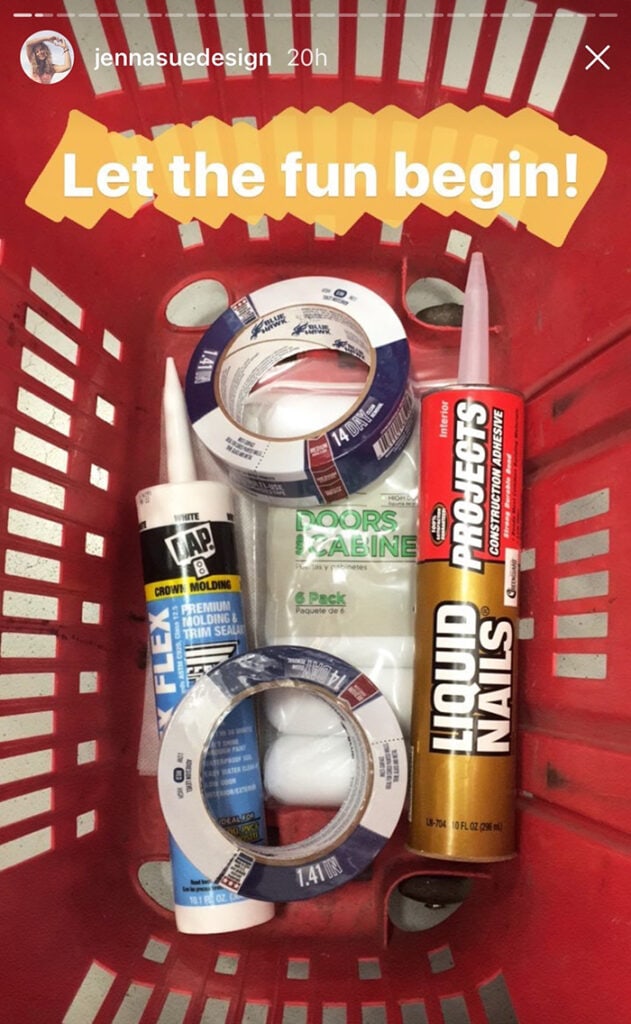
The caulk was for my other door project, but you will want to have some spackle or wood putty handy.
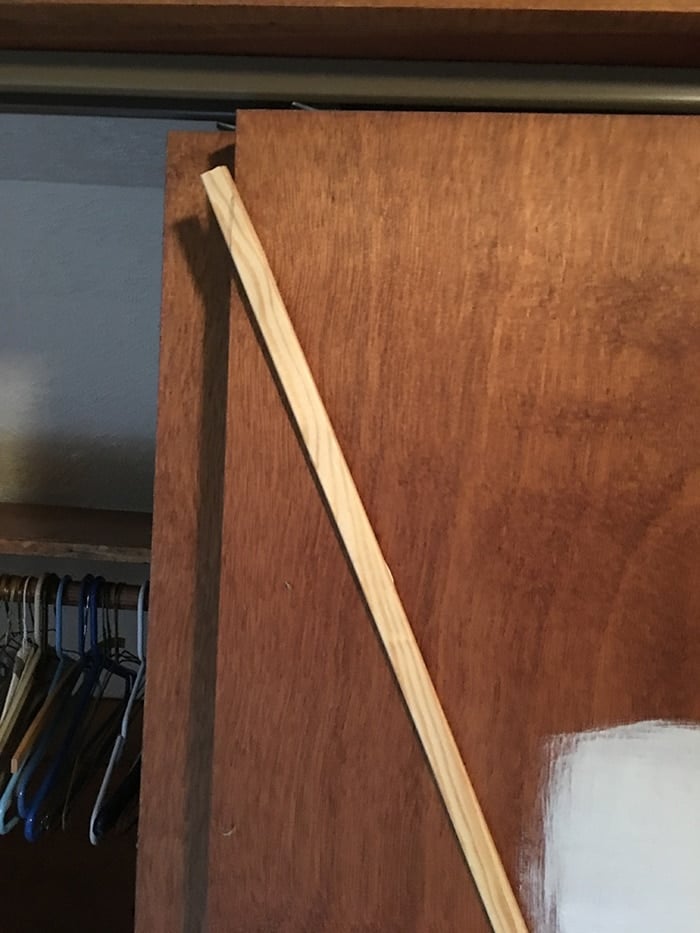
First you want to mark your door at wherever you want your pieces to end. With my design, I chose 2″ from the top and bottom to clear the tracks, so I marked all 4 points of each door. Then I held my trim piece across it and lined it up corner to corner, tracing the angle of the cut:
No fancy tools were used here, so if you’re looking for a specific science with numbers and such, spoiler alert: this isn’t the right tutorial for you. That level of craftsmanship is above my pay grade, folks.
I’ve come to find that with these types of projects, you really can’t tell if the measurements are off by a little when it’s all said and done—and I tend to be a perfectionist, so I’ll let you be the judge.
Anyway, once your molding has been marked in both places, it’s time to cut it. I used my miter saw for this, which was quite the challenge since the angle was larger than the 45 degree max—so I had to attempt to hold it in place with one hand and try to prevent it from shifting while operating the saw with the other:
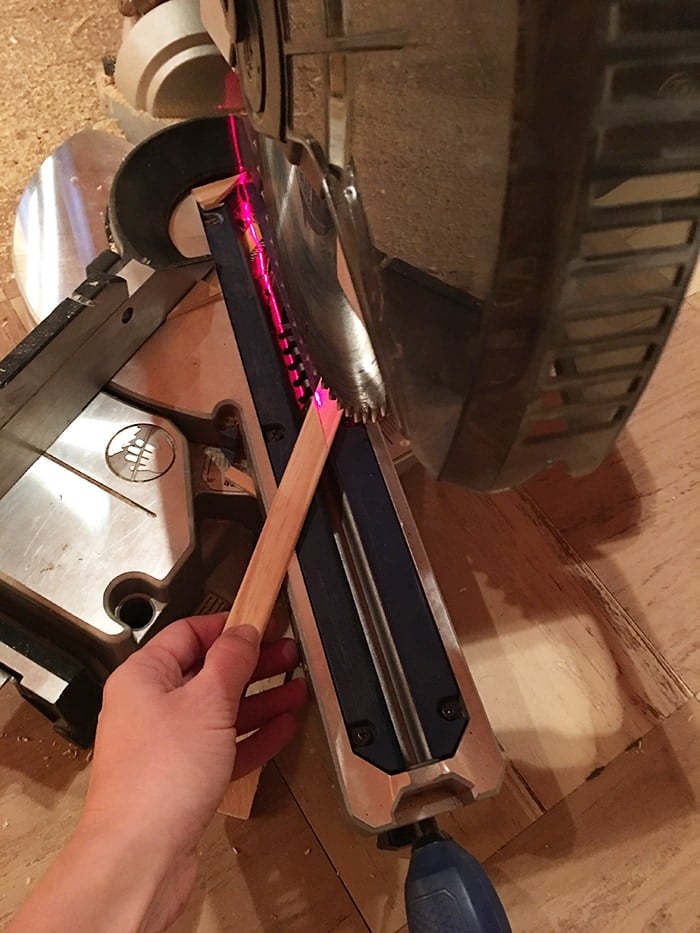
Not gonna lie, this part was not fun at all. I’m sure there’s a better way to do this, so feel free to consult your local carpenter. Fortunately there’s this brilliant invention known as a grinder, which solves almost every problem in the world (see the video above for reference).
Now that your first piece is cut, apply a line of liquid nails to the back and line up each edge to your door marks, like so:
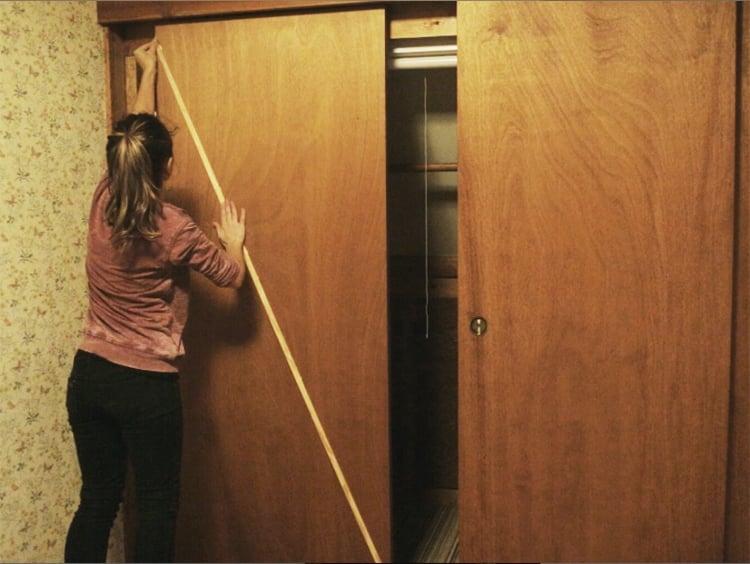
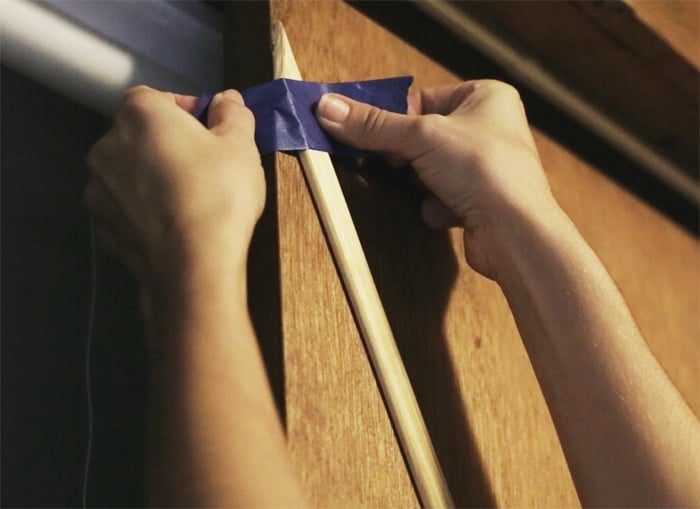
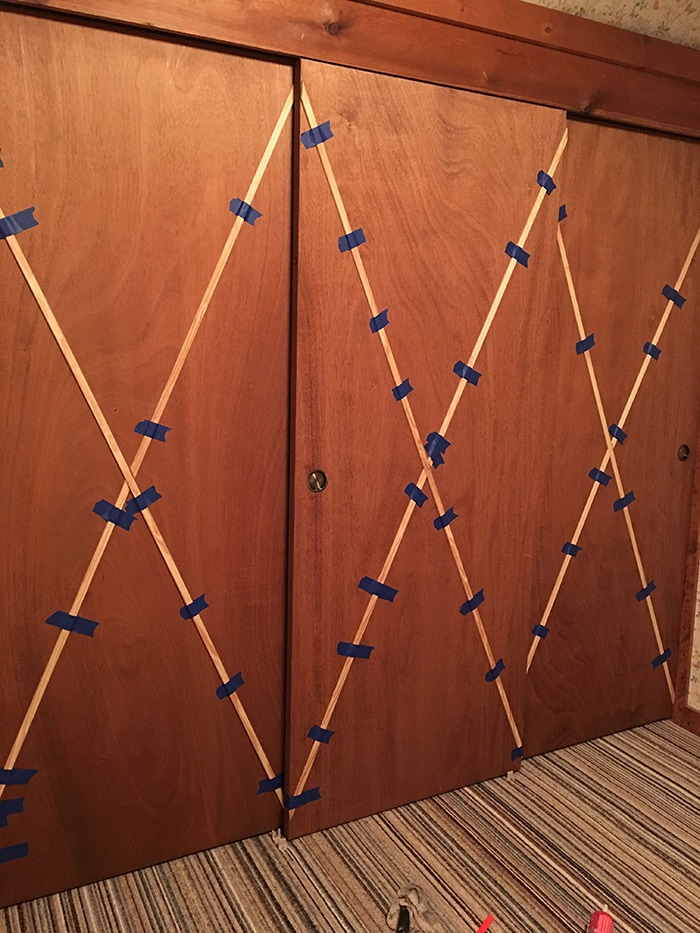
Then you’ll want to tape it in place while the glue dries, so it doesn’t shift. If your trim is warped and won’t lie flat, tape will not fix this—you’ll have to nail it in either via nail gun or a small brad nail and hammer.
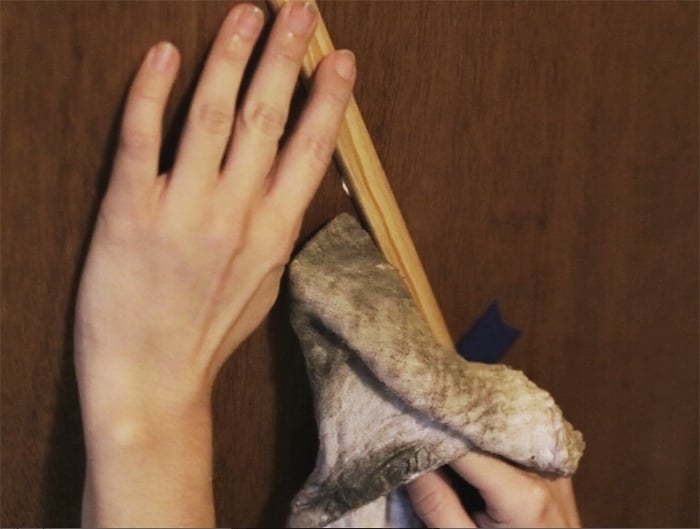
Wipe off any excess glue using any combination of a sponge, putty knife or wet rag:
I did all of my long pieces first.
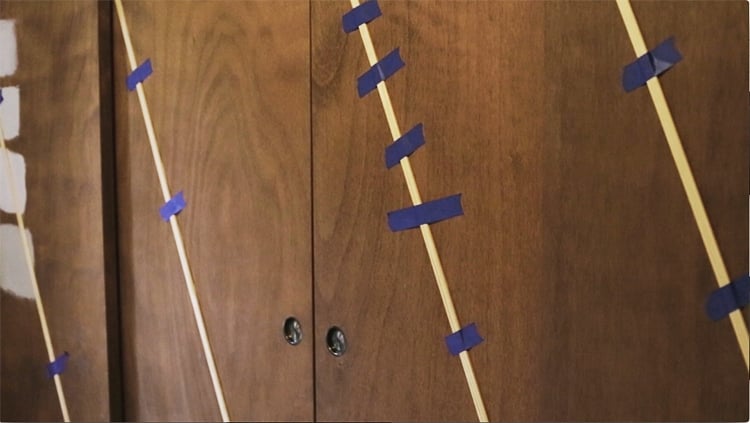
Now, onto the first cross piece. I wanted mine to cross at the center of the door, so I measured and marked that location:
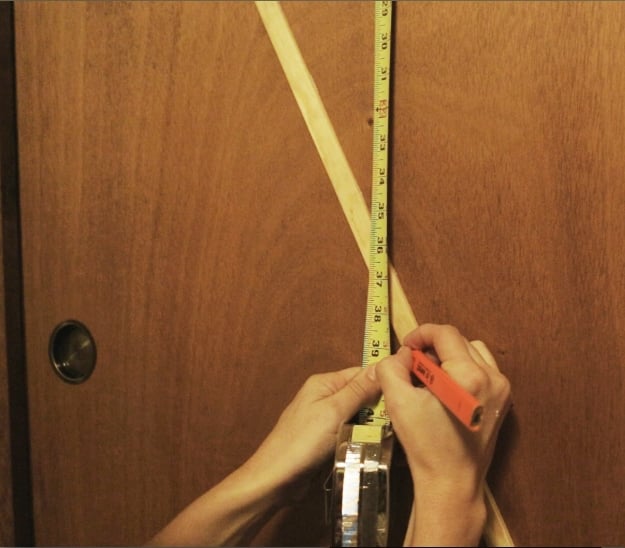
Then I lined the second piece up to my marks, traced the angles, glued & taped it in place—same process as the first piece:
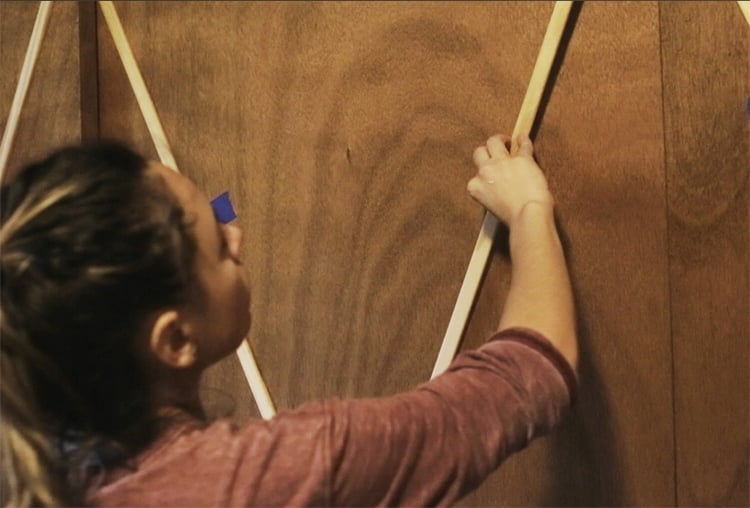
And the same thing for the final cross piece:

Now you can sit back, relax, and let the liquid nails dry overnight:
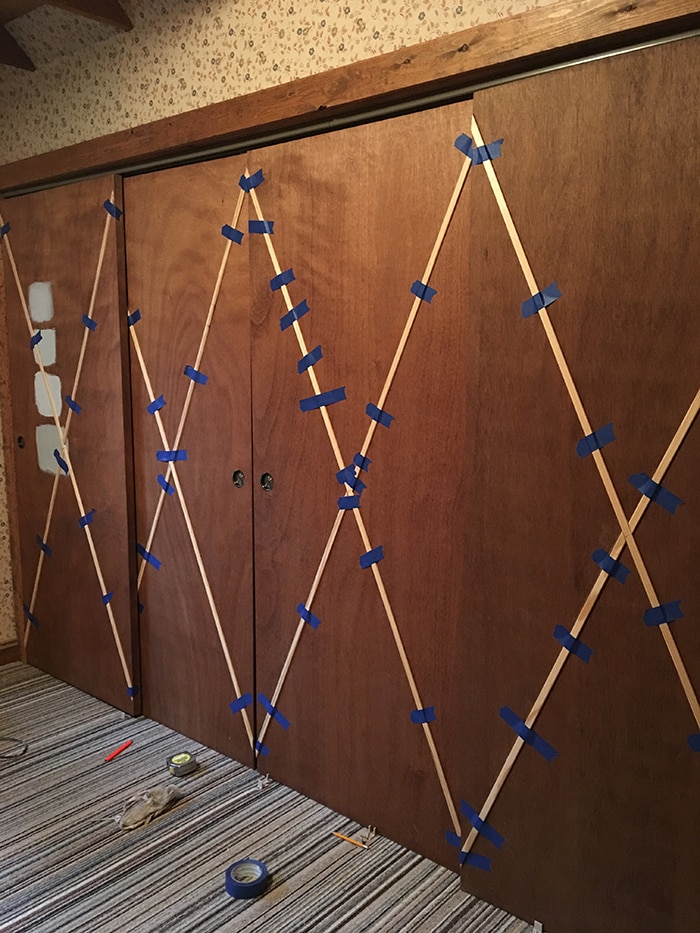
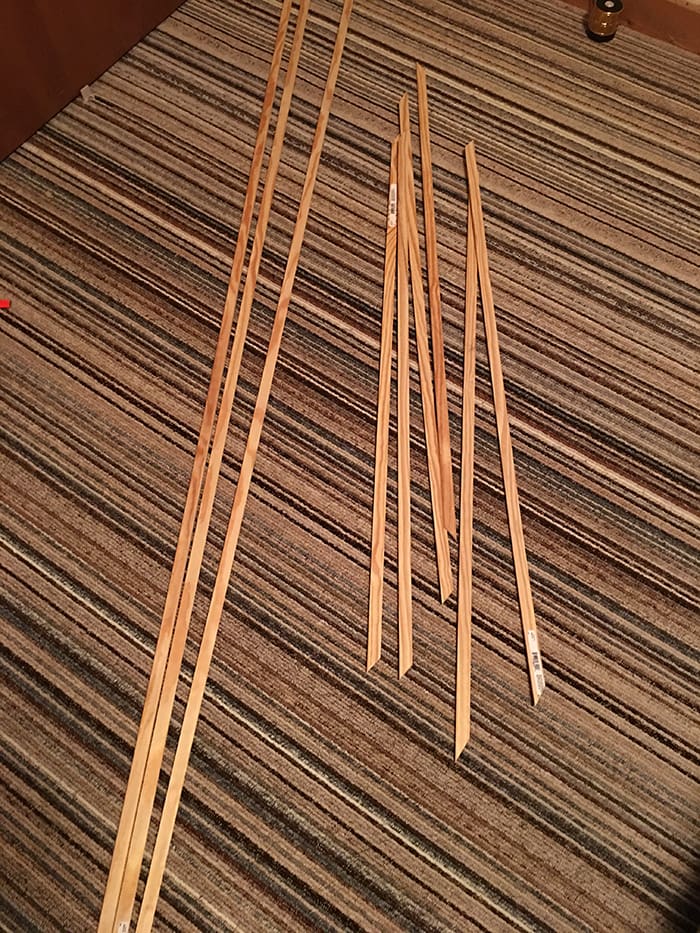
For the second bedroom I cut all my pieces at once—here’s what the trim lineup for 3 doors looks like:
And here they are, pre-paint:
The next day, it was time for paint! I had tested a few soft grays (all Valspar) the week before, and made my decision pretty quickly…
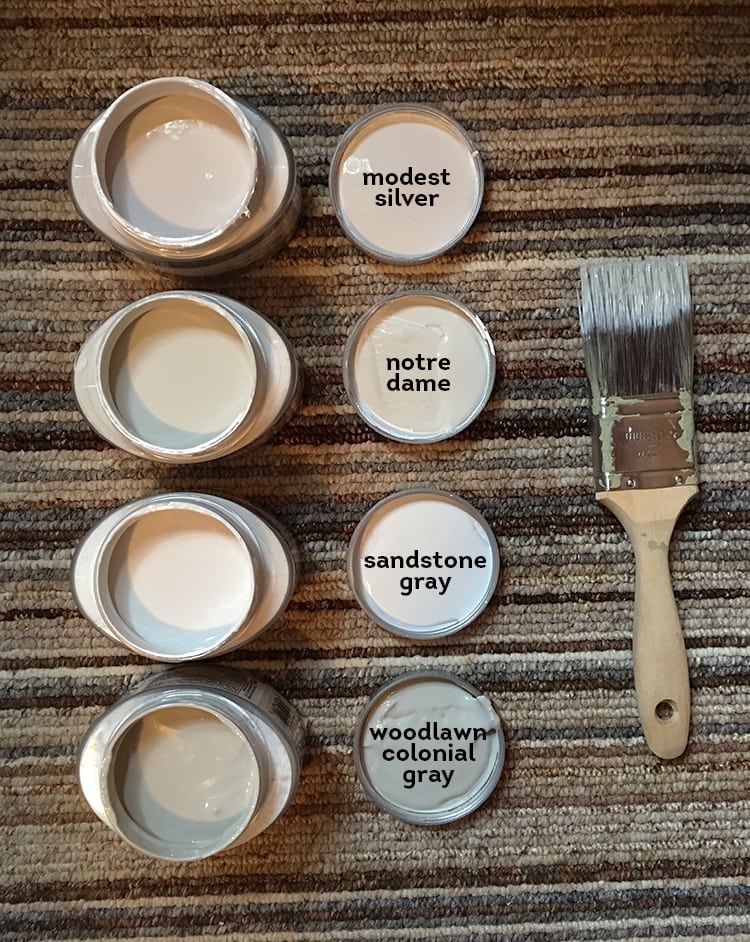
Modest Silver was the winner. It’s a soft putty gray—not too blue or yellow.
I found it best and most efficient to use a brush to paint around the molding…
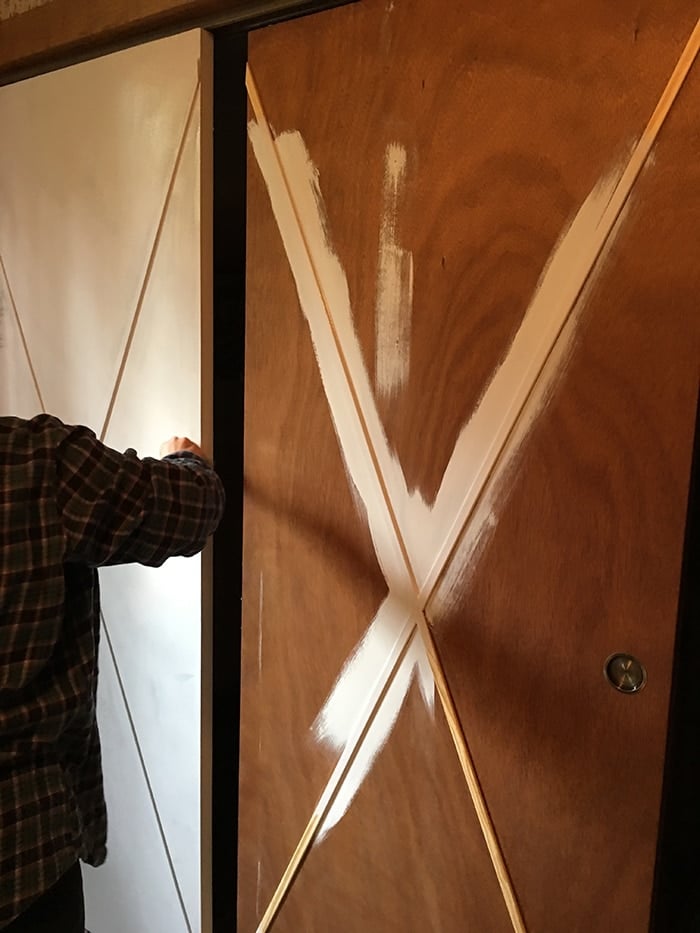
And a smooth roller for all of the flat parts.
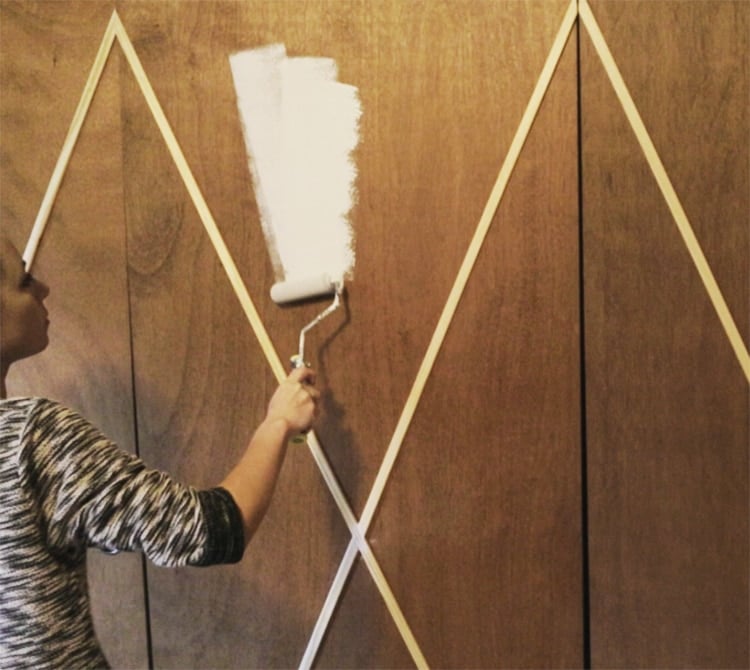
Look at those beauties. The color reads pretty white on screen, but they’ll look more gray once the surrounding walls are painted white.

I’d do it all over again in a heartbeat.
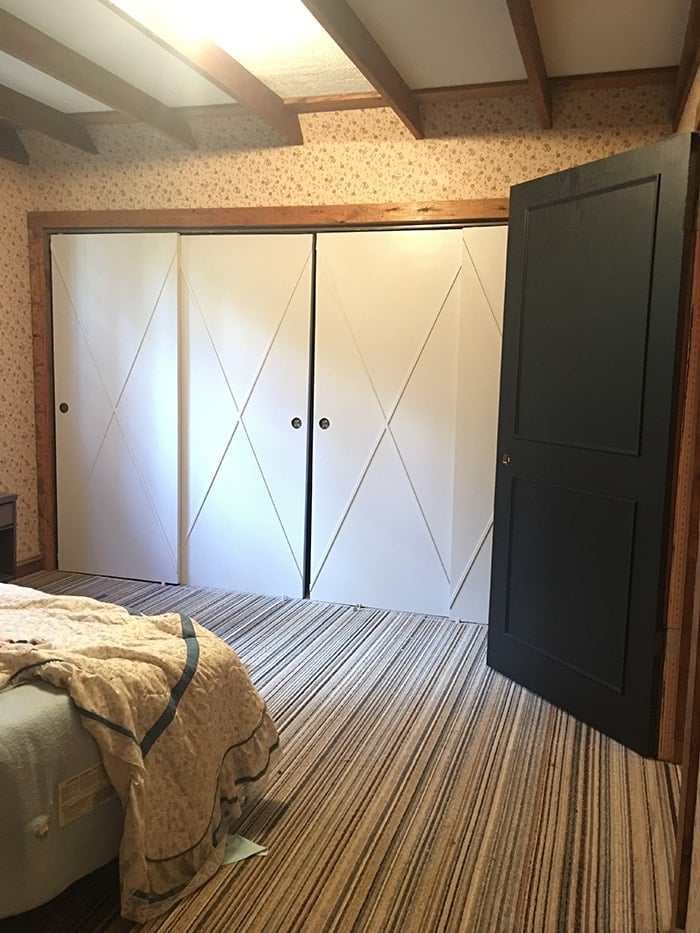
Here’s the end result:
Don’t forget to subscribe to my YouTube channel so you don’t miss any of the tours & tutorials! See ya soon..


Daniel Simmons says
What a great transformation. The door looks fantastic. The images really show the progression.
Jill Kostolanyi says
Hi Jenna,
Do you actually just leave the doors on while you paint them? Do you find any issues painting around the hinges ? Do you just take the door knob off and start painting? Thanks in advance for your response!
jennasuedesign says
Yep, they stay on and the handles are removed (there’s a timelapse shot in the video!). You just have to take your time around the hinges.
Jenni @ Ditching Our Debt says
I think this series on your new flip is my current favorite thing to follow online. I thought that our flat panel closet-doors on a track were hopelessly destined to be flat, but they are exactly what you are working with, and now I have another idea to add to our list of things to do. We are not flipping our home, just trying to make it more like us as we bring it up to date from its 1950’s state :). Thanks for taking the time to document everything!
jennasuedesign says
Just doing my part to bring hope to flat panel door owners everywhere 😉 Glad you are enjoying the updates Jenni!
Autumn says
I love what you do and love following you! Thanks for all the great inspiration and motivation! I use to live in the Bay Area and work in Millbrae. I highly recommend checking out The Moulding Company in Millbrae. (where I use to work) It will change your life! They have a huge showroom full of ideas and projects done using moulding and they will deliver to your new home free with any purchase over $250. Not to mention their prices are 50% cheaper than the orange and blue stores because this is their main product. They also give free samples! ~I get nothing for telling you about this, I just know from one DIYer to another – your going to be amazed!
jennasuedesign says
Ooh thanks for the tip, I’ll have to check them out!
Beth Beard says
The doors look fabulous! I’m looking forward to the tutorial for the next room doors. I now want to paint ours black?. Love your designs! I recently planned the walls in our guest bath using your tutorial and copied the shelves over the toilet. I’m so glad I stumbled across your blog! I am a huge fan.
jennasuedesign says
Thanks so much Beth, glad you found the tutorial useful! 🙂
Marilyn says
Did you have to sand the doors down before you started this whole process? Or did you just wipe/clean them off first? I normally sand/clean my doors before painting but if I can skip the step of sanding, I’m all for it! The doors look GREAT!! Expected nothing less!!
jennasuedesign says
Thanks Marilyn! I just wiped them off, no sanding needed on these.
Amy says
Love that you chose different styles and colors for the doors! White walls will really make them stand out! Do you plan to paint the wood trim as well?
jennasuedesign says
Thanks Amy! I plan to stick with the wood trim — at least for now, we’ll see after it’s closer to the finish line 🙂
Vicky says
My friend just bought a place in Twain Harte and I’ve directed her to your blog for some inspiration, like your place, her new place is full of knotty pine, we have a place in the Santa Cruz mountain with knotty pine as well but ours has a white wash finish on it that tones it down quite a bit.
jennasuedesign says
Awesome! I was looking in Twain Harte too. Love the character of the homes in this area!
Tonya says
You make me want to quit my day job and buy a house to reno and flip!
jennasuedesign says
Do it! 😀
Kristen says
The updated doors look amazing! It’s so inspiring how you jump in and tackle these projects on your own, I’m always so impressed. Looking forward to the next update!
jennasuedesign says
Thanks so much Kristen, your support definitely helps keep the motivation going! 😉