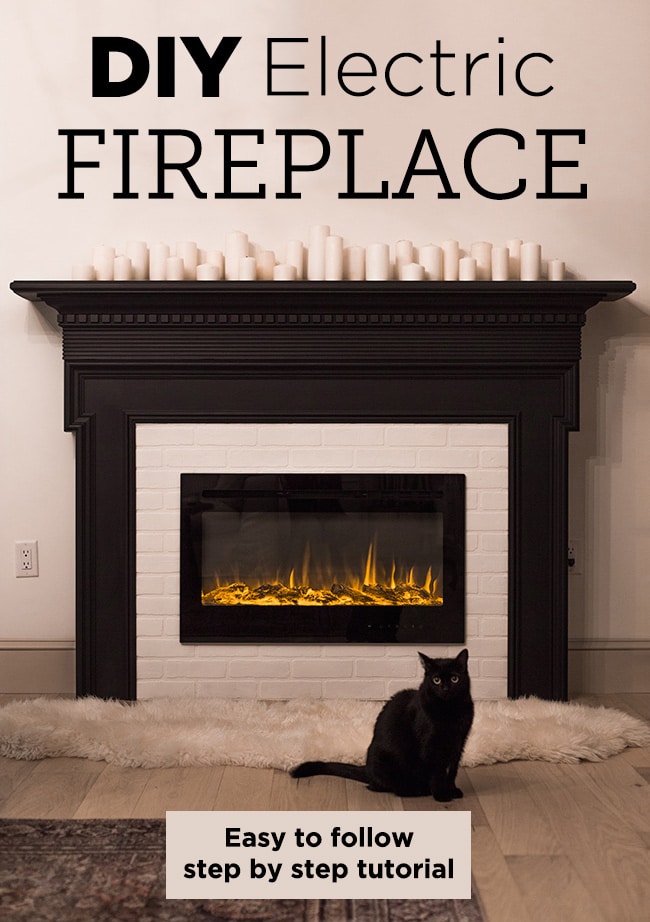
If you’ve been watching my stories on Instagram, you may have seen us installing our electric fireplace last week, and many of you requested a full tutorial so here it is!
Jump to:
Materials needed:
- Fireplace mantel (find one secondhand on FB Marketplace/OfferUp!)
- Electric fireplace insert
- Faux brick sheet (or decorative panel of your choice)
- 2x4s
- Wood screws
- Liquid nails/adhesive
Tools required:
- Drill & bits
- Saw (to cut the 2x4s)
- Dremel multi-max, jigsaw, circle saw or table saw (for the decorative panel)
- Finish nailer
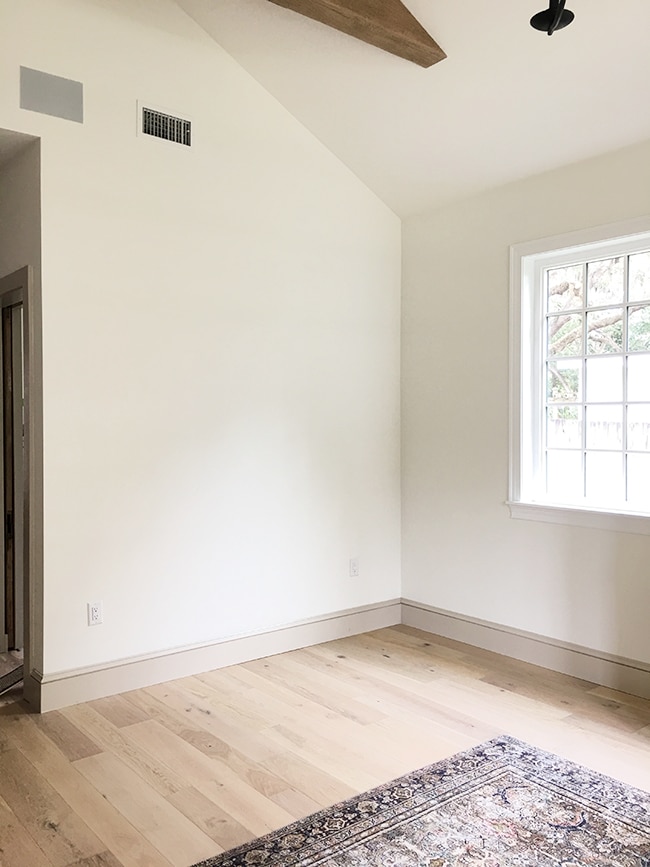
Let’s rewind to the beginning of our story. There was an empty wall in our living room that I was planning to hang some sort of large scale artwork on…
Until last month when I found this oak mantel for $75 on OfferUp and bought it on a whim…

I didn’t have a plan for it right away, so we attached it to the wall with a couple 2×4’s on each side and I painted it black.
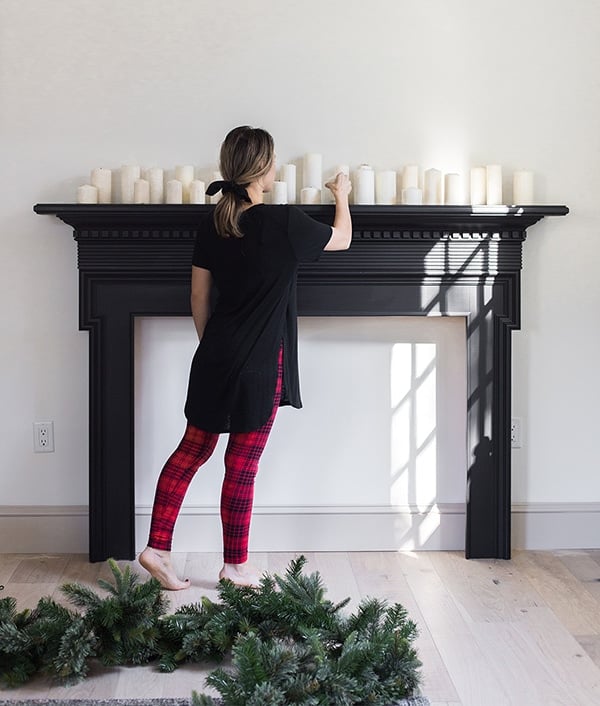
And decorated it just in time for Christmas photos.

The goal was to turn it into a functional fireplace, so I spent some time researching electric inserts. Our fireplace mantel is shallow (around 6″ deep) so our options were pretty limited, but I was able to find this 36″ insert on Amazon:

It was the slimmest I could find at 5.5″ deep, one of the most affordable at $205, with great reviews and features (remote control, timer, flame display control and two heater settings). It was a pretty easy decision! Here’s how it looked out of the box:
Building a frame with 2x4s
To mount it to the wall, we first had to build a frame. If you haven’t attached your mantel to the wall yet, it would probably be easier to add that last!
We realized we could avoid having to remove our mantel from the wall by building the frame to the size of the opening, and attaching a panel cut to the same opening size (with a cut out for the insert). Lucas drew up a quick sketch of our frame, using 2×4’s:
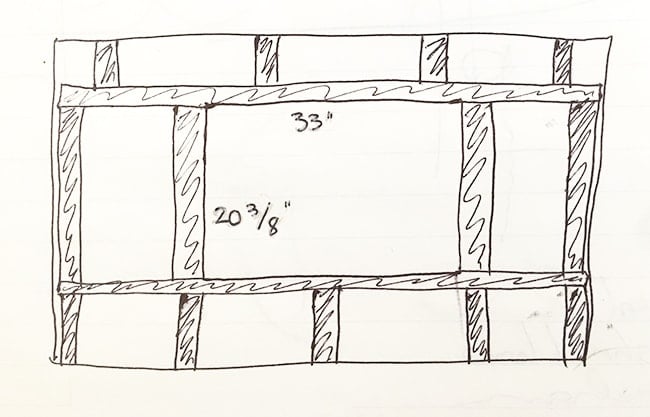
The numbers indicate the measurement of the opening size for the insert, and the rest of the 2×4’s were essentially just there for support.
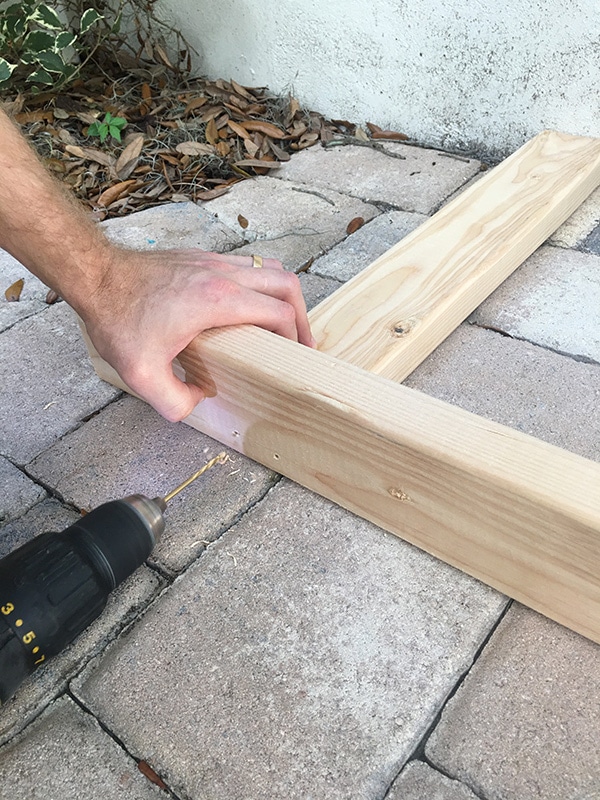
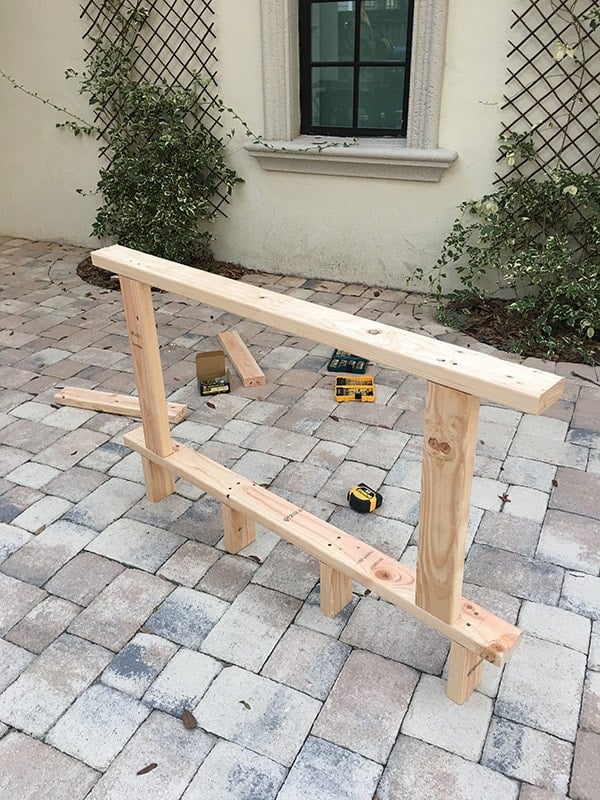
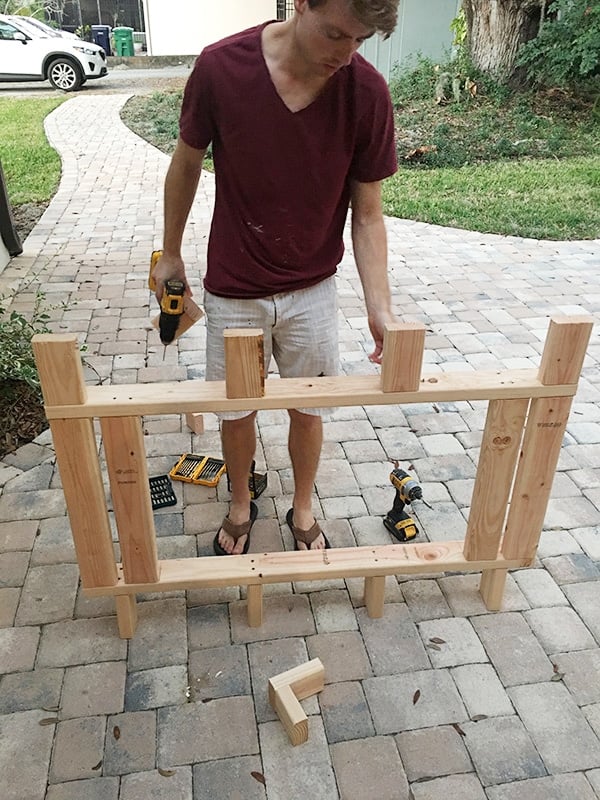
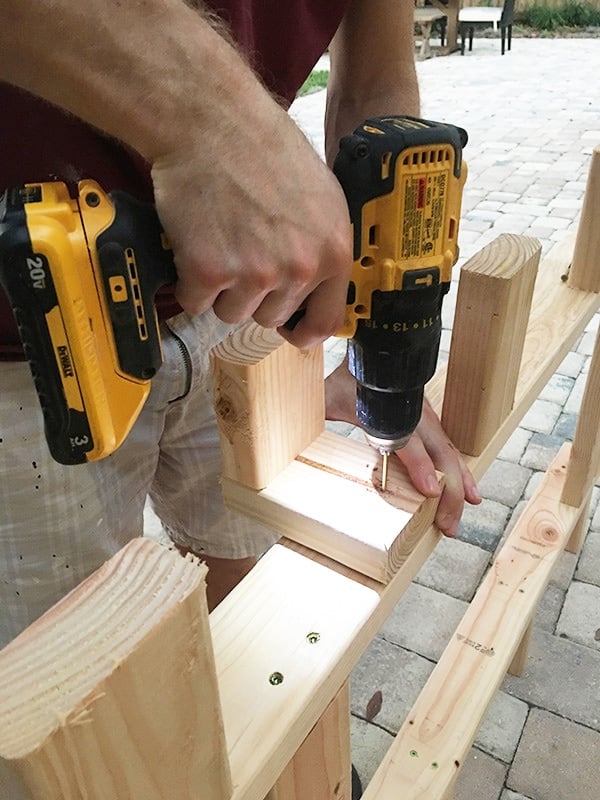
Step 1: Build the center section around the insert
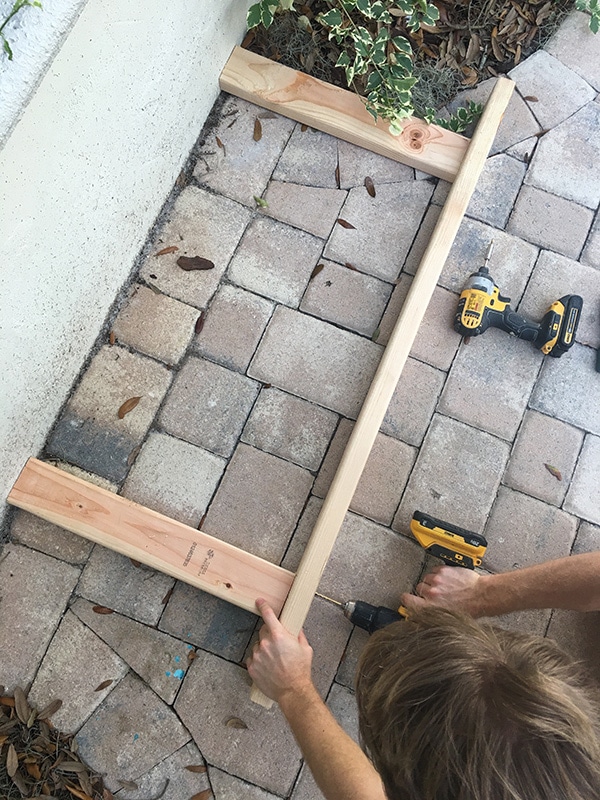
No fancy cuts or pocket screws here, just two wood screws (2.5 long”) per 2×4 board (make sure to pre-drill the screw holes to avoid splitting or use self-tapping screws).
The width of the frame was just shy of our mantel opening size of 49″.
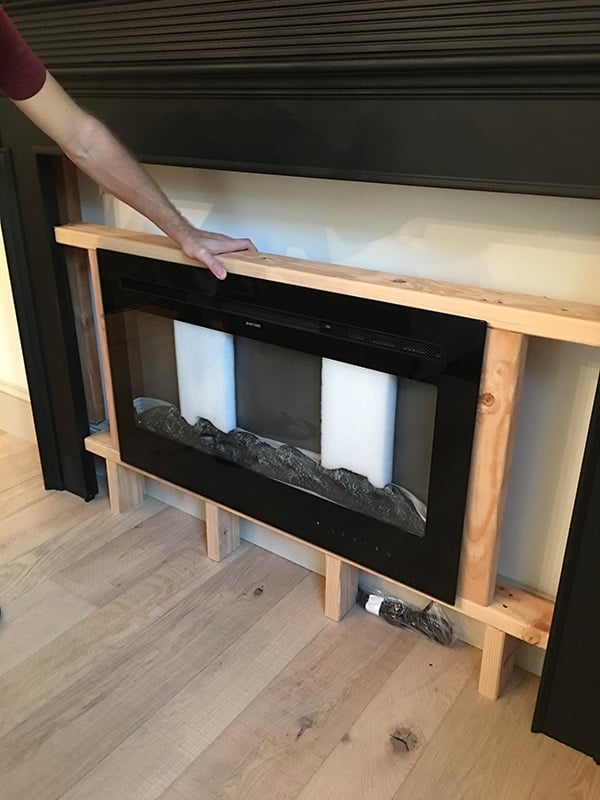
Test fit is a success!
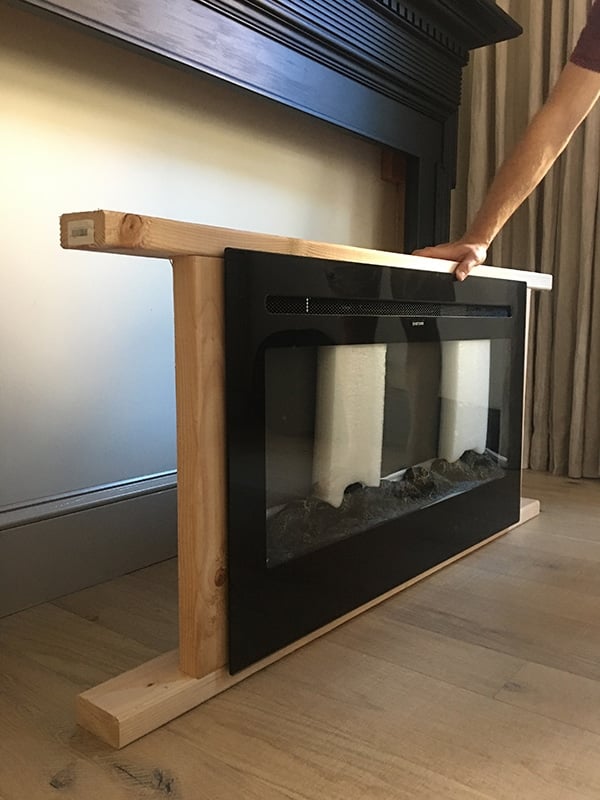
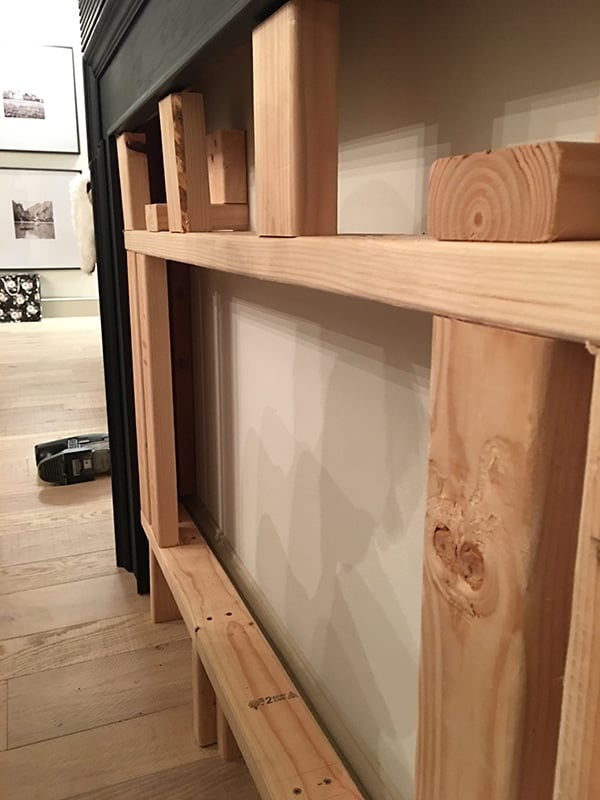
From the side you can see how the lip of the insert sits on the outside of our frame.
We also had to test and make sure the frame fit nicely inside of the mantel opening.
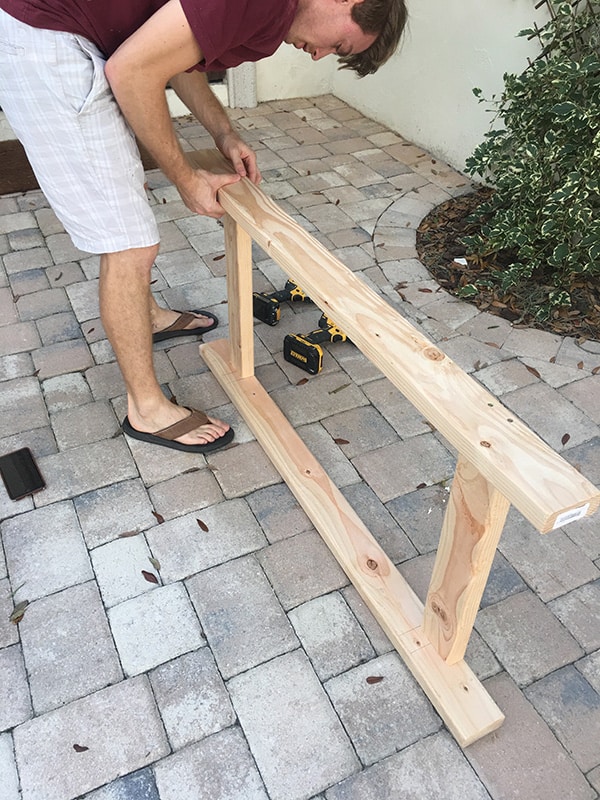
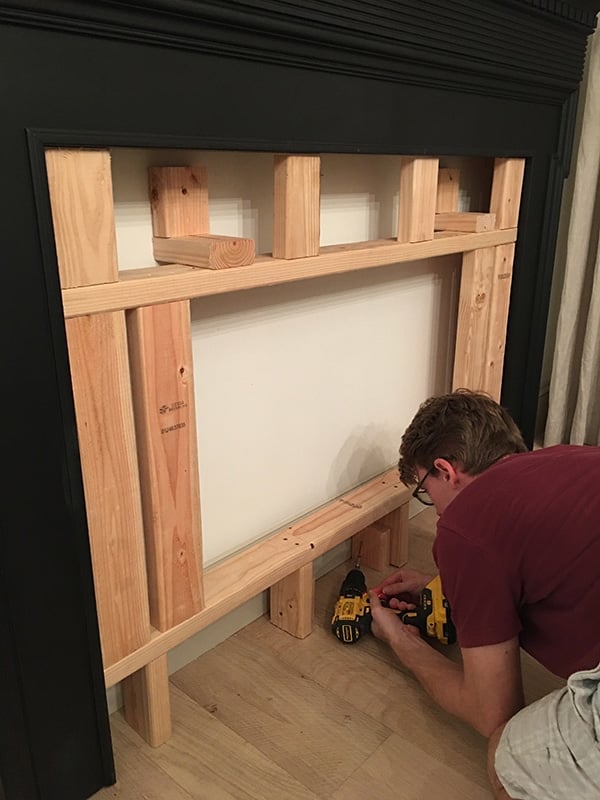
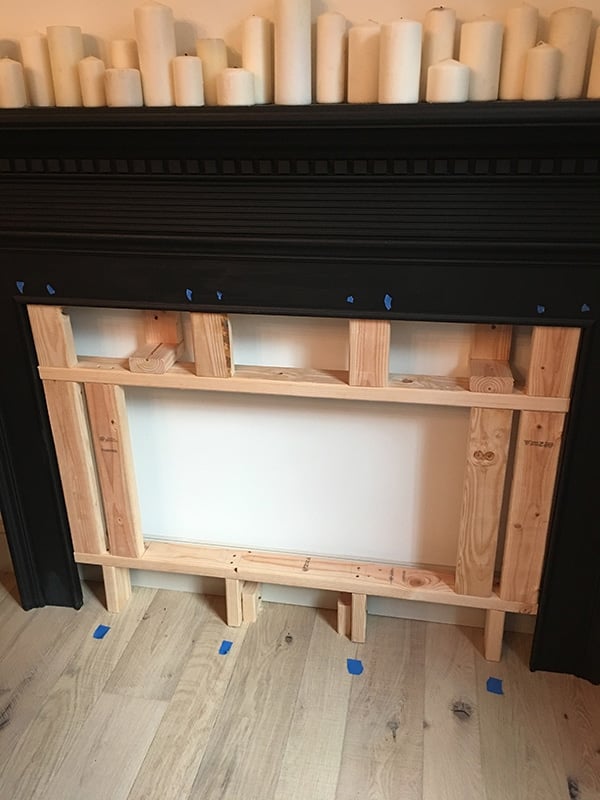
Step 2: Add the supporting pieces
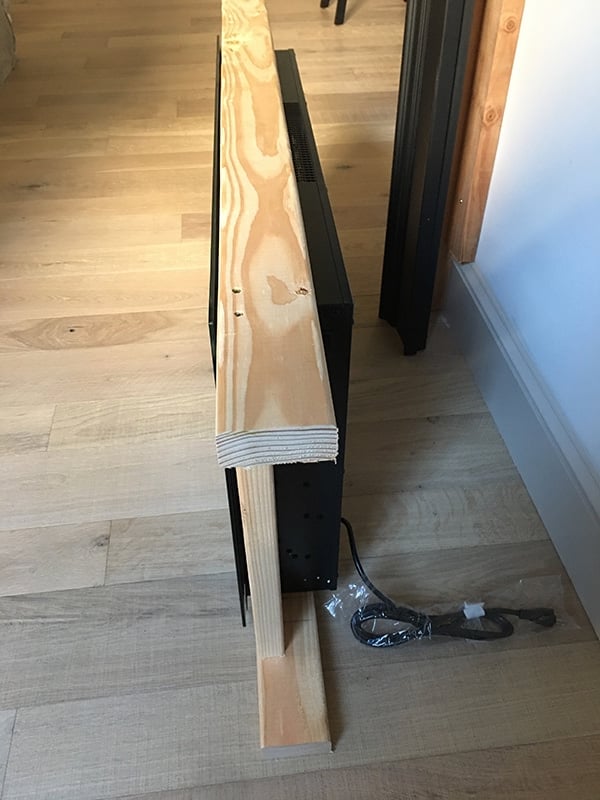
Next it was time to add the upper and lower portion of the frame. I decided to center the insert within the opening, so we measured to determine the correct height, cut down four 2×4’s and attached them along the bottom.
It was important for these to all be exactly the same length so that the insert would sit perfectly level.
The same process was repeated for the top pieces, though these were rotated to face the front of the frame so there would be more surface area to attach our panel to. Lucas also added vertical supports along each side for this purpose.
Step 3: Create “L” braces to set the depth
Now that the frame was built, we had to make sure it was the right depth. This was achieved by creating L shaped braces made out of 2×4’s, cut to the proper depth.
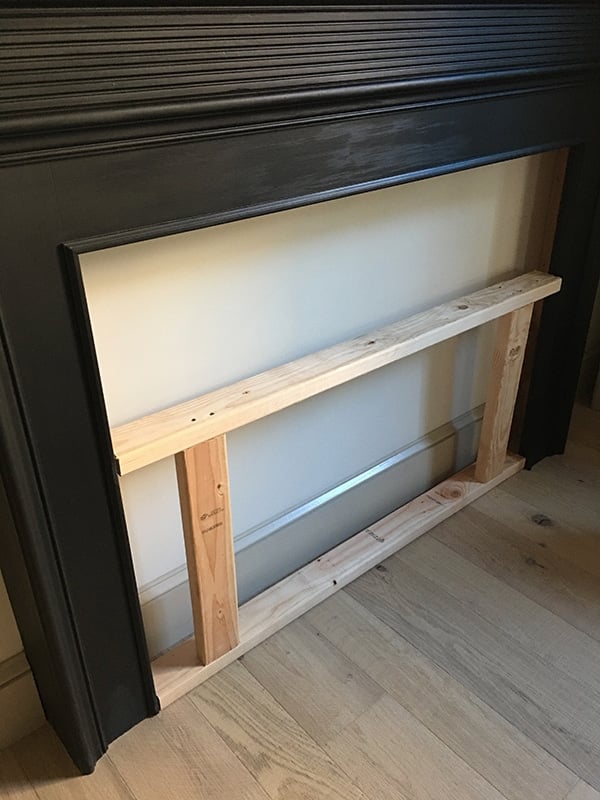
Step 4: Secure frame into studs
The two L braces were positioned and secured into wall studs.
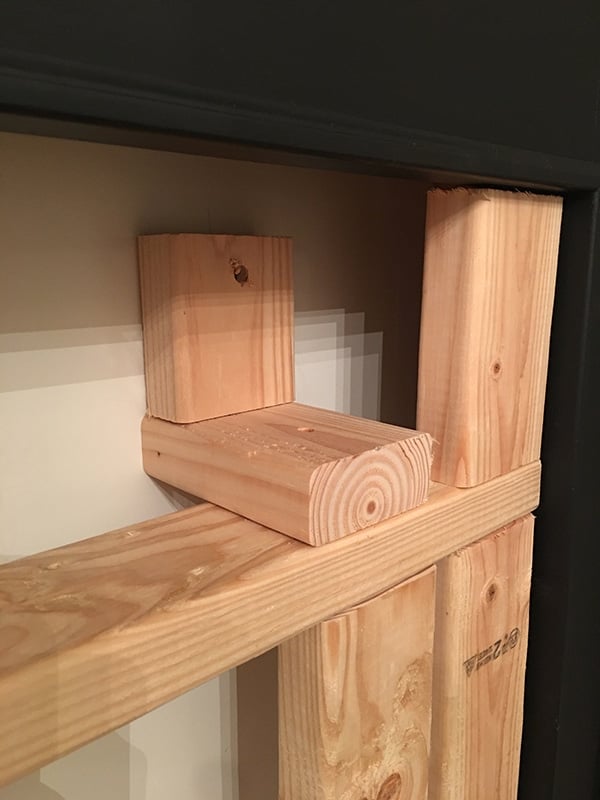
A couple blocks were also attached into the frame at the bottom for extra support.
And our frame was done!
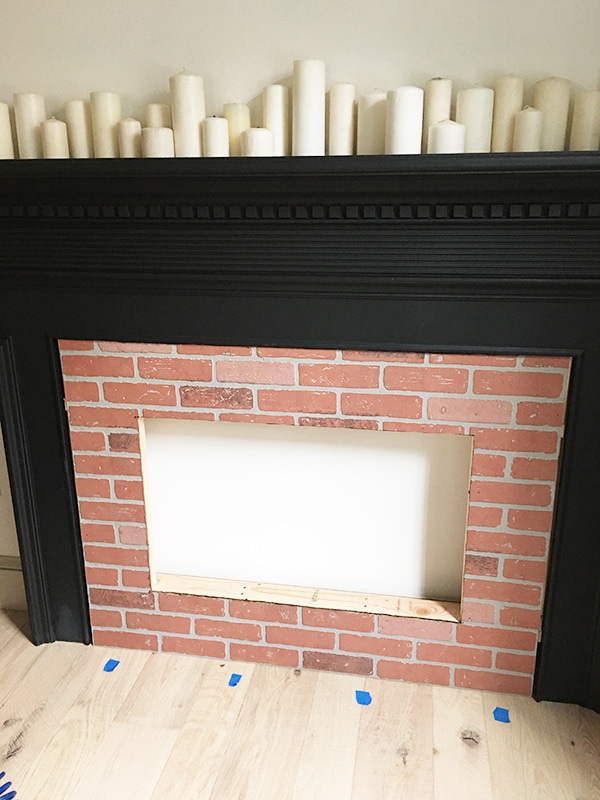
Step 5: Cut decorative panel to fit opening
Now it was time to move onto the surround. There are many different surface options to choose from here—traditionally brick/stone or tile, but we could use anything from metal to concrete or even wood since it does not need to be flame resistant. I considered going with a marble tile, but decided to stick with something simple and inexpensive for now (I can always add tile later on!) Lowe’s and Home Depot sell these 1/4″ faux brick panels in 4×8′ sheets, and we had them cut one cut in half:
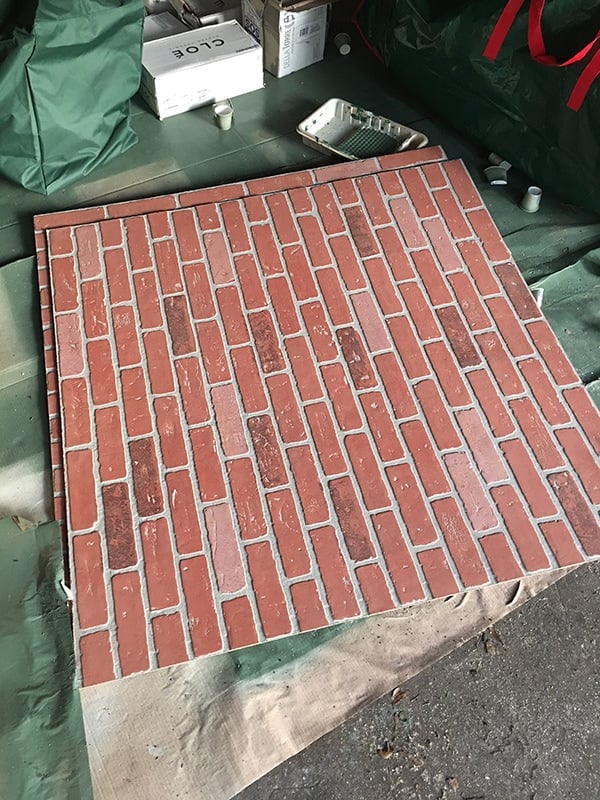
They’re textured to look like real brick, and look very convincing when painted (you could even add plaster for a realistic German smear effect). Our fireplace opening is 49″ and the panel width was only 48″, but we could cover the gap with trim.
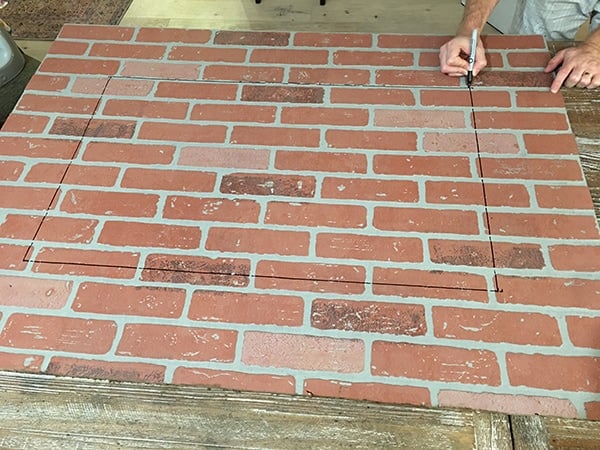
The insert opening size was measured and drawn onto the front (you could also trace it before attaching the frame):
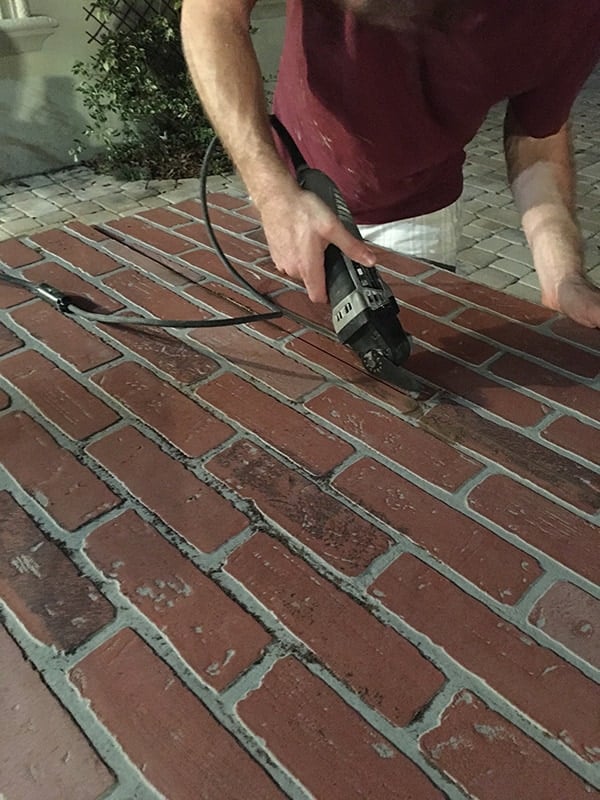
For all of the cuts we used our Dremel multi-max, which is easy to maneuver and more robust than our jigsaw.
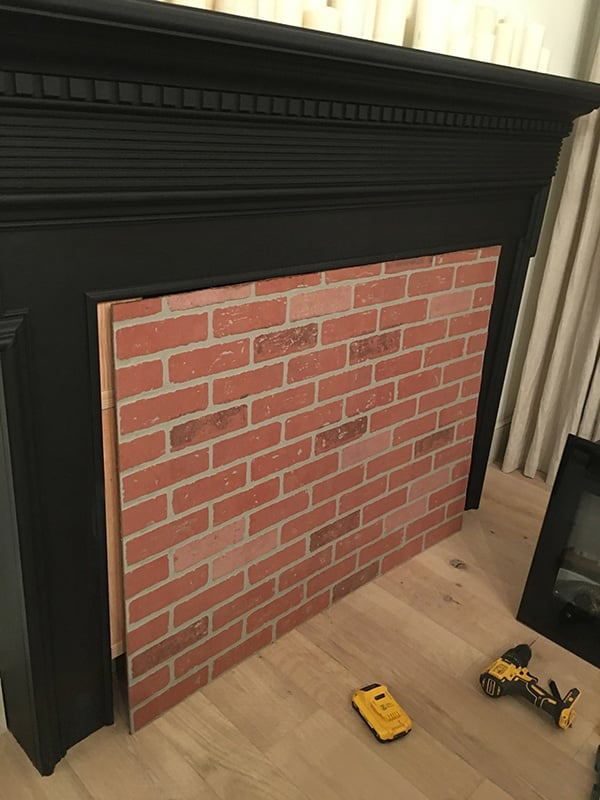
Test fit…
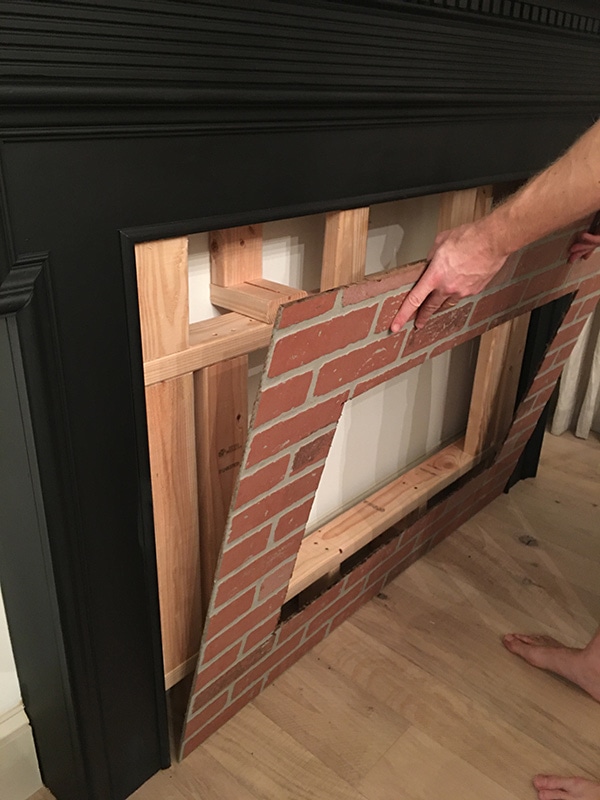
Success!
Then a quick test fit with the insert to make sure everything was good to go:

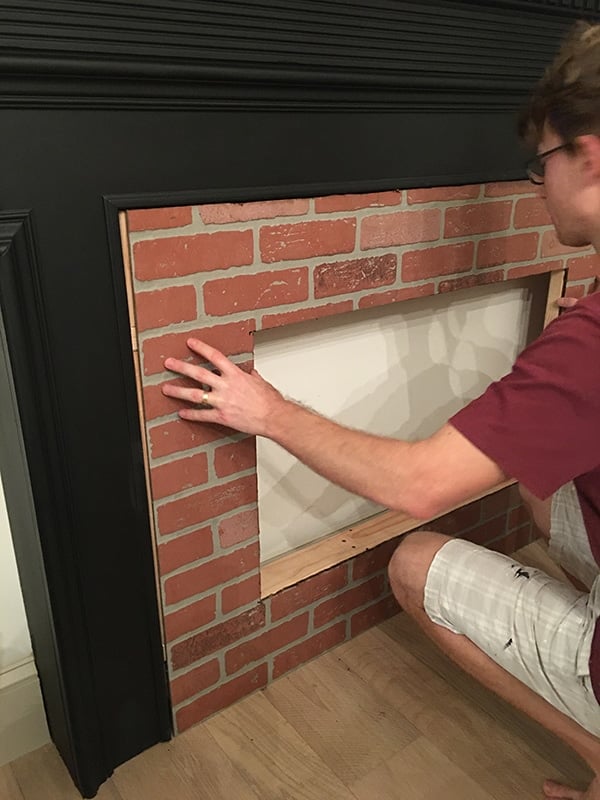
Step 6: Attach panel to frame with adhesive and finish nails
With all our cuts out of the way, we used tape to mark the 2×4 locations so we knew where to nail into.
Liquid nails was applied liberally to the boards, since it would need to hold up the brick panel (finish nails into 1/4″ material aren’t very strong, and we didn’t want to use a ton of nails).
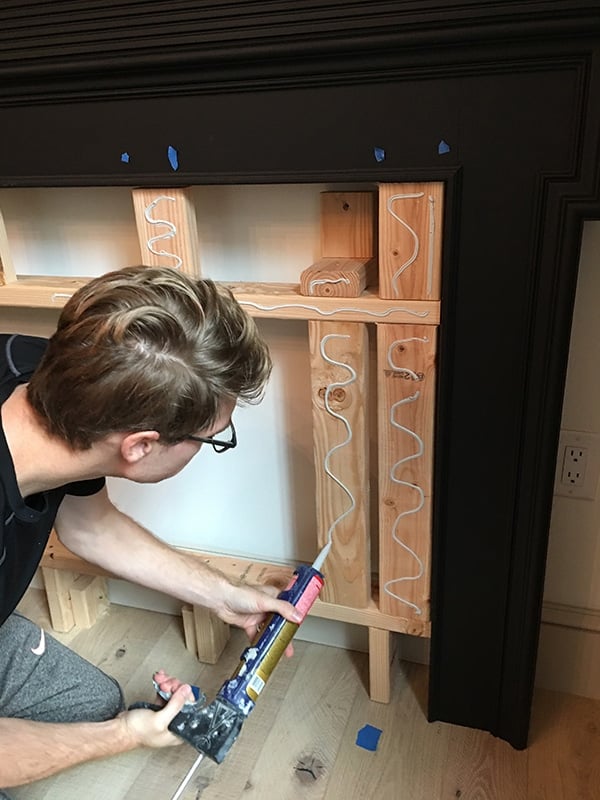
We used our 16 gauge finish nailer along the edges and it was up!
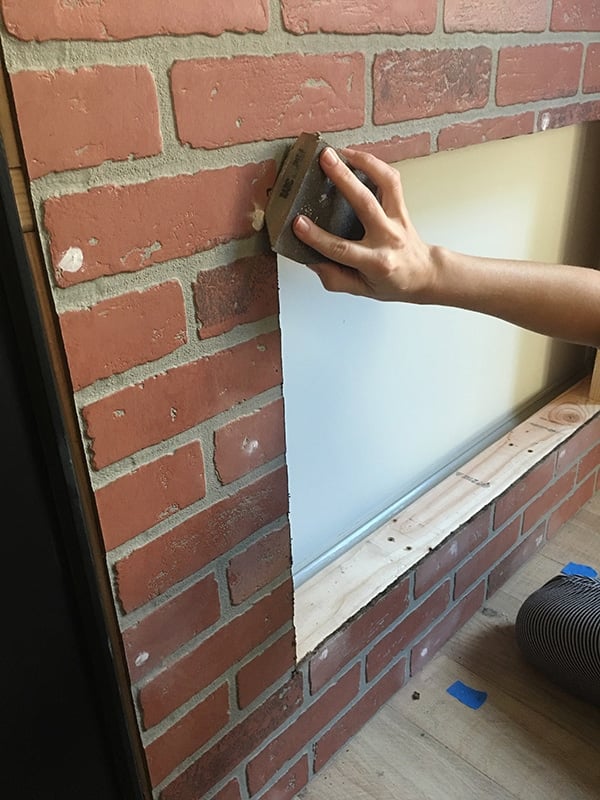
Step 7: Spackle, sand and paint
I patched the nail holes using a dab of plastic wood (my new favorite spackle):

Then gave them a quick sanding after they dried (honestly with the rough/uneven texture, you could probably get away without patching the holes at all):
Step 8: Cover the gap with trim (optional)
If your mantel hasn’t been attached yet, you’d be able to cut your panel larger than the mantel opening and skip this step!
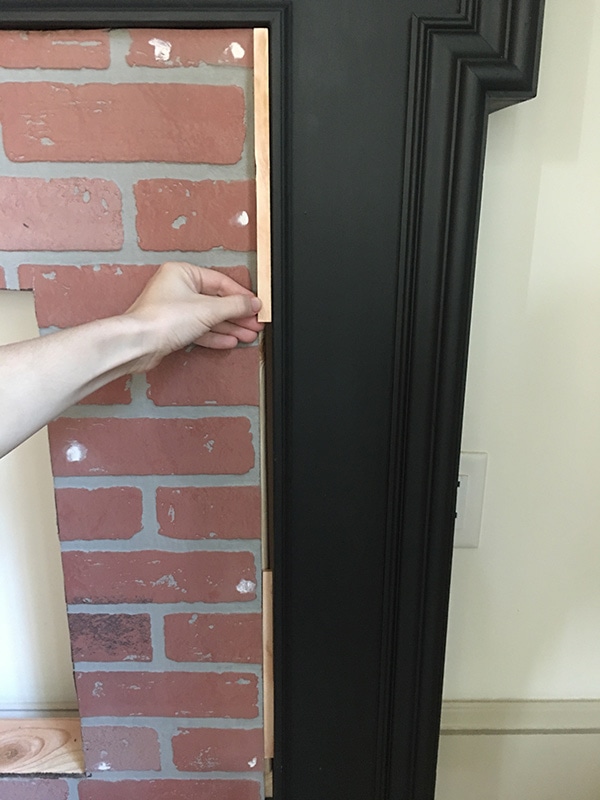
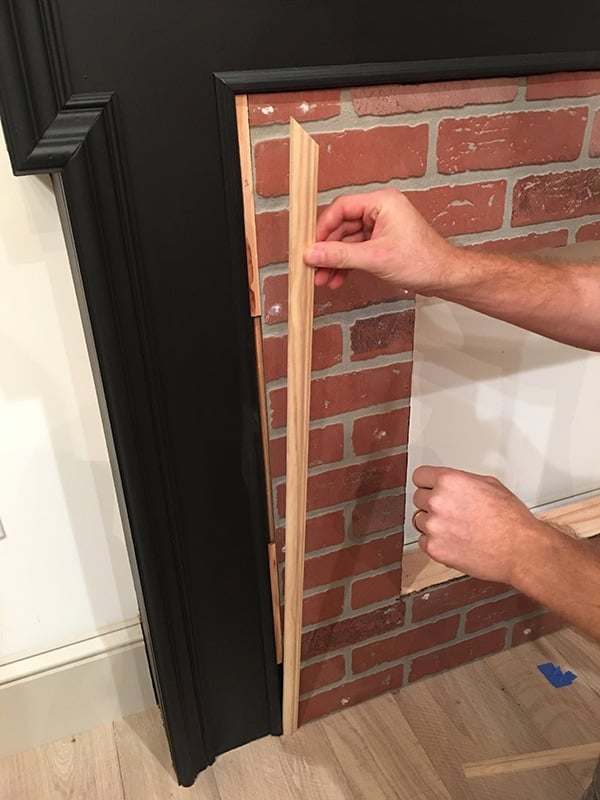
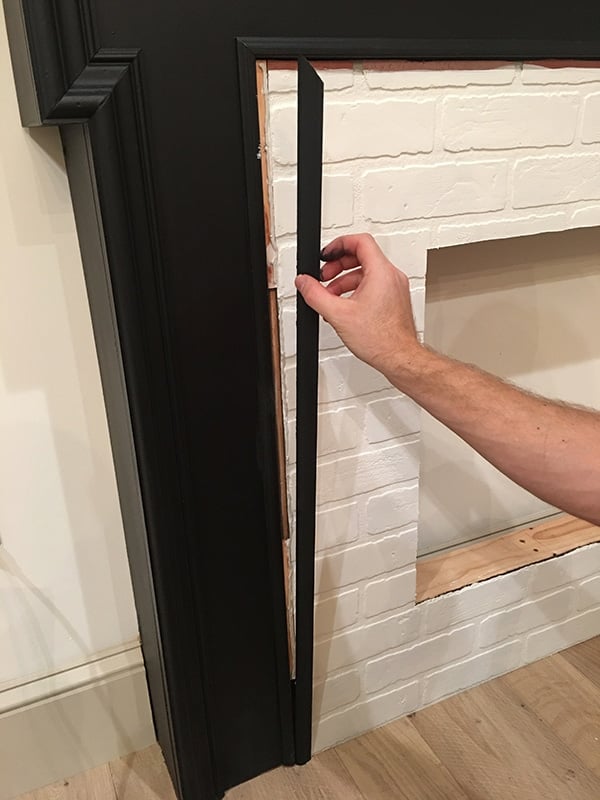
Now it was time to address the exposed edges. With a 1/2″ gap on the left and right sides to hide, we selected this simple 7/8″ low profile wood trim. The only problem was, it barely covered the gap so there wasn’t anything to nail it to, so we ripped down a few shims from scrap 2×4’s to fill the gap.
To make them stay in place, we applied a thick strip of liquid nails to the 2×4 frame behind the gap.
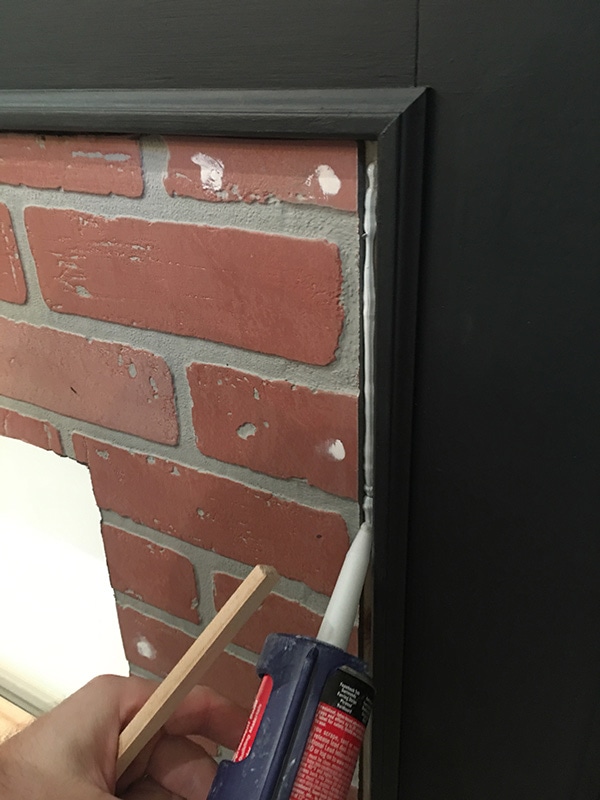
After that dried, we did a test fit of our trim (with mitered edges):
Here’s how all three pieces look together:

But before attaching them, we had some painting to do! The surround was painted with the same paint as our wall color—SW Alabaster (flat).
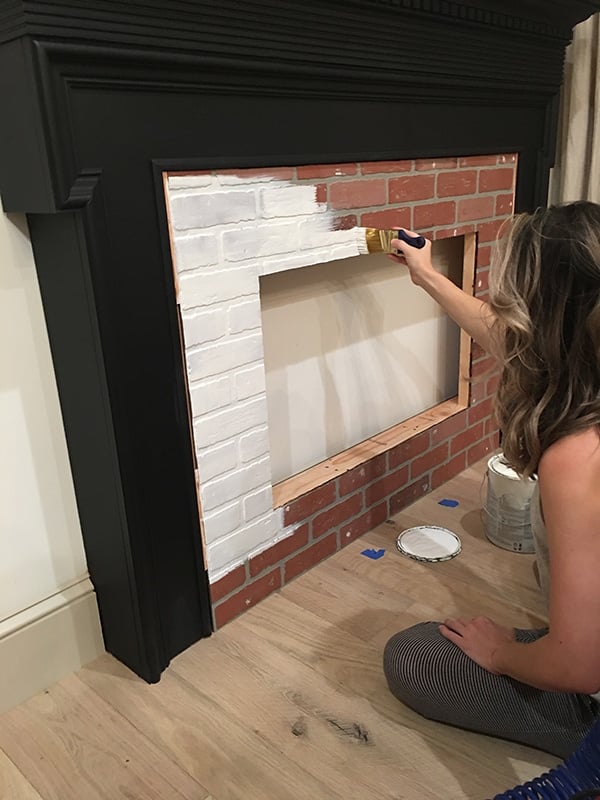
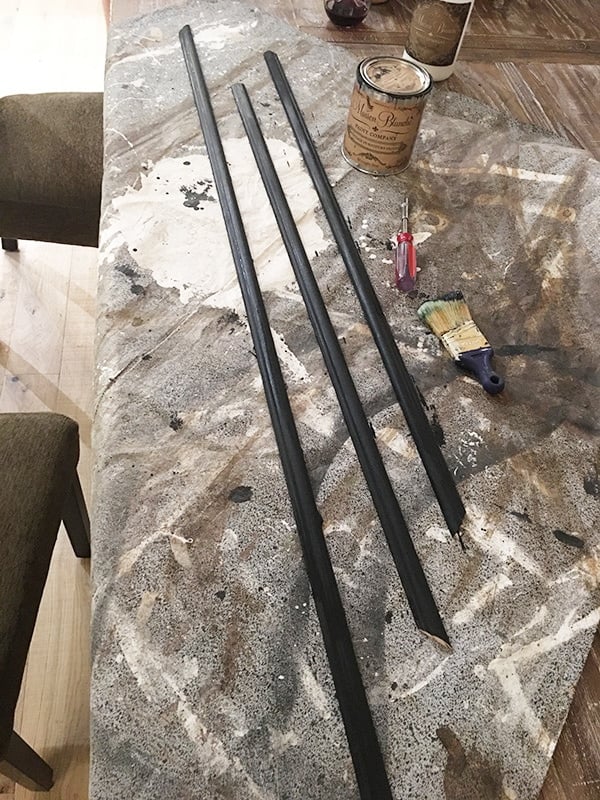
And the trim was painted the same black as the rest of the mantel, using Maison Blanche vintage furniture paint in Wrought Iron.
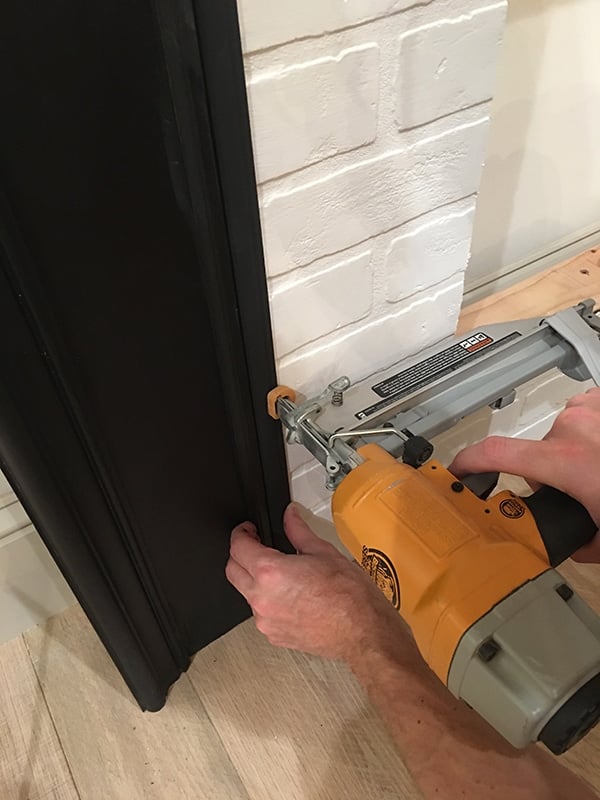
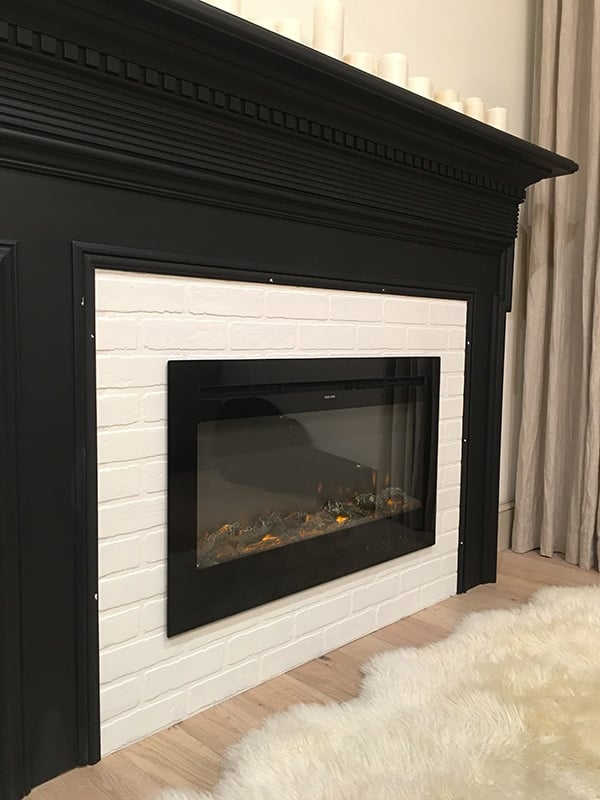
Once everything was dry, it was time to attach our trim…
A bit of liquid nails on the shims and just a couple finish nails.
Step 9: Plug insert into the nearest outlet
Before installing the insert, we had to have power! Our nearest outlet was just on the right side of the mantel. We thought about relocating it behind the mantel, but that would have required a lot more steps (removing the mantel, cutting open the wall, rewiring, patching/sanding/painting) and the outlet is in a corner of the room that no one sees. So instead, we drilled a hole into the side of the mantel for the plug to slide through.

We can always go back and move the outlet later if it bothers us, but, we have a million more important projects to do and my days of perfectionism are over.

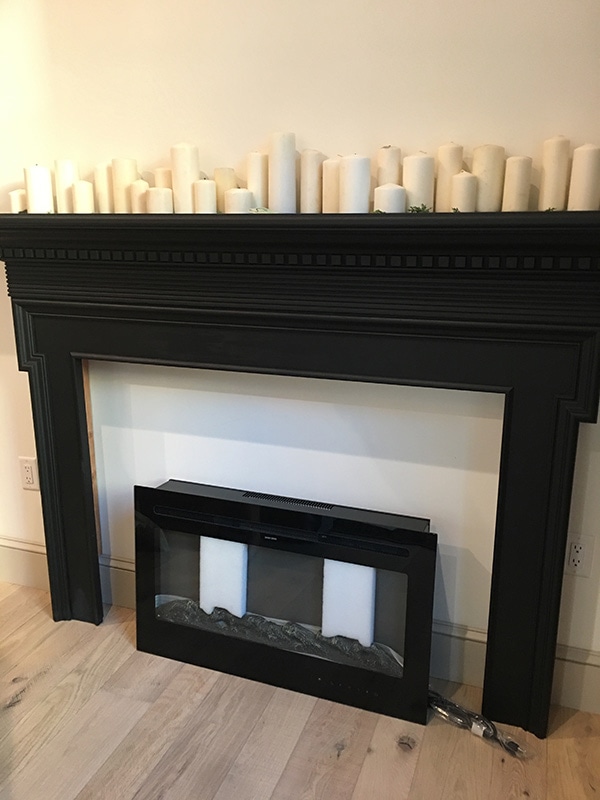
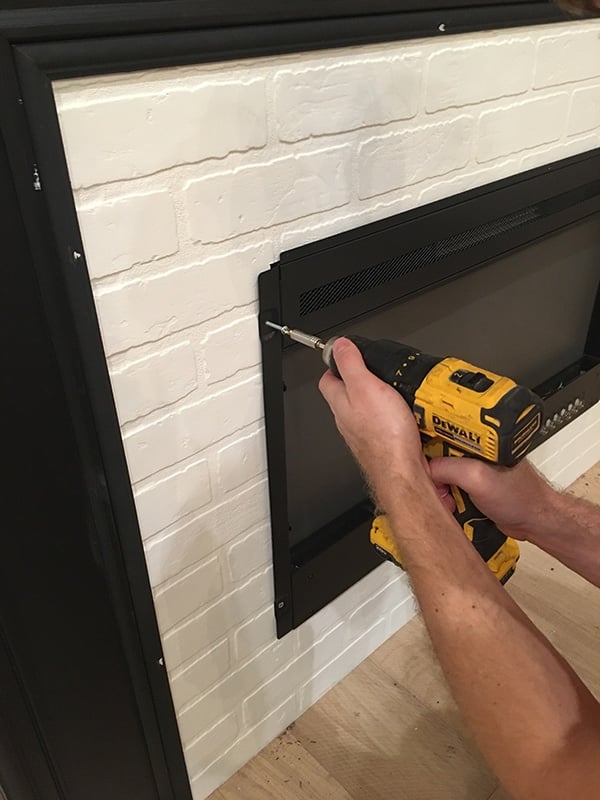
Step 10: Install fireplace insert
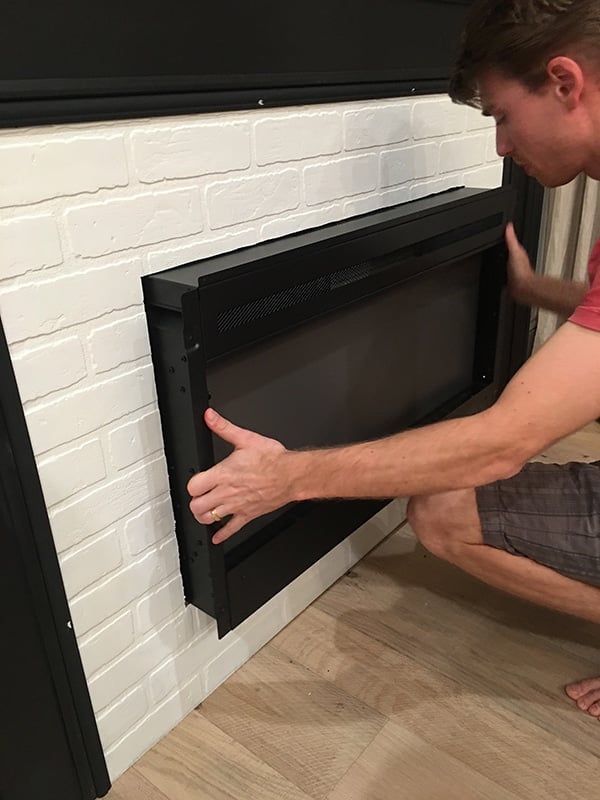
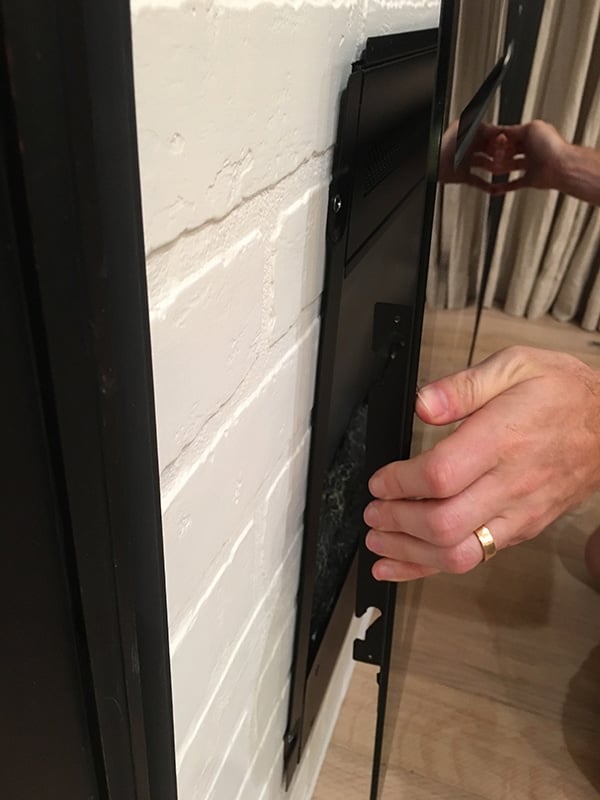
The glass front has hooks that pull off, so you can access the tabs along the front. There are four screws that hold the insert in.
Then the glass front latches right back in.
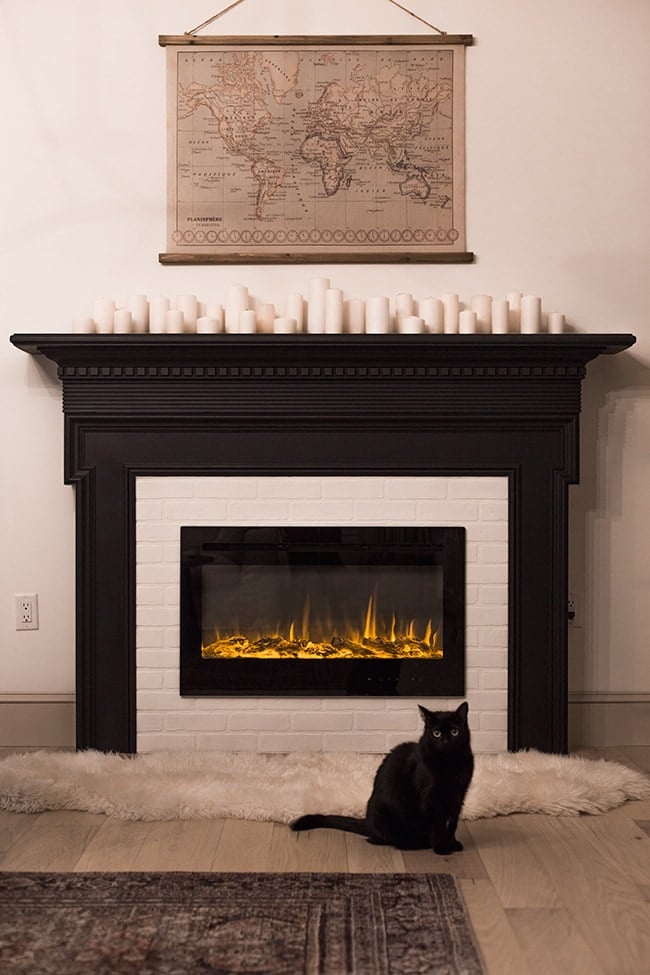
You can cycle through different color/intensity settings, heat/temperature, and fan speed. There’s a small heater located behind the vent along the top, and it can put out a decent amount of heat (we tested it on the highest setting). The glass screen stays cool, except for right around the vent where the hot air blows out.
You can also turn the fan off and just have the display going for nice ambiance.
It’s ideal for our Florida “winters” that average 70° (although a cold front came through this week and it’s quite chilly outside—perfect timing to test out our new fireplace!)
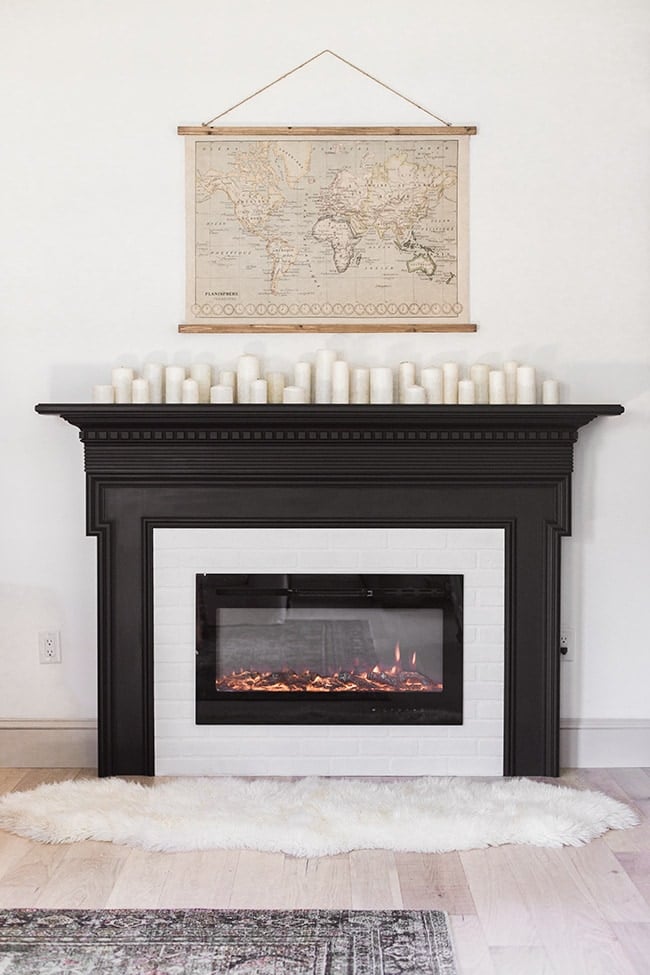
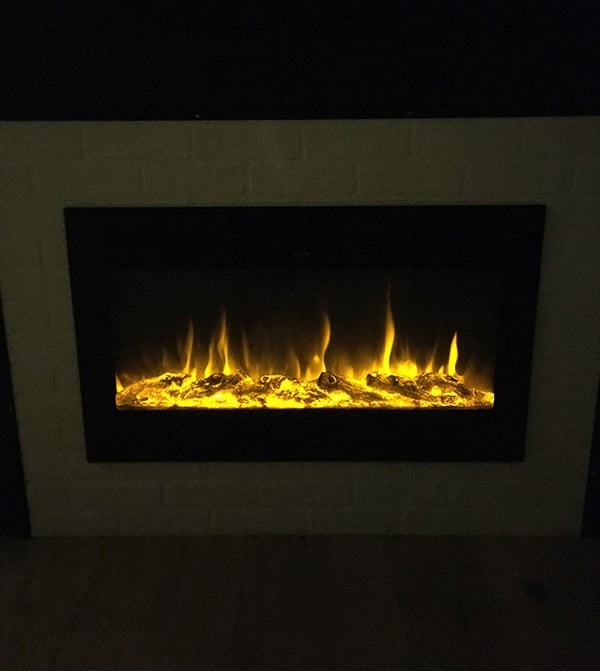
The glow and warmth at night make our living room so much cozier!
Cost breakdown
- Mantel: $75
- Insert: $205
- Brick panel: $37
- 2×4’s: $11
- Trim: $10
- Screws: $10
- Total: $348
Under $350 for a functional and beautiful fireplace that would have cost us thousands to add during our build—amen to that! We already had the paint, adhesive and tools which helped keep our costs down, but regardless, this is an excellent alternative for anyone wishing for a fireplace. Make sure to check out my “DIY Fireplace” Instagram story highlight to see a recap if you missed the beginning!
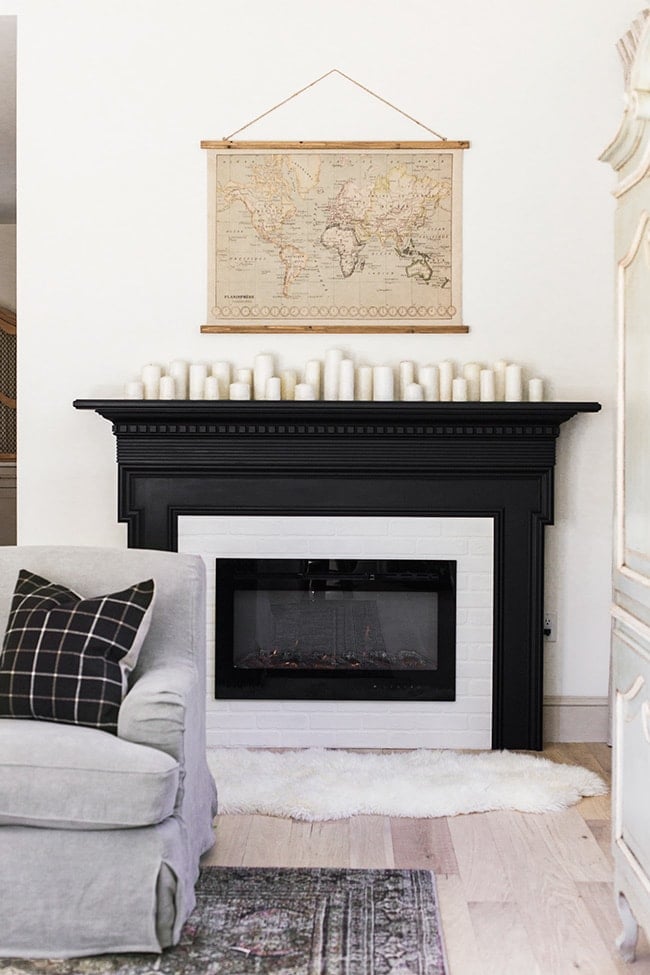
I was going to share photos of our updated living room, but figured this post is long enough already so I’ll be back on Friday with more. Here’s a little preview to hold you over…
If you like this project, check out these popular beginner budget DIYs from my Project Library!
- How to realistically age wood (the easy way!)
- $10 canvas floating frame
- DIY String Light Planters
- Board + Batten tutorial


Michele M. says
WOW!!! That is absolutely amazing!
You both did a GREAT job on that gorgeous DIY!!!